
Periodically, users want to install or run just an installed program faced with errors of different kinds. One of them is notification of the incompatibility of the application, which is why the further work of the installer or the program itself is impossible. Next, we will tell you which solutions that eliminate this failure are.
Eliminating the "application is incompatible" in Windows 7
To correct the problem, there are several ways to have several ways that can most often help. However, it is worth understanding that a program that is truly incompatible with the current version of the operating system will not start under any circumstances. From such a situation, there is also a way out, but it does not suit everyone.We immediately want to give advice and reminding about the software version that you have difficulty:
- First of all, do not forget to see if Windows Support is declared 7 of your version (Starter, Home, Pro, etc.) and Bitness (32 bits, 64 bits) developer of a specific program or game. It is worth remembering that 32-bit programs are launched on the 64-bit operating system, while they do not have reverse compatibility: the 64-bit version will not start on the 32-bit system. If support is completely or you can not find this data, try our methods proposed below.
We learn the bit / version of Windows 7
- In addition, be sure to check if some patches / fixes / updates were released for problem software that optimize work with "seven". Probably, your computer stores an outdated version of the installer, and on the official website of the developer or other proxies of the Internet, you can find a newer, improved version that interacts correctly with Windows 7.
- In the absence of support, it will only be found to find some analogues that will work in the "seven", as well as read the 7 of our article to learn about alternative, but, as already mentioned, the controversial method.
Method 1: Start Fixing Compatibility Method
There is a built-in assistant in Windows, which in a number of situations really helps the user who collided with the problem under consideration. Consider how to use it.
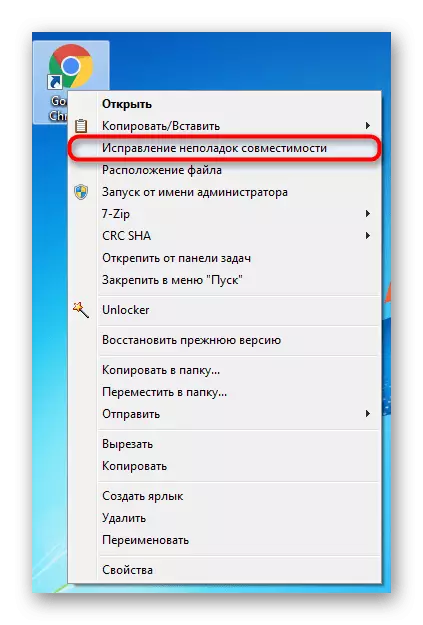
- Right-click on the installer or the software label that does not want to run, and select "Compatibility Problem Correction".
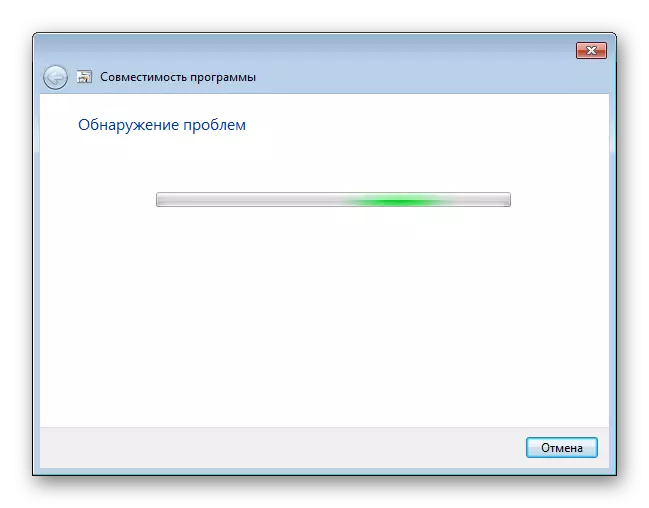
- The search for possible problems will begin.
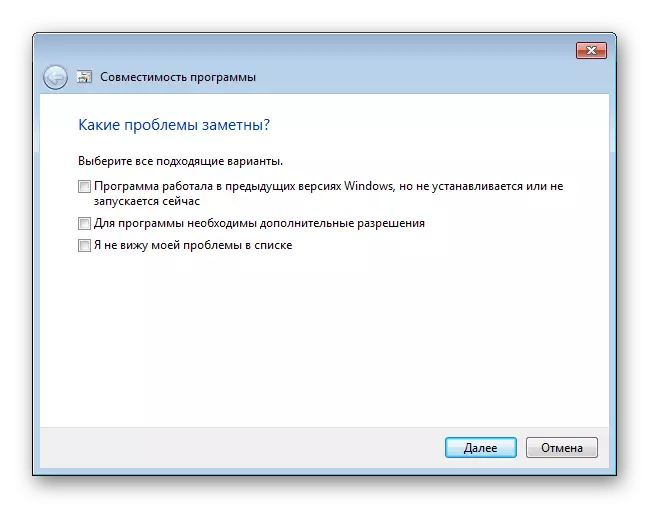
- Next, the tool will prompt you to choose the option of the difficulty you encountered. They can be noted by several.
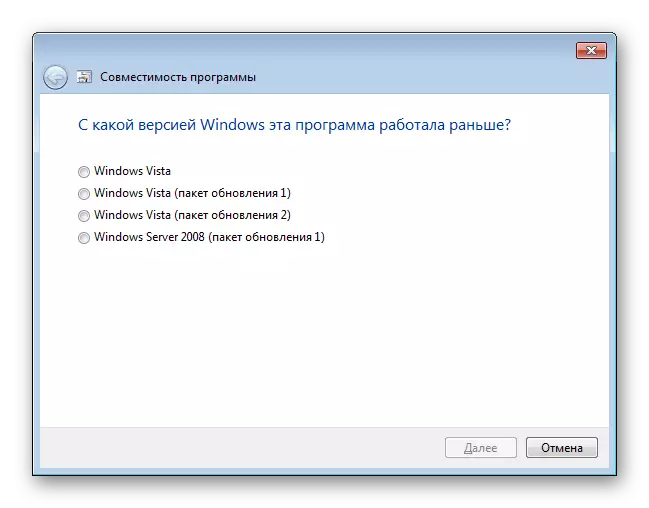
- Depending on the choice of option, further questions may be different. For example, when choosing an option that the program has worked before, but does not work now, it is proposed to specify the Windows working version.
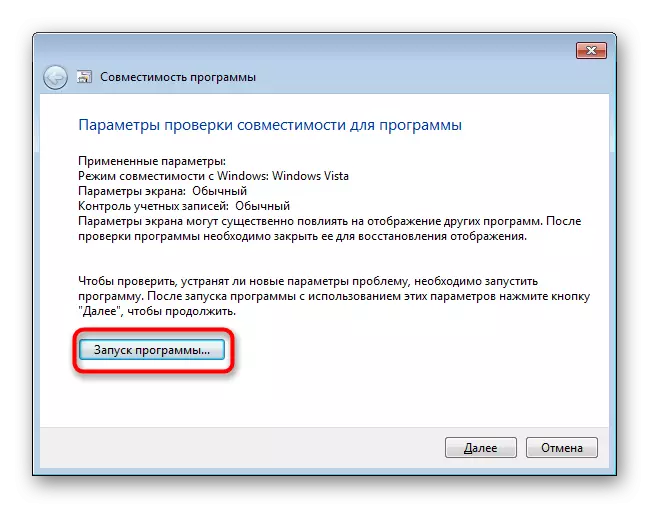
- The tool will suggest run a problem program with parameters applied to it that are written in the form of a list. Press the corresponding button.
- If it helped, it will remain click "Yes, save these parameters for the program". Then in the future it will run with the selected option. If not, try starting with other selected parameters. When none of the options are suitable, you can move on to the following recommendations.

Method 2: Manual compatibility settings
Similar to the previous compatibility configuration item, it is easy to set independently by editing the label / installer properties. However, in its functionality, this method is practically no different from the previous one with the exception of some secondary parameters. In this regard, when inherence, the means of correcting compatibility troubleshooting this option is also likely to do not bring due results.
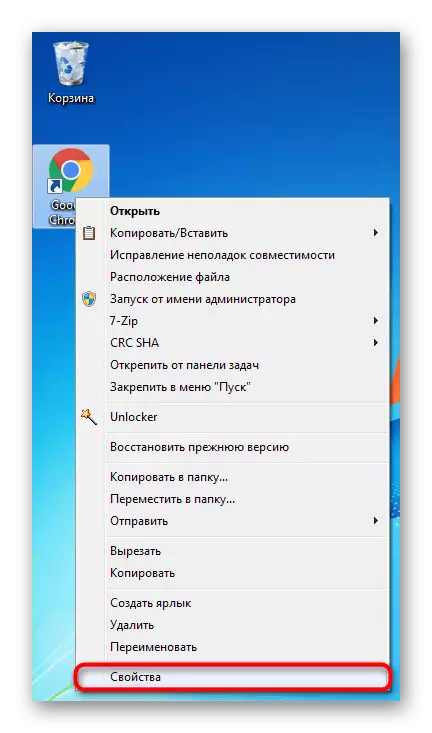
- Right-click on the program and go to its "Properties".
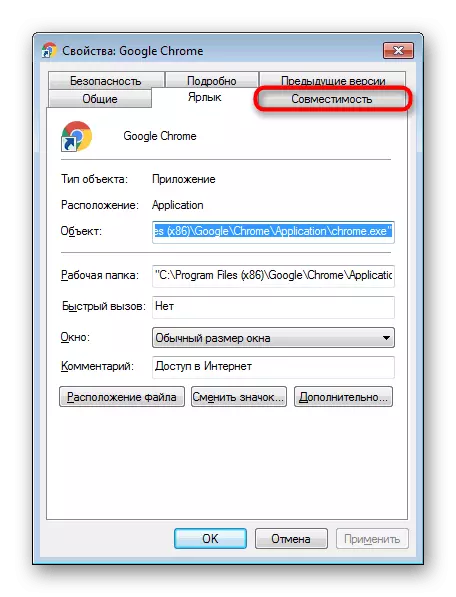
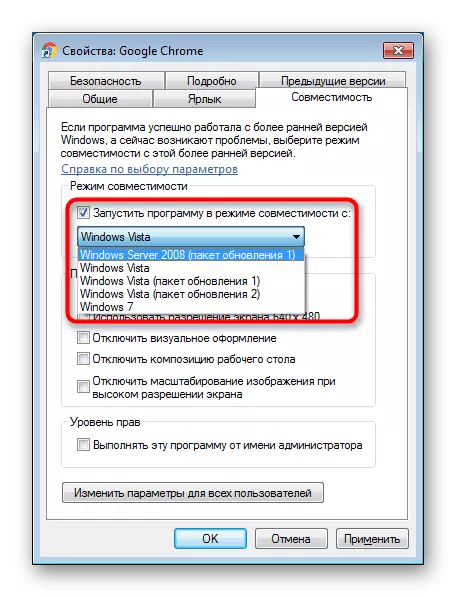
- Switch to the Compatibility tab.
- Here, put a tick next to the item "Run the program in compatibility mode from:" and select options in turns from the proposed list. After each selection, press "Apply" and try to start the application.
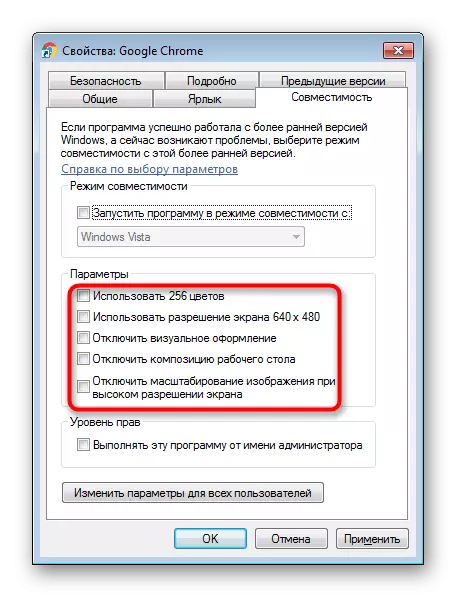
- You can also configure additional parameters that simplify start. It will be relevant for those applications that worked in past versions of the OS, since all the proposed settings simplify the launch and imitate the work of old windows. Additional check the box next to "execute this program on behalf of the administrator", but, as a rule, this does not affect compatibility.
Change selectable parameters, but if nothing helps, it is better to return all settings to the place and go to the following items.
Method 3: Disable Compatibility Assistant
The reverse previous two recommendations are this. The fact is that sometimes this component intends to block the launch of the program, considering it incompatible with the operating system, although it may well work on it. We will show how to turn off through the "Local Group Policy Editor", and those users who are missing (it is not in the initial versions of Windows 7 - Starter and Home) will fit the alternative in the form of a registry editor.
Local Group Policy Editor
Through this editor, it is most convenient to turn off, so it will begin with it.
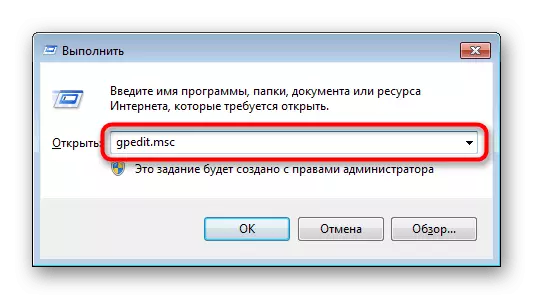
- Press the Win + R keys combination, write gpedit.msc and click "OK".
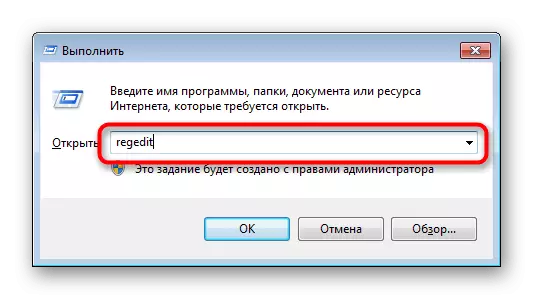
- Press the Win + R keys combination, write Regedit and click "OK".
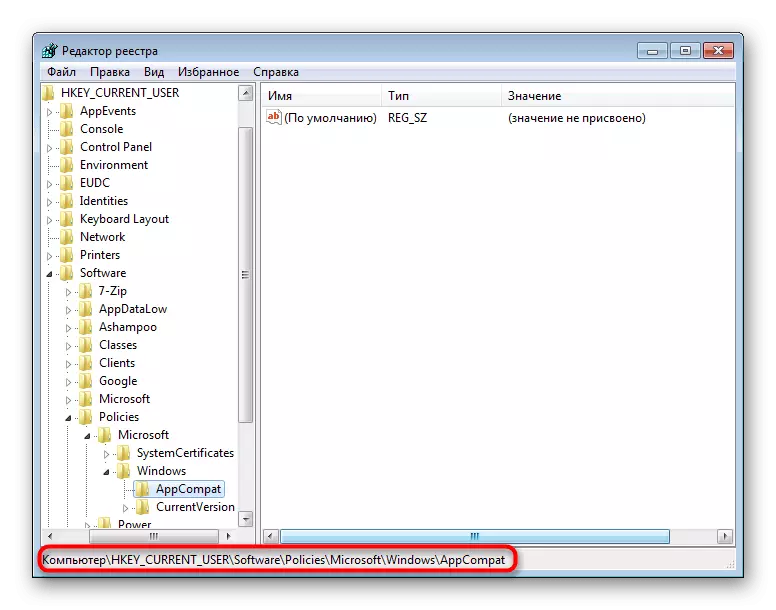
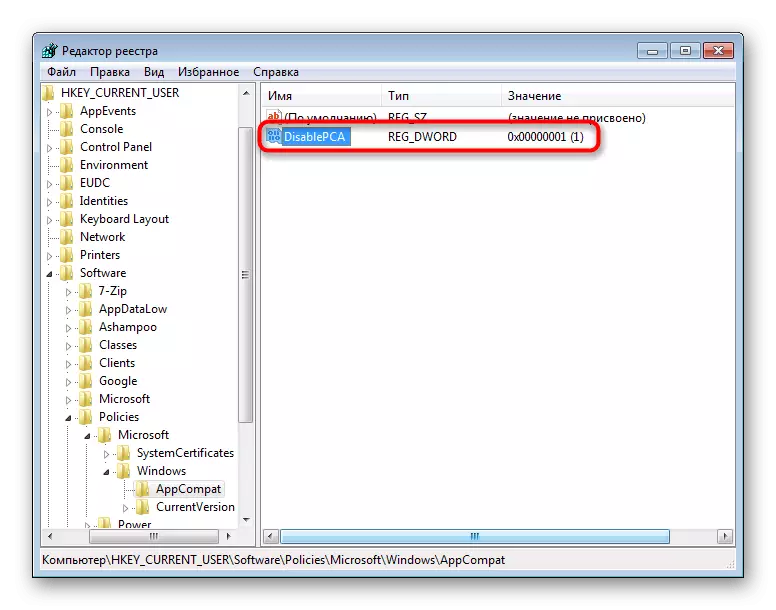
- To disable compatibility assistant, go to HKEY_CURRENT_USER \ SOFTWARE \ POLICIES \ Microsoft \ Windows \ AppCompat branch.
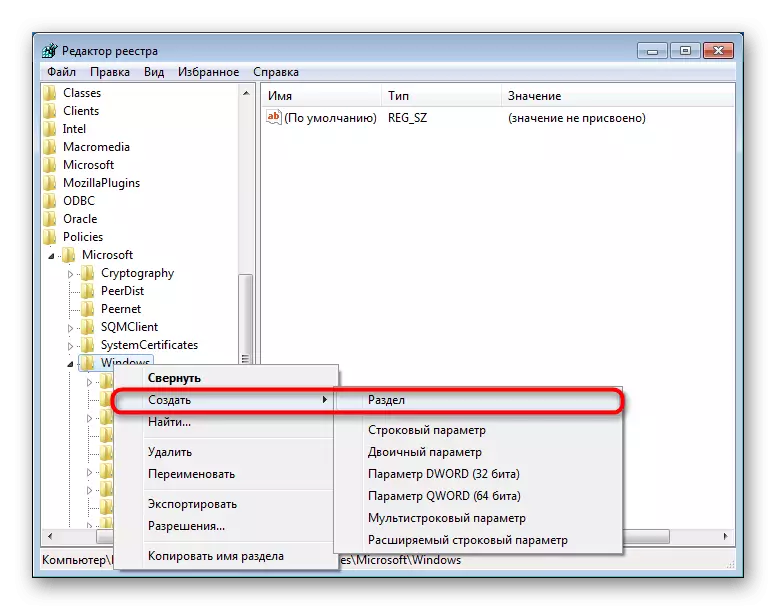
- If you do not have "AppCompat" folders, click the PCM on the Windows folder and select "Create"> "Section".
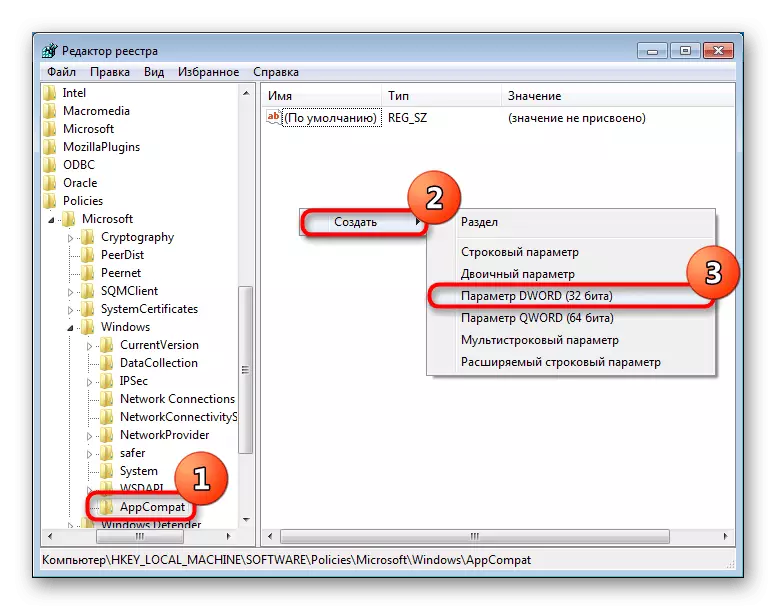
- Name it "appCompat", with the right mouse button on an empty place and select "Create"> "DWORD (32 BITA)."
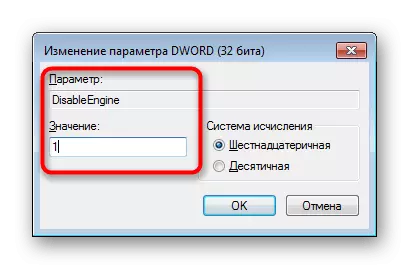
- Name it "disablepca". Double click left mouse button and set the value "1". Click on "OK".
- After that, disable application compatibility handler. Go to the HKEY_LOCAL_MACHINE \ Software \ Policies \ Microsoft \ Windows \ AppCompat branch. If there is no "AppCompat" folder, create it, as shown above.
- Again, as we have already demonstrated earlier, create a file called "DisableEngine" and set it the value "1".
- Add to the same folder additionally add "DisablePCA" with the value "1".
- Now try to run the program. In the absence of results at the moment, or in combination with the methods that we will also tell me further, return to the specified registry branches and delete the AppCompat folders or change the values of the parameters created from "1" to "0".
Check if the program starts. If not, go to the following advice, and this parameters are in the future better to assign the status "not specified", but so far try to combine it with other ways, including and turning off their work.
Registry editor
This option is for all those who cannot or do not want to use the previous tool.

Method 4: Disconnection UAC
UAC is a built-in Windows application that provides account control. In essence, this is some kind of safety of the operating system, but sometimes it causes malfunctions in the installation or launch of various applications. Therefore, it makes sense to disable this feature for a while.
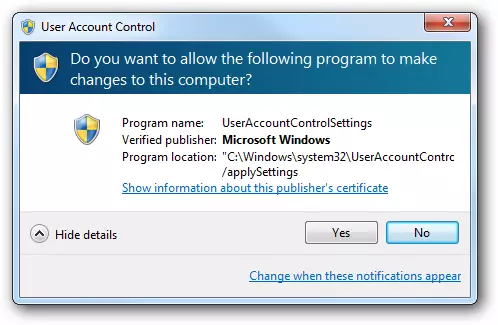
When the installer refuses to run, you should act on a simple scheme: Disconnect the UAC, restart the computer, try to start the installer. In the absence of a positive result, you will additionally use the methods above. Perhaps, in combination with them, the installer will be run.
If the installed application is not launched, you do all the same, but you should additionally pay attention to the method 6. However, this is relevant not far for all programs, but only for those that actively involve any components of the PC with drivers.
In both cases, try the installation / launch with administrator rights (click the PCM on the file and select "Run from the administrator name").
Read more: Disable UAC in Windows 7
After successfully installing the UAC application, it is possible to enable back, but if the problems have been to start the already installed program, most likely, the function will have to be left until the problem is deleted from the system.
Method 5: Checking the installation path
Some old programs (and not only old) can be installed in the directory, in the path of which are Russian characters. Because of this, faded errors occur, and the application cannot be launched.

The solution is obvious: delete the program, and then re-install it by selecting for this folder only with Latin characters.
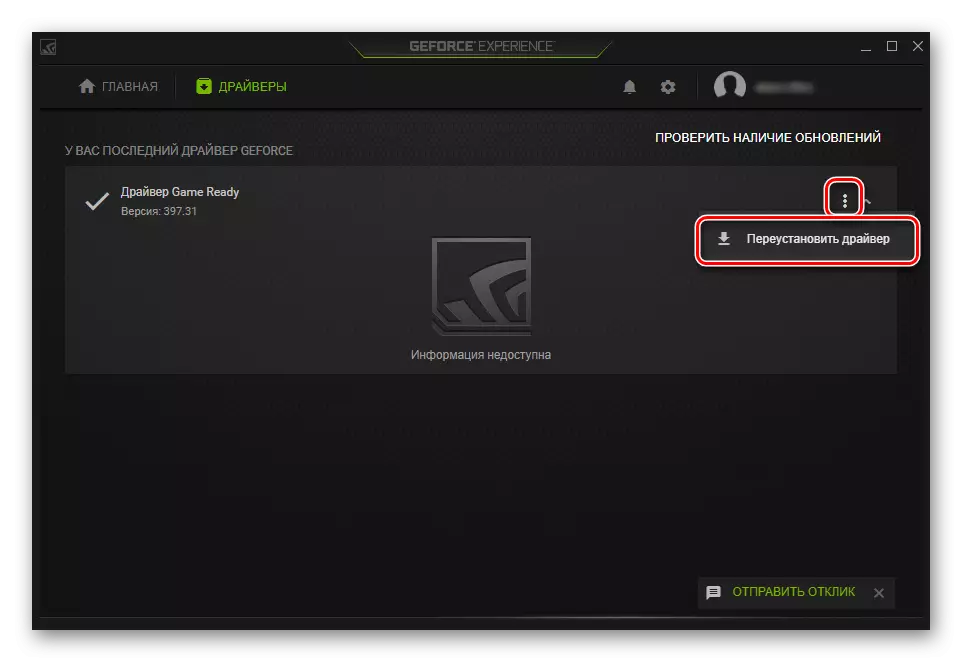
Method 6: Reinstalling / Driver Update
Installed programs that fail to run due to the error under consideration are sometimes refused to work due to drivers. If those are too old (less often, on the contrary, very new for the application), the most incompatibility appears. It is impossible to definitely answer exactly which drivers must be reinstalled because it all depends on the type of the program that needs to be launched. Here you already have to understand what it is worth emphasizing. For example, if it is a game or some application that provides a load on the video card, then it is worth reinstalling the driver for it. We can only provide materials that will help you deal with how to reinstall or update drivers.
Read more:
How to update drivers on your computer
Reinstalling video card drivers
Updating Drivers for NVIDIA / AMD Radeon Video Card
Rollback of NVIDIA / AMD Radeon Video Cards Drivers
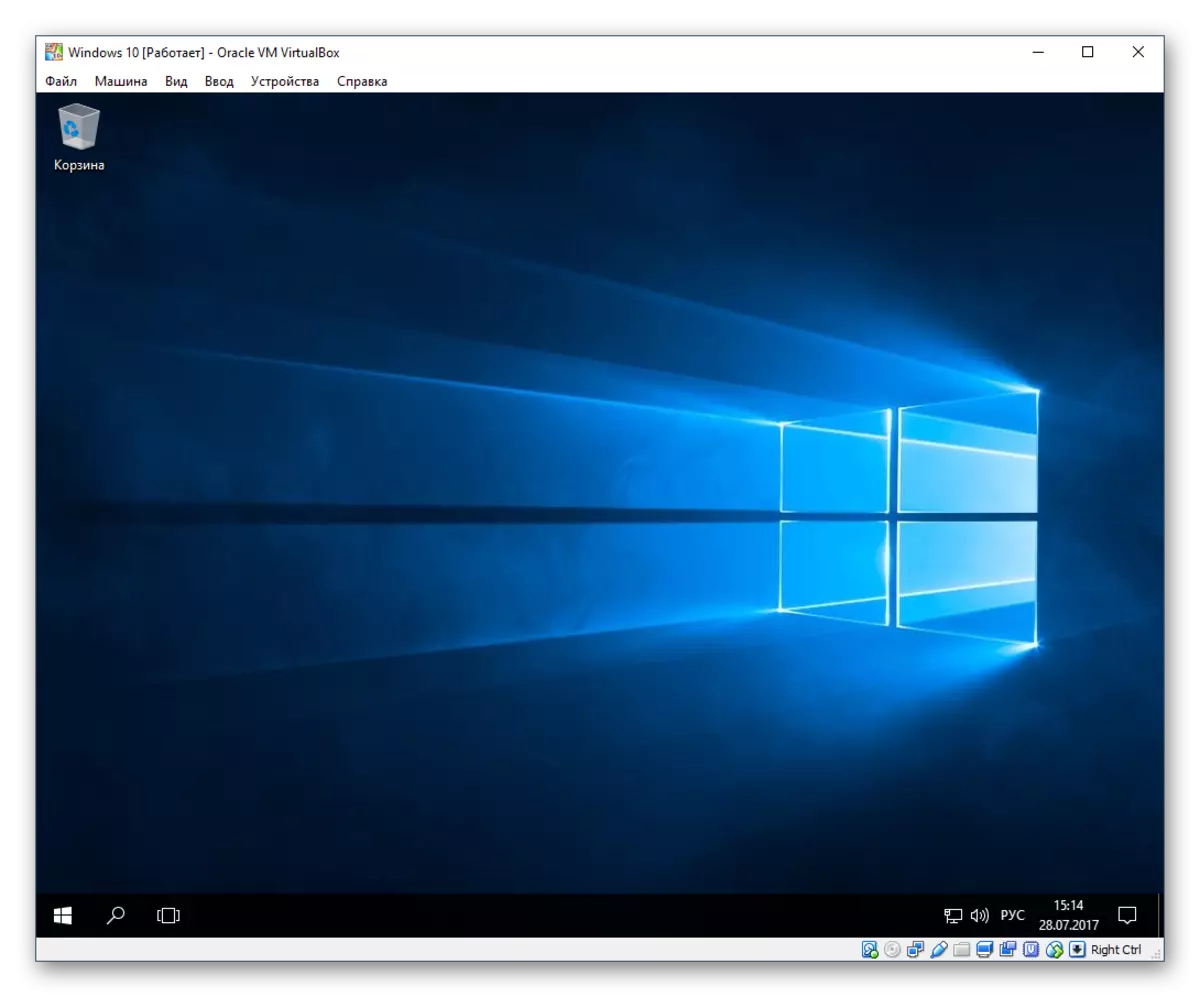
Method 7: Installing a virtual machine
When no methods help set to start a program or do not allow it to be installed, it is probably simply not able to work in Windows 7. When the sharp need to run it and no other analogs are suitable, the only recommendation is the installation of a virtual machine with the system on which the unique recommendation remains It will work correctly. It was this method that at the beginning of our article we called controversial, and all because it requires a lot of time and strength. You need:
- Download and install a virtualization system, pre-checking if your computer supports this technique;
- Then you will need to find a high-quality image of the operating system on the network and download it to the computer;
- After that you will need to create a virtual machine (computer emulation, where OS is installed) and install the operating system;
- Only by performing all the conditions above, you can run the program.
The process itself is not complicated and for the majority of not very experienced users, but it will have to do a lot of manipulations. In addition, it is important to take into account that the computer itself should lay out the power emulator and the second operating system within itself. To do this, it must be medium power, with the support of the virtualization processor and the presence of at least 4 GB of RAM (better - more, otherwise, at the start, everything will slow down), as well as free space on the hard disk from 30 GB. For a better understanding of how the process of working with a virtual machine, we propose to follow the links below, where it is explained how to establish certain OS through one of these programs.
- Turn on the virtualization system through the BIOS. This will use our instructions on the link below. Take into account that if you could not find this option, then your PC does not support virtualization, which means to run virtual machines will not work.
Read more: turn on BIOS virtualization
- Download and install VirtualBox - it is through it that it is best to create virtual machines for beginners.
- Take advantage of our instructions regarding how to install different operating systems through virtual box. To do this, click on the name of the desired OS.
How to install on VirtualBox Windows XP / Windows 10 / Linux operating system
At the same stage, you need to manually find the image of the operating system in the ISO format, so that it is possible to install it.
- After installation, it is already necessary to directly try to install the program by throwing it into the virtual OS. To do this, you can download it from the Internet and transfer the installation file by creating a shared folder between both OS - it simplifies the exchange of data between them.
Read more: Setting up shared folders in VirtualBox
If you get some errors when trying to work with VirtualBox, please contact the article on the link below. And look in the comments - there we also give advice to users who have any errors that are not mentioned in the article.
Read more: What to do if the VirtualBox does not start
We looked at all available methods for eliminating the "application incompatible" error. Once again I remind you that almost all of the proposed options can and need to combine each other, and if they did not bring success, do not forget to return the changed settings back.