

Many users of the Windows 7 operating system prefer to configure the creation of recovery points to immediately return the computer to the original state, while saving important data. If the configuration provides this, then several similar archives created at different times can be stored on the PC. Because of this, in some cases, there is a need to view these files for different purposes. Today we want not only to tell about the place of their storage, but also demonstrate different ways to view active recovery points in this OS.
We view saved recovery points in Windows 7
Within the framework of the article, many three ways to view the necessary information will be considered. You can use each of them to get certain information. However, it is worth considering that the principle of implementing options is radically different and will take a certain amount of time. Therefore, we advise you to study all the instructions submitted, and only then choose what exactly the most appropriate is for you.Method 1: CCleaner
To begin with, talk about the most simple and rapid method. It is to use the well-known CCleaner third-party program. It contains many functions that allow you to optimize the work of the PC, among them there are also viewing points for their further deletion, if required. Such a solution will be optimal for those users who wishes to uninstall already outdated backups.
- Use the link above to familiarize yourself with the full description of CCleaner and download its free version from the official site.
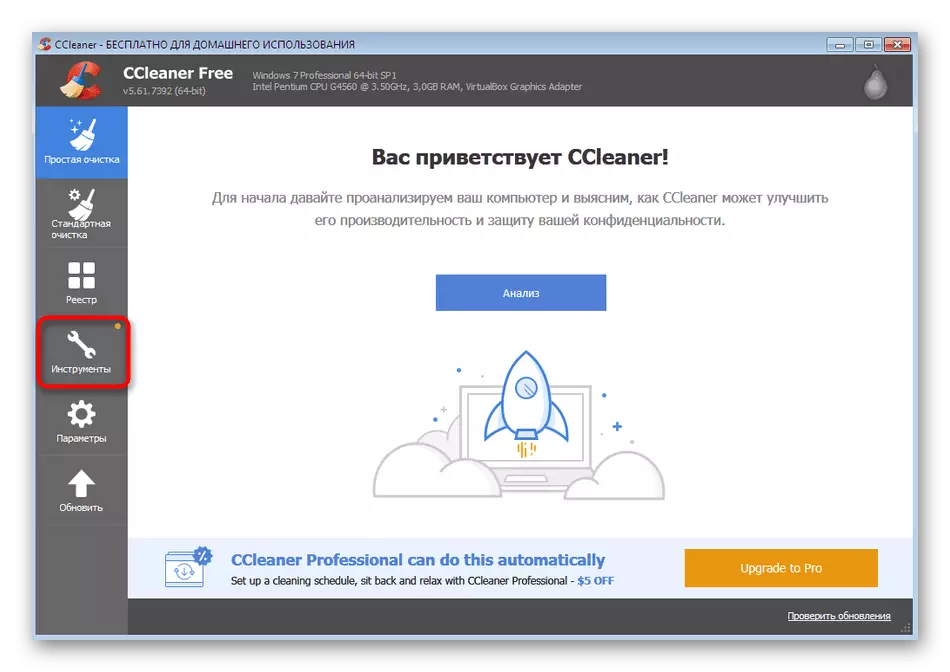
- After successful installation and run, pay attention to the panel on the left. From here, go to the "Tools" section.
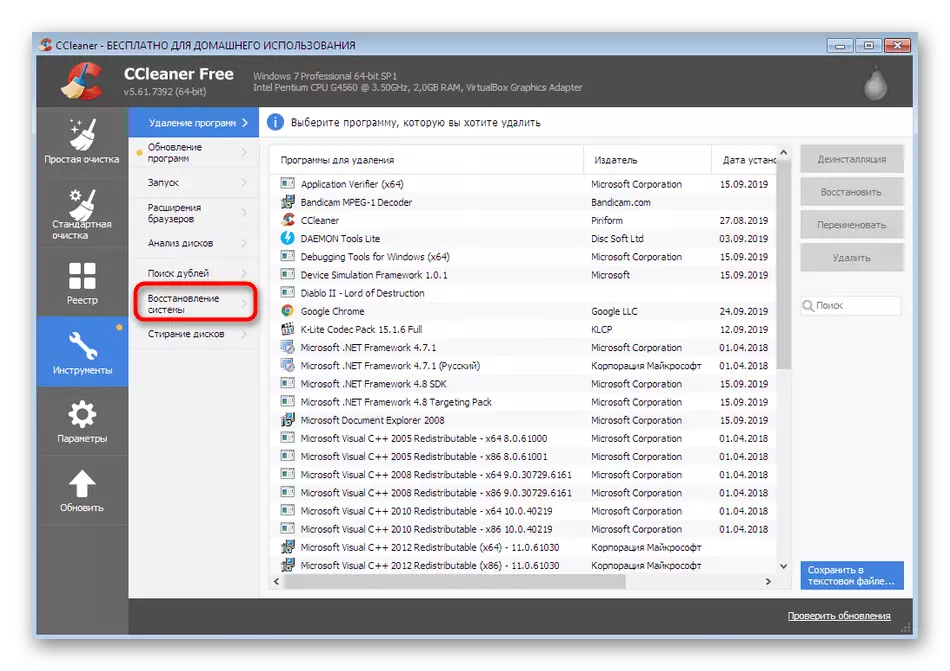
- Here you are interested in the subsection "Restoration of the system". Click on it with the left mouse button.
- Now you can view all existing backups stored in a system or other logical volume of the connected hard disk. A brief description of the point and the date of its creation will appear here. If the records exists more than one, the oldest of them are available for cleaning by clicking on the "Delete" button.

Of course, CCleaner will not allow you to see absolutely all files that are part of the recovery point, but we have already specified that its main task is cleaning from already unnecessary files, because they often occupy a huge amount of data on the carrier. If you wish to get more information relating to backup records, better use the two method below.
Method 2: OS recovery wizard
System rollback to a certain point occurs through a special built-in operating system tool. It can only be launched for viewing available saving, without bringing the procedure to the end. This will help to detect how long records there are when they were created by which means and which programs will be returned to their initial state.
- Open the Start menu and via the left section go to the "Control Panel".
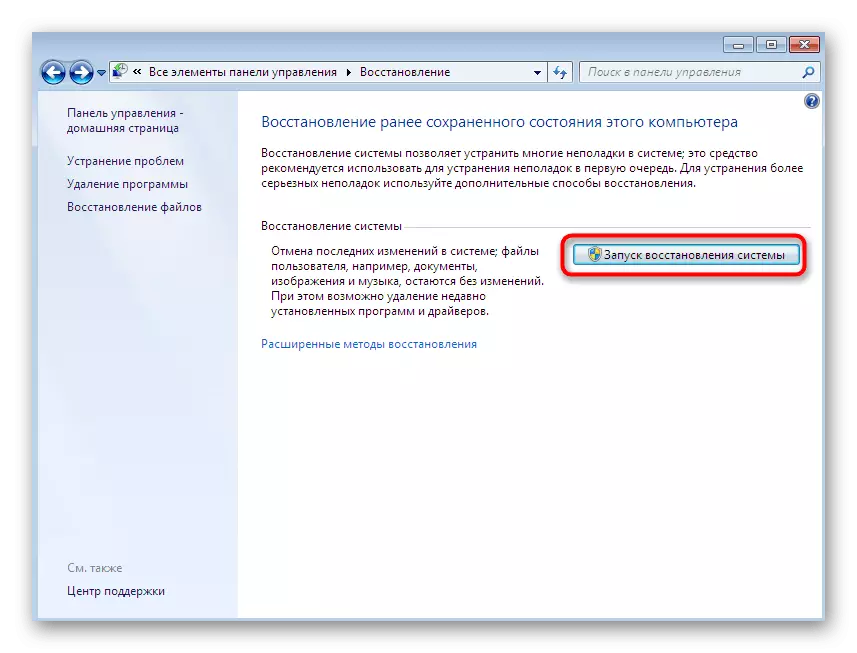
- Here, click on the "Restore" parameter to start the appropriate section.
- In the window that appears, you will see the "Running System Recovery" button. You can safely press it, because the recovery process itself is immediately started.
- Familiarize yourself with the description of the system file restore wizard and move to the next step by clicking on "Next".
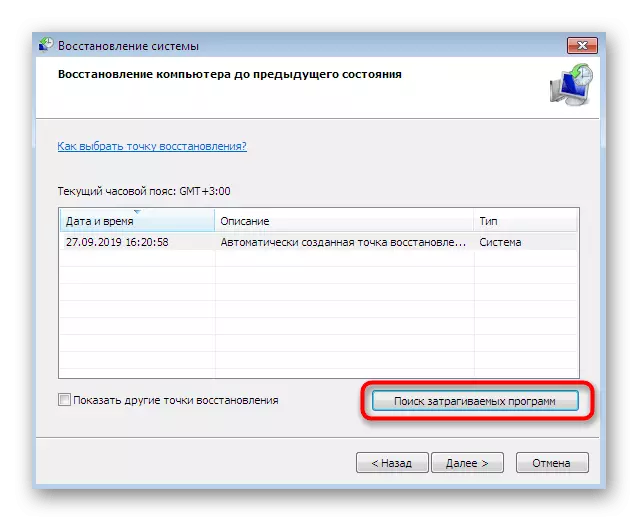
- The table shows the available saved records. The cells will display the date, short description and type of backup. If you wish to view all existing points, including very old, mark this item checkbox.
- You can choose one of the records and view the programs that it affects.
- When you start this feature, you will have to wait a little time until the scan is completed.
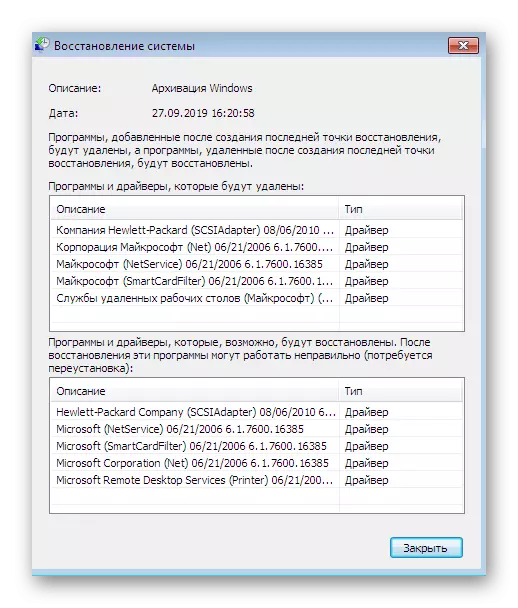
- A separate window will appear where you will see the software and drivers that will be restored. However, the developers do not allow one hundred percent warranty that after that some of them will work correctly, which is written directly in the window.


As you can see, the considered instructions allow you to get a little more information associated with the recovery points, however it is still not complete, since you cannot explore each file and work with it separately. In the case of the need for the implementation of these actions, only the last, the most difficult way of today's material will help.
Method 3: System Folder Management
Now we are talking only about those backups that are created by the operating system automatically on a schedule or during installation of updates, as well as on manually created saving through the recovery wizard. Consider many third-party applications that make it possible to carry out the same actions, it does not make sense, since in them the user itself selects the storage location, respectively, can access them at any time. For the possibility of managing the found archives created by the OS, you will need to perform a number of challenging actions. We distributed them into three stages so that you were easier, and start with the first one.
Step 1: Cancel Hide Protected Folders
If you immediately proceed to finding the necessary directory, it is unlikely that you can find it, because by default, such protected files are hidden from an ordinary user's eye. Therefore, it is not necessary to do without additional settings. The first stage is to cancel the hide of protected objects, which is happening as:
- Being in the "Control Panel", click LKM by section "Folder Settings".
- Move into the View tab.
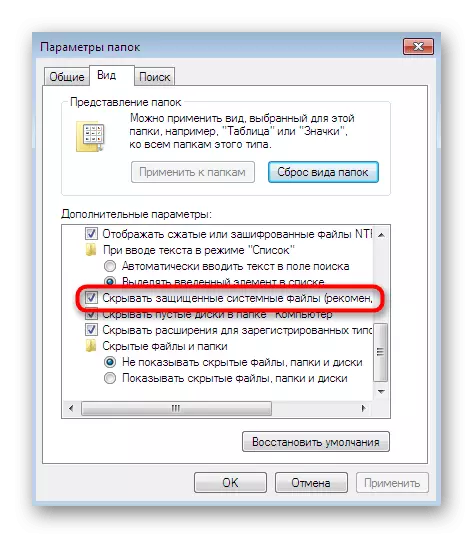
- Here, remove the checkbox from the "Hide Protected System Files" item.
- When displaying a warning, read it, and then click on the "Yes" option.
- Upon completion of changes, do not forget to click on "Apply".
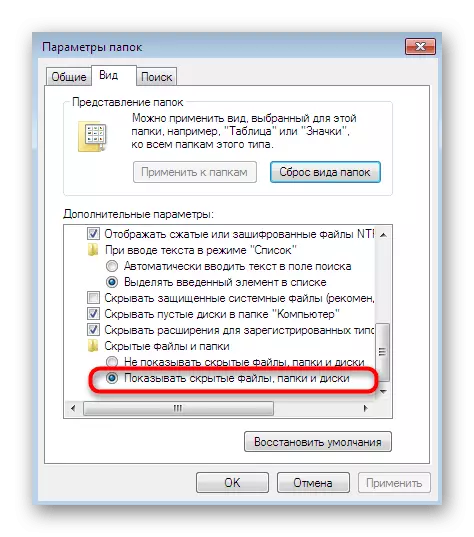
- If you are not configured to show hidden files and folders, additionally, check the "Show hidden files, folders" item before going out of this menu.


If you encounter any errors when executing these instructions, make sure the administrator account is used. Otherwise, it will be necessary to log in to the system under this profile, otherwise it is correct to perform this and the next stage will not work.
Similarly, access to any secure directory to another user who is part of this, home or corporate group is provided. However, it is necessary to take into account that after these actions, the folders become vulnerable to viruses. Carry out similar manipulations only at your own risk.
Step 3: View recovery points files
So we got to the main and most important step - view the files of recovery points in the folder under consideration. After making changes mentioned above, you can look at the "System Volume Information" without any problems. Here are finding the "Windows Backup" directory: it is in it that archives are stored and all other files associated with system backups. Now you are allowed to edit, delete and move these data.

As part of today's material, you learned about three different ways that allow you to view and manage systemic recovery points. As we said, they all are fundamentally different from each other, so you need to choose a solution that meets the needs. The first will help to clear the old archives, the second will allow you to learn more detailed information about points, and the third is intended to obtain absolutely all information and editing files.