
Some users set themselves the task of reducing the screen resolution on a computer running Windows 7, but do not know what to do this can not only with the help of standard tools. There are a number of special programs that allow you to work more comfortably with the display parameters by adjusting profiles to your needs. As part of today's material, we would like to tell about all the available ways to reduce the permit on the example of embedded and third-party tools so that each user finds an optimal solution for itself.
Reduce screen resolution in Windows 7
The need for the need for the situations occurs when several monitors are simultaneously used or you need to adjust the resolution under certain goals. If you often encounter the need to change the monitor values, we recommend reading one of the third-party programs, and if this action will be made very rarely, immediately go to the built-in configuration tools of the operating system in order to save your time and make the setting as quickly as possible.Before using the recommendations later, some users may need to know what the screen resolution is now installed in Windows. You can also do this using built-in or additional funds. Read more about this in another material on our website, while moving on the following link.
Read more: Determining screen resolution in Windows 7
Method 1: SCREEN RESOLUTION MANAGER
Let's start with extensive programs from independent developers. The name of the Screen Resolution Manager application is already saying itself: its main functionality is focused on working with relative display sizes. Among the whole today, it provides a minimum set of features, but they are suitable in order to change the desired setting in only one click using the Windows Task panel. Installation and interaction with software occurs like this:
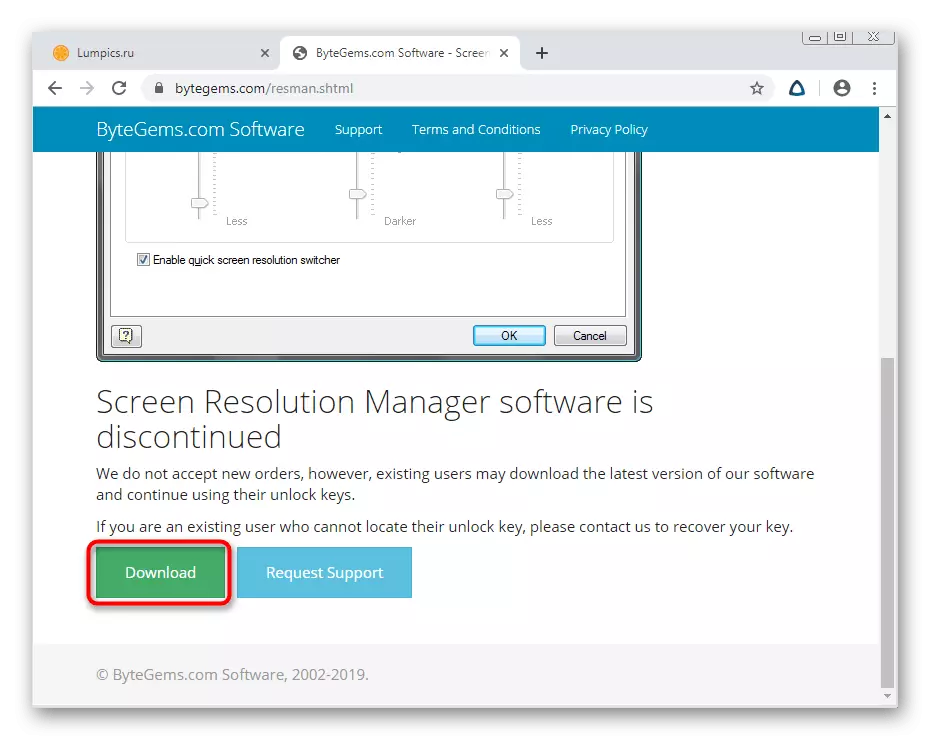
Download Screen Resolution Manager from the official site
- Go to the above link to download Screen Resolution Manager from the official website. To start the download, you should only click on the appropriate green button.
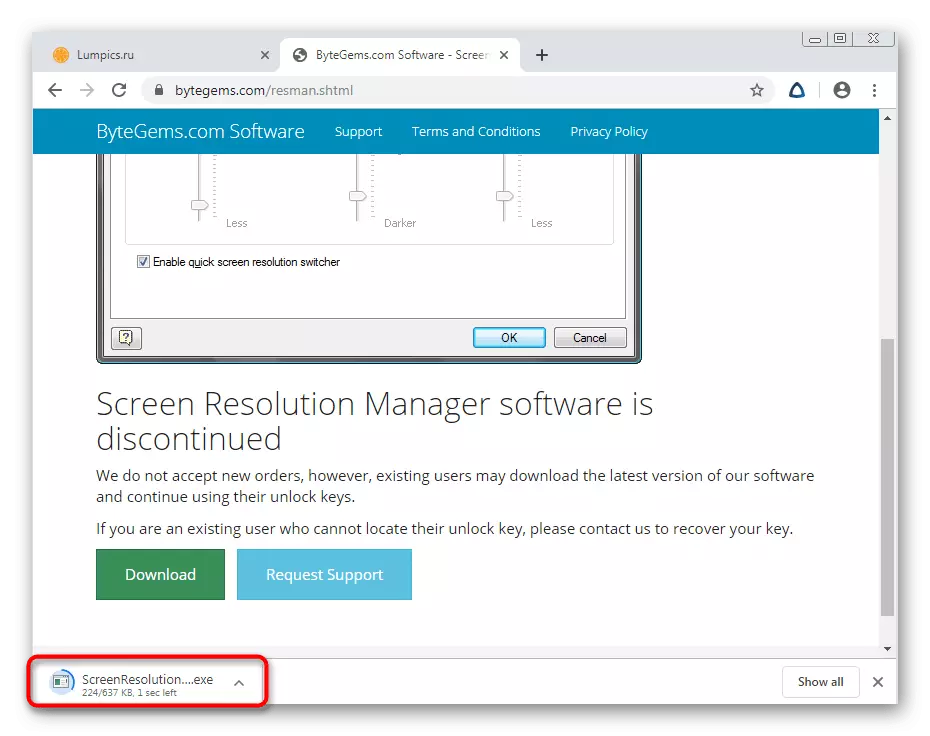
- When you finish download, start the executable file by clicking on it with the left mouse button.
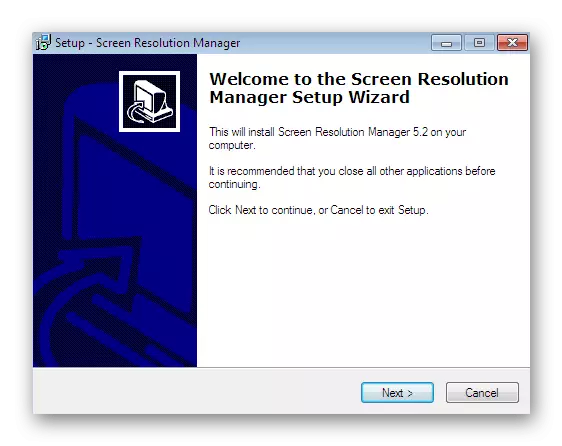
- Follow the instructions in the installation wizard to establish software yourself on your computer and immediately go to its launch.
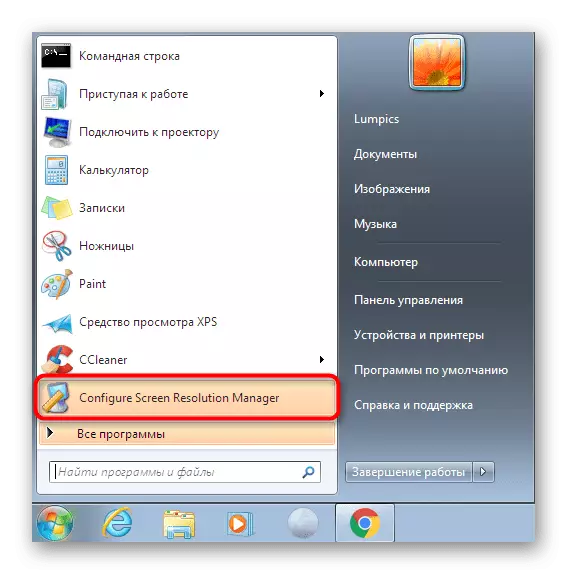
- If the application shortcut is not added to the desktop, the easiest way to start it through the "Start" menu. It should immediately appear in the list of new programs.
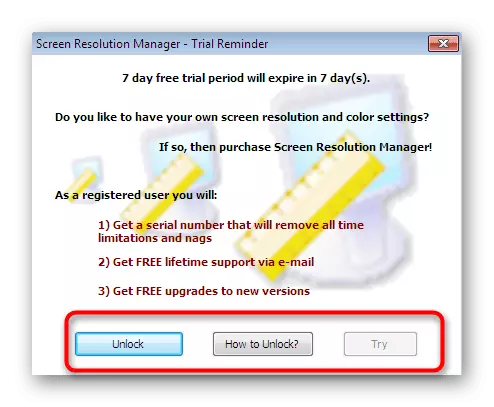
- Screen Resolution Manager is a paid application, but you have seven days to assess its functioning. You will be notified about this in the starting window. You can immediately go to the acquisition of a key or click on the "Try" button to open the demo version.
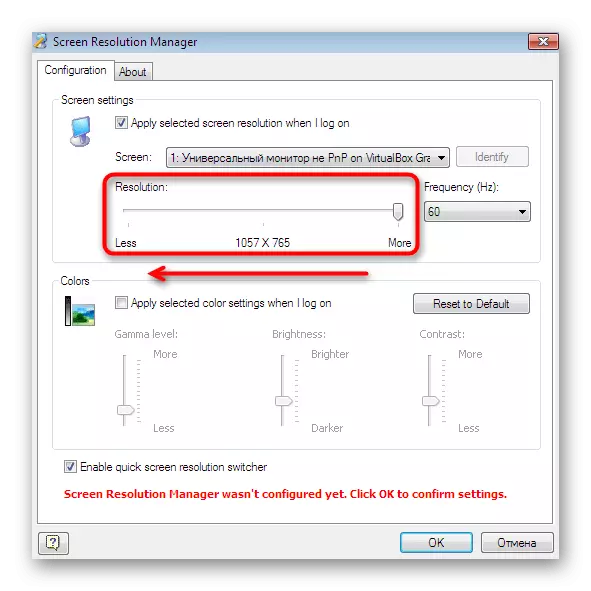
- In the window that opens, you are only interested in the RESOLUTION slider. Move it to the left side to set the optimal display size value.
- After making edits, click on "OK" to save everything and minimize software.

As you might notice, only basic tools are present in Screen Resolution Manager, allowing you to edit the screen parameters a little faster than this is done through the built-in OS funds. Therefore, many users do not want to pay for such money. If you refer yourself to the number of users, go to the study of the following options.
Method 2: PowerStrip
Now let's talk about a more advanced free solution that allows you to create an unlimited number of profiles with different screen configurations, including a different resolution. Switching between the settings is instantly, for this you only need to click on the corresponding button in the tray when PowerStrip is running.
Download PowerStrip from the official site
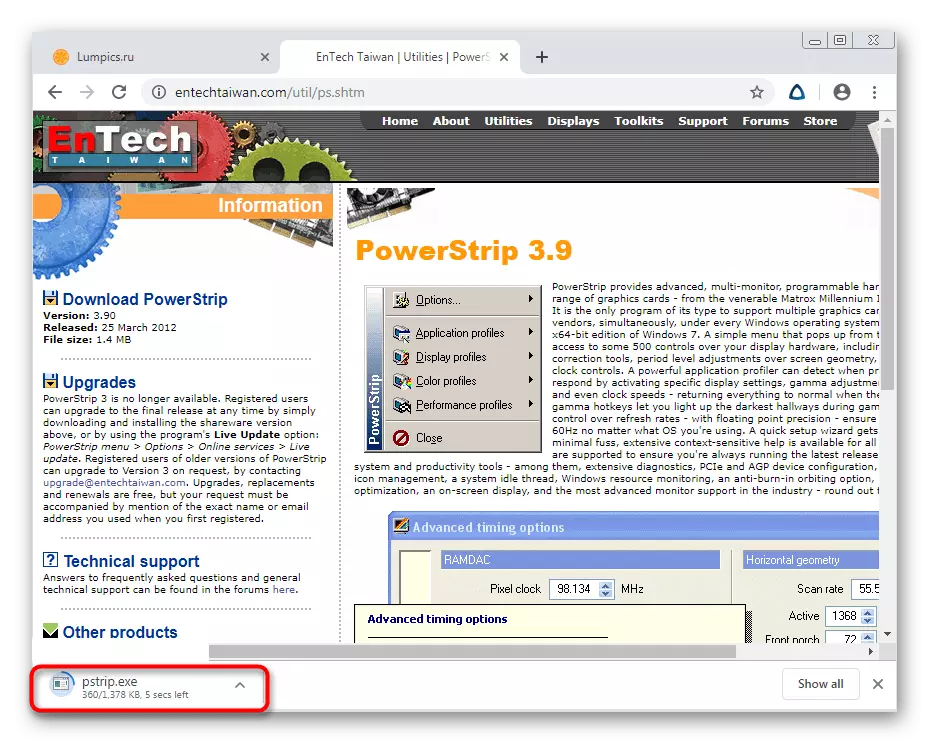
- While on the official website of the software, click on the Download PowersTrip button, which is located on the left pane.
- After downloading, run the EXE file to start the installation.
- Follow the instructions displayed on the screen, and then close the installer window.
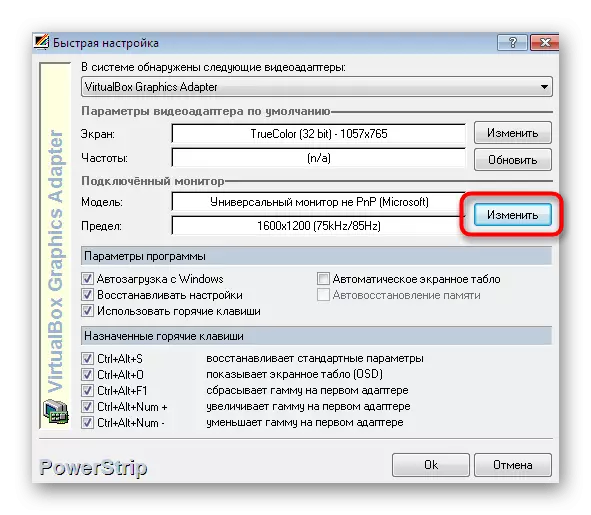
- Let's look at how to quickly create optimal displays for yourself. To do this, in the "Fast Setup" window, find the "Connected Monitor" block click on "Edit".
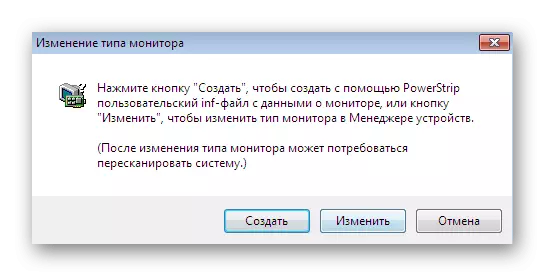
- If you want to change the current profile, click on the appropriate button, and to add a new click on "Create".
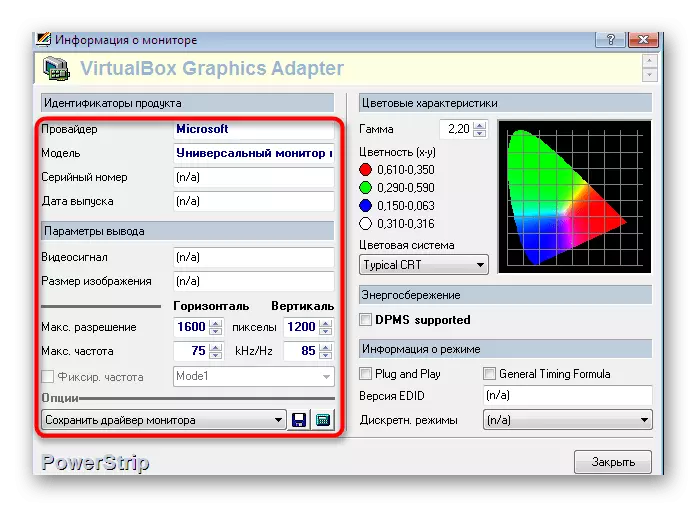
- Now you can change absolutely all parameters, including permission, under your needs.
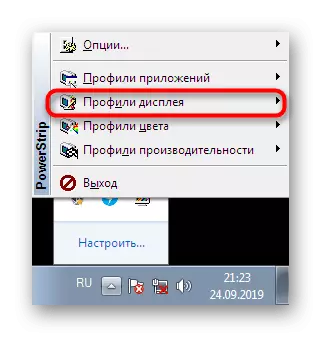
- PowerStrip does not turn off after closing, but continues its work in the tray. Calling its context menu, you should click on the "Display Profiles".
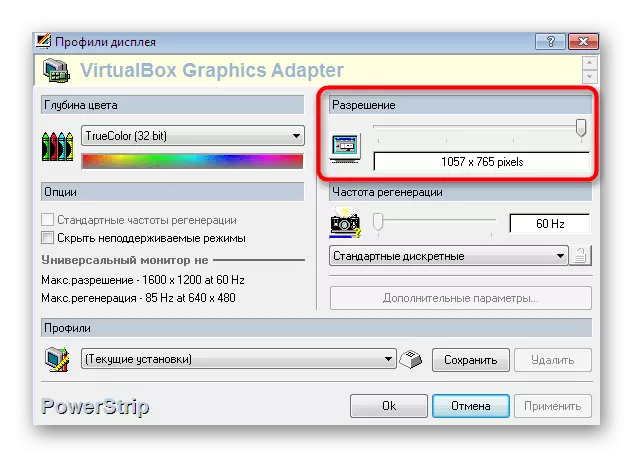
- Here you can choose an existing profile or quickly reduce the permission exclusively by moving the slider in the required direction.

Use this application is very convenient, however, difficulties arise in those situations where you need to make changes to just one click without choosing the necessary profile. In this case, we advise you to get acquainted with another program in the following way, which just allows you to implement such an idea.
Method 3: HotKey Resolution Changer
HotKey Resolution Changer is another one with the speaker name. Its main goal is to install various profiles with screen permissions that will be activated by pressing the hot key installed. That is, you can instantly reduce the size of the screen or return it to its original position. This application works like this:
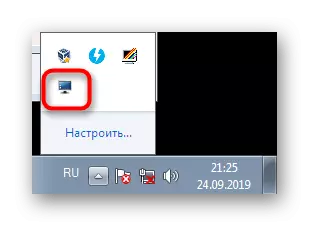
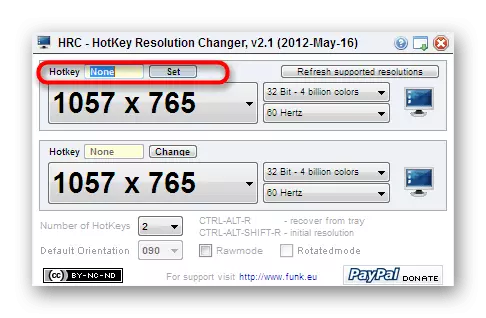
- After installing and running HotKey Resolution Changer will be displayed in the tray. Click on the corresponding icon to call the parameter change window.
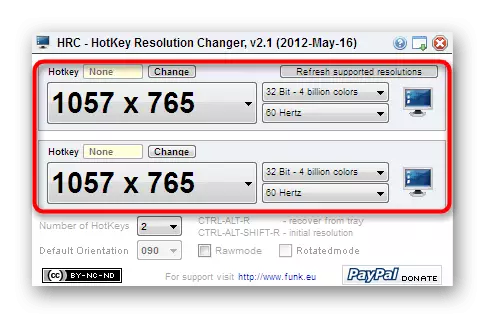
- By default, two templates will be added. Use the pop-up list to select a suitable resolution for each profile. Additionally, the hertesch also changes, and the color saturation.
- After that, in obligatory, install the hot key for each template, remembering the combination.
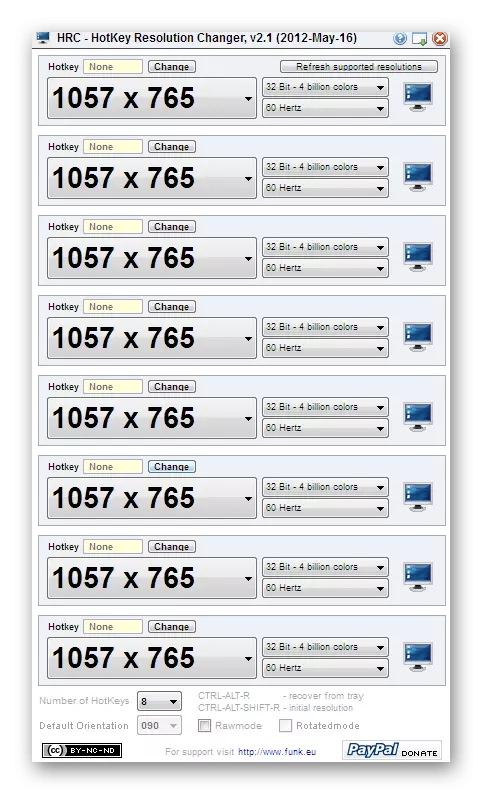
- You can set up to nine different configurations by appointing each combination. This will give maximum variability and make the Hotkey Resolution Changer program comfortable to use for each user.
If these three programs do not suit you for any reason, we advise you to familiarize yourself with two other third-party solutions that allow you to reduce screen resolution in Windows 7. Deployed review on these tools you will find in a separate material on our website further.
Read more: Screen resolution programs
Method 4: Video Card Driver Settings
Now almost every user has a discrete video card, expanding graphic capabilities. Immediately after installing the OS, the user always installs both the drivers for the graphics adapter for the correct operation of many programs. Along with this, the software control means is added to the system, where among others there is a setting of interest. Let's consider a decrease in the resolution on the example of the control panel from NVIDIA.
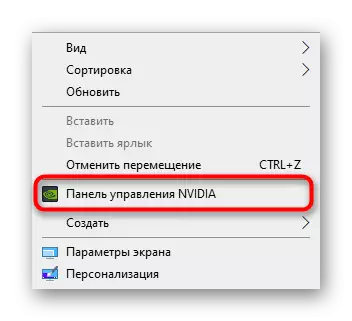
- Click on the free place on the desktop right-click and select the NVIDIA Control Panel.
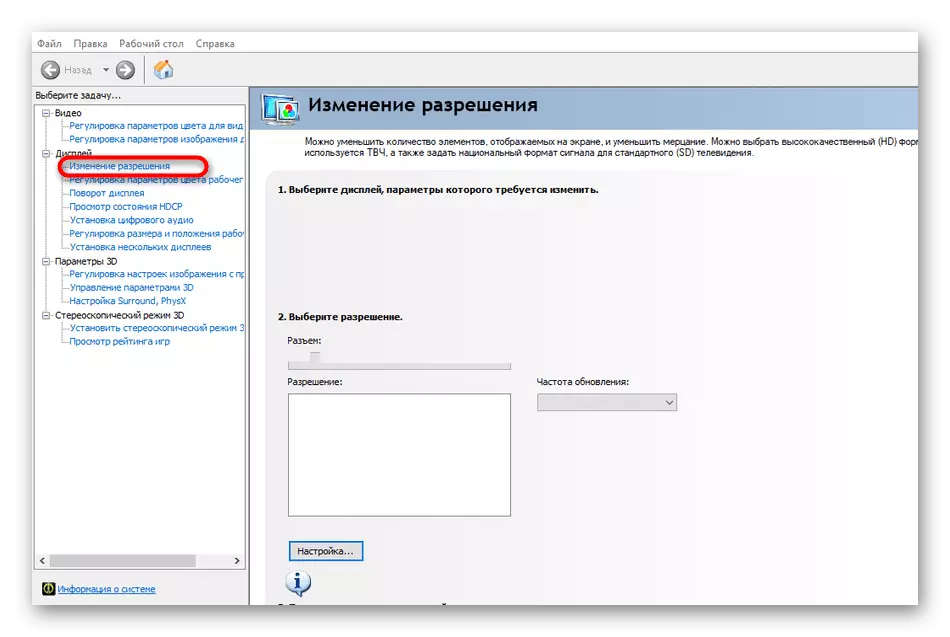
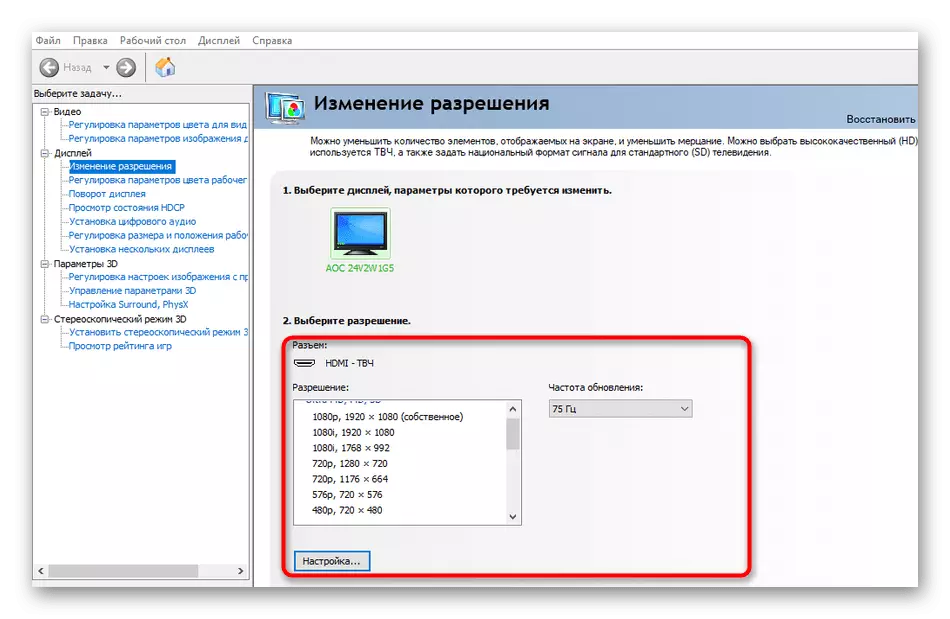
- Pay attention to the panel on the left. Here in the "Display" section you need to choose the category "Change Resolution".
- It remains only to specify one of the harvested options to change the parameter being considered today.
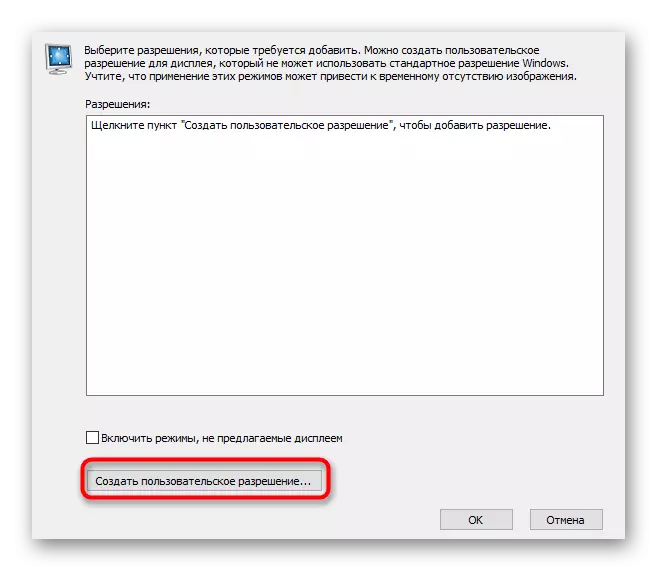
- If you click on the "Settings" button, then move to the window with user permissions. Initially, there are no harvested options here, so you need to create your first profile.
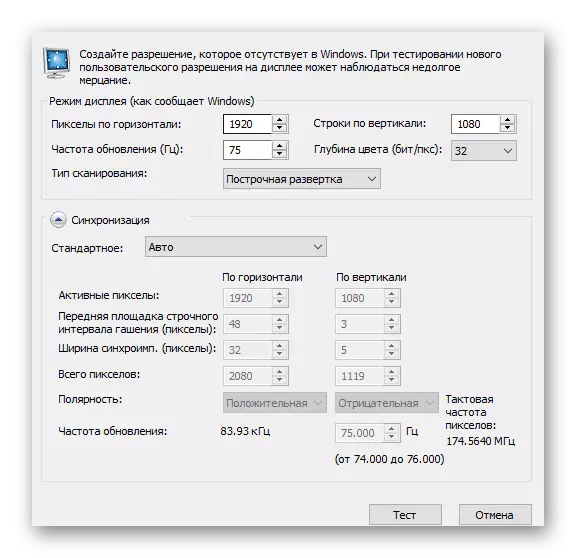
- Use the values and switches to create an optimal configuration. Nothing prevents adding two or three different profiles, which will allow you to switch between them if necessary.
For owners of graphic adapters from AMD action will be practically identical, except that the control panel interface differs. Therefore, we will not dwell on this in detail, because even the most novice user will understand this task, taking the instruction as an example above.
Method 5: "Configuring Screen Resolution Setting" in Windows
The latter method we want to talk about is to use the standard OS software located in the control panel. It is familiar to everyone, and the reduction of permission through this tool is happening like this:
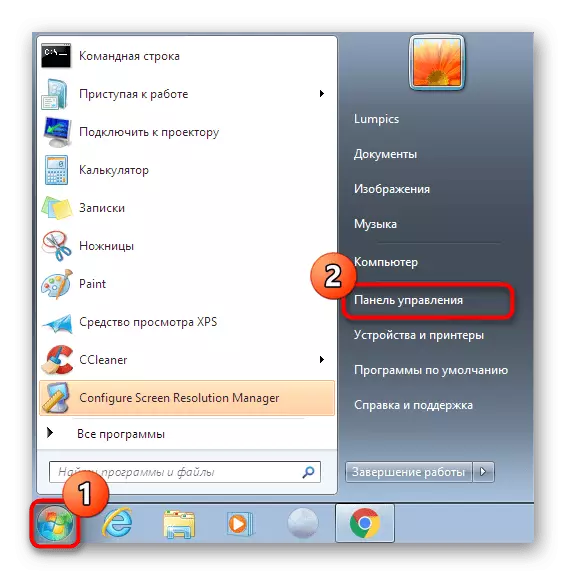
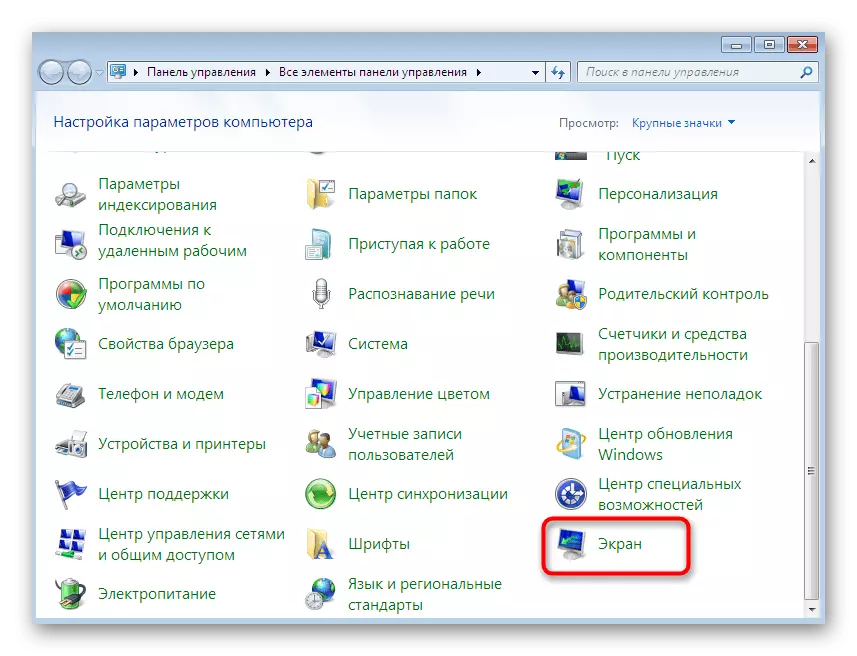
- Open the "Start" and go to the "Control Panel" by clicking on the appropriate inscription on the right.
- Run down the window and click on the "Screen".
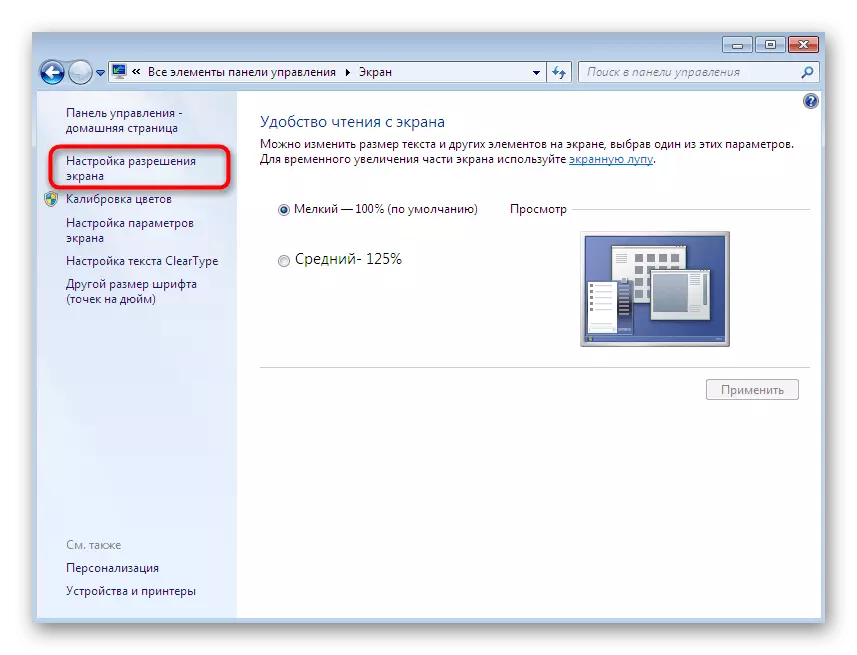
- Here on the left pane, click the "Setup screen resolution" link.
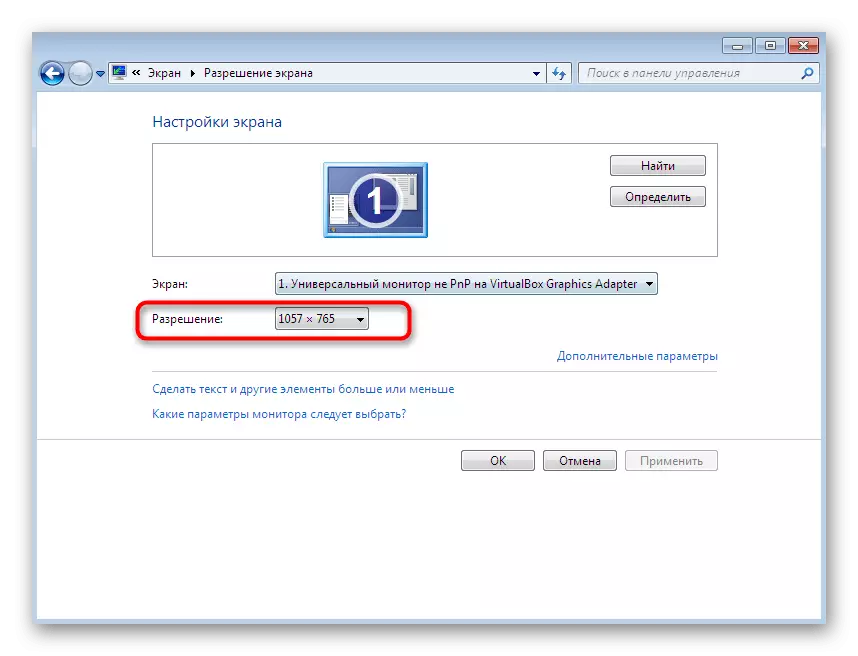
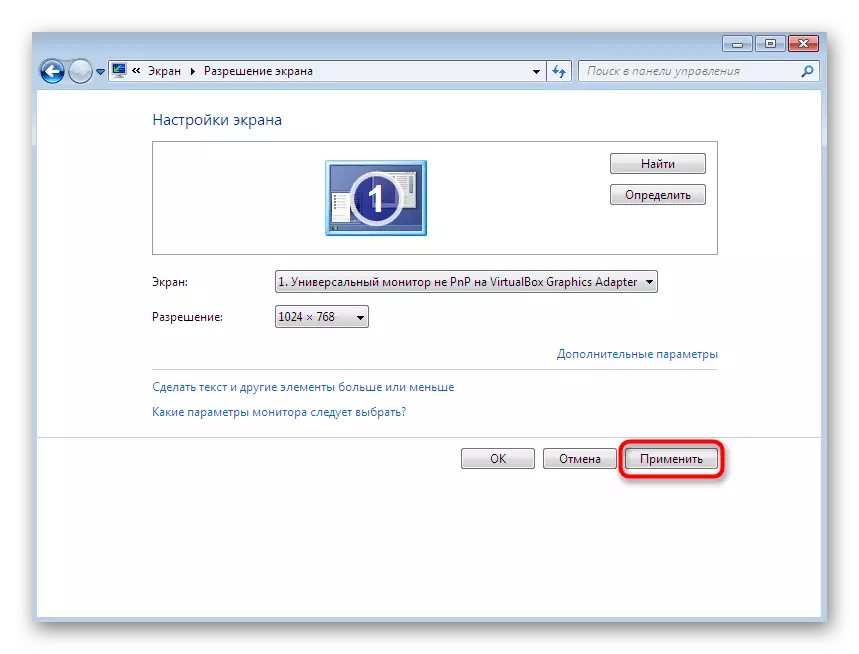
- Expand the pop-up menu to reduce the display size.
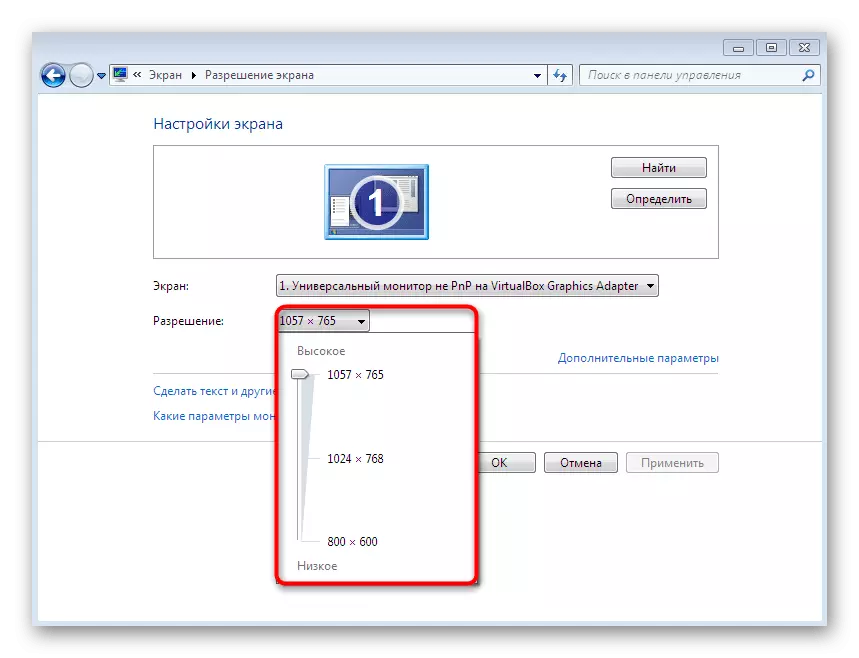
- Put the appropriate value by moving the slider up or down.
- Do not forget to apply changes.
You have been familiar with five different ways to reduce the screen on a PC or laptop running Windows 7. As you can see, there are a huge number of built-in and third-party options that will suit absolutely all users in certain situations. It remains only to decide on the method you like and follow the instructions.