

Now not all users have the opportunity to purchase a sufficient number of RAM for its computer so that it is enough for absolutely all processes. In this regard, many are resorted to the use of virtual memory or paging file. Today we want to demonstrate a method for increasing this memory using the example of Windows 7, which will allow you to quickly increase the speed of the computer if you set all the settings correctly. There is only one way with which you can cope with the task set today. It consists in manually changing the size of the paging file through a special menu, the transition to which is carried out through the control panel. We will consider in detail this procedure by describing all actions, however, to start to start using the optimal size of virtual memory.
Determine the optimal amount of RAM
If you set the number of PC virtual memory too large, then the user will simply not see a significant productivity gain, since the optimal volume depending on the existing amount of RAM is selected for each system. Additionally, the excess volume of the paging file is simply useless in terms of consumption of hard disk space. All the calculations of the user must produce independently by coming to ideal for itself. Our individual article will help to understand this, you can familiarize yourself with the link below.Read more: Definition of optimal swap file in Windows
Increase virtual memory in Windows 7
Now let's get directly to the fulfillment of the goal. As already mentioned earlier, there is now only one method of doing this. For the correct configuration, you should perform such actions:
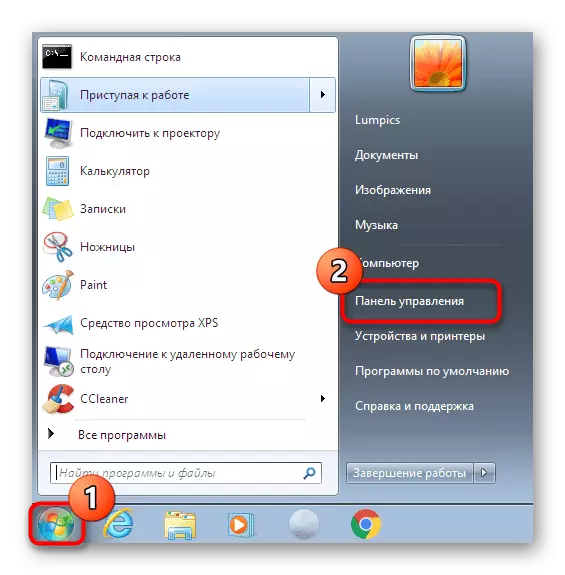
- Open the "Start" and go to the "Control Panel" menu.
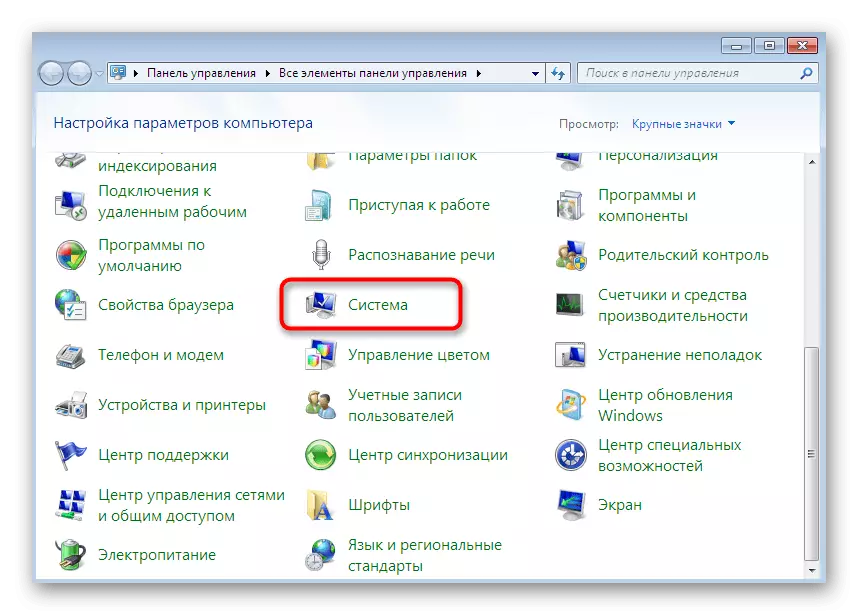
- Here, select the "System" category.
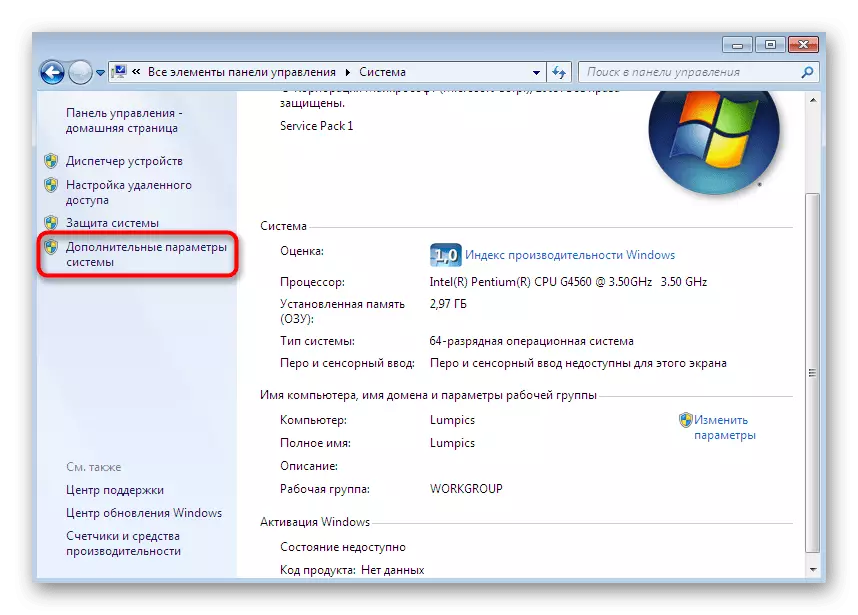
- Pay attention to the left panel. From here you need to move to "Advanced system parameters".
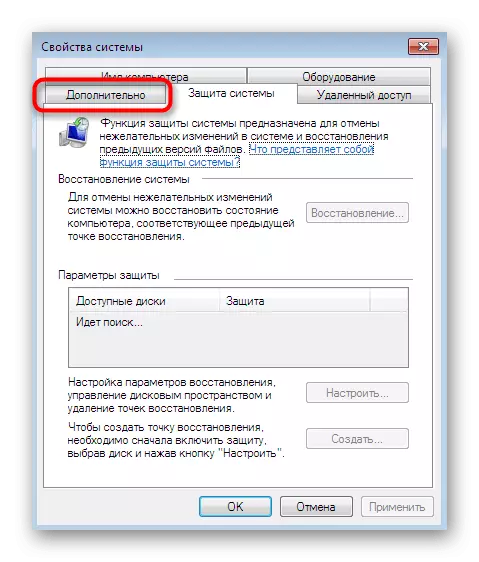
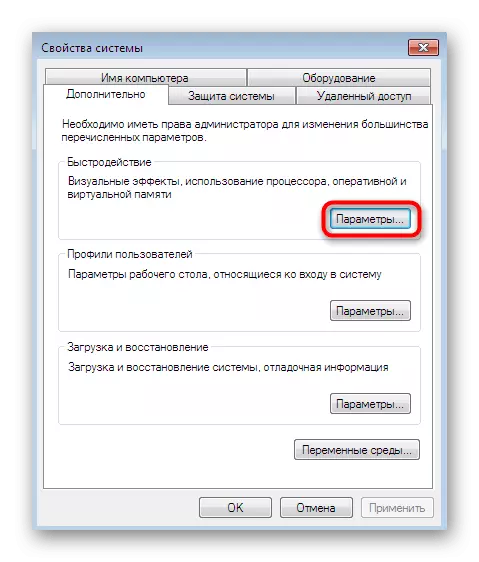
- Move into the "Advanced" tab, where the setting you need today is.
- Go to speed settings by clicking on the corresponding button.
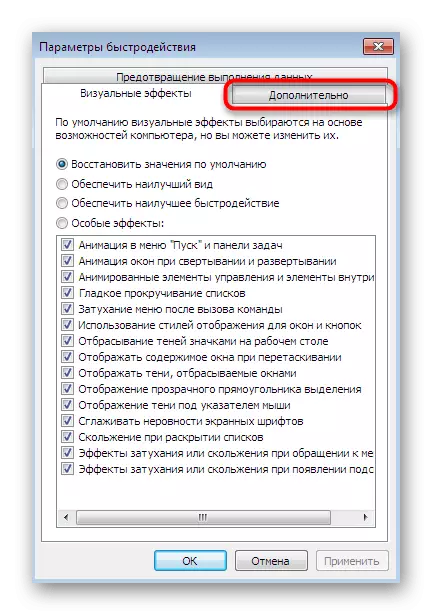
- Here you are interested in another tab with the name "additionally".
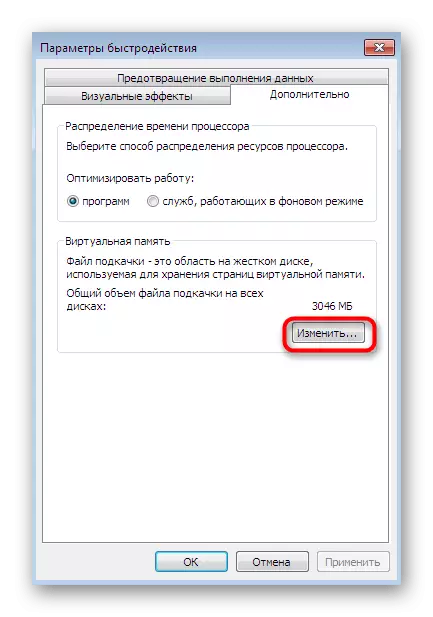
- To go to configure the paging file in the "Virtual Memory" section, click on "Edit".
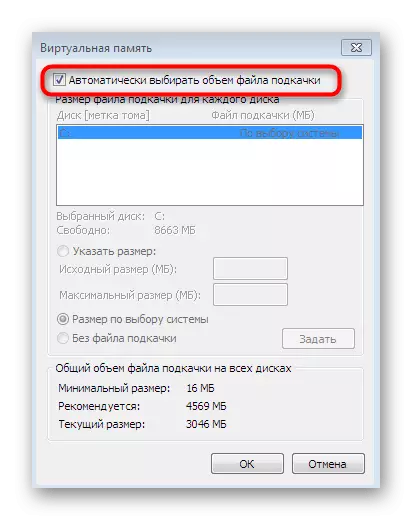
- You will not be able to edit the settings, if a check mark is installed near the "Automatically select a swap file". Remove it in case of availability.
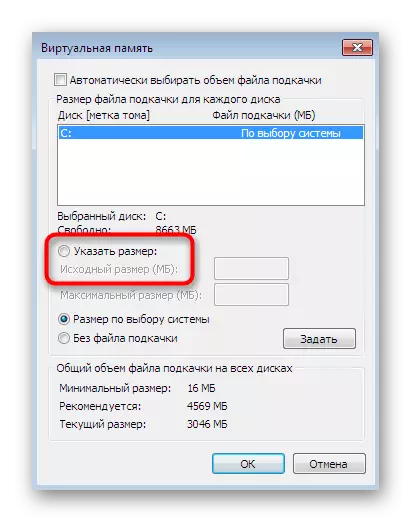
- Now mark the "Specite Size" string to activate the ability to independently install the volume of the file under consideration.
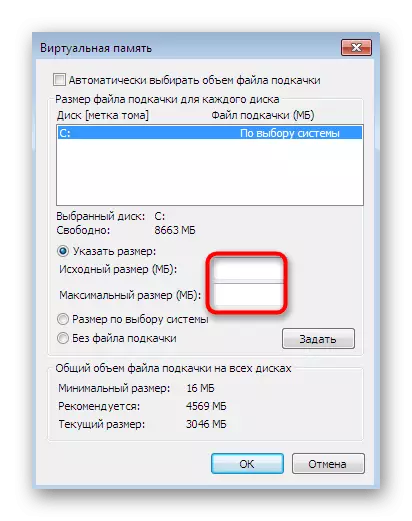
- The corresponding fields indicate the initial swap size and maximum. Increase the volume to such a value that you consider it necessary.
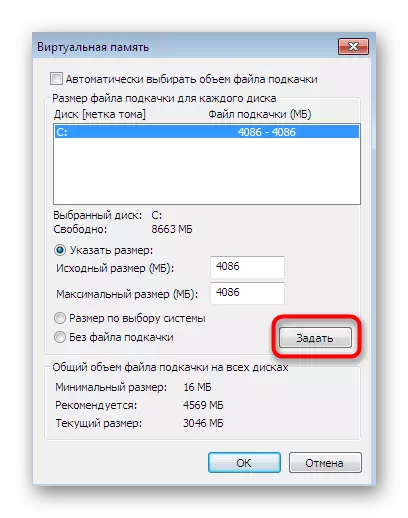
- Upon completion of the entire configuration, it will only be left to click on "Set" to save the setting.
Changes will be applied only after rebooting the computer, so it is recommended to do it immediately to estimate the result of such a configuration.
As part of today's article, you were familiar with the operation of an increase in virtual memory in Windows 7. As you can see, all actions are literally carried out in several clicks, and difficulties should not even have the most noving users.