

Network environment is the standard element of the Windows operating system, which displays all local devices subject to the existence of such a network. Thanks to this graphic element, the seven users can quickly move between shared folders, periphery and computers included in the home or corporate group. However, sometimes users face the problem of visibility of a network environment, which can be caused by different reasons. Next, we will talk about the available methods of correcting this situation.
We solve problems with the visibility of the network environment in Windows 7
Accurate and only reason why the user has problems with the visibility of the network environment, there is no problem. The factors of this malfunction are completely different, but they are identical. In this regard, we advise you to use each of the proposed ways in order - one or more of them will definitely be effective in the current situation, you only need to follow the instructions, step by step fulfilling each action.Method 1: Setting up a home or working group
We first advise you to make sure that the home or local group has been configured correctly, since most often problems with the network environment are associated with incorrect or incomplete configuration. You already have a separate guide on this topic on our site and to confirm or reflect this reason, read the items below. If this option has not brought any results, go to the following.
Read more:
Connecting and configuring a local network on Windows 7
Creating a "home group" in Windows 7
Method 2: Configure Windows Firewall
The standard part-timer operating system does not always function predictably, sometimes it simply blocks connections for incomprehensible reasons. This can also be reflected on the network environment, which is why the firewall is needed. If it is in the on mode, turn it off, and in the case of its active work at the time deactivate. This will learn whether the firewall is really somehow connected with the problem under consideration. All those who do not know how to manage the work of firewall, separate our material will be useful.Read more: Configure firewall on a computer with Windows 7
Method 3: Disconnect the driver in / in the channel level topologist
The input / output / output driver of the channel level is responsible for finding other computers and devices used within the local network. Additionally, it determines the bandwidth of the lines. By default, this component is in the on state, however, the frequent failures in its work provoke the occurrence of various errors, including with a network environment, in connection with which we propose to turn it off.
- Open the Start menu and go to the control panel.
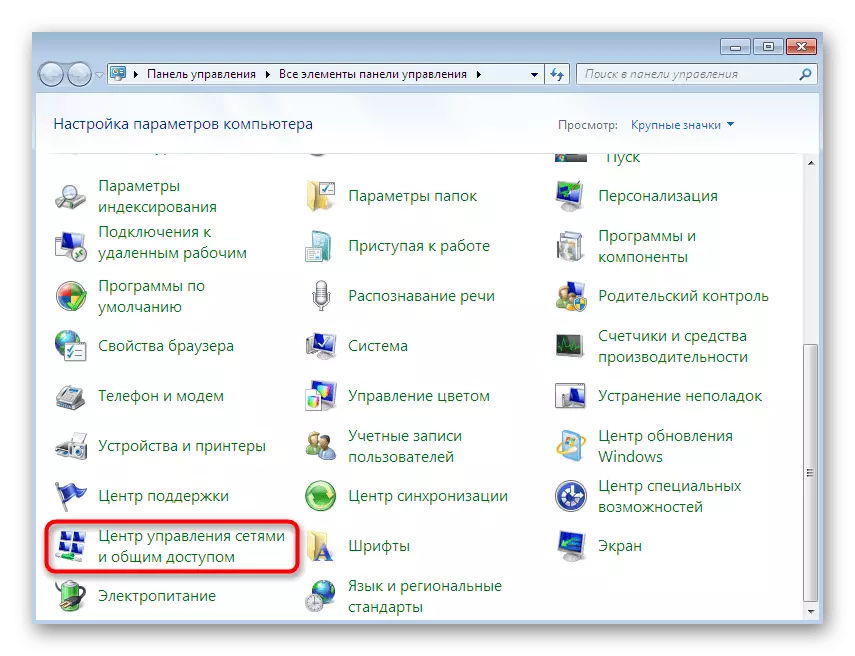
- Find the "Network and Shared Access Center" section and open it.
- Use the left pane to go to the "Changing Adapter Settings" section.
- Make a double click on the LCM using the network to open the window of its state.
- Click on the "Properties" button.
- Remove the checkbox from the channel to / in the channel level topologist.
- After that, you can immediately close this window.


It remains only to restart the network so that all settings entered into force, but additionally, along with this, we advise you to perform method 2 to eliminate all possible problems associated with this driver.
Method 4: Turning off the "Top Studio Top Level" service
This option is directly related to the driver that has just been disabled, since its function partially performs a separate service. It also sometimes causes such mistakes that as a result it provokes the need for its disconnection. This is done in the same way as with all other services.
- Open the "Start" and go back to the control panel.
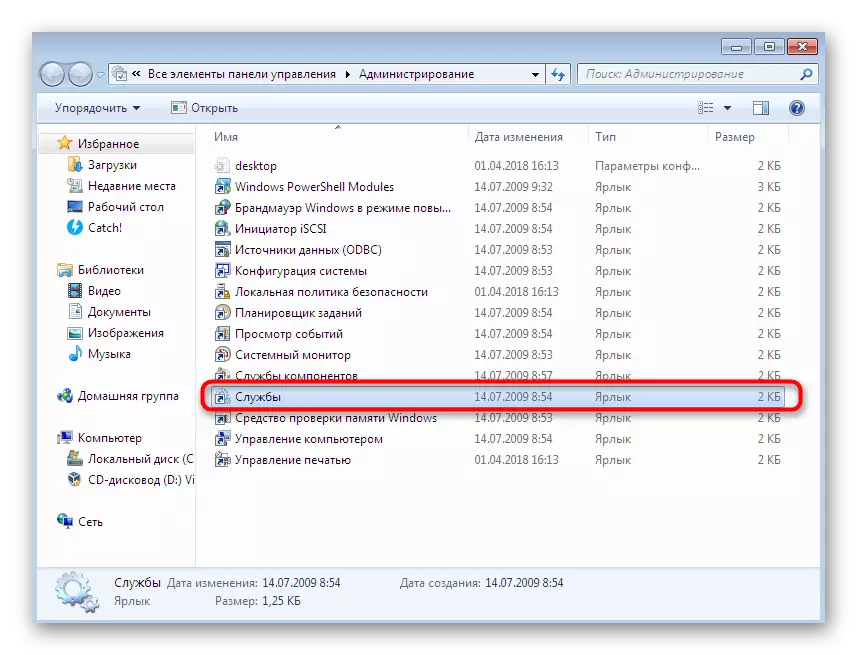
- This time you need the "Administration" section. To quickly get there, switch viewing on "icons" in the upper right corner.
- Select the category "Services" by clicking the left mouse button on it.
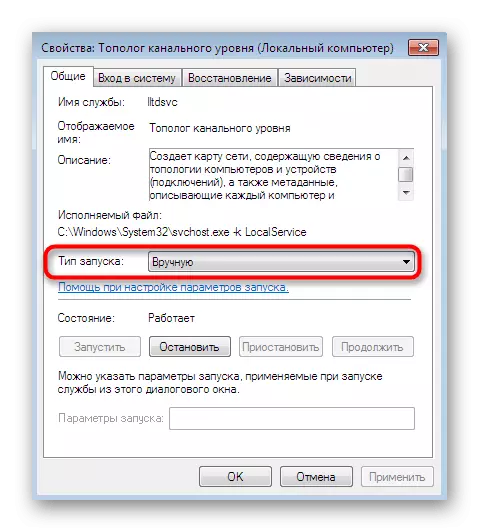
- View the entire list and find the "Top Studies of the channel level" there. Double-click the line to open the properties of the service.
- Set the start type to the manual state.
- After that, stop the service by clicking on the appropriate button.
- Wait until stopping, and then close the window and restart the network.


Method 5: Activation of the "NetBIOS" function
In some cases, when working through a local network, an activation of the protocol called "NetBIOS" is required. It is responsible for transmitting information and establishing compatibility between devices of all types. Sometimes this parameter is not activated independently, so the user has to do it manually.
- To implement the task, go back to the list of networks as it was shown in the third method. Here, double-click the LKM on the necessary connection to proceed to edit it.
- Move in the Properties section by clicking on a specially designated button.
- Mark the Internet Protocol version 4, and then click on the "Properties" button that appears.
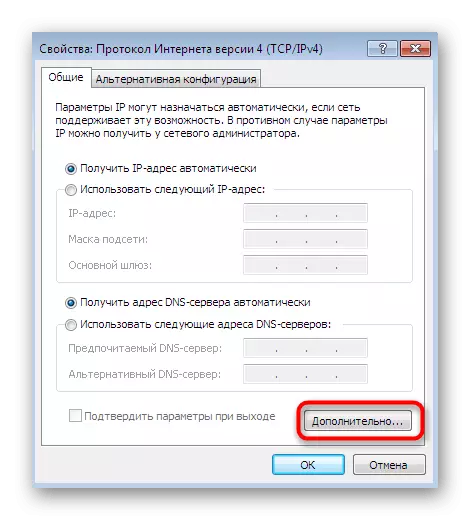
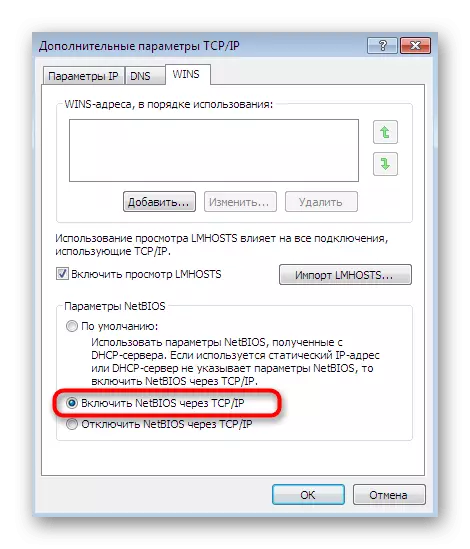
- Open additional parameters here.
- In the "WINS" tab, mark the "Enable NetBIOS via TCP / IP" by the marker, and then you can close this window.


After that, it is mandatory to restart the network and absolutely all computers included in the home or working group. If this option is ineffective, disconnect the activated technology to avoid possible problems with compatibility in the future.
Method 6: Setting Network Identification
There is one parameter that is included in the local security policy that is responsible for identifying networks. Its main purpose is to determine the type of connection and in the automatic installation of the parameters of the firewall. We recommend changing the type of location through a special menu to establish the correctness of interaction between all computers. To begin with, we will specify that it is necessary to make this operation absolutely on all devices that are included in the local network that operate running Windows 7.
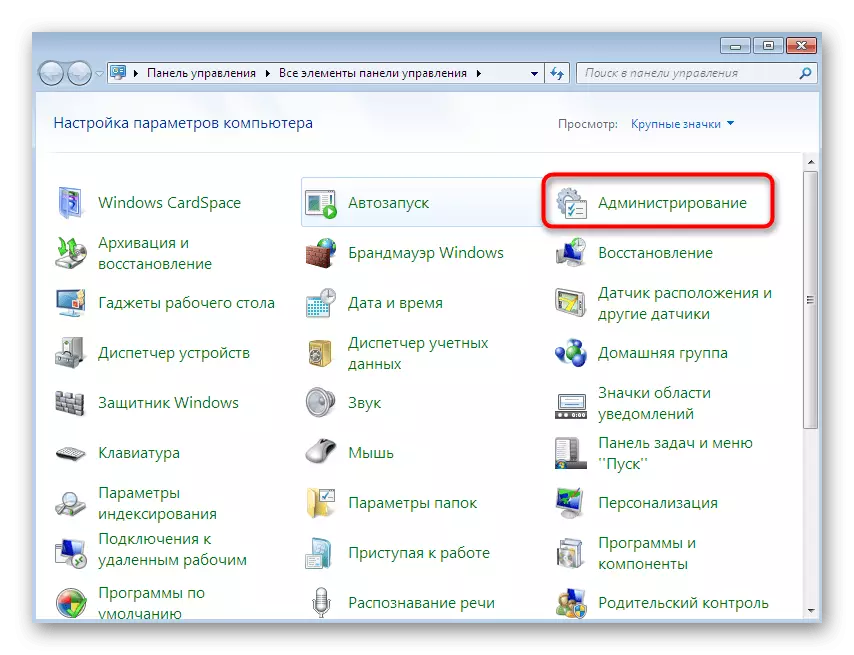
- Go to the Control Panel, where to select Administrative Section.
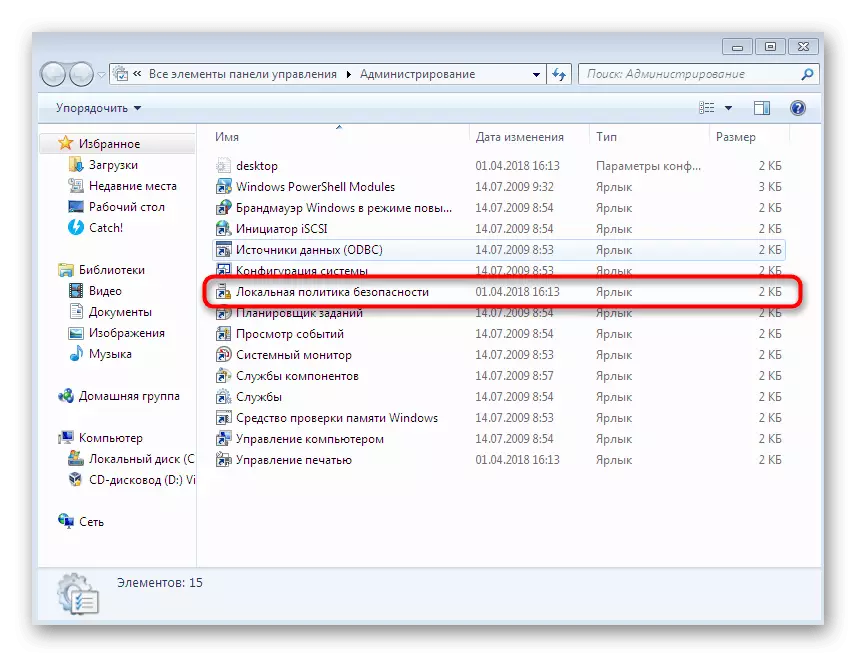
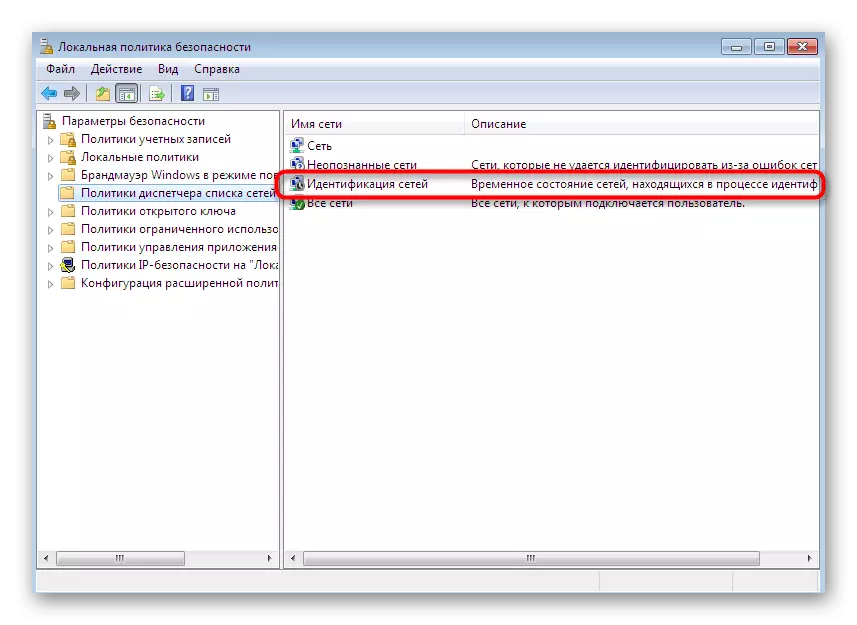
- In the window that opens, select a classic application called "Local Security Policy".
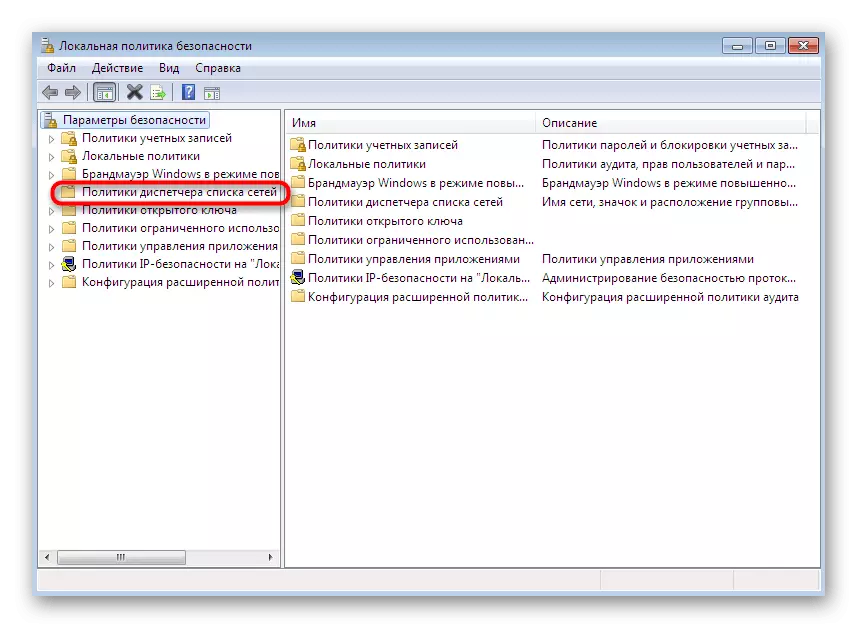
- After starting the snap-in on the left pane, double-click the directory with the name "Network Dispatcher Policies".
- Select the "Network Identification" option.
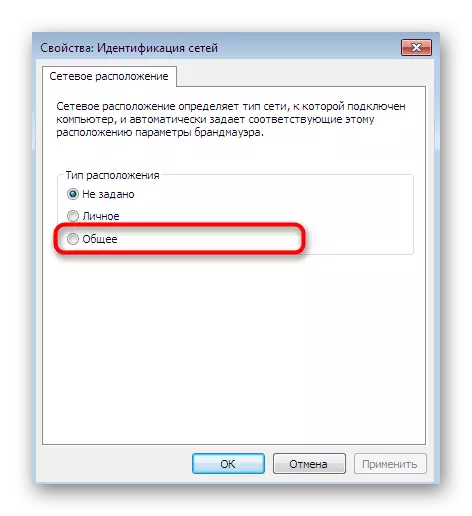
- Install the marker near the "General" item.
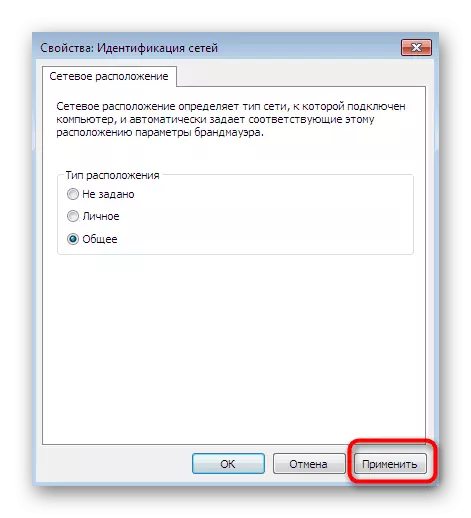
- Apply the changes, and then you can safely close this window.
The change in this parameter will not have a negative impact on the operation of the operating system, so it can not be changed even if the actions are made will not bring due effect.
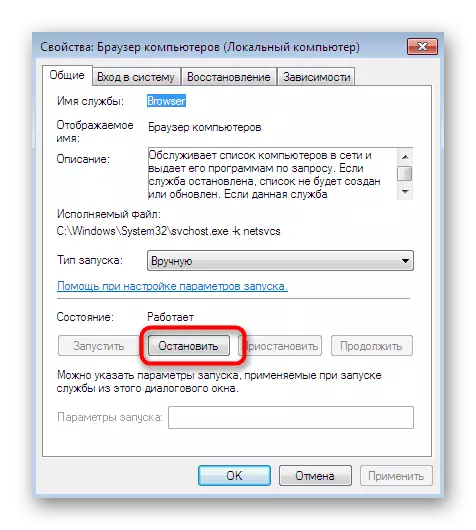
Method 7: Stop the Browser Computer Service
The latter method we want to talk about today is to stop the "Computer Browser" service. By default, this parameter fulfills the PC maintenance function on the network and demonstrates information about them to certain programs that require relevant information. Turning off this service sometimes helps to get rid of the problem with the visibility of the network environment, but it rarely happens, therefore this option is in the last place.
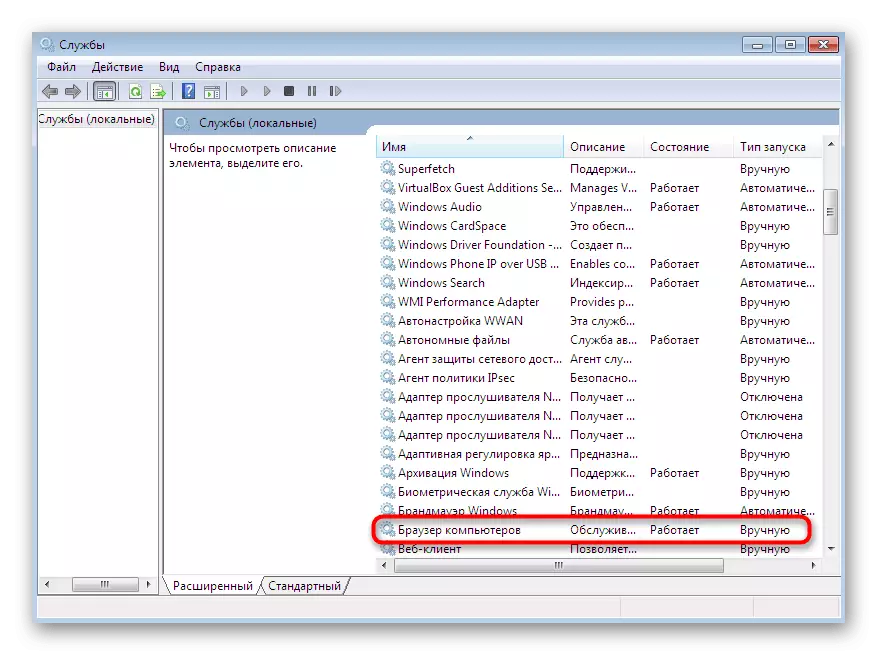
- Go to the "Administration" menu through the control panel and select "Services".
- Open the properties of the mentioned parameter, clicking on it twice.
- Stop execution by clicking on a specially designated button.

This method will bring due effect only in the situation when you have already fulfilled previous recommendations, and it turns out to be useless almost always.
We have acquainted you with seven different ways to correct a problem with the visibility of the network environment in Windows 7. As you can see, each of them requires the user to perform a specific algorithm of action. However, if you adhere to the instructions given, the entire procedure will be successful and without any additional difficulties.