
Now many users around the world have laptops, and sometimes they need to find out the device model with which they use. Today's article is devoted to various options for determining the laptop model using built-in and additional funds. Let's focus in more detail on each way that you can pick up optimal for yourself.
We define a laptop model in Windows 7
Each method involves obtaining the same information, but has a different algorithm of actions, because of which it will only be suitable for a certain circle of users. We advise you to study every one of them to make sure that some decision will be easier and better than the rest specifically in your case.Method 1: Acquaintance with the instructions and laptop stickers
Let's start with a universal method that will suit the owners of laptops from any manufacturer under the control of any operating system. Its essence is to get acquainted with the instructions or stickers, always present on the back cover. Pay attention to the picture below. There are specially highlighted rows with important data, allowing to determine the model of the laptop and the specification of the device.
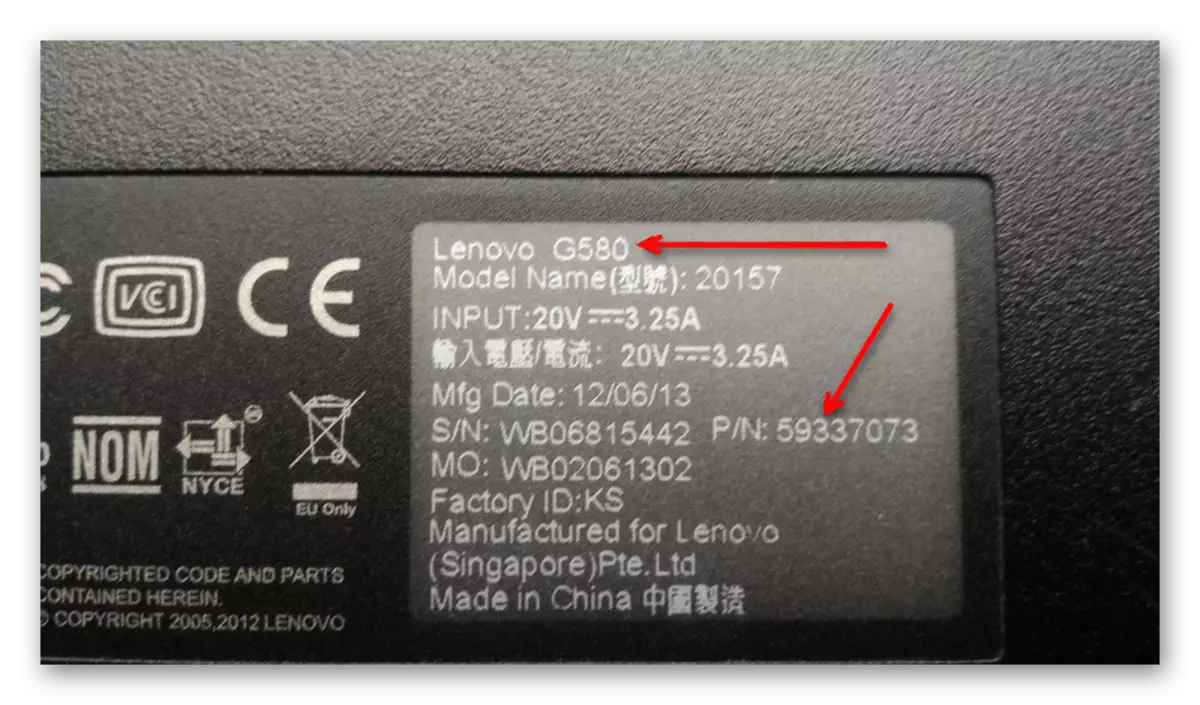
However, there are disadvantages of this decision. Often, the instructions are simply lost or emitted, and the stickers are erased in the year of active use of equipment. In such situations only software methods will help, which will be discussed below.
Method 2: branded utilities from developers
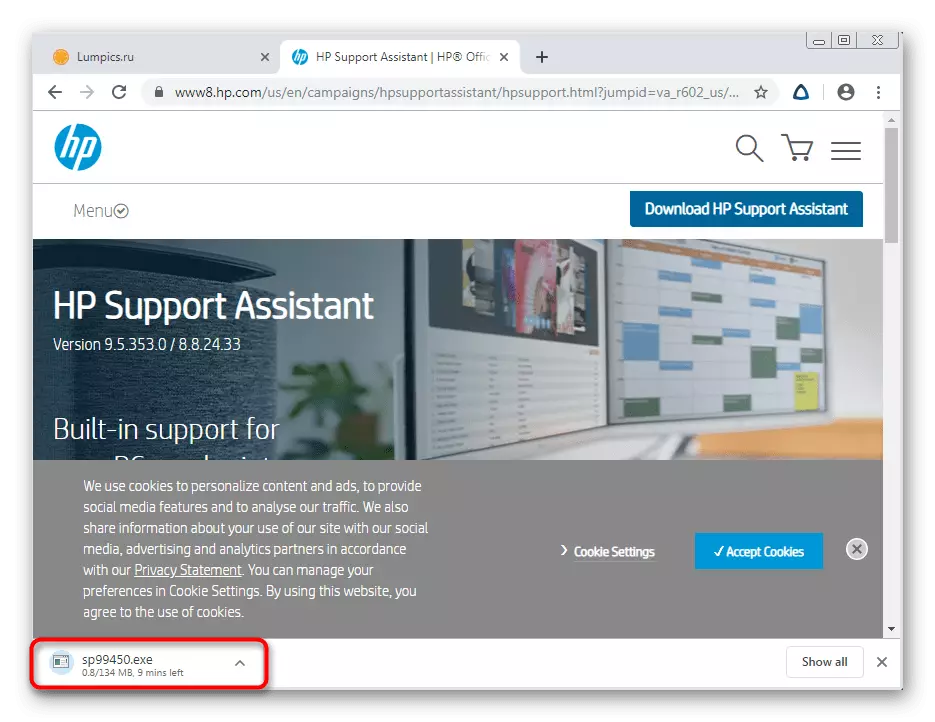
Now many manufacturers of various equipment, including laptops and peripherals, carefully configure the correct interaction between all their devices, creating a common system for them. This includes a special software that allows you to view and configure absolutely all connected devices. If you own a laptop from a popular developer, such as Lenovo, Asus or HP, you can download such an application on the official website to explore the information about the device model. We will look at this method on the example of HP.
- Open the company's support page, where to find the link to the necessary software. Click on the "Download" button to start loading.
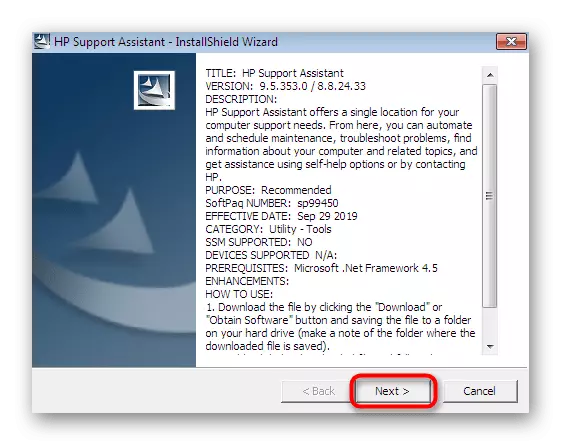
- At the end of download, run the executable file.
- Follow the simple instructions in the installer to complete the installation operation.
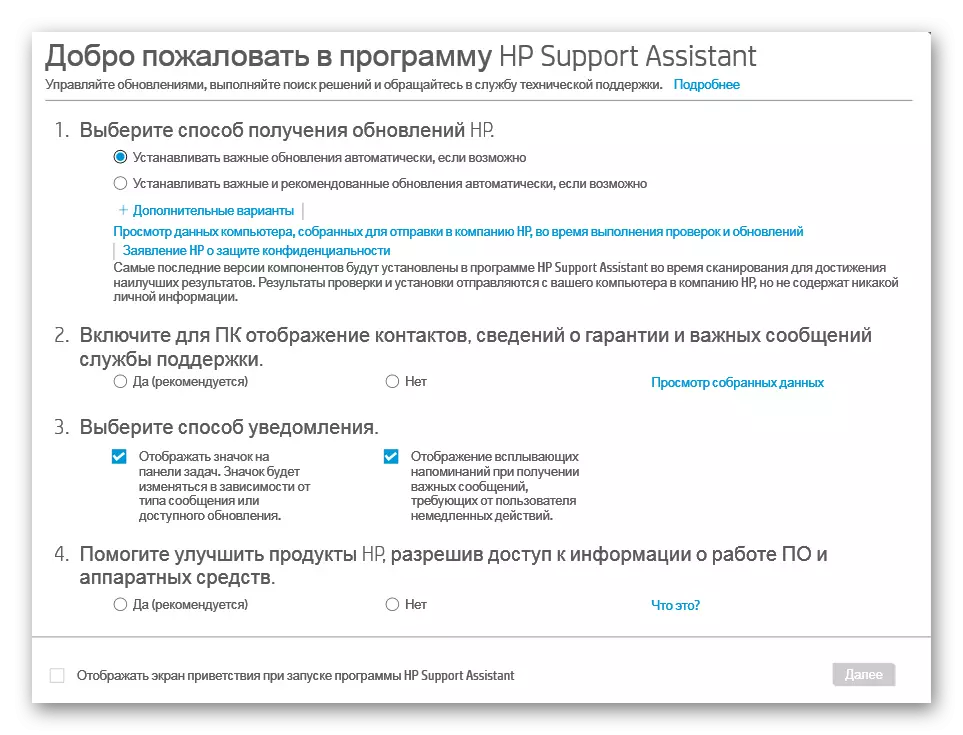
- After launching the software, see the welcoming window and go through the training lessons explaining the general principle of interaction with it.
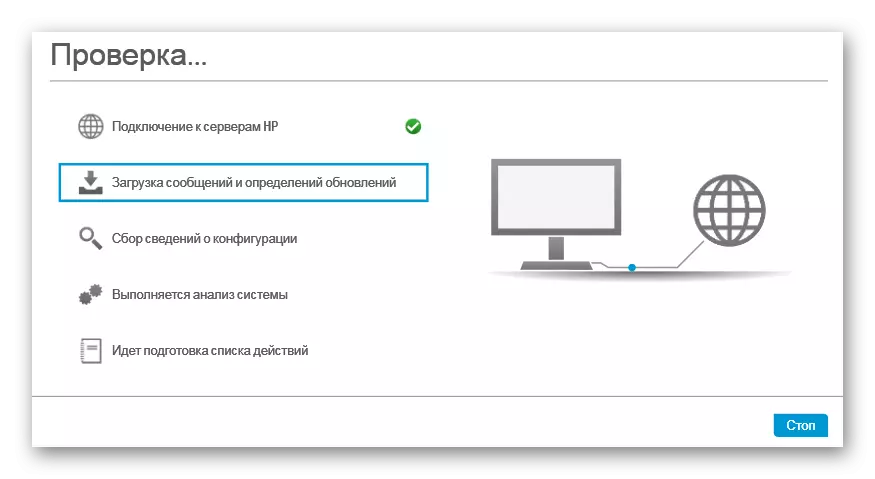
- Now you are interested in the "My Laptop" tab in the "My Devices" section.
- When switching to it, scanning will begin. Wait for his end.
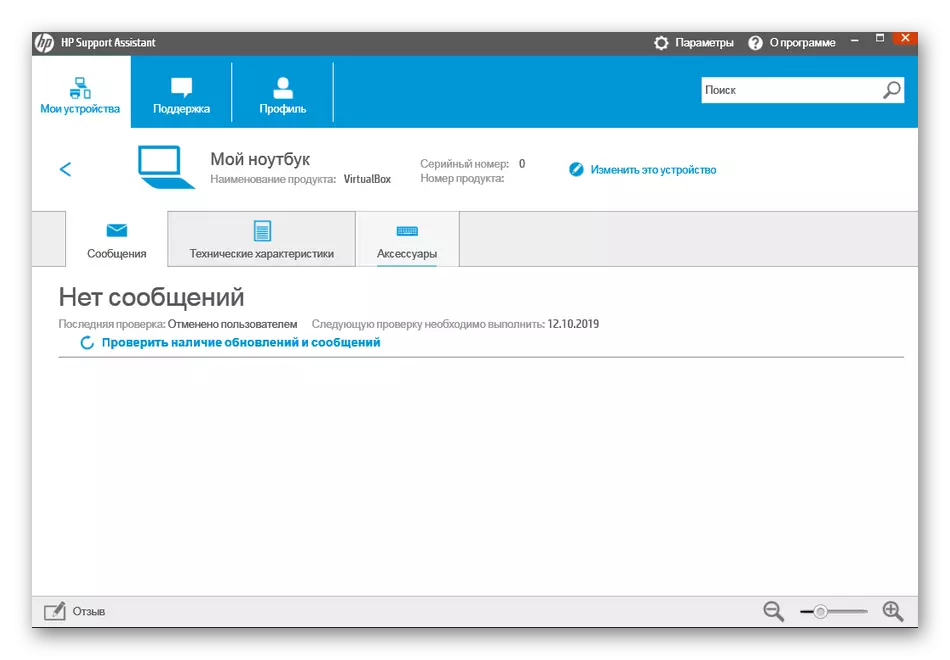
- In the window that opens, you can see all the specifications, including the model and the laptop specification.


Most of these applications work in the same principle, so this instruction is universal. You can only consider the structure of the website and the software interface to quickly get the desired data.
Method 3: Programs for viewing PC characteristics
We will move to third-party programs whose basic functionality is just focused on clarifying general and detailed information about all computer components, including the motherboard model. Today we take for an example most popular tool called Aida64.
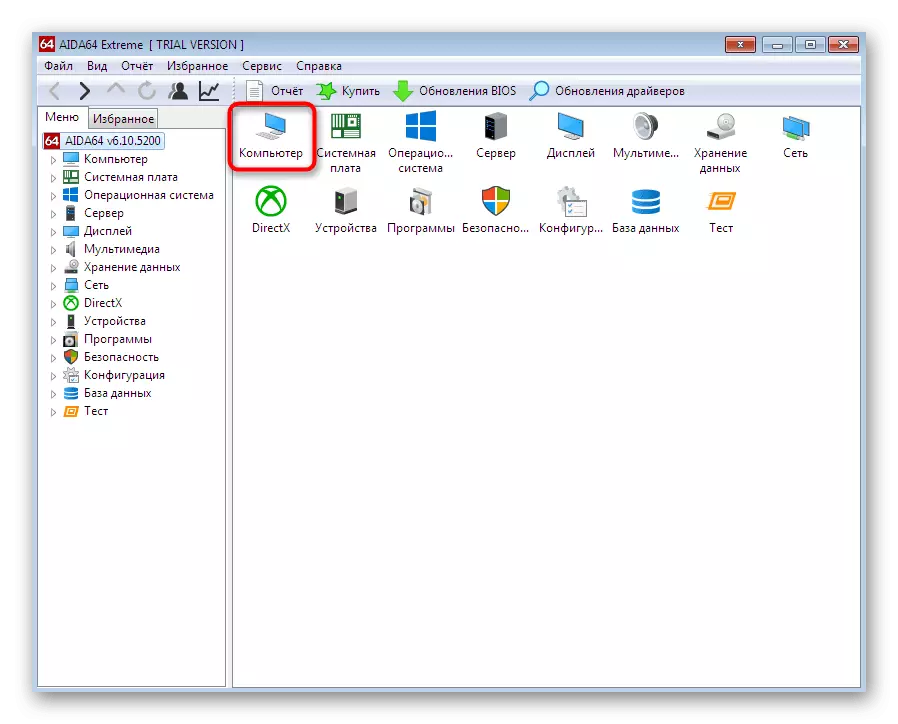
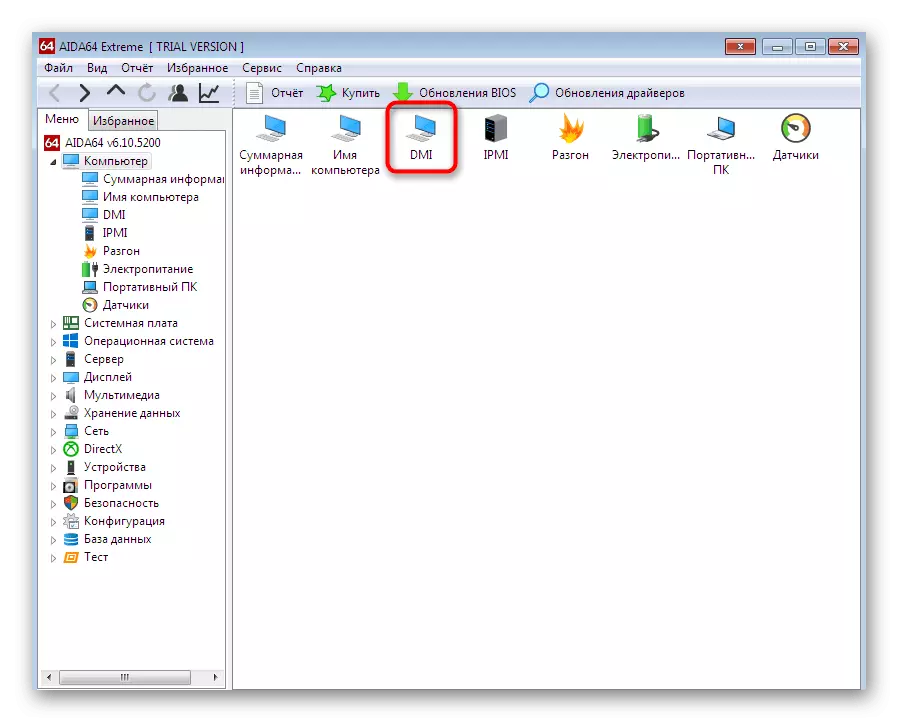
- Download Aida64 from the official site and install. After starting, use the Main Menu to go to the "Computer" section.
- Here you are interested in the section "DMI".
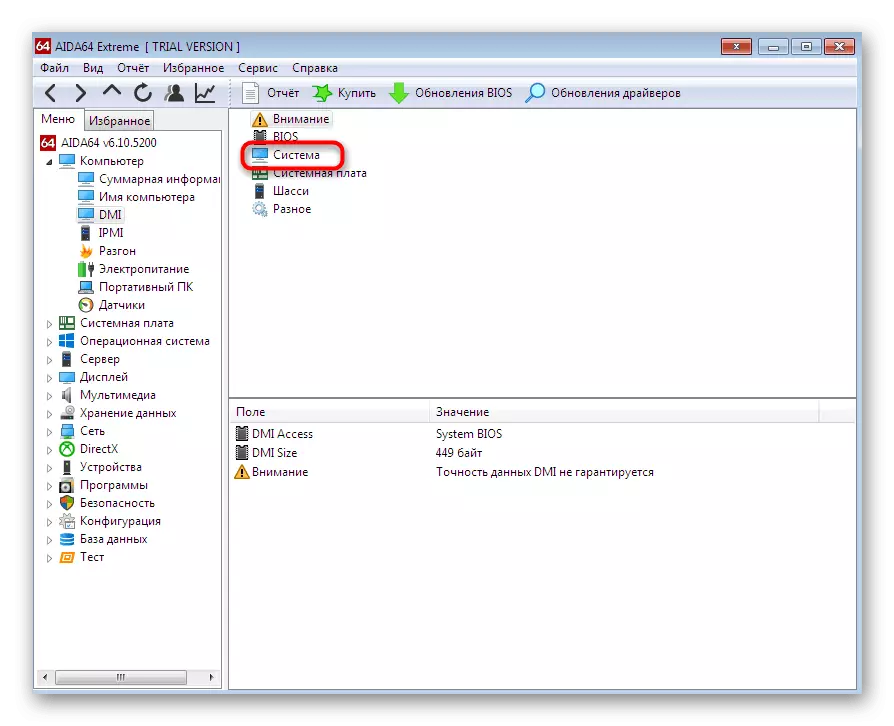
- Expand the System section.
- Below, you will see information about the manufacturer and product models. In our example, it is not displayed in the desired format, as the stationary PC is used.
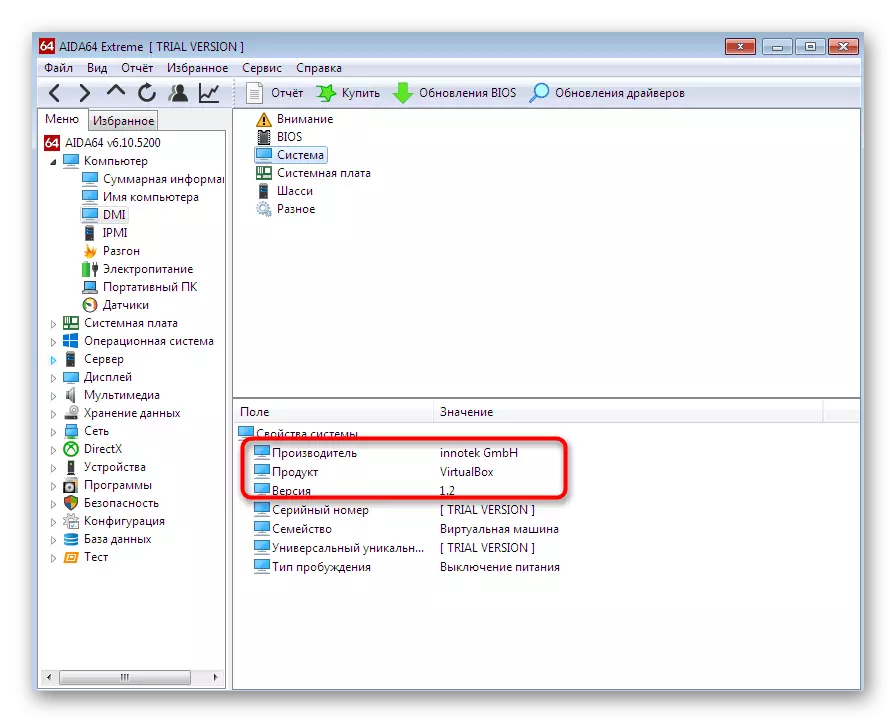
Unfortunately, not all similar programs allow you to determine the model of the laptop, displaying only the information about the motherboard.
Method 4: DirectX Diagnostic Tool
Let us turn to the consideration of three ways that will be useful to the users who do not want to download any additional applications. The first such method is to use the DIRECTX diagnostic tool, which is installed as default in Windows 7, and its opening is carried out as follows:
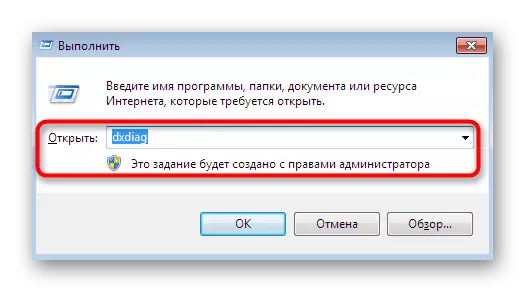
- Use the "Run" utility (Win + R) to go to the application under consideration by entering the DXDiag line and clicking on the ENTER key.
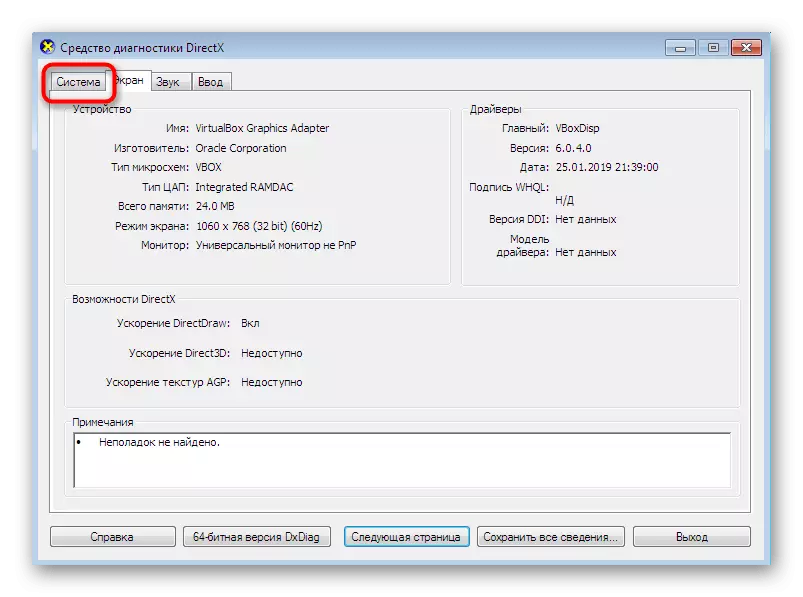
- Move the System tab.
- In specially designated lines, you will see a computer manufacturer and its model (taking into account the motherboard specification).

If you are interested in the mentioned tool and you want to know what other functions it can perform, read the following manual, where everything is described in the detailed form about this built-in tool.
Read more: Windows System Utility for Diagnostics DirectX
Method 5: Menu "System Information"
Now let's talk about a similar menu, which also displays the basic system data. It is not used to diagnose OS, but only performs the function of information output. The transition to it is as follows:
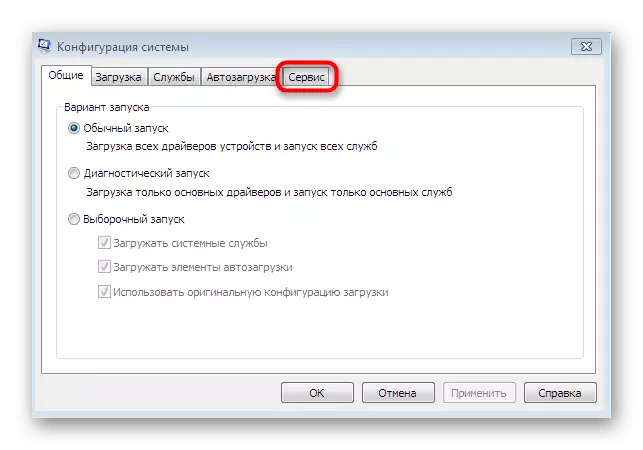
- Open the "Run" utility by pressing the Win + R keys combination. Type msconfig and press the ENTER key.
- Move to the "Service" tab.
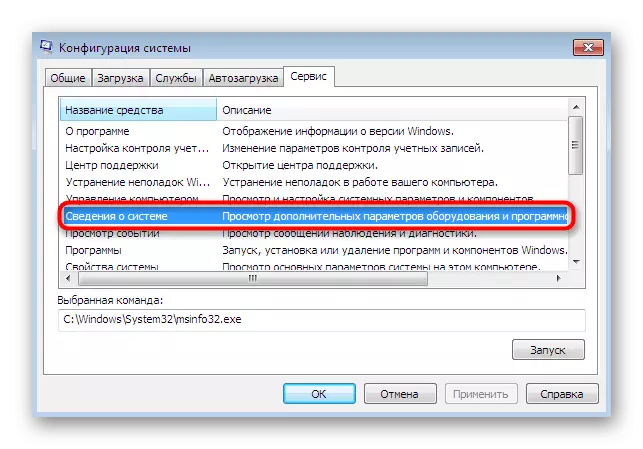
- Here, find the application "System Information" application and run it, double-clicking on the left mouse button or clicking on "Run".
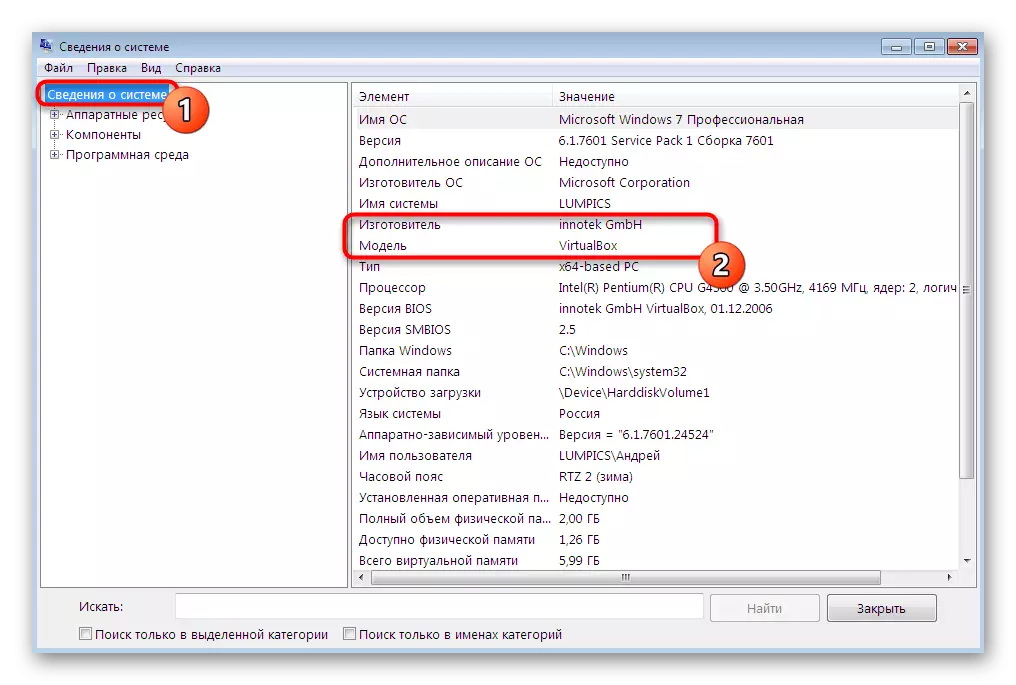
- In the main window "Information about the system", pay attention to the lines "manufacturer" and "model". It is here that the necessary data will be contained.

Method 6: Console Utility
The latter option, about which we want to talk within the framework of today's material is to use the "command line" and a separate utility that is displayed information about the device manufacturer. This tool only performs this feature and starts like this:
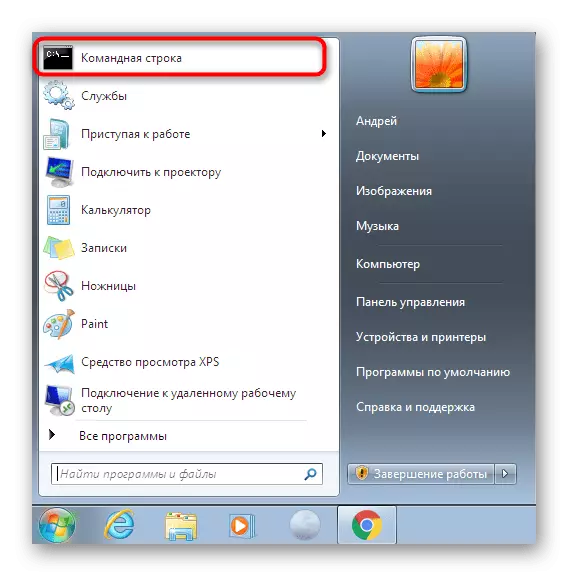
- Lay the "Command Line" launch label, for example, through "Start", and click on it right-click.
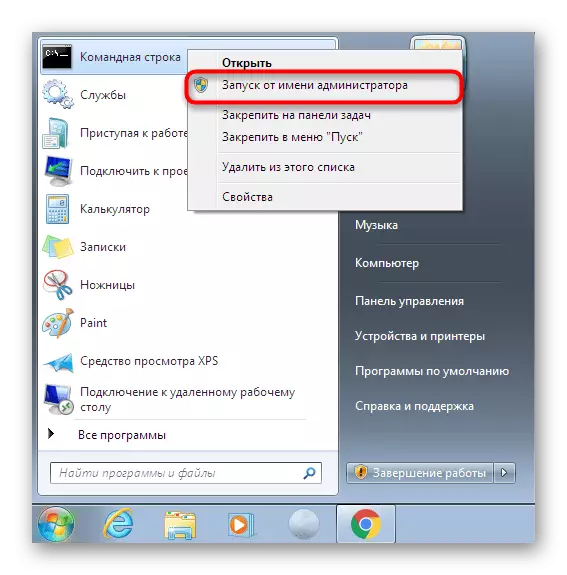
- In the context menu that appears, select the option "Start from the administrator".
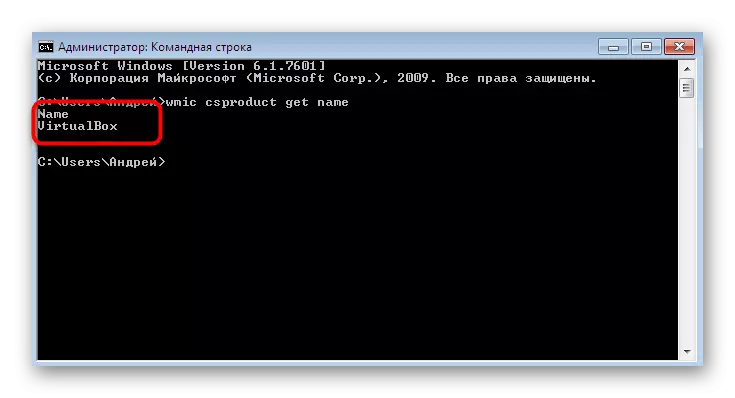
- Use the WMic CSProduct Get Name command, and to activate it, press the ENTER key.
- We will immediately appear two lines that provide the desired information.

Today you have learned about the whole six methods for obtaining information about the laptop model in Windows 7. As you can see, there are many different solutions suitable for specific users, so any will find an optimal tool for yourself and will use it to get the required data.