

During the use of the Google Chrome browser, the built-in mechanism automatically saves history if this option was not disabled manually by the user. However, after certain manipulations, the actions log may be removed, which causes the need for its restoration under different circumstances. Today we want to demonstrate the available methods of implementing this task both using embedded browser agents and through additional software.
We restore the story in the Google Chrome browser
As you know, the history of the web browser under consideration is stored as a file in the user folder. It is from there that the journal information is taken to view the time and the address of the page being visited. Just with this file, we will interact within the framework of this material, but further refer to other methods that allow you to view the story if it has been deleted without the possibility of recovery.Method 1: third-party file recovery programs
The first method is to use special software that allows you to restore deleted files in a specific location. This will help to return the story in the situation when the corresponding object or several objects have been deleted not so long ago. As an example, we will take Easeus Data Recovery Wizard.
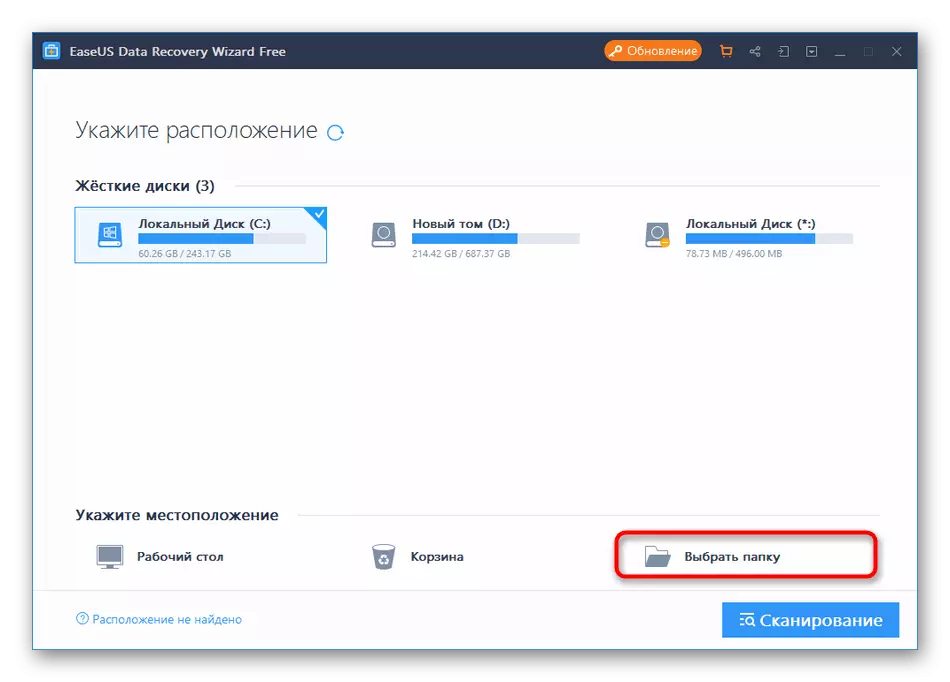
- After downloading and installing the program, run it. Now we offer not to scan the entire system so as not to spend time on the long detection of objects and find the desired among them. Instead, specify the location by clicking on the "Select folder" button.
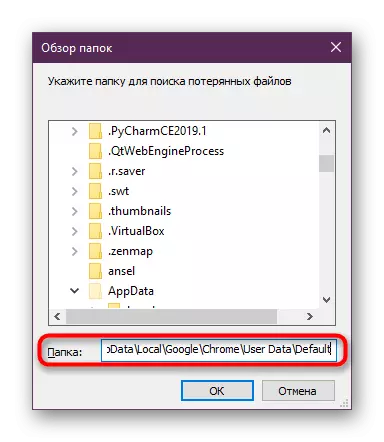
- Insert the path to the directory that looks like this: C: \ Users \ Username \ AppData \ Local \ Google \ Chrome \ User Data \ Default \ Local Storage, and then click on OK. Instead of the "username", enter the name of your account.
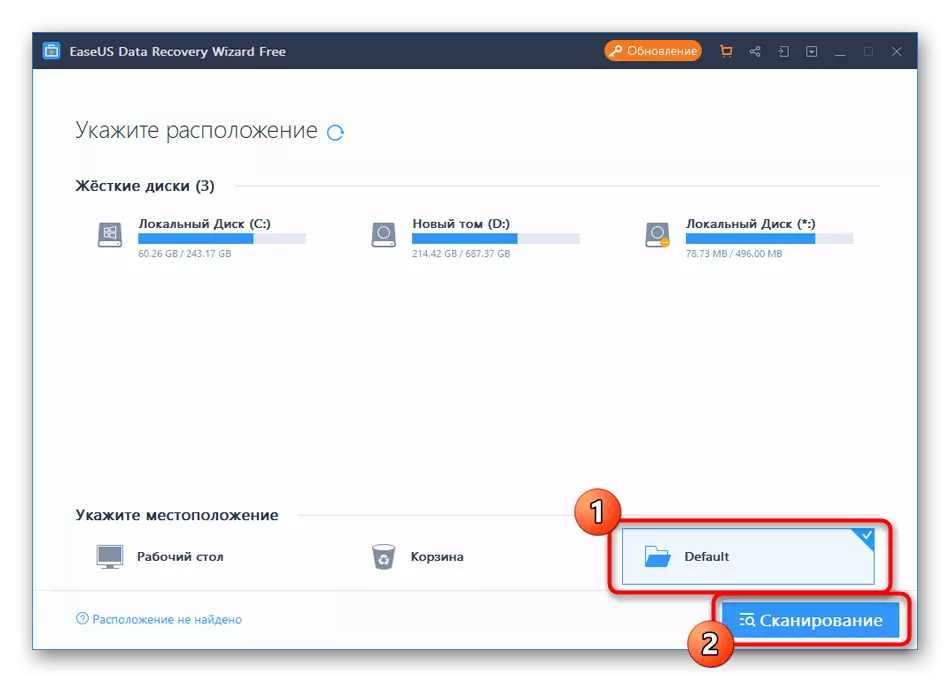
- Make sure the directory was selected successfully, and then click on the "scanning".
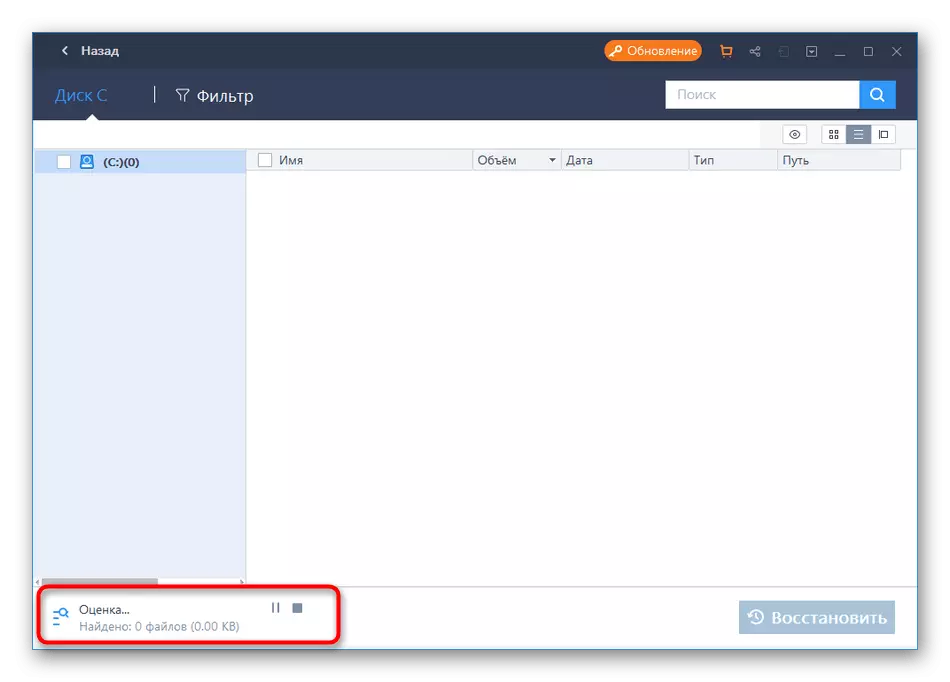
- Expect completion of the operation. Its progress is displayed on the left below. Additionally, there are two buttons that allow you to pause or complete the scan.
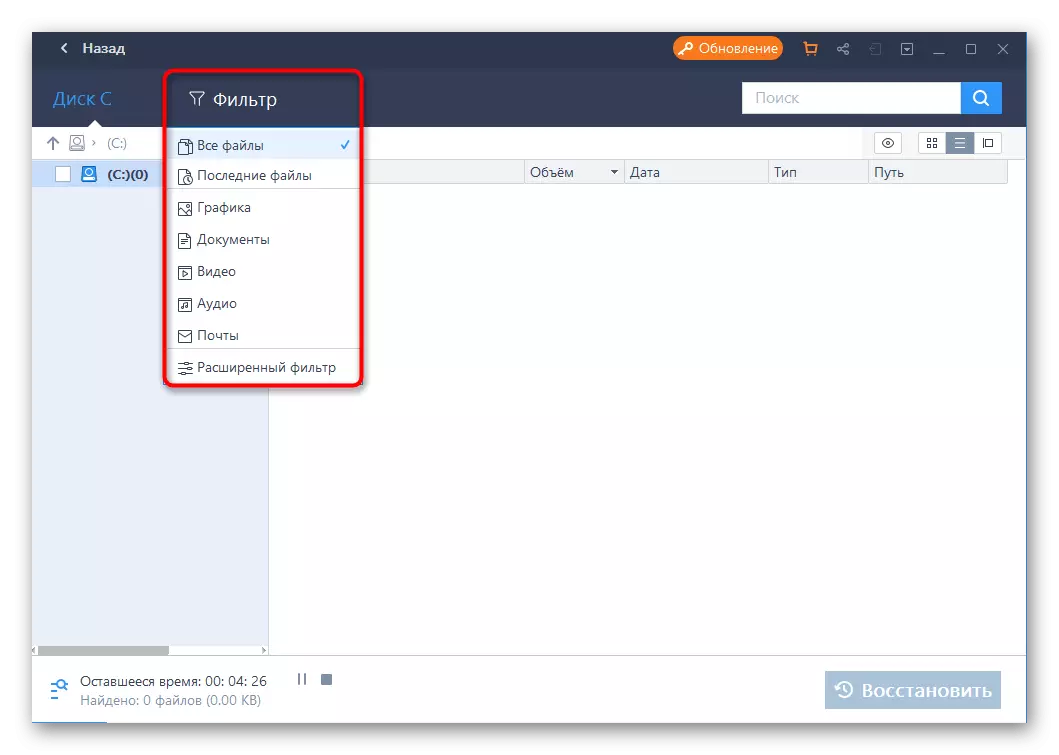
- You can also use filters to sort the displayed items by date. This will help restore the file only last history.
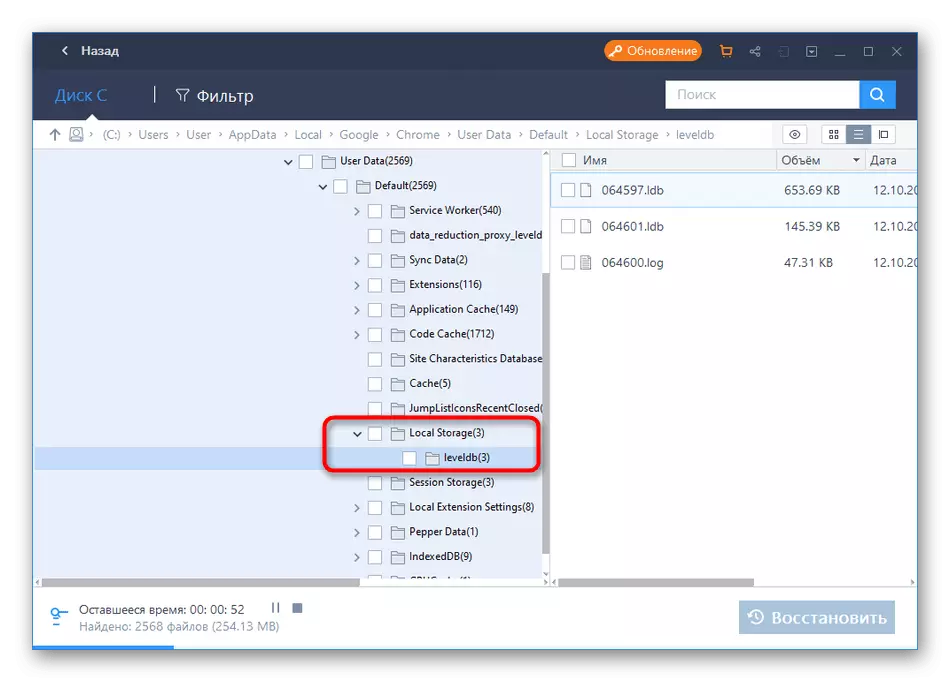
- Now in the emerging directories you are interested in the "Local Storage" folder. You can immediately select the entire folder "LeveldB" or other files present in this directory.
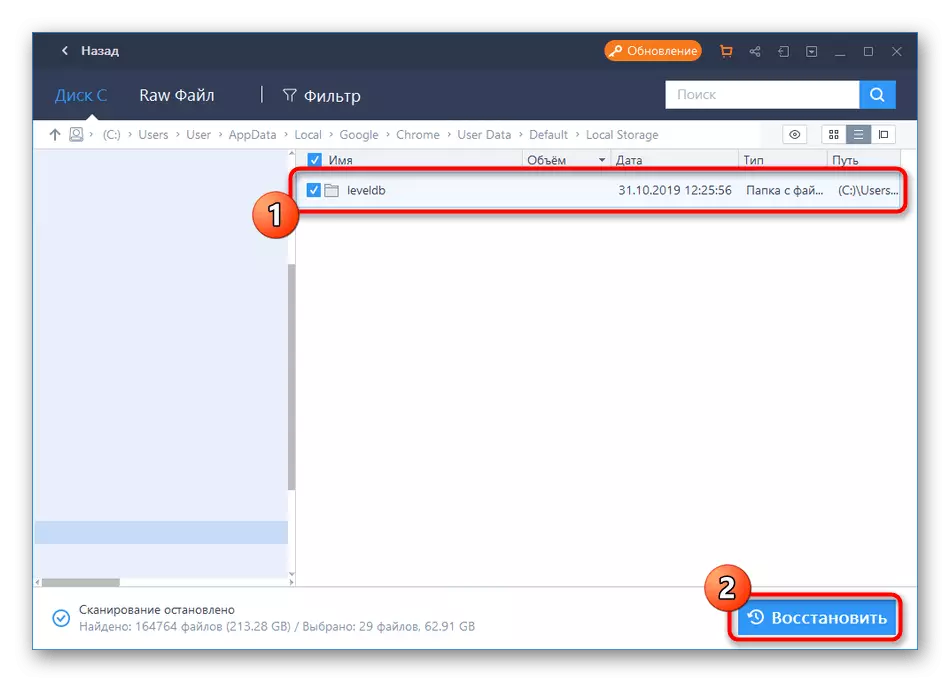
- After checking the checkboxes, it remains only to click on "Restore".
- Choose the same path that you specified when starting scan to place files there.
- Confirm save.


It remains only to restart the Google Chrome browser to go to view the restored story.
Now there are many free and paid programs that allow you to restore previously deleted files. All of them work approximately by the same principle, but have different algorithms that sometimes issues different recovery results. If you did not suit the Easeus Data Recovery Wizard solution, use its analogues by selecting the appropriate from the material on the following link.
Read more: Programs for recovering remote files
Method 2: Tracking actions in Google Account
This method does not allow fully restore history, but it is suitable in order to view those pages that are not displayed in the log. Enable this option only in those situations where Google account previously attached to this web browser, since it is here that the actions performed are saved.
- To go to viewed actions, click on the icon of your profile and in the appeared context menu, click on the "Go to Google Account Settings".
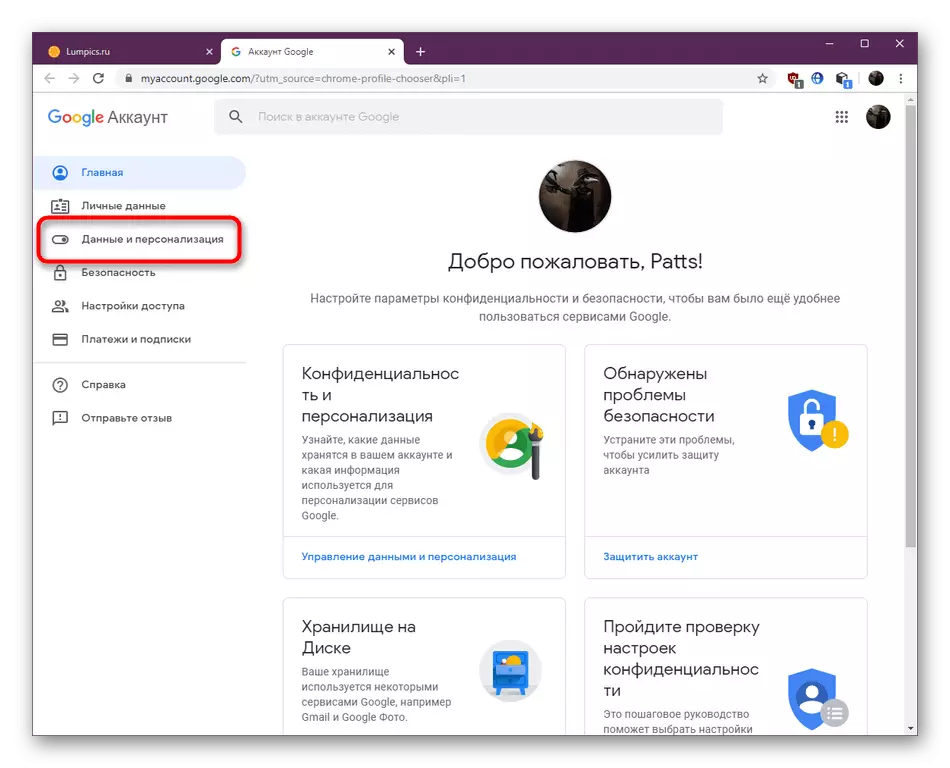
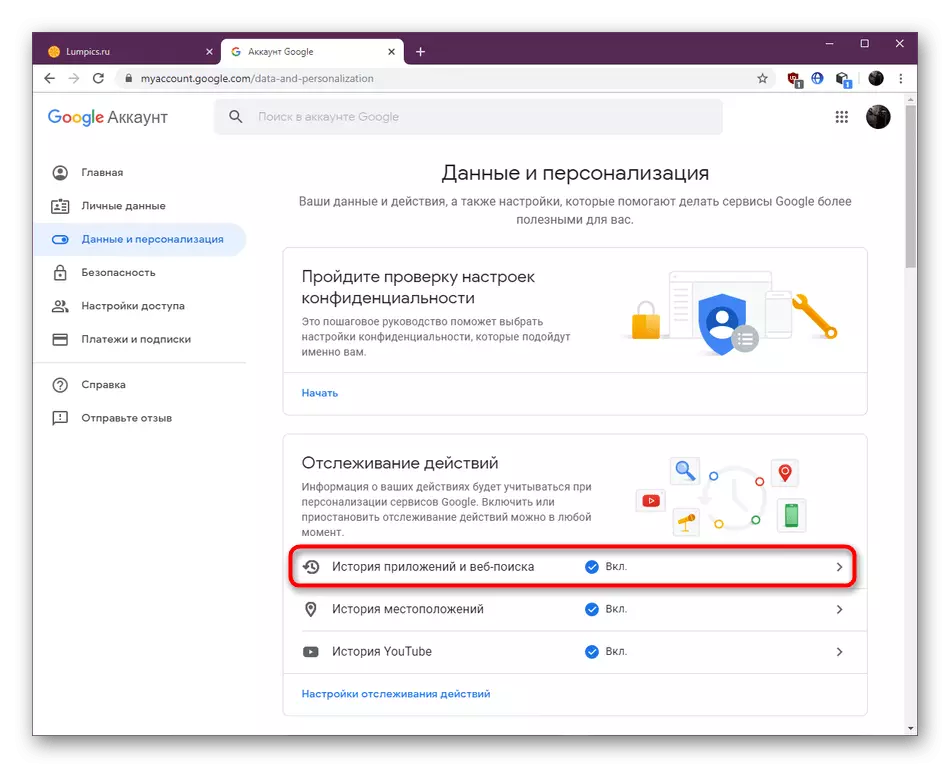
- Here on the left panel, select the "Data and Personalization" section.
- In the Tile "Track actions", go to the "Application History and Web Search". If their saving was previously disabled by the user, you will not see them. You can skip this option.
- If the story is saved, go to control it.
- Here, select a convenient display option - blocks or actions. When the block is selected, all actions are viewed on the specified site.
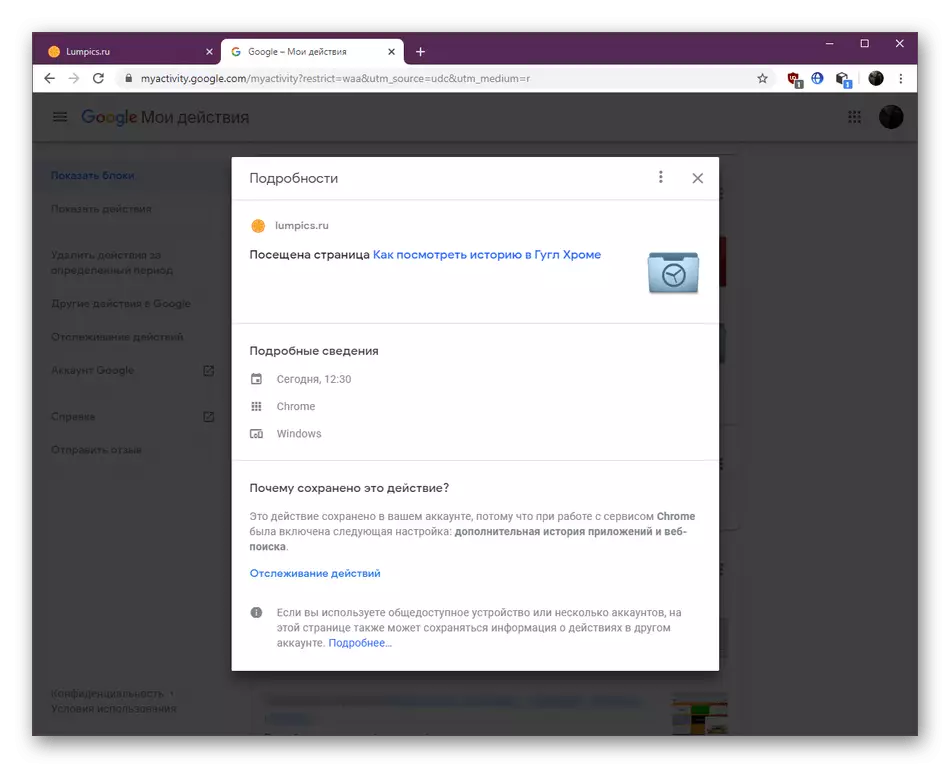
- They are displayed as a list with minimal output information.
- If you go to detailed visiting information, not only the date, but also the device from which the transition was carried out.


As you can see, the actions performed in the browser are available even after the standard history cleaning, however, is only available to those users who have synchronized their google-account in advance with the program.
Method 3: Recovery during synchronization
Let us turn to the same method that is associated with the connection of the Google account to the browser. This recovery option is suitable for the users who moved to a new device or reinstalled the browser. Synchronization will allow access to the story that is saved on another computer or telephone where the current profile is already connected. Note that this method will work only if you have at least one synchronized device on which the visiting log is still preserved.
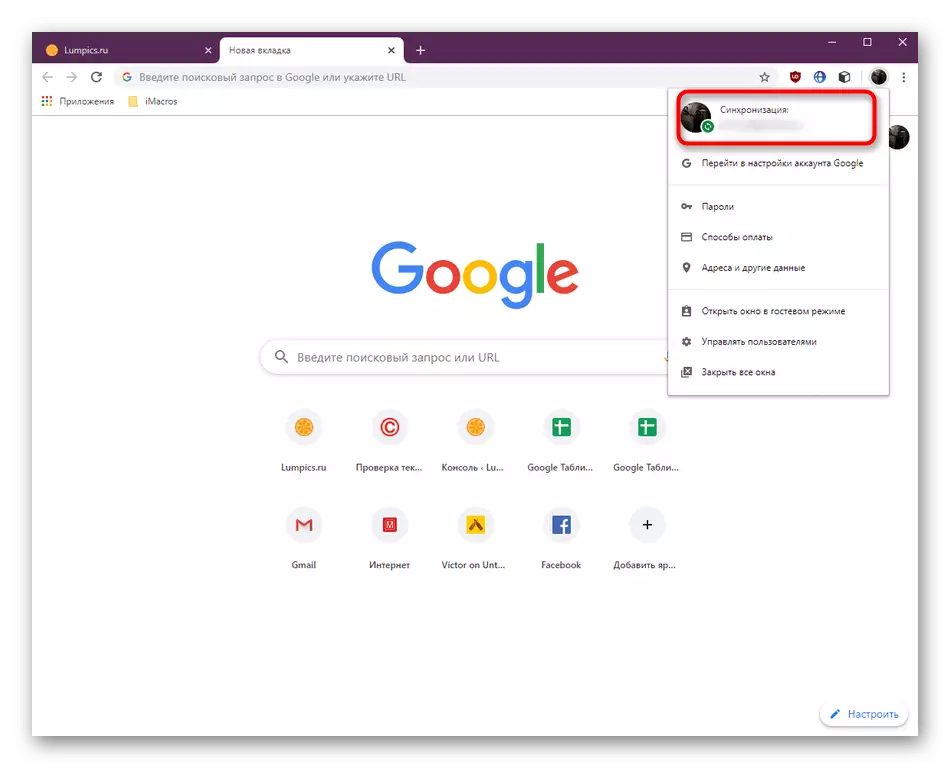
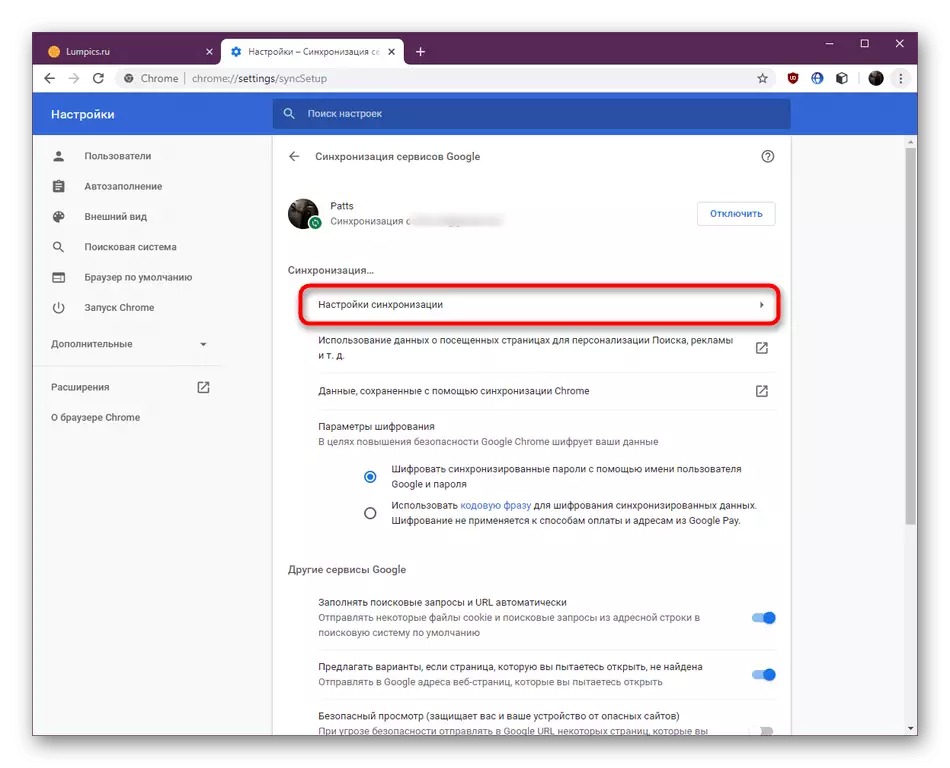
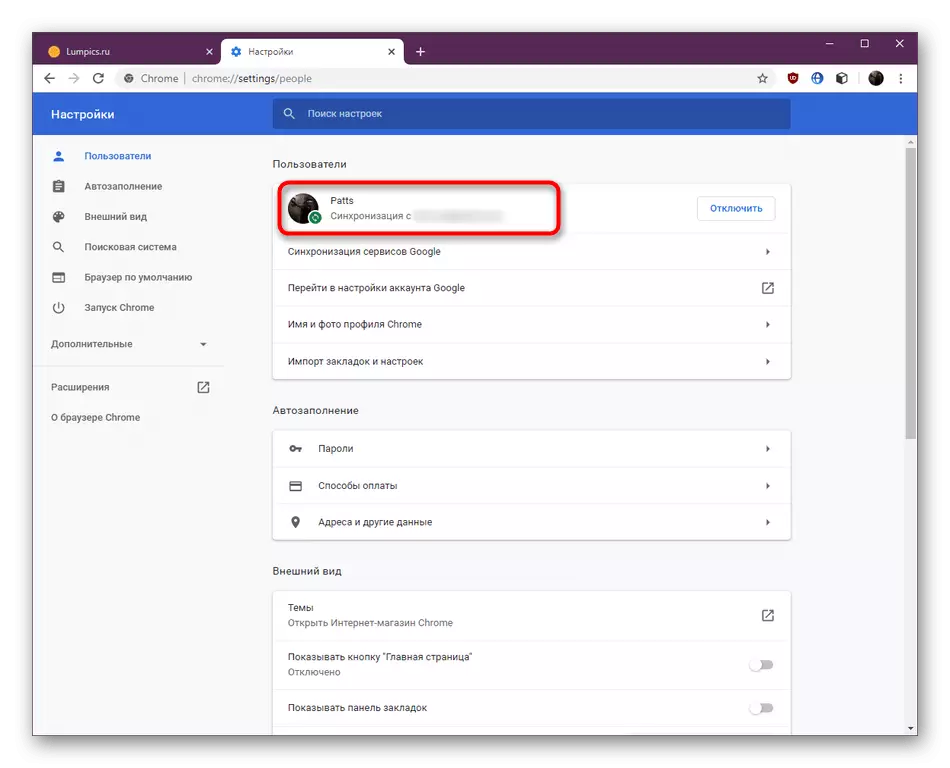
- Click your profile icon, go to the "Synchronization" section or first enter the Account.
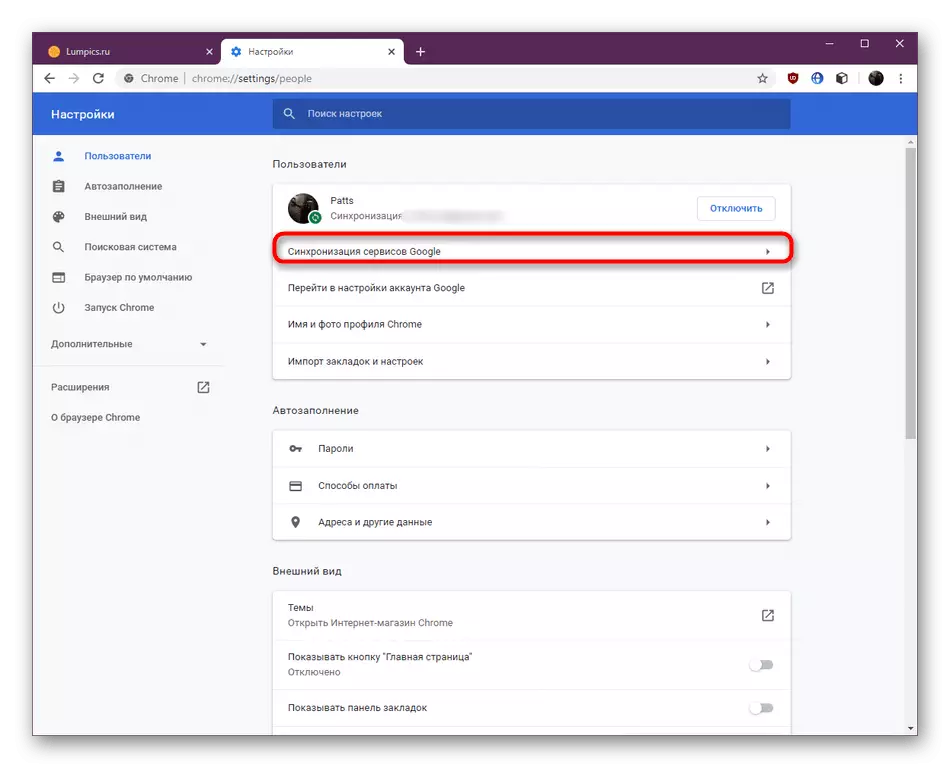
- Here you are interested in the section "Google Service Synchronization".
- In the tab that opens, click on the synchronization setting.
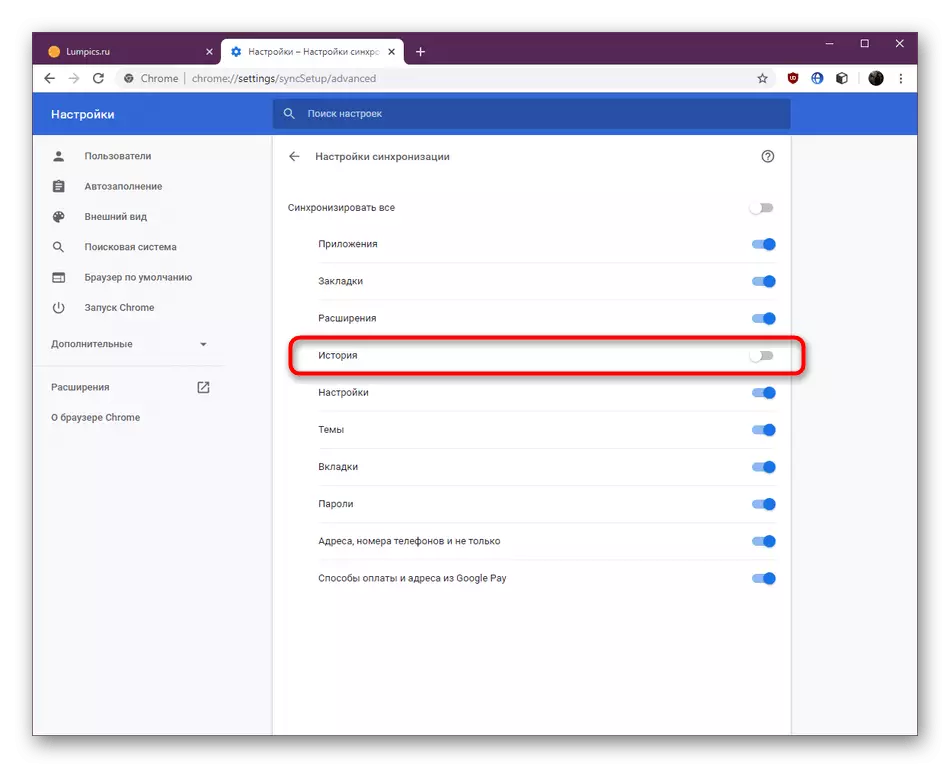
- If the slider in front of the story string is in a disconnected state, activate it and return back.
- Wait for the green mug to the right of the avatar. It will mean that synchronization has completed successfully. With the debt of its absence, simply create a new session in the browser, rebooting it.
Note that the story will be moved from absolutely all connected devices, that is, you will be able to view actions that are performed on another PC or smartphone without any problems. In the corresponding menu, this information will be divided into categories.
Method 4: View DNS Cache
To successfully implement this method, one condition should be observed - do not restart the computer after cleaning the history of the browser. The fact is that the DNS tool is present in the operating system, which saves the cache of visited sites, but it is updated after rebooting the PC. As for his viewing, this is done like this:
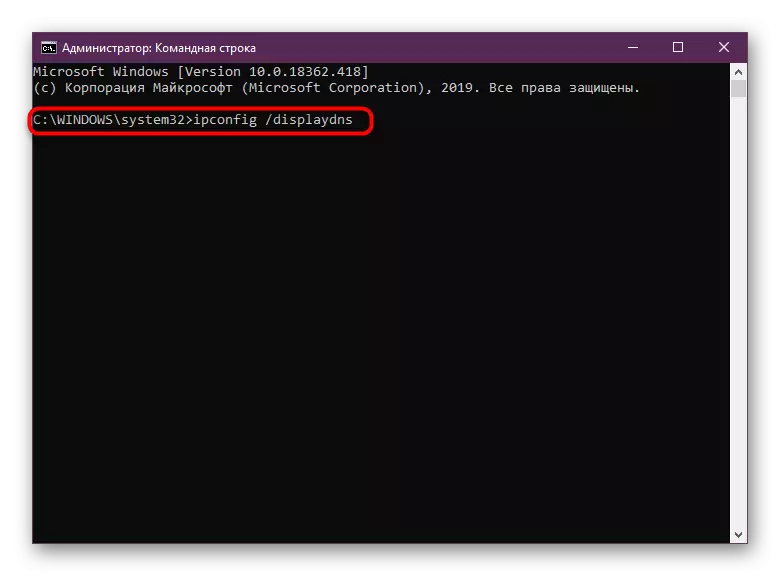
- Open the "Start" and start the "Command Line" from there on behalf of the administrator.
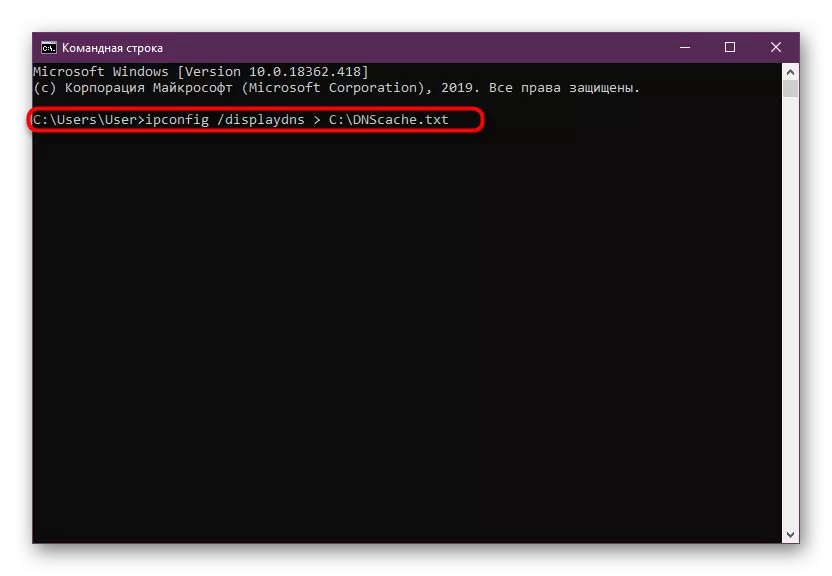
- Enter the IPConfig / DisplayDNS command and click on ENTER.
- After starting the operation, you need to wait a few seconds. During this time, absolutely all lines will be loaded.
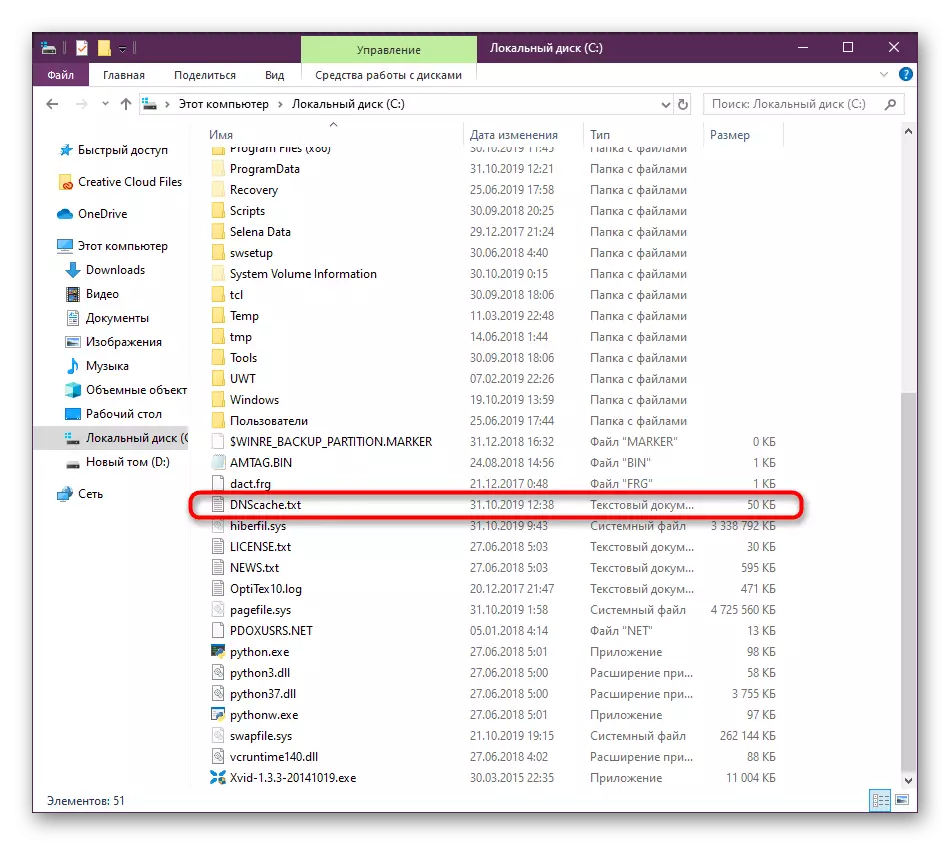
- You can additionally use IPCONFIG / DisplayDns> C: \ dnscache.txt to save the results in text form on C.
- After go to the location and run the existing file through a convenient text editor to view the content.
- If you are viewing directly into the console, here you hold down the Ctrl + F key combination and enter the site name in the site you want to find in history.
- After that, familiarize yourself with all the results present to make sure the site attendance through the browser.


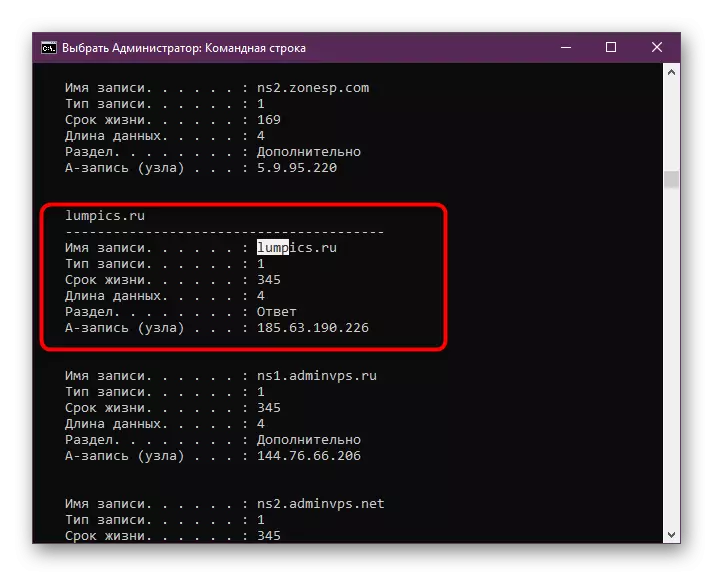
Of course, a set of information provided through the Domain Name System's cache is minimal, but it happens enough in order to make sure that the transition to a specific site was still carried out.
We told about four available events log recovery methods in Google Chrome. As you can see, the methods differ significantly from each other and fit in certain situations. It remains to choose the appropriate and execute the instructions.