Any electronic device operates including thanks to the firmware - a software set, which is responsible for the interaction of all components of the device. There is such a software and a PSP console, and today we will tell you how it can be changed.
How to flash PSP
To begin with, it is worth noting that the firmware there are two types: the official distributed by the manufacturer (are known under the Abbreviation of OFW) and third-party written enthusiasts to expand the capabilities of the console (CFW). Consider the installation procedure of each option.Installation ofw
Installation of the official firmware is a fairly simple operation, which includes loading the file with the firmware, move it to the console and actual installation.
Pages download firmware
- First of all, you will need to get updates. Initially, it was implied to obtain an update "by air", via Wi-Fi, but after the end of the release of the servers, the server was disabled and the procedure should be carried out manually. To do this, open the link above, then click on the "Agree and Download Now" button.
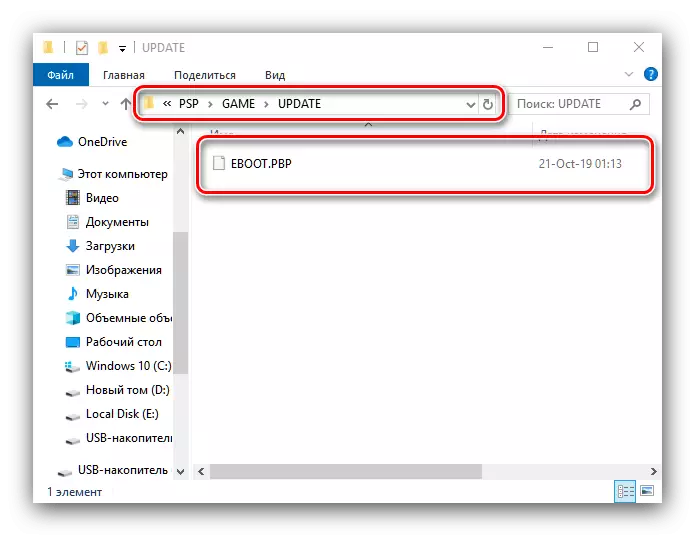
- Download the firmware file to any convenient place on your computer, and then connect PSP to it. After starting the memory card, open the "PSP" folders - "Game" and create inside the last directory named "Update", in which and move the firmware.
- Next, disconnect the console from the PC or the laptop and check the level of its charge - before updating the battery it is desirable to charge to a maximum.
Installing CFW.
The installation of third-party systemic is somewhat more complicated than the official one. The fact is that there are two types of CFW - constant and so-called virtual. The first type involves recording the data into the system partition, while the second uses the loophole in RAM, which makes it necessary to restart after each shutdown of the console. Permanent firmware can be installed on a limited number of models, and virtual - to all available options. Therefore, the installation procedure consists of several steps: the preparatory on which all the required information is collected, download the necessary files and the installation itself.Stage 1: Preparation
At this stage, the first thing should be found out which model is your prefix and what type of motherboard is installed in it. The algorithm is the following:
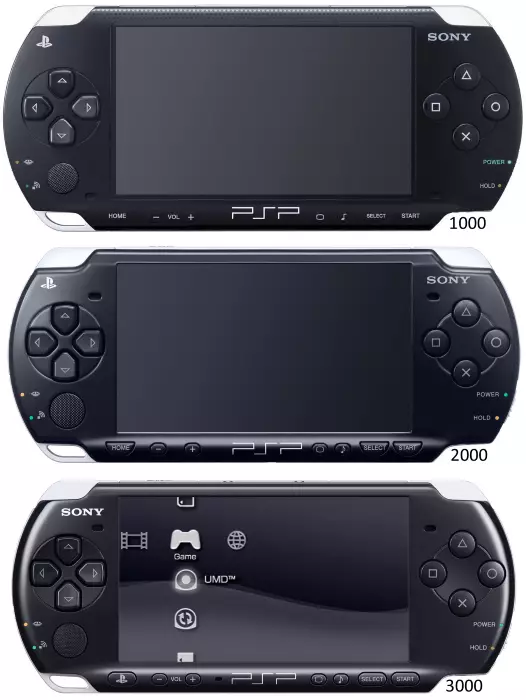
- The first thing to pay attention to is the form factor of the prefix package. Models of the series 1000, 2000, 3000 and E1000 are made in the form of a monoblock.
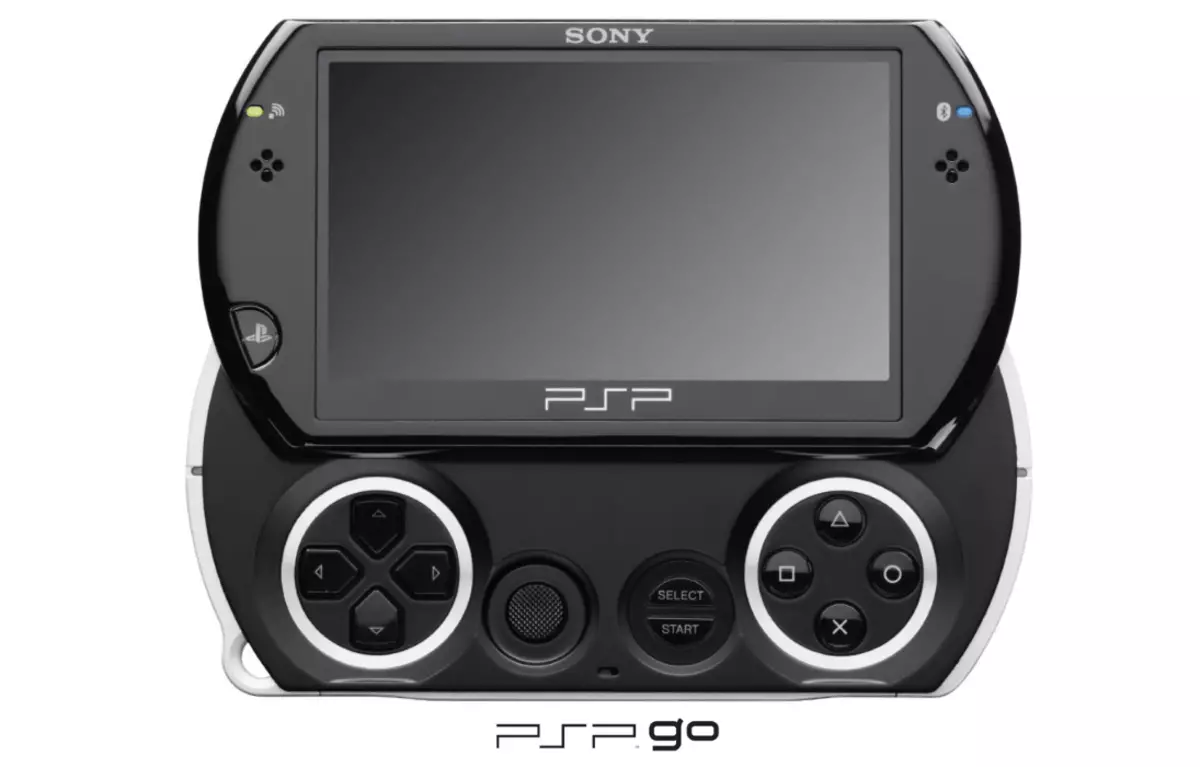
PSP GO prefix is made in the form of a slider, the top half of which is the display, and the bottom - the panel with the keyboard.
- If you have a monoblock option, pay attention to its thickness - the prefix of the first released series, 1000, thicker noticeably.
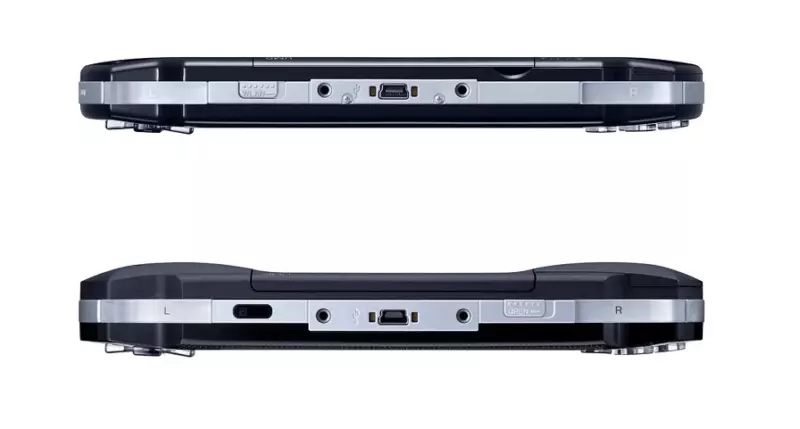
The consoles of models 2000, 3000 and E1000 do not differ in thickness.
- Next, you should find out how the console belongs to what series. This can be defined by the front panel - the model SLIM (2000) and Brite (3000) have the following form:
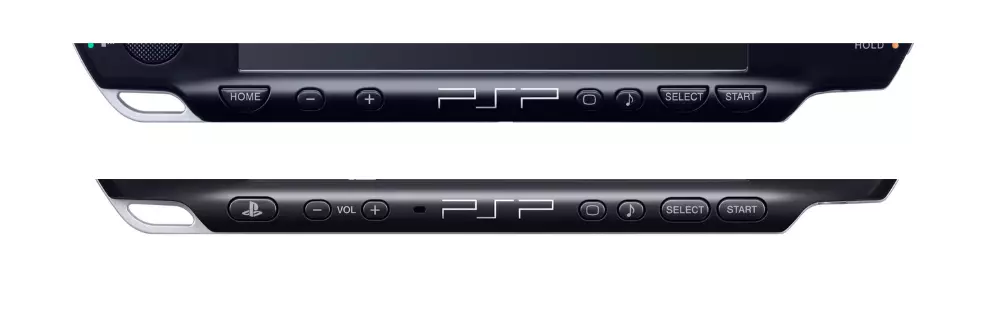
Street models (E1000) look like this:

After determining the series, we specify which options for firmware to which you can install:
- 1000 FAT - supported both constant and virtual CFW;
- 2000 SLIM - similar to the previous one, but depends on the version of the installed motherboard;
- 3000 BRITE (including option for the Russian Federation PSP 3008), Go, Street - only virtual options are supported.
Therefore, it is now necessary to determine the specific model of the device. It's just done:
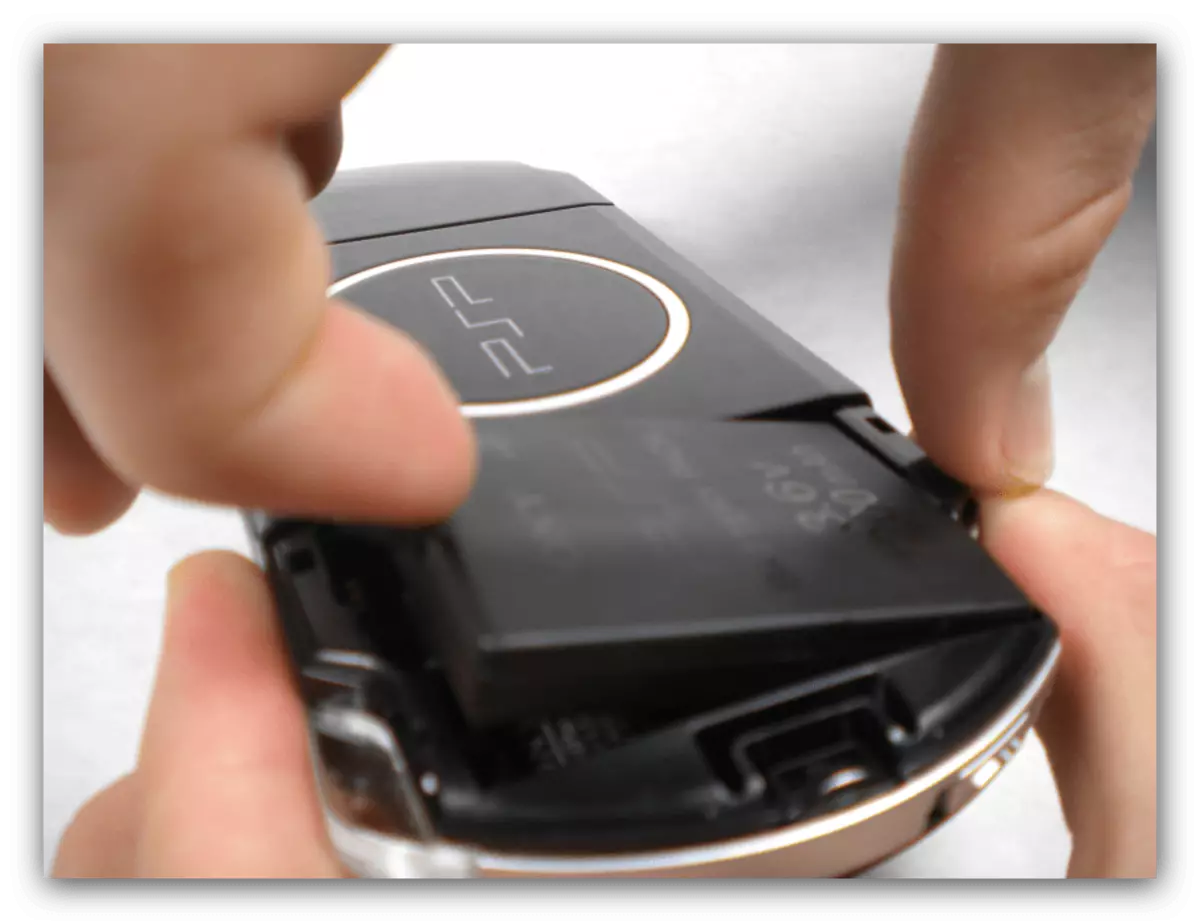
- Turn off the console, then open its battery compartment and remove the battery.
- Pay attention to the sticker on the rear wall of the compartment - the exact series and the device model are indicated there.
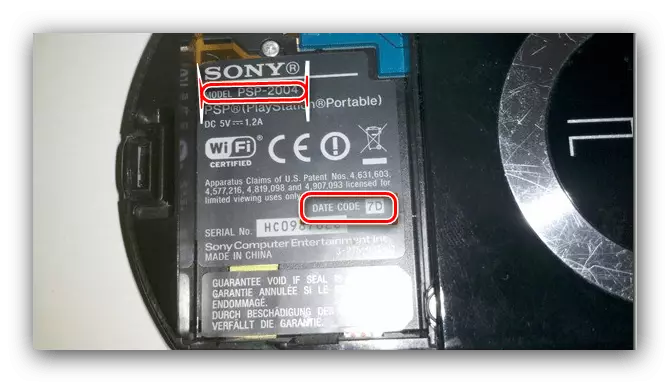
Low below is the line "Date Code", which is needed by PSP 2000 SLIM users. The values are as follows:
- "8A" and "8b" - it will be possible to install a permanent firmware;
- "8C" and "8D" - exclusively virtual firmware are available, the installation of the constant will lead to the "oxidizing" of the console, since the TA-088V3 motherboard is installed in this embodiment, which is protected from the CFW installation.
If this element is missing on the sticker, open the UMD drive cover and take a look at the top segment of its inner part - there must be a plastic element with an indication of the code. If it is absent there, it is better not to risk and install a Virtual CFW version.
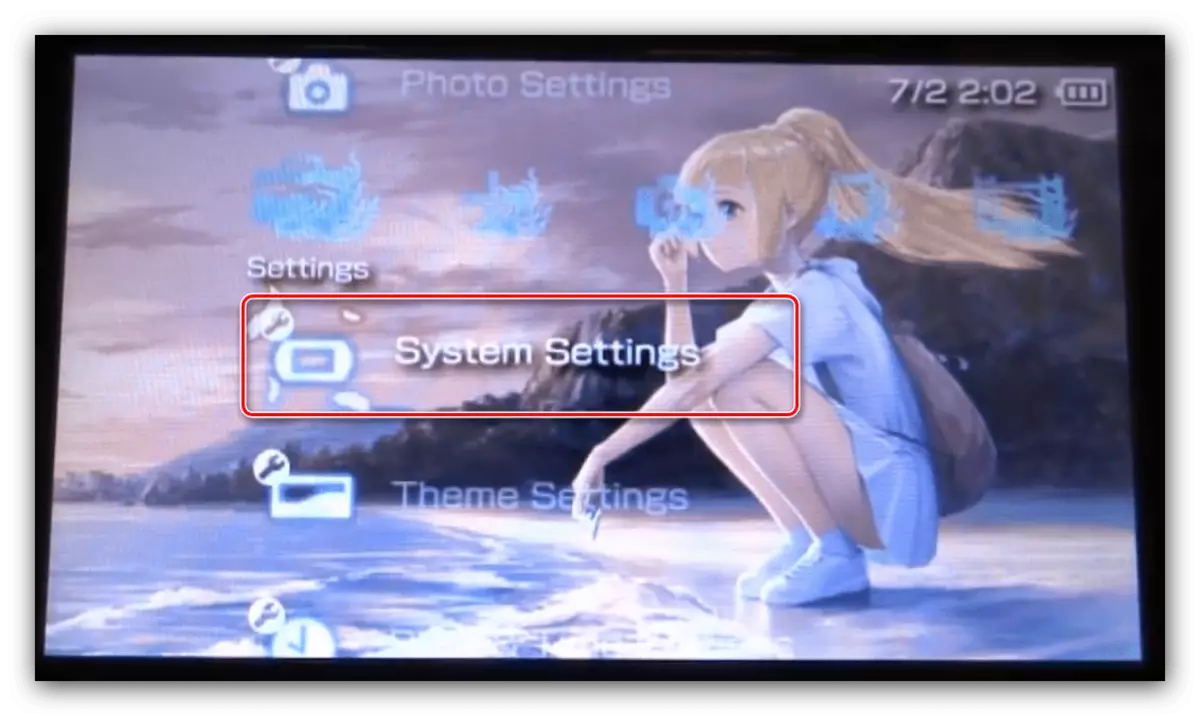
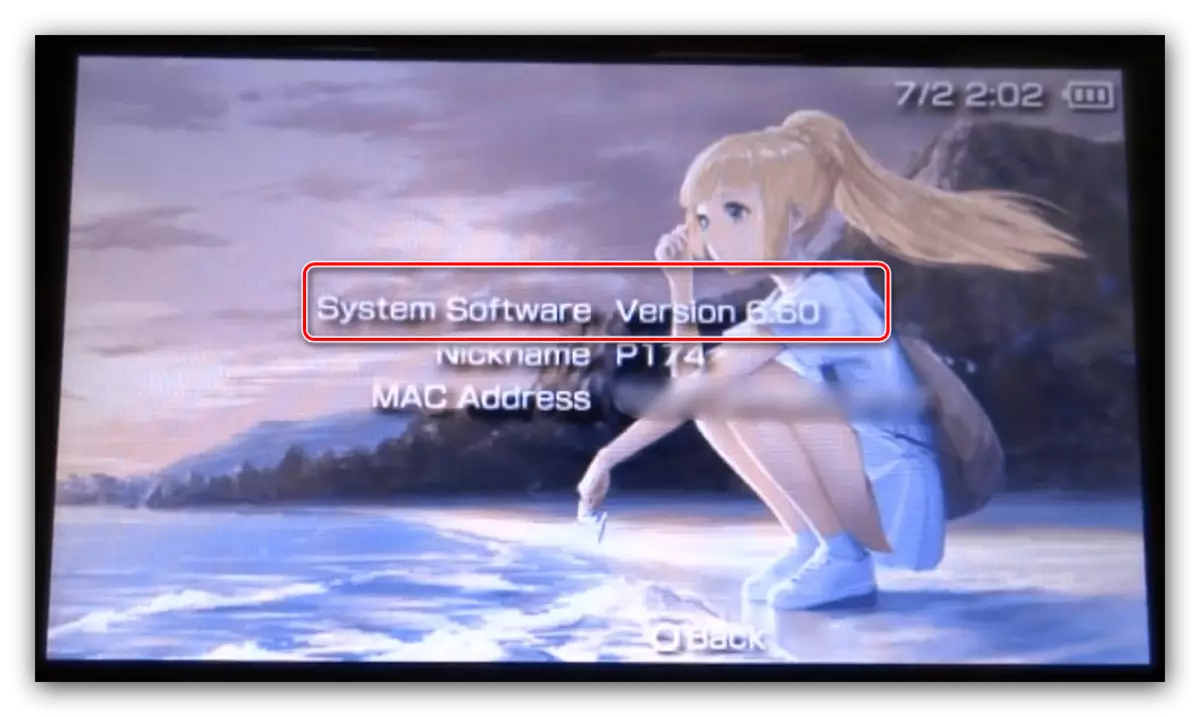
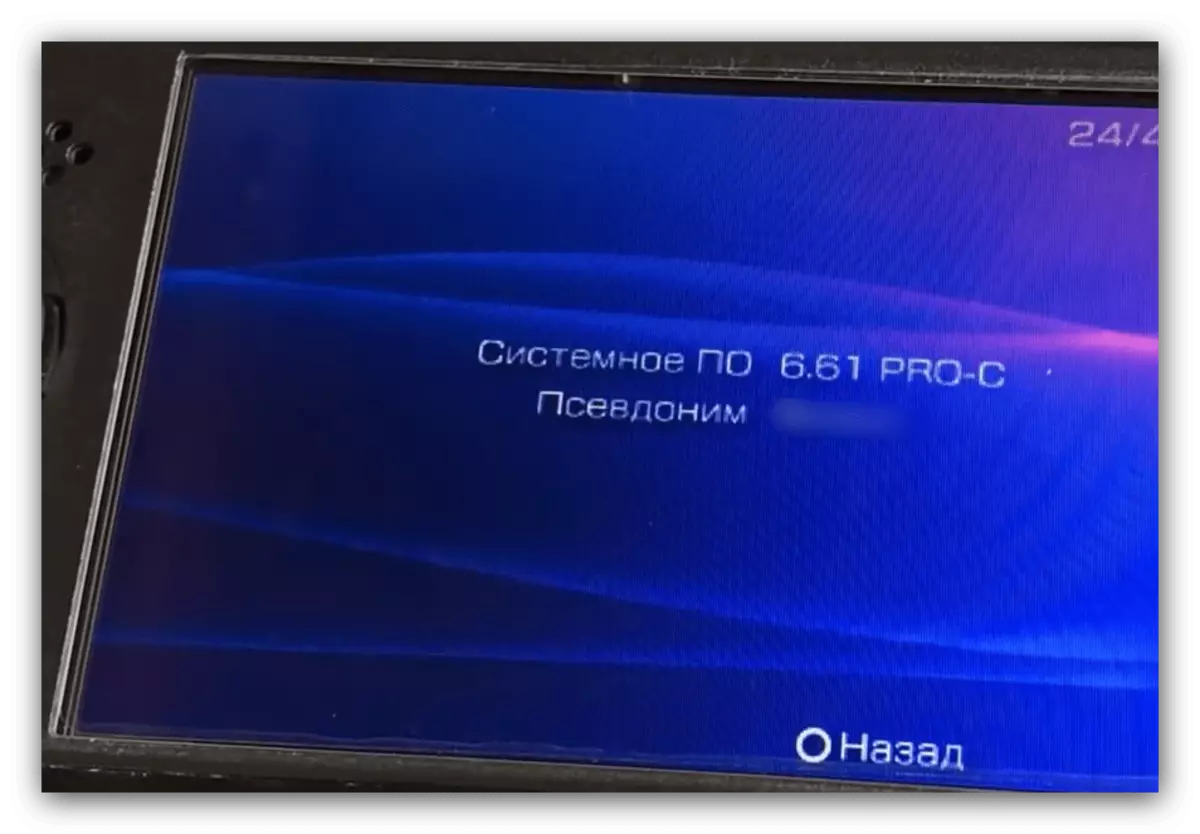
- Also, you will also need to find out the version of the installed system software - the third-party version of the firmware and the ITW present must coincide. To do this, open the "Settings" items - "System Settings".
Next, use the "System Information" option.
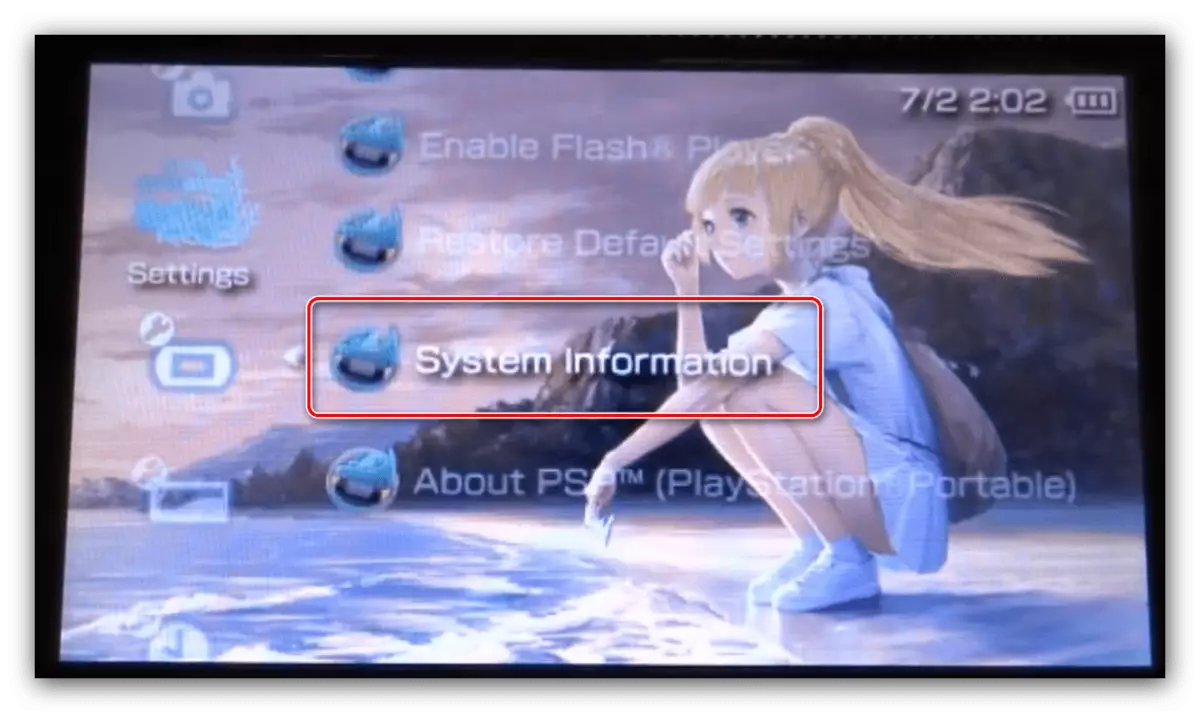
A window will appear with the version of the installed software, a network pseudonym and the MAC address of the console.
Attention! Do not attempt to install a third-party firmware of the version below installed official, otherwise you risk getting "brick"!
After clarifying all the necessary data, go to the next step.
Stage 2: Download the desired files
At this stage, you should decide what kind of third-party firmware you want to get for your console, download it and move it to the memory card.
- To date, there are such CFW:
- L (ME) - the oldest of existing options from the Japanese developer Neur0N. Supports both the launch of ISO versions of games and third-party homebrew applications and a variety of plugins;
- Pro is an alternative version of the previous one concentrated on a larger functionality (includes all possible virtual UMD drive drivers and a kind of emulator for a multiplayer via Wi-Fi, downloaded and installed separately), but less stable than version L (Me).
There were also older versions of firmware from other developers, but now they are irrelevant. Thus, you can choose one of the CFW proposed above and download the links further.
Attention! Versions below are designed to version OFW 6.60!
Download Satisfied Firmware L (ME)
Download Satisfied Firmware Pro
After downloading, unpack the archives at any convenient place.
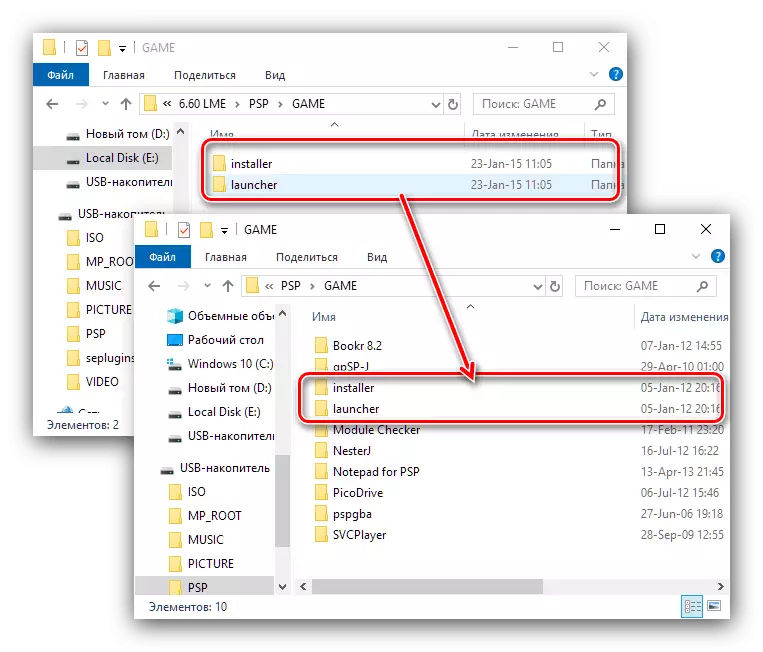
- Connect the PSP to the computer, then copy to its memory card, at PSP / GAME, the following folders:
- To install 6.60 LME - Installer and Launcher directories from the relevant directory;
- To install 6.60 Pro - FastRecovery and Proupdate, and send a seplugins directory to the root of the memory card. Also, if there was already a custom firmware on the console, the folder with such a name could remain - in this case, you can simply transfer only files.
Attention! The CIPL_FLASHER folder needs to be copied only by the owners of PSP 1000 and PSP 2000 with the possibility of installing a constant firmware!
- Disconnect the console from the computer

After all the necessary files are loaded and copied to the memory of the console, you can move directly to the installation of CFW.
Stage 3: CFW installation
The installation of a third-party system software for PSP itself is simple. The procedure for both topical options is largely similar, so we give a general algorithm, noting only the differences.
Important! All further action you make risks at your own!
- First of all, make sure the battery is charged by more than 78% or connect the power supply to the console.
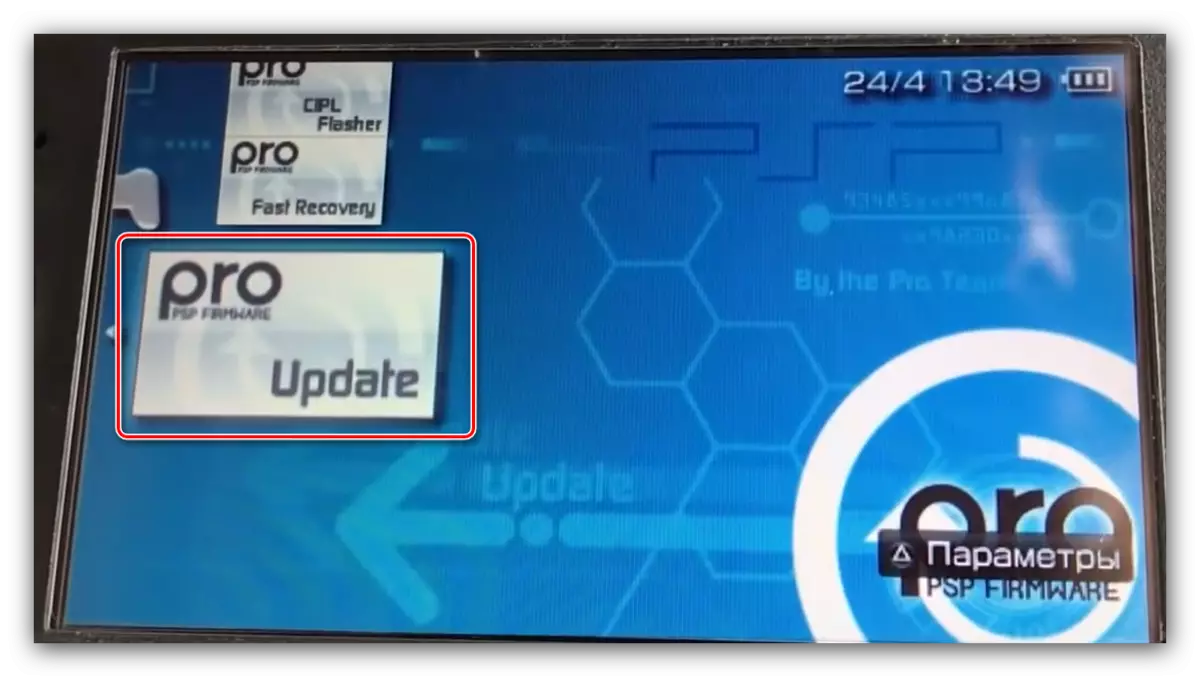
- Next in the XMB interface, go to "Games" - "Memory Stick" and run the files:
- "LME Installer for 660" - for option 6.60 LME;
- "PRO UPDATE" - for option 6.60 Pro.
- Start the text interface of the installer. To start the installation, you will need to press the X button.
- Wait for the procedure to complete, after which the prefix will reboot already in the custom firmware. To check this, open the "Settings" items - "System Settings" - "System Information", where a third-party option should be specified in the "software version" column.
- Since we installed the virtual firmware, after a complete shutdown of the console (for example, due to the discharge of the battery), it flies, that is, it will be unloaded from RAM. You can re-run it through the second file in the points "Game" - "Memory Stick":
- "6.60 LME LAUNCHER" for the same version;
- Fast Recovery for 6.60 Pro CFW.
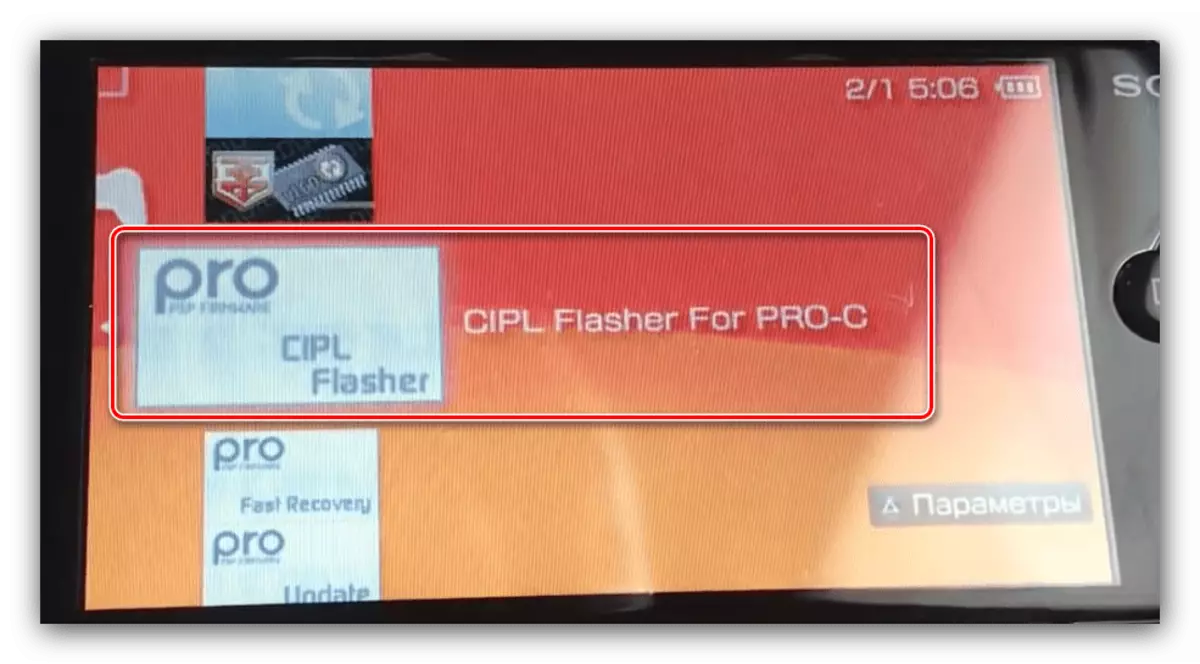
- There is a way to make a firmware 6.60 Pro CFW constant, but only for supported models mentioned in step 1.
Attention! An attempt to make a virtual firmware constant on unsupported models will lead to the exit of the console's console!
To do this, run the CIPL Flasher application, click the Cross after opening it and wait for the procedure.


Ready - Now all the possibilities of third-party system software are available.
Conclusion
This end our instructions for the PlayStation Portable firmware for official and third-party options. As we see, the procedure itself is very simple, whereas the main role is played by the preparatory stage.
- The first thing to pay attention to is the form factor of the prefix package. Models of the series 1000, 2000, 3000 and E1000 are made in the form of a monoblock.