
Now users of the Ubuntu operating system are increasingly interested in various additional components necessary to expand overall functionality. Some establish special softe sets that interact with network protocols or allow you to create different purposes. One of the most important elements that is designed to transform JavaScript in general purpose is called node.js. By default, it is missing in Ubuntu, so today we want to demonstrate four available methods of installing it.
Install Node.js in Ubuntu
Then we will discuss absolutely all available installation options. Each of them has its own action algorithm required for execution. In addition, all these methods will be optimal in certain situations, for example, if desired, install the old version of Node.js or do it via NVM (NODE Version Manager). We advise you to study all the instructions presented, and then choose the one that will be suitable.Preparatory actions
Some owners of the distribution under consideration already have a program called Node. Now it is not used, but it can interfere with the correct interaction with Node.js, so before installing, we recommend checking the availability of this software and remove it, which is carried out as follows:
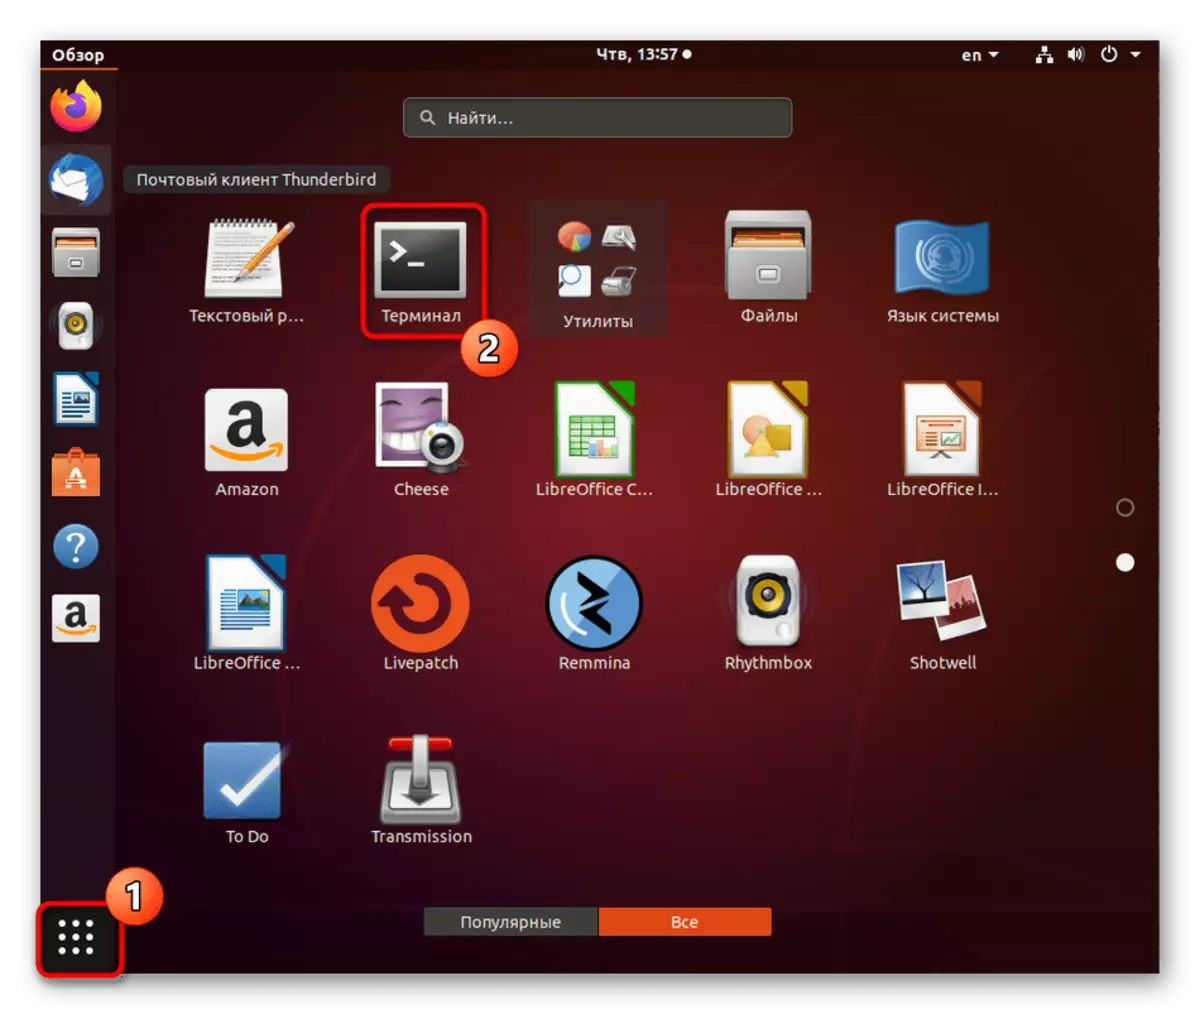
- Open the application list and run the "Terminal". You can open the console and any way convenient for you.
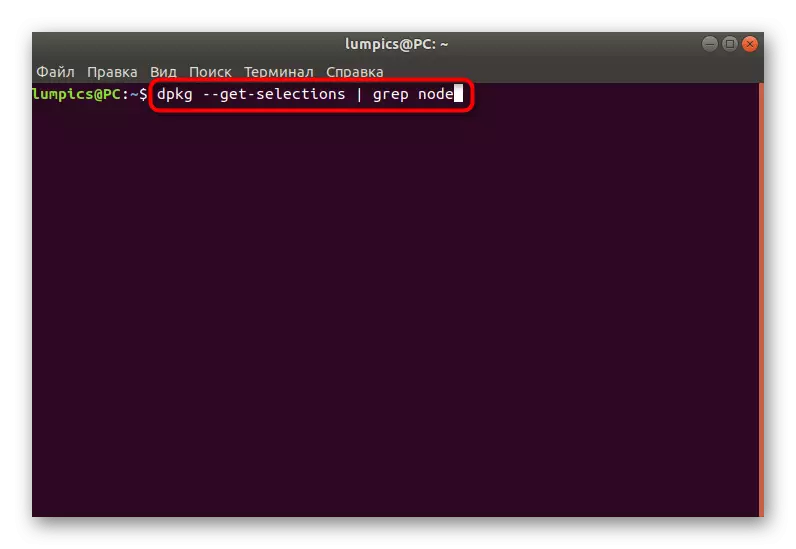
- Type dpkg --get-selections command | GREP NODE to check for the presence of the software installed and then press the ENTER key.
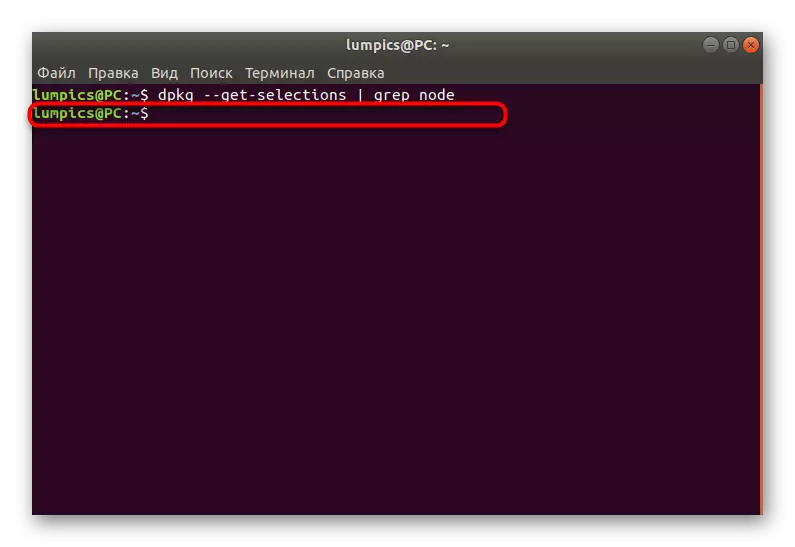
- If an empty line of a new input appears, it means that the software was not found and can move to the installation. Otherwise, you will have to remove.
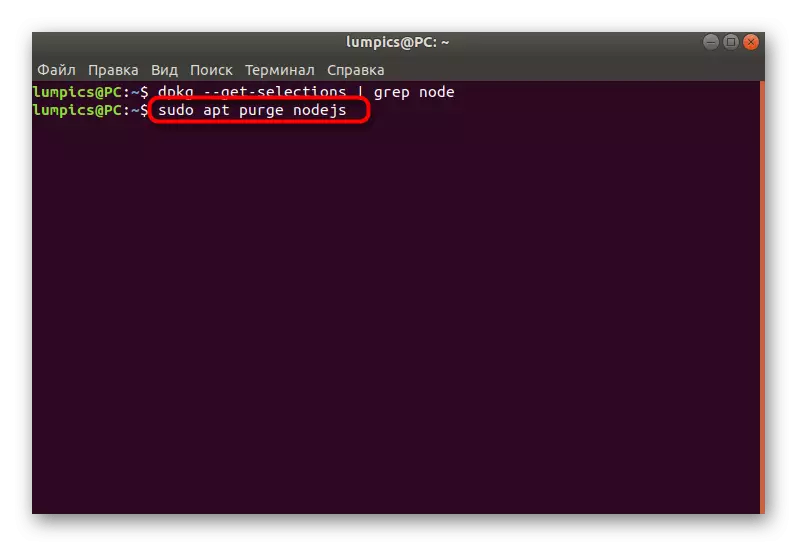
- To do this, use the Sudo APT Purge Nodejs command.
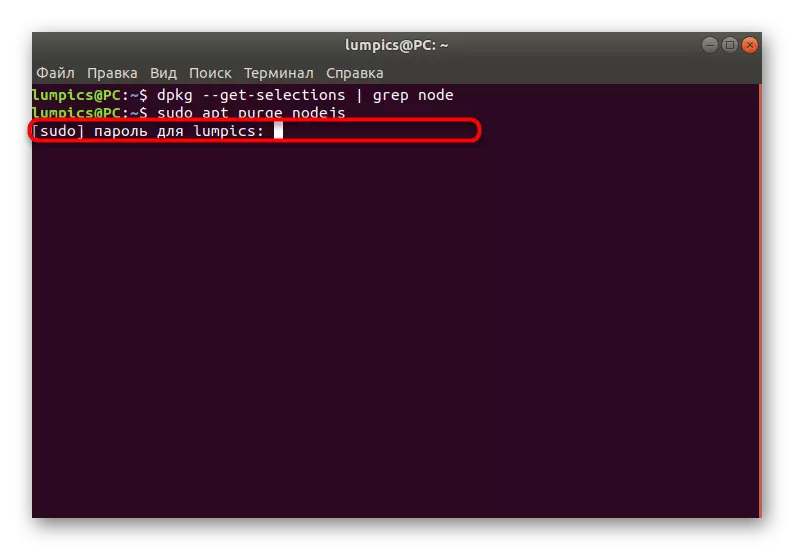
- When requesting a password, enter it by confirming the press on ENTER. Note that while writing characters are not displayed for safety.
After successful uninstallation, you can immediately switch to the choice of the method to install the last or other desired version of Node.js.
Method 1: Installation in NVM
We have already clarified above, which is NVM. His destination is to manage the established versions of Node.js. Such a tool is necessary only if you install a lot of assemblies and want to switch between them from time to time. This method of adding a component is also implemented through the console.
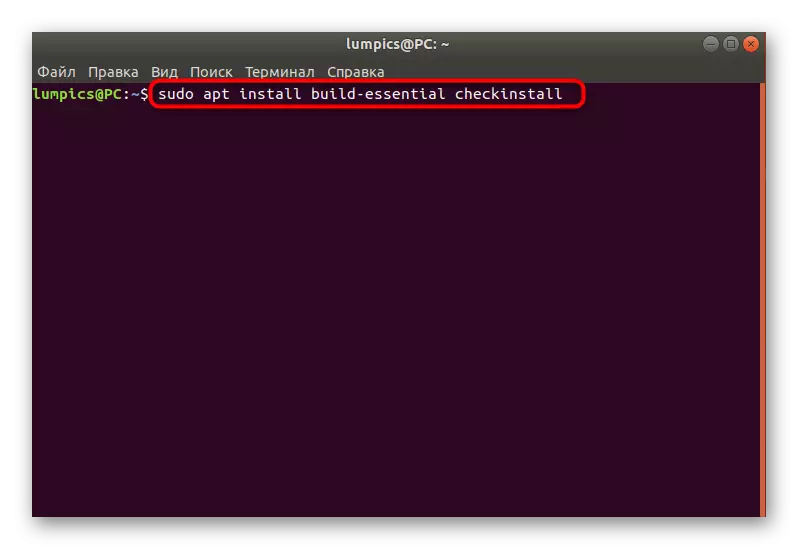
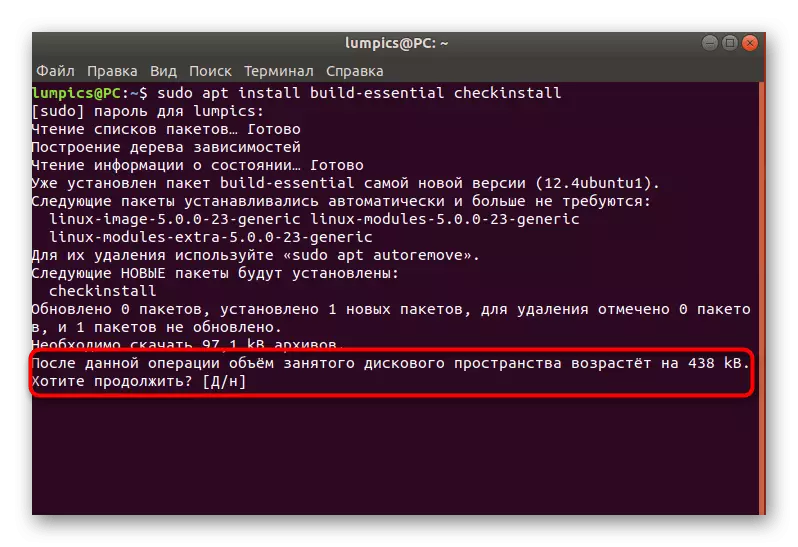
- Let's start installing the elements required for the correct functioning of the Node Version Manager. Initially, they are not supplied in the assembly of the OS, so it will be necessary to add them manually. Insert the first Sudo Apt Install Build-Essential Checkinstall command and click on ENTER.
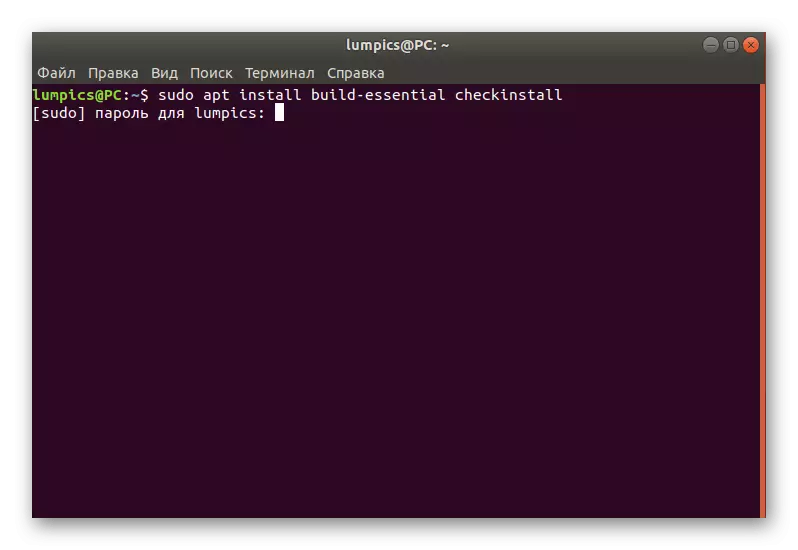
- Enter the password to confirm the superuser account.
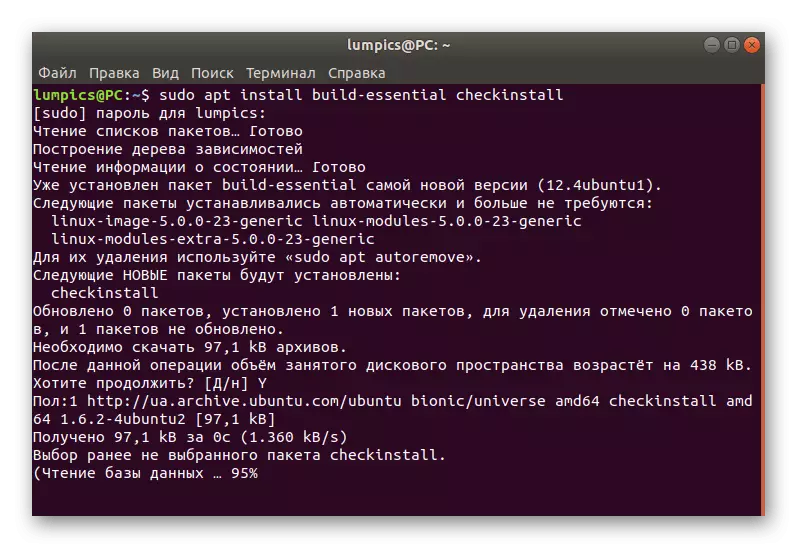
- There will be a notification that it will be downloaded to download a certain amount of information. Confirm this message by selecting D.
- Expect the end of installation.
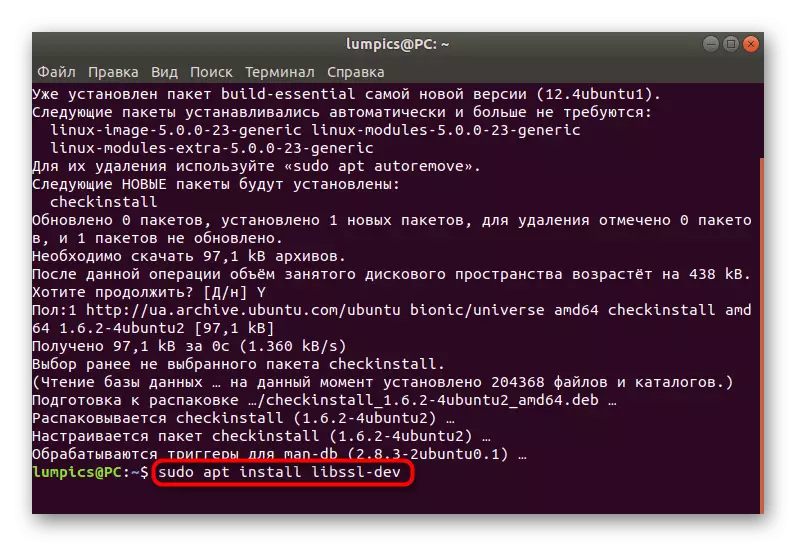
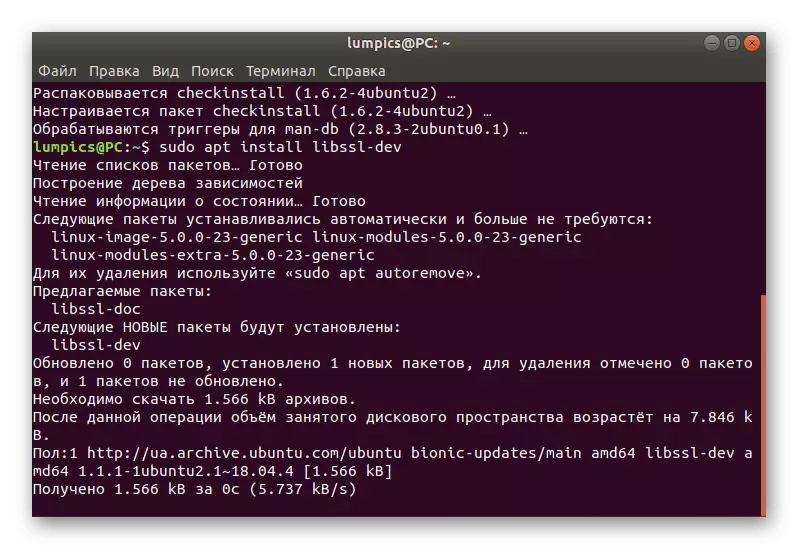
- After that, add a developer library by writing Sudo Apt Install Libssl-Dev.
- Here, too, you will have to wait ten seconds so that all archives boot to the computer.
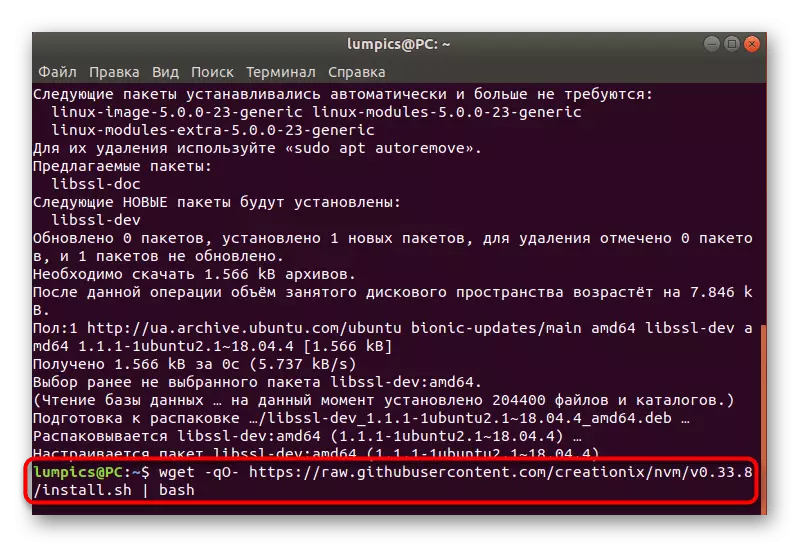
- Go to download version manager. For this, a more complex team is used, which has an appearance of wget -qo- https://raw.githubusercontent.com/creationix/nvm/v0.33.8/install.sh | bash.
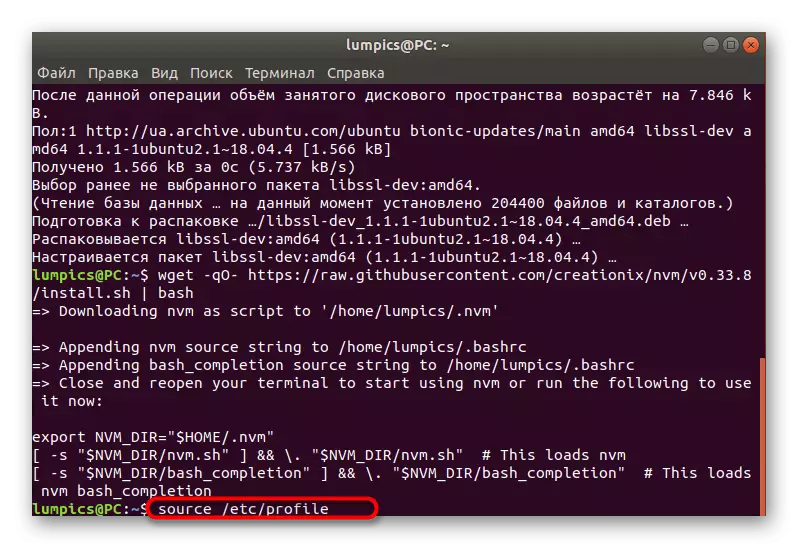
- Create a new session in the Terminal or enter the SOURCE / ETC / PROFILE command to update the configuration.
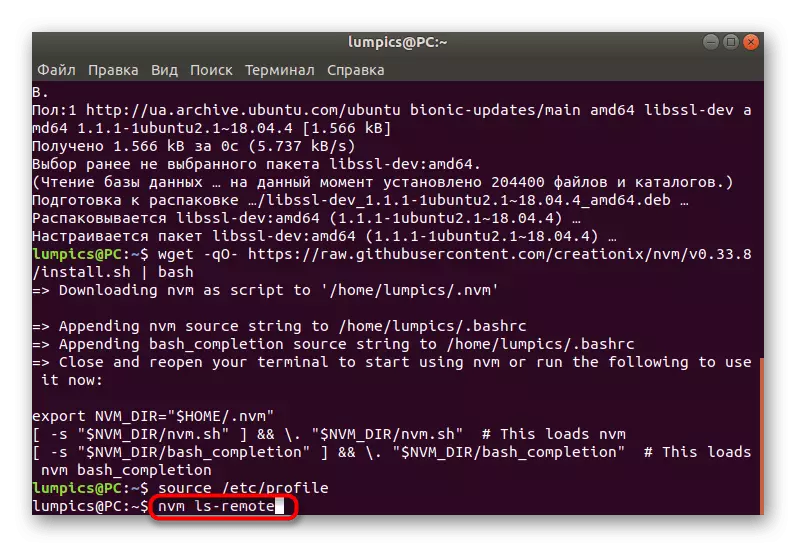
- Browse the list of all available versions via NVM LS-Remote.
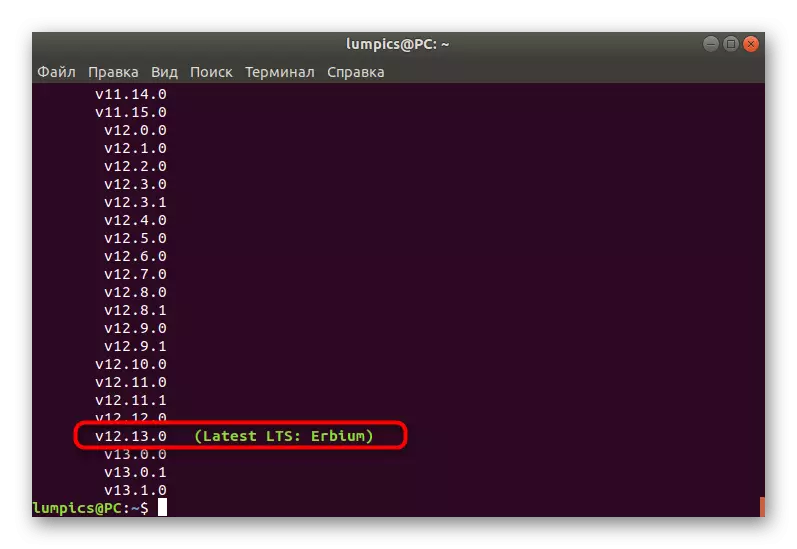
- Last LTS Assembly will be marked with green.
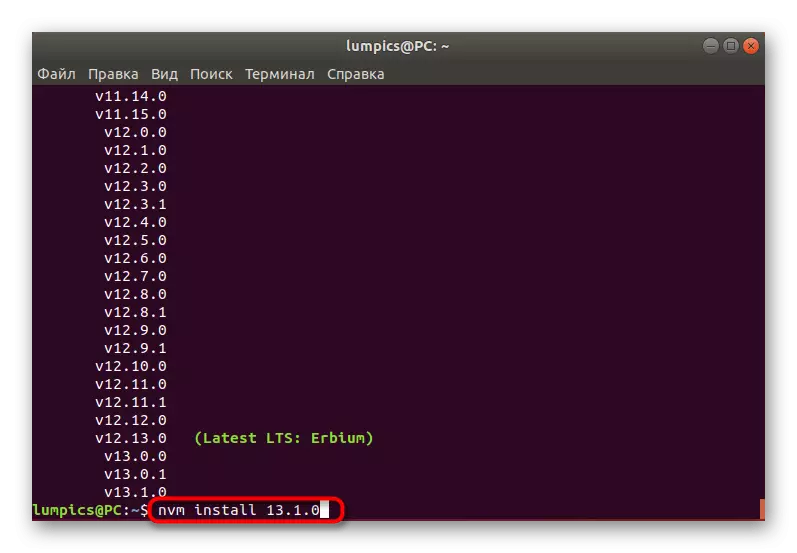
- Now you can start installing the necessary versions. Use the NVM Install 13.1.0 command for this, where 13.1.0 is the number of the required assembly without the letter V at the beginning.
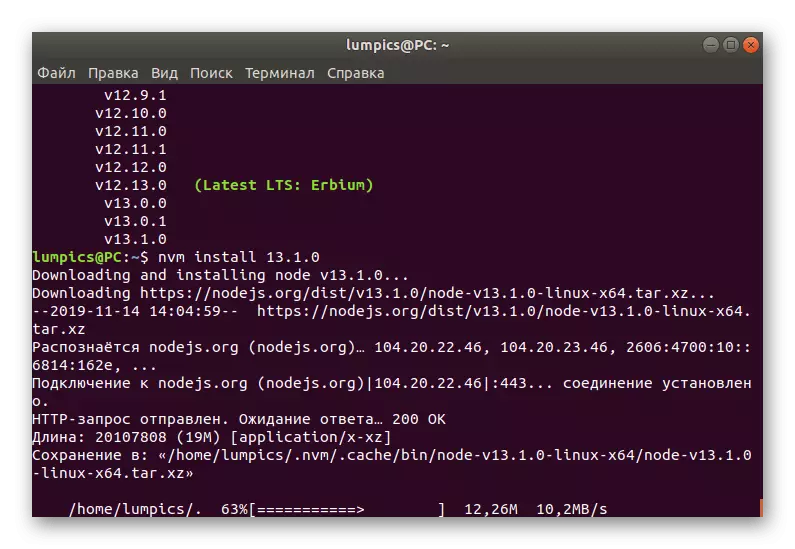
- The installation process will take some time. Do not close the console, otherwise all progress will be reset.
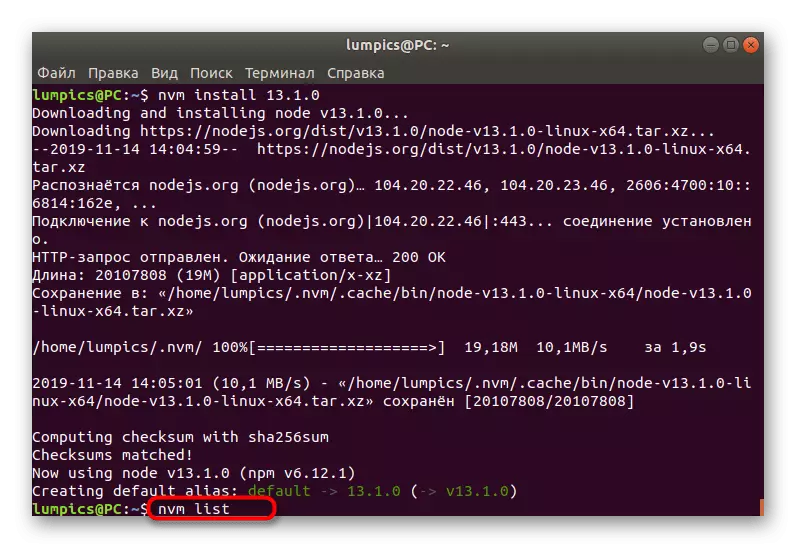
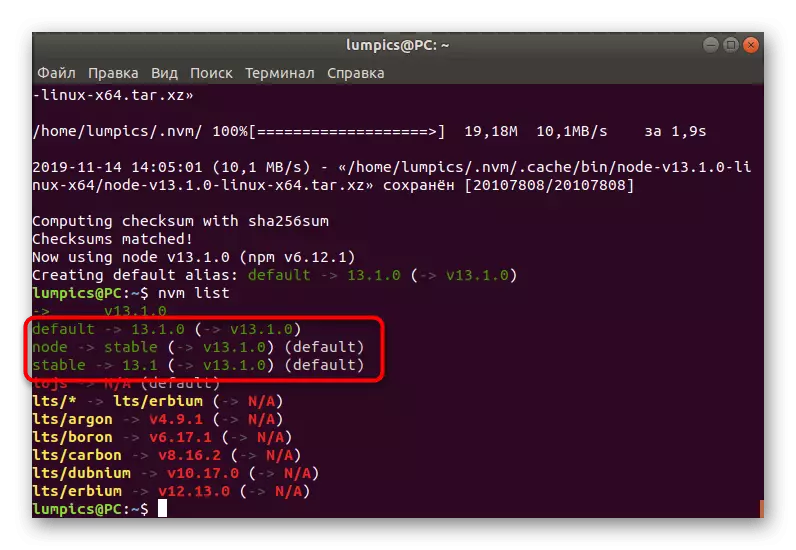
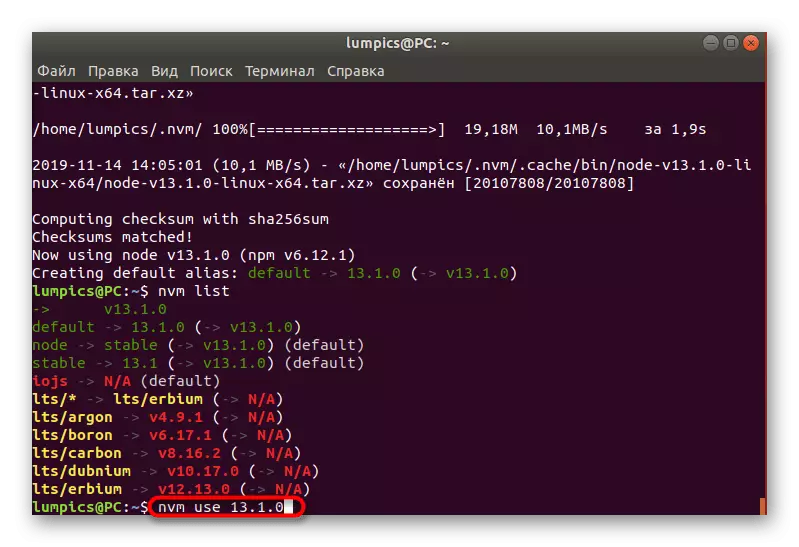
- Enter the NVM List command to display the list of all the assemblies added to PC.
- In the new lines you will see all the information you are interested in.
- The NVM USE 13.1.0 command is responsible for switching between versions.
- You will be notified of which assembly is active now.

Now you can go to the full use of NVM, installing the desired number of different versions of node.js and driving them in every way.
Method 2: Using Ubuntu Batch Manager
Using a batch manager is a classic version of software installation in the operating system under consideration today. However, the implementation of such a method is possible only if there are software files in official repositories. Node.js is available in these storage facilities, which means that the installation will be successful.
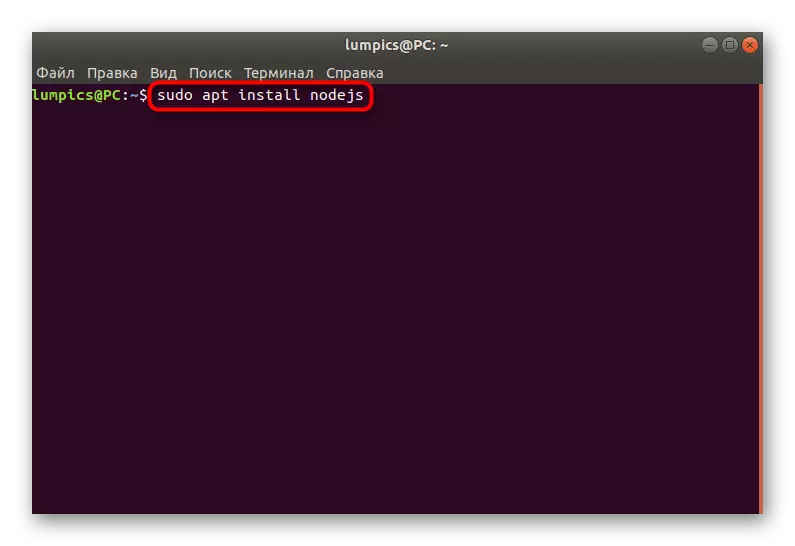
- Start the "Terminal" convenient for you and enter the standard Sudo Apt Install Nodejs command there, after clicking on the ENTER key.
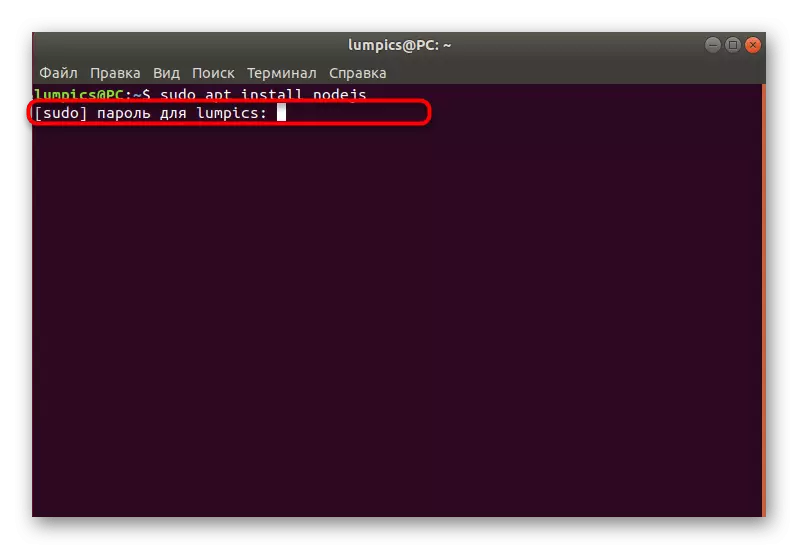
- Print password to confirm the superuser rights.
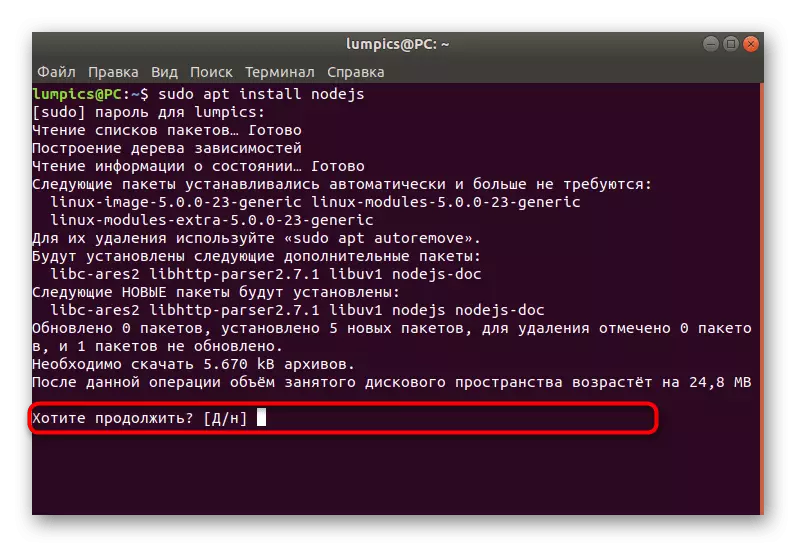
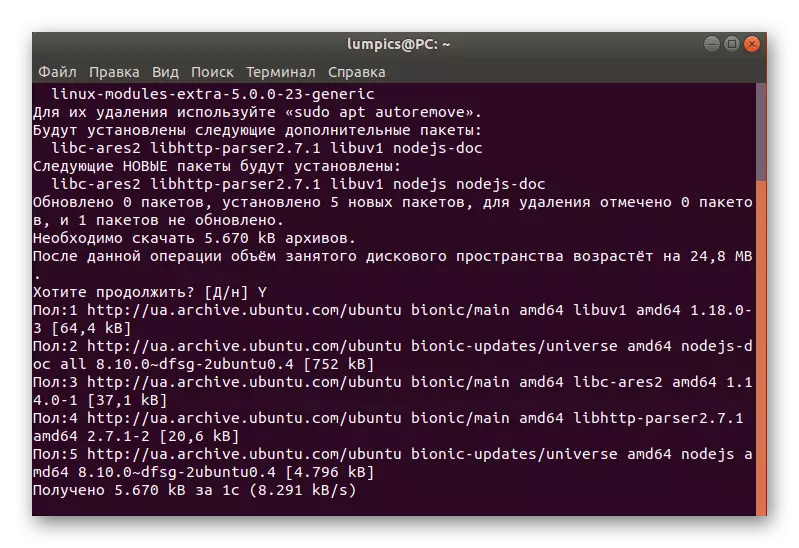
- Confirm the information about the busy disk space by selecting the D. option
- Wait for the end of the unpacking of the received archives. During operation, do not close the console window, as this will lead to the clock of the download.
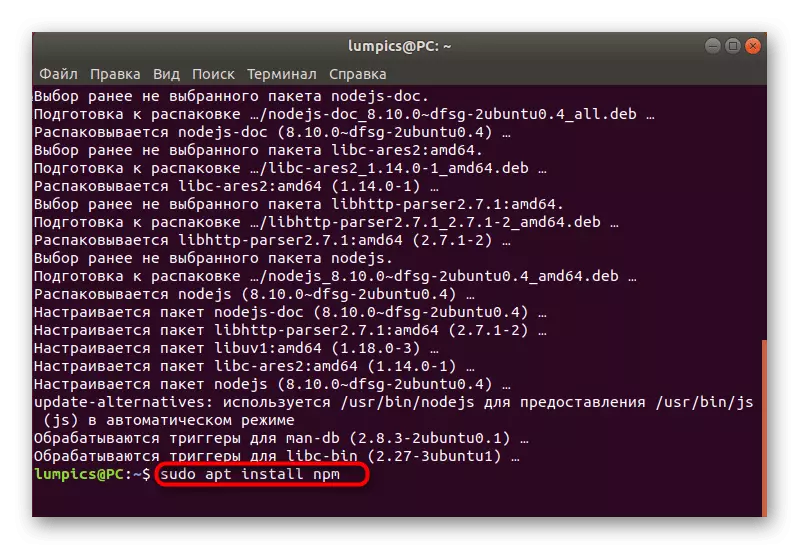
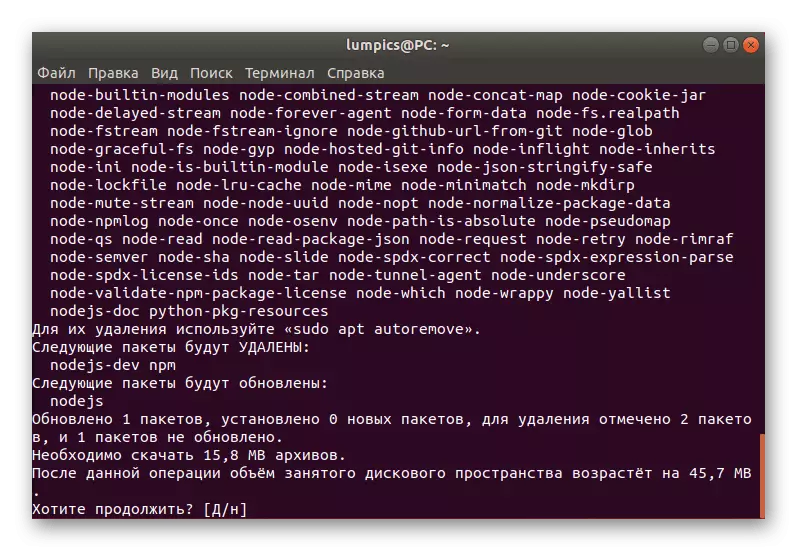
- Node.js has a package management utility. If you use the current method, it will not be installed automatically, so you should independently activate the Sudo APT Install NPM command.
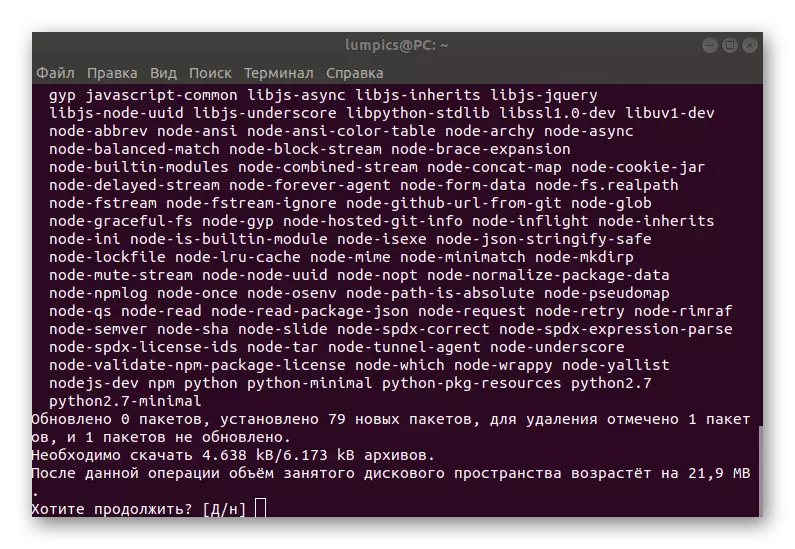
- It will be necessary to confirm the operation of the discsion of the disk space and wait for the completion of the addition of files into the system.
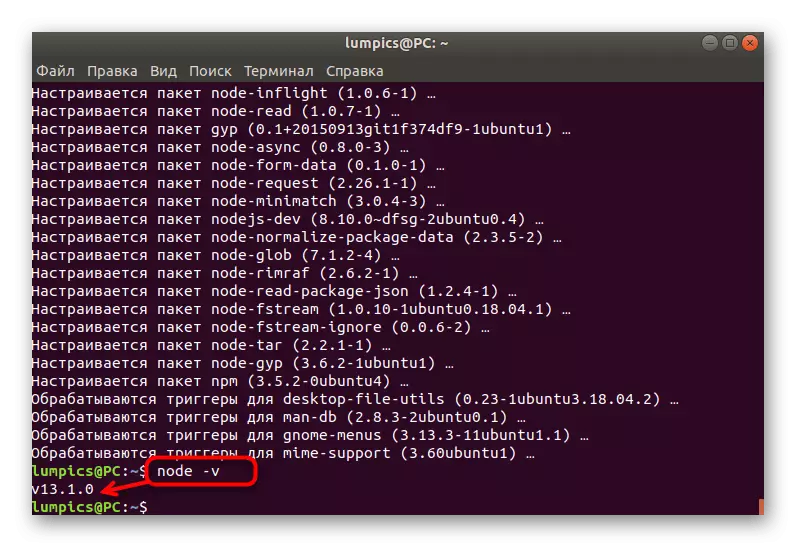
- After you can use the Node -V command to check the current version of the installed software. The new line will display the desired information.
Before using this method, keep in mind that the latest topical version of the software will be installed on the computer. If you want to choose an assembly yourself, this method is definitely not suitable for you.
Method 3: Custom Repositories
As you know, in addition to official storage facilities, the Ubuntu standard package manager supports the installation of software through user storage facilities. If you wish to use this option, you should select the optimal assembly in advance, since the version will have to specify directly during the command input.
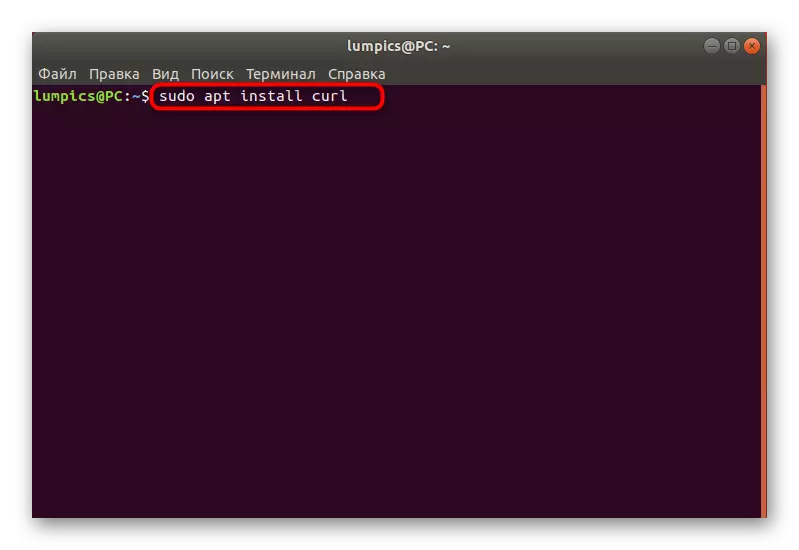
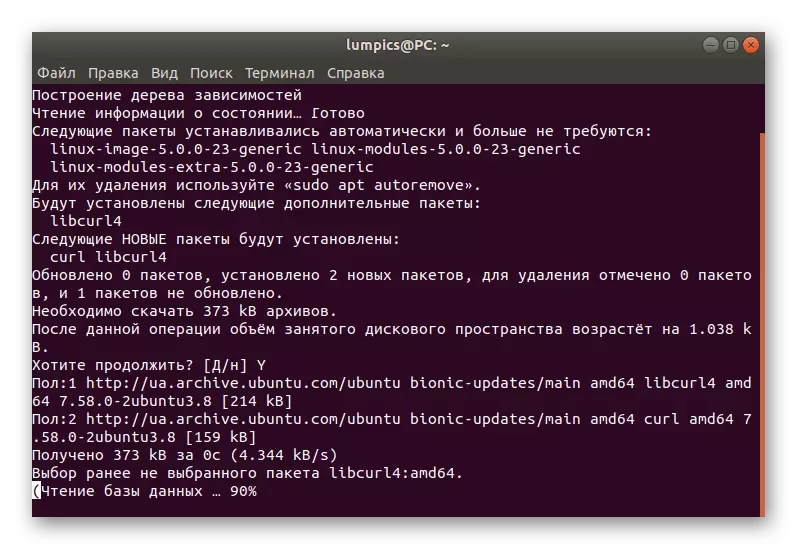
- Open the console and use the Sudo APT Install CURL command. It will start the installation of a special utility that is useful to unpack the files of the resulting archive.
- Enter the superuser password and wait for the addition of the software.
- Insert CURL -SL https://deb.nodesource.com/setup_10.x | Sudo Bash - and click on ENTER to receive archives Node.js. As you can see, in the last expression setup_10.x it is indicated that the tenth version will be added. Change the numbers to the required to install another assembly.
- The speed of receiving all archives depends on the quality of the connection with the Internet and the power of the computer.
- Use the already familiar Sudo APT Install Nodejs command to compile the resulting archive.
- Confirm the addition process by selecting the appropriate answer option.

As you can see, this option is ideal for successfully installing one or more existing Node.js builds. You only need to know the number of the desired version, and this information can be found in free access via the Internet without any problems.
Method 4: Obtaining an archive from the official site
Not always on the computer there is an Internet so that you can install Node.js in one of the above methods, therefore, there is a desire to receive archives with the subsequent possibility of adding to Ubuntu. You can download TAR.GZ from the official site, and the installation process itself is as follows:
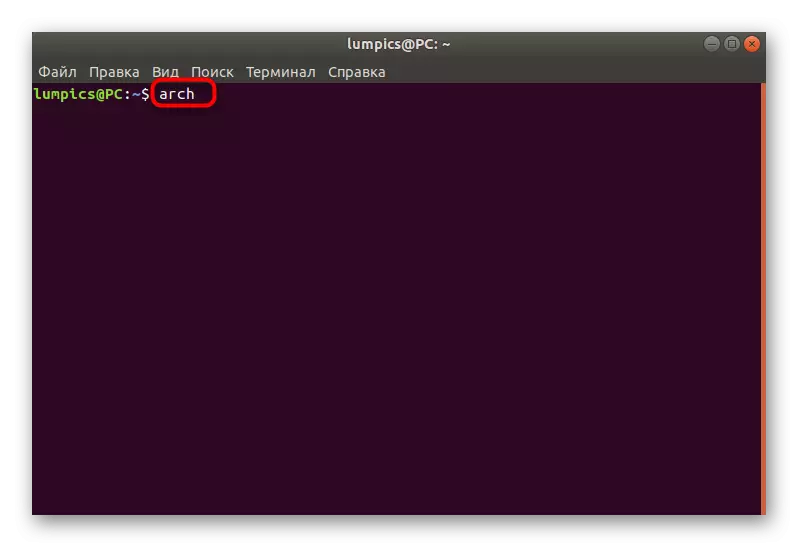
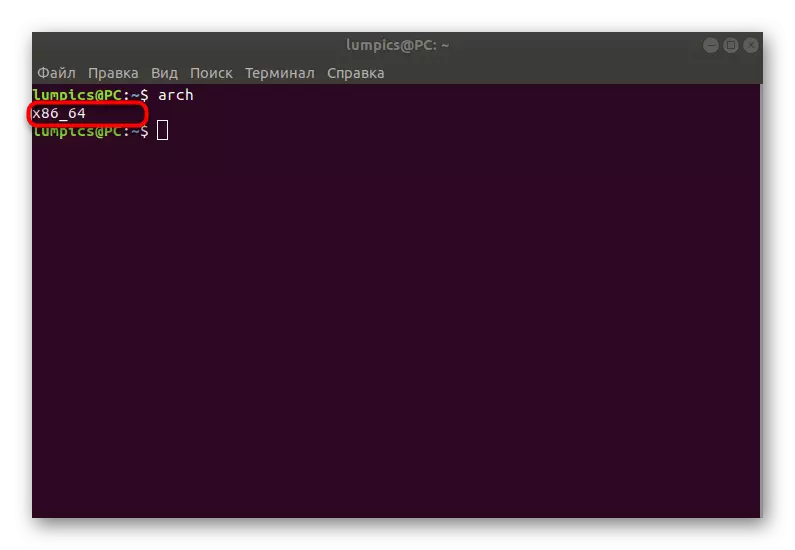
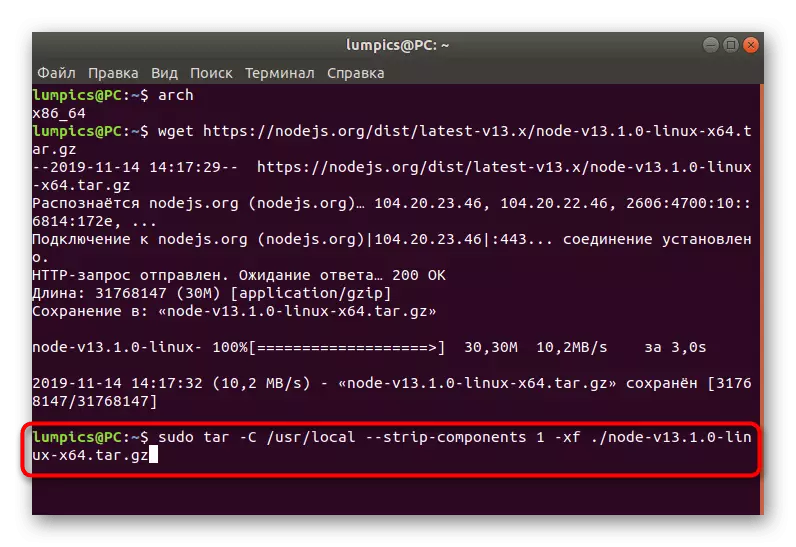
- To begin with, you will need to determine the architecture of the operating system to know exactly what archive to download. Enter the Arch command in the console and click on ENTER.
- In the new line, the information you are interested in.
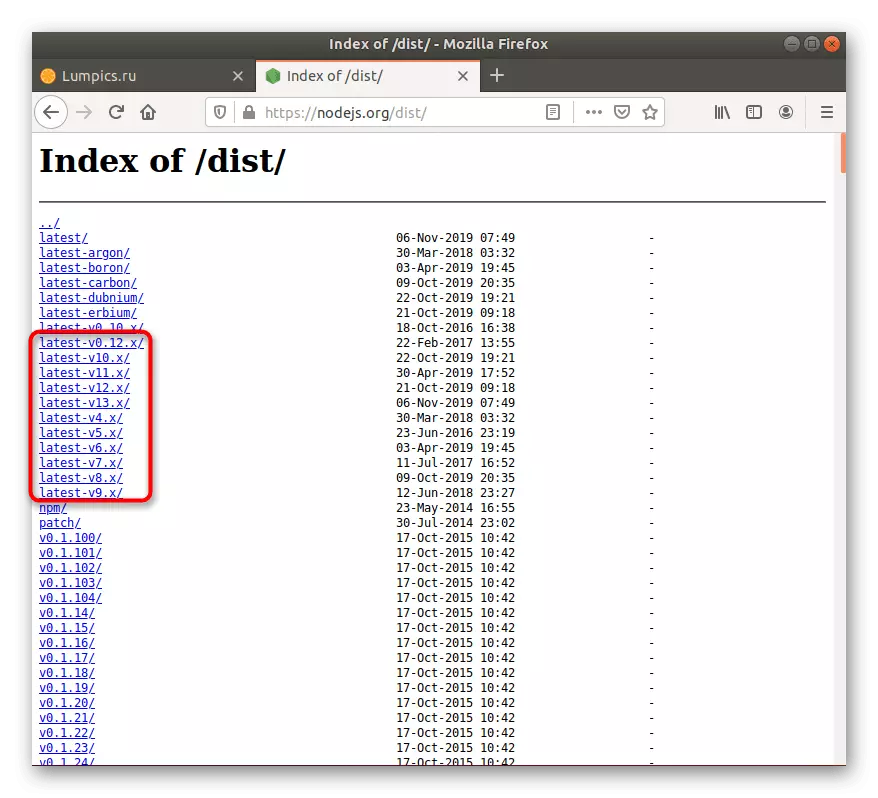
- Go to the above link to get to the official site node.js. Here choose the appropriate version.
- Then find the supported archive in the list. If you want to install it via the Internet, copy the link to the folder, otherwise you need to download the folder to the local storage.
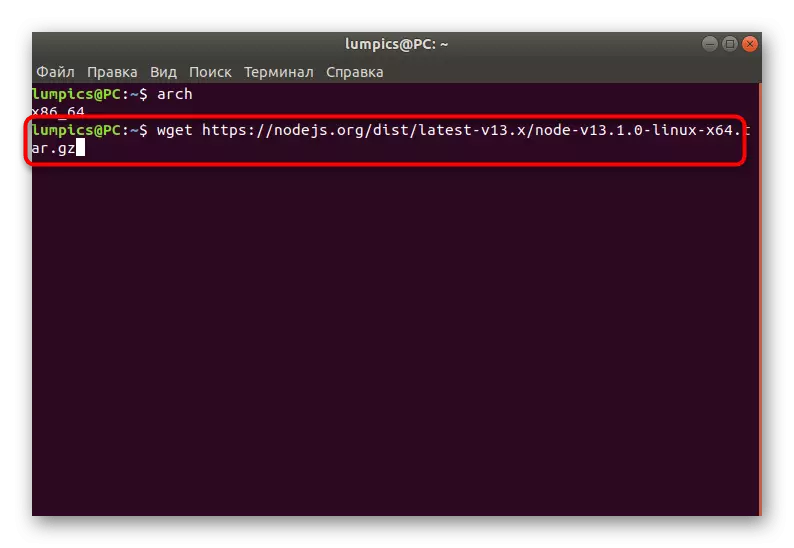
- If you decide to install the software via the Internet, open the console and write the wget https://nodejs.org/dist/lateest-v13.x/node-v13.1.0-linux-x64.tar.gz, where the line after the WGET - copied earlier Link to the archive.
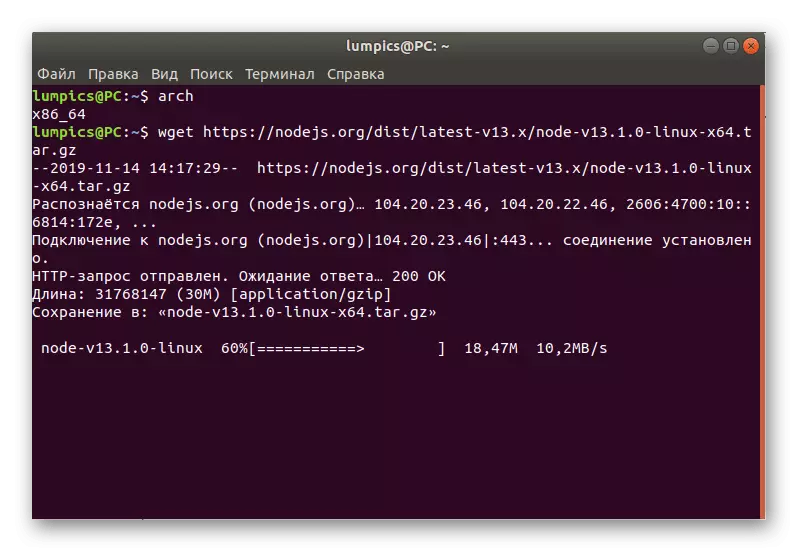
- Wait for the end of the download. During this process, you will see progress in a separate line.
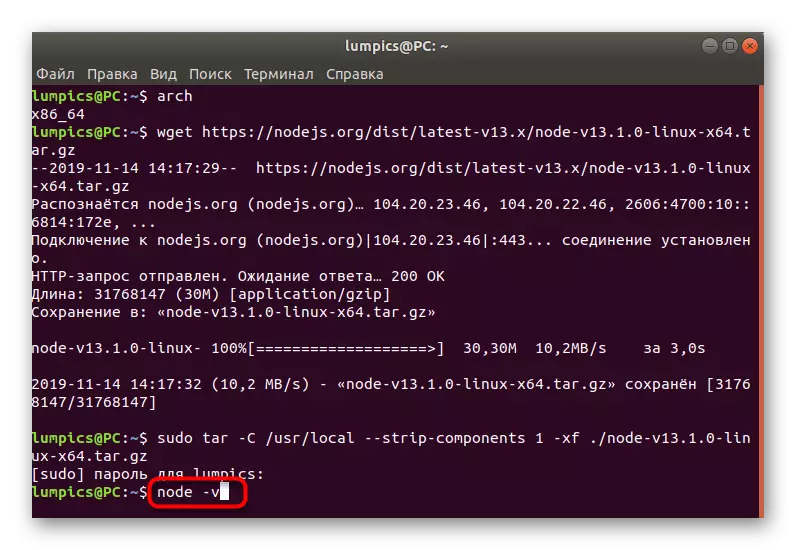
- After use Sudo tar -C / USR / Local --Strip-Components 1 -XF ./node-v13.1.0-linux-x64.tar.gz. If you want to install from the storage, instead of the specified link, enter the path to the archive location.
- In the end, only check the current version of Node.js to make sure that the installation is correct. Use for this already familiar team.

As part of today's material, you learned about all available Node.js installation methods in the Ubuntu distribution. As you can see, each user is able to find an optimal option for himself and embody it into reality, following simple instructions.