

The Linux distribution core is the basis of the operating system that is responsible for compatibility with devices and performs other important options. Now the developers are trying once a few months or even more often to produce core updates to introduce new features and support equipment. To Ubuntu, this topic also applies, so some owners of this distribution faced with the need to install updates. This procedure is performed relatively difficult, since each action will be made through the "Terminal". Next, we want to demonstrate two ways to cope with the task.
We update the kernel in Ubuntu
The official website on which information is located for each core update is called kernel.org. It is there that you can view absolutely all updates and changes made to the version of interest. As for the update process itself, it happens in manual or automatic mode. Each of these options has its own difficulties and features, so we offer to study them in detail in turns, as a result, to stop on the optimal one. However, for starters, let's see how to find out the current version of the kernel.Determine the current version of the kernel in Ubuntu
The definition of the current version of the kernel in Ubuntu occurs through the standard "terminal" by entering just one command. For this, they will not even need the rights of the superuser, and the whole process will take only a few seconds.
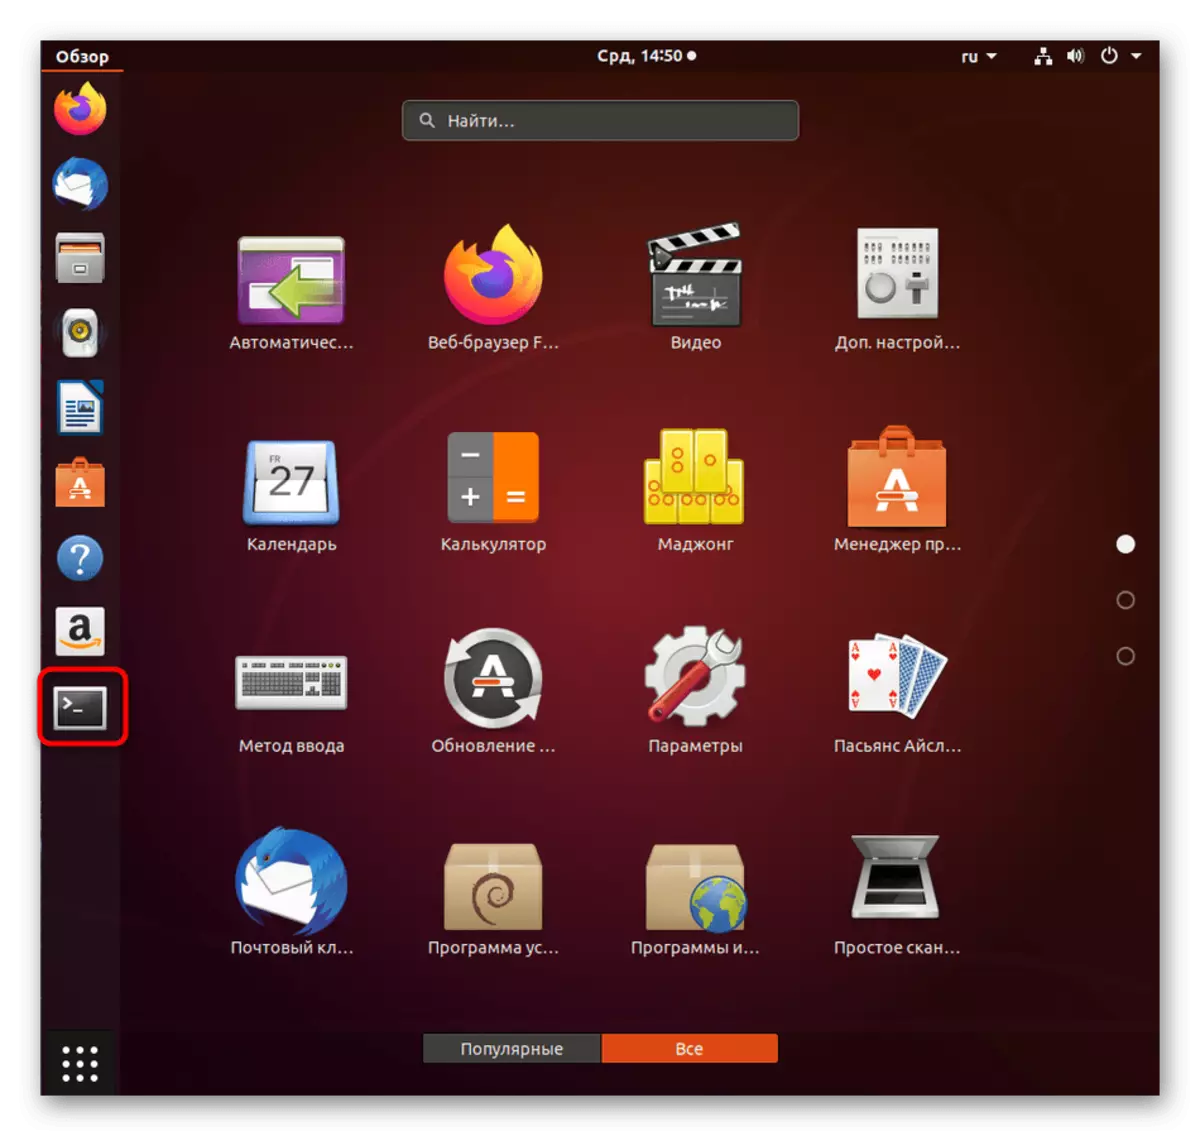
- Open the application menu and run from the "Terminal" from there. You can open the console and another way convenient for you.
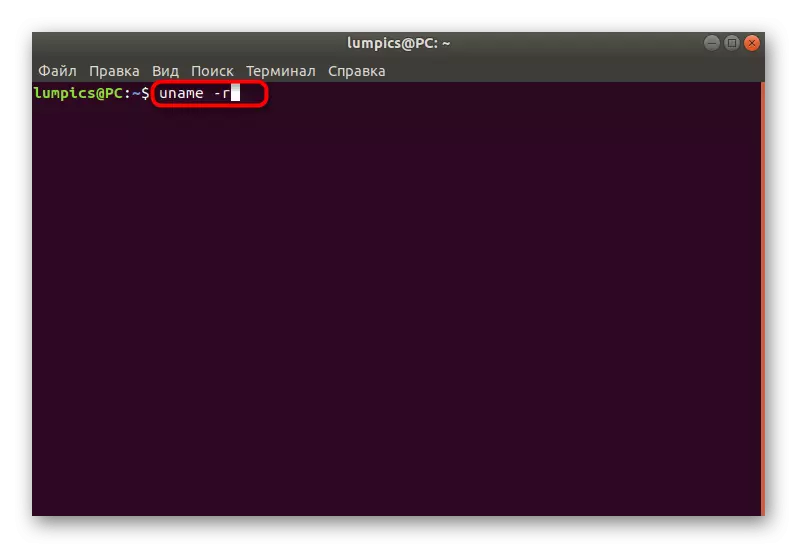
- Enter the ONAME -R command and press the ENTER key.
- The new line displays the type of kernel and its version.

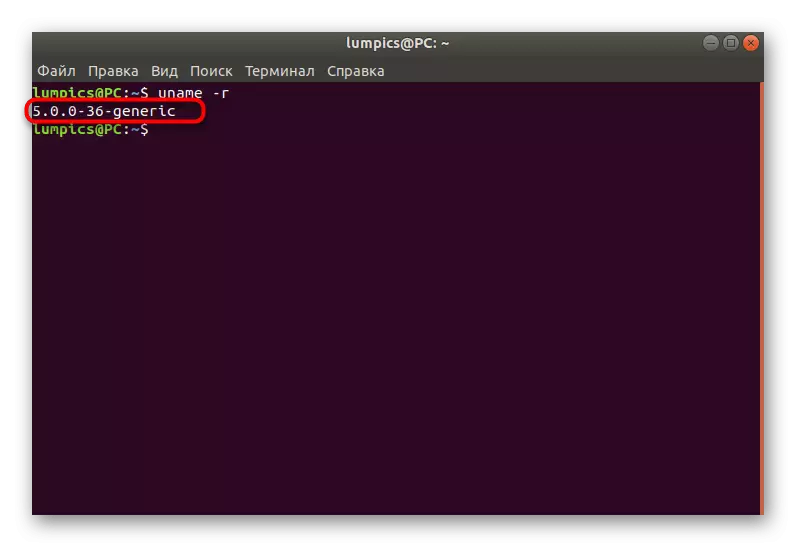
Now you know what kind of kernel is used in your assembly and you can understand whether it is worth updating it now and from what type to repel. In the future, upon completion of the installation of updates, we recommend using this command to determine the correctness of the installation of files.
Method 1: Manual update mode
The manual core update mode in Ubuntu will take a little longer than automatic, but at the same time you will receive variability in choosing versions and can even download them in advance from another computer, for example, on the USB flash drive, if there is no connection to the network on the main PC. You will only need to pre-select the appropriate assembly and use the commands given to install it.
Go to the official site to download Linux kernel files
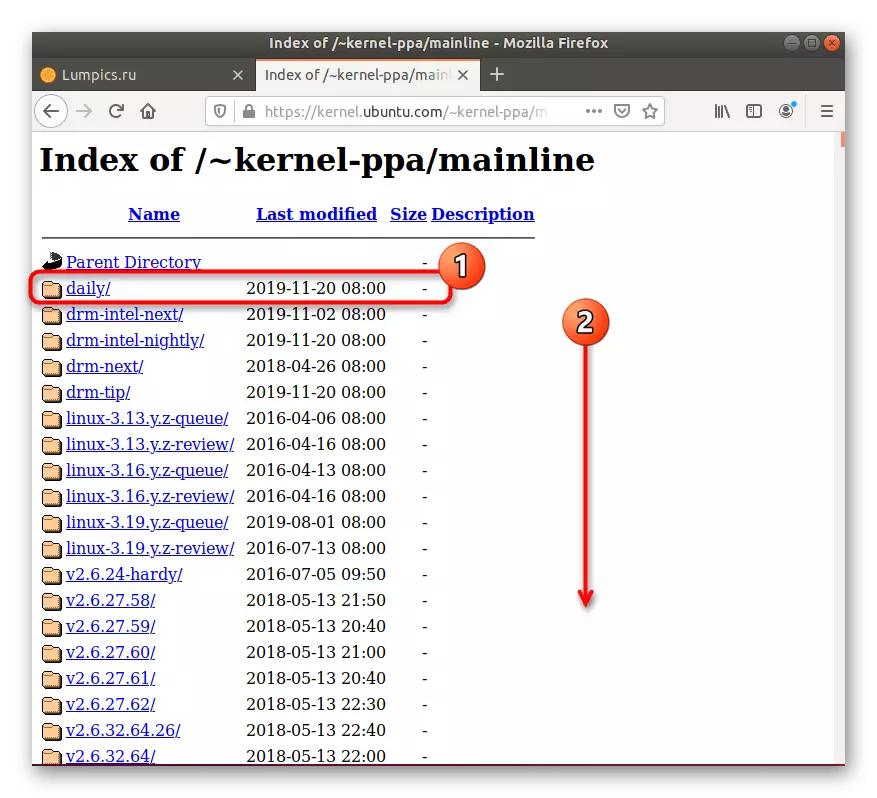
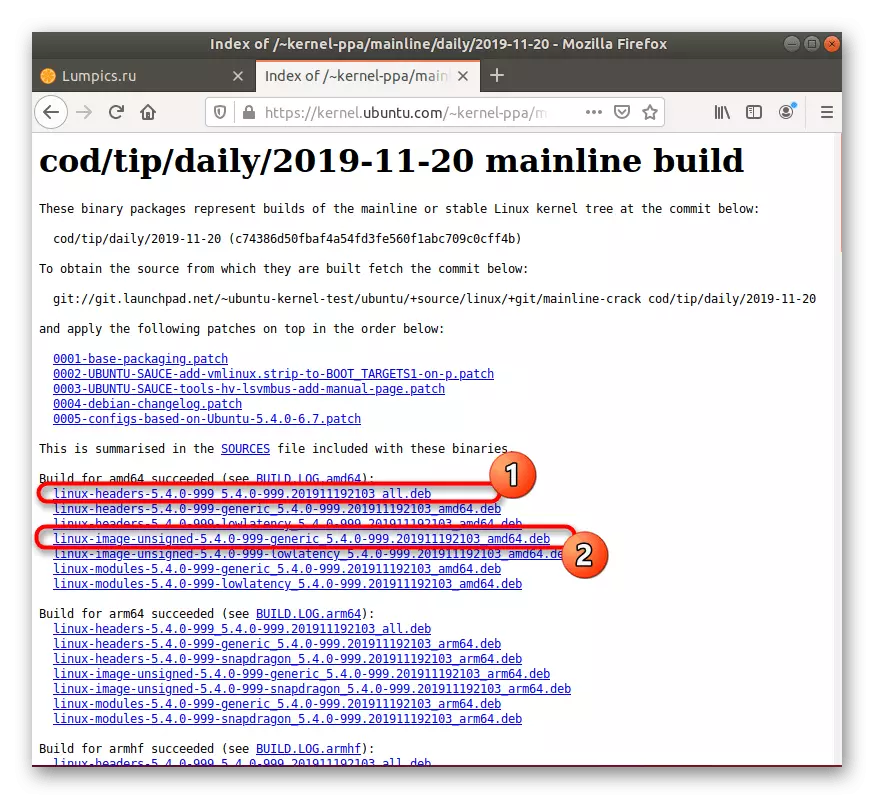
- Open the browser and go to the reference above. Here you can choose the first directory called "Daily". It contains the latest versions of the kernel, updated every day. Otherwise, just go to the lowest on the list to find the last suitable assembly.
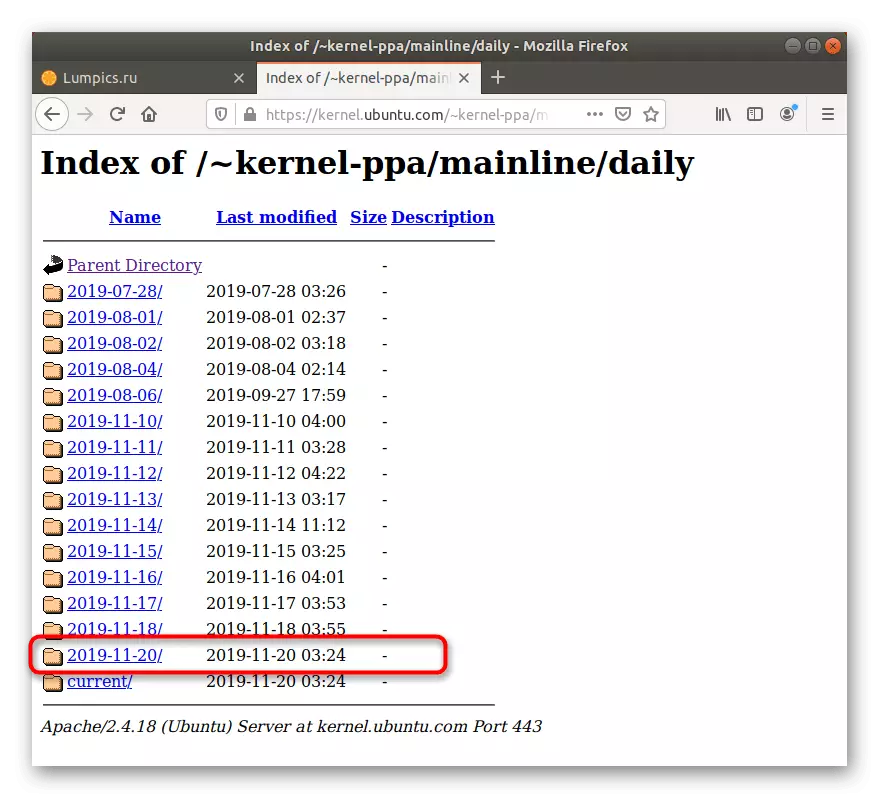
- Open the directory with the version to get deb packets.
- Download "Linux-Headers" and "Linux-image" of suitable architectures and identical versions at a convenient location. To do this, it will be enough to click on the blue links.
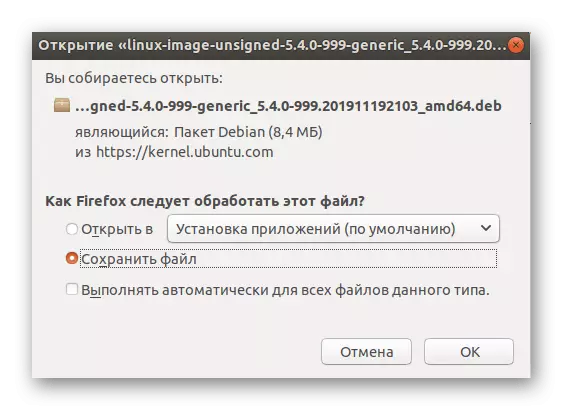
- When notification of file processing is notified, check the "Save File" paragraph.
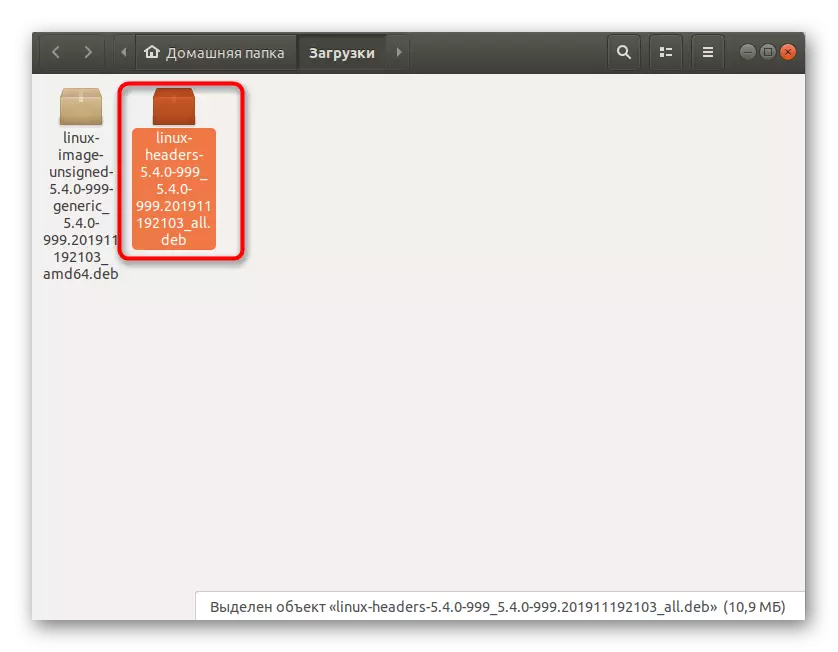
- Navigate to the location of the downloaded packets and click one of them with the right mouse button.
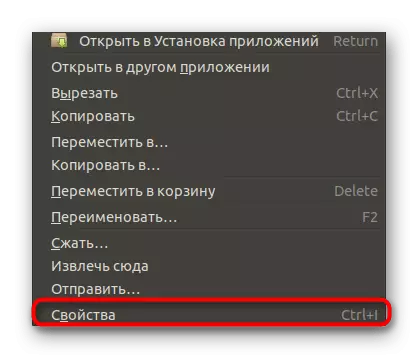
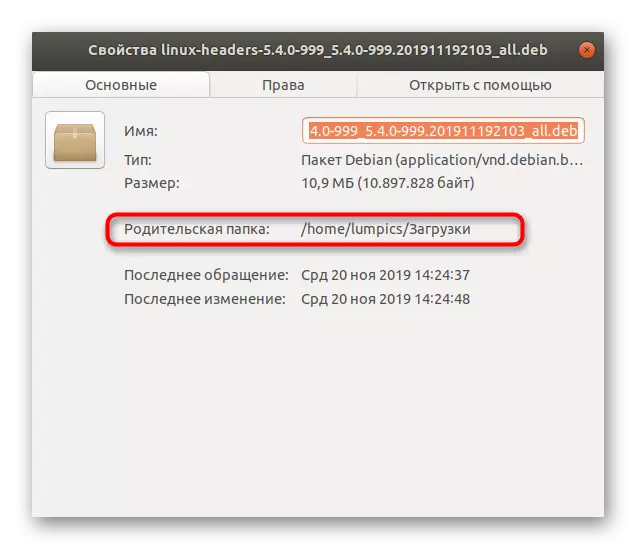
- In the context menu that appears, you are interested in "Properties".
- Pay attention to the footnote "Parent Folder". Copy this path if you find it difficult to enter it yourself in the console if necessary.
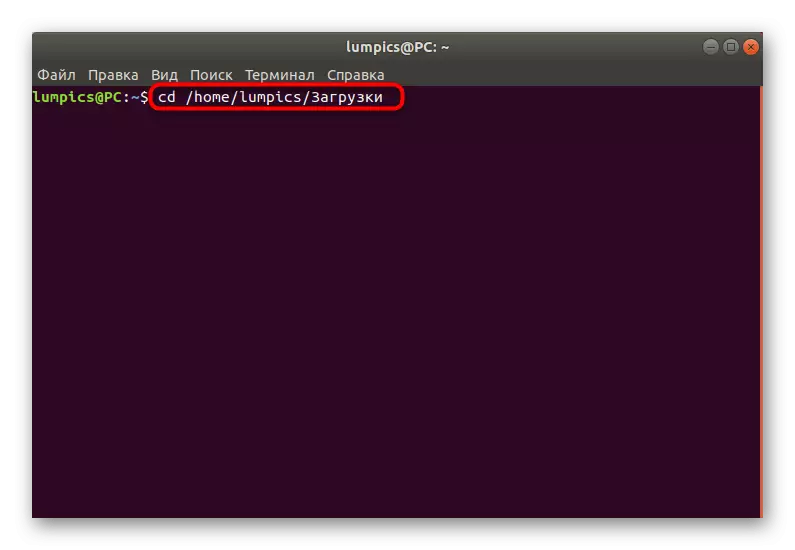
- Now launch a new session in the Terminal, from where to go to the destination folder defined earlier by entering the CD + path.
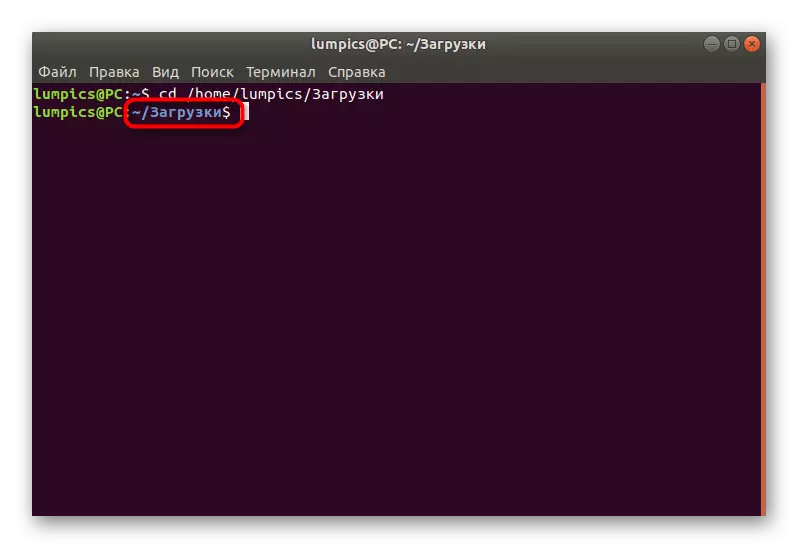
- If the move has passed successfully, the current directory will additionally appear in the new input row, from which subsequent commands will be performed.
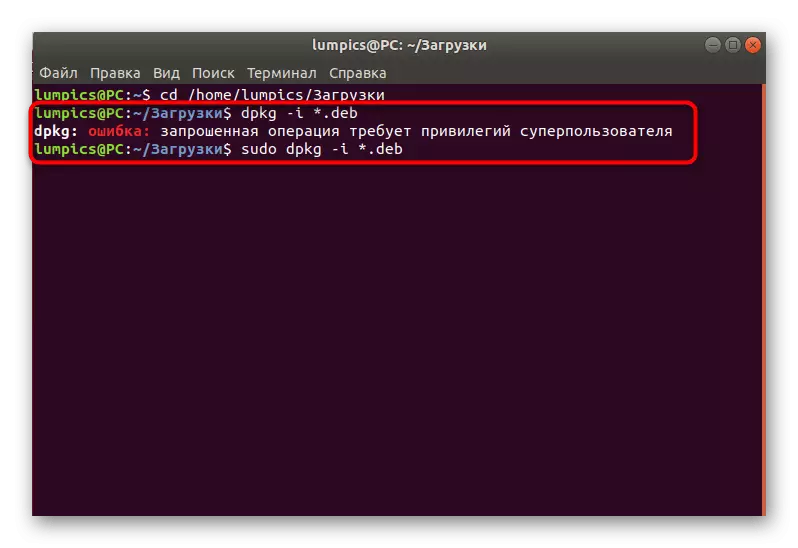
- Treat the dpkg -i * .deb command to start the installation.
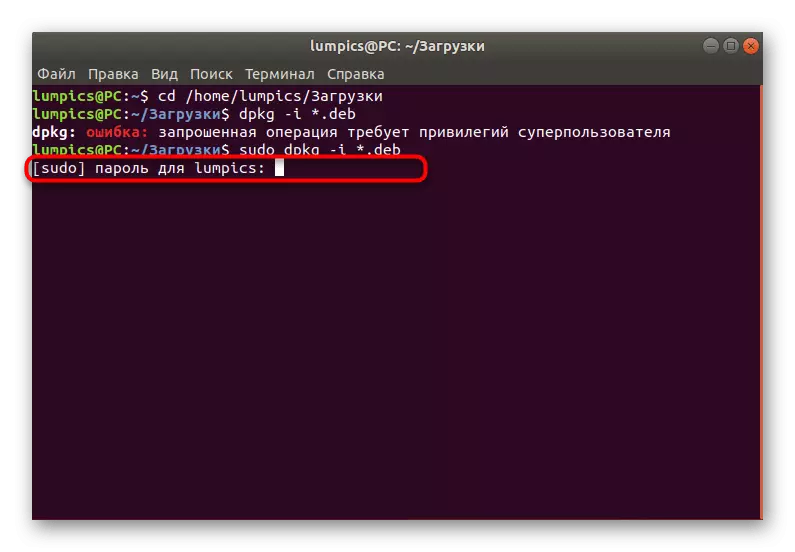
- If there is a notification that the operation is required for the privileges of the superuser, add the word Sudo before the main string.
- To confirm the superuser rights, you will need to enter a password. Consider that symbols when writing are not displayed, but are entered. As soon as you type your password, click on ENTER to confirm.
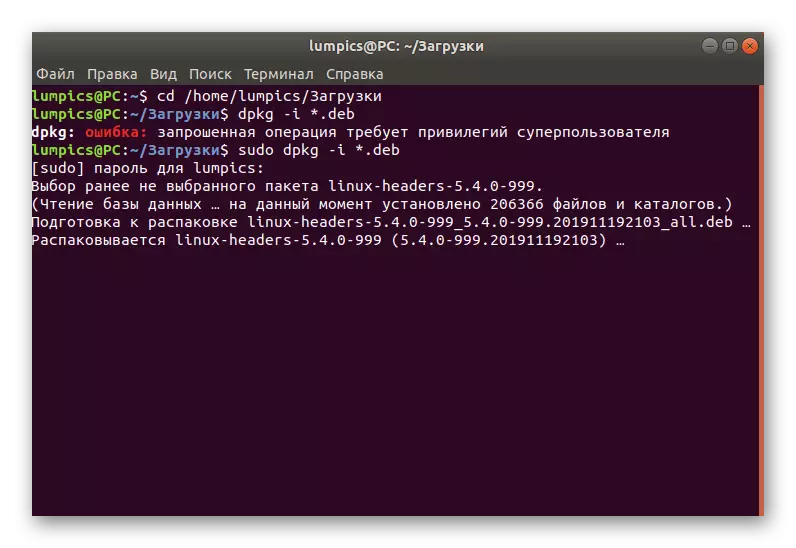
- The unpacking of available archives will begin. It will take a certain period of time. Do not interrupt the terminal session and do not follow other actions during this operation.
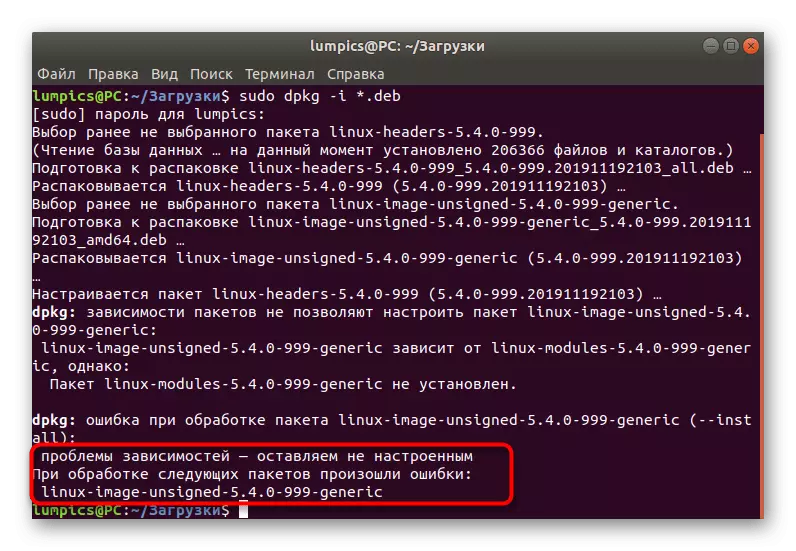
- You will be notified of the successful completion of the operation or an error may appear on the screen indicating dependency impairment. If this did not happen, pay attention only to the last actions of the following instruction, and if the installation was interrupted, you will need to perform additional manipulations.

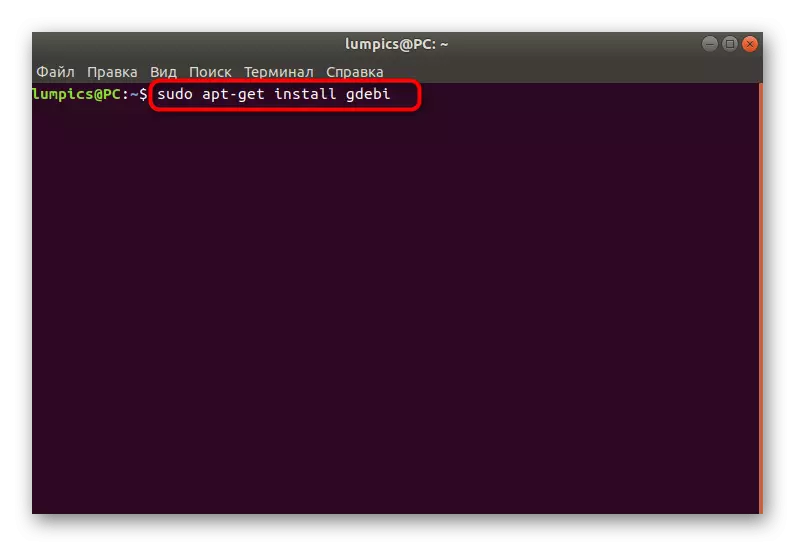
Problems with the installation of the kernel through the standard package manager - the situation is common. In most cases, it is solved by using a third-party installer. To begin with, it should be added, and then use the built-in features.
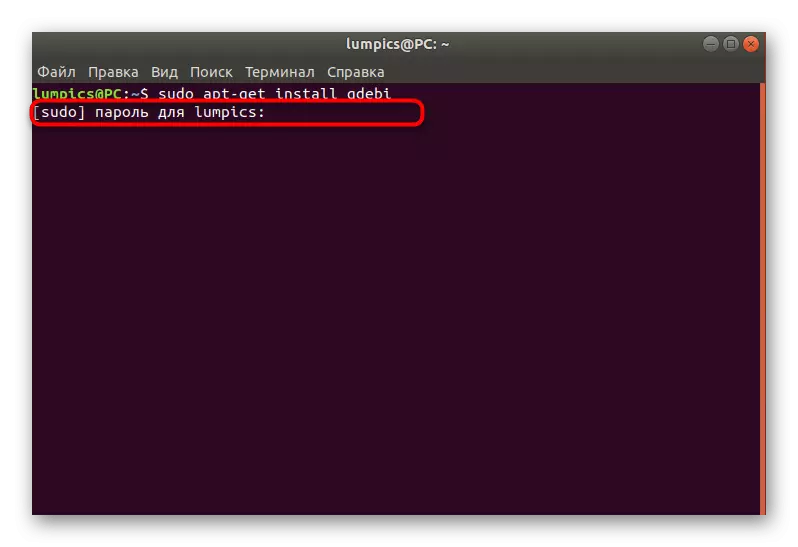
- You can use the same session "Terminal" or create a new one. Enter the Sudo APT-Get Install GDEBI command in it and click on ENTER.
- To confirm access rights, you will need to enter a superuser password.
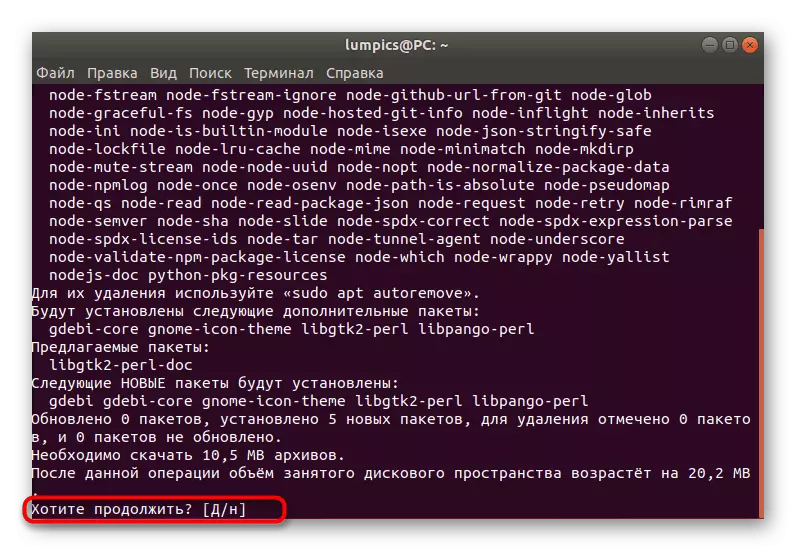
- When notifying the extension of the volume of the occupied disk space, select Variant D.
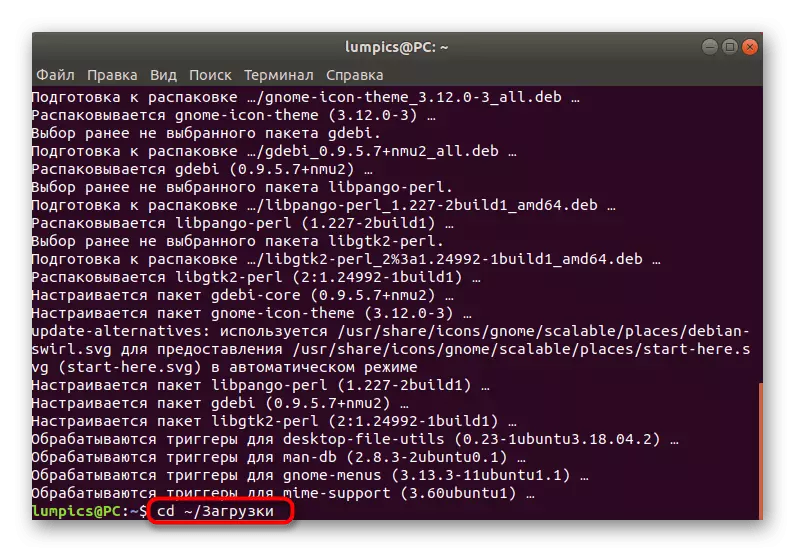
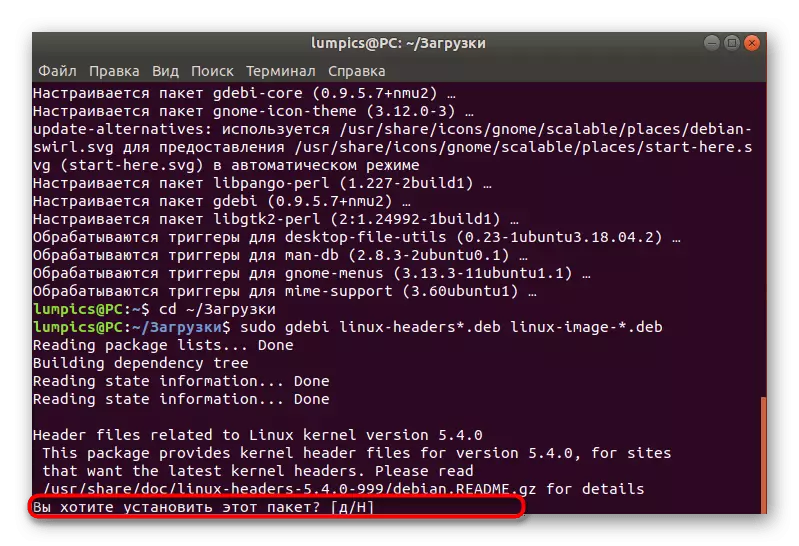
- After that, move again to the path where DEB packets were placed, for example, via the CD command ~ / download.
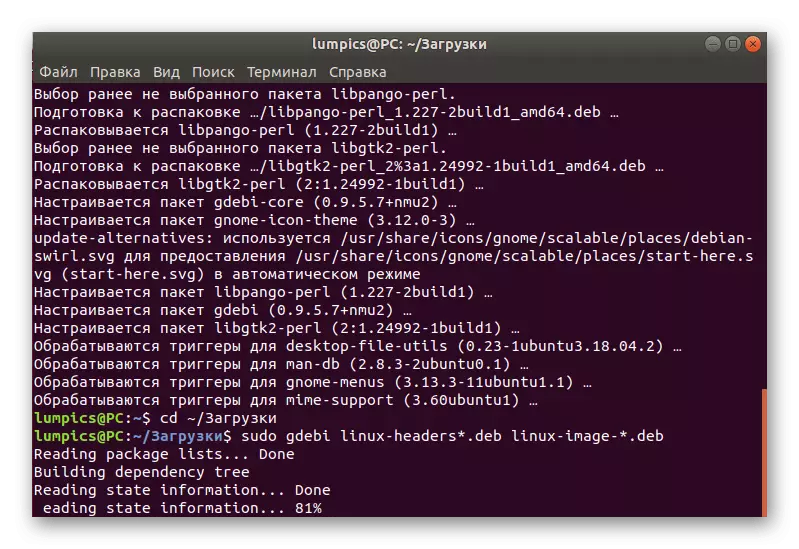
- Use the Sudo GDEBI Linux-Headers * .deb Linux-image string - *. DEB.
- Expect the end of reading and unpacking files.
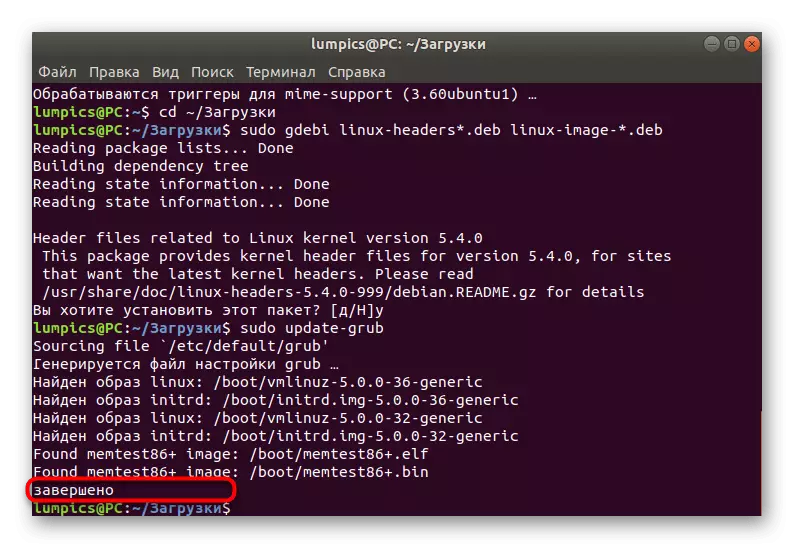
- Confirm package installation operation.
- To apply all changes, you will need to update the bootloader by entering Sudo Update-Grub.
- You will be notified that the update has passed successfully.


Immediately after rebooting the computer, all changes will take effect. Now you will use the operating system on the new core. If suddenly the loader for some reason broke, refer to the section at the end of this material. There we will talk in detail about the causes of problems and describe the solution method.
Method 2: Automatic core update
This method will suit those users who want to receive updates regularly by using for this one and the same means establishing the most recent version of the kernel on the PC. This operation is carried out by using a script. Let's look at how to create it and install updates for the Ubuntu kernel.
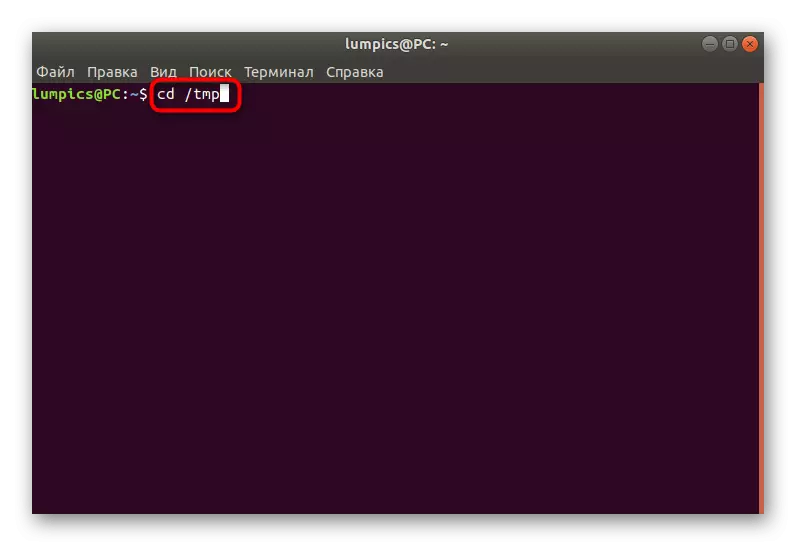
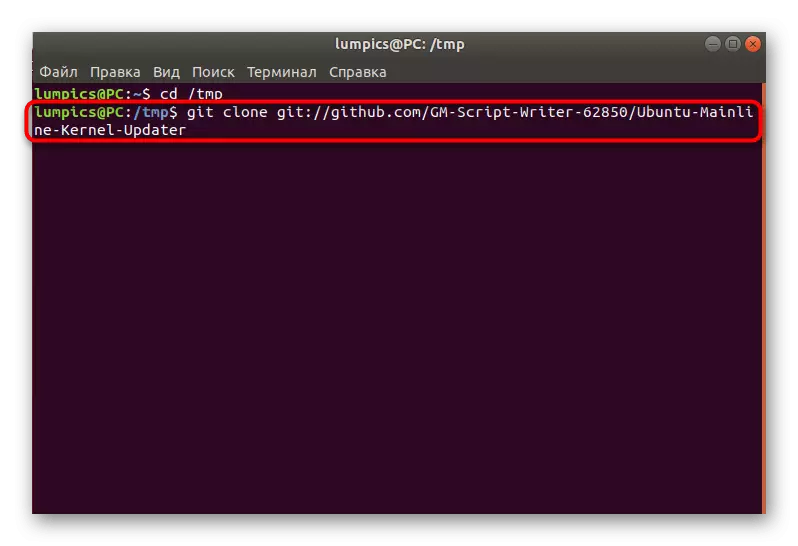
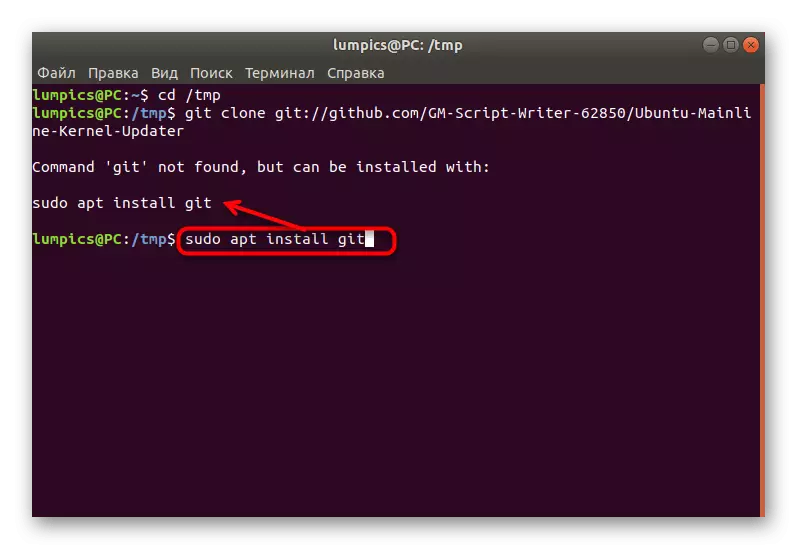
- To begin with, go to the folder where the script is installed. Run the console and enter the CD / TMP command.
- Use the Git Clone Git: //github.com/GM-Script-Writer-62850/ubuntu-PUINLINEBERNEL-UPDATER command.
- If you have received a notification of the lack of Git command, follow the instructions for installation.
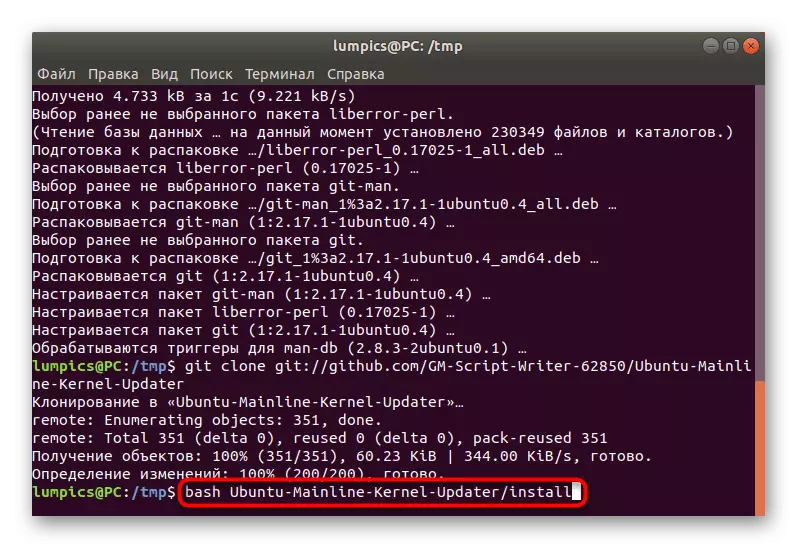
- After it will only be left to write a script by water Bash Ubuntu-Mainline-kernel-Updater / Install.
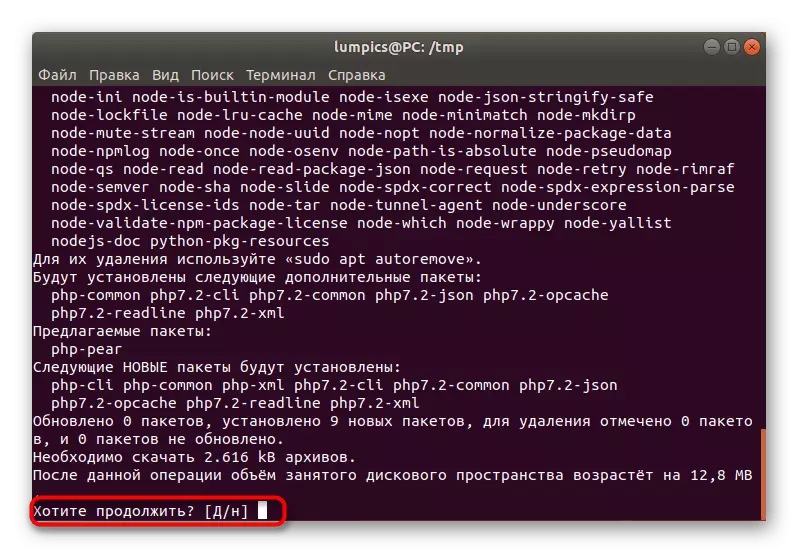
- Confirm Add files by selecting a positive response option.
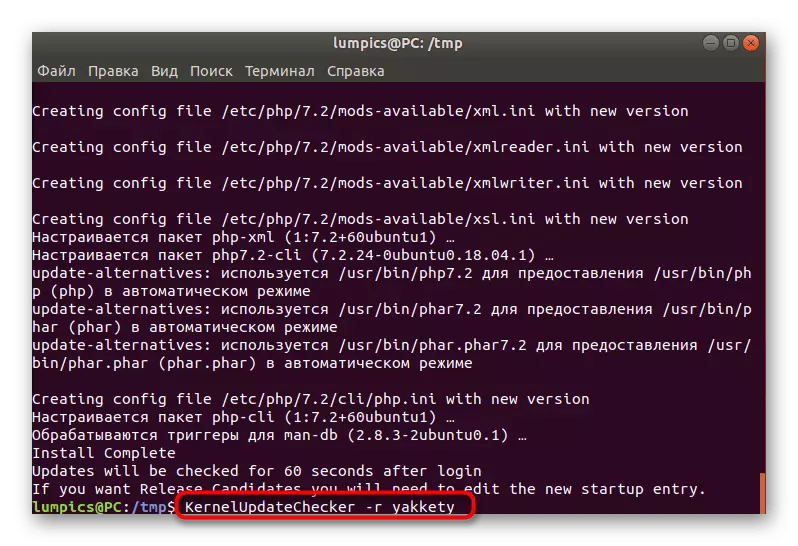
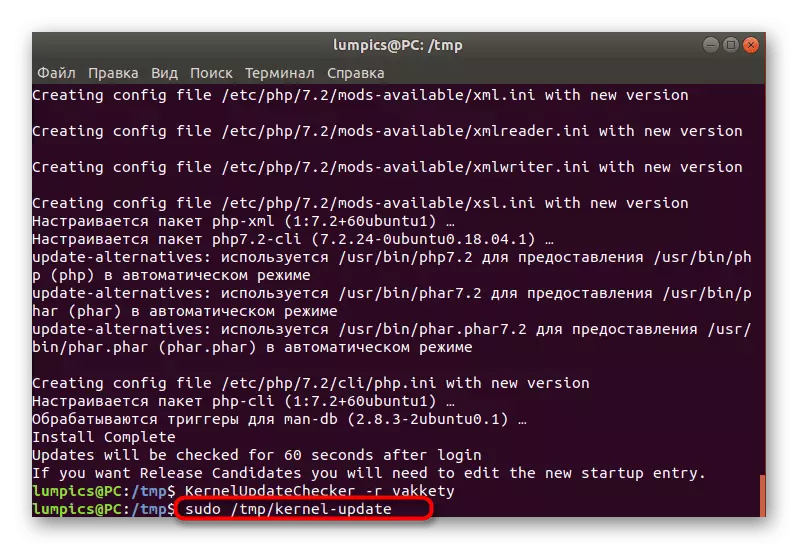
- Checking updates is started through KernelUpdateChecker -R Yakkety. Note that the -R branch is used to determine the version of the distribution. Specify the option in accordance with your needs.
- If the kernel updates are found, set them through Sudo / TMP / Kernel-Update.
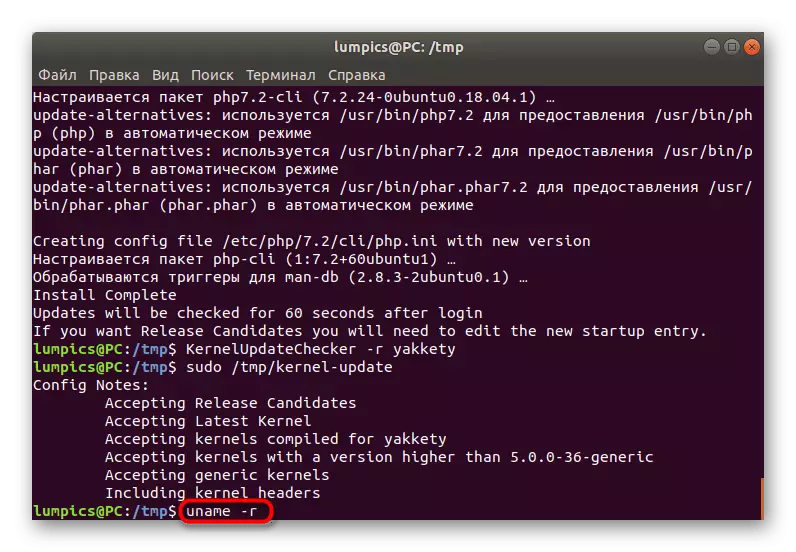
- At the end, be sure to check the current active kernel via UNAME -R and update GRUB.
Now, every time you need to search for kernel updates, you can use the above command to implement the task in automatic mode. You will only remain to confirm all warnings about expanding the busy disk space. If the script is no longer needed, it is recommended to remove it from the system through the following commands:
RM ~ / .config / autostart / kernelupdate.desktop
Sudo RM / USR / LOCAL / BIN / KERNELUPDATE {Checker, ScriptGenerator}
Solving problems with GRUB loader after renewing the kernel
Sometimes during the installation of updates for the kernel, errors occur or the user itself completed the installation of the files in the inadvertent. In such situations, a problem arises, in which the operating system simply ceases to load. It concerns this and owners of proprietary drivers from NVIDIA. The solution here is one thing: boot from the old kernel and delete a new one with a further reinstall or selection of a more stable version.
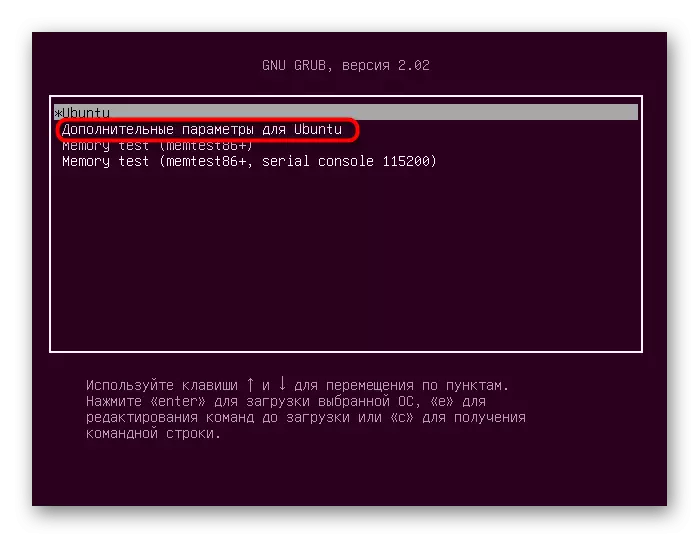
- Turn on the computer and immediately press the ESC key to go to the download menu. Use the arrows to move to the "Advanced Settings for Ubuntu", and then press ENTER.
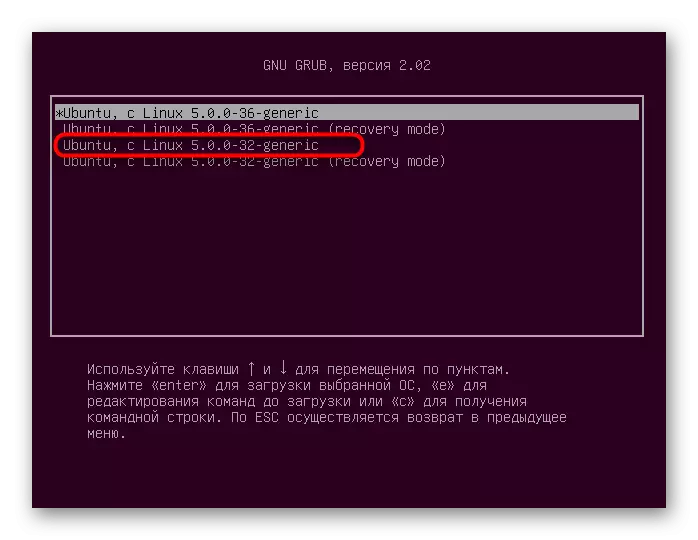
- Lay your old working core here and select it for download.
- Enter your account, and after successfully activate the graphic shell, run the console.
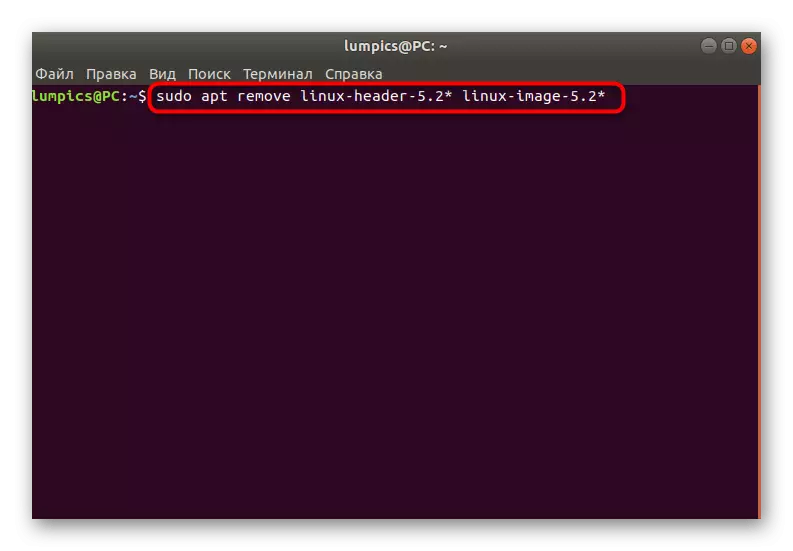
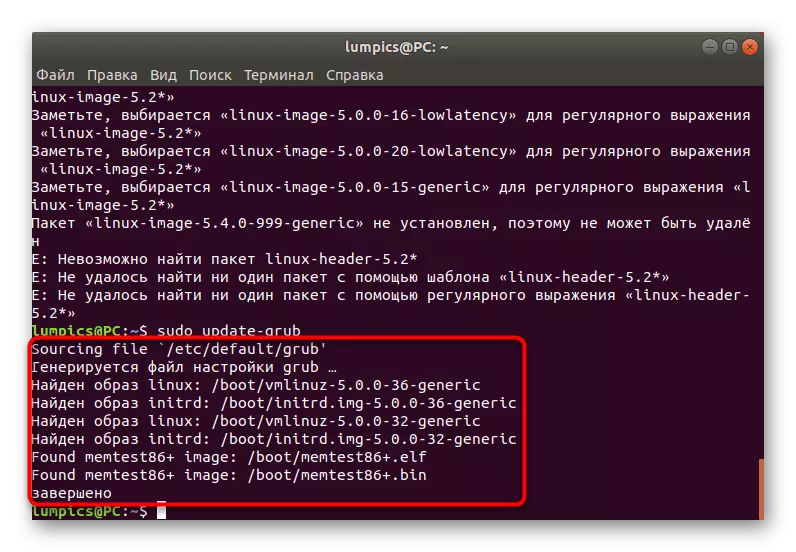
- Enter the Sudo APT remove Linux-HEADER-5.2 * Linux-Image-5.2 *, where 5.2 is the version of the previously installed kernel.
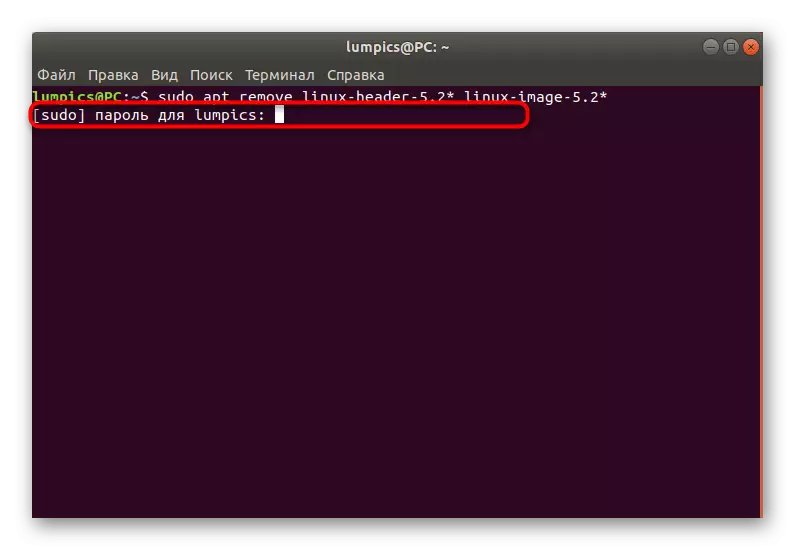
- Specify the password to provide superuser rights.
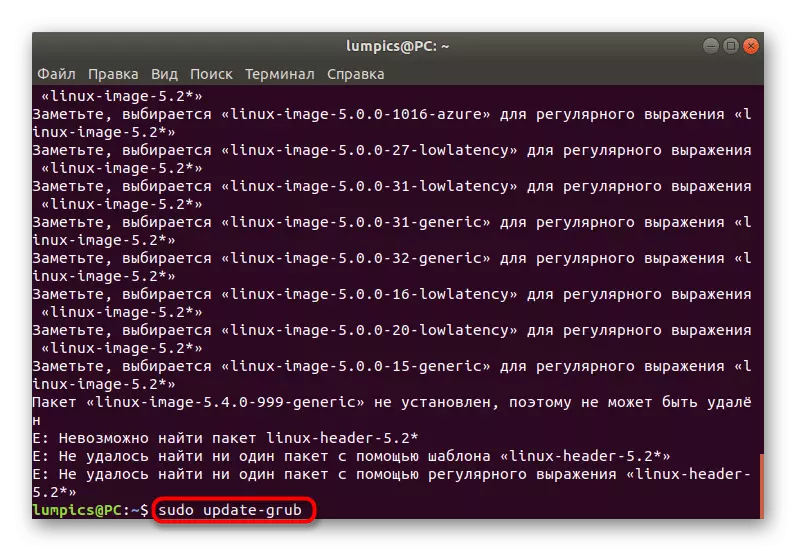
- After successful deletion, update the bootloader via Sudo Update-Grub.
- You will be notified that the file generation has passed successfully, and now you will be downloaded from the old kernel again.
As part of today's material, you learned about two core update methods in Ubuntu. As you can see, to implement each of them you will have to perform a number of console commands, but the choice of the option itself is already dependent on your needs. Use the instructions presented at the end to quickly solve the problems with the PC load after installing the new version of the kernel.