
Beginners who have moved to one of the Linux distributions recently, are often asked to view the list of connected drives. The file manager of the graphic shell is most often fundamentally different from the same "conductor" in Windows, so many simply do not know where all drives are displayed. Today's article should help you cope with the task, because we will demonstrate four available options by which the most different information about the disks are defined in virtually any Linux assembly.
We view the list of disks in Linux
Immediately clarify that all further actions will be made in the Ubuntu latest version running the standard graphics and file manager. If you are watching that the presented screenshots do not match your environment, do not worry, you just have a little more detailed to study its structure. Most likely, the location of all elements will be almost the same. Otherwise, you will have to turn to official documentation, but it is relevant only with some rarely encountered shells and FM. First, let's look at how to view a list of disks through a graphic shell, since many beginners of users simply frightened the "terminal" and the need to enter any commands.Method 1: File Manager Menu
If a graphic environment is installed in your Linux distribution, it means that it also has a file manager responsible for interacting with catalogs and individual programs. Each FM has a section that will allow you to know the information you are interested in today.
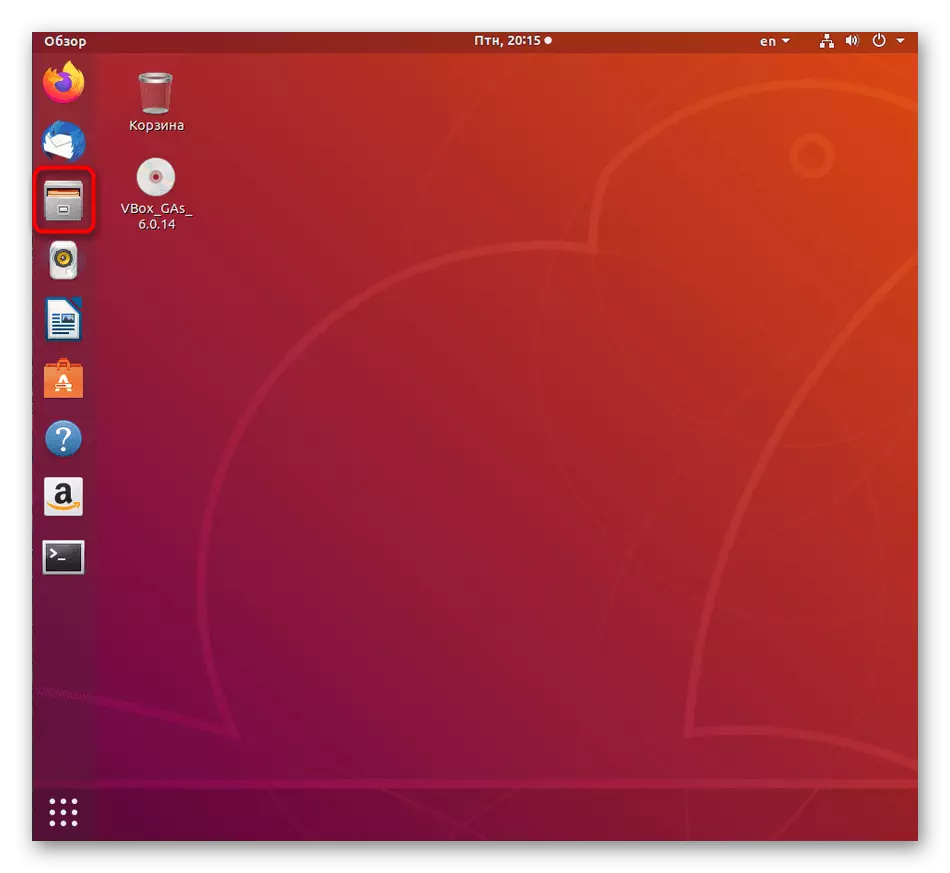
- Open the file manager convenient for you, for example, through the corresponding icon on the "Favorites" panel.
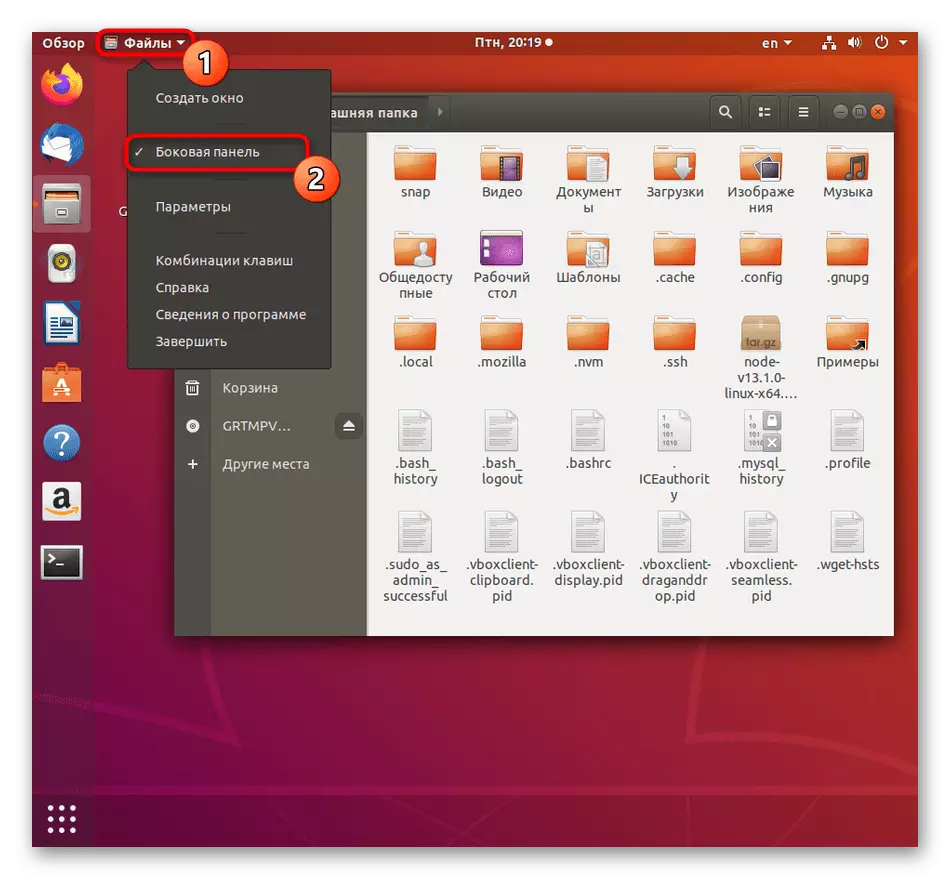
- The sidebar is not always active, which we need now, so it will have to be included. To do this, click on the "Files" button located on the top panel, and in the opened context menu, check the "Side panel" item.
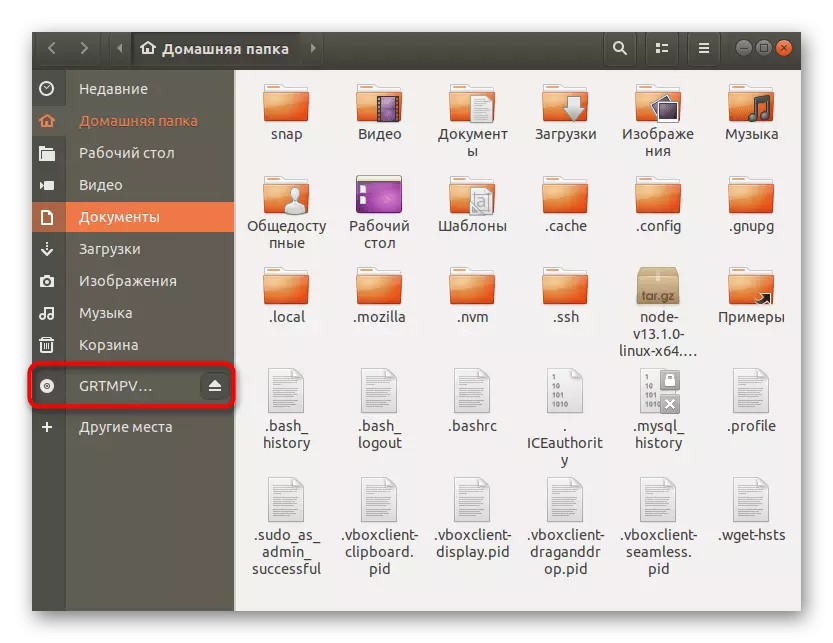
- Now you can observe that all connected drives, including flash drives, DVDs and hard drives with a connection via USB adapters, are removed on the left.
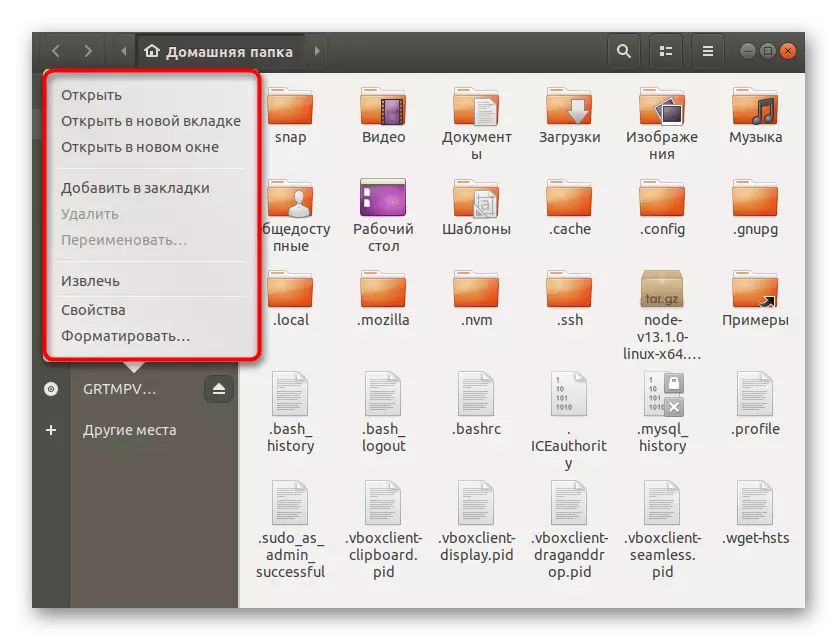
- You can immediately open this location or click on the line with the right mouse button to appear additional options.
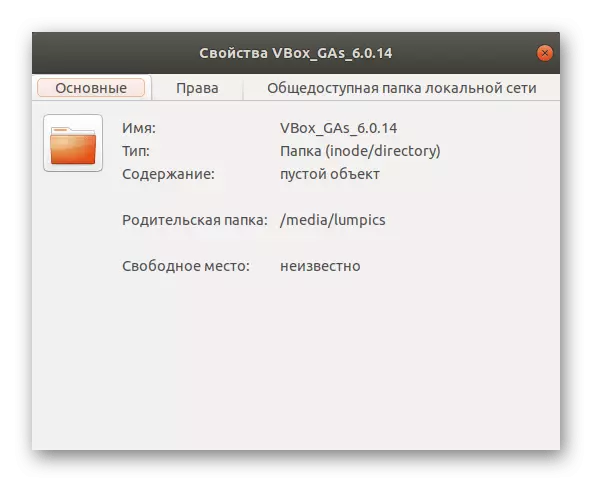
- The properties window most often allowed to configure sharing for this directory and edit rights by removing or putting restrictions for certain accounts.
As you can see, only a few seconds it took to view the list of connected drives through the main file manager window. However, this method is considered the most limited due to the fact that it allows you to learn information only about removable disks and does not output additional information about logical volumes. Therefore, if you did not suit this method, proceed to the study of the following.
Method 2: "Disks" utility
In many graphic shells, the default disk program is installed, which can be used to control HDD and other connected devices. Here you will receive more data on logical volumes and the overall structure of the equipment, and the launch of this software is carried out like this:
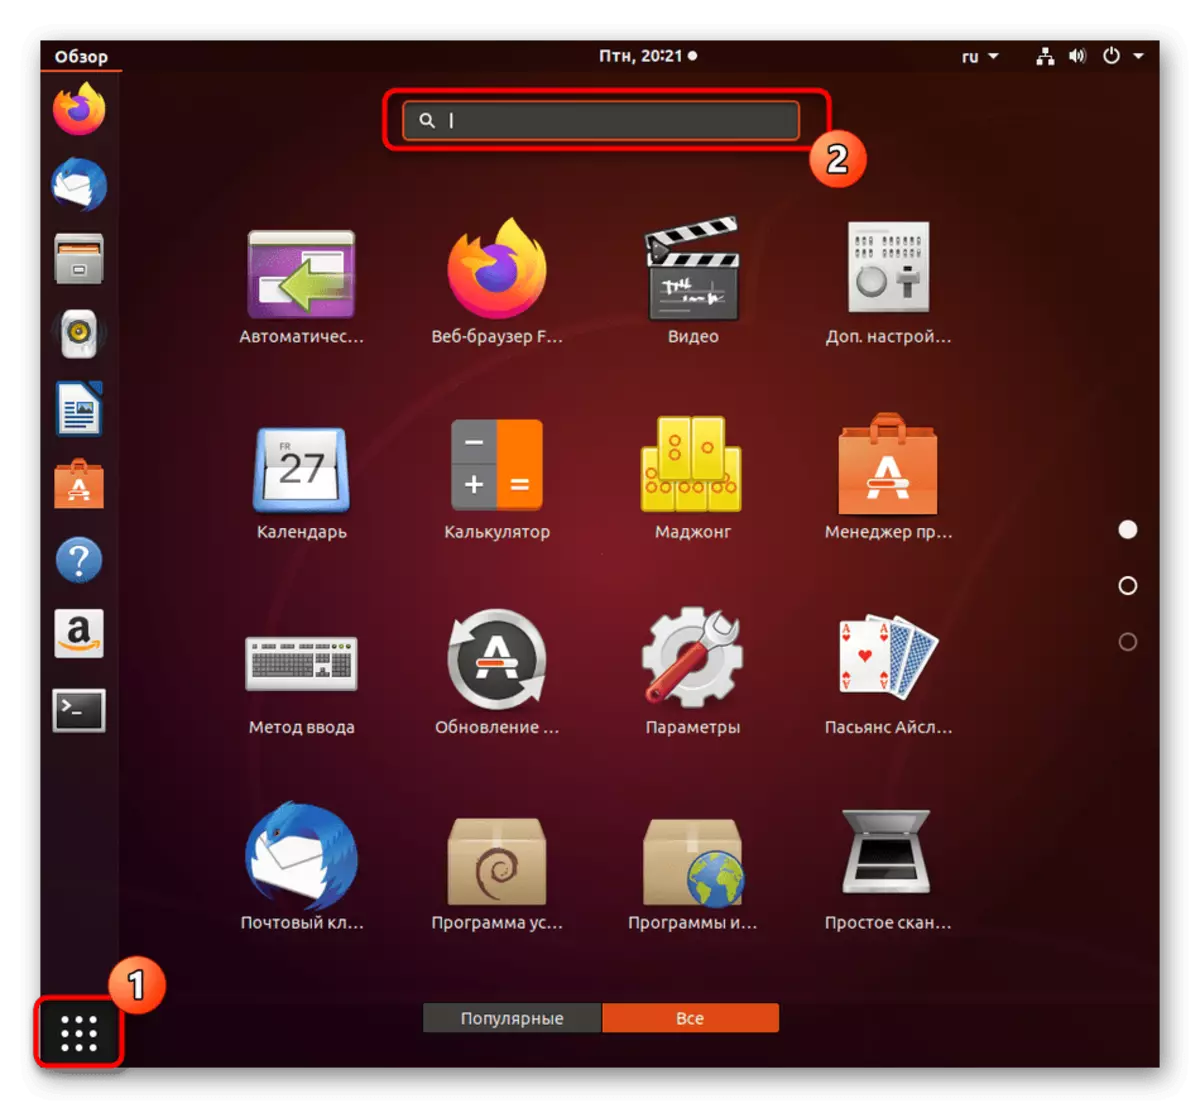
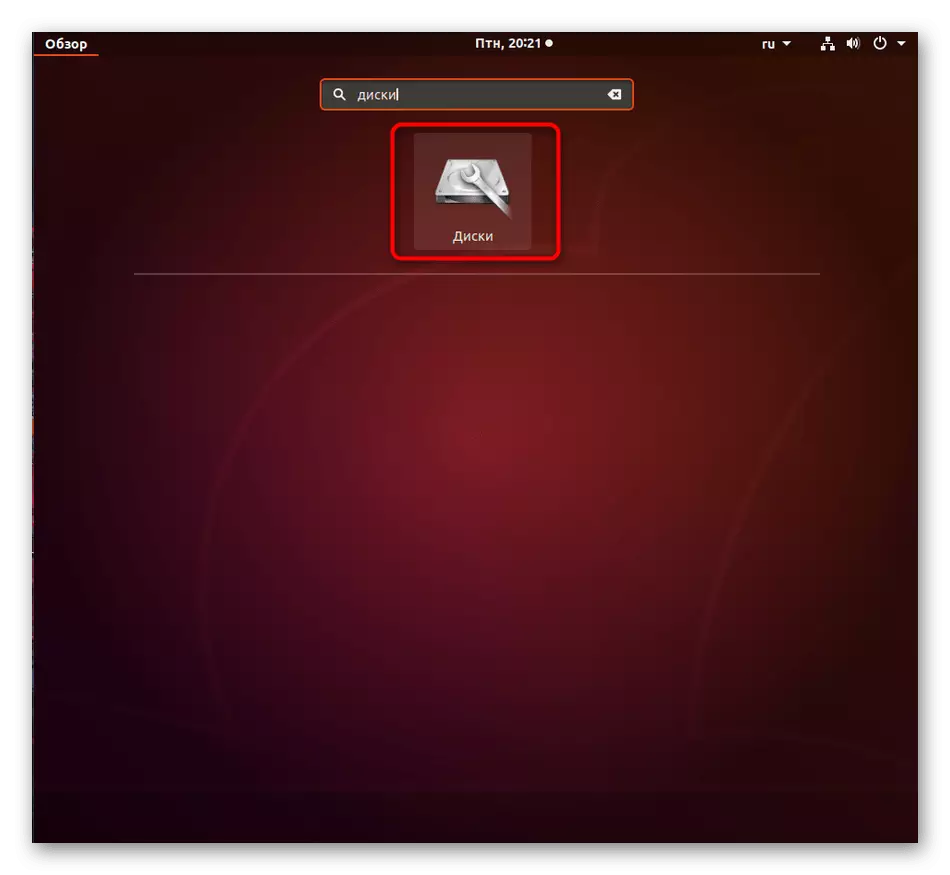
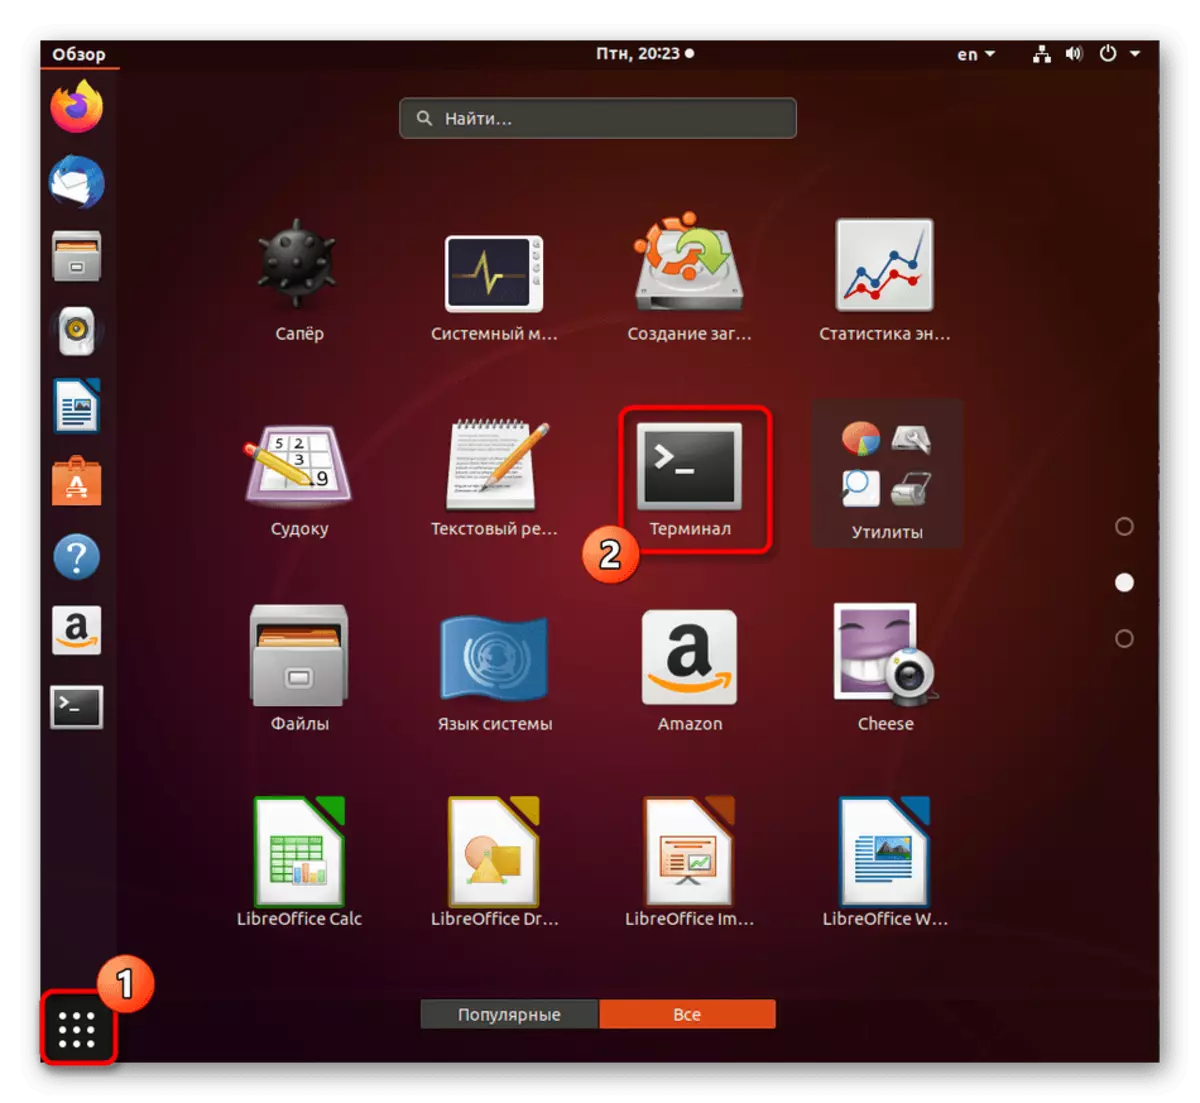
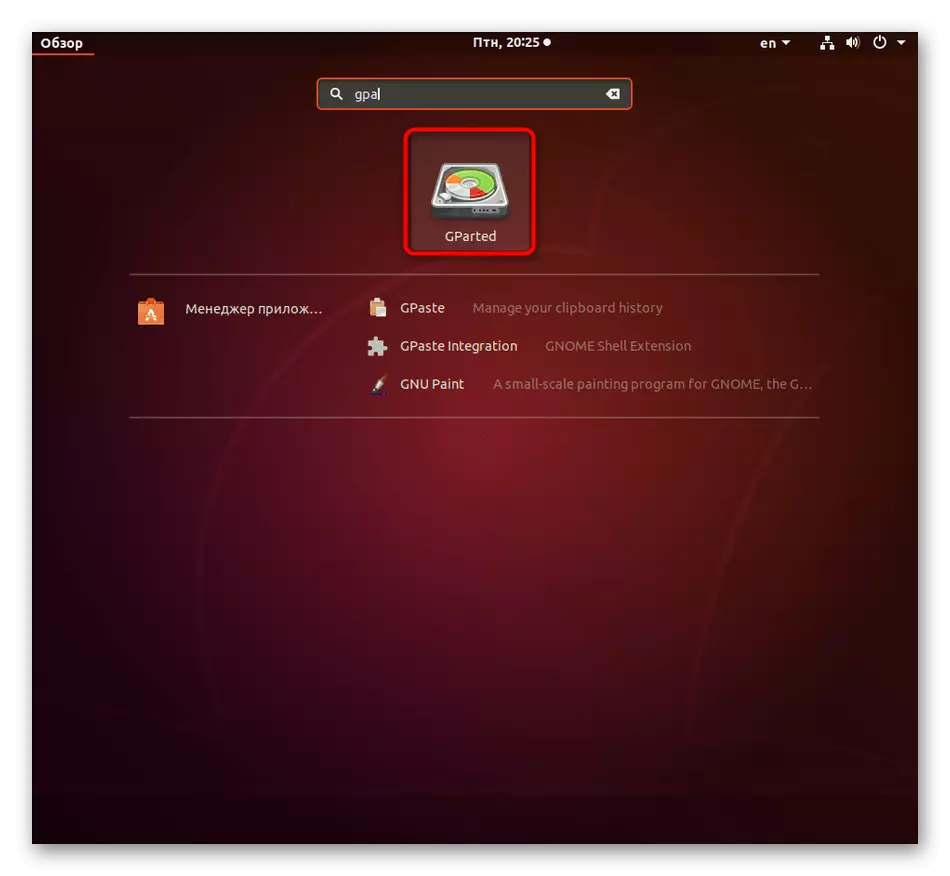
- Open the main menu and use the search to quickly find the necessary application.
- Run by by clicking on it with LKM.
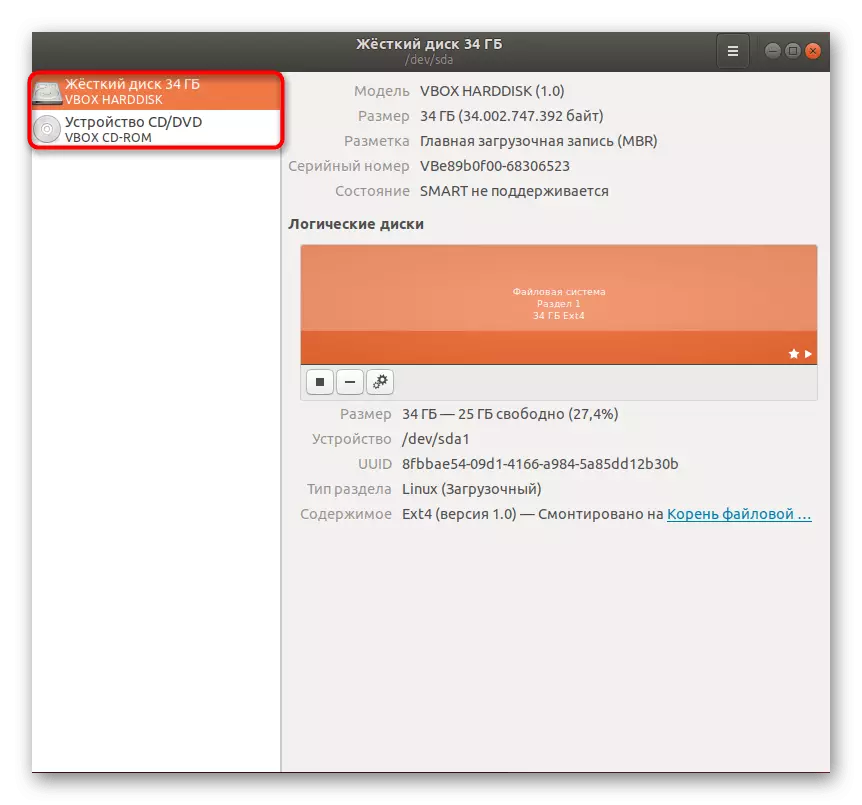
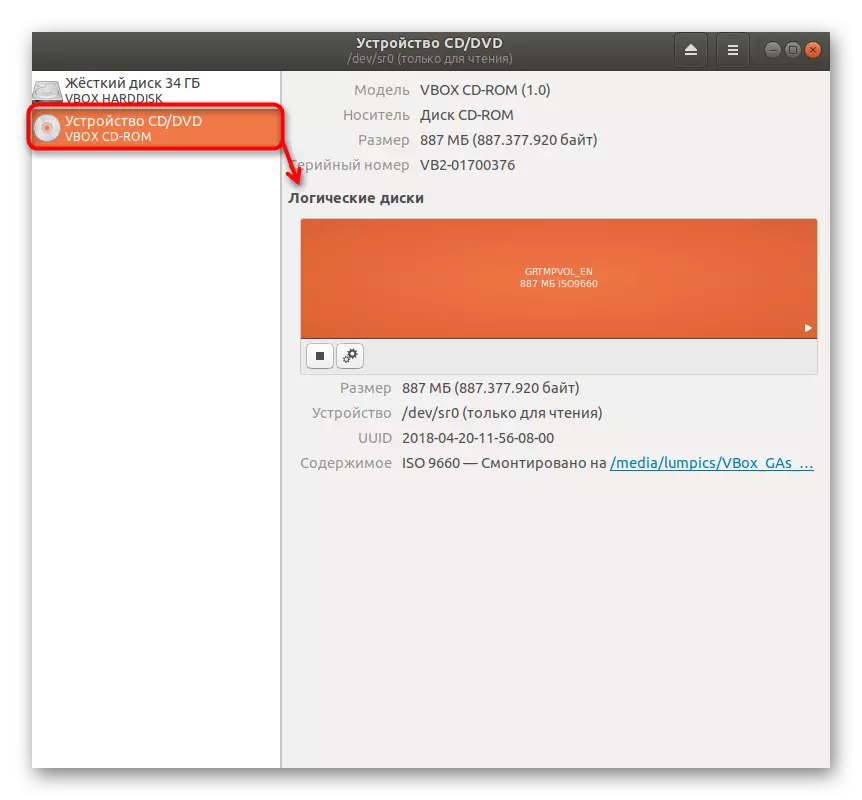
- Look at the panel on the left. Types of discs are displayed here, their source and total.
- On the right you see additional information, including separation to logical volumes.
All other actions running in the "Disks utility" are intended for general partition management, for example, you can create a new logic volume, format it or delete it. Today we will not focus on this, since the subject of the material is to fulfill other tasks.
Method 3: GPARTED program
Now in free access there are many auxiliary programs for Linux, which expand the overall functionality of the operating system. Among such software there are also tools for disk management. As an example, we took Gparted and want to demonstrate the principle of interaction with such software.
- Open the application menu and run the Terminal. It will only be necessary for installing software.
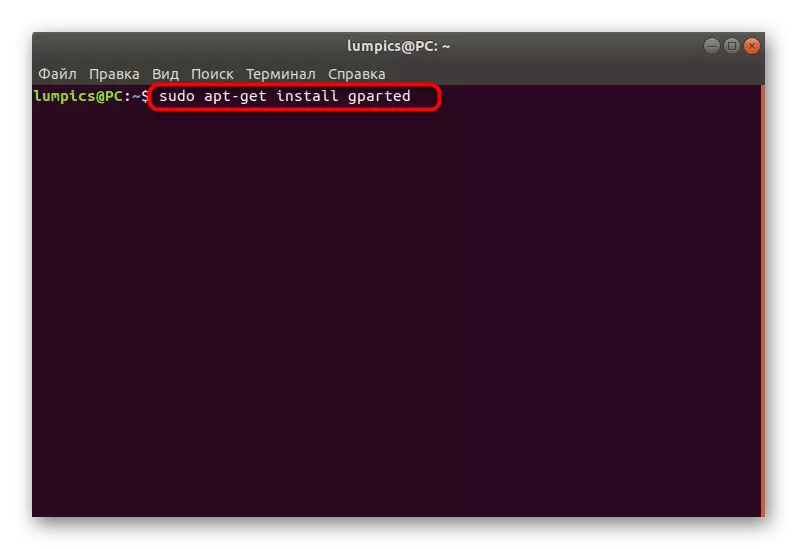
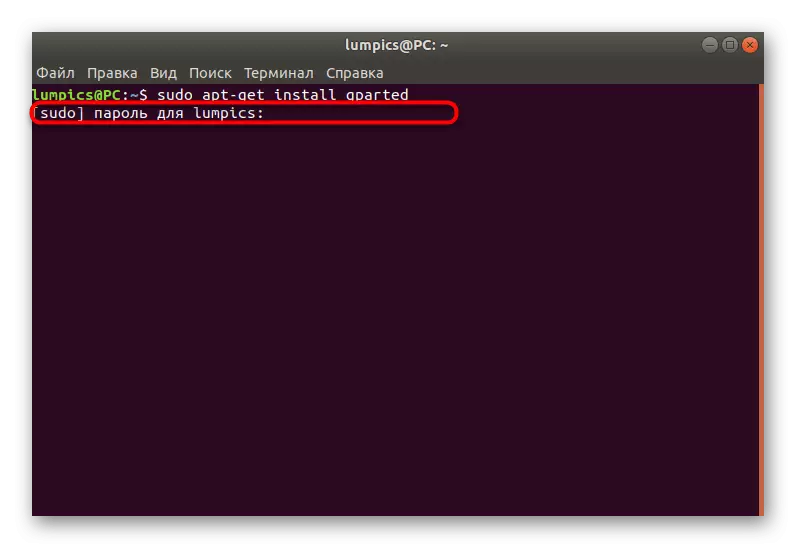
- Enter the Sudo APT-Get Install Gparted command there and click the ENTER key.
- This command is running on behalf of the superuser, which means that you have to confirm the account by entering the password in the string that appears.
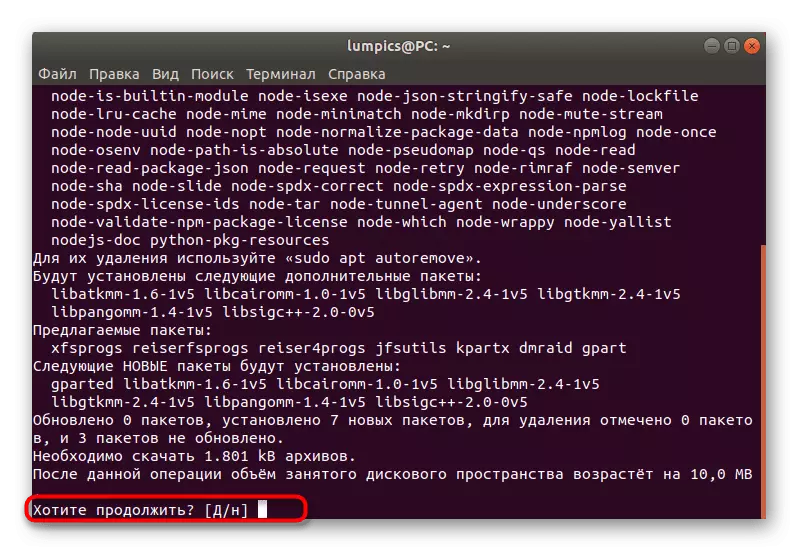
- After that, confirm the download operation of archives by selecting the D. option
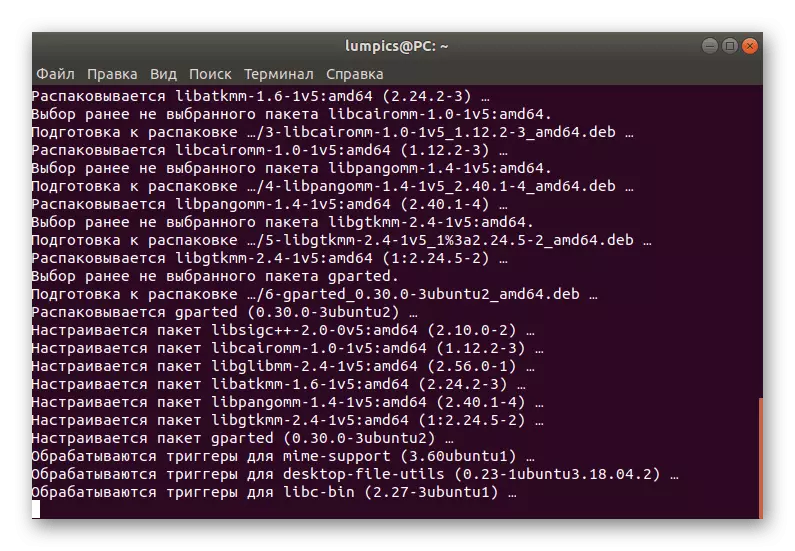
- Expect to end processing packages. During this, do not turn off the console and do not follow other actions in the OS.
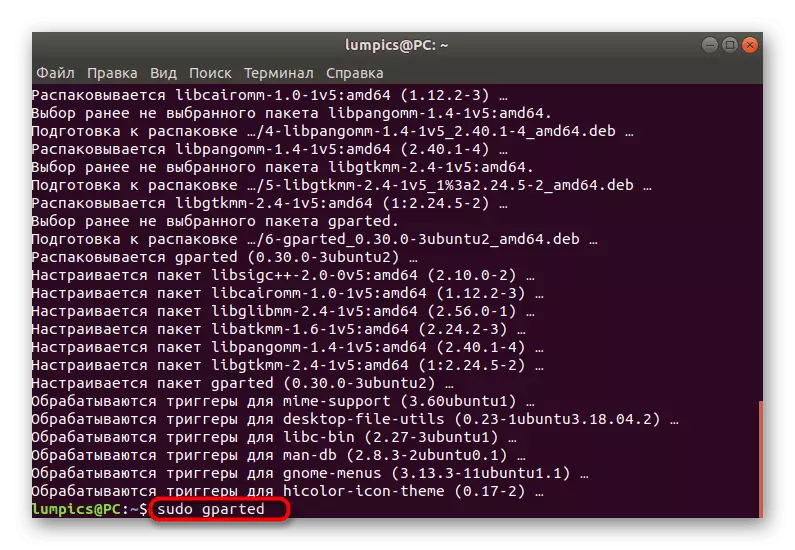
- You can run gparted immediately by entering the sudo gparted command.
- In the future it will be easier to use the application menu, finding the icon of the corresponding program there.
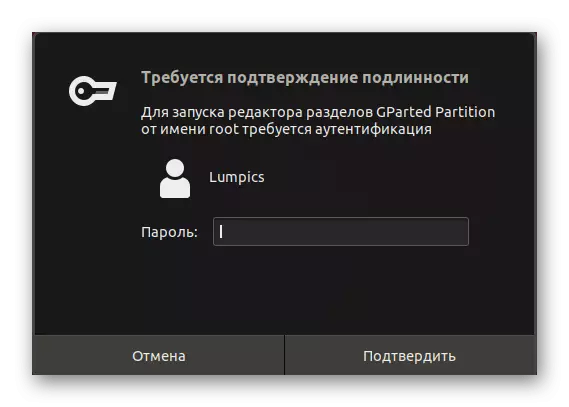
- When starting, you will need to confirm the authenticity of the superuser account by re-entering the password.
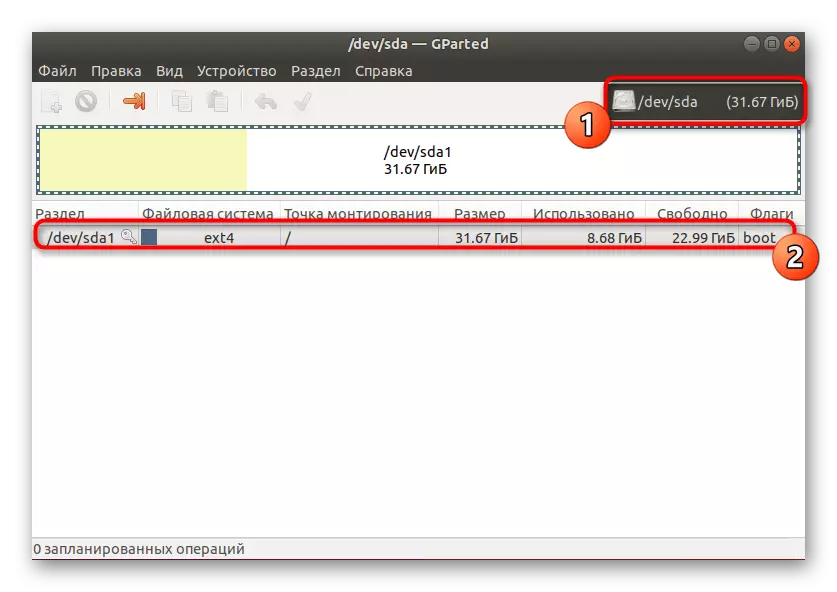
- Now you can view a list of disks, their file system, mount points, sizes and all logic volumes.
There are a huge amount of such reviewed programs. Each of them works in about the same principle, but at the same time has certain features. Choose such a decision, pushing away from your needs. If you only need to view the list of disks, it will suit absolutely any free software.
Method 4: Standard Console Utilities
Finally, we left the most difficult, but effective method that can display the maximum amount of useful information about all connected disks and their logical partitions. To do this, you will have to enter the teams into the console, but there is nothing complicated. Let's figure out the main standard utilities.
- Open the "Terminal" convenient for you. We will use a special icon on the "Favorites" panel.
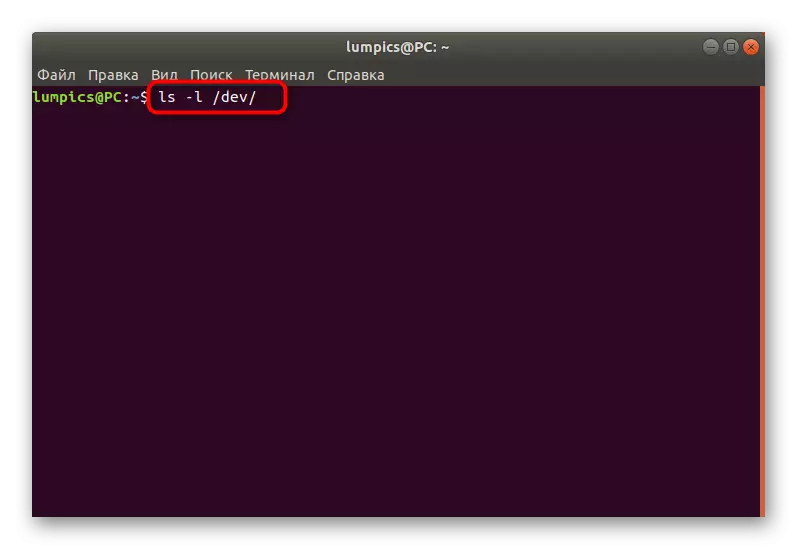
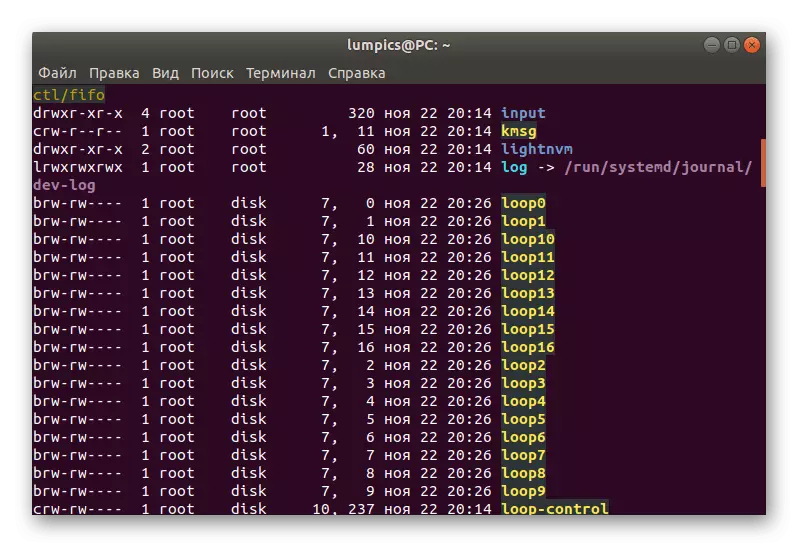
- First we advise you to view the entire directory / dev /, which stores information about the connected drives. This is done through the LS -L / DEV / command.
- As you can see, many lines appeared on the screen. Not all of them are suitable for us now.
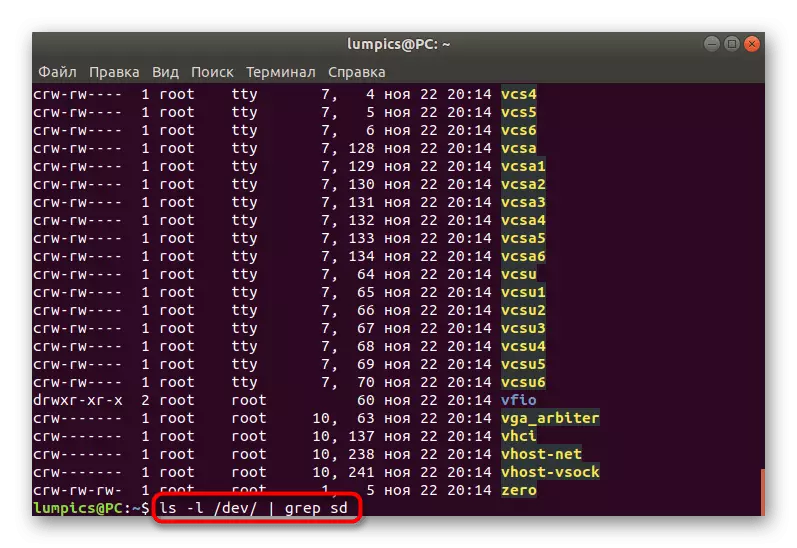
- Sort by SD devices. To do this, enter LS -L / DEV / | GREP SD and click on ENTER.
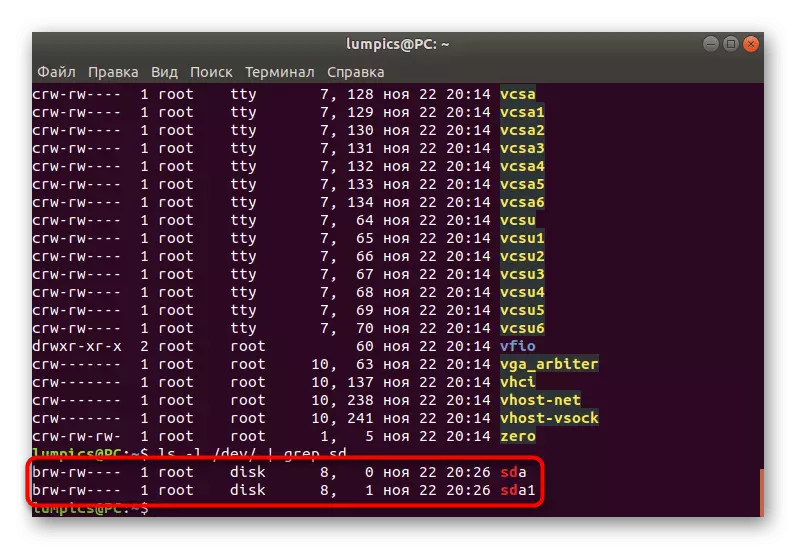
- Now you see only lines responsible for connected and built-in information storage.
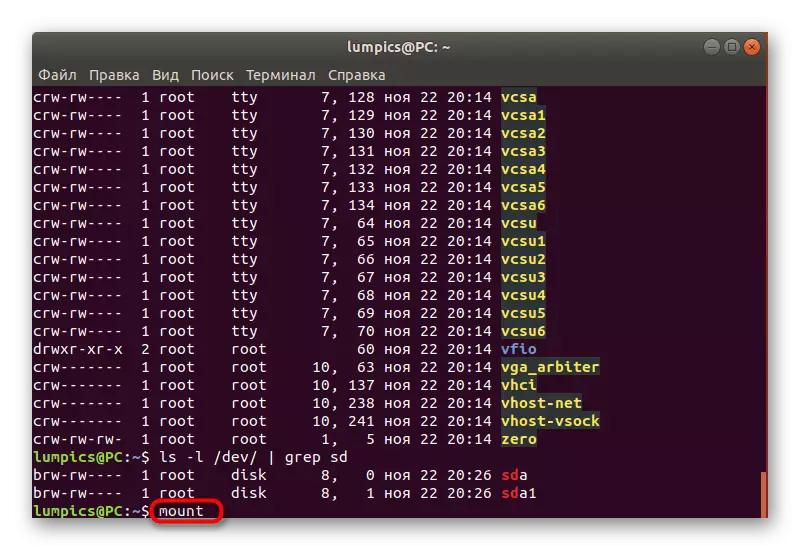
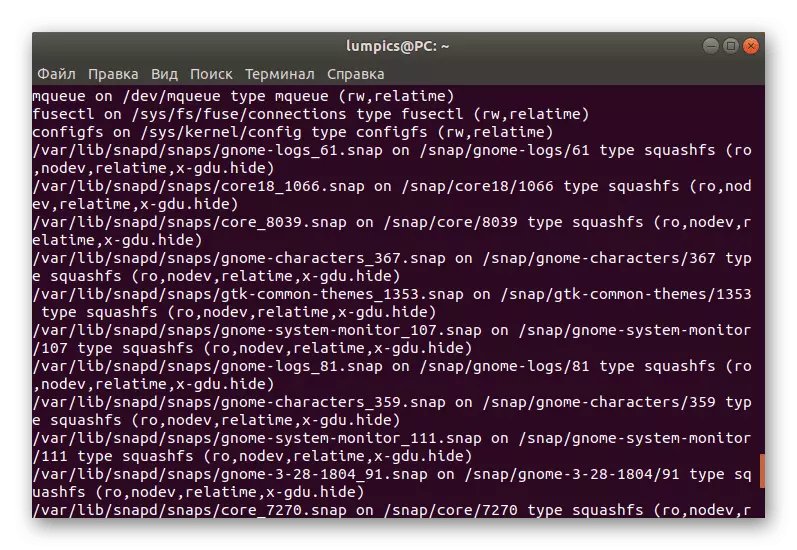
- If you have a need to find out wherever removable and built-in media are mounted, enter Mount.
- A huge list will appear, where all the information you are interested in will be presented.
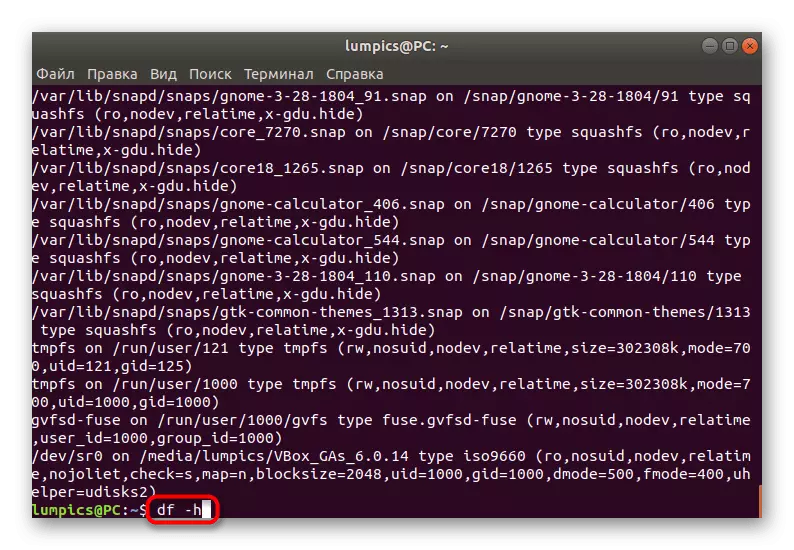
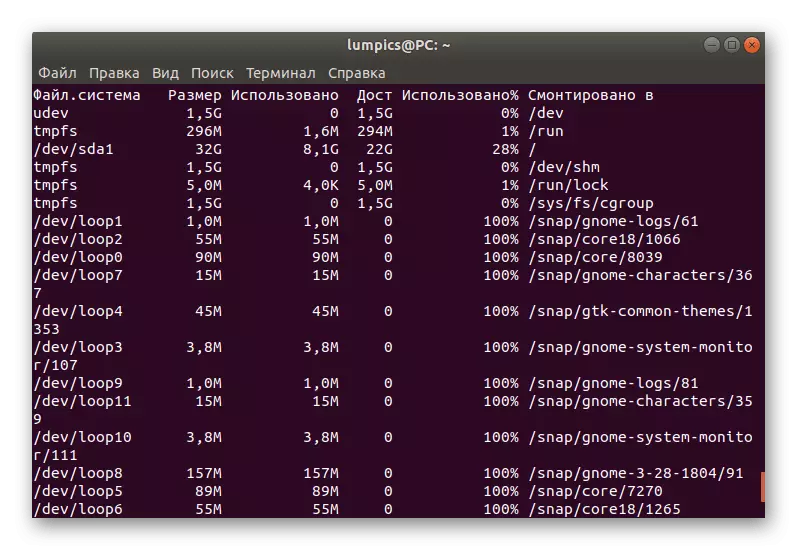
- Data on sizes and free disk space are defined through DF -H.
- The same list shows the mount path and file system.
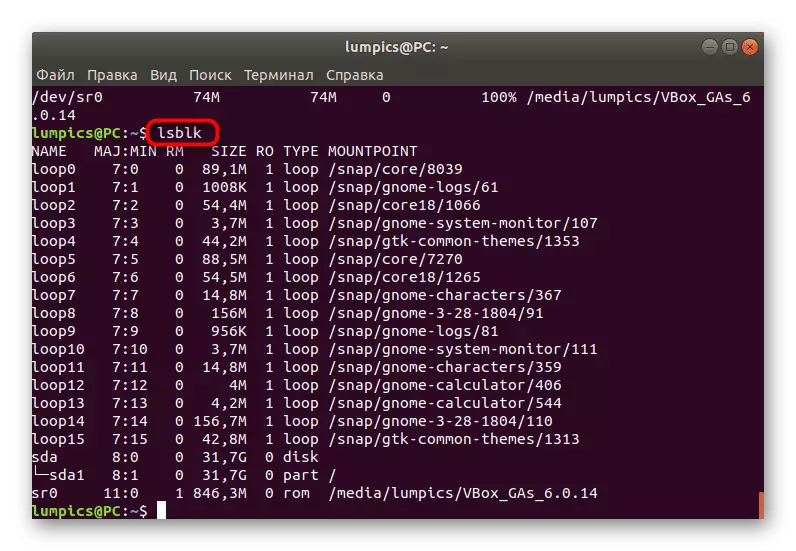
- The last team is called LSBLK, and it allows you to view all the information referred to as above, by time.

There are other teams to determine the necessary characteristics, but they enjoy much less often presented, so we will lower them. If you have a desire to learn about all these teams, learn the official Distribution documentation.
Now you are familiar with the four options for viewing the list of disks in Linux. Each of them makes it possible to find out the information of various kinds, so any user will find the option optimal for yourself and can use it without any problems.