
Method 1: Ultraiso
As a first option, consider the free version of the Ultraiso program, since this solution is the most popular among the others. For example, we took the ISO format, because disk images most often apply to this. In Windows 10, interaction with this tool is as follows:
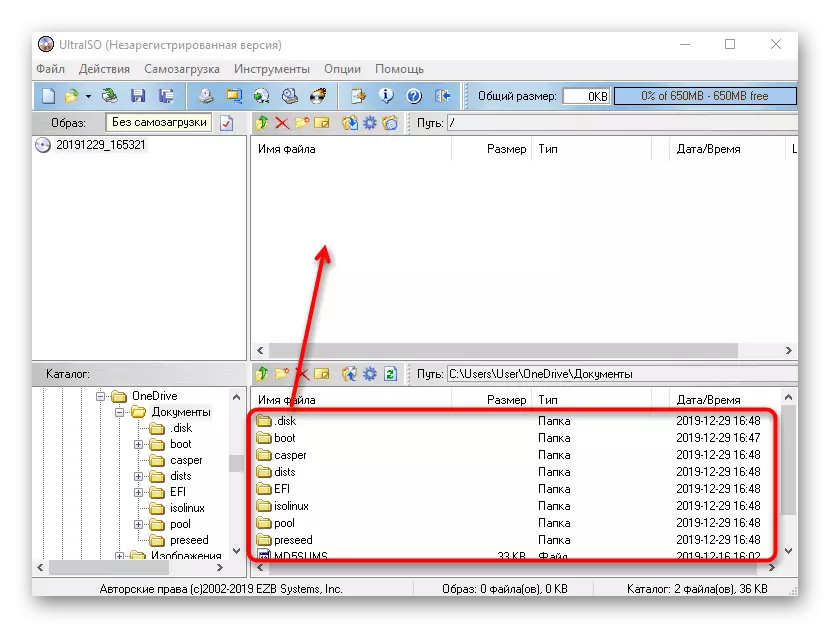
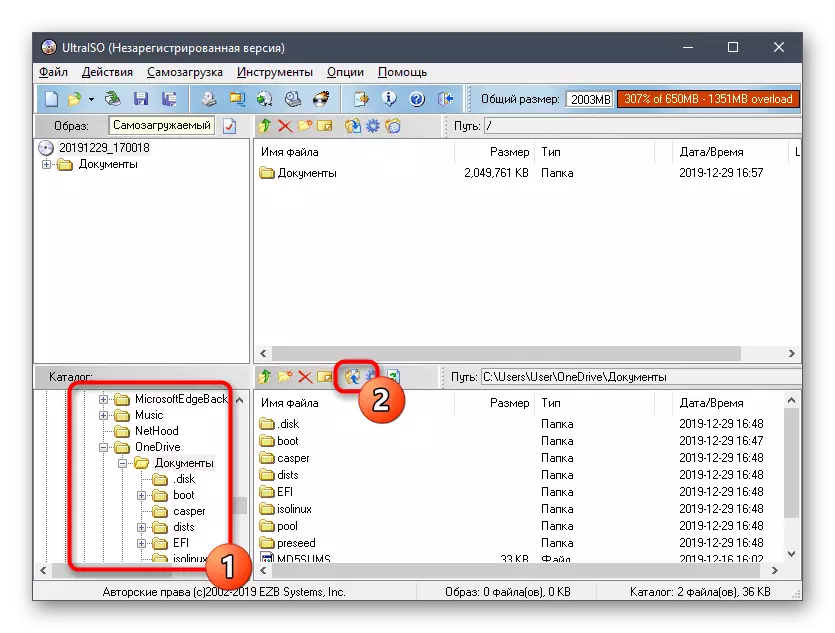
- Go to the above link to download and install Ultraiso. After starting, use the built-in browser to move all the necessary files into the image.
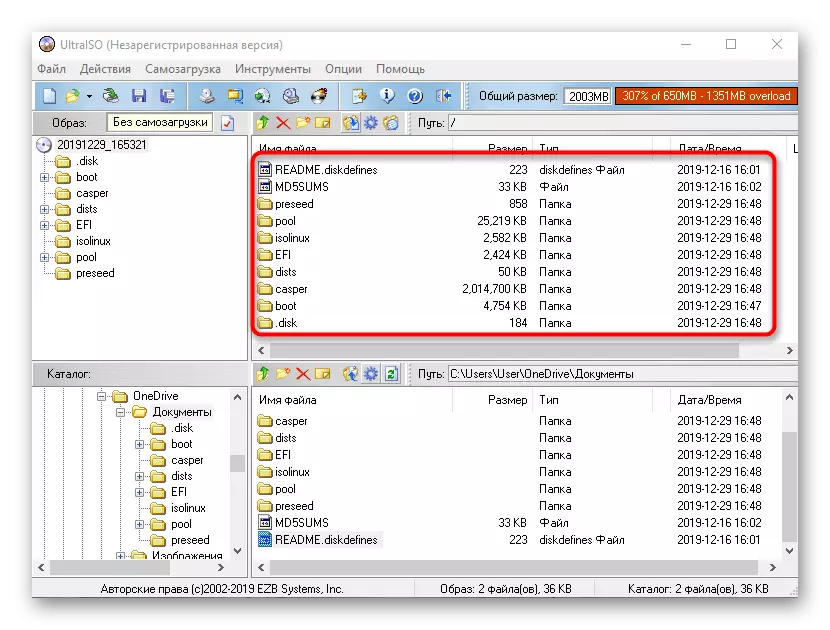
- Make sure that all directories and individual items that must be included in the ISO image have been successfully transferred to the top of the application.
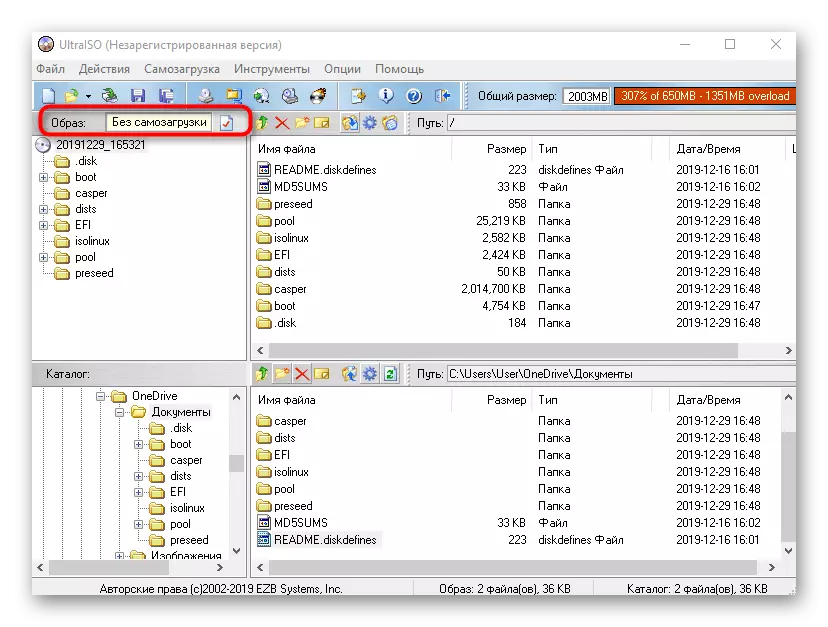
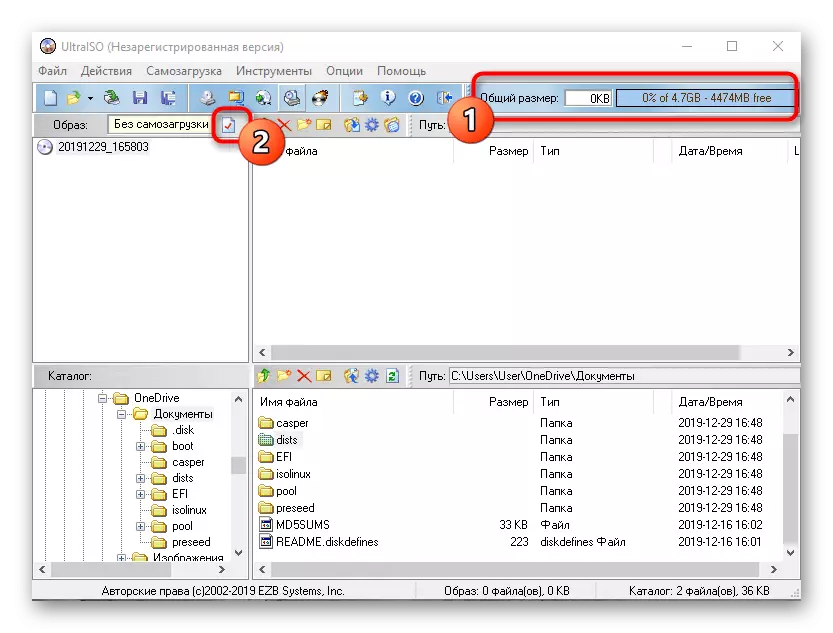
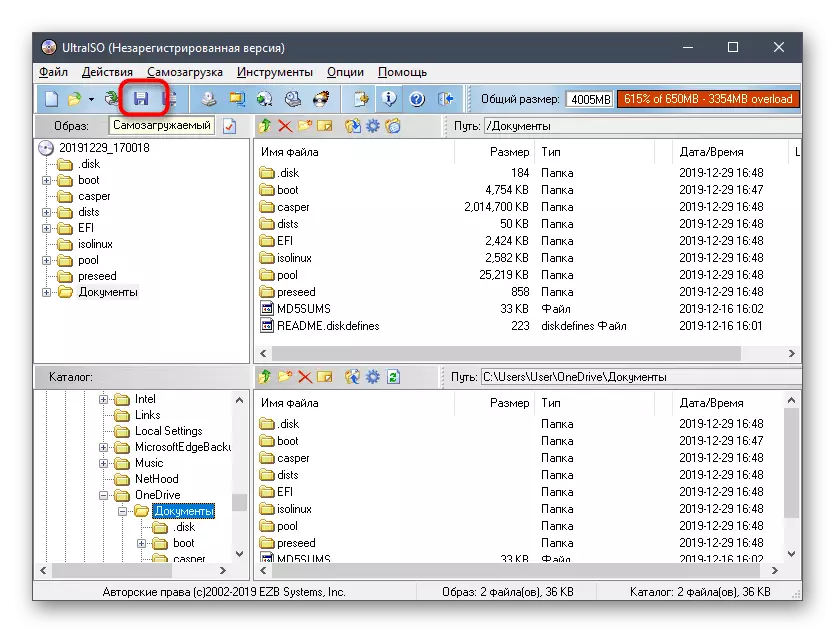
- Press the save button or the inscription "without self-loading" to start recording the finished image.
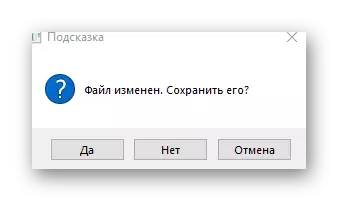
- Confirm your intentions to save the changes made.
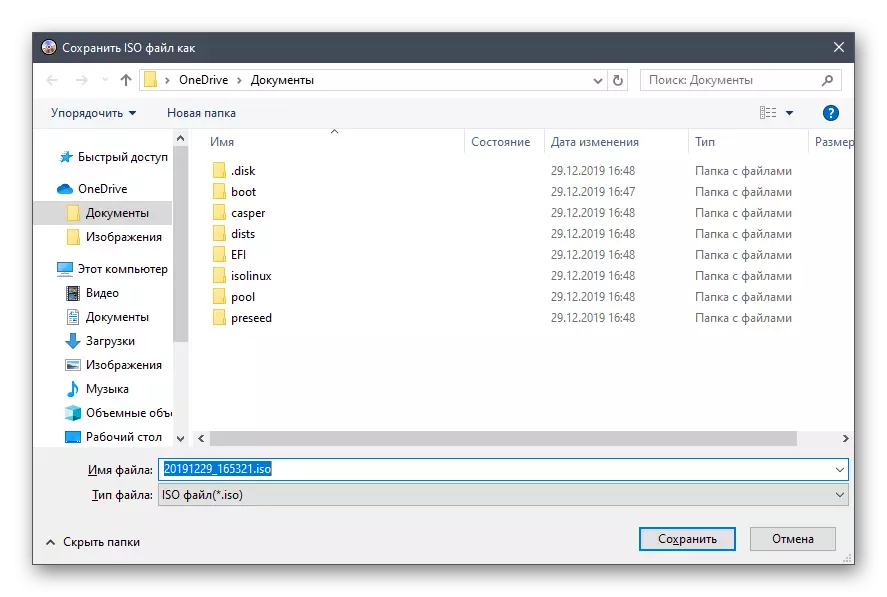
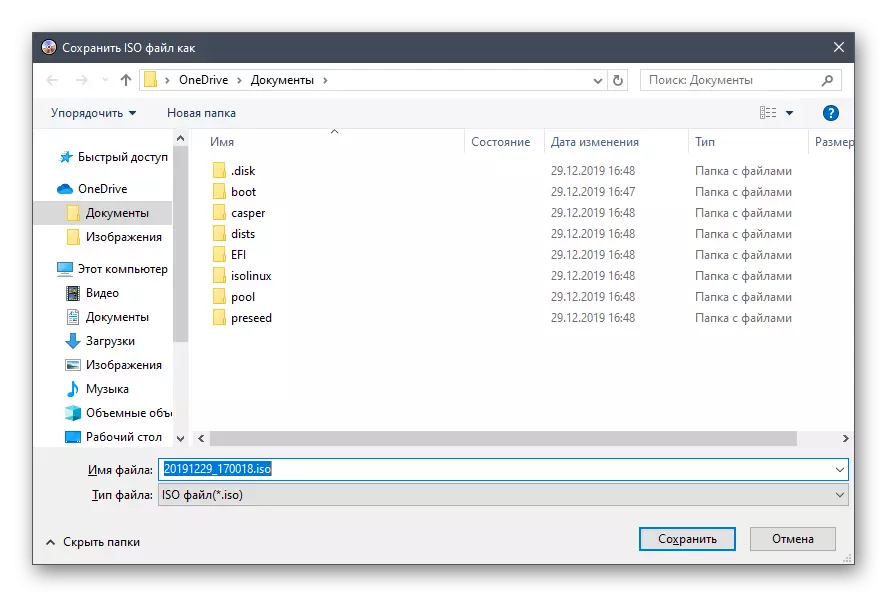
- A standard "Explorer" of the operating system opens. Here, select a place for an ISO image and set the appropriate name to it, then click on "Save".
- If you have received a notification that the size of the image exceeds the permissible boundaries, it means that a model with a small volume of space is selected as a virtual disk, which can be seen at the top near the inscription "Total size". This characteristic changes in the disk properties.
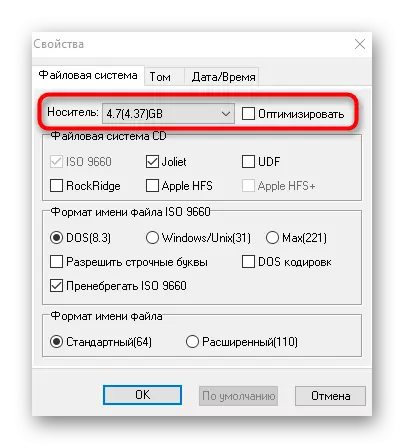
- In the window that opens, expand the media list and select the appropriate item.
- Additionally, we note that you can add all the files from the directory at once by clicking on the Extract button.
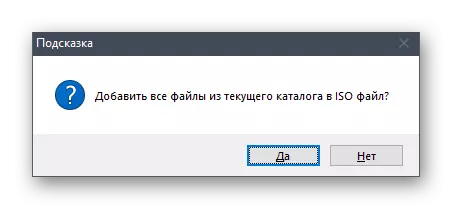
- When prompts, confirm the addition.
- After that, you can click on the "Save" button.
- Remote the image location and its name, since the previous settings were shot down if the saving could not be made.
As you can see, in the management of Ultraiso there is nothing complicated. Immediately after saving, go to the specified folder to check the disk image, for example, by connecting it to a virtual drive through the standard OS tool or the same program used.
Method 2: Poweriso
Poweriso is another popular software that has a trial version that allows you to create disk images without any restrictions. It is we we suggest to use if the previous decision for some reason did not come up for any reason.
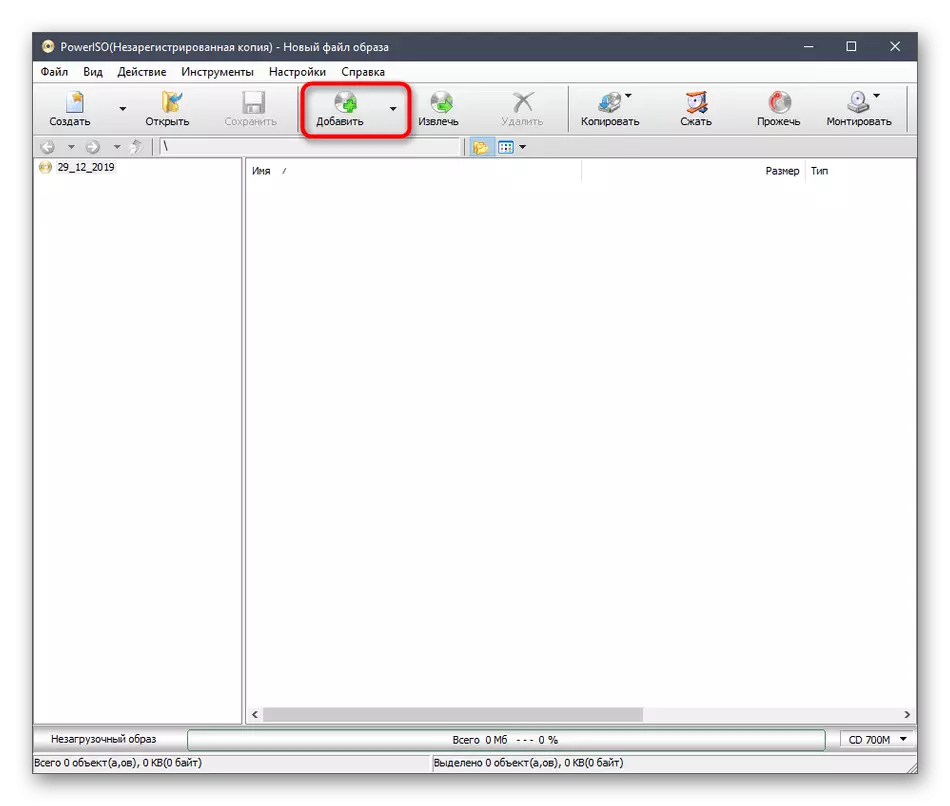
- After successfully installing and running Poweriso in the main menu on the top panel, find the "Add" button.
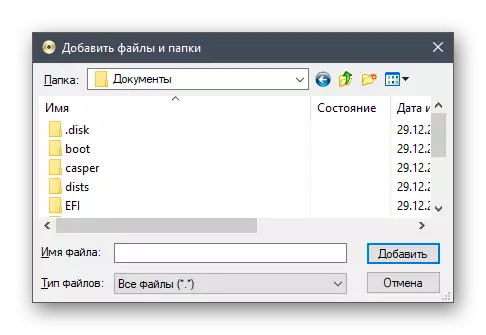
- The built-in browser opens through it. Watch out the necessary files and directories there, select them, and then click on "Add".
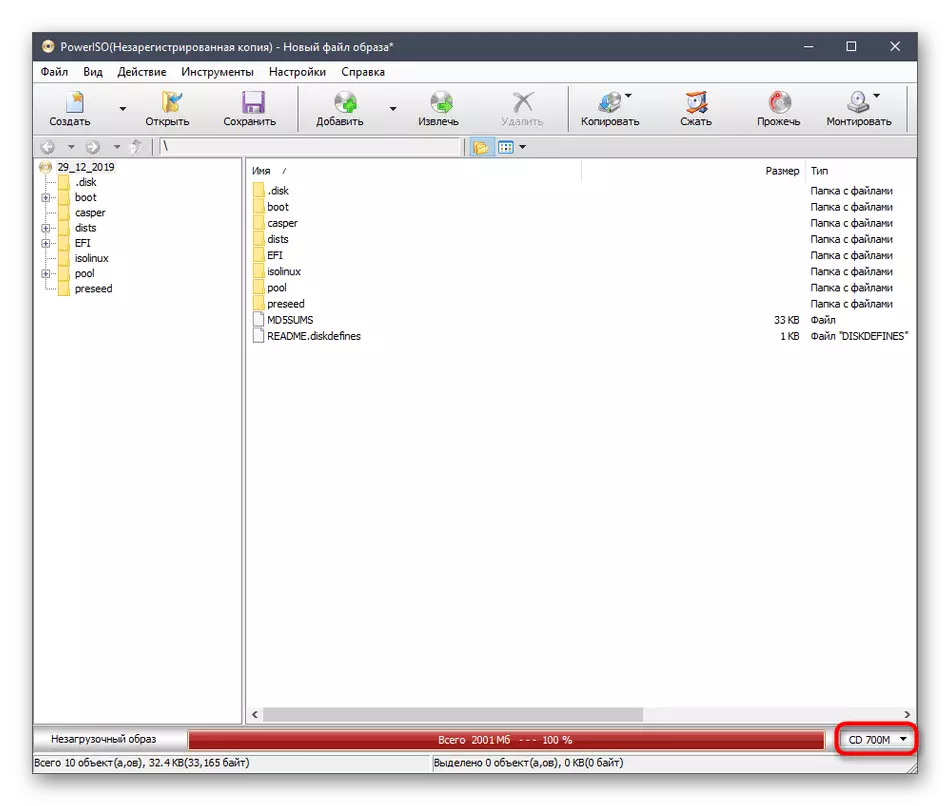
- Initially, the image can store only 700 MB of information, since the type of CD is selected. Change this characteristic from the pop-up list that opens by pressing the button in the lower right corner of the program.
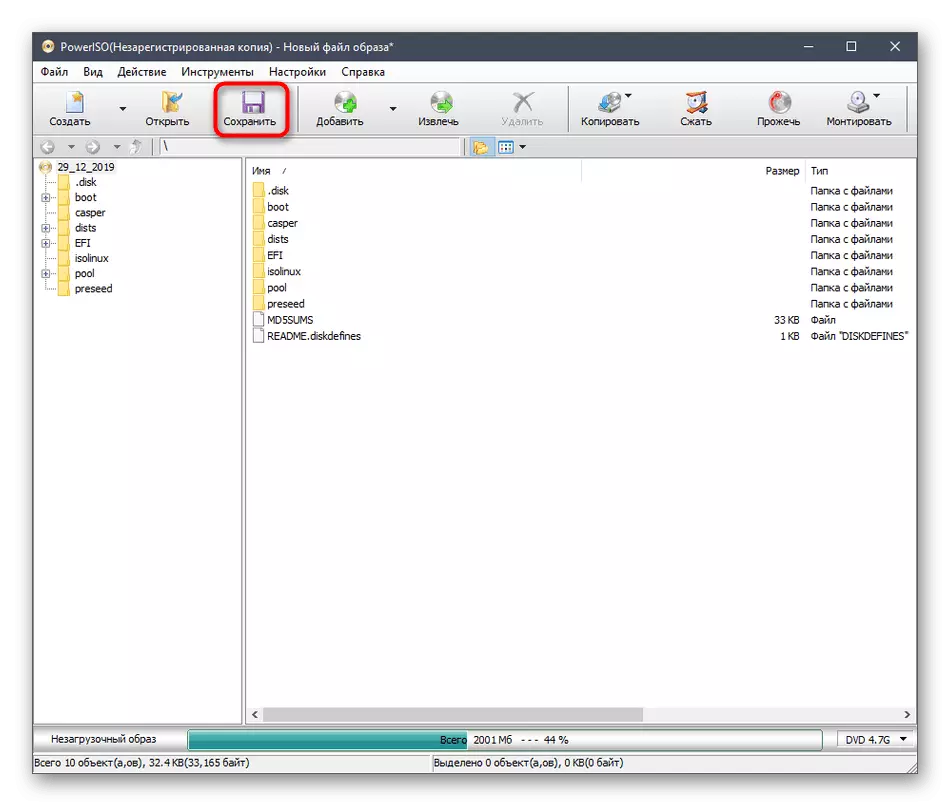
- After successfully adding all objects to the image, it remains only to save it by clicking on the left mouse button along the corresponding button on the top panel.
- In the window that appears, select the location of the image, its format and name.
- Wait until the operation is completed. It can take a certain time, which depends on the size of the final ISO.
In Poweriso, there is a Russian interface language, and the control principle will be as defined as much as possible to novice users, so there should be no difficulties with creating an image here.
Method 3: CdBurnerXP
CdBurnerXP is the last tool of our today's material spreading free of charge. We recommend to familiarize yourself with the users who do not want to download trial versions of the solutions listed above. The principle of creating an image in Windows 10 through the CDBurnerXP looks like this:
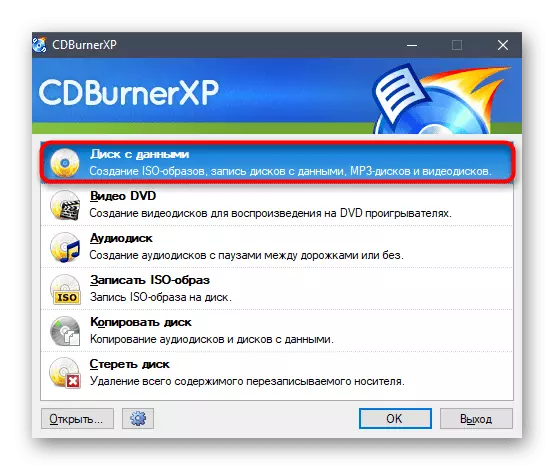
- In a welcoming window, select the first "Disc with data".
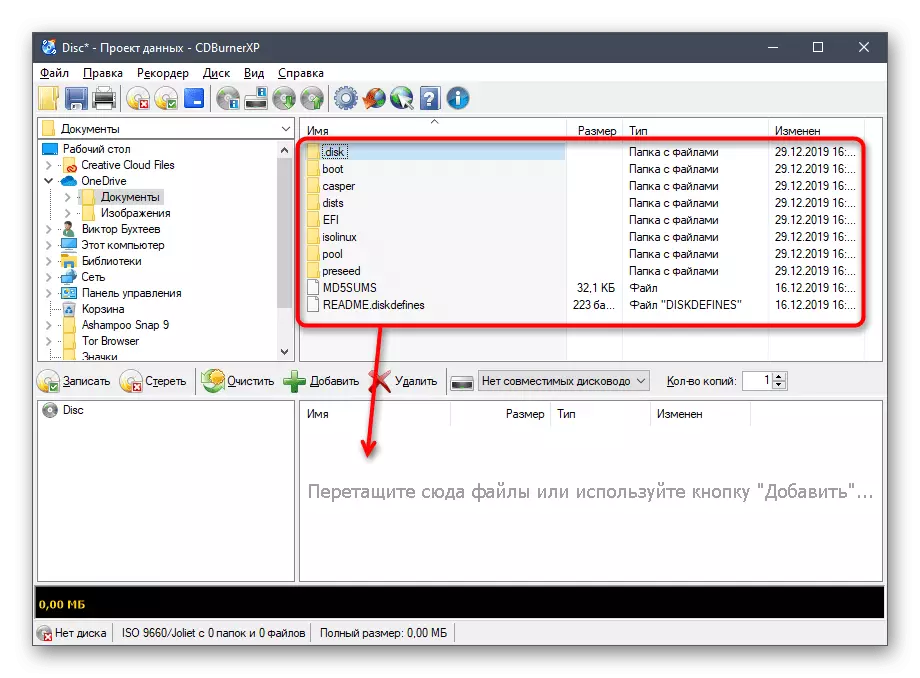
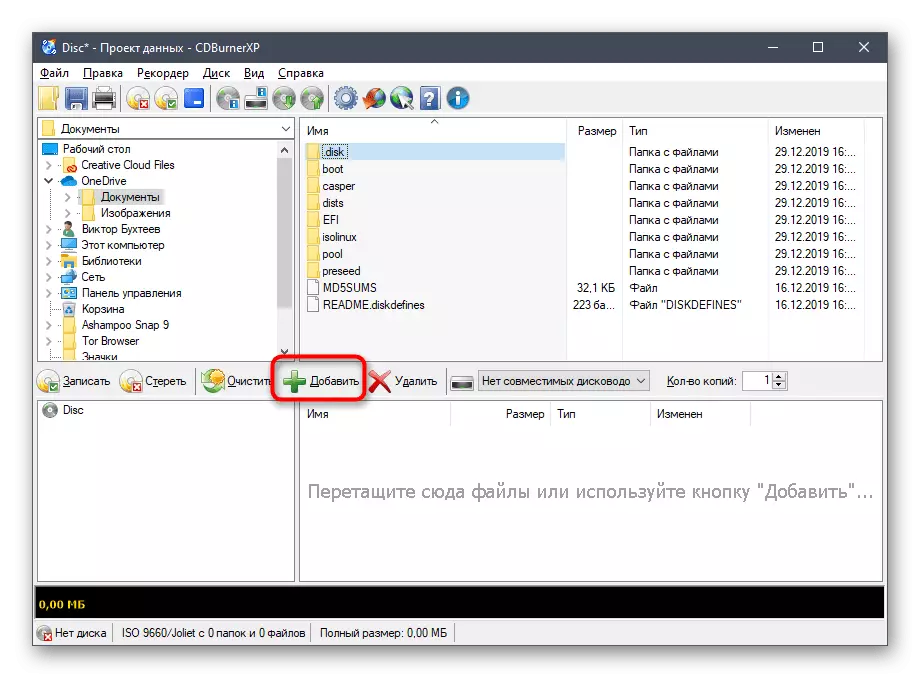
- Then use the built-in browser to drag files to the appropriate area.
- This can be done through a standard "conductor" by clicking on "add".
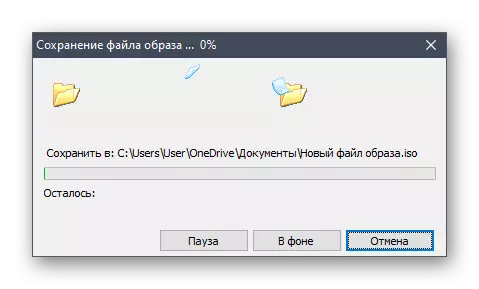
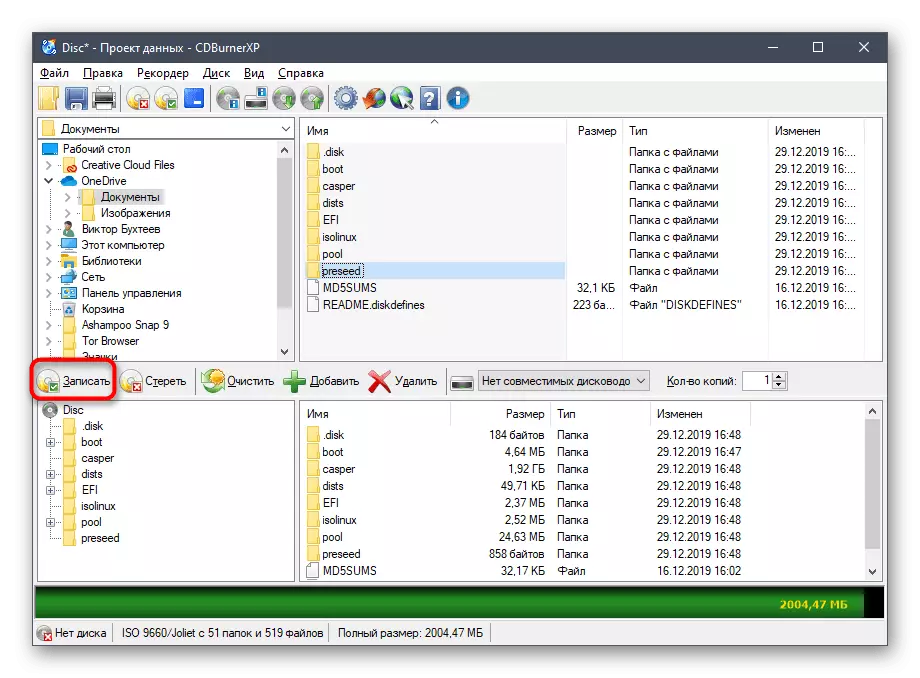
- If you want to save the image directly to the connected disk, click on "write" and wait for the end of the procedure.
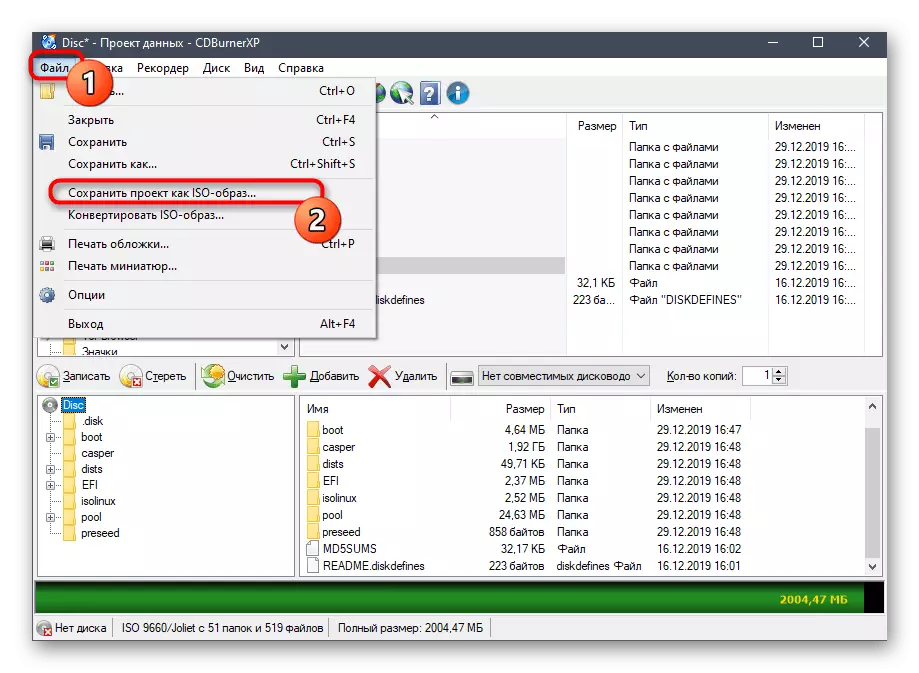
- To save the image of ISO in the File section, click on "Save Project as an ISO image".
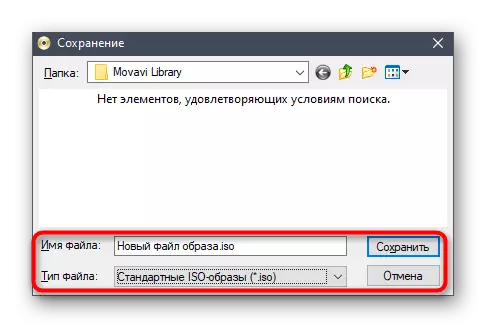
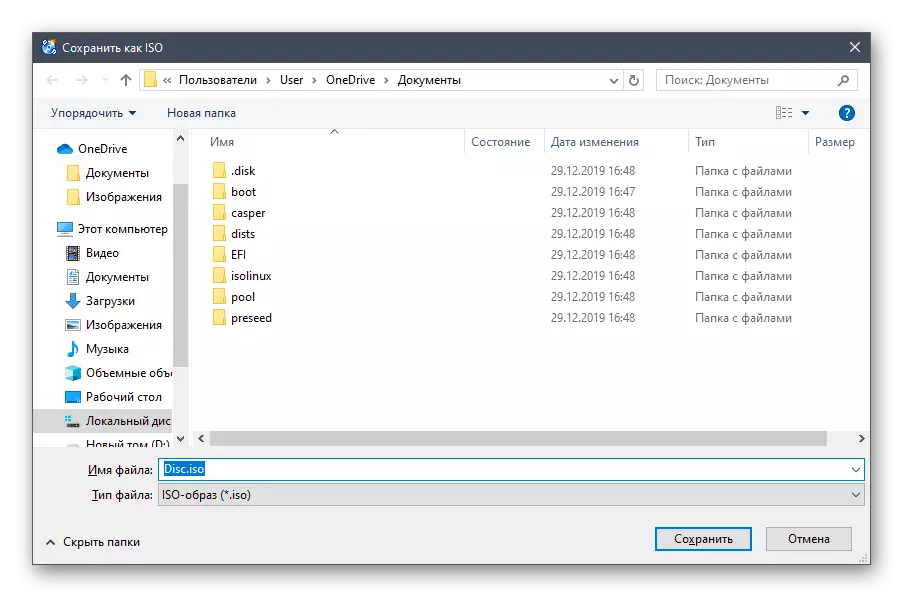
- Through the "Explorer", set the file name and select a place to locate it.
At the end of today's article, we want to note that for Windows 10 there are still many programs designed to create disk images from available files. If none of the above options come up, pay attention to the article on the link below. There you will find detailed reviews on all popular representatives of such software and accurately select the optimal decision for yourself.
Read more: Programs for creating a disk image