
Installing Windows 10 - the process facing almost every user who wants to start interaction with this operating system. Unfortunately, it is not always successful, and during installation there are various mistakes. The list of popular problems includes a logo hang, for example, after the first or second restart of the installer. Today, we would like to demonstrate the available methods of solving this problem, so that each user can pick up optimal for himself.
We solve problems with the freezing of Windows 10 on the logo during installation
In most cases, the problem under consideration is related to the installer or configuration of the computer, which interfere with continue the normal addition of files. All available solutions can be arranged by the complexity of the implementation and efficiency that we have done. You only have to follow the instructions and by exacerbation to find an effective method.Before moving to the implementation of the following instructions, we advise you to make sure that the preparation and installation process is performed correctly. To do this, familiarize yourself with the manual for the link below. If any settings or other actions you missed, correct them and repeat the installation. It is possible that this time it will pass correctly.
Read more: Installation Guide Windows 10 from USB flash drive or disk
Method 1: Using the USB 2.0 port
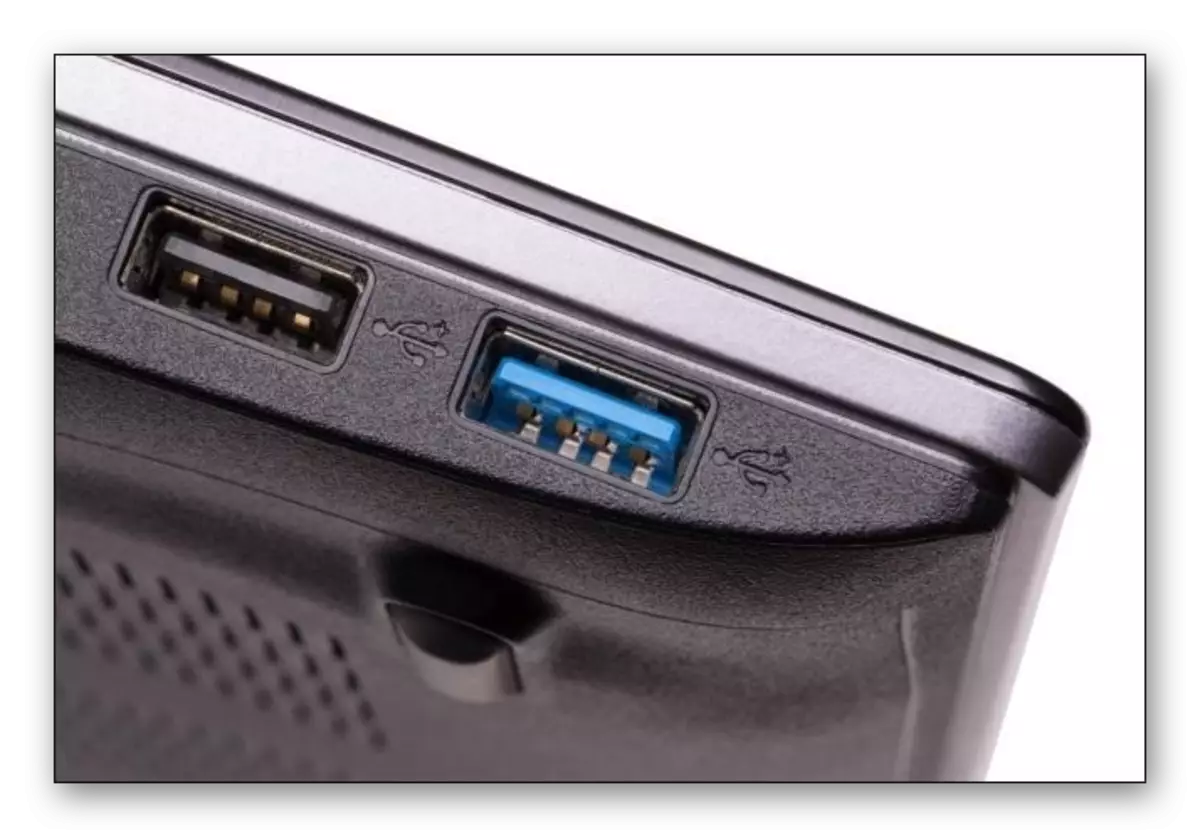
As you know, now almost all distributions of Windows 10 are installed on computers or laptops using a predetermined bootable flash drive. Usually it is inserted into the first USB port, and then the installation is started. However, this detail should be paid to separate attention. Sometimes the BIOS or UEFI settings have a negative impact on reading data from the USB port 3.0, which entails the appearance of hanging on the logo. Try insert media in USB 2.0 and repeat the installation. In the image below you see the difference between USB 2.0 and 3.0. The younger version has a black color, and the eldest is blue.
Method 2: Checking the priority of download
In general recommendations for installing Windows 10, you can almost always find footnotes talking about the need to configure the priority of downloads in the BIOS. It affects the reading of the media during the launch of the computer. For the correct installation, it is recommended to install a flash drive on the first place, and then the main hard disk will go. If you have not done this or setting randomly moved, check this parameter and place a removable drive to first place, and then check the effectiveness of this method. In more detail about changing the priorities of the download in the BIOS, read in a separate material on our website by clicking on the following reference.Read more: Configure BIOS to download from a flash drive
Method 3: Deleting existing sections
Not always installing Windows is carried out on a completely "clean" hard disk. Sometimes it contains previously created sections with the files of the old operating system. Often, this particular situation leads to the emergence of difficulties, therefore it is advisable to completely clean the markup of the drive, which is carried out as follows:
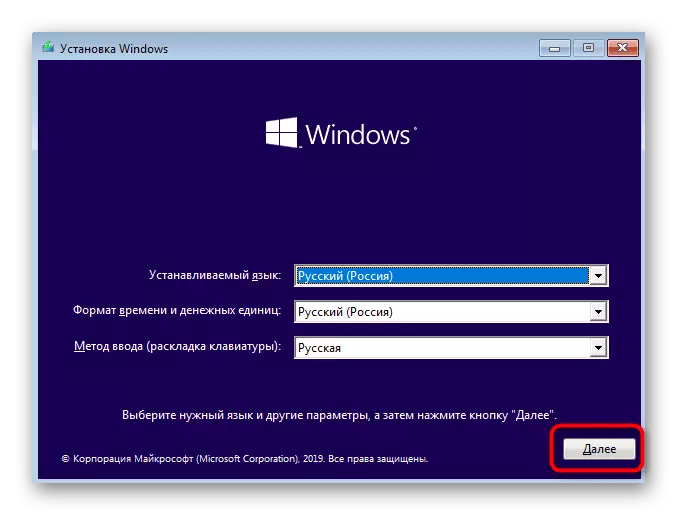
- Run the OS installer, enter the desired language in the window and go further.
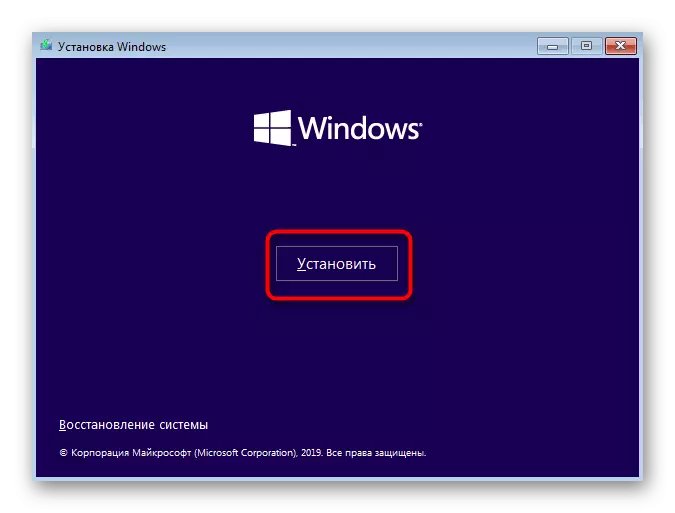
- Click on the Install button.
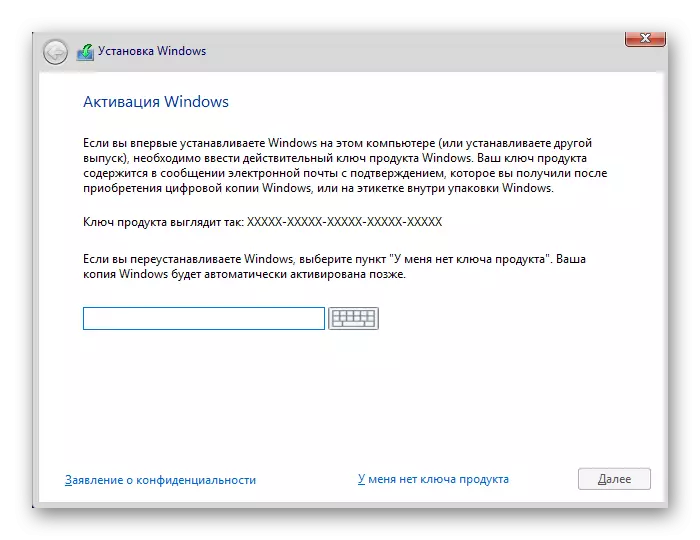
- Enter the license key or postpone this action for later.
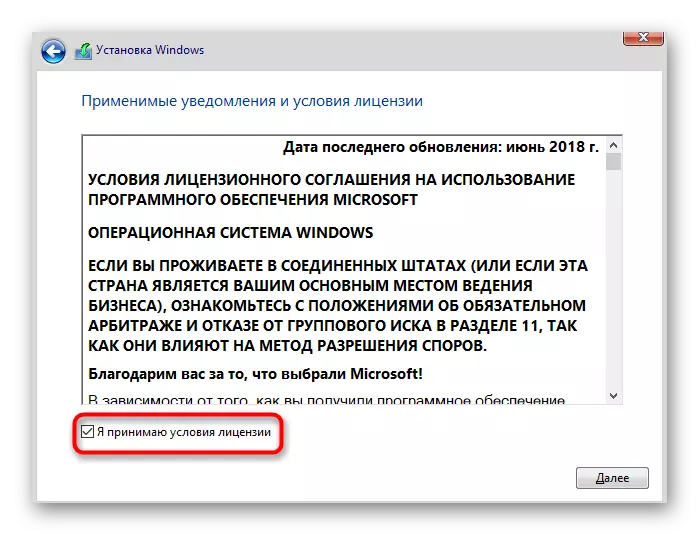
- Take the terms of the license agreement.
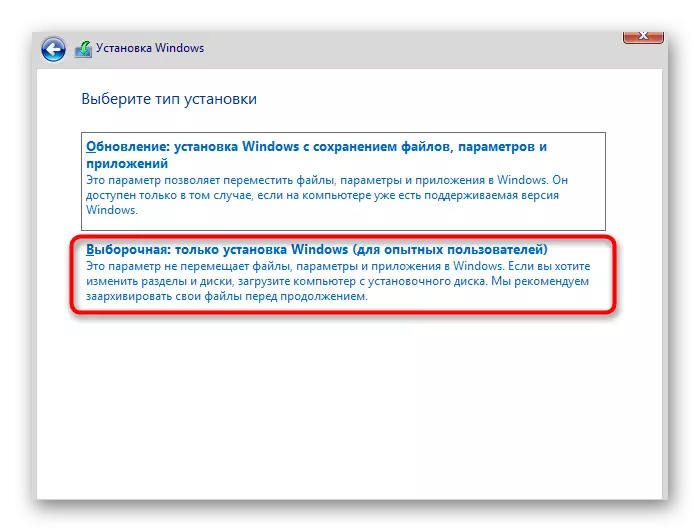
- Specify the option of installing "selective".
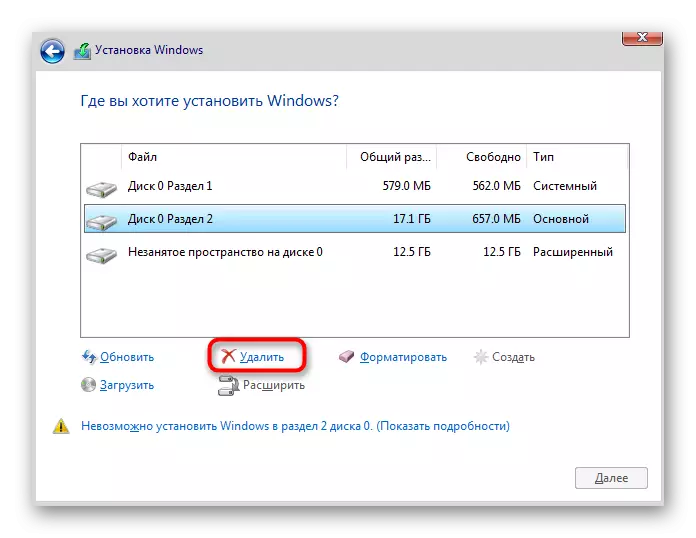
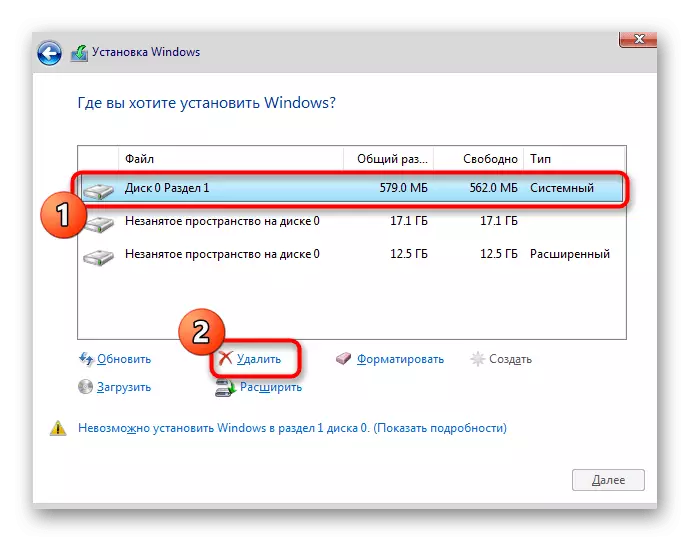
- Now time to implement the very actions that should help in solving the problem. Select the first section and click on the Delete button.
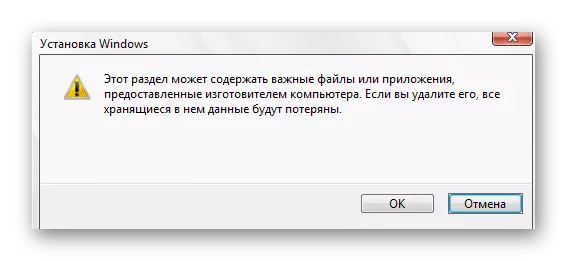
- Confirm deletion.
- With the system volume, you should do the same, and leave only the partition on which the user files are stored if there is such.
- All sections were transformed into an unoccupied space. It is necessary that it should be selected, and then click on "Next" and follow the instructions for successful installation.

Method 4: Create a hard disk partition table
The Windows 10 installer during operation with an empty drive must independently create a GPT or MBR partition table, pushing out from the BIOS or UEFI version, but this is not always happening. Sometimes because of a similar problem and appears hanging on the logo. You need to correct the situation yourself, completely formatting the disk. For uefi owners, you need a GPT table. The transformation into it is carried out like this:
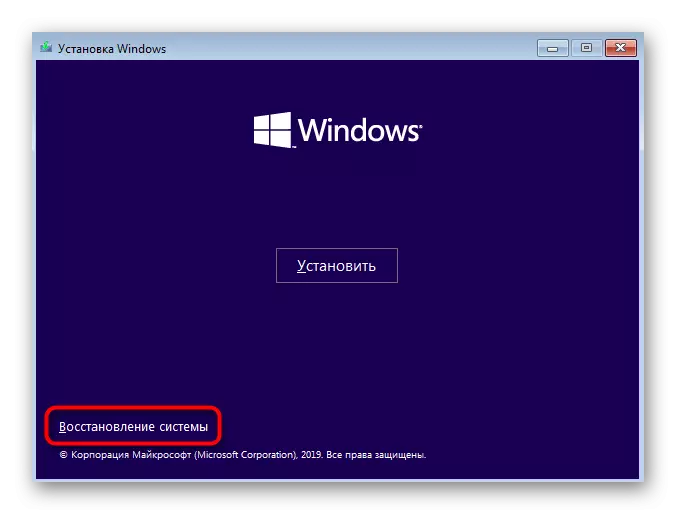
- Run the operating system installer, but you do not press the Install button, and use the System Restore button.
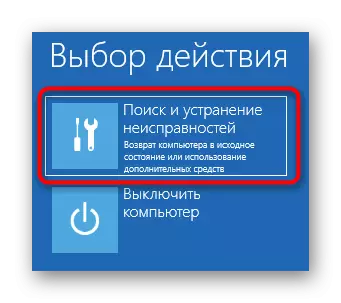
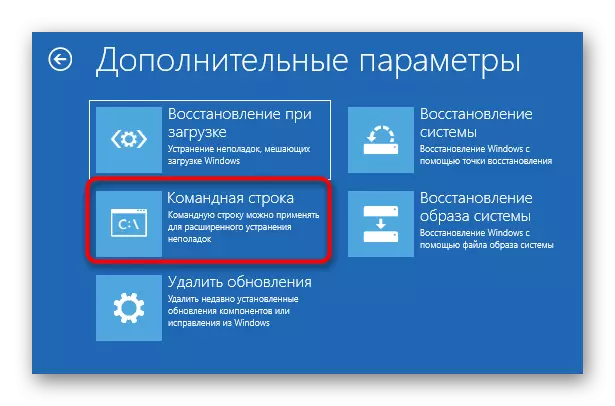
- In the Sick Selection list, click on "Search and Correct Faults".
- Among the additional parameters, find the "Command Line".
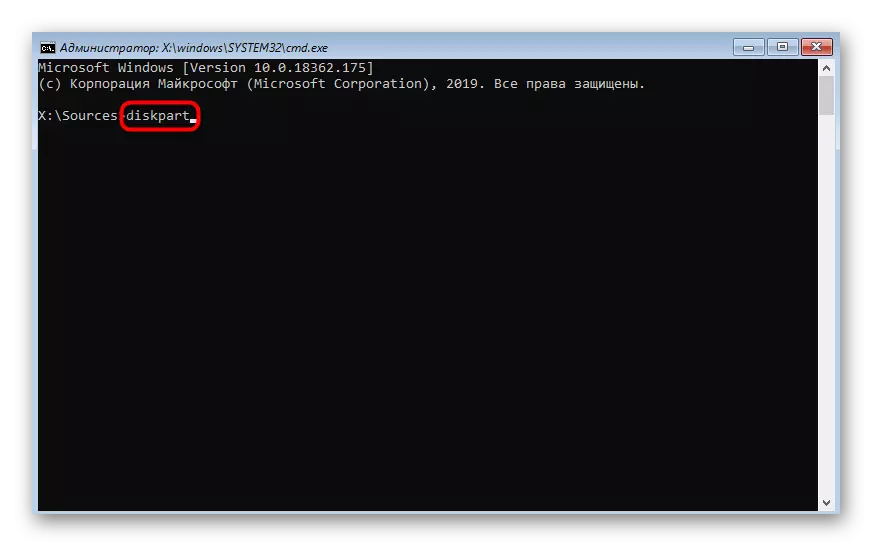
- It will have to run the DiskPart utility by entering its name and clicking on ENTER.
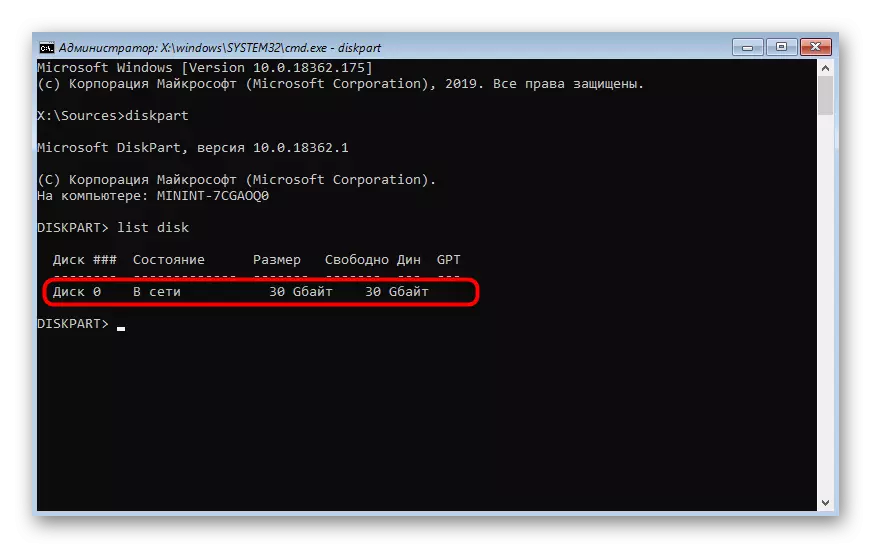
- Browse a list of available disks via List Disk.
- All connected devices are displayed in the list. Pay attention to the disk that will be used to install Windows. Remember its number.
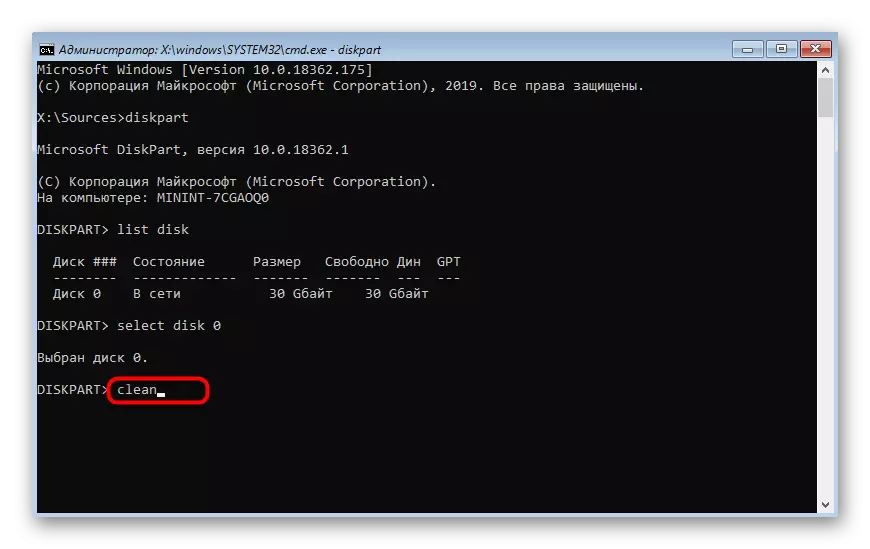
- Enter SELECT DISK 0 to select the drive, where 0 is its number.
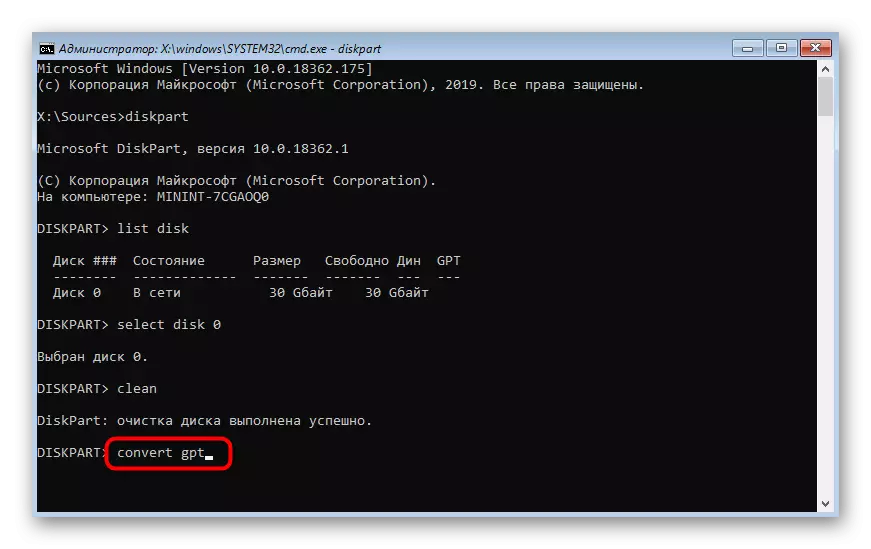
- Write the Clean command. Take into account that after its activation, absolutely all partitions on the disk will be removed along with the information stored there.
- Convert partition table in GPT via Convert GPT.
- Upon completion, enter EXIT and restart the PC to re-attempt the OS installation.


If your motherboard has a standard BIOS without a UEFI shell and the installation of the operating system will be performed in Legacy mode, the partition table must be formatted in the MBR. To do this, use the instructions above, but replace the conversion command to Convert MBR.
Method 5: BIOS Update
The old BIOS version does not always have a negative impact on computer interaction, but sometimes it provokes the emergence of global problems, for example, considered today. This means that you must first update the software, and only then go to the installation of the OS. Make it will be problematic because you have to find a working computer to record the necessary files, and some users even need to contact the service center. However, the task is quite executed, and on our site there is an instruction, describing in detail its implementation.READ ALSO: BIOS update on a computer
Method 6: Re-creation of the boot flash drive
In some cases, the software that records the OS image for further installation is not entirely correctly or the user allows errors at this stage. This state of affairs can also provoke hangs during installation, so it is important to create a bootable drive in accordance with all recommendations. We advise you to use a separate article further, which describes the fully correct implementation of the task. You can go to it by clicking on the following link.
Read more: How to create a bootable USB flash drive 10
These were all the ways we wanted to tell in today's article. You should not forget that the reason for the appearance of hangs can serve a damaged or incorrectly created image downloaded through torrent sources. Pick up the ISO file carefully and read the reviews about him not to deal with difficulties at the most inopportune moment.