Typically, Apple products do not require you to reinstall your operating system, at least, if the iMac or MacBook have a stable internet connection. Sometimes the latter is not available, in which case the user comes to the rescue method of installing the latest version of OS from a USB drive, what we want to tell you today.
How to install from a USB drive Makos
The procedure is similar to that of Windows or Linux family, and consists of four stages: loading distribution, training stick, recording the image on it and the actual installation of OSes. Let's go in order.Step 1: Load distribution
The company Apple, in contrast from Microsoft, does not sell distributions of their system, they can be downloaded from the AppStore for free.
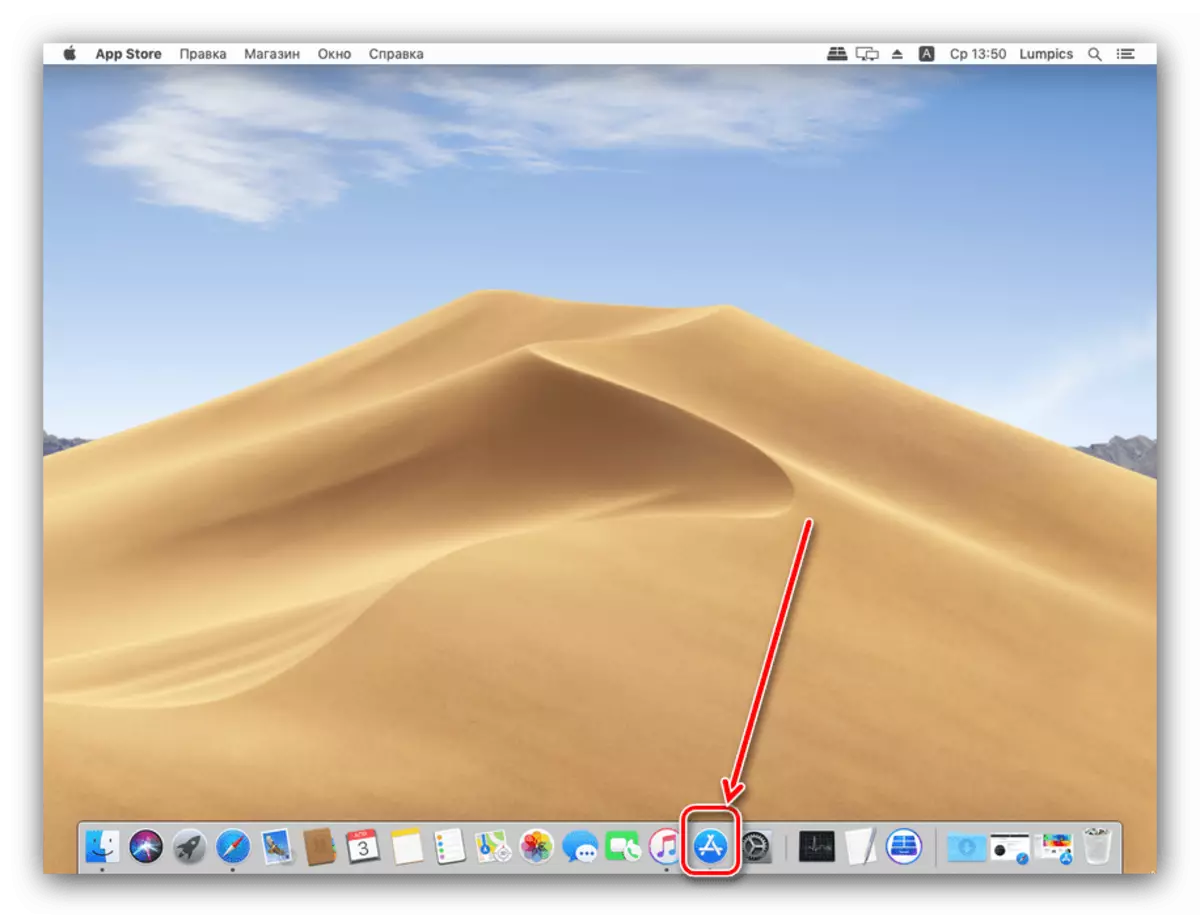
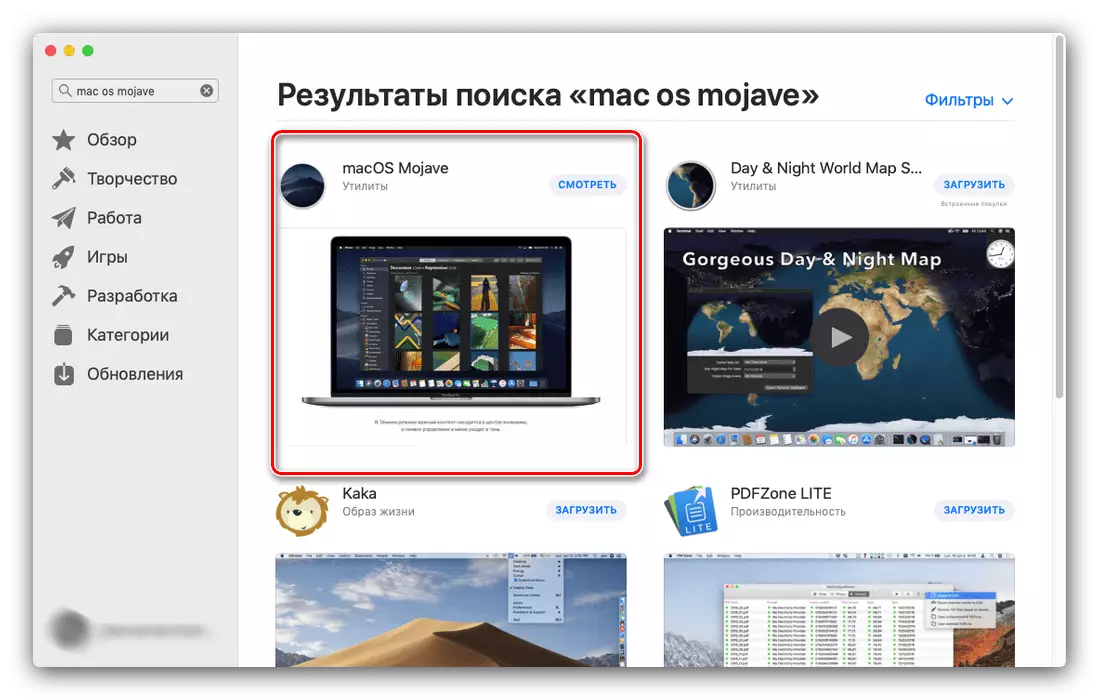
- Open EppStor of the Dock on your desktop.
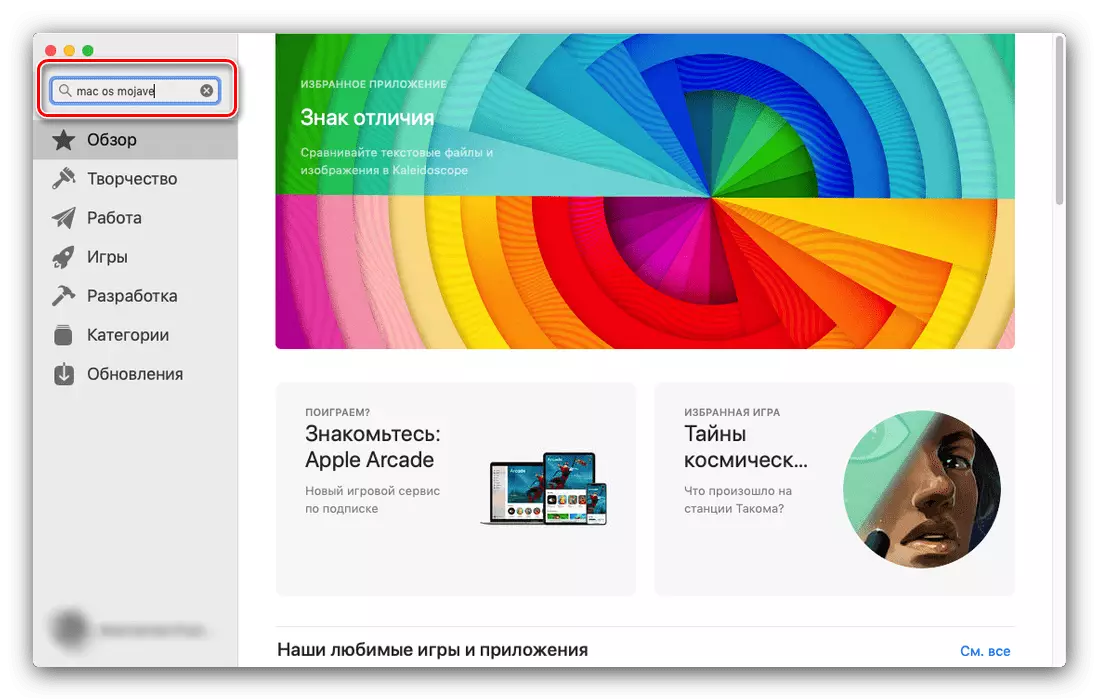
- Use the search bar to enter that request macos mojave, and press Return.
- Select the option marked in the screenshot below.
If you want to download an older distribution, repeat steps 2-3, but as prompted, enter the name of the desired version.
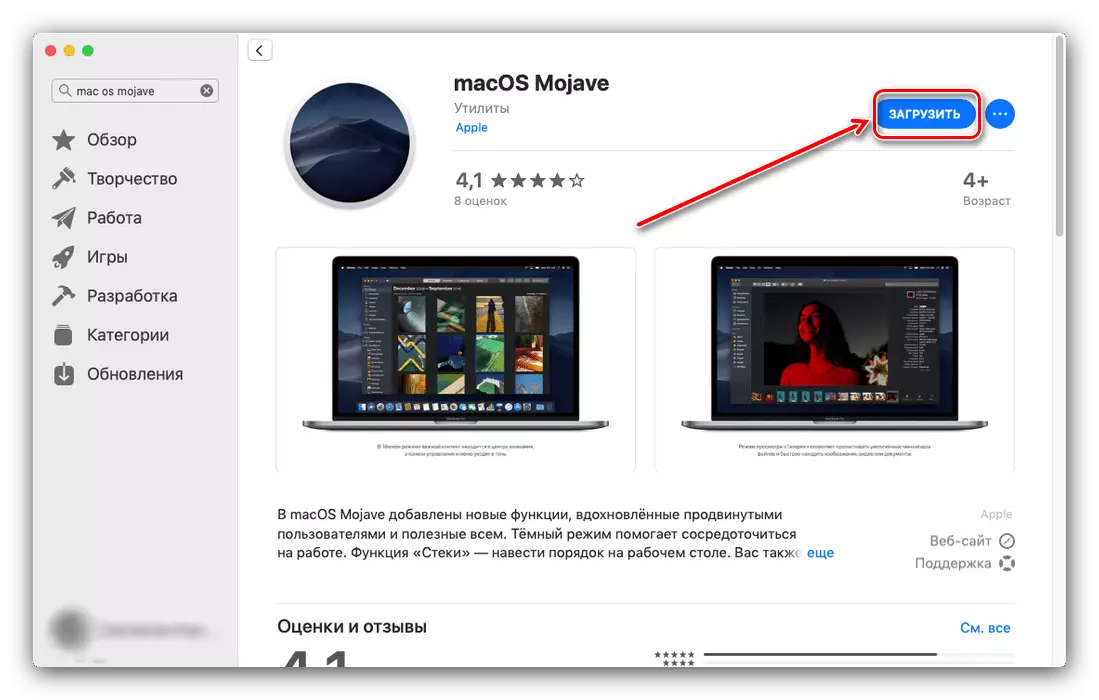
- Click on the "Download" button in the upper right corner of the page.
- It should start loading distribution in DMG format. The installer is a displacement of about 6 GB of file size, so it is downloading may take some time.
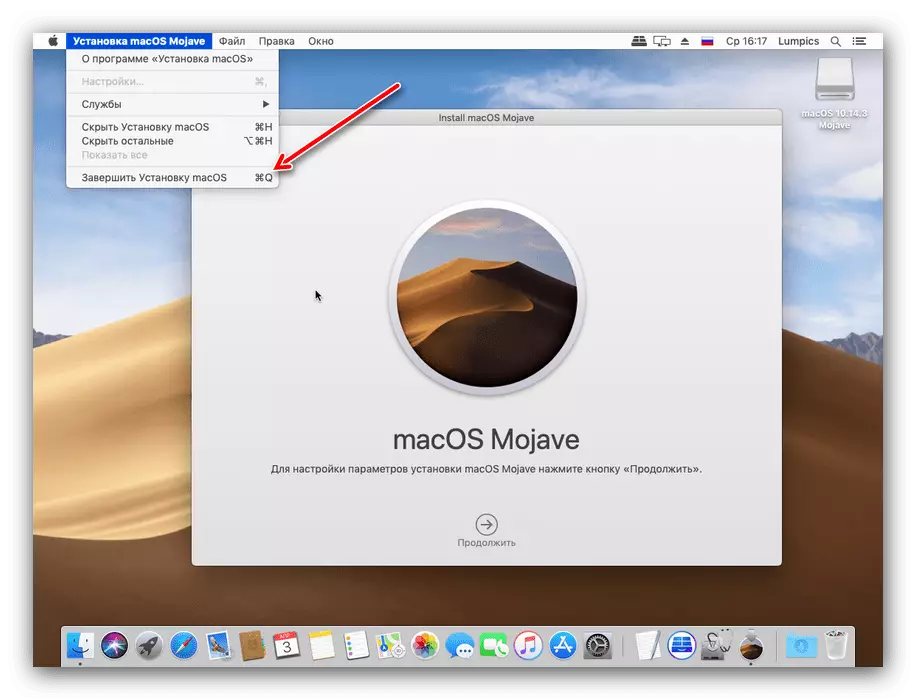
- Once the distribution is downloaded automatically starts installing it. This we do not need, therefore, to cancel it, just close the window one of the possible methods: cross-button, the keyboard shortcut Command + Q or the point "Finish" in the application menu.
Step 2: Preparation of the stick
After loading distribution should appropriately prepare the next boot carrier.
Attention! The procedure involves formatting the flash drive, so be sure to make a backup copy of the files that are stored on it!
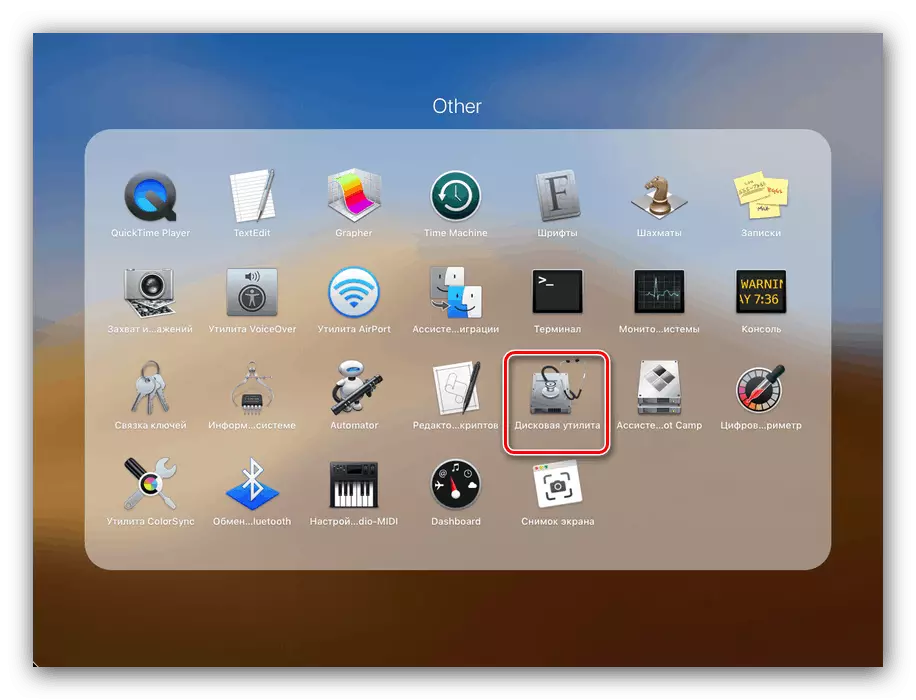
- Connect the USB flash drive to the iMac or MacBook, and then run the application "Disk Utility". When you first hear this name, review the article at the link below.
Read more: "Disc utility" in MacOS
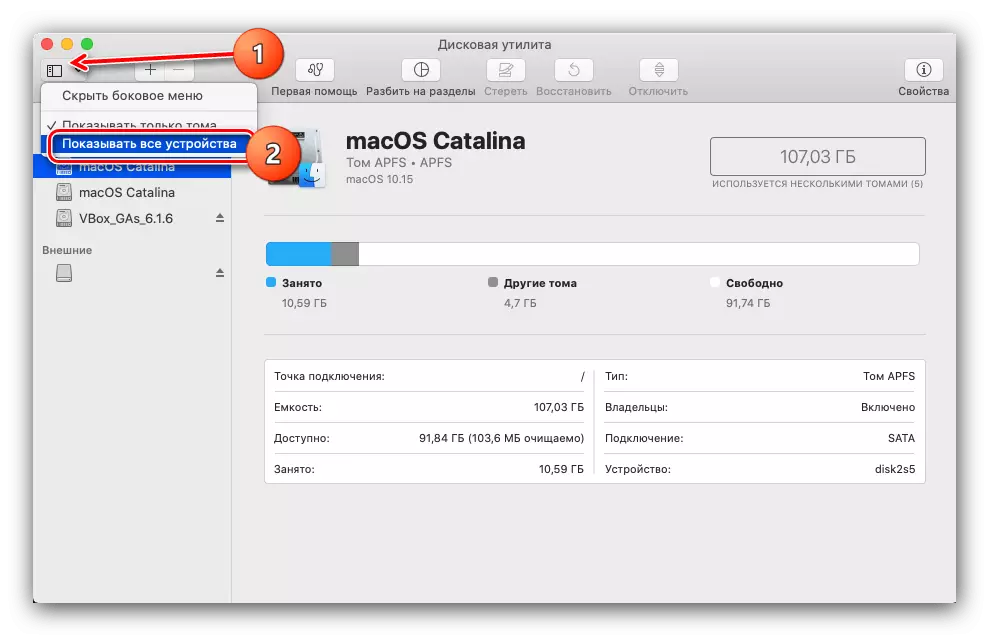
- Open the "View" menu in which to select the option "Show all devices".
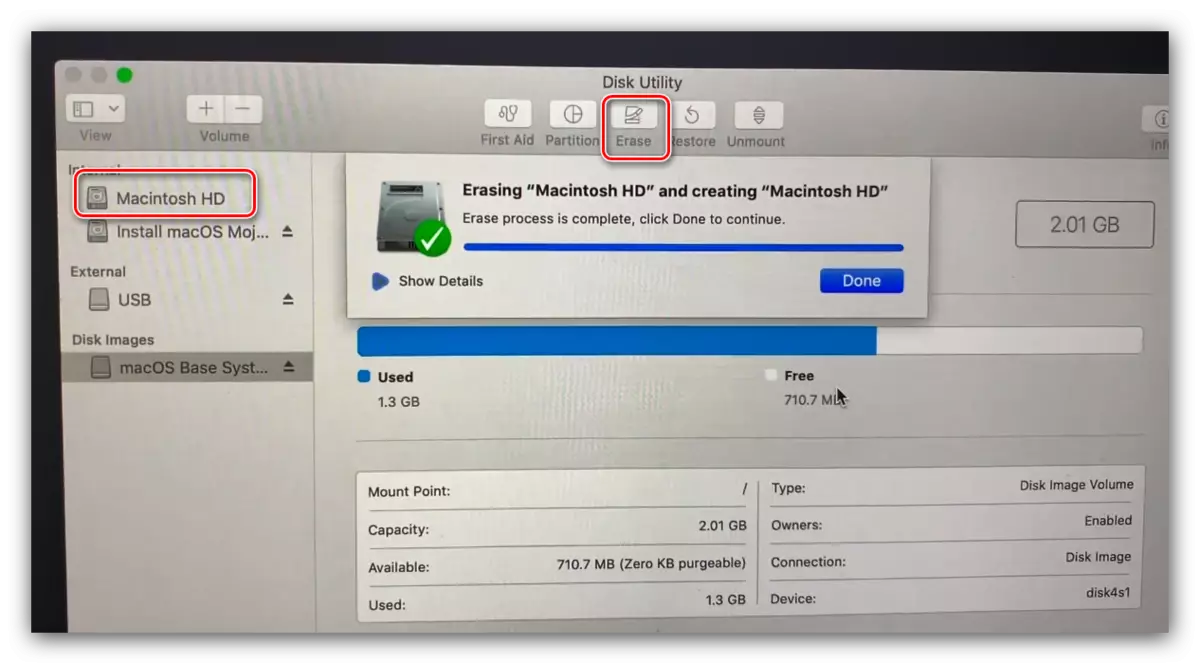
- Removable media are located in block "External" - Find where your USB flash drive and select it. Then click the "Erase".
- A dialog box appears. Set the settings in it, as on the screenshot below (specify the name as MyVOLUME), and click "Erase".
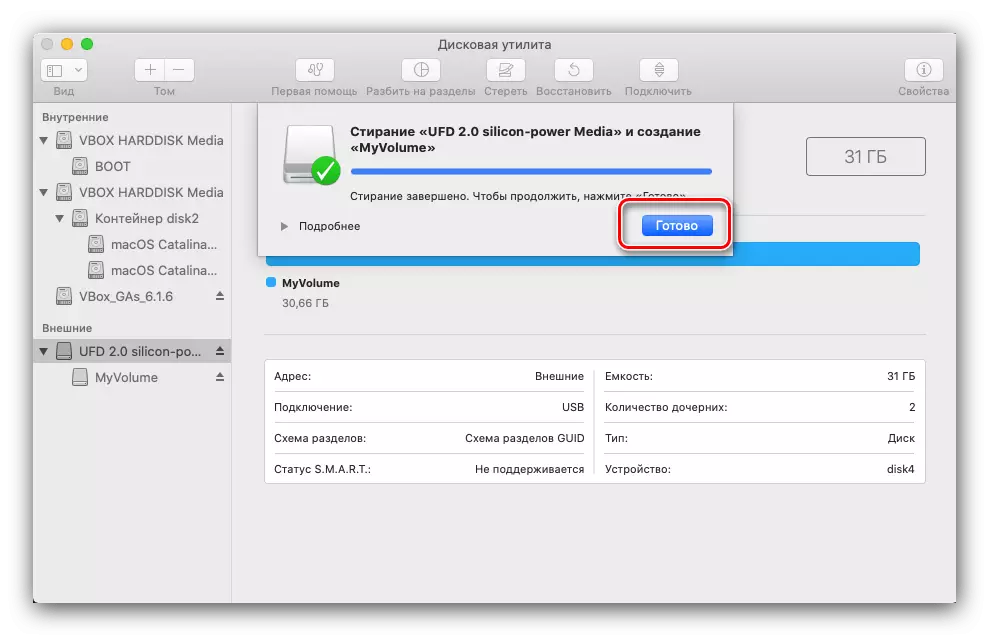
- Wait until the formatting procedure is completed. In the alert window, click Finish.
Now go to the entry of the installer.
Stage 3: Recording File File on USB
The DMG format is very similar to ISO, but its essence is somewhat different, so you need to write such an image on the flash drive through another algorithm than Windows or Linux. To do this, we will need to use the "Terminal".
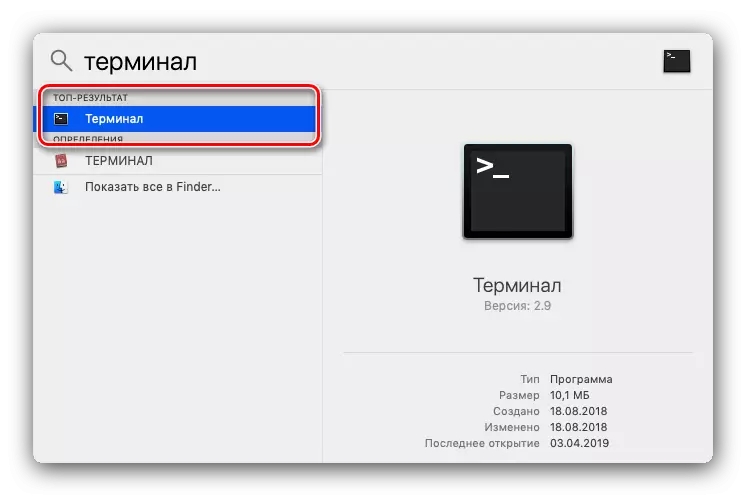
- The easiest way to open the application via the Spotlight tool: Click on the button in the form of a magnifying glass, then write the word terminal in the search.

Next click on the found application to run.
- If you downloaded the MacOS Mojave installer, enter the following command:
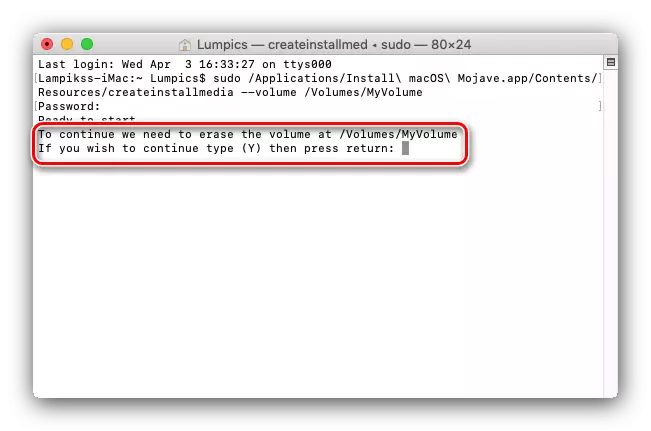
sudo / applications / install \ macos \ mojave.app/contents/resources/createInstallmedia --VOLUME / VOLUMES / MYVOLUME

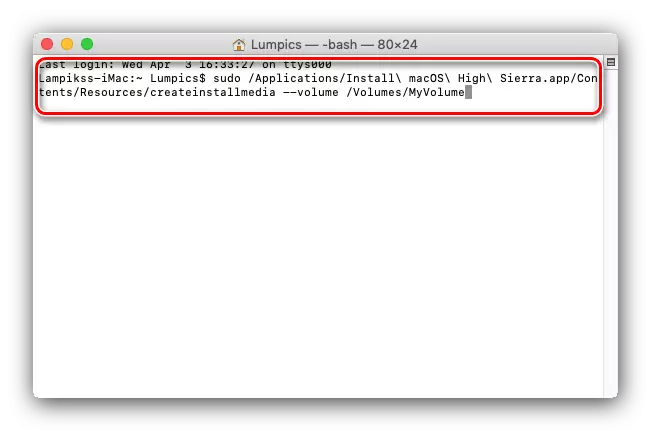
If High Sierra, the team will look like this:
Sudo / Applications / Install \ MacOS \ High \ sierra.app/contents/resources/createInstallMedia --VOLUME / VOLUMES / MYVOLUME
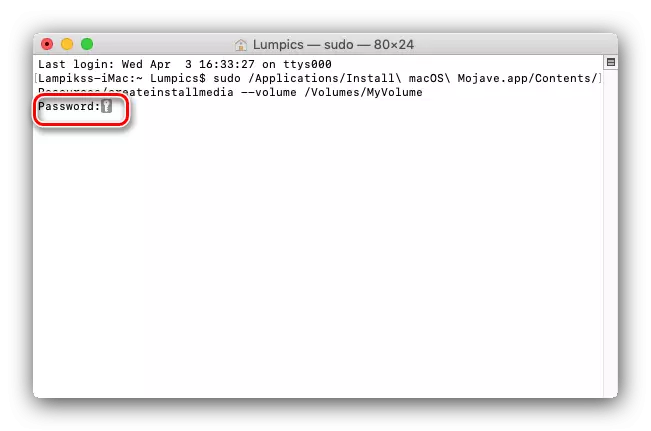
You will need to enter the password - it is not displayed, so be careful.
- Tom cleaning will be offered. Since we previously formatted the USB flash drive, you can safely press the Y key on the keyboard.
- You need to wait until the system format the drive and copies the installer files to it.

At the end of the procedure, close the "Terminal".
Stage 4: OS installation
The installation of MacOS from the flash drive is also different from the installation of other operating systems. Apple computers do not have a BIOS in the usual understanding of the word, so nothing is required to configure.
- Make sure the loading flash drive is connected to the computer, after which you reboot it.
- During the download, clamp the Option key to call the Bootloader menu. The picture should appear as on the screenshot below.
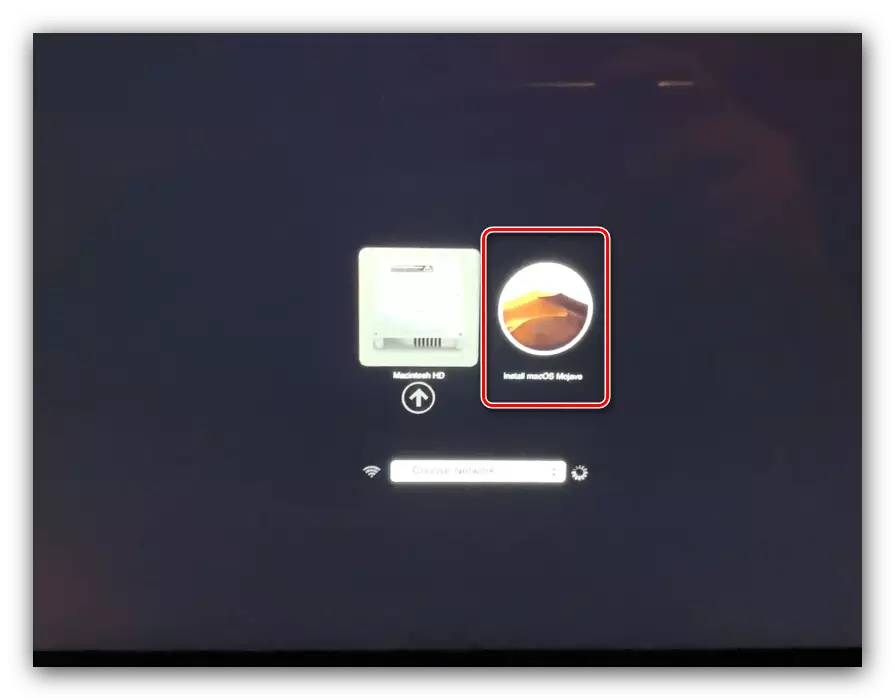
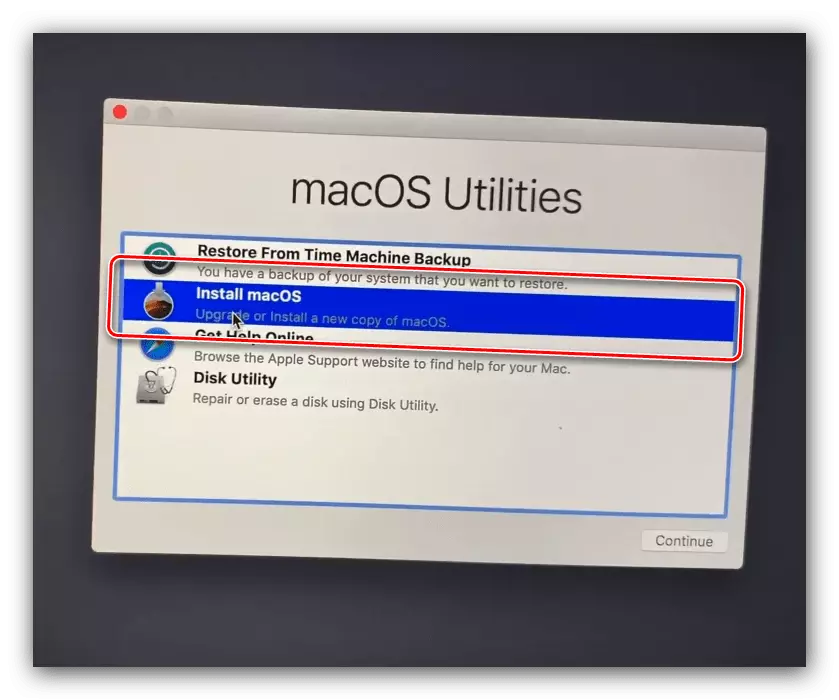
Use the arrows on the keyboard to select the "Install MacOS" item.
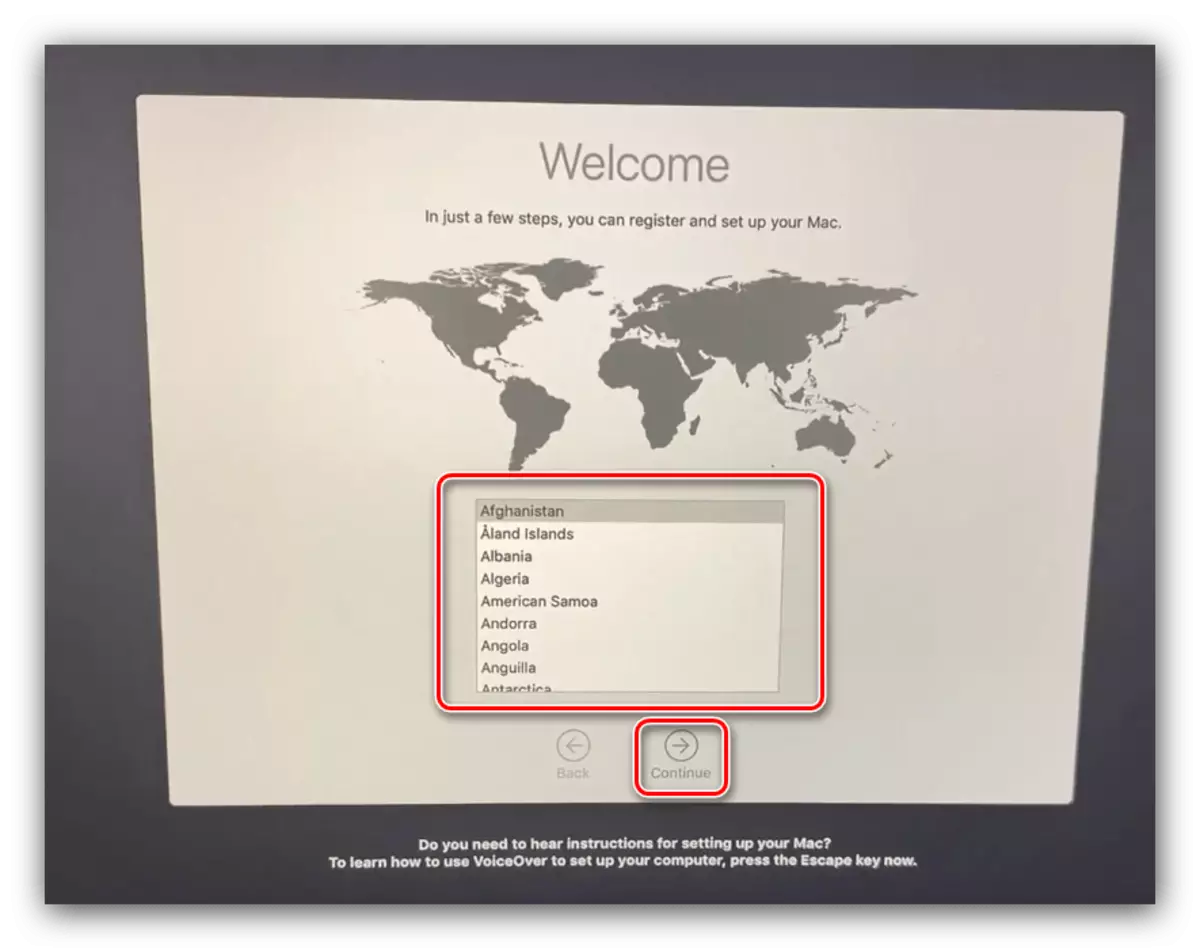
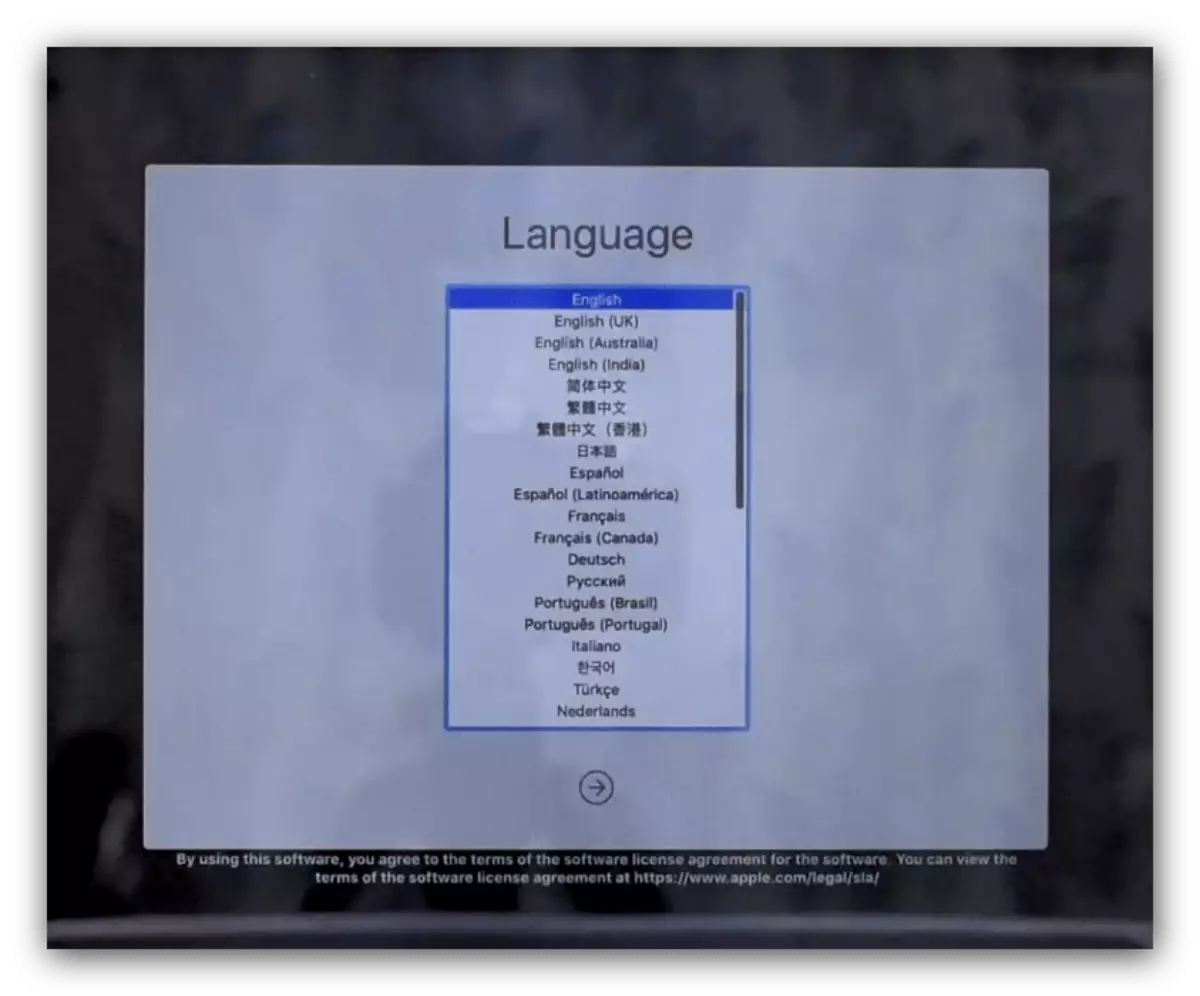
- The language selection menu appears - find and mark the preferred for you.
- In the menu that appears, use the disk utility.
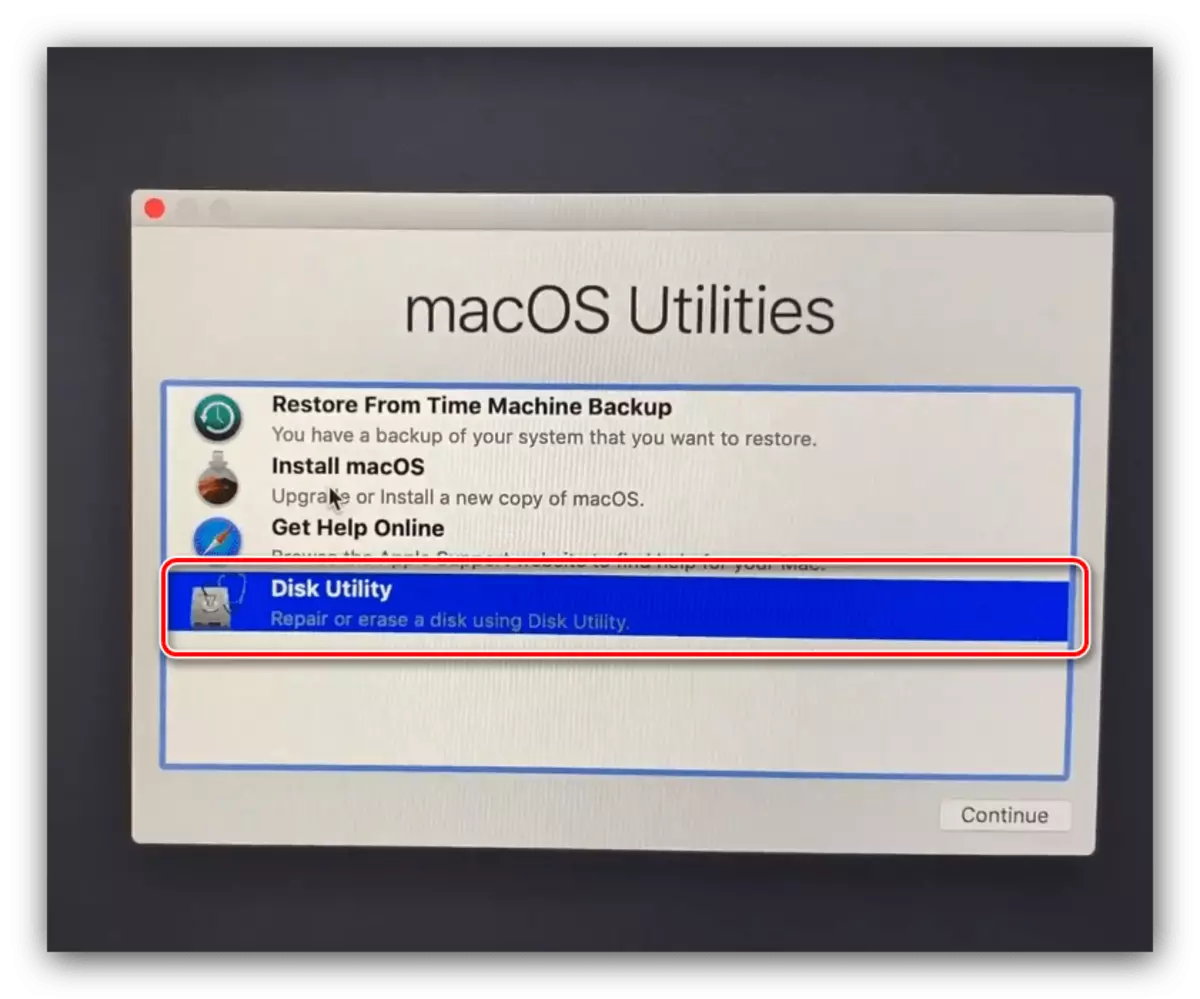
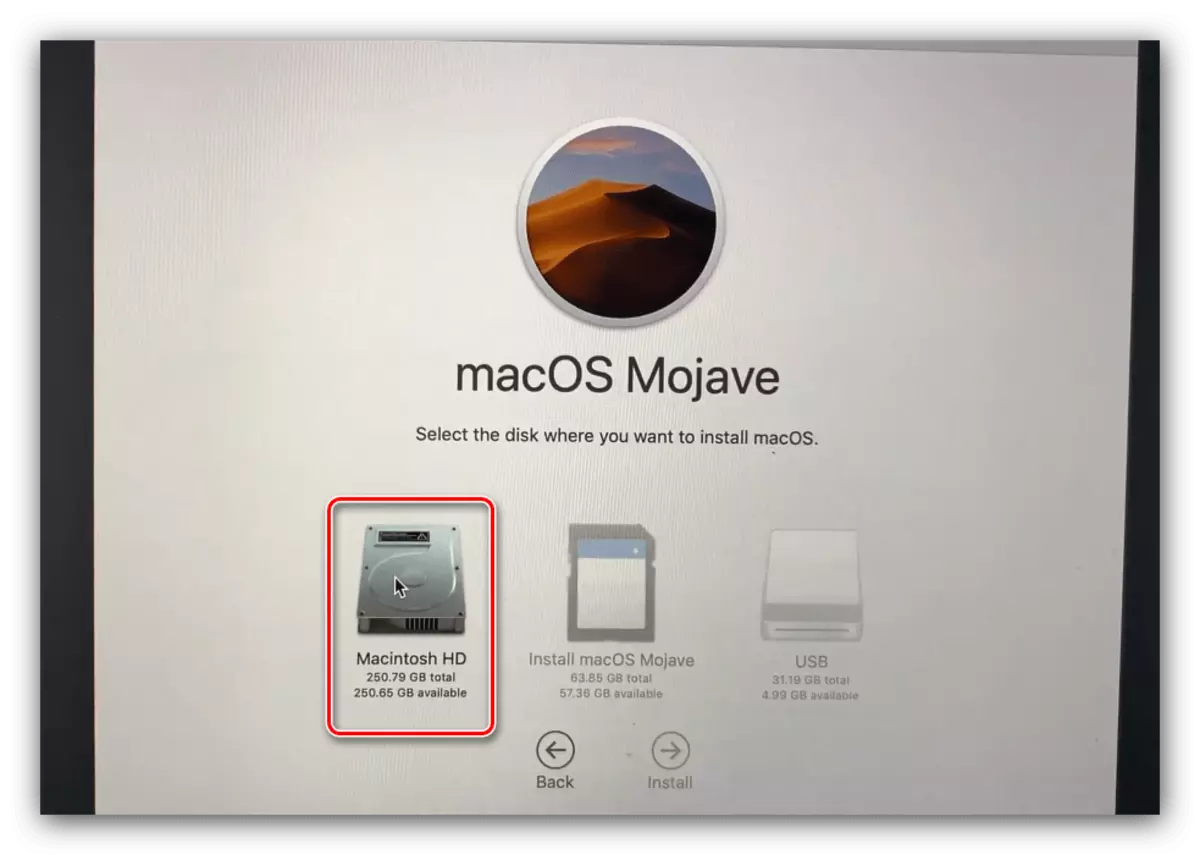
Select the drive in it to install MacOS and swipe the formatting procedure. The default settings are better not to change.
- At the end of the formatting procedure, close the "disk utility" and use the MacOS item.
- Select a previously formatted disk (in most cases it should be "Macintosh HD").
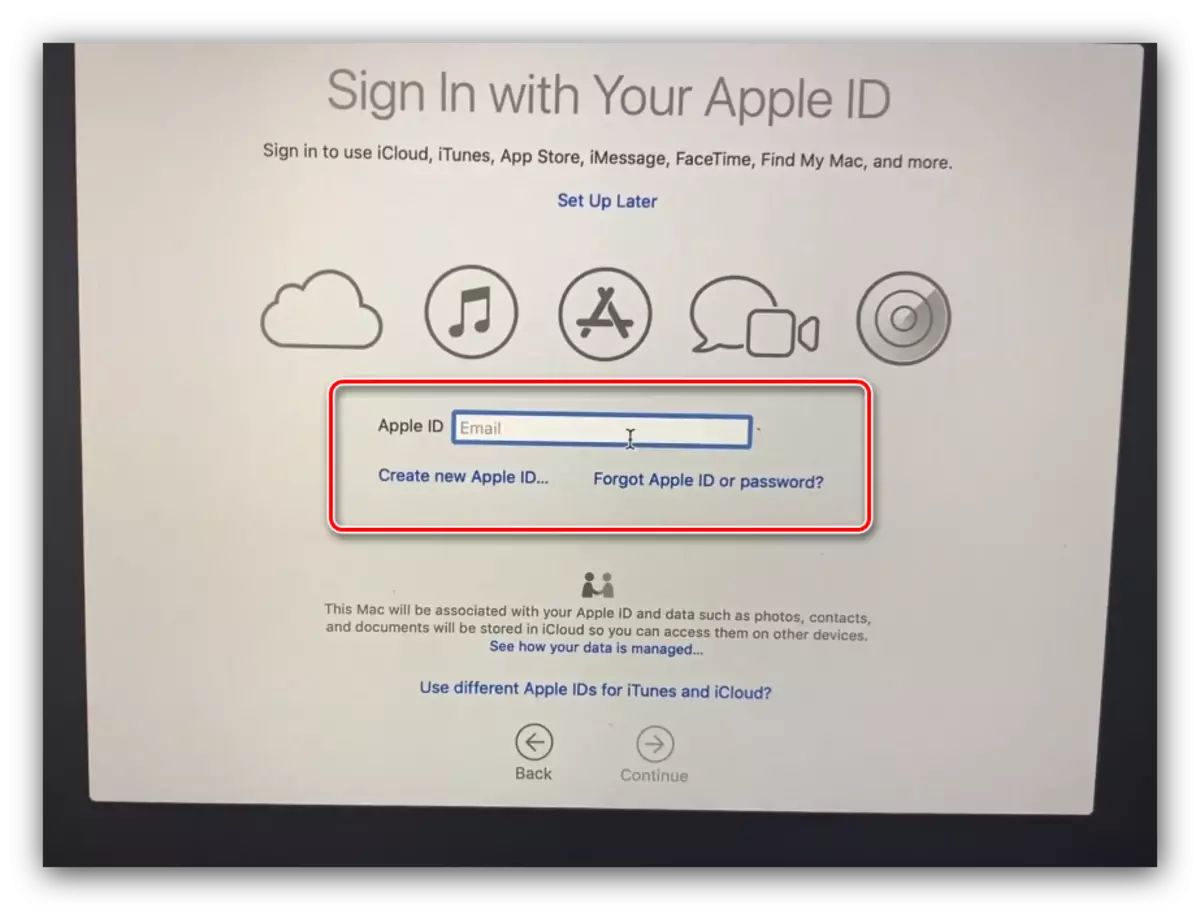
- Enter your Apple ID.
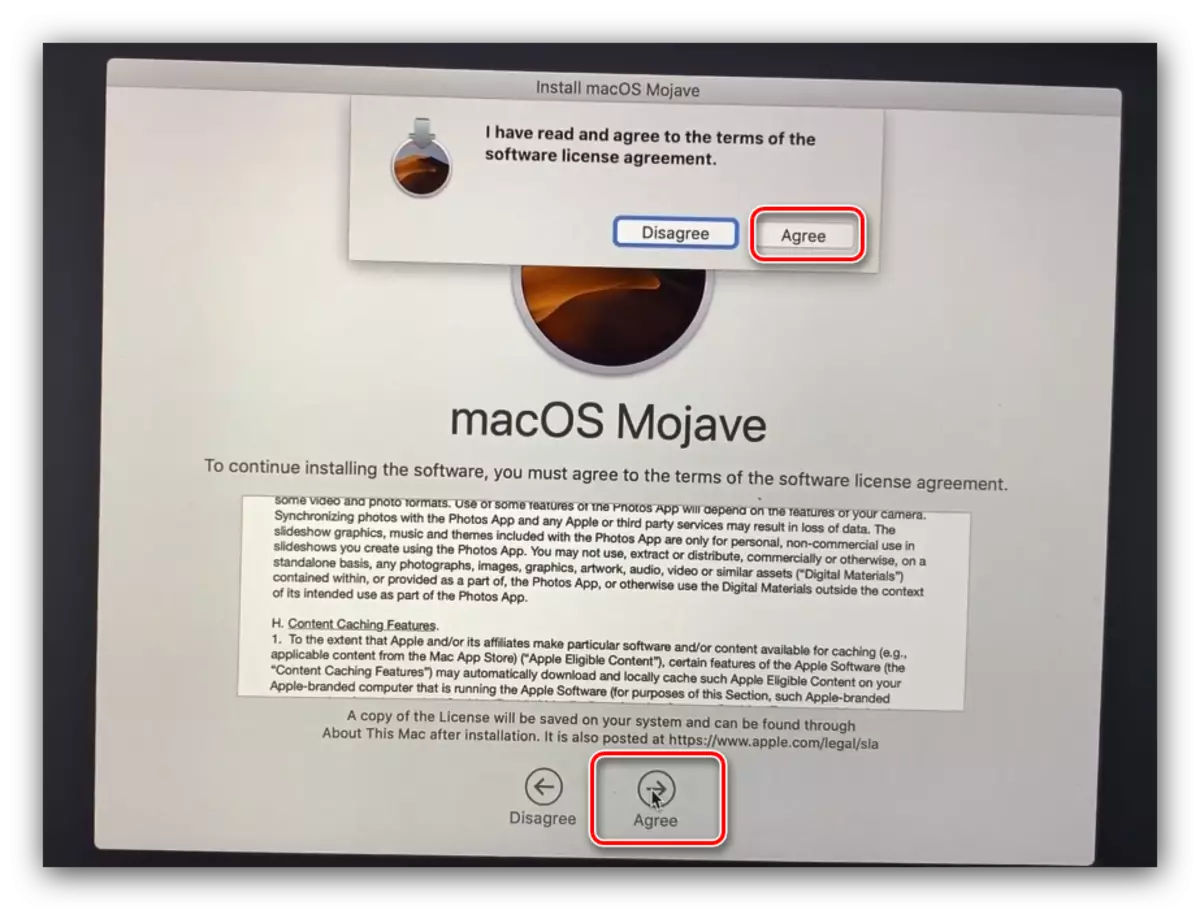
- Accept the license agreement.
- Next, select your preferred language language.
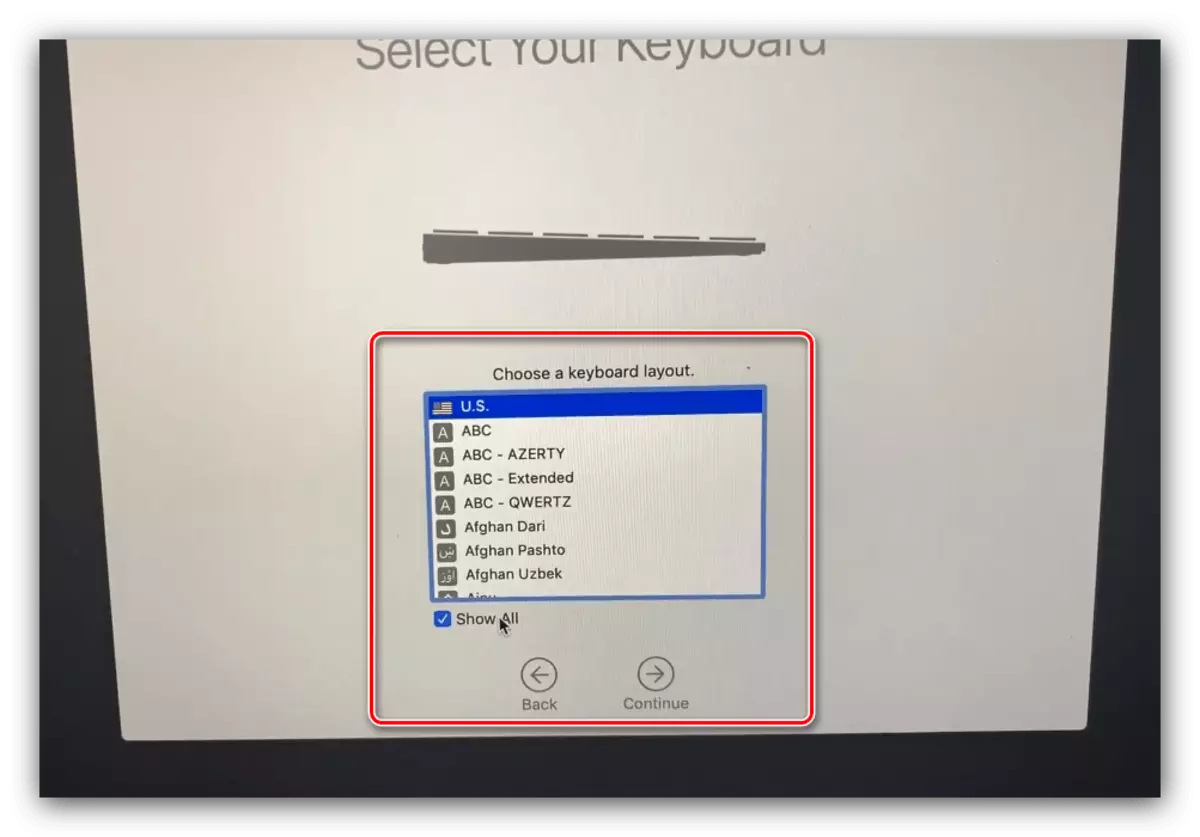
Some MACOS versions also offer time zone and keyboard layout.
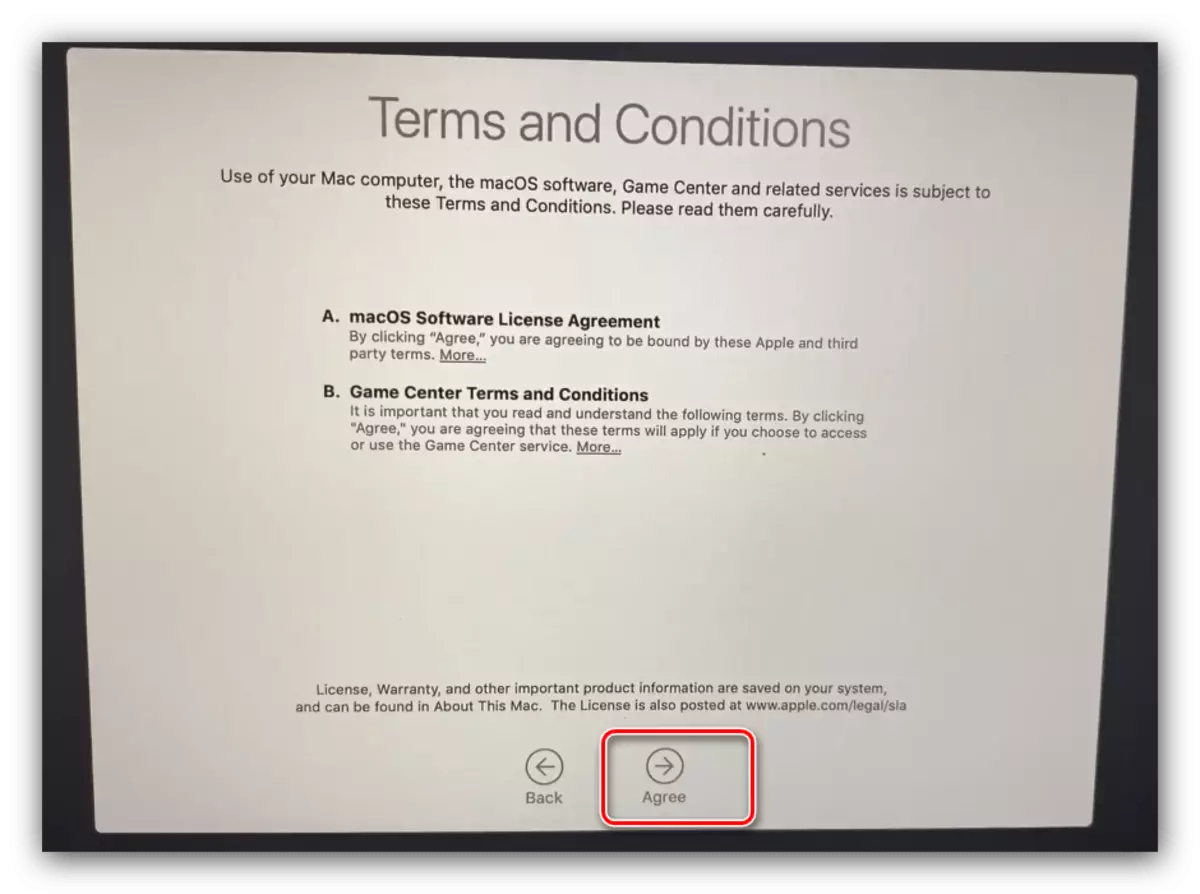
- Reconvert the license agreement.
- Wait until the installation is completed. The operation is quite long, so be patient. In the process, the computer will be rebooted several times. Upon completion of the installation, you will appear the MacOS desktop.
As you can see, everything is enough just even for a beginner.
Conclusion
Installing MacOS from a flash drive is technically different from the installation of another OS similar method, and it can be done exclusively by system means.
- Connect the USB flash drive to the iMac or MacBook, and then run the application "Disk Utility". When you first hear this name, review the article at the link below.