Apple computers use different categories of users, including those who are important information confidentiality. One of the components of security is to hide data from prying eyes, and today we want to consider ways to make this operation.
How to hide the file in macos
In the desktop ONPL, the operation of the hiding directories and documents can be performed by the "terminal" or moving them into the system library.Method 1: "Terminal"
Most advanced operations in MacK are performed through the Terminal, including those considered by us.
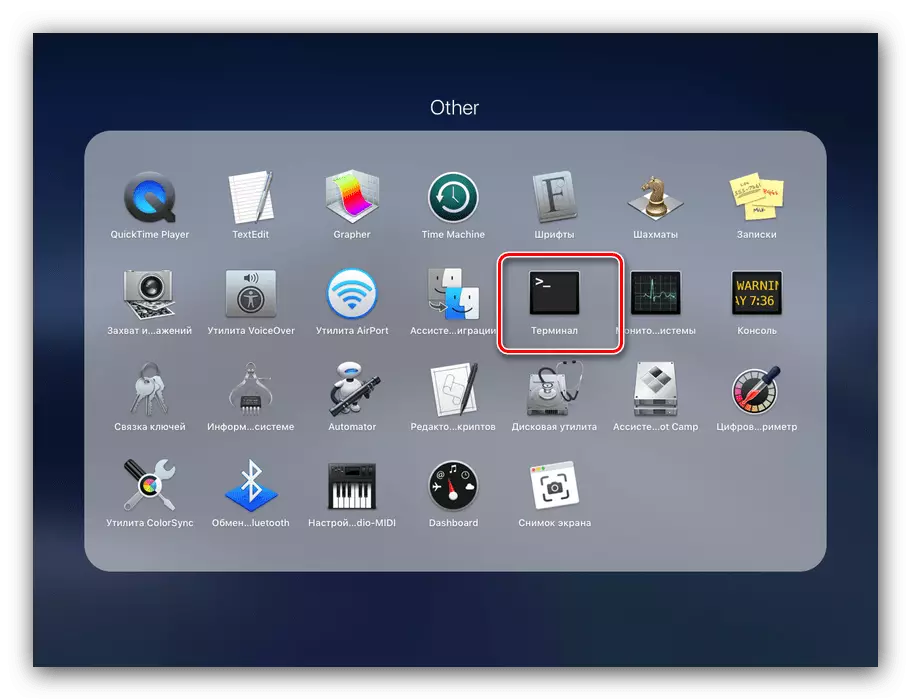
- Open the command entry shell in any way - for example, through the "Utilities" folder in Launchpad.
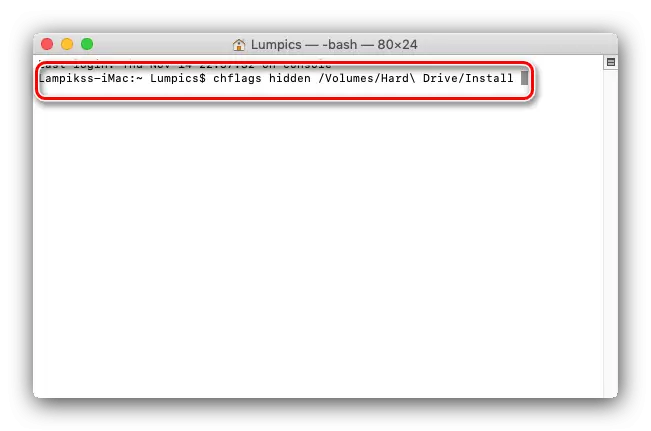
- After the "Terminal" window appears, enter the following command to it:
Chflags Hidden.
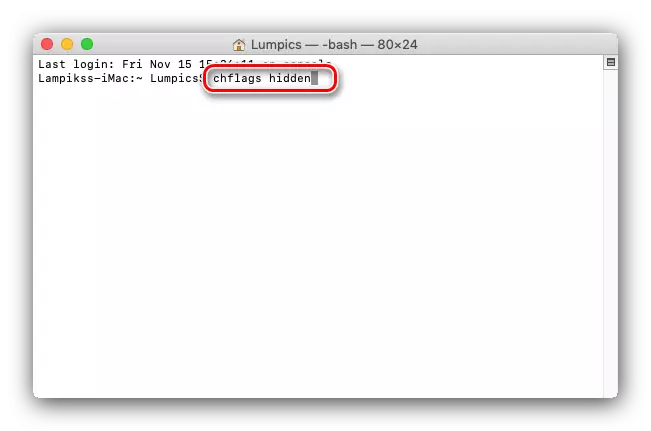
You do not need to confirm the input.
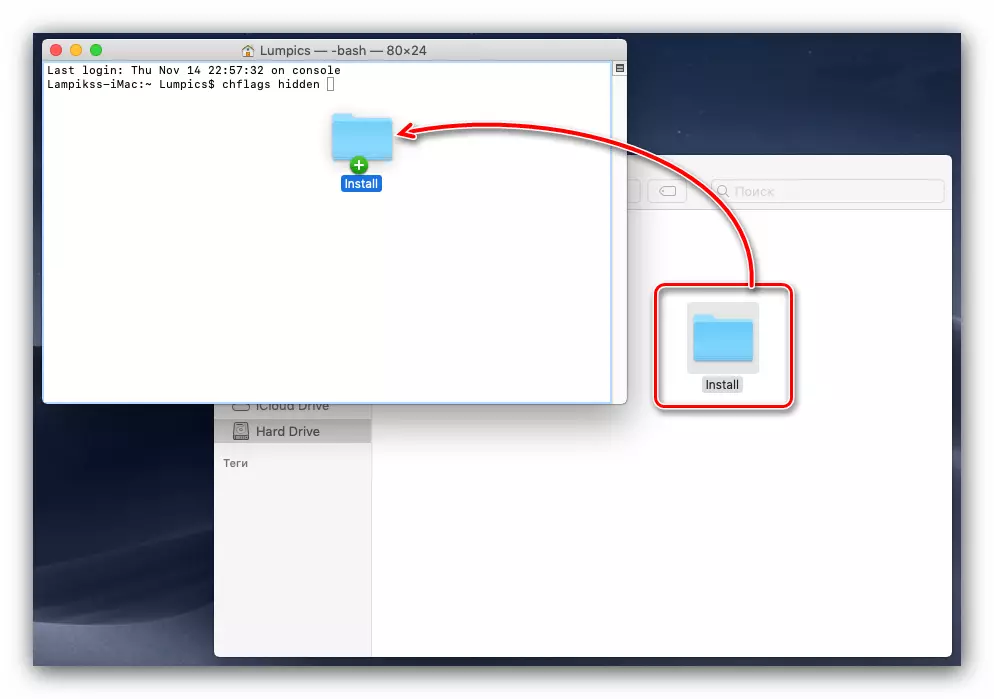
- Next, open the Finder and go to the directory with the file or folder that you want to hide, after which you drag the target data in the command input window.
- After the command, the path to the directory or file should appear - this means that you are all done correctly and you can press ENTER (RETURN) to confirm.
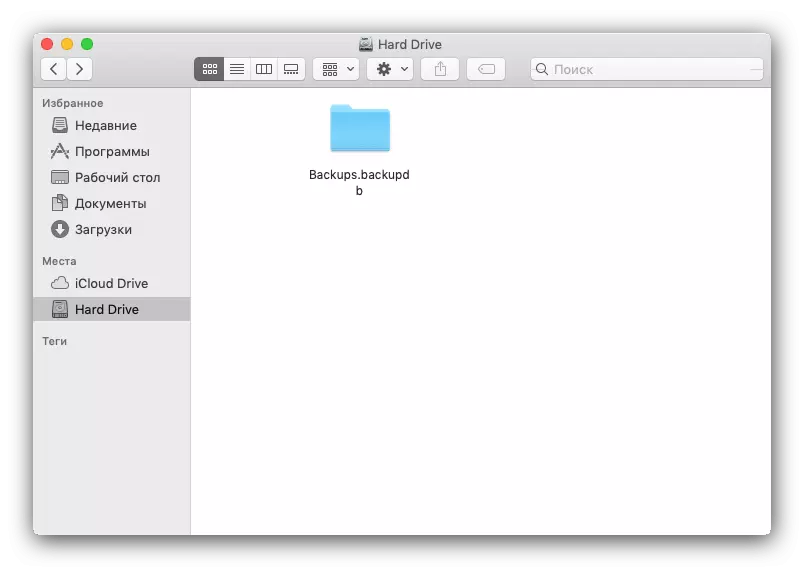
- Check Finder - the selected information must disappear from the display.
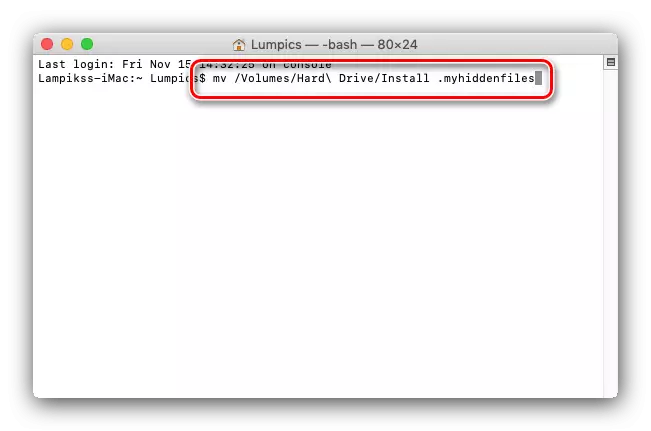
- You can also use one more command - MV - enter it and repeat step 2. After appearing in the Console, enter the following:
. * Arbitrary folder name *
Instead of * arbitrary folder name * Enter any name without stars. Be sure to make sure that the point is at the beginning of the new name - the hidden elements are indicated in MacOS. To confirm, press ENTER / RETURN.
The use of the "Terminal" is a fairly simple and reliable method of hiding files.
Method 2: Move to the system catalog
Also hide the data in the system directory, which under normal conditions is not displayed in Finder.
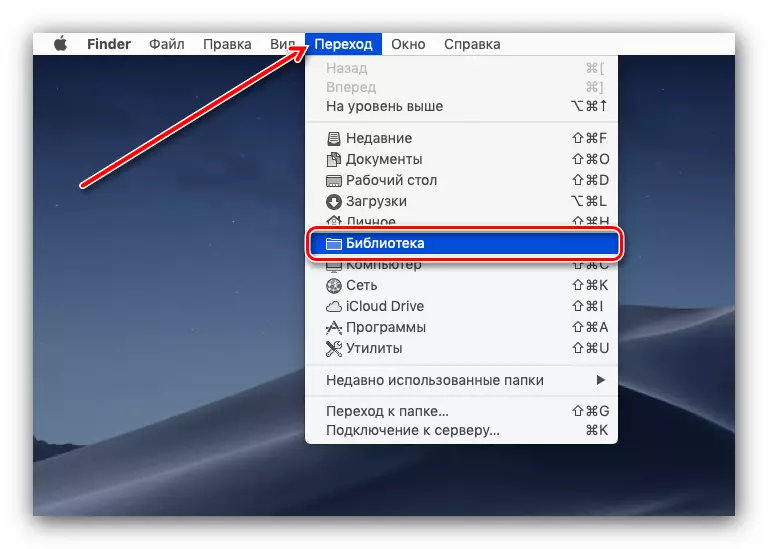
- On the desktop, use the toolbar - Mouse over to the "Transition" point before the drop-down menu appears, hold the ALT (Option) key - the "Library" point will appear, use it.
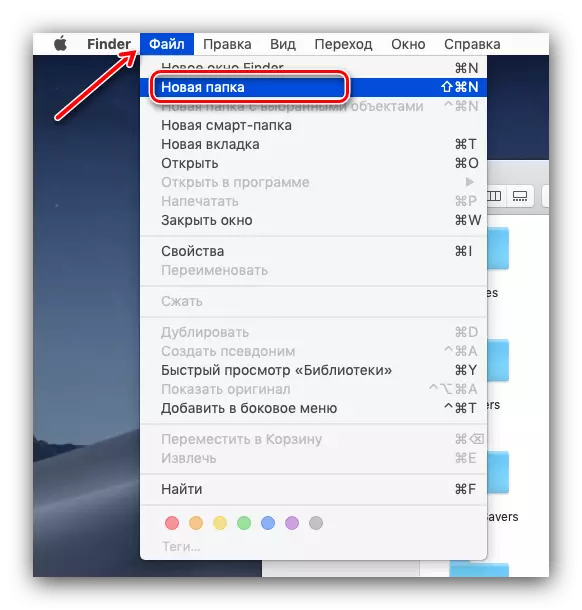
- After opening the "library", create a new folder in it with any convenient method - for example, through the file - "New Folder" or a similar point in the context menu, accessible by pressing the right mouse button in any empty directory location.
Set a new folder any suitable name - for security purposes you can choose the name based on the names of the directory already existing in the Library.
Remove hidden files from issuing Spotlight
Both first, and the second presented methods of hiding files do not solve one important problem: the SPOTLIGHT system search tool after these manipulations will still be issued in the results of the hidden data. You can solve the problem by setting it.
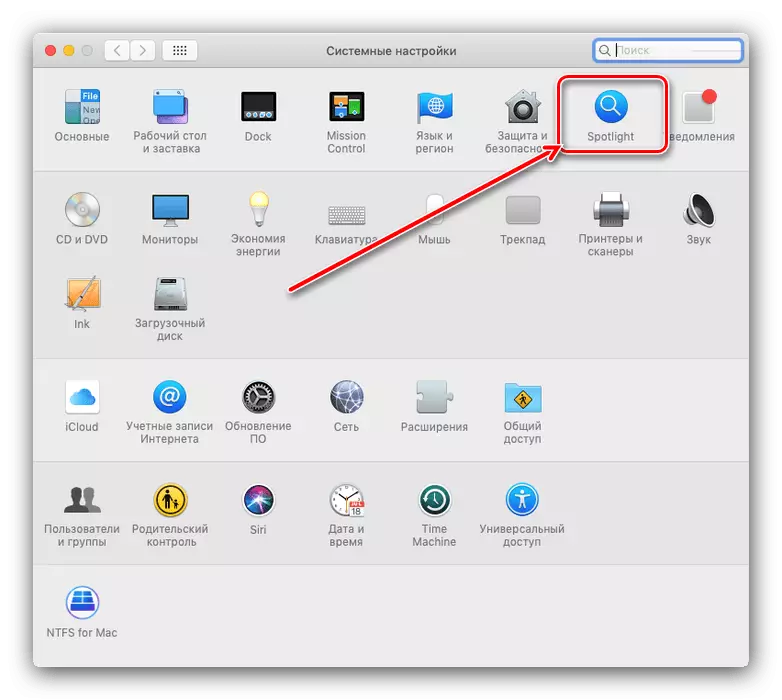
- Call "System Settings": On the desktop, click on the Apple logo button and select the appropriate menu item.
- In the Scribes window, select "Spotlight".
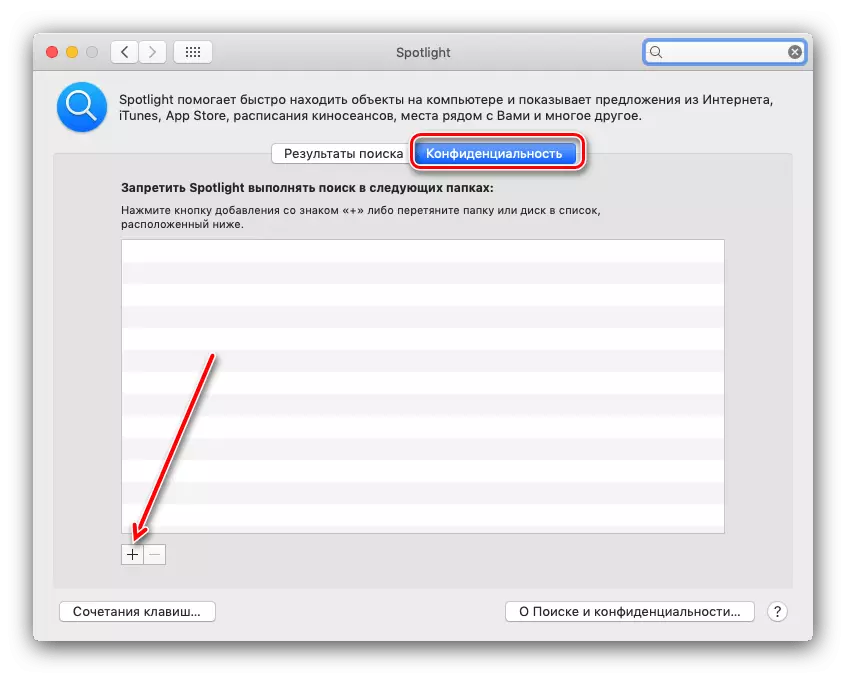
- Go to the "Privacy" tab - here we will add the catalogs that we want to exclude from issuing. Click on the "+" button at the bottom.
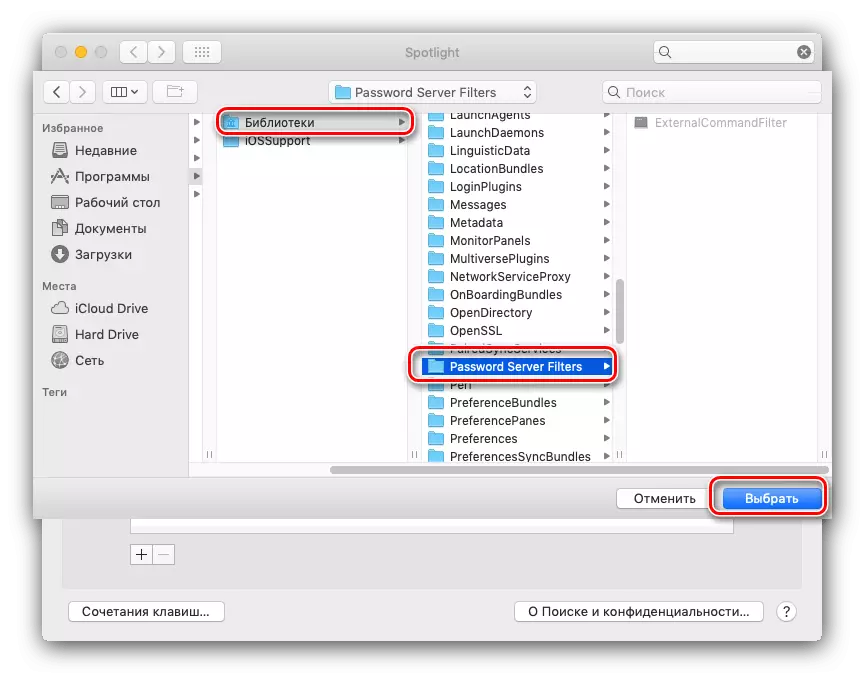
- In the Finder window, go to the folder you want to hide for Spotlight, select and click the "Select" button.
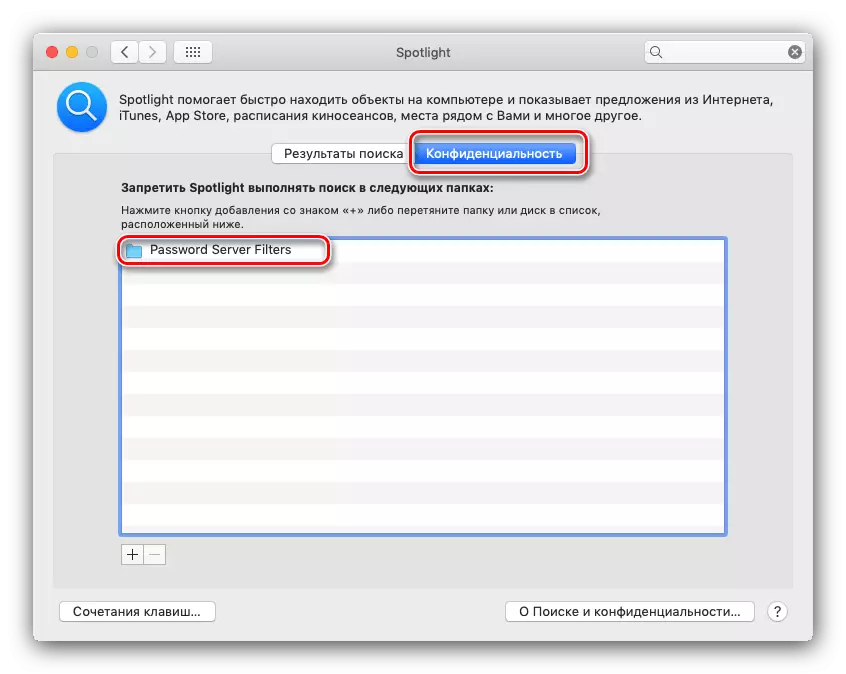
- A new entry with the catalog will appear in the Privacy list - ready, now the search engine will not index it and issue it as a result.

Conclusion
This end our guide to hide files and folders in MacOS. Finally, we want to draw your attention - the usual hide of files may not be enough, so think about additional precautions, if there is a need for this.