
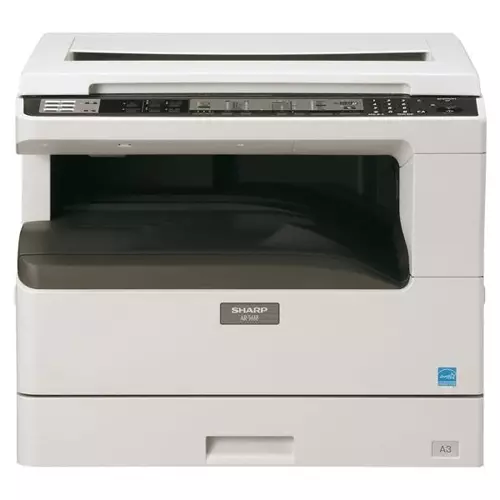
The correct interaction of the Sharp AR-5516 multifunction device with the operating system is achieved through the installation of the corresponding drivers, which can be done in different ways. The easiest is the use of the disk-running. However, now many users have no drive, so we offer to skip this option and explore the four alternative methods to choose the optimal one.
Method 1: Sharp official website
The most efficient and reliable option for receiving drivers for Sharp AR-5516 is the use of the manufacturer's official website, since the developer itself lays out supported files to the relevant pages, after checking them for performance. The user will only have to manually find them and upload to your computer, which will take a maximum of a few minutes of time.
Go to the official website of Sharp
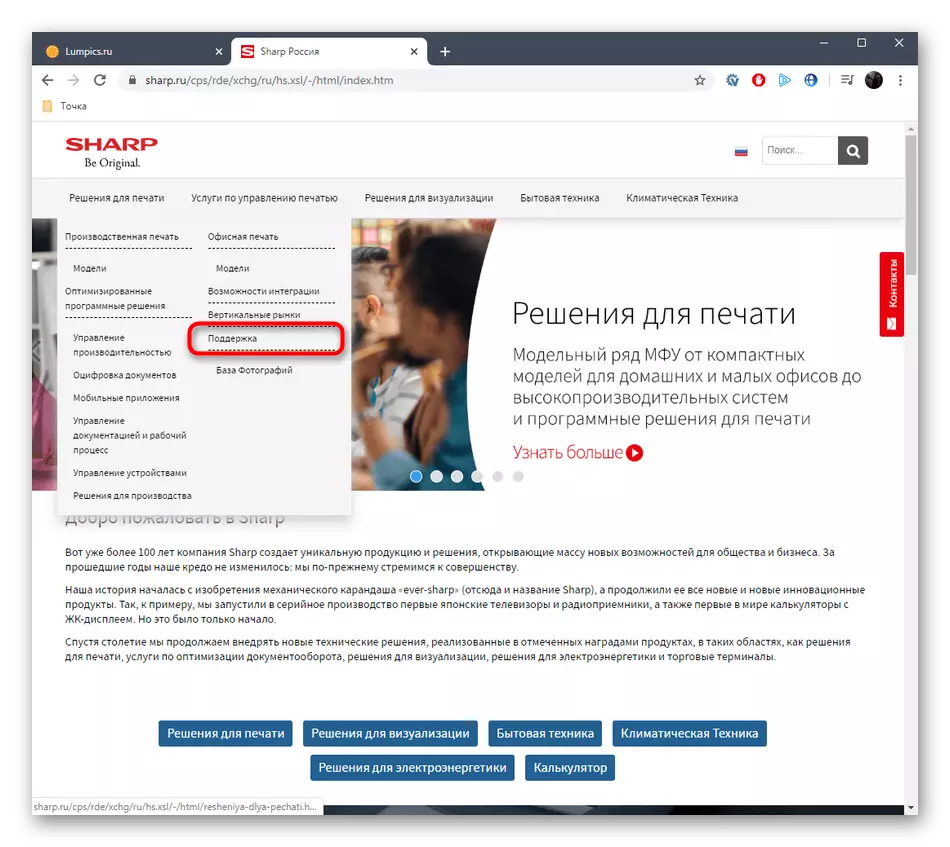
- Click on the link above to get to the Sharp home page, where you are interested in the section "Print Solutions".
- When you hover the mouse cursor will appear a pop-up menu. There, press the left mouse button on the "Support" item.
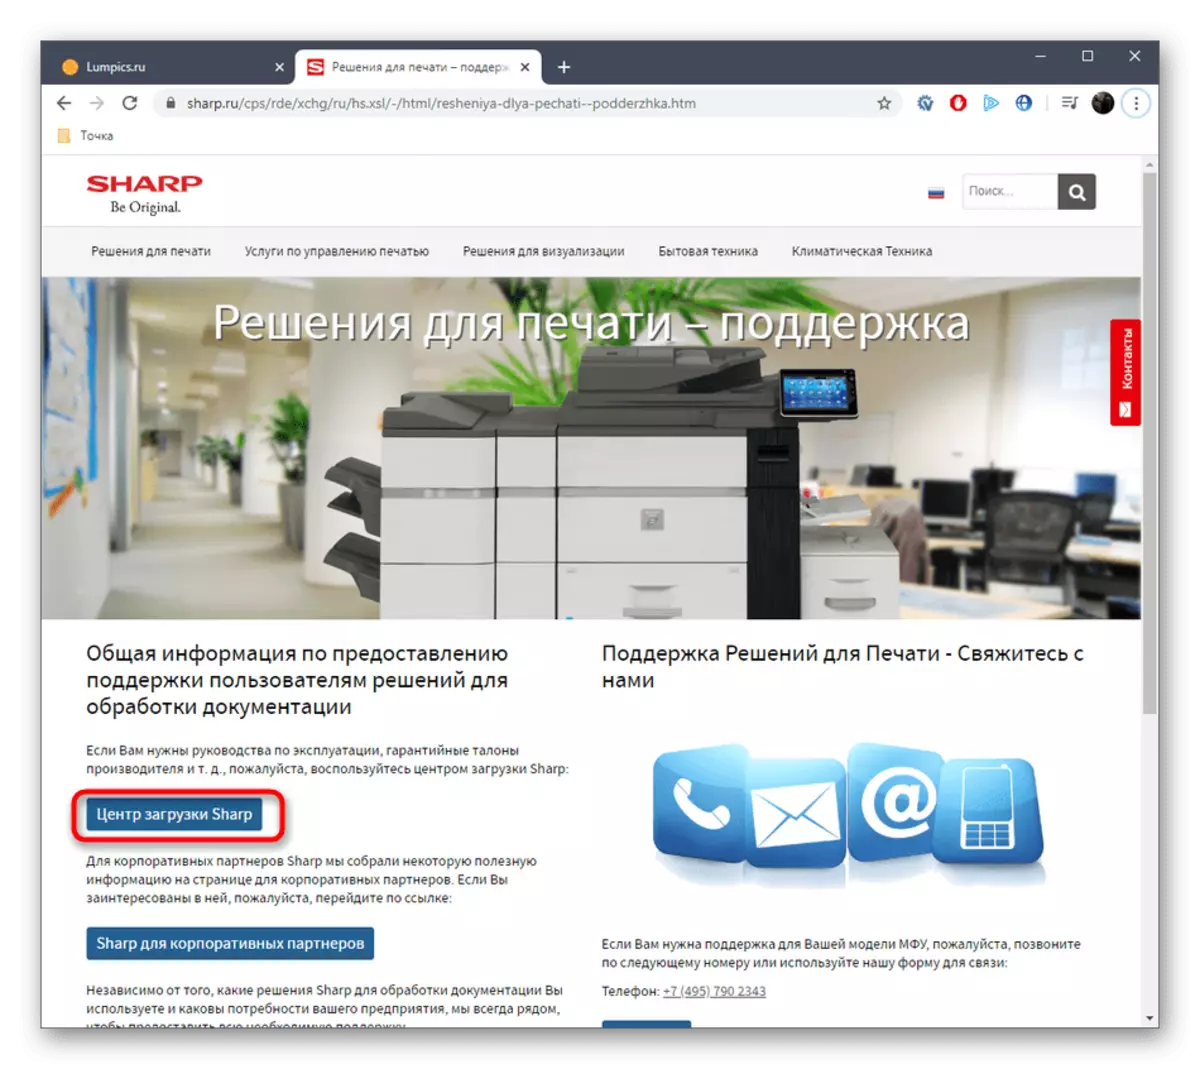
- After opening a new page, find the blue "Sharp Download Center" button and click on it.
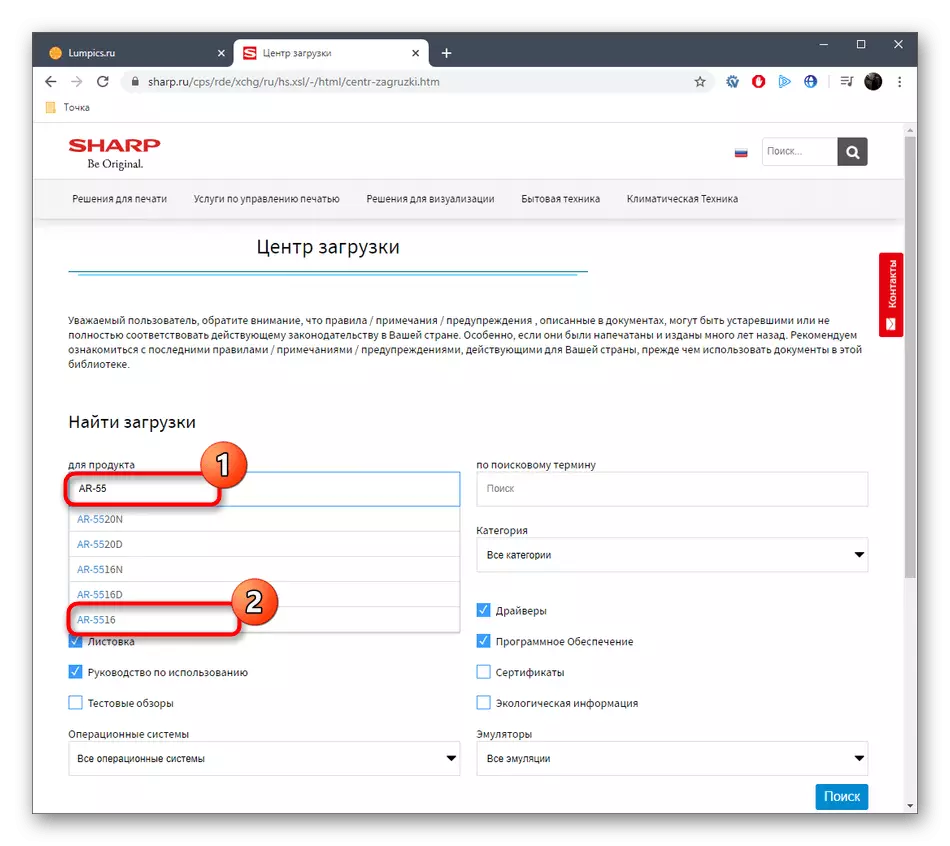
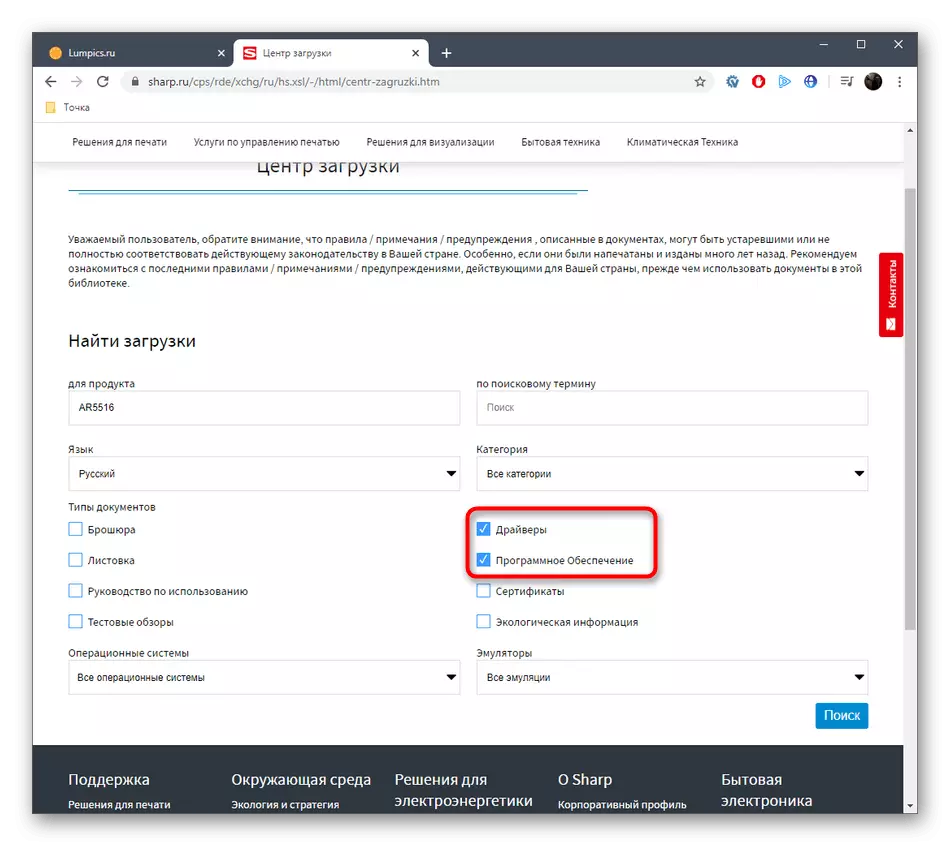
- A new form center form will appear on the screen, where you are looking for the necessary files. In the "For Product" field, start typing the name of the multifunction device model and click on the appropriate displayable result.
- Remove the checkboxes from all the items with the documentation, leaving only "drivers" and "Software".
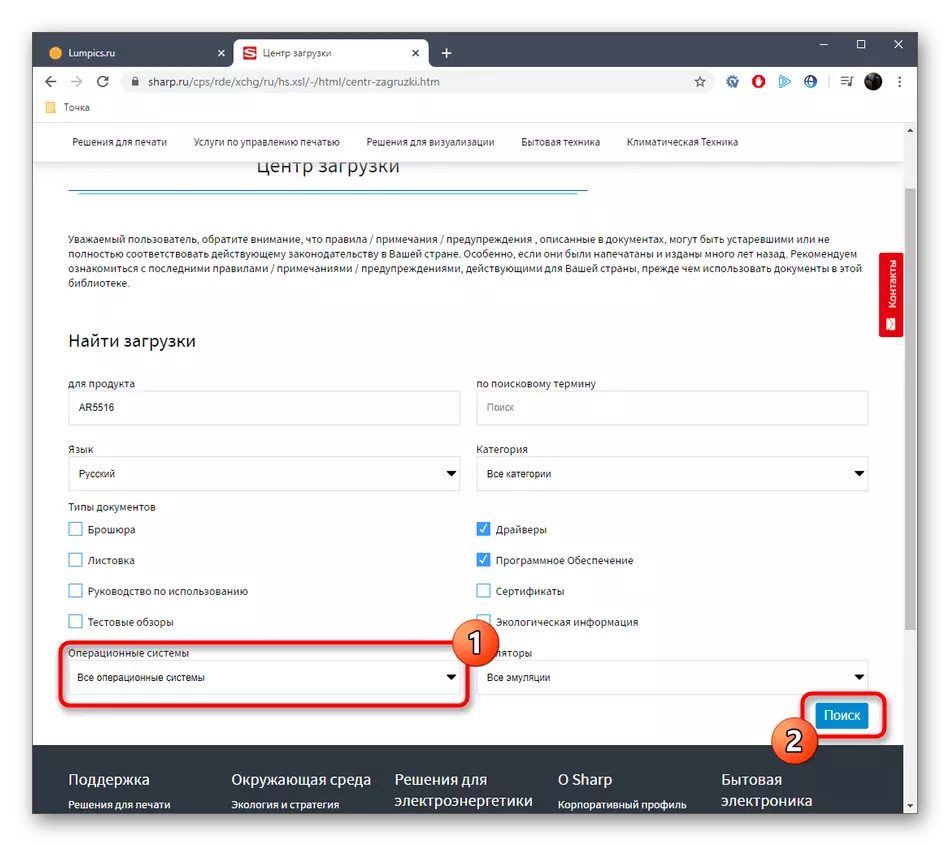
- After that, at mandatory, select the version of the operating system and its discharge, so that only compatible files are displayed in the list, and then click on "Search".
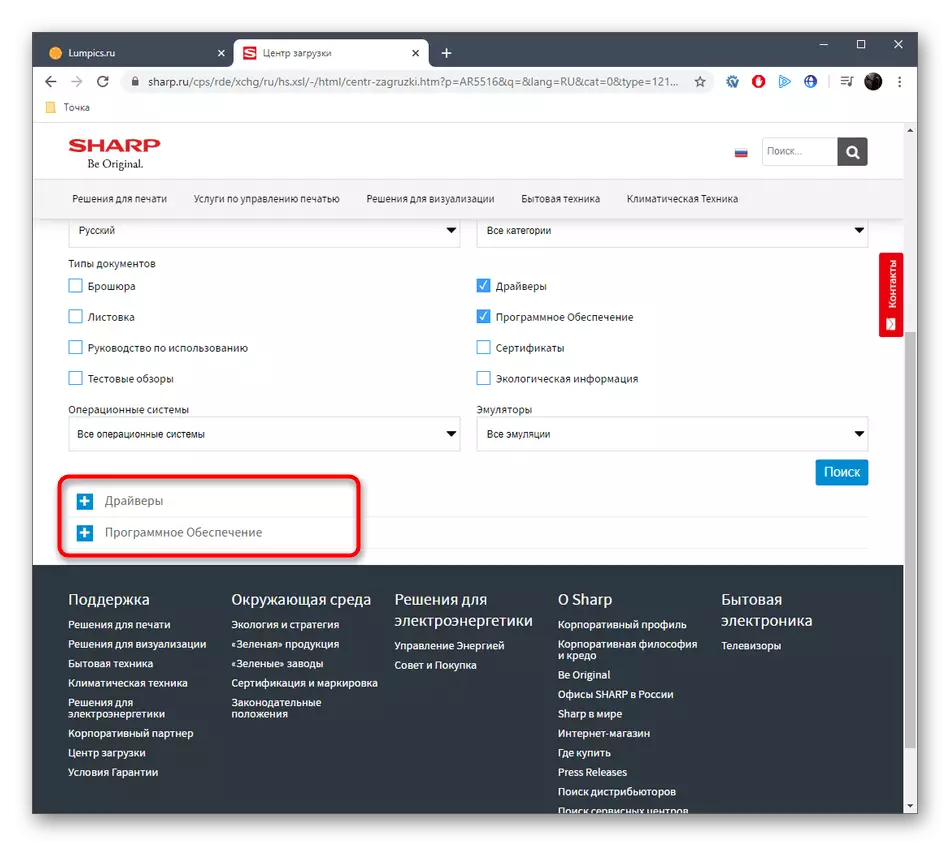
- Expand First section with drivers.
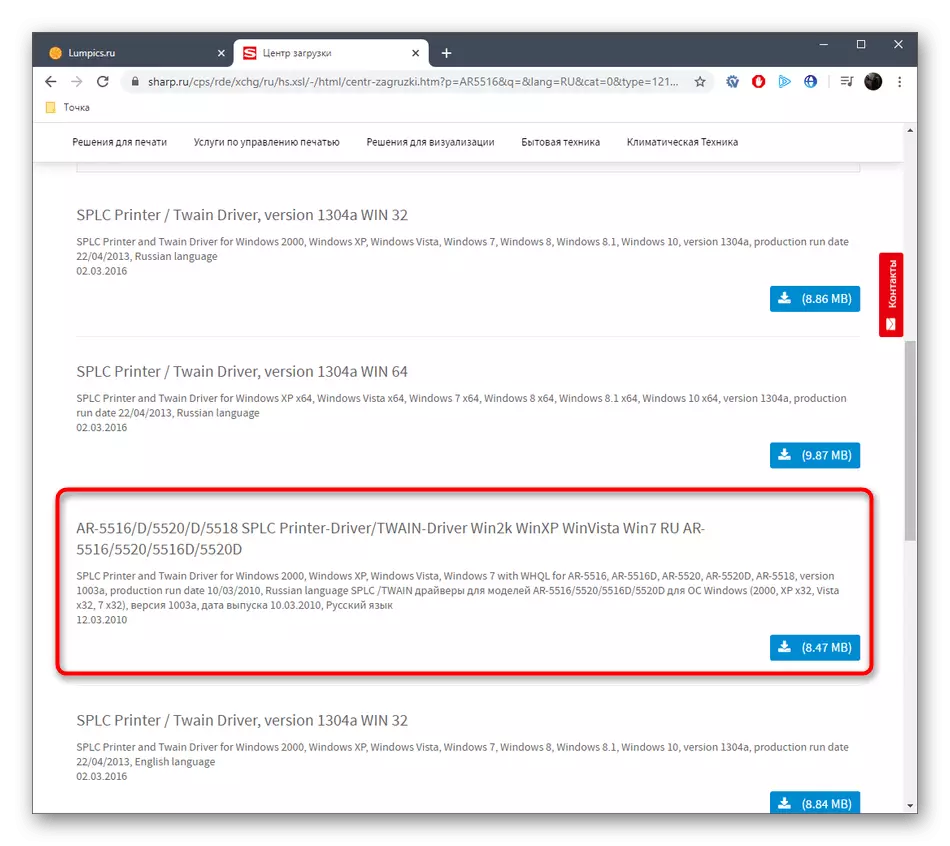
- Select the appropriate version and start downloading by clicking on a specifically reserved button.
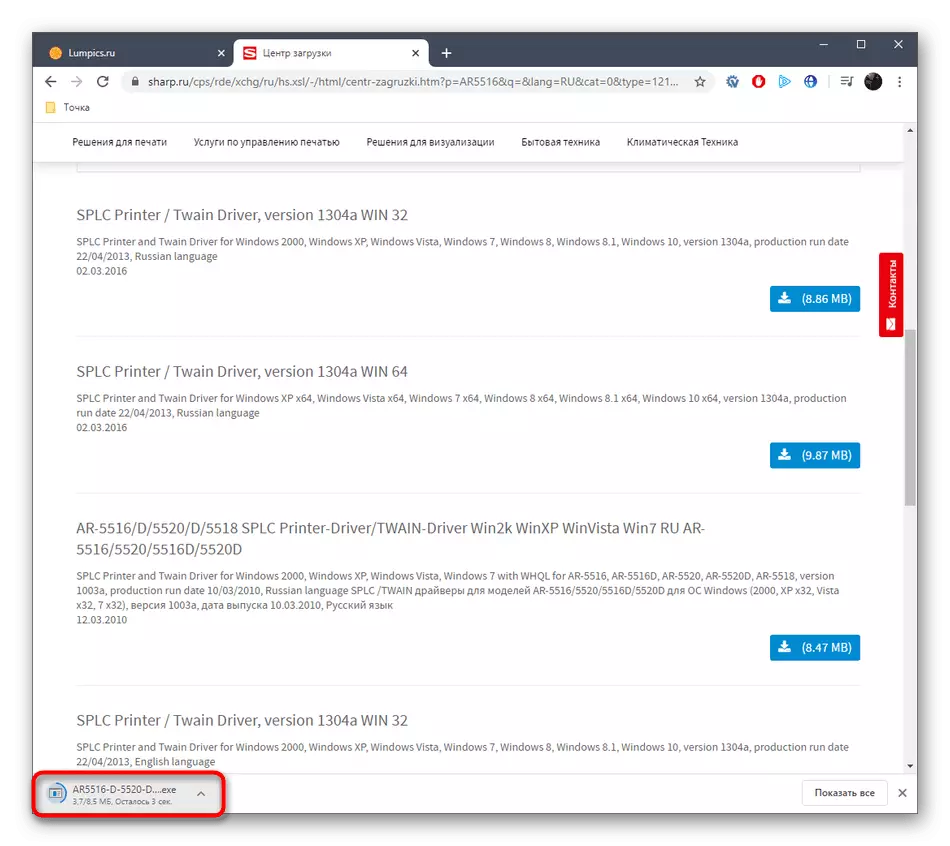
- Expect the completion of downloading the executable file and run it.
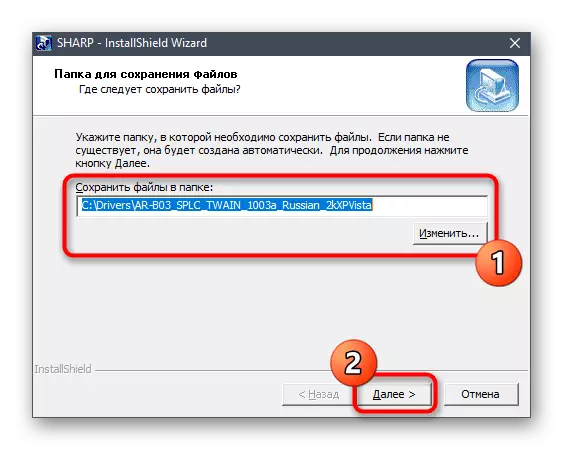
- In the installer window, do not change the path to save the files if the hard disk system partition is selected by default. After that click on "Next".
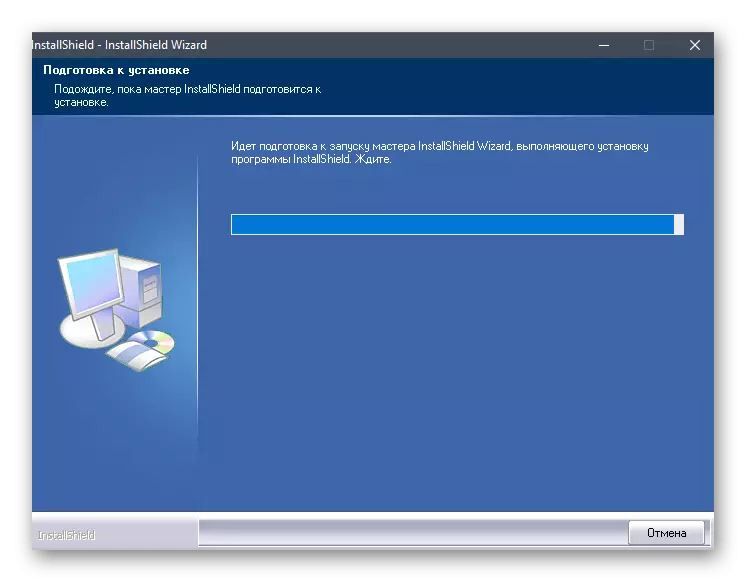
- Wait for the installation, after which you will receive notifications about the successful implementation of this procedure and that the equipment is now defined in Windows.

If necessary, go back to the product support page to view the Software section. Sharp branded utilities are designed to normalize the operation of the buttons located on the device, and their additional settings. After completing the installation of all files, it will be enough to simply reconnect the MFP to establish its operation and proceed to the full interaction or print trial pages.
Method 2: Software programs from third-party developers
Unfortunately, while Sharp has no branded app, which would search for missing drivers and installed them on a computer, so as an alternative to such a decision, we recommend familiar with special software from third-party developers. The principle of its work is to automatically scan connected components and peripheral devices to detect missing or outdated drivers. This procedure is reviewed by the example of DriverPack Solution by another author on our website in a separate article on the following link.
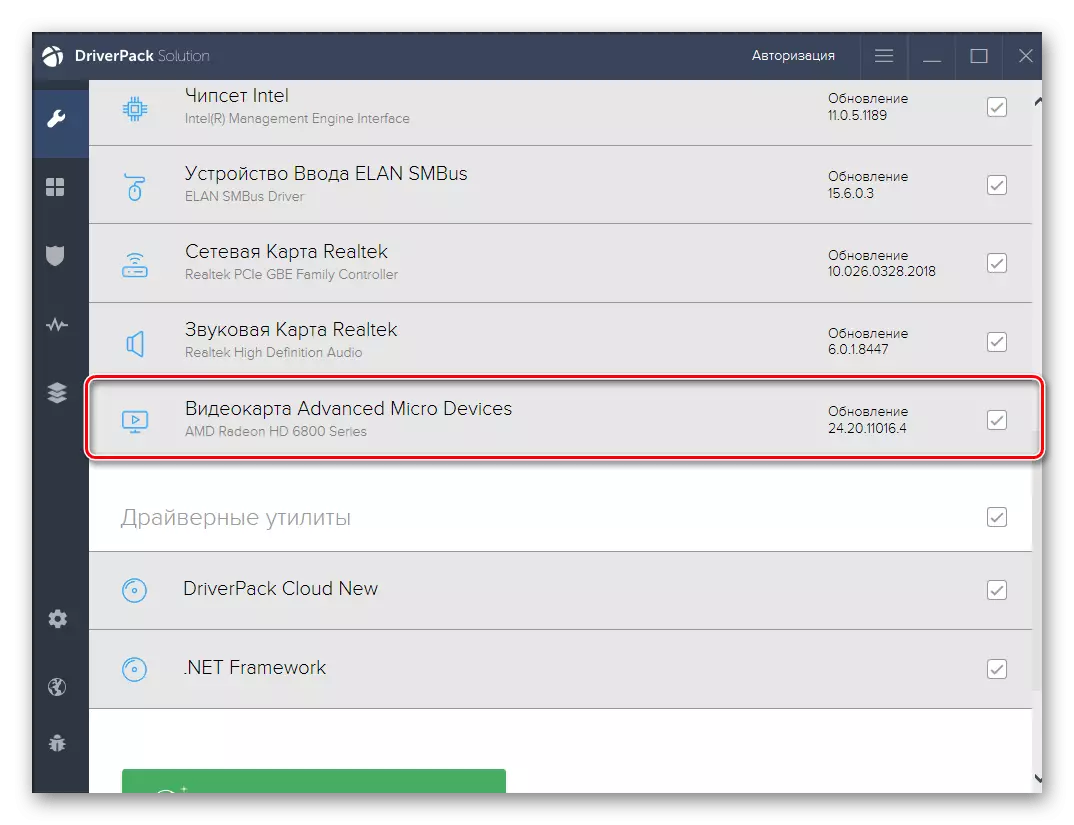
Read more: Install drivers via DriverPack Solution
Now you are familiar with the principle of interaction with similar programs, it remains only to choose a solution suitable for yourself. Of course, it does not prevent anything from finding drivers and through Driverpack Solution, but this application is simply not suitable for many users. Then we recommend viewing a list of other representatives of such software in another article by clicking on the header below.
Read more: The best programs for installing drivers
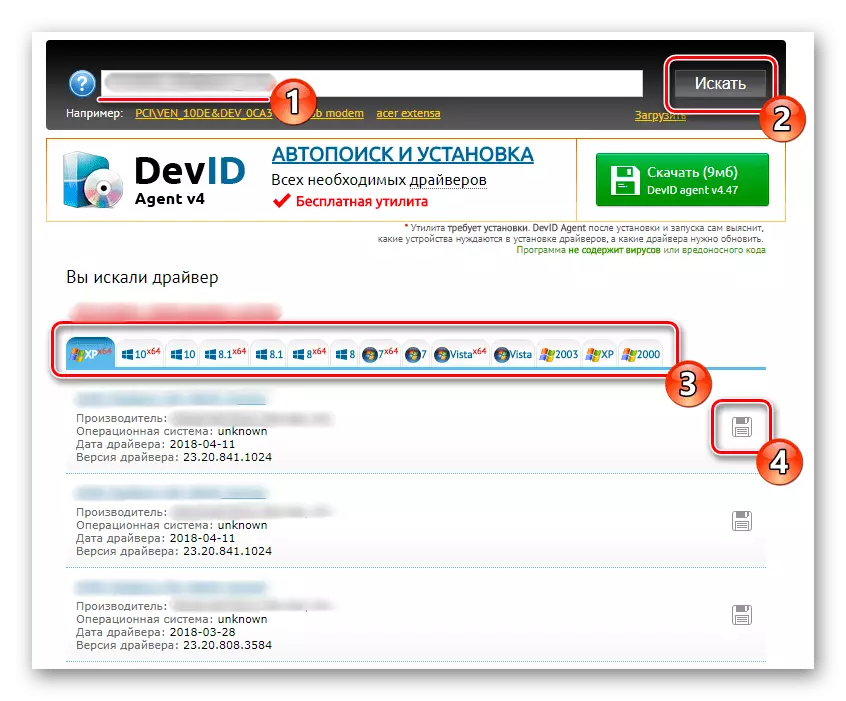
Method 3: Unique MFP Identifier
The method is to use the unique identifier of the multifunction device, which you see further. You do not have to look for it yourself, because we have already done it for you.
USBPRINT \ Sharpar-55166773
It remains only to copy this code and use it on a special web resource where the file library is present, sorted just by such Hardware IDS. More detailed information on this topic can be found in another material from our author, by clicking on the following link. There this method is disassembled by the example of several popular sites, so there should be no problems with the choice of suitable.
Read more: How to find a driver by ID
Method 4: Built-in Windows Tool
This method is located at the last place of today's material, since it does not make one hundred percent warranty of obtaining the necessary files due to the fact that the loading of the drivers will be carried out for compatible with Sharp AR-5516 devices. However, you do not have to resort to the use of third-party sites or programs to find the required files.
- Open the "Start" and go to the "Parameters" menu.
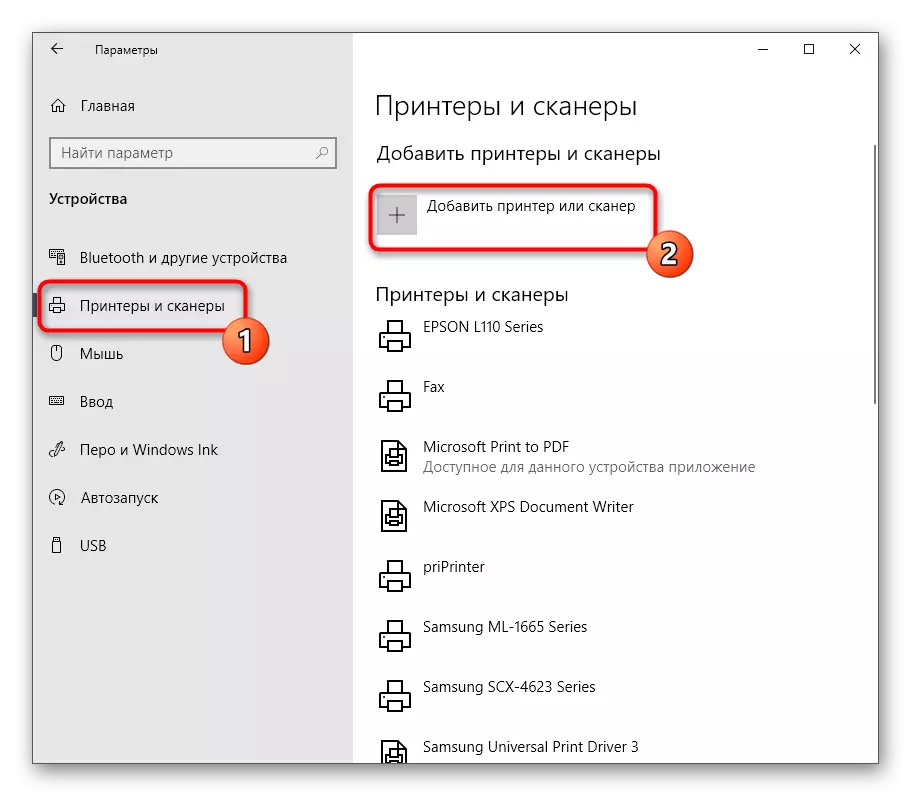
- Here, select the section "Printers and Scanners" and click on "Add Printer or Scanner".
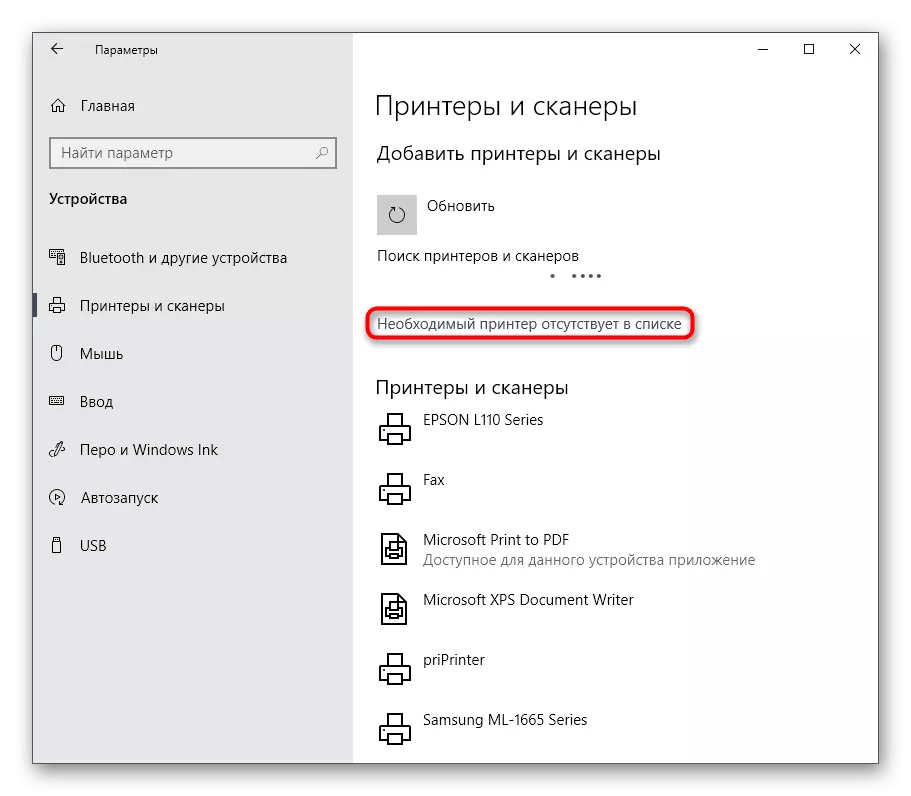
- After a few seconds of scanning, the inscription "The required printer is missing in the list" will appear.
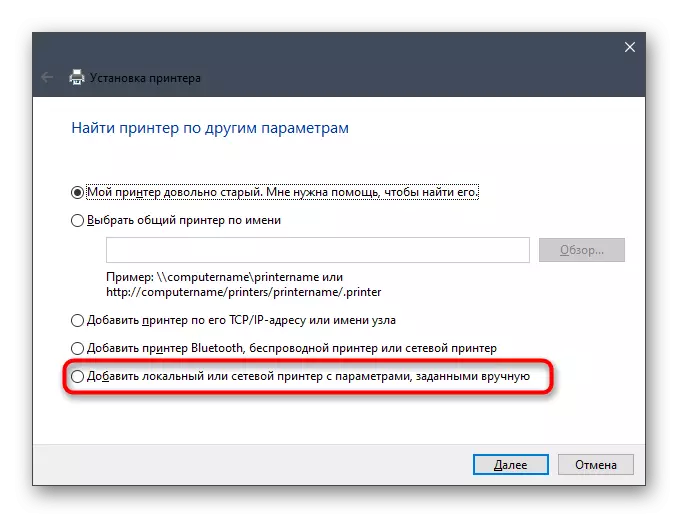
- In the window that opens, mark the "Add Local or Network Printer with Manual Parameters" by the marker.
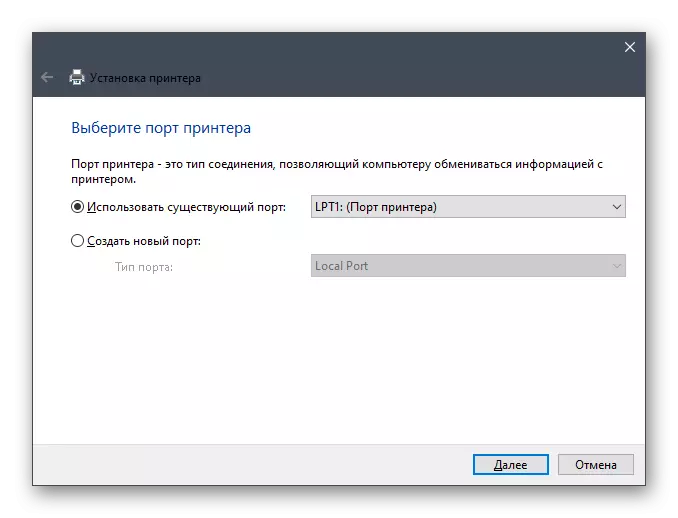
- You can use the existing port or create a new, repulse from personal preferences.
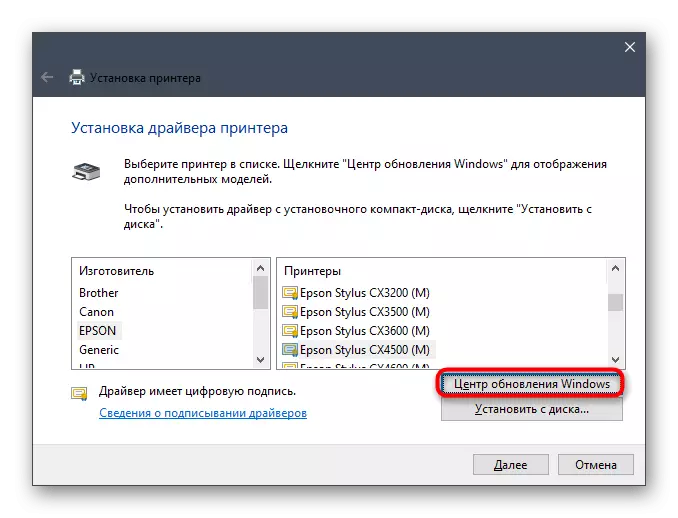
- Initially, Sharp devices will not be displayed in the list of available, so you need to click on the Windows Update Center button.
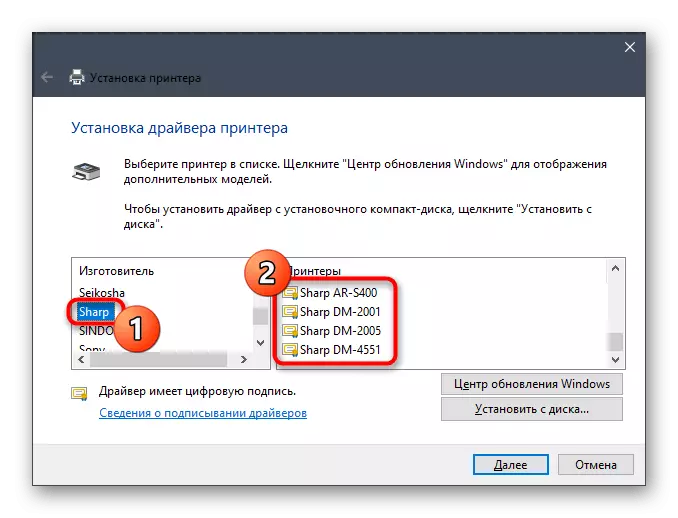
- Wait for scanning and select one of the latest Sharp AR models.
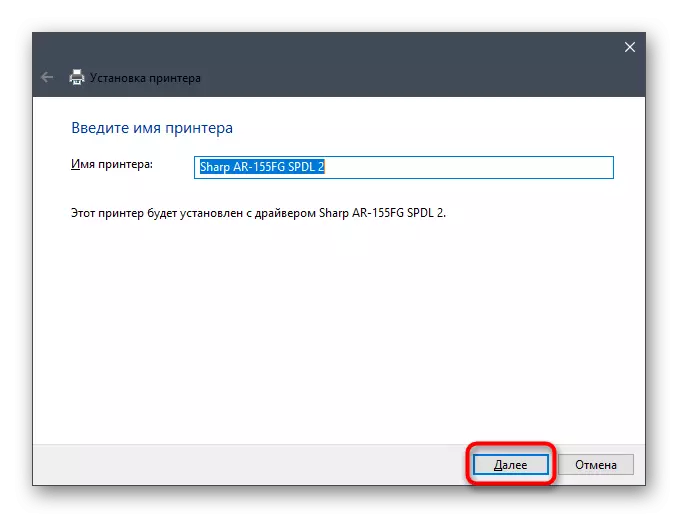
- Set an arbitrary device name and go further.
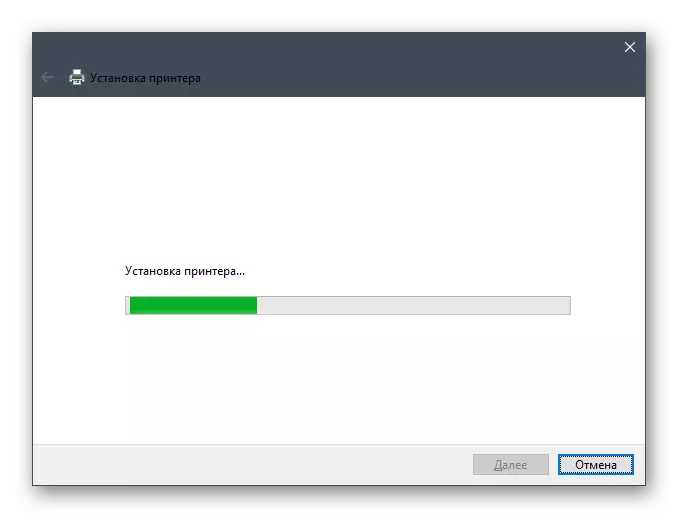
- Wait until the installation is completed.
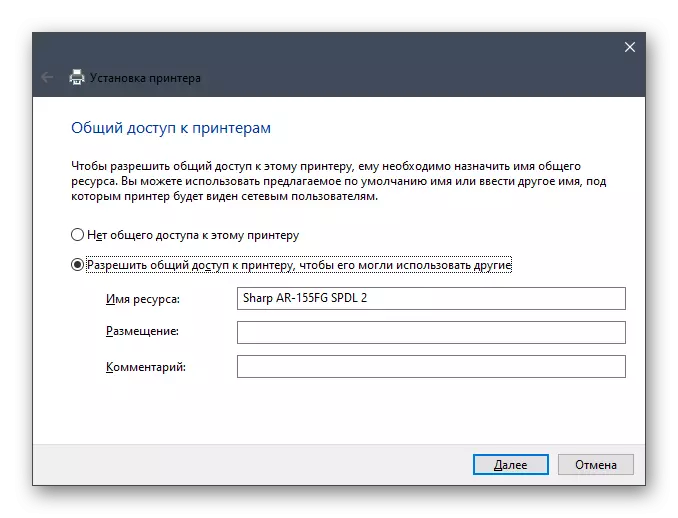
- In a new window, configure common access if required.
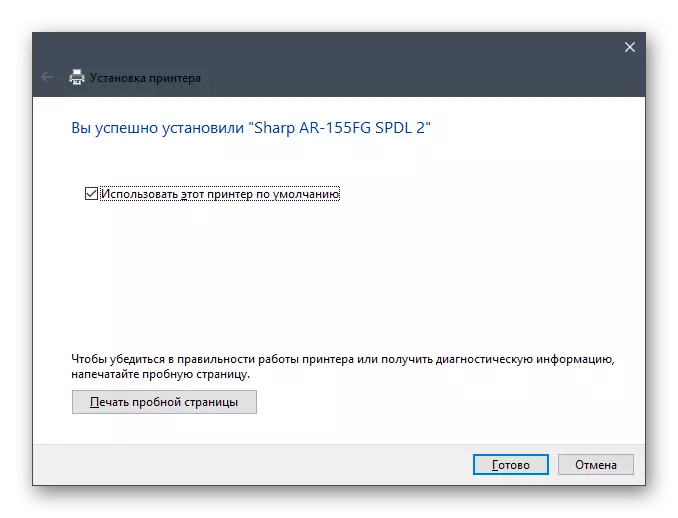
- At the end of the installation, you can assign this printer by default and even run the test print to make sure that it is functioning.
We also note that such a method does not provide for the installation of auxiliary software from developers with a graphical interface, so it will have to download it yourself from the official website as shown in the method 1.
You only have to carefully read the four options that we just told you to understand which one will be optimal in the current situation.