

During the operation of the Windows 7 operating system, when performing almost each process, for example, during software run, dynamically connected libraries are used. Moreover, it depends on the type of software, whether the standard DLL file will enter or it will be an optional component. The library called nvcuda.dll is also involved quite often, especially when it comes to the graphic component. It is installed in the system along with NVIDIA drivers and is one of the CUDA technology elements (technology to increase the calculation speed). The absence of this file sometimes leads to errors, about the solution of which we want to talk within the framework of today's material.
We solve the problem with the lack of nvcuda.dll in Windows 7
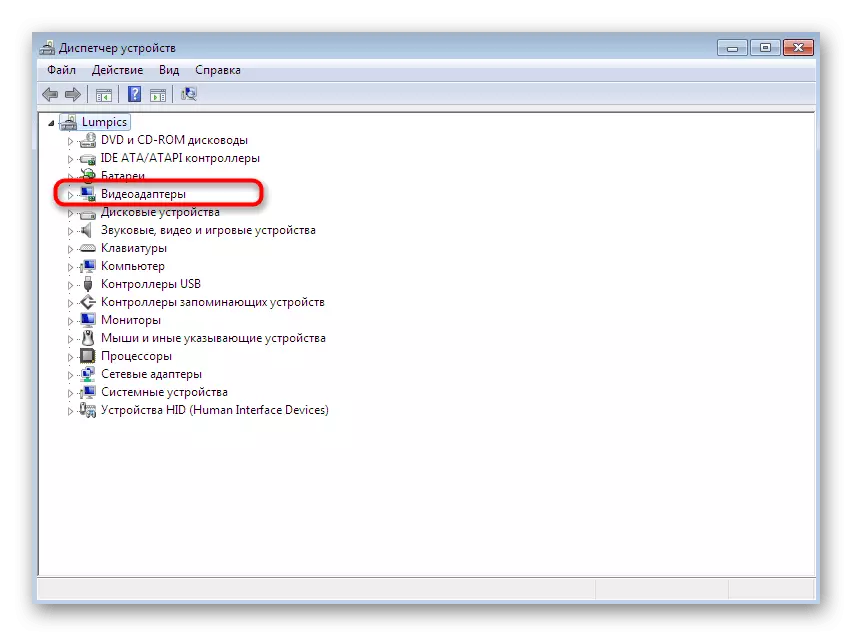
Unfortunately, CUDA from NVIDIA supports not all existing video cards that in certain situations will not allow to get rid of an error with nvcuda.dll and make it impossible to start the problematic software. Therefore, for a start, it is necessary to determine whether the said option is compatible with a graphics adapter installed in the computer. If you suddenly do not know which video card model is installed on your computer, check out the following manual to determine this.Even if suddenly it turned out that the graphics adapter installed in the PC does not support CUDA technology, you still need to perform the following methods, since they will help to establish compatibility, eliminating the emerging failure when you start the software.
Method 1: manual adding nvcuda.dll to the system
The first method is to manually install the missing connected library in Windows 7. You will need to download the file itself and transfer it to the C: \ Windows \ System32 folder in Windows 32 bits or in C: \ Windows \ Syswow64 in Windows 64 bits. If he is already there, replace it with a new one.
After that, if the problem did not disappear, check the file in the system using the recommendation from the link on the link below.
Read more: Register the DLL file in Windows
Method 2: Updating Video Card Drivers
As it has already become clear, the mistake with the lack of NVCuda.dll appears only at the owners of the NVIDIA graphics adapters, because they need first check the availability of updates for their component. You can do this in different ways, but it is best to go to the official website where the manufacturer pritertires the latest software versions. If this option does not suit you, we recommend learn alternative by reading the next article on our website.
Read more: NVIDIA Video Card Drivers Update
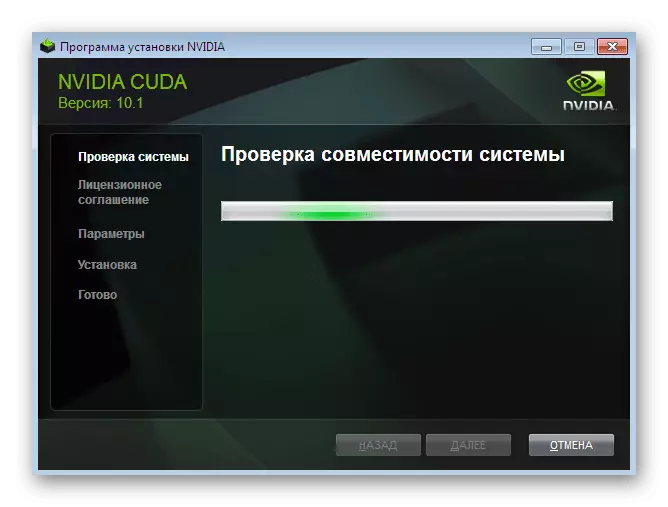
Method 3: Downloading CUDA Toolkit (only for developers)
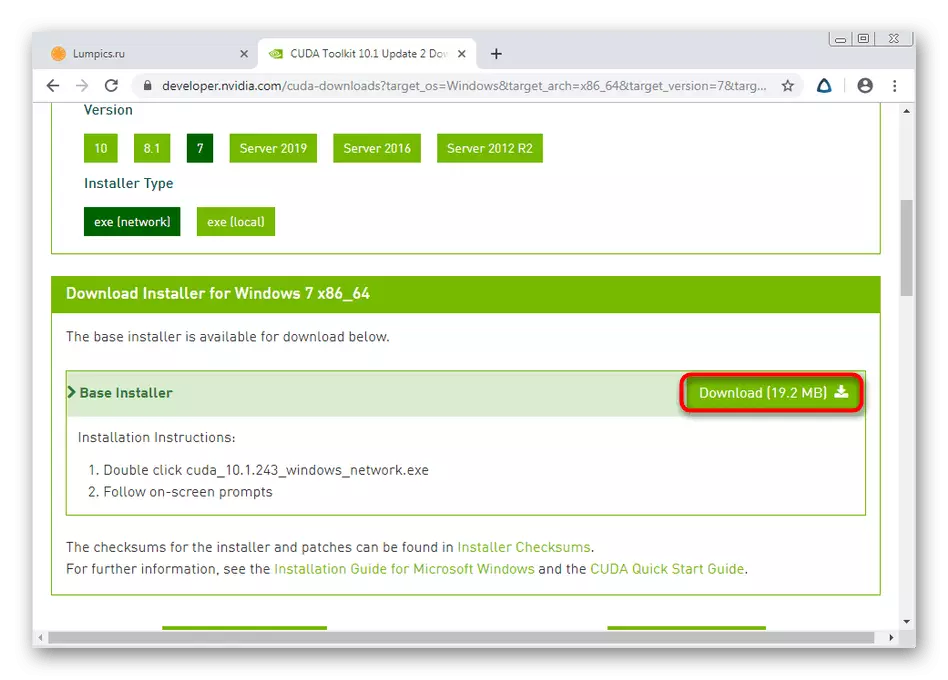
Immediately I would like to tell about a separate method, which is suitable only to software developers or games. The error under consideration today can appear in that situation if the appropriate options are not embedded in the software, allowing CUDA technology or the version of the toolkit does not meet the requirements. Therefore, we recommend downloading the latest version of Cuda Toolkit from the official site and try to work through it.
Download Cuda Toolkit from the official site
- Above, we indicated a link to the official source. Click on it and in the tab that opens, click on the green button "Download NOW".
- Choose a suitable operating system.
- Next, determine its version.
- You can download EXE that will download the necessary components over the Internet or its local version.
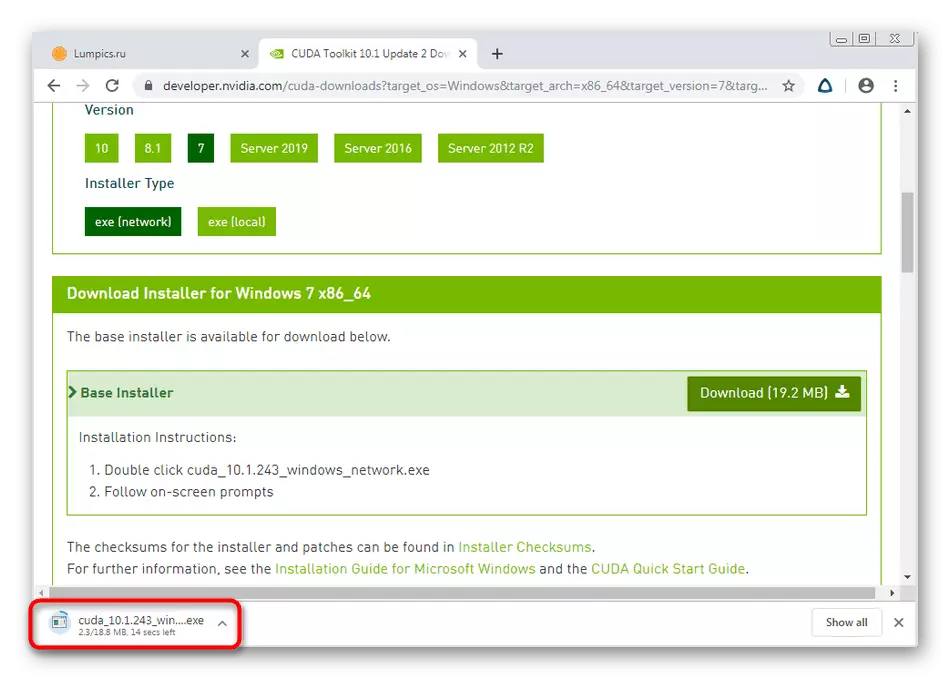
- To start the download, it will only be left to "download".
- Upon completion, open the received executable file.
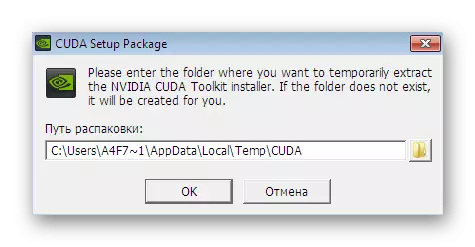
- Select the path where you want to unpack all the files present in the toolkit.
- Follow the instructions in the displayed window to complete the installation procedure.


Once again, we note that this option is only suitable for software developers. Additionally, we recommend you to familiarize yourself with the general information on CUDA technology for developers, and you can also contact official forums if the error has failed to solve.
Method 4: Windows Update
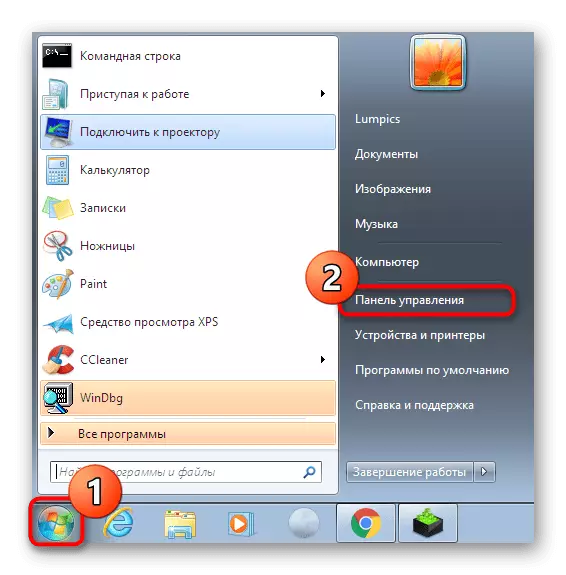
Let us turn back to methods for ordinary users. In the 2 method, you were familiar with the procedure for installing drivers for a graphics adapter. However, this still does not guarantee that after the implementation of these actions, everything will work correctly. Additionally, you need to check the availability of system updates to eliminate the likely conflicts between software components. Make it can be literally a few clicks:
- Open the Start menu and go to the "Control Panel" section.
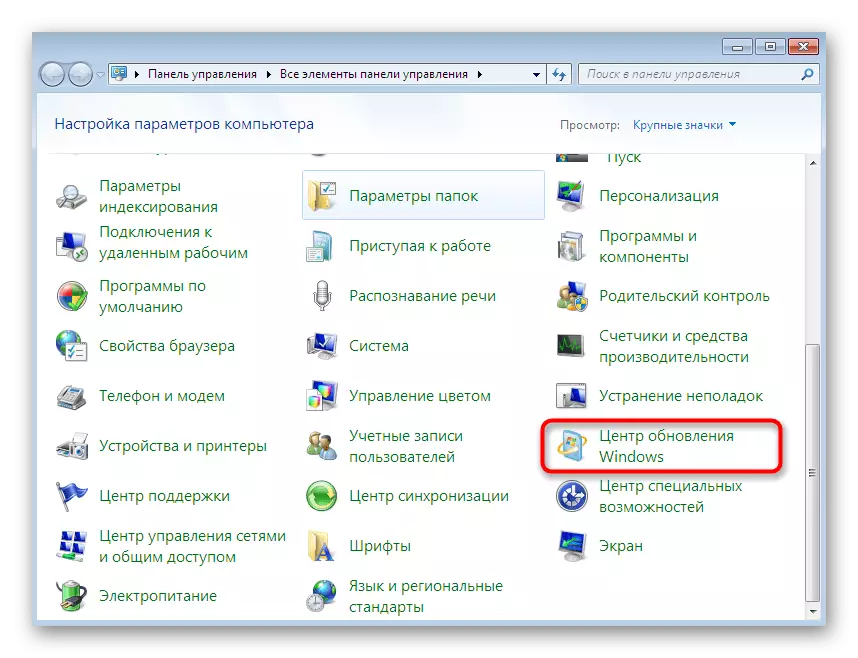
- Here, go down to the bottom of the window where you select the category "Windows Update Center" category.
- Click on the "Update Check" button and wait for the procedure.
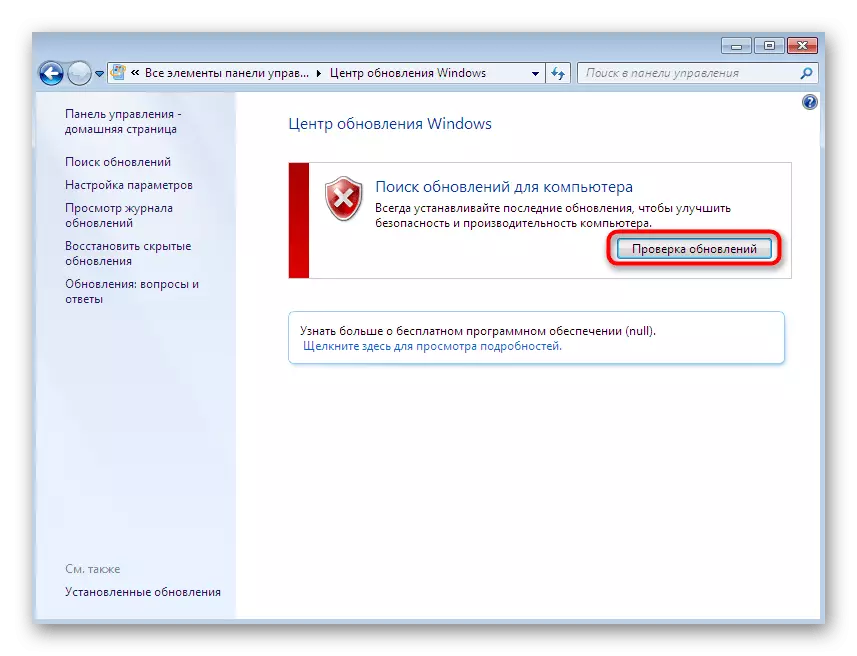
In case of detection and installation of updates, you will be notified of this. After it can only restart the computer so that all changes take effect. If, when executing this option, you have some questions or have difficulties, we advise you to familiarize yourself with individual materials on our website, where it is written in more detail about installing updates and correct errors with them.
Read more:
Updates in the Windows 7 operating system
Manual installation of updates in Windows 7
Solving problems with installing Windows 7 update
Method 5: Checking the integrity of system files
The penultimate method on which we want to stay in today's material is to check the system for damaged files through system utilities. First we advise you to start standard check via SFC (System File Checker). This is a console utility that allows you to quickly find and restore all damage.
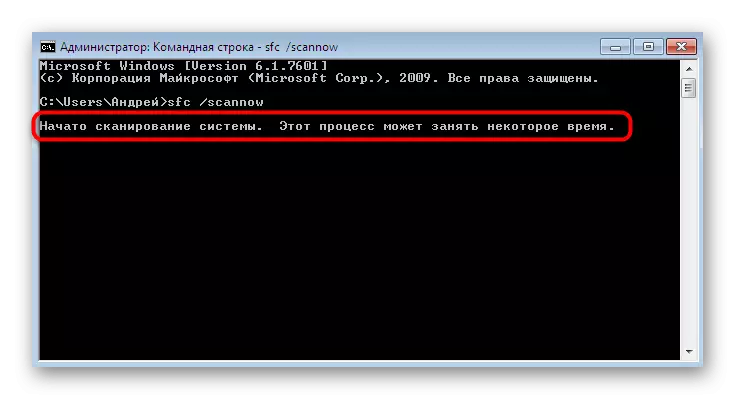
Read more: Restore system files in Windows 7
However, if this check is unforeseen completed by the error, which indicates the "Windows resource protection" detected damaged files, but cannot restore some of them, "it means that there are many more important files during interaction with the OS or viruses. Now you can not do without the DISM utility, about what you read in more detail in another article on our site further. Only after successful recovery through the DISM, you need to return to SFC again.
Read more: Restoring damaged components in Windows 7 with DISM
Method 6: Checking system for viruses
It's no secret that the action of malicious files on the computer often leads to the emergence of various types of failures. This may be connected with nvcuda.dll or from the entire GUI operating system. Therefore, if the above options did not bring any result, you should try to scan with any convenient tool, and then check whether the problem was solved. In case of detection of threats, it is better to delete them and return to already familiar ways, simulating the operation of the OS.
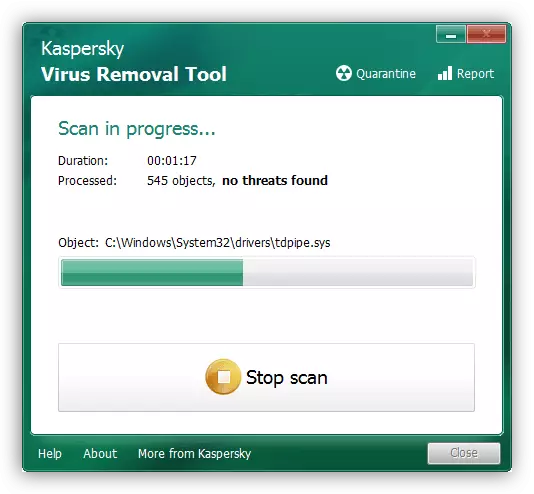
Read more: Fighting computer viruses
In this article, we dismantled problems with the lack of nvcuda.dll in Windows 7. As you can see, there is a sufficient number of options to solve the difficulty. However, it is not necessary to exclude the fact that the software used, during the launch of which an error appears, is simply incompatible with the OS, so it will not be possible to correct the problem. It remains only to find an alternative to software or download its previous version.