
Printers for three-dimensional printing are becoming more accessible, respectively, they are also acquired by ordinary users who wish to master this technology. Some are not satisfied with the printing of ready-made models downloaded from the Internet, so they are asked about creating their own project. The task is carried out using special software and requires superficial or in-depth knowledge in the functionality of such a software, which depends on the requirements of the user to the model.
Method 1: Blender
Blender is the first program, the main purpose of which is to create 3D models for further animation or application in different areas of computer technologies. It applies free of charge and fits novice users who first encountered applications of this kind, therefore it takes this position. Let's briefly consider the procedure for the preparation of the model for printing step by step by starting with the settings of the tool itself.Step 1: Preparatory actions
Of course, after starting the Blender, you can immediately start familiarizing with the interface and the development of models, but first it is better to pay attention to the preparatory actions to configure the working environment for 3D printer layouts. This operation will not take much time and will require activation of just a few parameters.
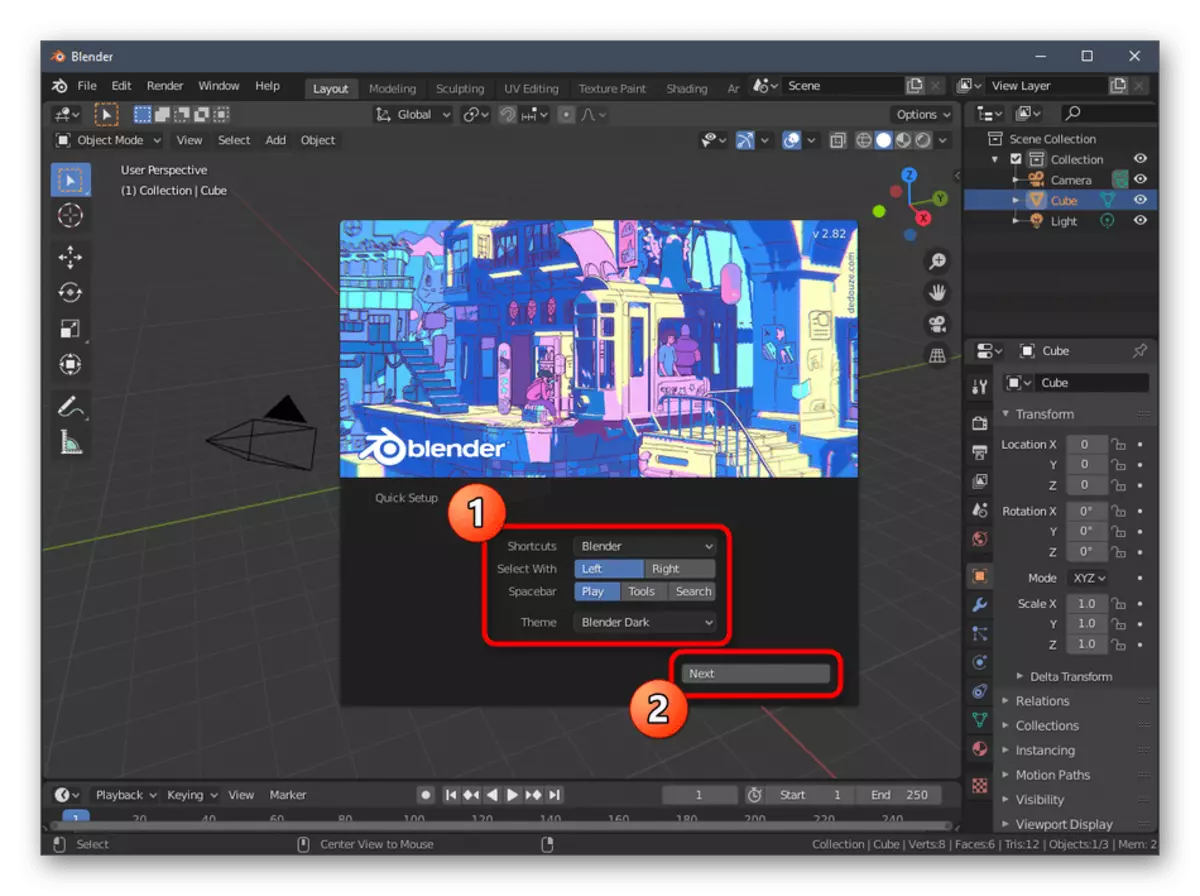
- To begin with, select the appearance parameters and the location of the items, pushing away from personal needs.
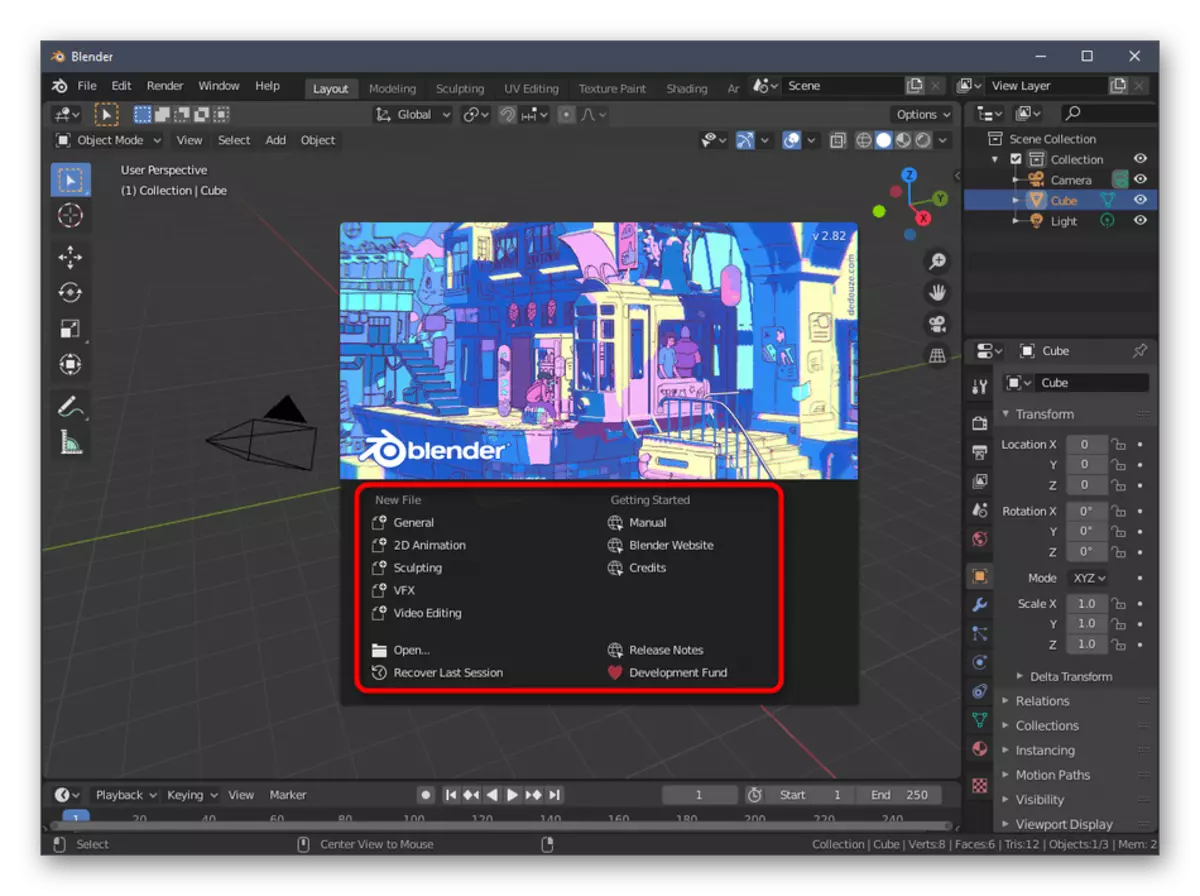
- In the next section of the Quick Setup window, you will see different templates for starting work and reference to sources with auxiliary information that will be useful when exploring software. Close this window to go to the next configuration step.
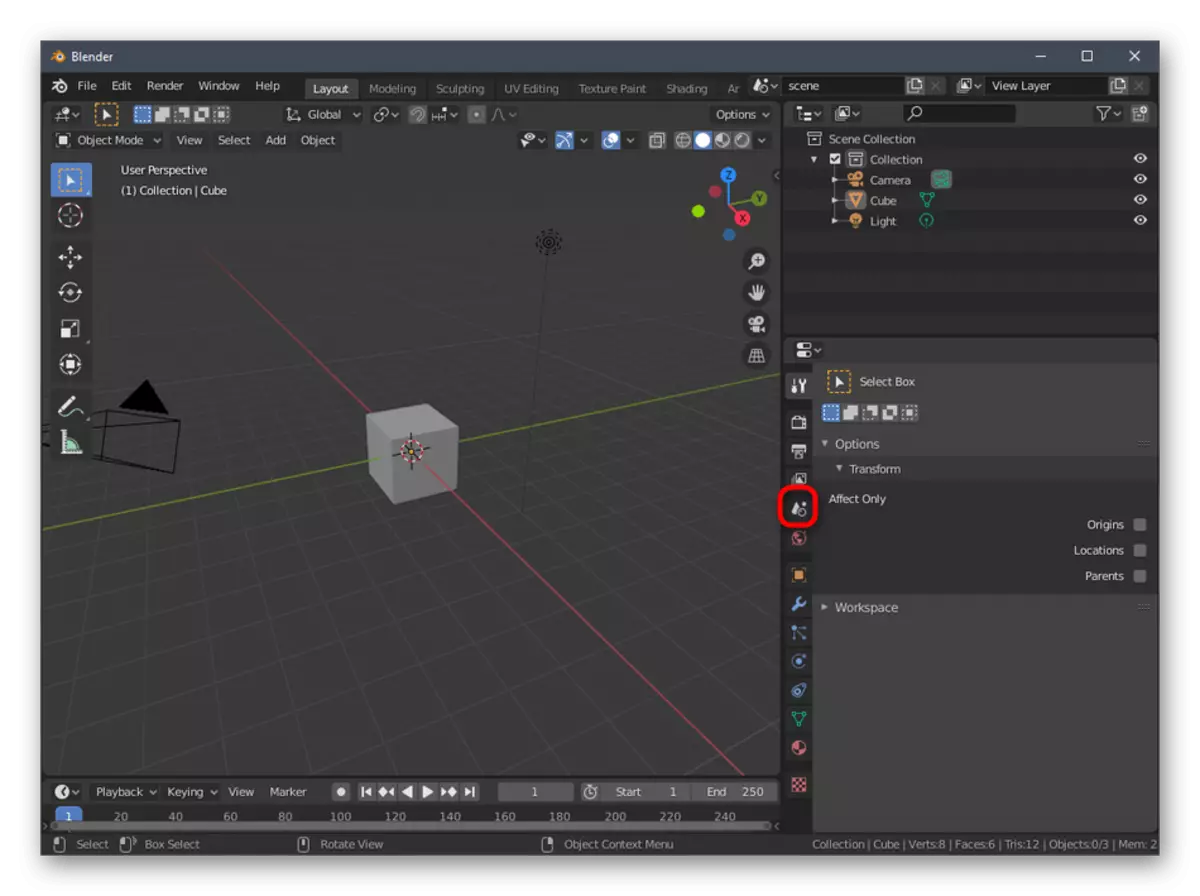
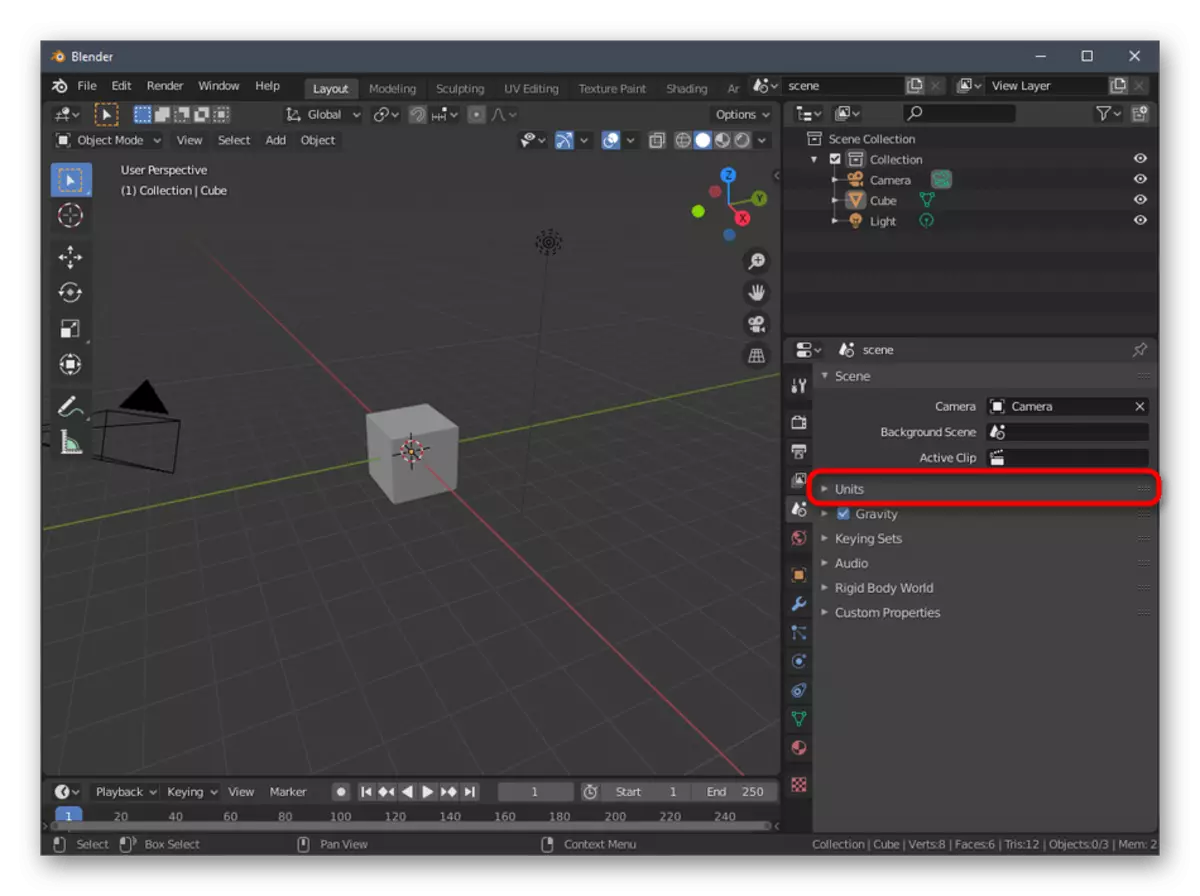
- On the panel on the right, find the "SCENE" icon and click on it. The button name appears in a few seconds after the cursor is guided.
- In the category that appears, expand the Units block.
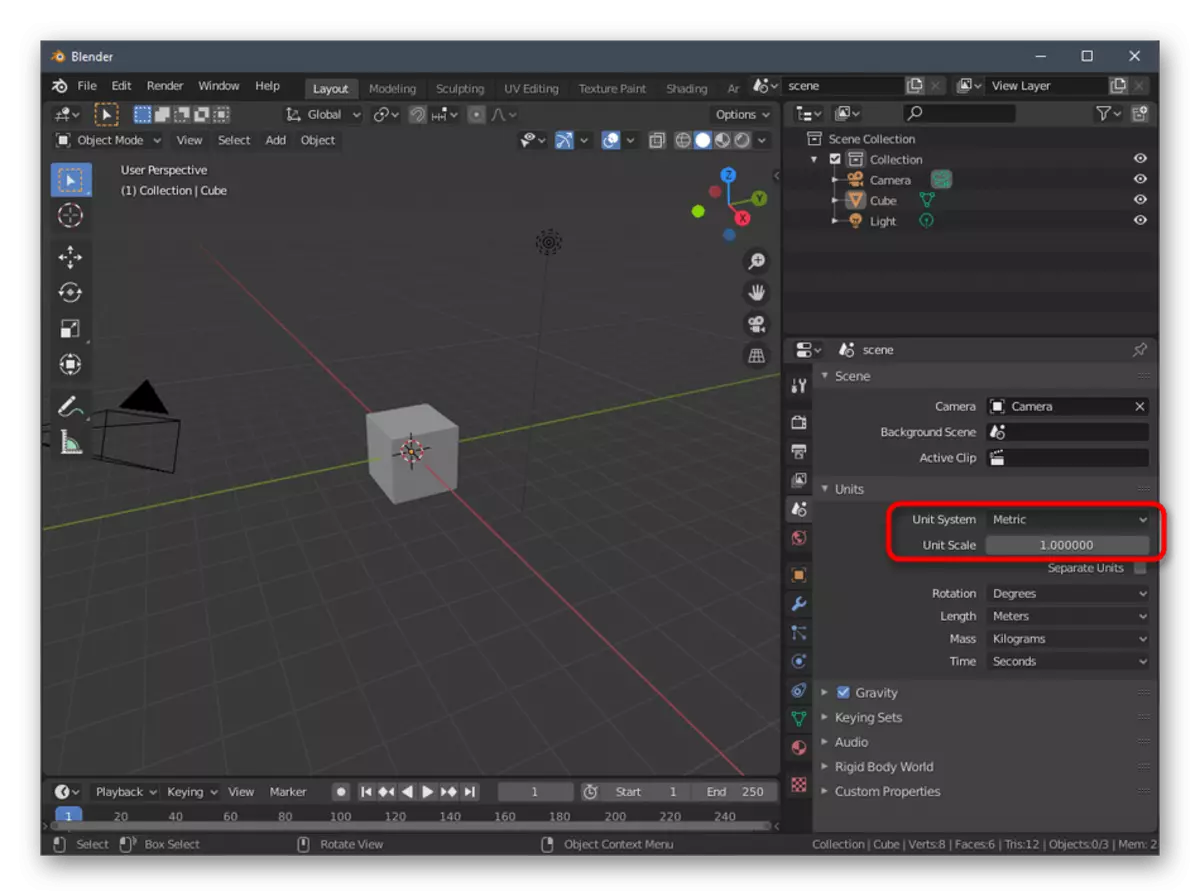
- Install the metric measurement system and set the scale "1". This is necessary so that the scene parameters are transferred to the 3D printer space in the proper form.
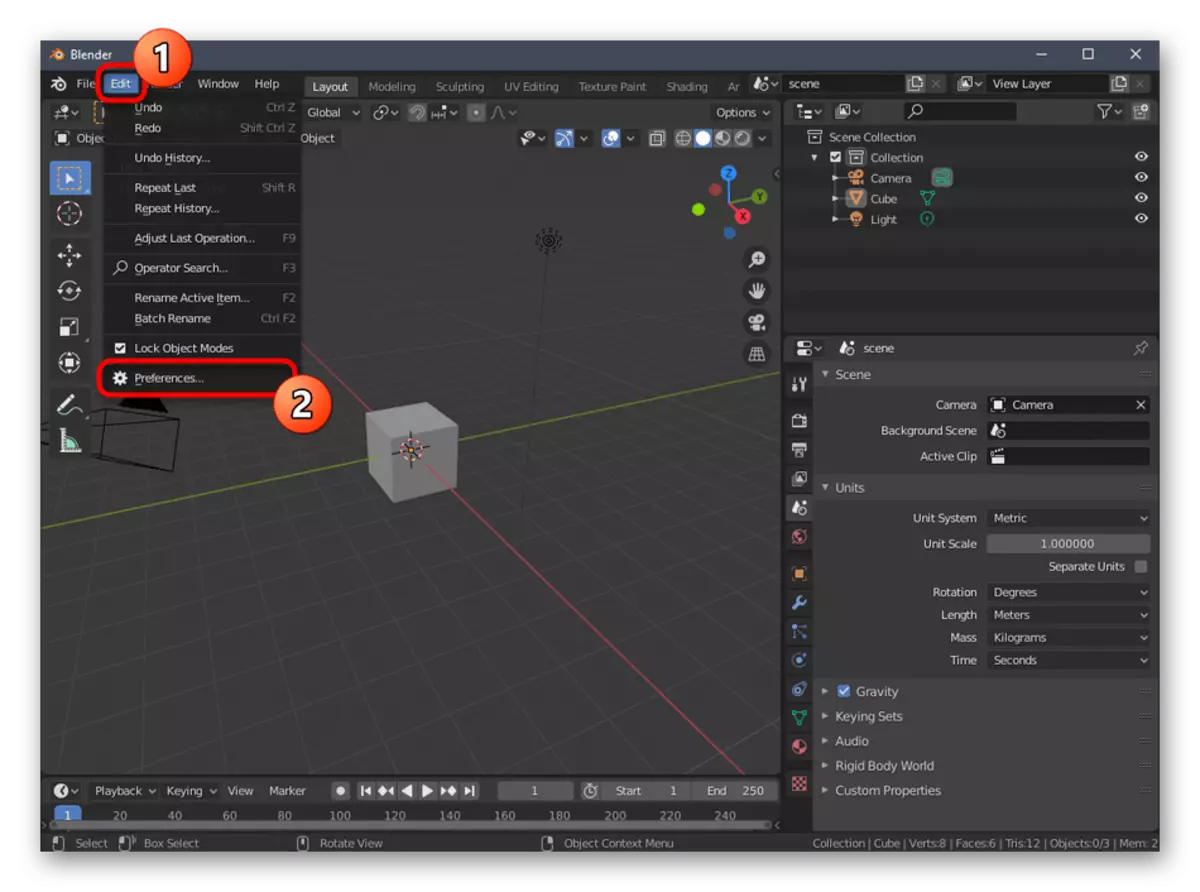
- Now pay attention to the top panel of the program. Move the cursor over the "Edit" and in the pop-up menu that appears, select "Preferences".
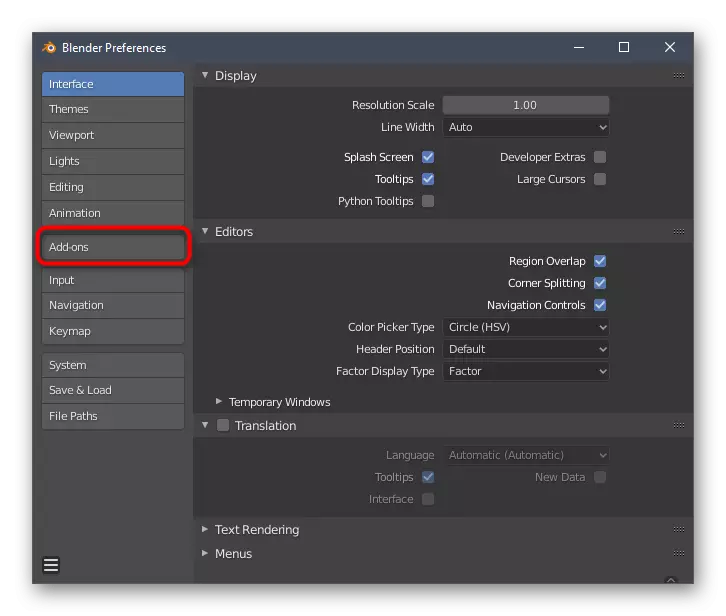
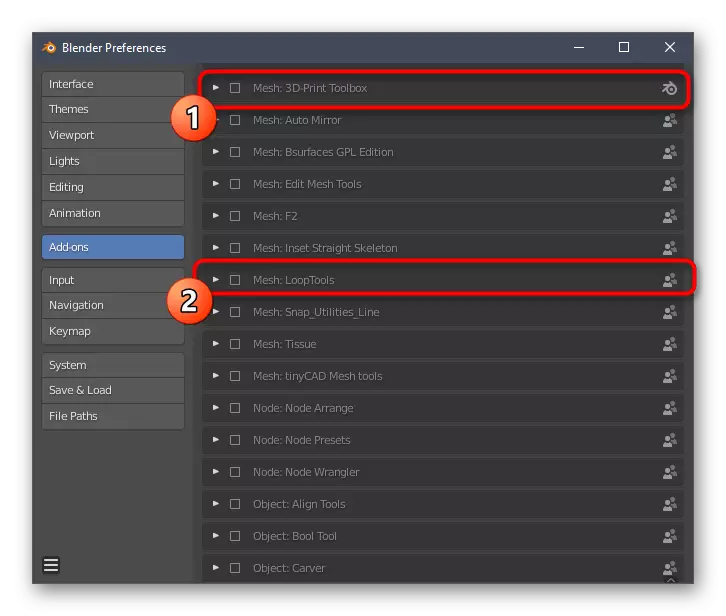
- In the settings window, move to the "Add-ONS".
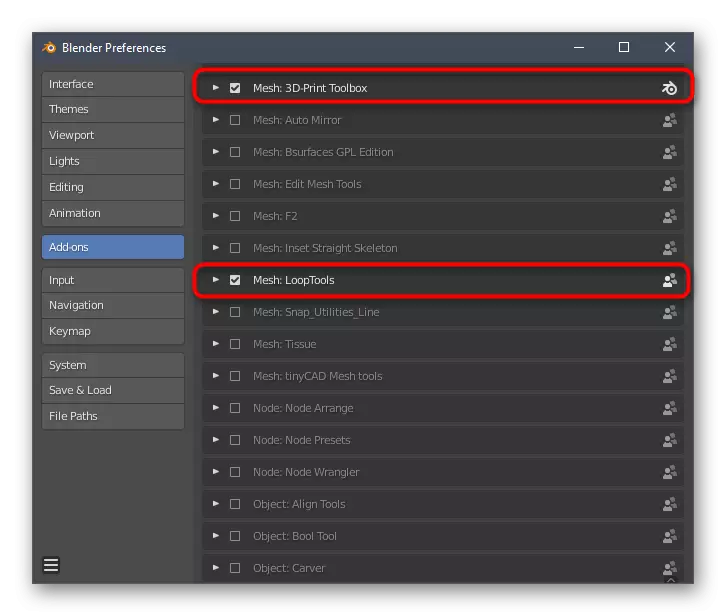
- Lay and activate two points called Mesh: 3D-Print Toolbox and Mesh: LoopTools.
- Make sure the checkboxes were successfully affixed, and then leaving this window.
Additionally, we recommend paying attention to other configuration items. Here you can configure the appearance of the program, change the location of the interface elements, transform them or disable them at all. Upon completion of all these actions, go to the next step.
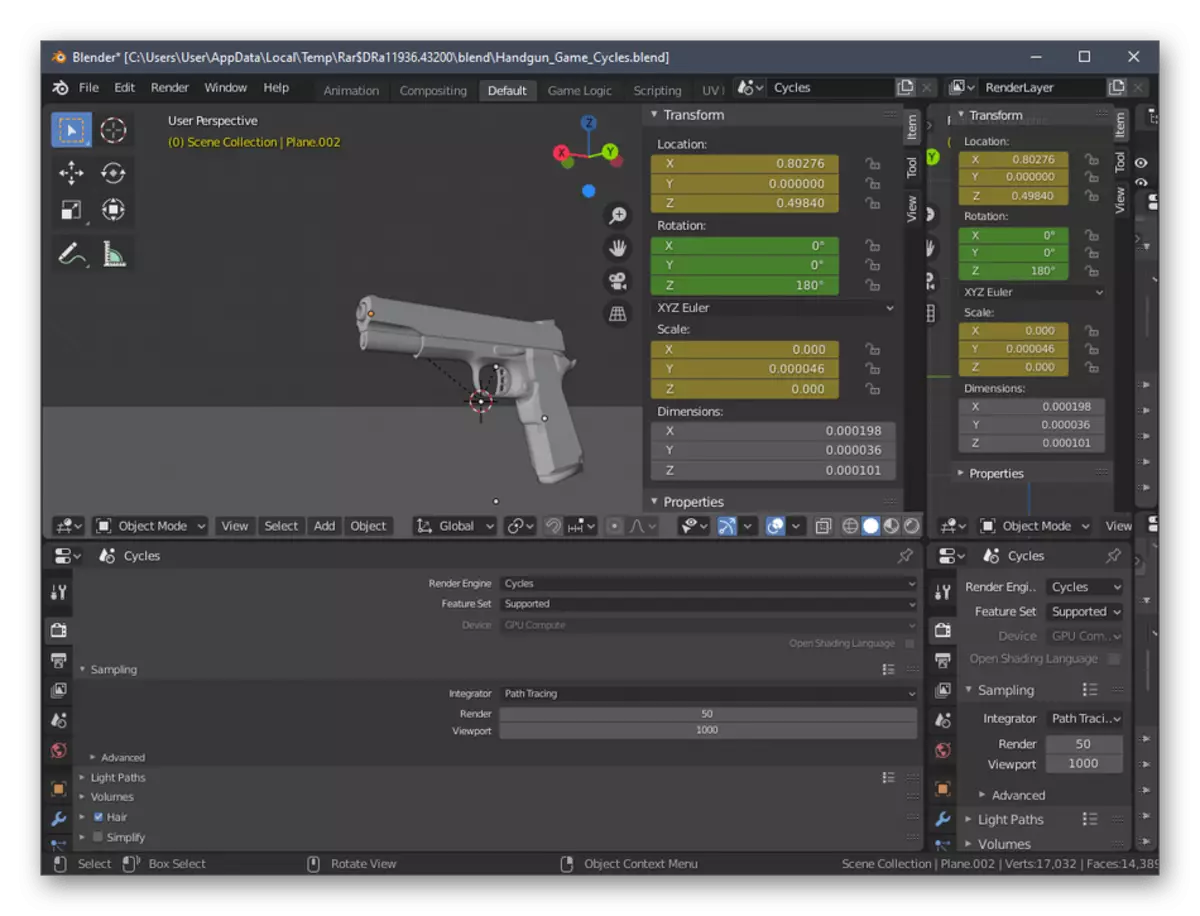
Step 2: Creating a three-dimensional object
Modeling is the main process of creating a project for further printing on the appropriate equipment. This topic will deal with each user who wants to independently work on various figures and objects. However, for this you have to study a rather large formation of information, because the Blender functionality is so huge that only the most basic will understand intuitively. Unfortunately, the format of our today's article will not allow to accommodate even a small part of all information and instructions, so we advise you to refer to the official documentation in Russian, where all information is divided into categories and described in a detailed form. To do this, just click on the following link.
Go to the official Blender documentation
Step 3: Verification of the project to comply with general recommendations
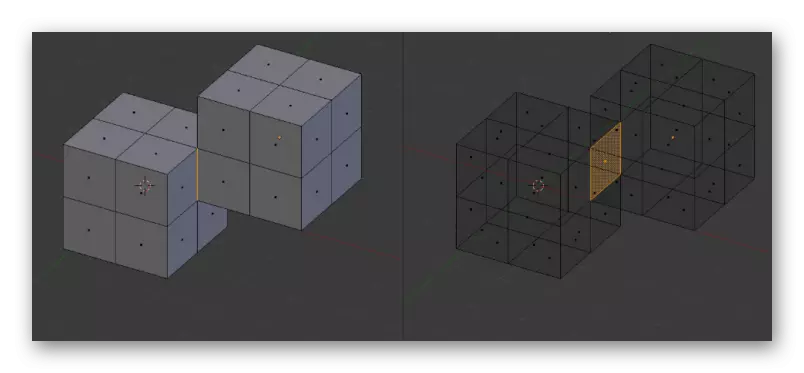
Before completing the work on the model, we advise not to miss the most important aspects that should be performed to optimize the project and ensure its correct printout on the printer. First, make sure that none of the surfaces are superimposed on each other. They should only come into contact, forming a single object. If somewhere happens beyond the framework, problems are likely to have the quality of the figure itself, since a small print failure will occur in an incorrectly executed place. For convenience, you can always turn on the display of a transparent network to check each line and field.
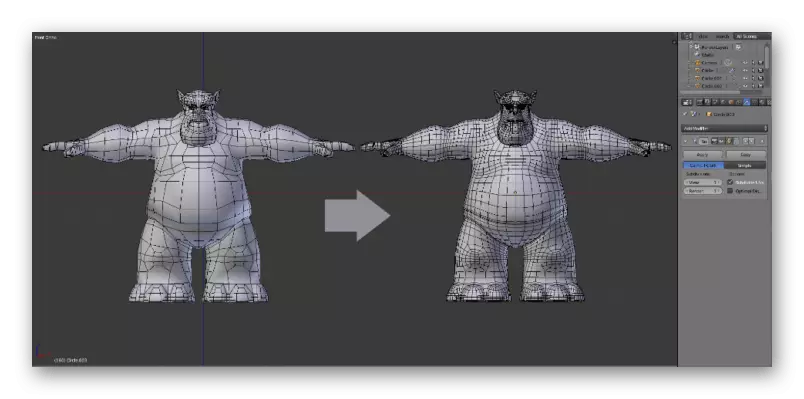
Next, deal with a decrease in the number of polygons, because a large number of these elements only artificially complicates the shape itself and prevents optimization. Of course, avoid extra polygons is recommended when creating the object itself, but it is not always possible to do this at the current stage. Any ways to optimize are available to you, which is also written in the documentation and describes the training materials from independent users.
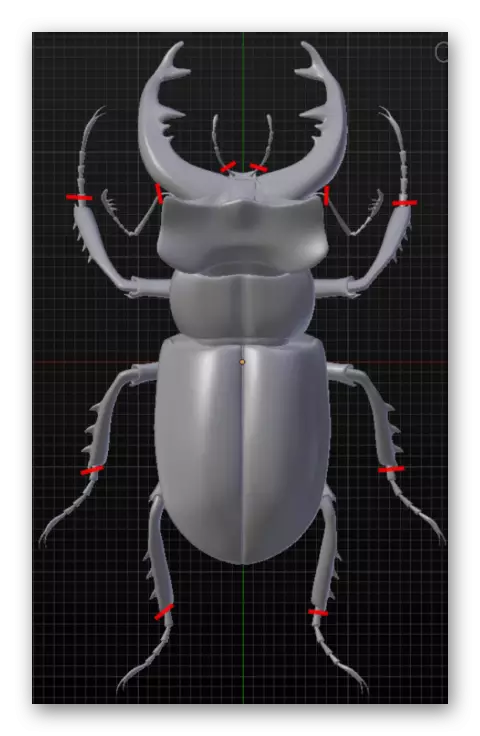
Now we want to mention and thin lines or any transitions. As is known, the nozzle itself has a certain size, which depends on the model of the printer, and the plastic is not the most reliable material. Because of this, it is better to avoid the presence of very thin elements, which in theory may not work at all on prints or will be extremely fragile. If such moments are present in the project, slightly increase them, add a support or, if possible, get rid.
Step 4: Project Exports
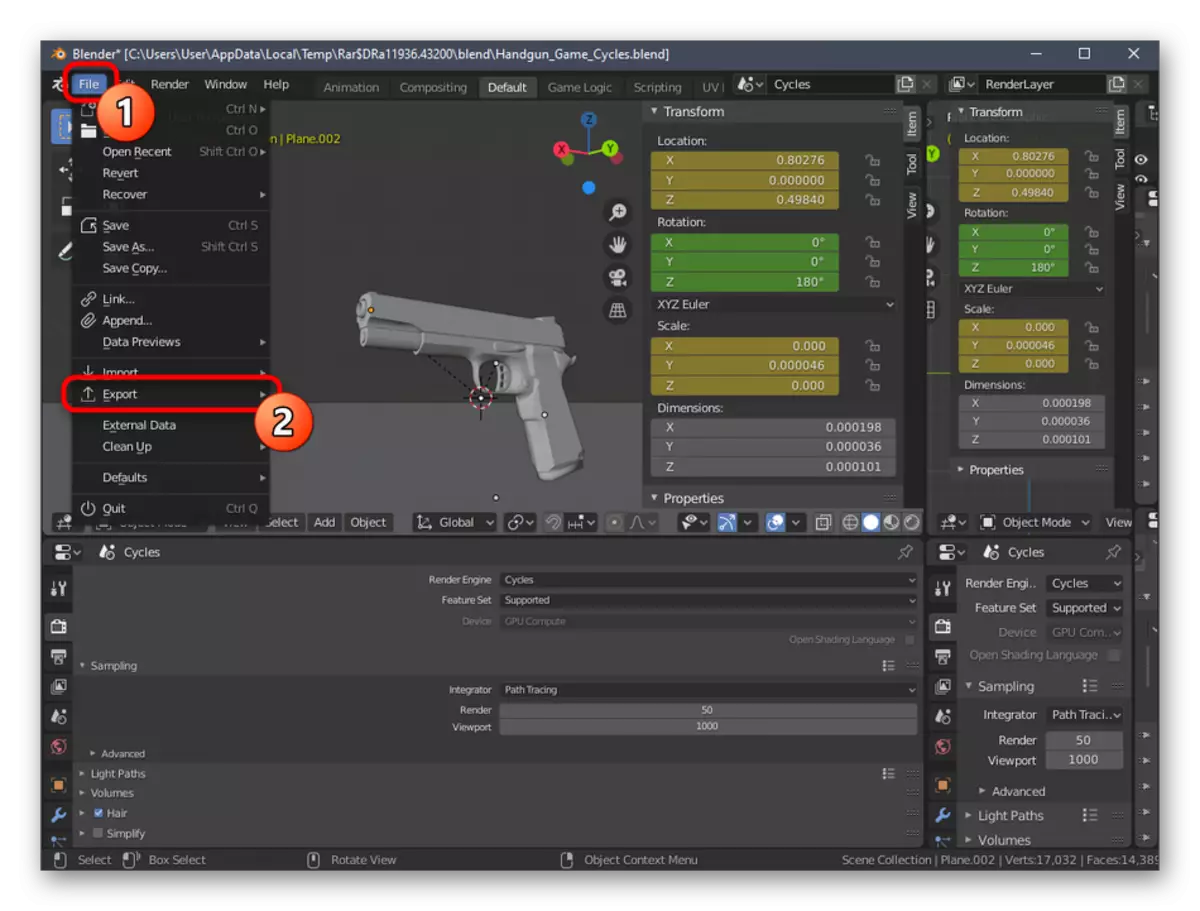
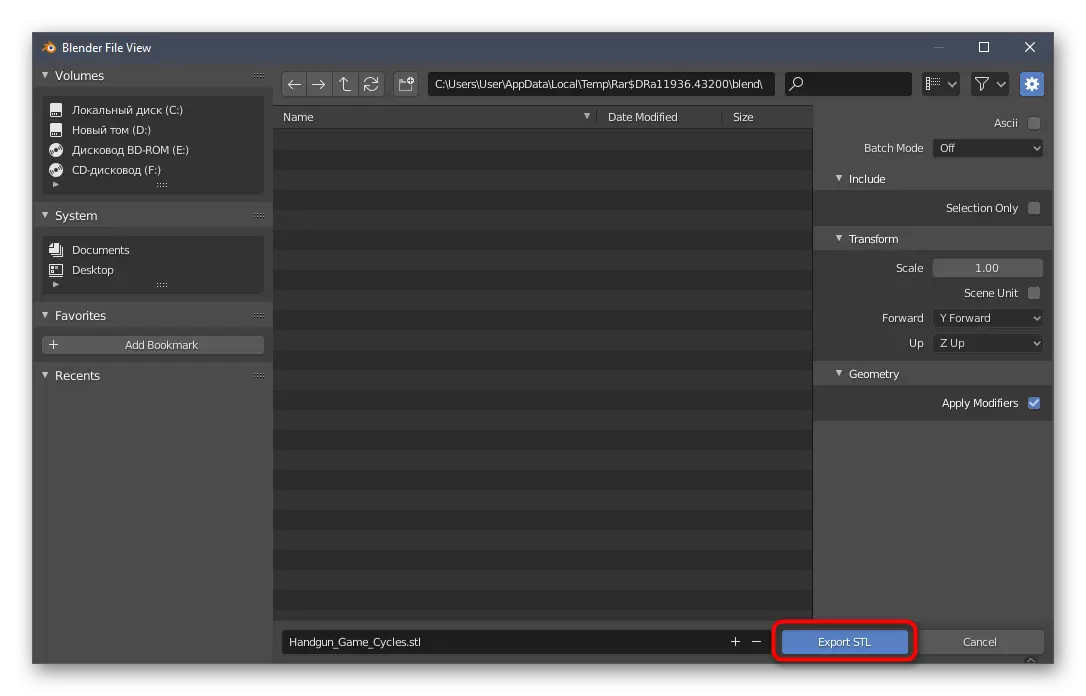
The final stage of preparation of the model for printing is exporting it in a suitable STL format. It is this type of data that is supported by 3D printers and will be correctly recognized. No rendering or additional treatments can be carried out if colors or any simple textures have already been assigned for the project.
- Open the "File" menu and hover over Export.
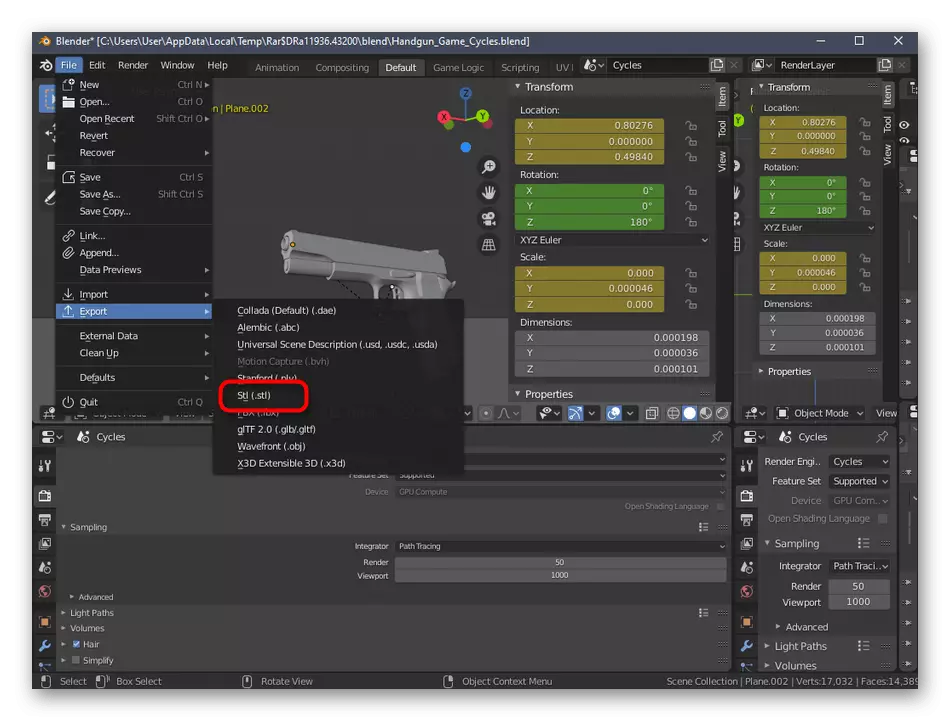
- In the pop-up list that appears, select "STL (.stl)".
- Specify the place on the removable or local media, set the name for the model and click on "Export Stl".
The project will immediately be saved and accessible to perform other actions. Now you can insert a USB flash drive into a printer or connect it to a computer to run the execution of the existing task. We will not give advice on how to configure, because they are purely individual for each model of devices and are clearly spelled out in the instructions and various documentation.
Method 2: Autodesk Fusion 360
The following program called Autodesk Fusion 360 is available for free private use throughout the year, so it is quite suitable for mastering and creating simple models to print them in the future on existing equipment. We decided to make the principle of familiarization with this along the same way as with Blender, so we created a phased division.Download Autodesk Fusion 360 from the official site
Step 1: Preparatory actions
In Autodesk Fusion 360, you do not have to independently activate the toolbars or choose some unusual parameters. The user only should be verified in the correct project metric and, if necessary, change the properties of the parties of the species, which is happening:
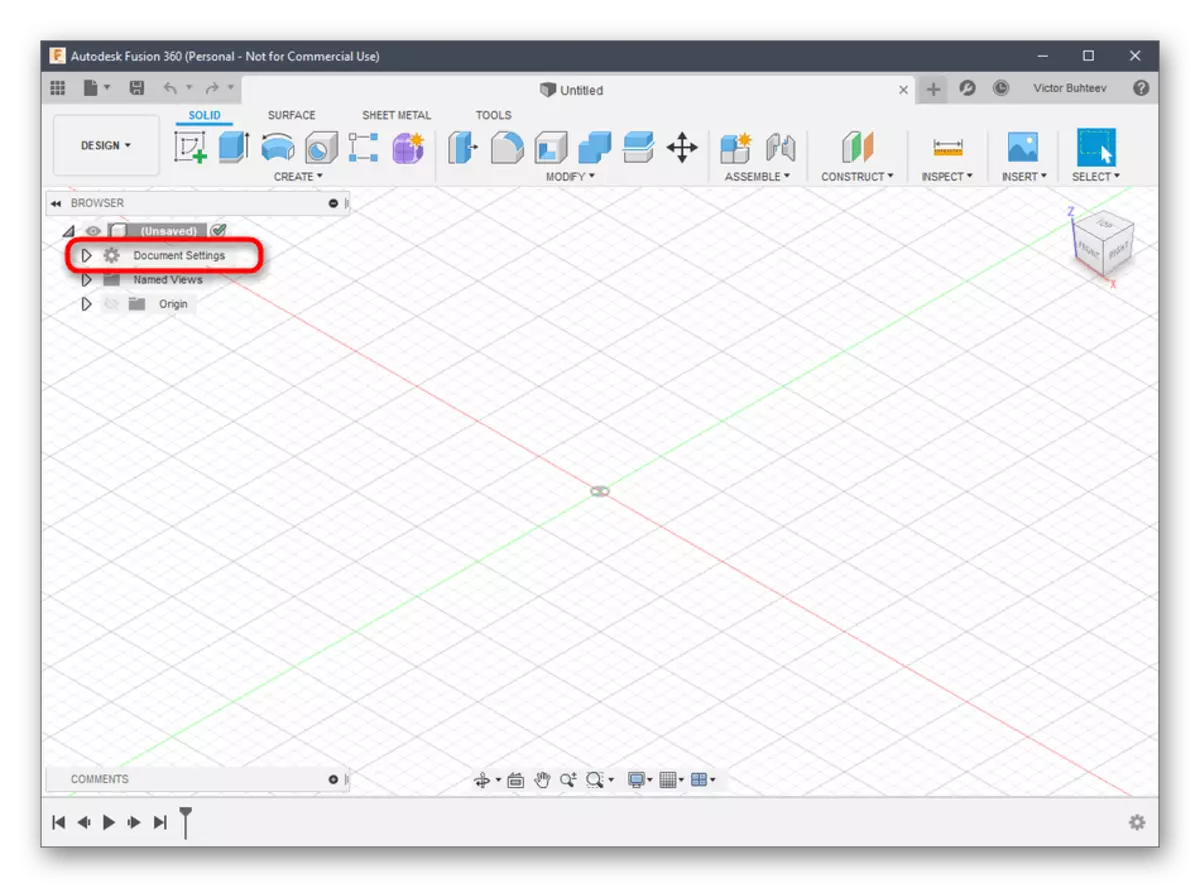
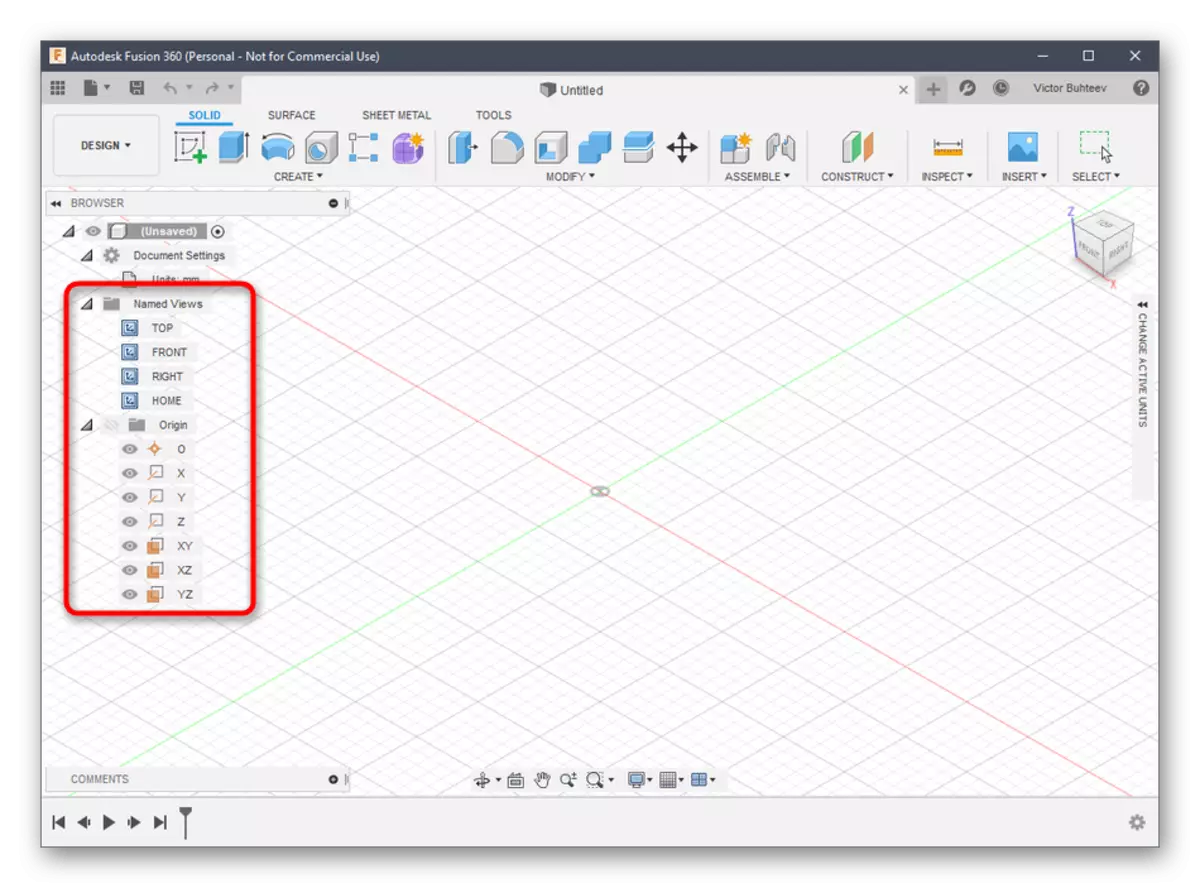
- After downloading and installing Autodesk Fusion 360 from the official site, the first launch must occur. There will be no initial windows to display, so the new project will be created automatically. Pay attention to the "Browser" section, which is located on the left under the main panels. Here, select "Document Settings" to deploy this section.
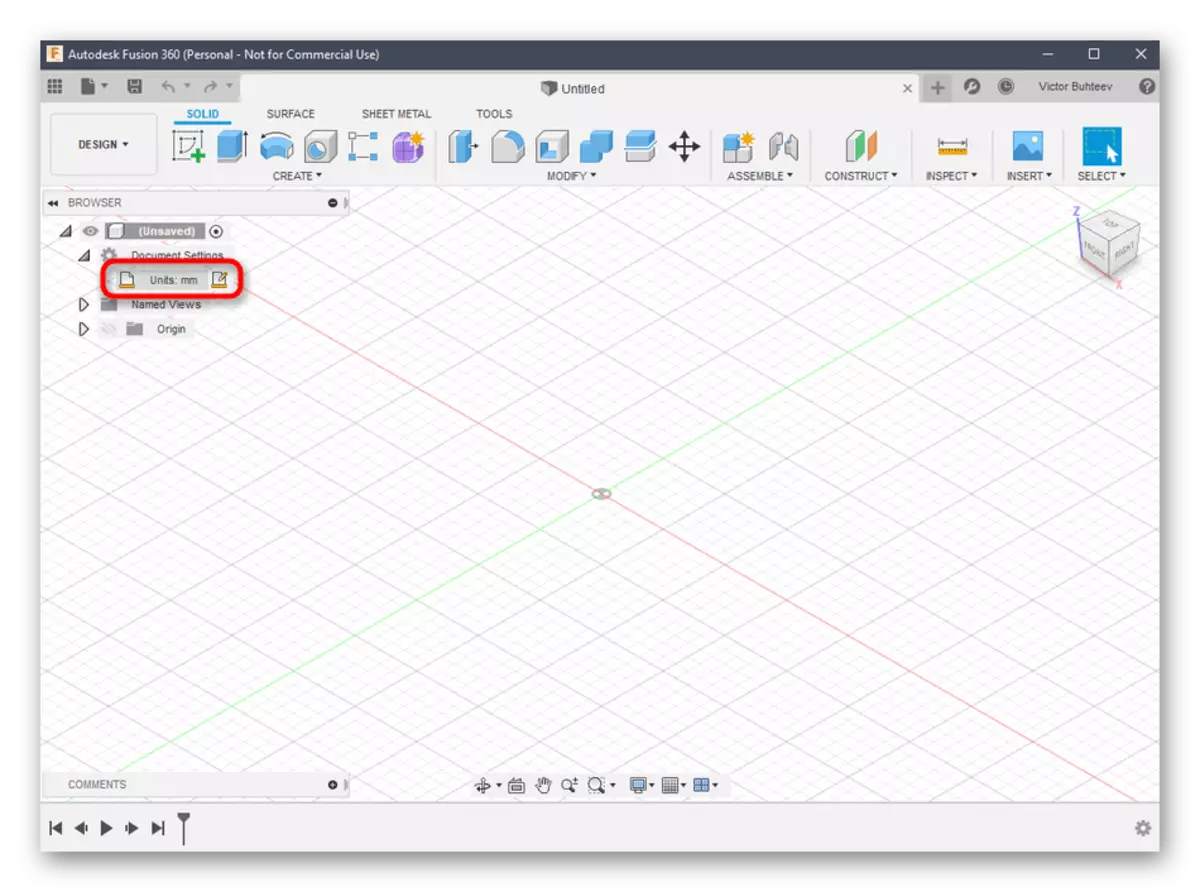
- Navigate to edit the "Units" file, if the standard value in millimeters does not suit you.
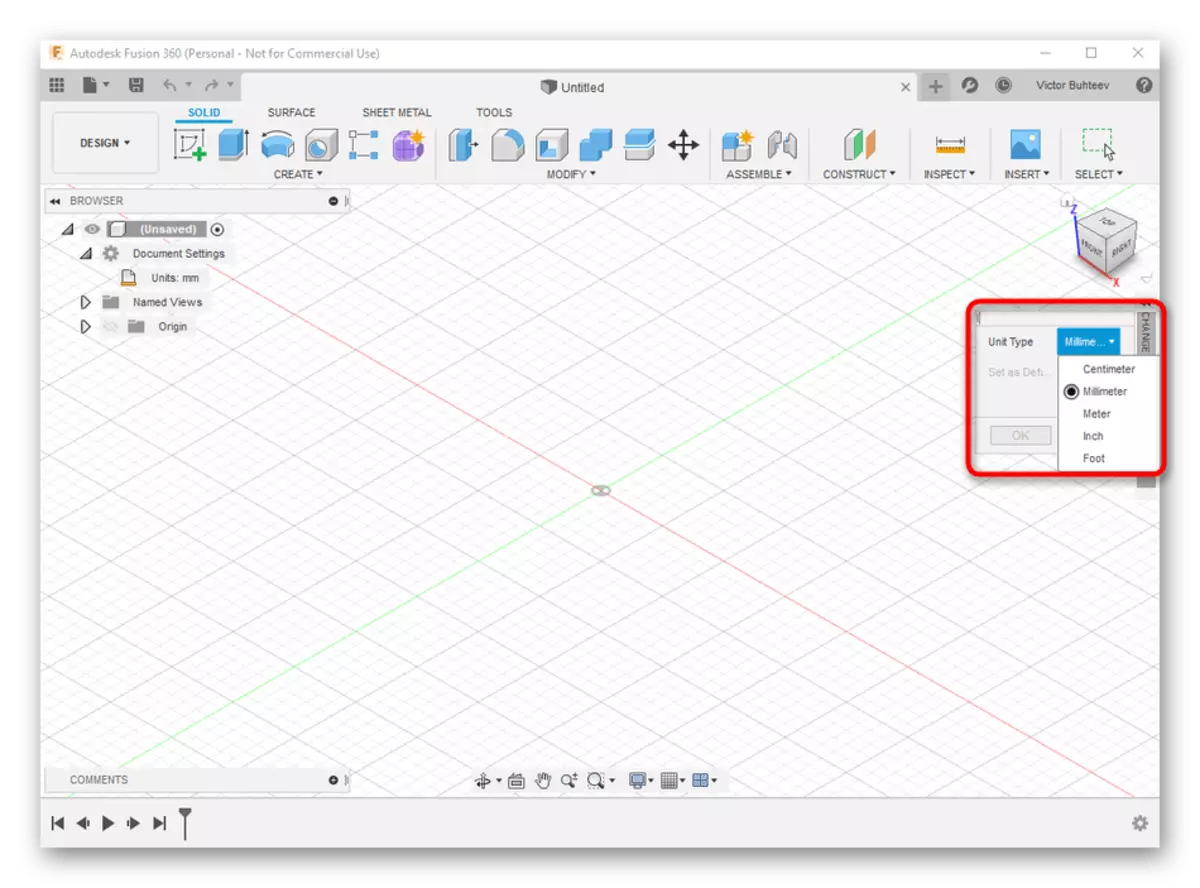
- In the field that appears on the right, select the optimal dimension unit you want to follow throughout the entire interaction time with the project.
- After that, familiarize yourself with the section "Named Views" and "Origin". Here you can rename each side by personal preferences and configure the display of the axes on the workspace.
- At the end of the configuration, make sure that the space "Design" is selected, because it is there that the primary creation of all objects occurs.

Step 2: Print Model Development
If you are faced with the need of a manual model development through Autodesk Fusion 360, you will have to study this program for a long time or at least familiarize yourself with the basics. Let's start to look at a simple example of adding shapes and editing their size.
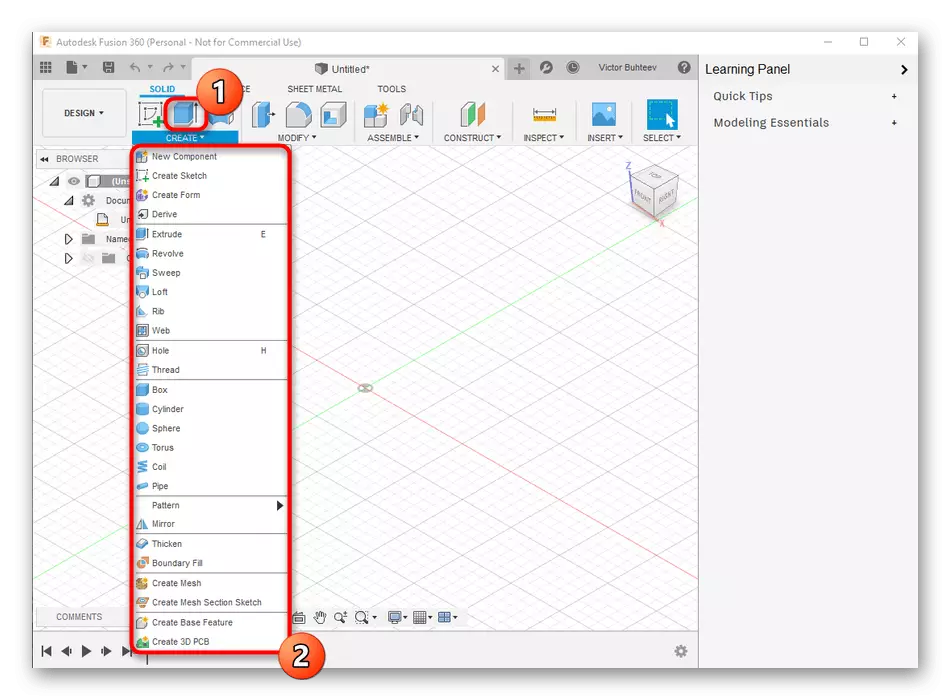
- Open the "Create" list and read the available forms and objects. As can be seen, there are all the main figures. Just click one of them to go to add.
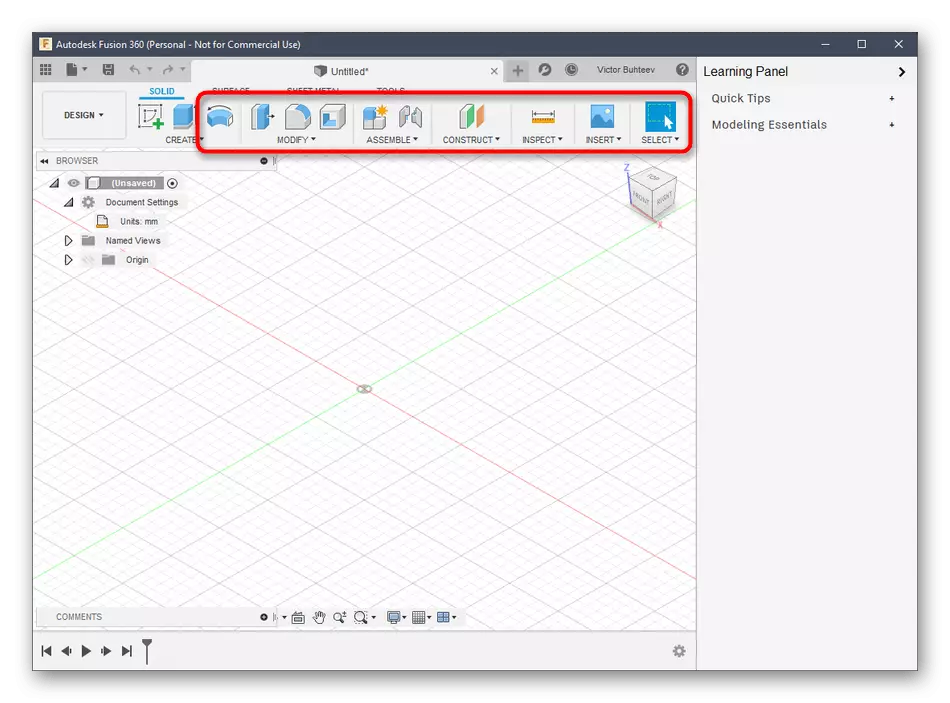
- Additionally take a look at the other items located on the top panel. The main space here is occupied by modifiers. According to the design of their icons just understandable, for which they respond. For example, the first modifier displaces the parties, the second rounds them, and the third creates an indulgence.
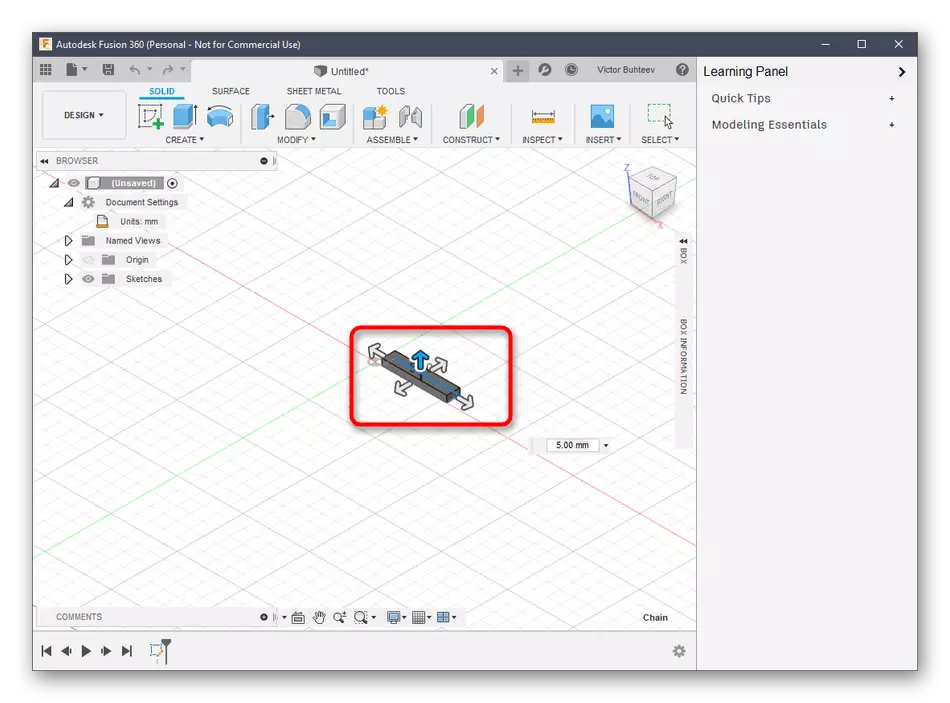
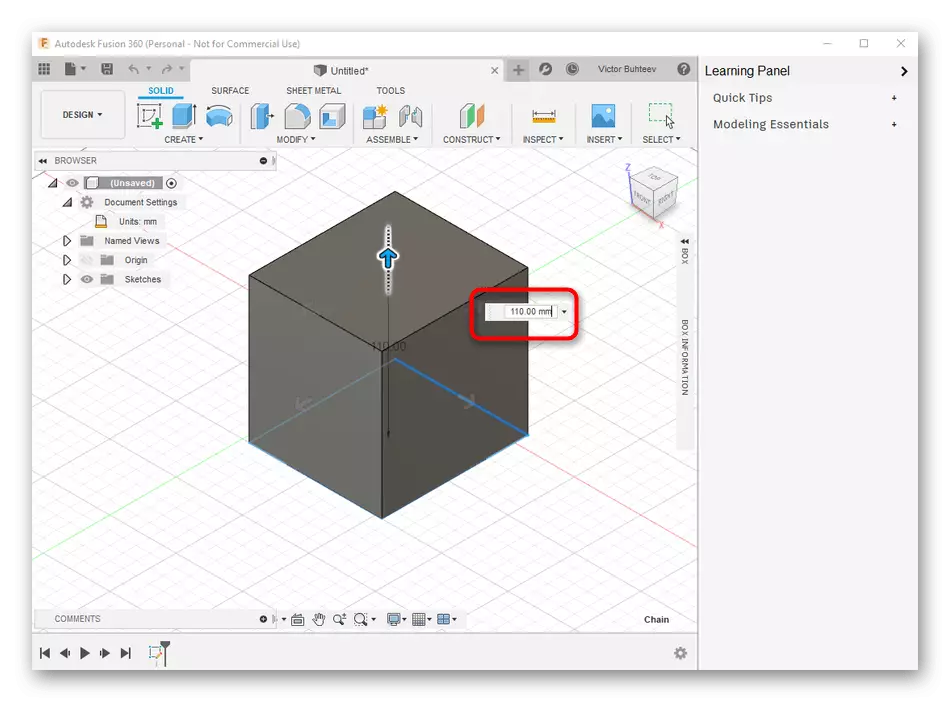
- After adding the forms of the object to the workspace, the levers will appear, by moving which the sizes of each side take place.
- When adjusting, look at a separate field with dimensions. You can edit it yourself by setting the necessary values.
About the main features, follow whom it is necessary, we have already spoken when considering the Blender, so we will not stop at once again. Instead, we suggest examining the remaining moments of interaction with Autodesk Fusion 360 by reading the official documentation on the site to master the creation of not only primitives, but also objects are much higher levels of complexity.
Go to Reading AUTODESK FUSION 360 Documentation
Step 3: Print Preparation / Document Saving
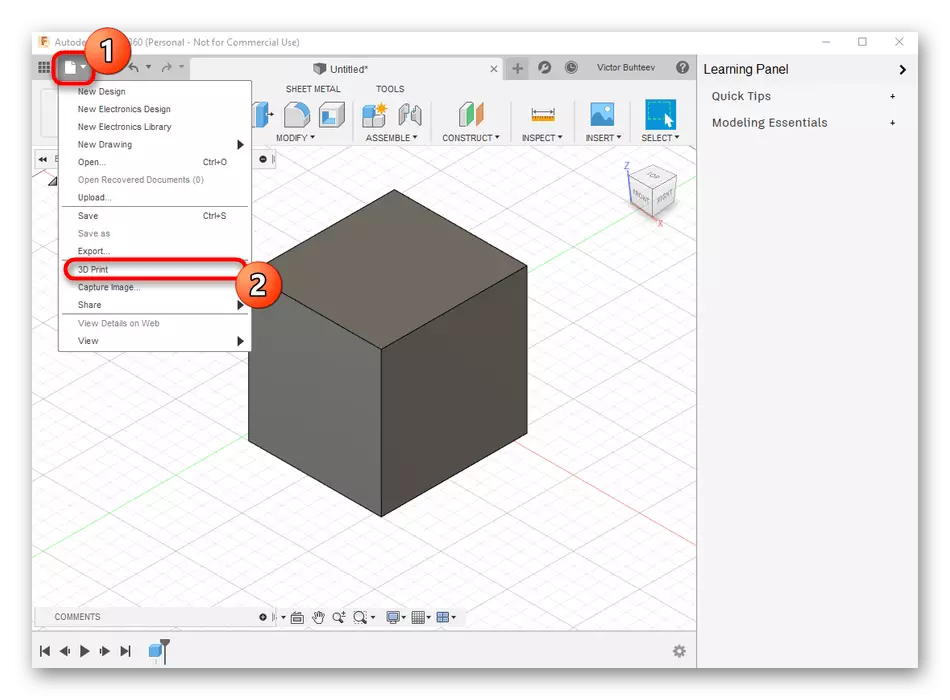
As part of this stage, we will tell about two different actions that are directly related to 3D printing. The first is to send the task immediately through the software used. This option is suitable only in those situations where the printer itself can be connected to a computer and supports communication with such software.
- In the "File" menu, activate the 3D Print item.
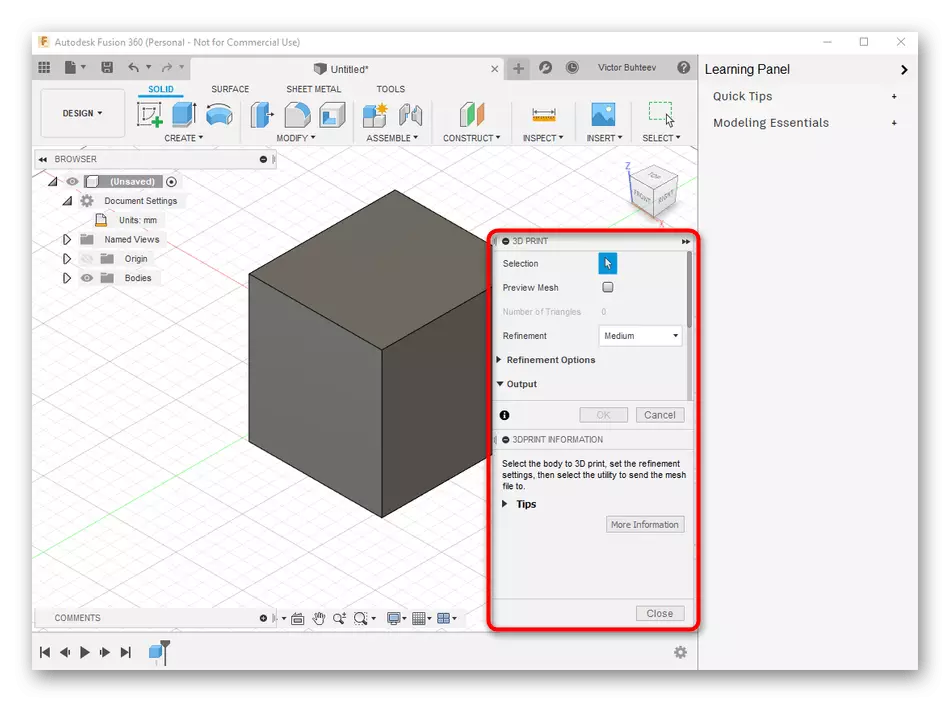
- A block with settings will appear on the right. Here you only need to select the output device itself, if necessary - enable the preview and run the task execution.
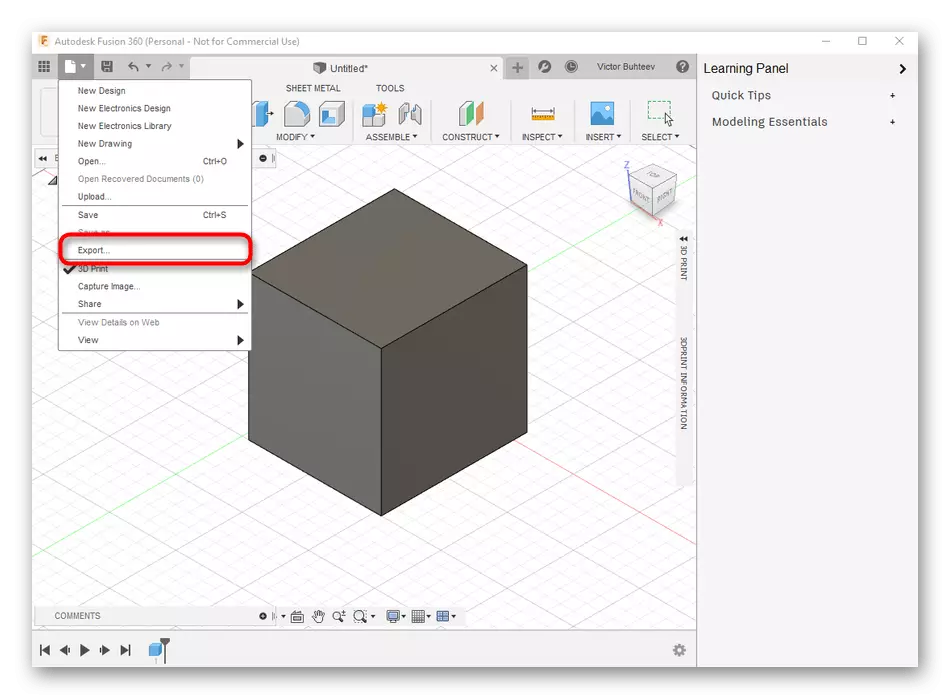
However, now most of the standard printing devices still support only flash drives or function exclusively through branded software, so the need to maintain the object occurs much more often. This is done like this:
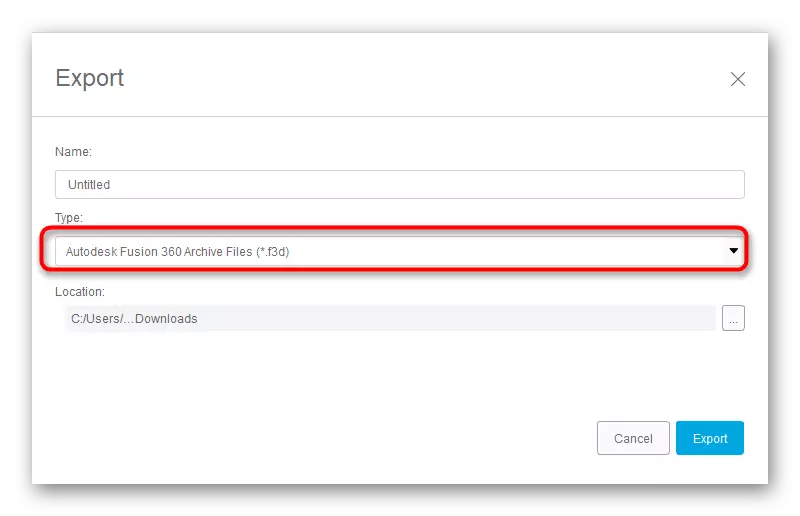
- In the same pop-up menu "File", click on the "Export" button.
- Expand the "TYPE" list.
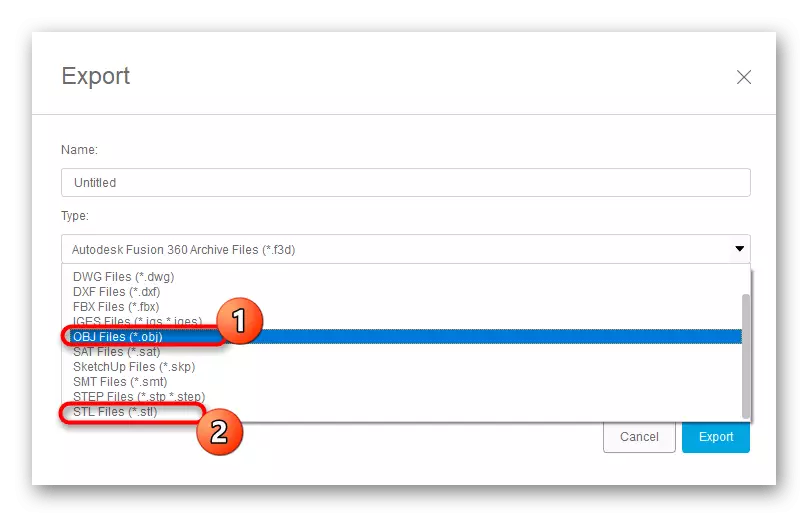
- Select Obj Files (* OBJ) or "Stl Files (* .stl)."
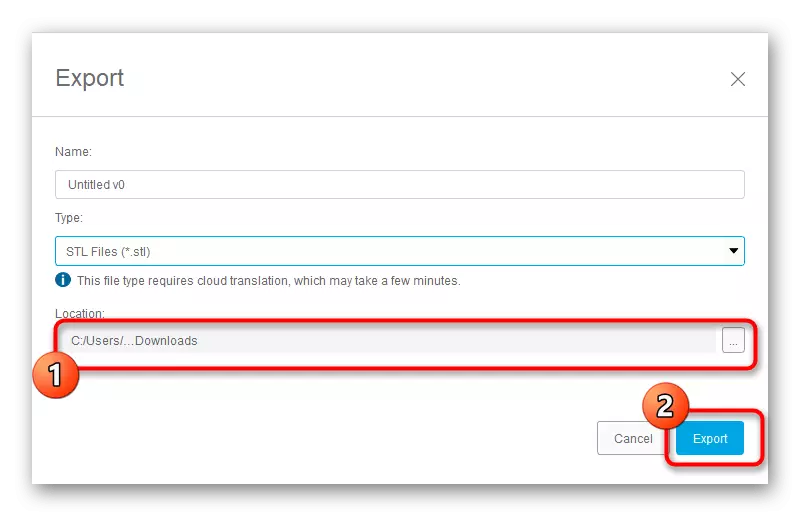
- After that, set the place to save and click on the "EXPORT" button.
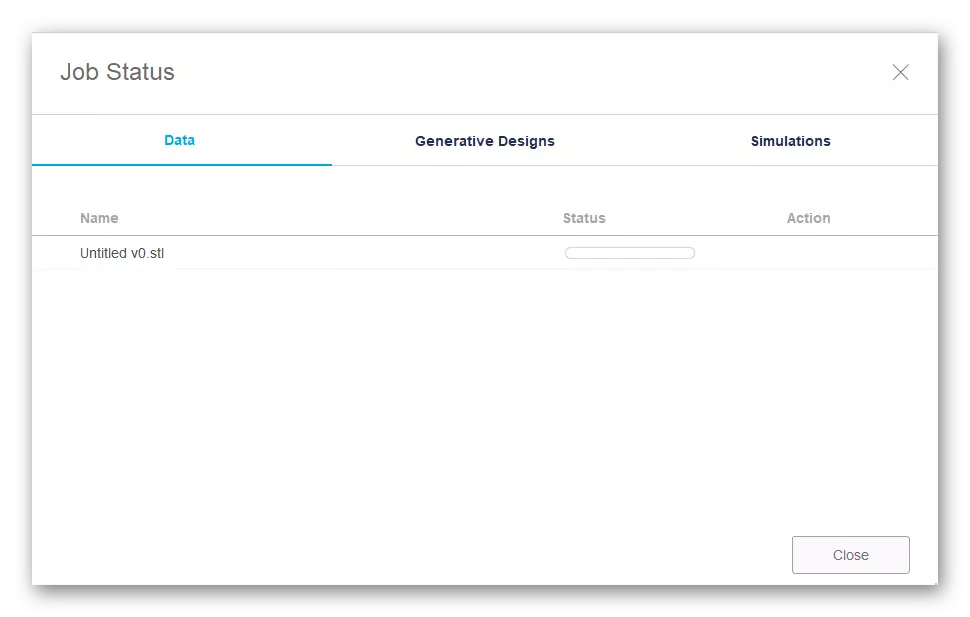
- Expect to end the storage. This process will take literally a few minutes.
If such exports ended with an error, you will need to re-save the project. To do this, click on a special button or use the standard CTRL + S key combination.
Method 3: Sketchup
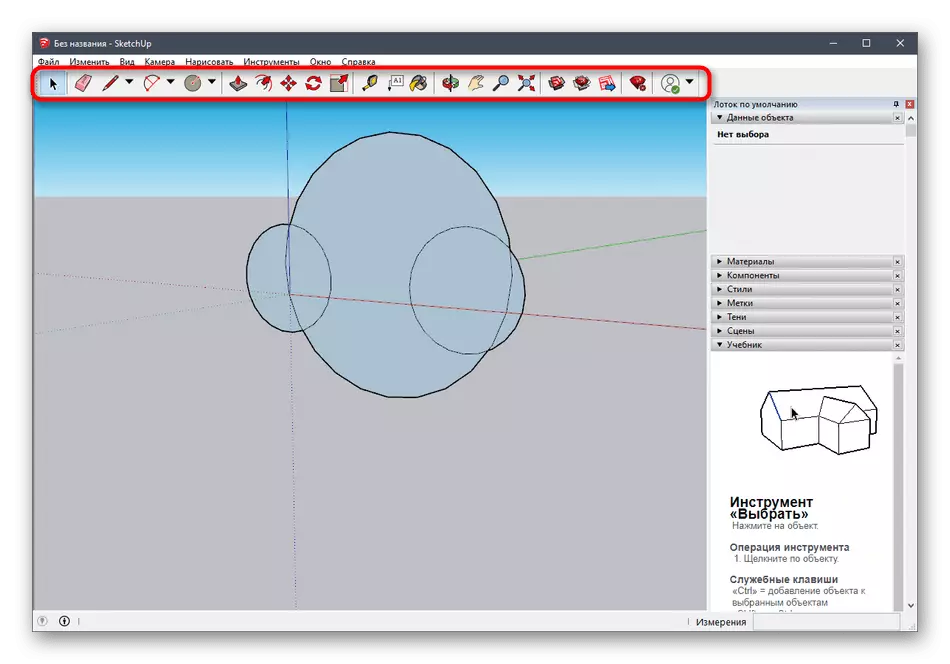
Many users know SketchUp as a means for modeling houses, however, the functionality of this software is significantly wider, so it can be used as a means for working with models when preparing for 3D printing. Sketchup got into our today's list due to easy imports of already ready-made free models for editing and further saving to the desired format. Let's take turns in turn with all aspects of data management.Step 1: first launch and working with models
First, we suggest familiarize yourself with the basic principle of interaction with SketchUp to understand exactly how the models are added and control. Next, we will leave a link and training materials if you want to study this solution in more detail.
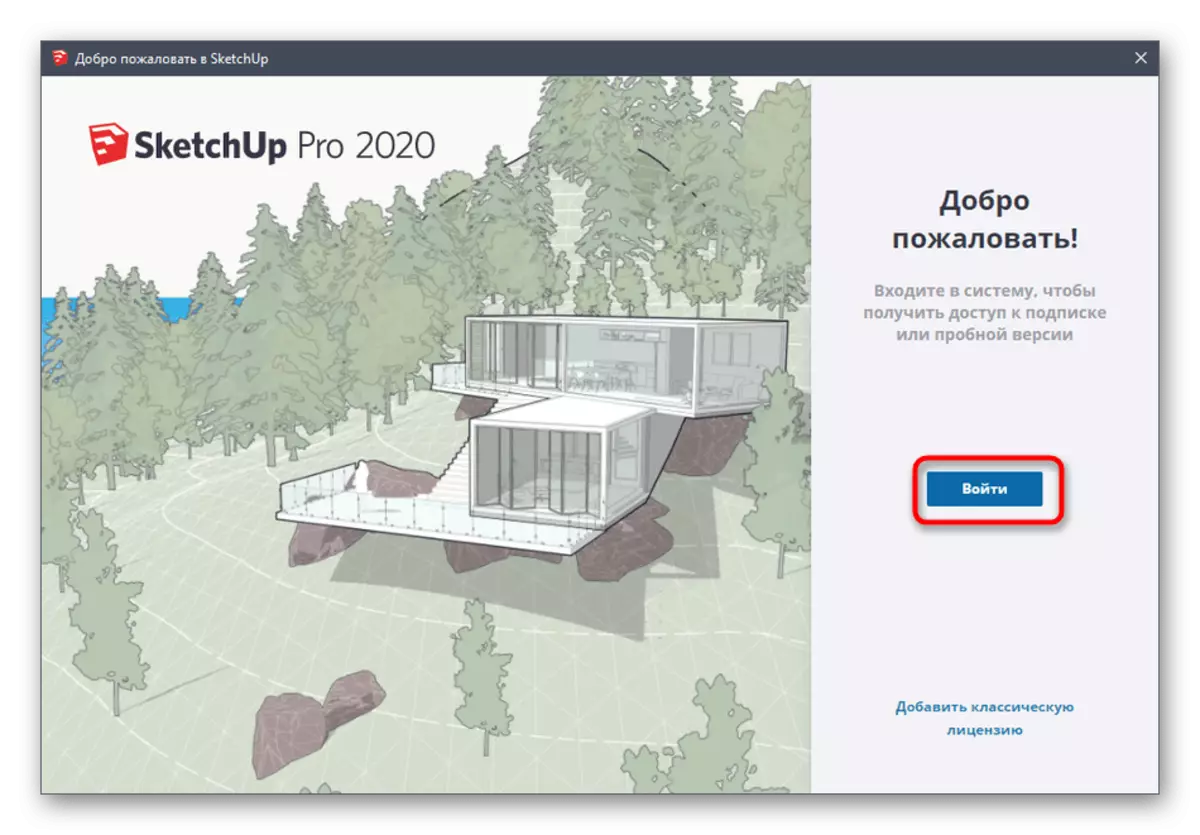
- After installing and running SketchUp, you need to click on the "Login" button to connect the user account. If you started familiarity with the trial period, then from this point on the countdown of days before it is completed.
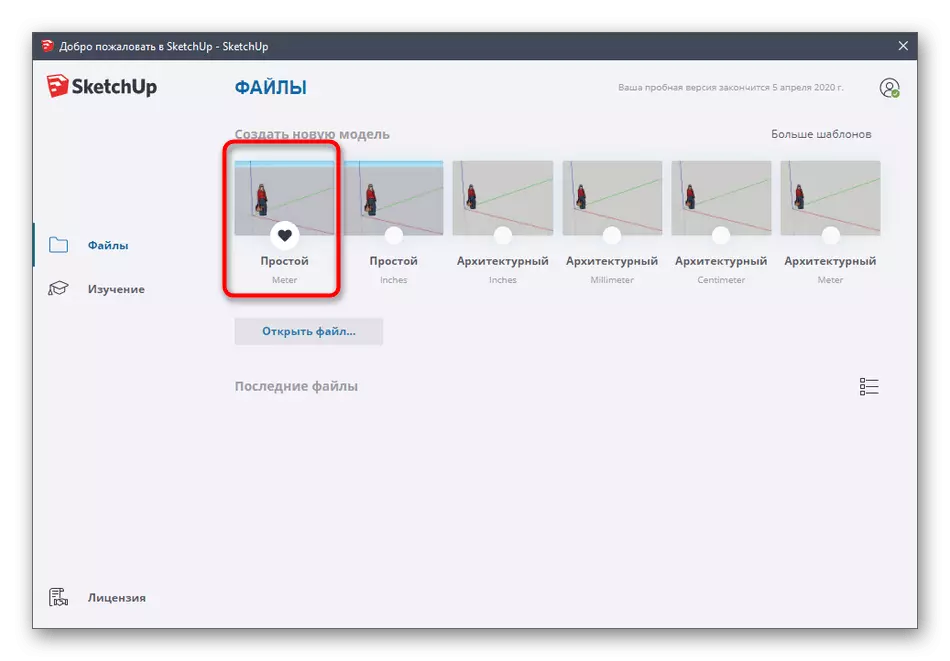
- When the window appears, "Welcome to Sketchup", click on "Simple" to go to the workspace.
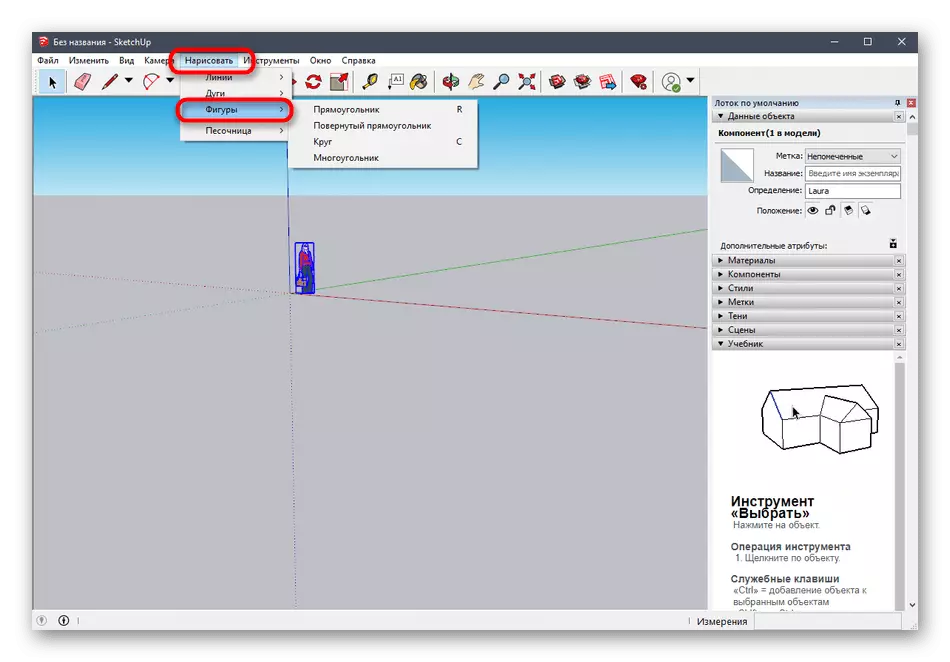
- Drawing figures in this program is carried out in the same way as in other similar solutions. Mouse over the "Draw" section and select an arbitrary shape.
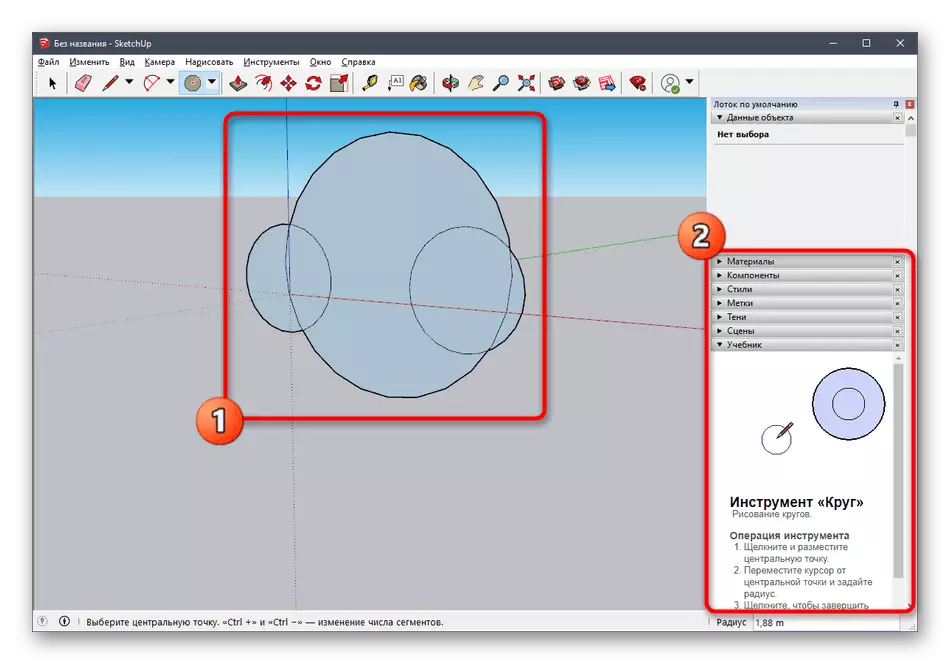
- After that, it is placed on the workspace and at the same time edited its size.
- The remaining buttons on the top panels perform the options of modifiers and are responsible for performing other actions.
As we said earlier, SketchUp developers provide many different training materials on interaction with this application not only in text format, but also as a video on YouTube. You can get acquainted with all this on the official website by using reference below.
Go to reading Sketchup documentation
Step 2: Loading the finished model
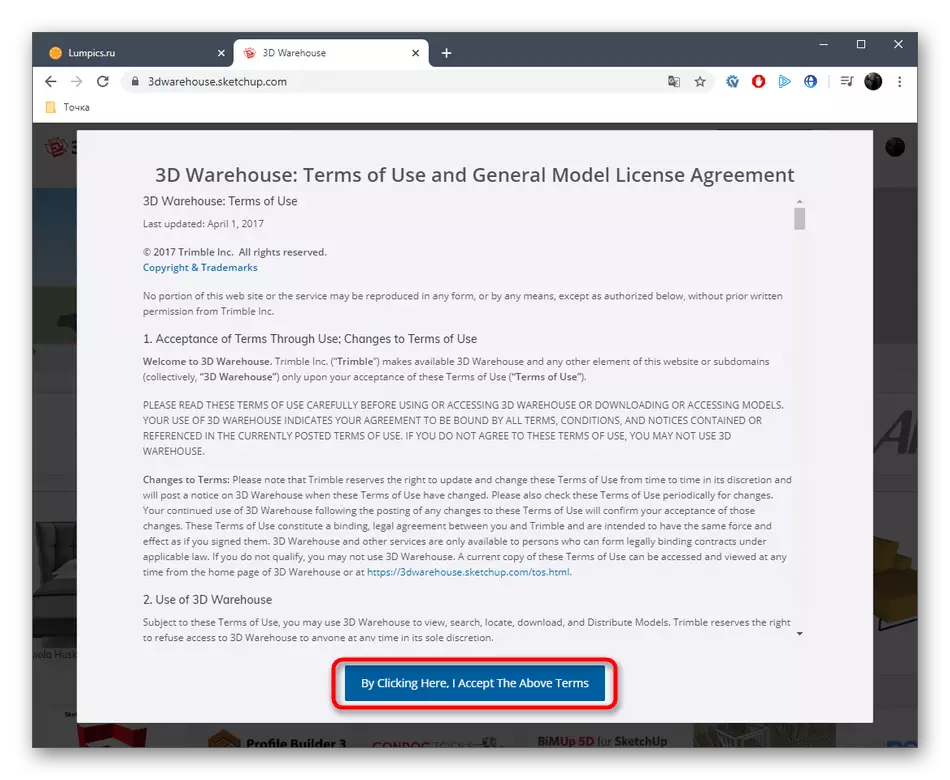
Not all users want to create models independently, which will be sent in the future to print. In such cases, you can download the finished project, edit it, and then exported it in a suitable format. To do this, use the official resource from the Sketchup developers.
Go to download models for Sketchup
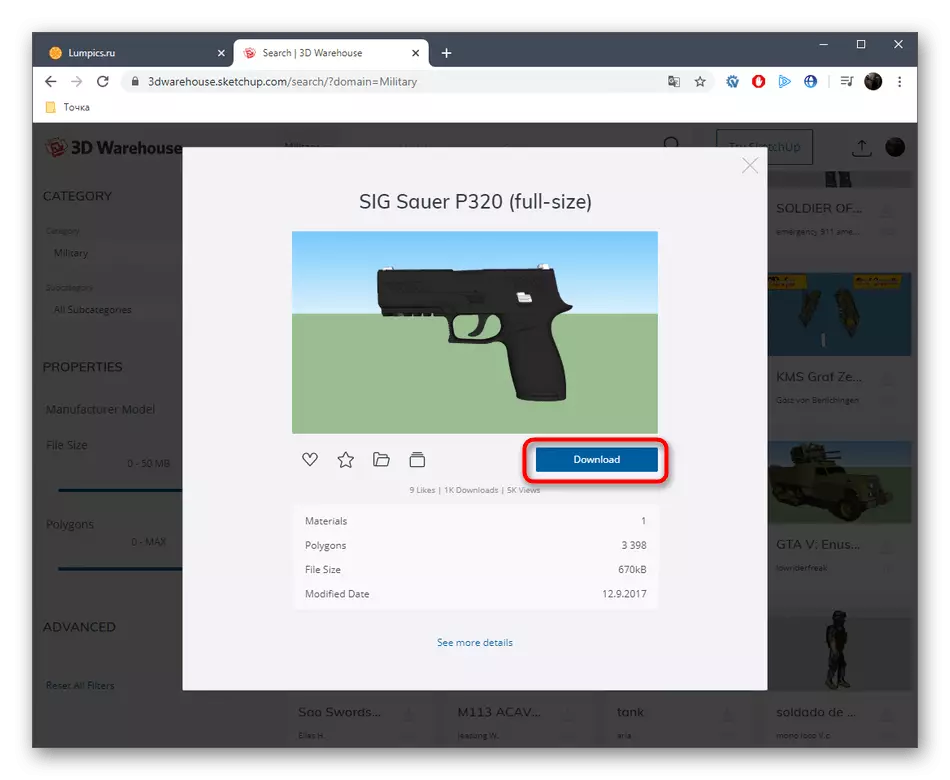
- Use the link above to get to the main page of the site to search for models. There confirm the license agreement to start using.
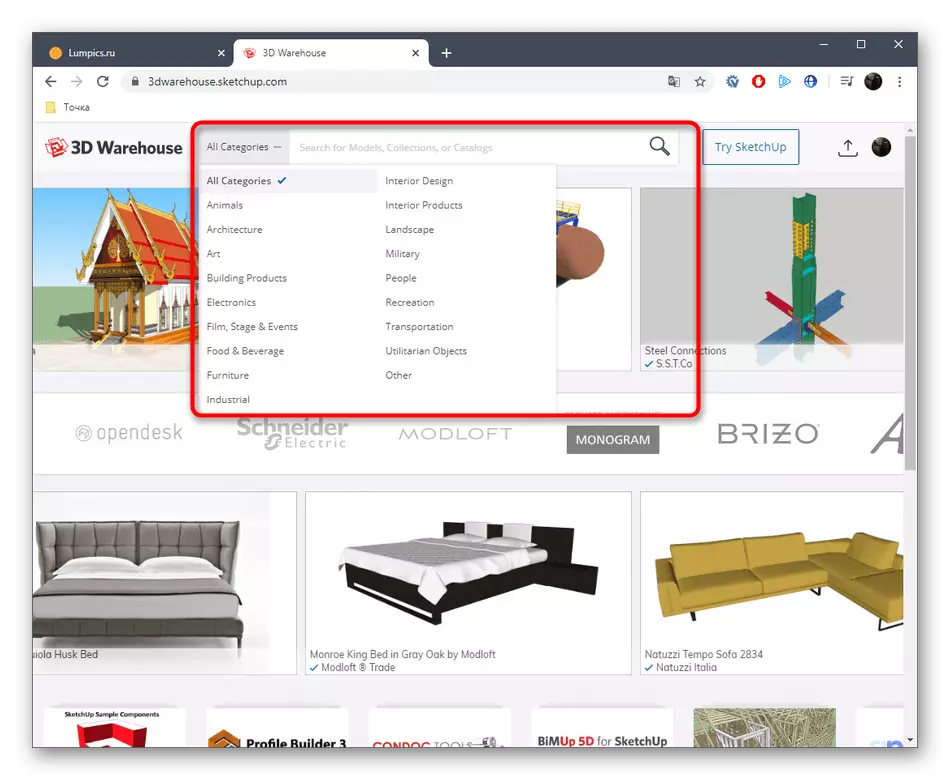
- Next, we propose to use the built-in search function by category to quickly find the appropriate model.
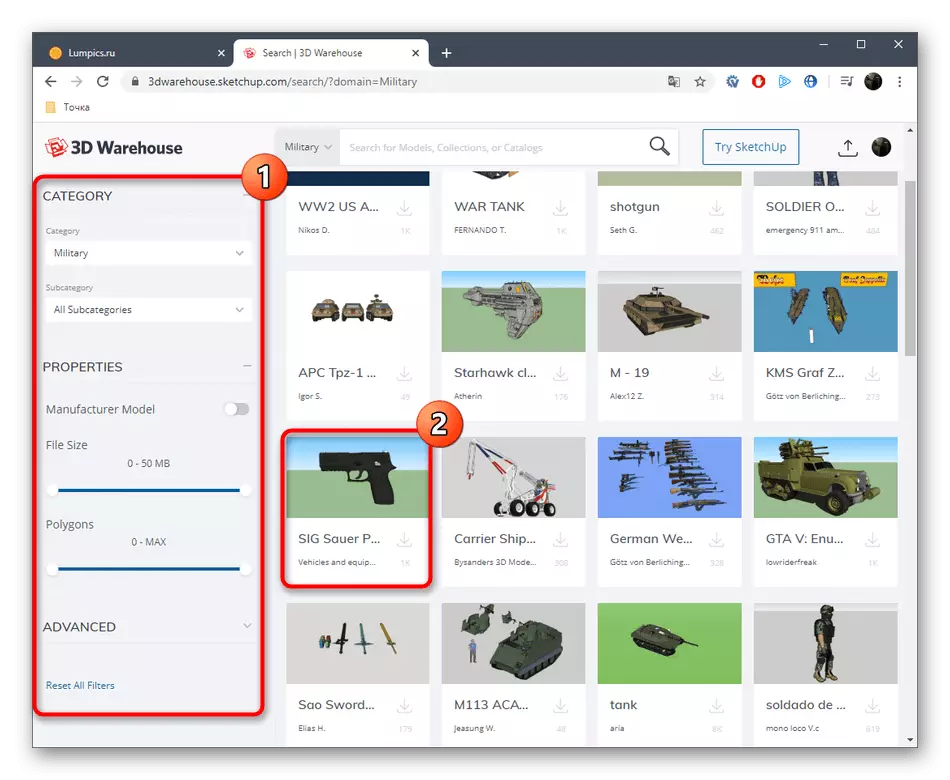
- List find an option, as well as pay attention to additional filters.
- After selecting the model, it remains only to click on "Download".
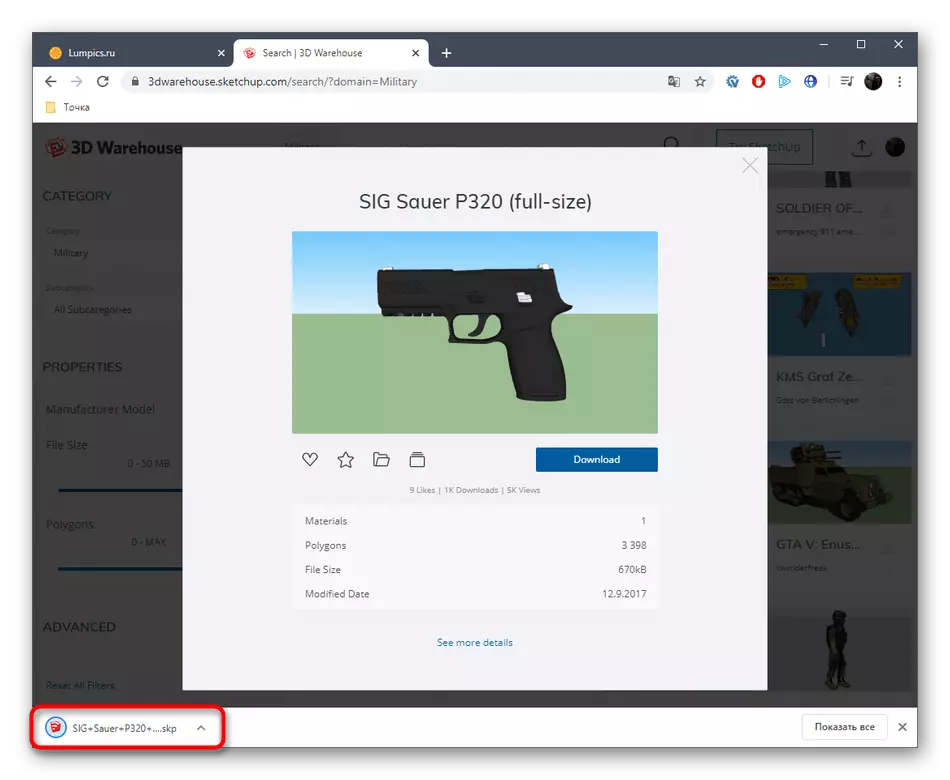
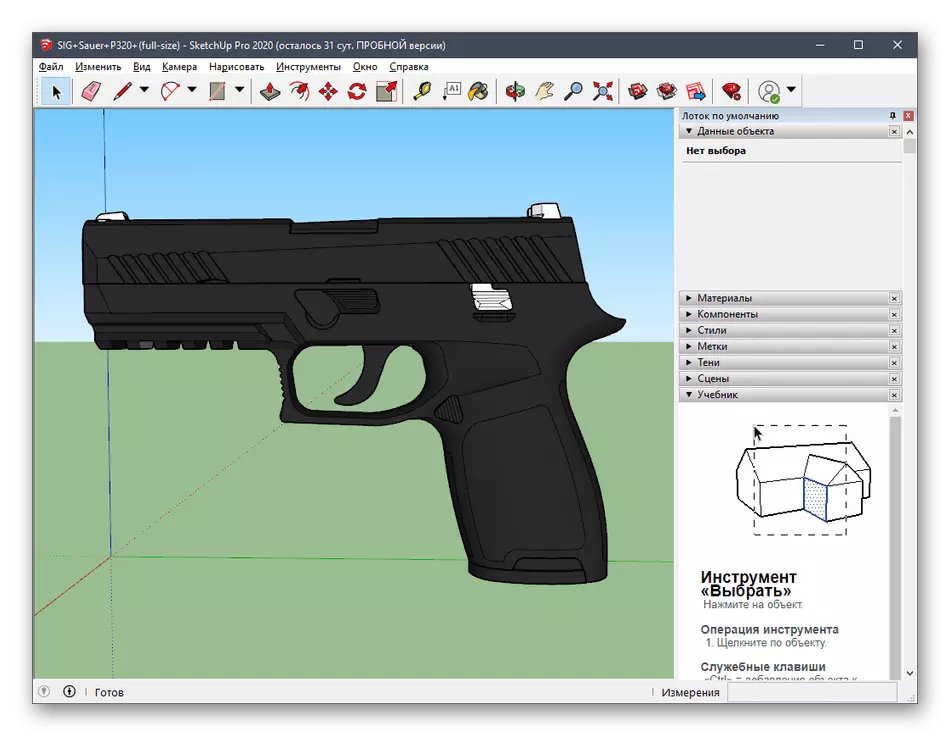
- Run the resulting file through Sketchup.
- View the model and edit it if necessary.
Step 3: Exporting a Finished Project
Finally, it remains only to export a finished project for further printing on the existing device. You already know, in which format you need to save the file, and it is done like this:
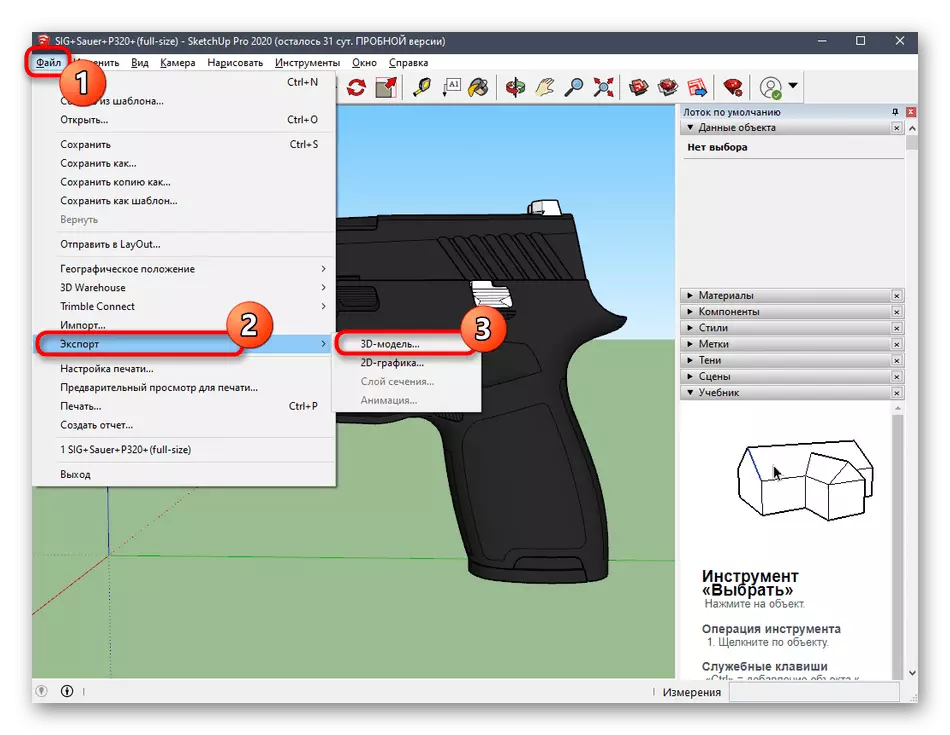
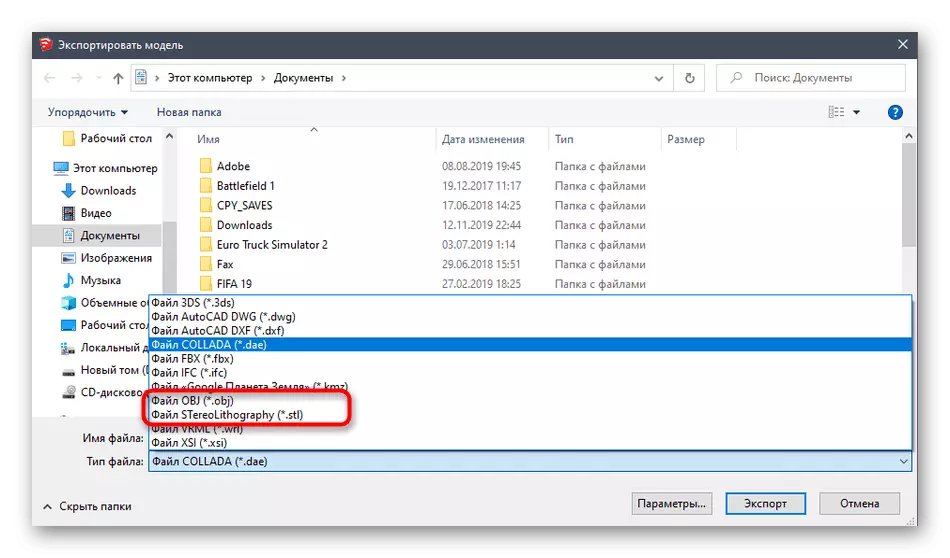
- Move the cursor to the "File" section - "Export" and select "3D model".
- In the conductor window that appears, you are interested in OBJ or STL format.
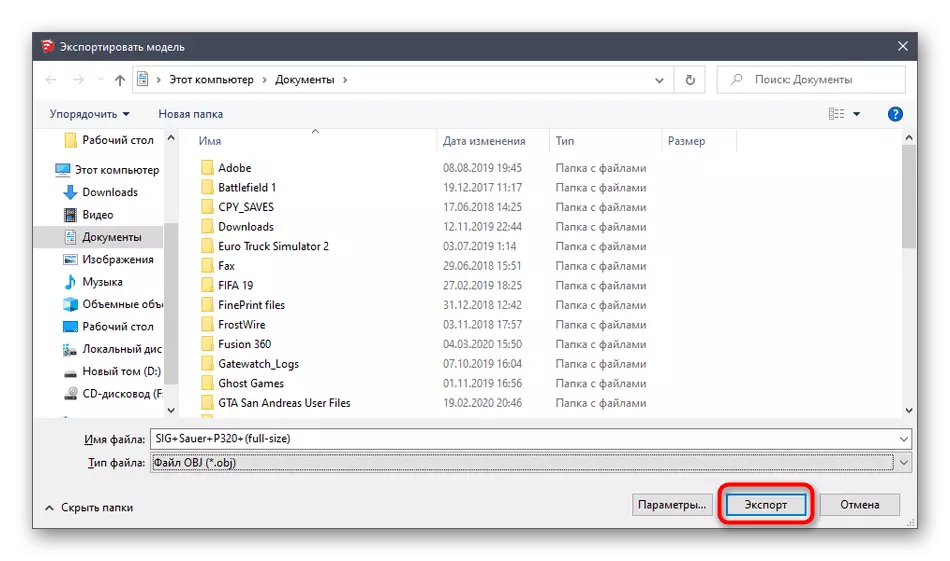
- After selecting the location and format, it remains only to click on "Export".
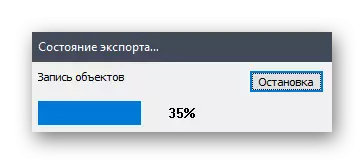
- Export operation will begin, the state of which can be monitored independently.
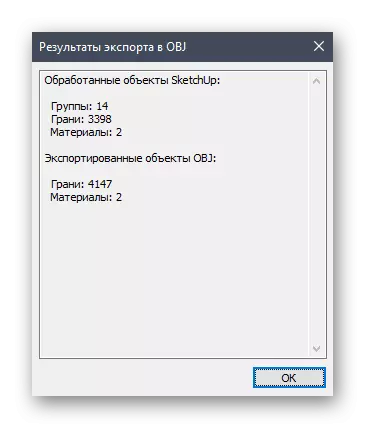
- You will receive information about the results of the procedure and you can switch to the execution of the print task.
Just you learned about three different programs on 3D modeling that are suitable in order to create any task for printing on a three-dimensional printer. There are other similar solutions that allow you to save files in STL or OBJ format. We recommend familiarizing yourself with their list in those situations where the solutions described above are not suitable for you for any reason.
Read more: Programs for 3D modeling
Method 4: Online Services
You can not bypass the parties and specialized online sites that allow you to create a 3D model without loading the application, save it in the desired format or immediately send to print. The functionality of such web services is significantly inferior to a full-fledged software, so they only fit novice users. Let's consider an example of working on such a site.
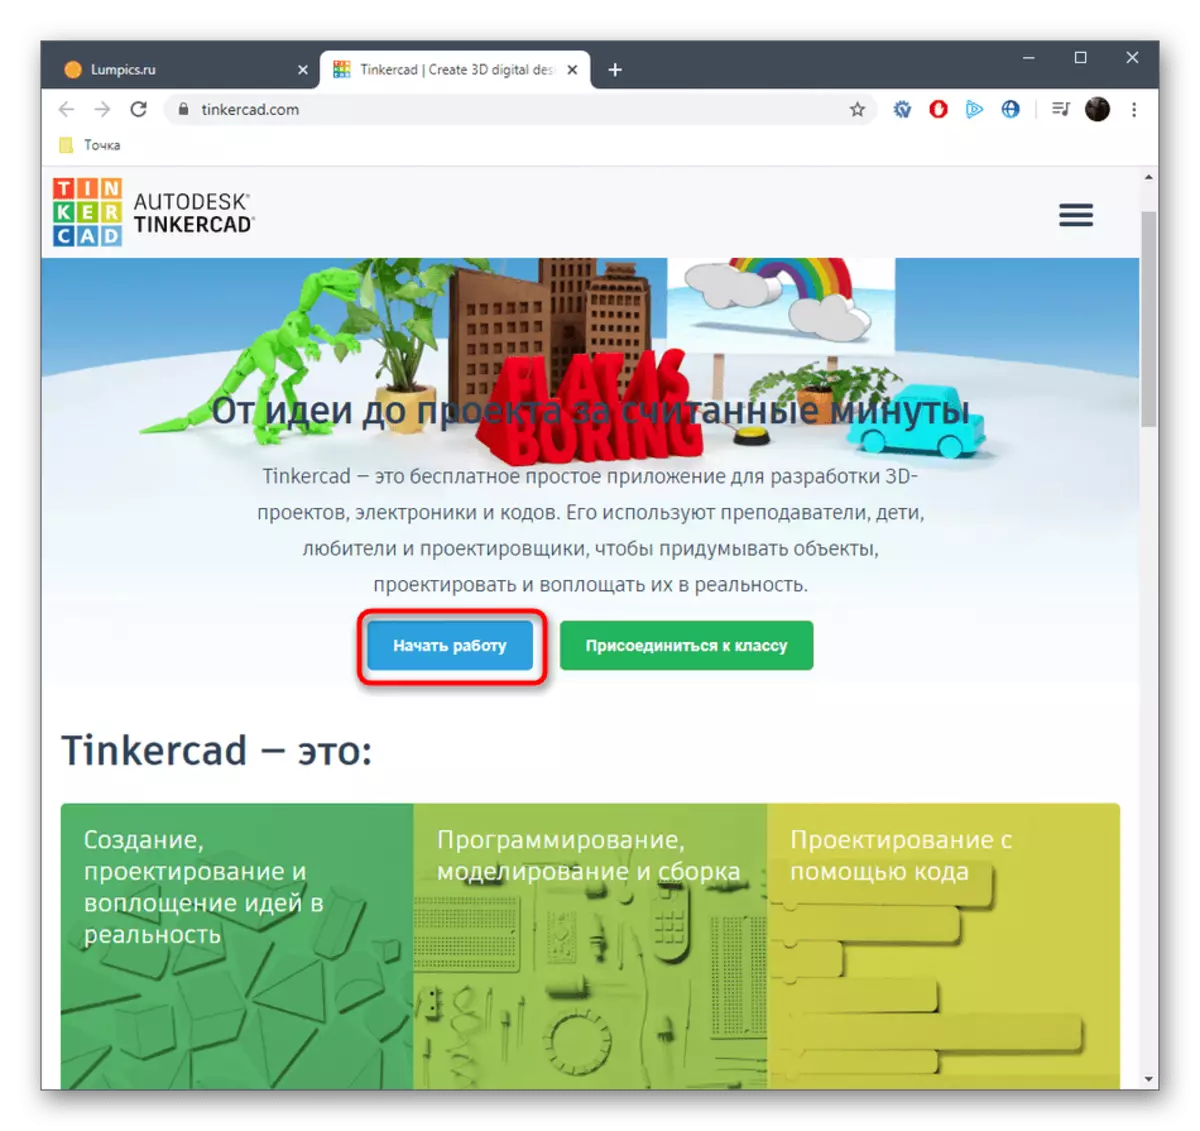
Go to TinkerCAD website
- As an example, we chose TinkerCAD. Click the link above to enter the site where you click on the button "Start work".
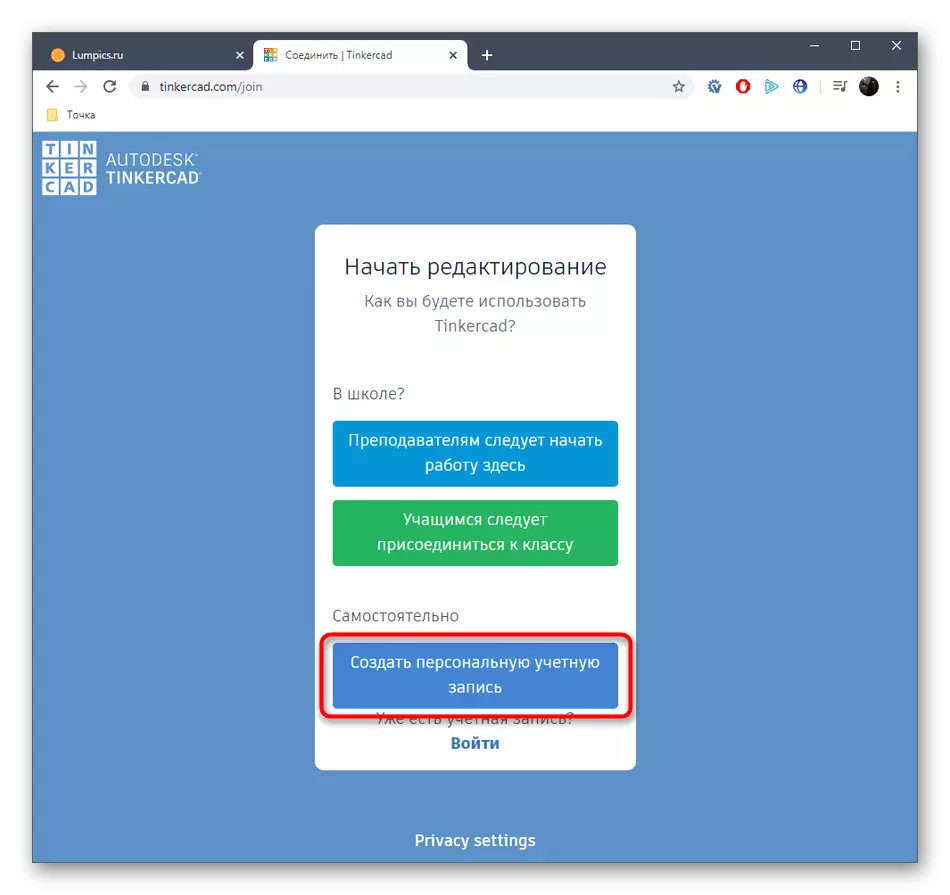
- If the AUTODESK account is missing, it will have to create it to open access to the Personal Account.
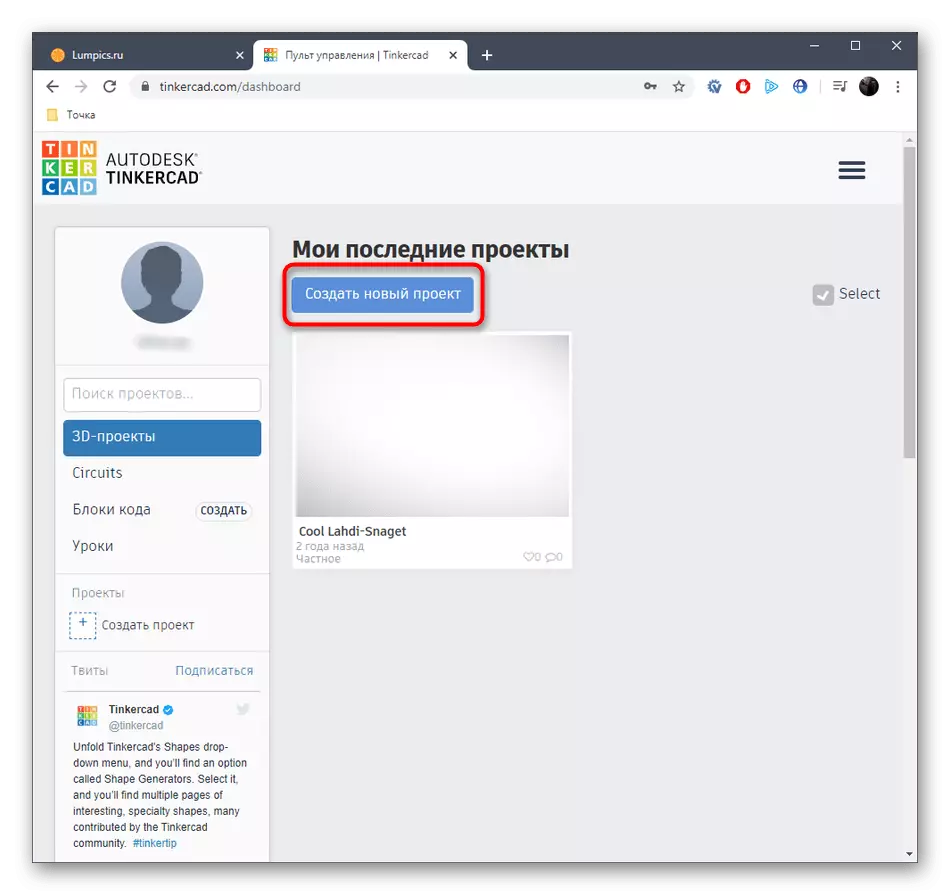
- After that, proceed to creating a new project.
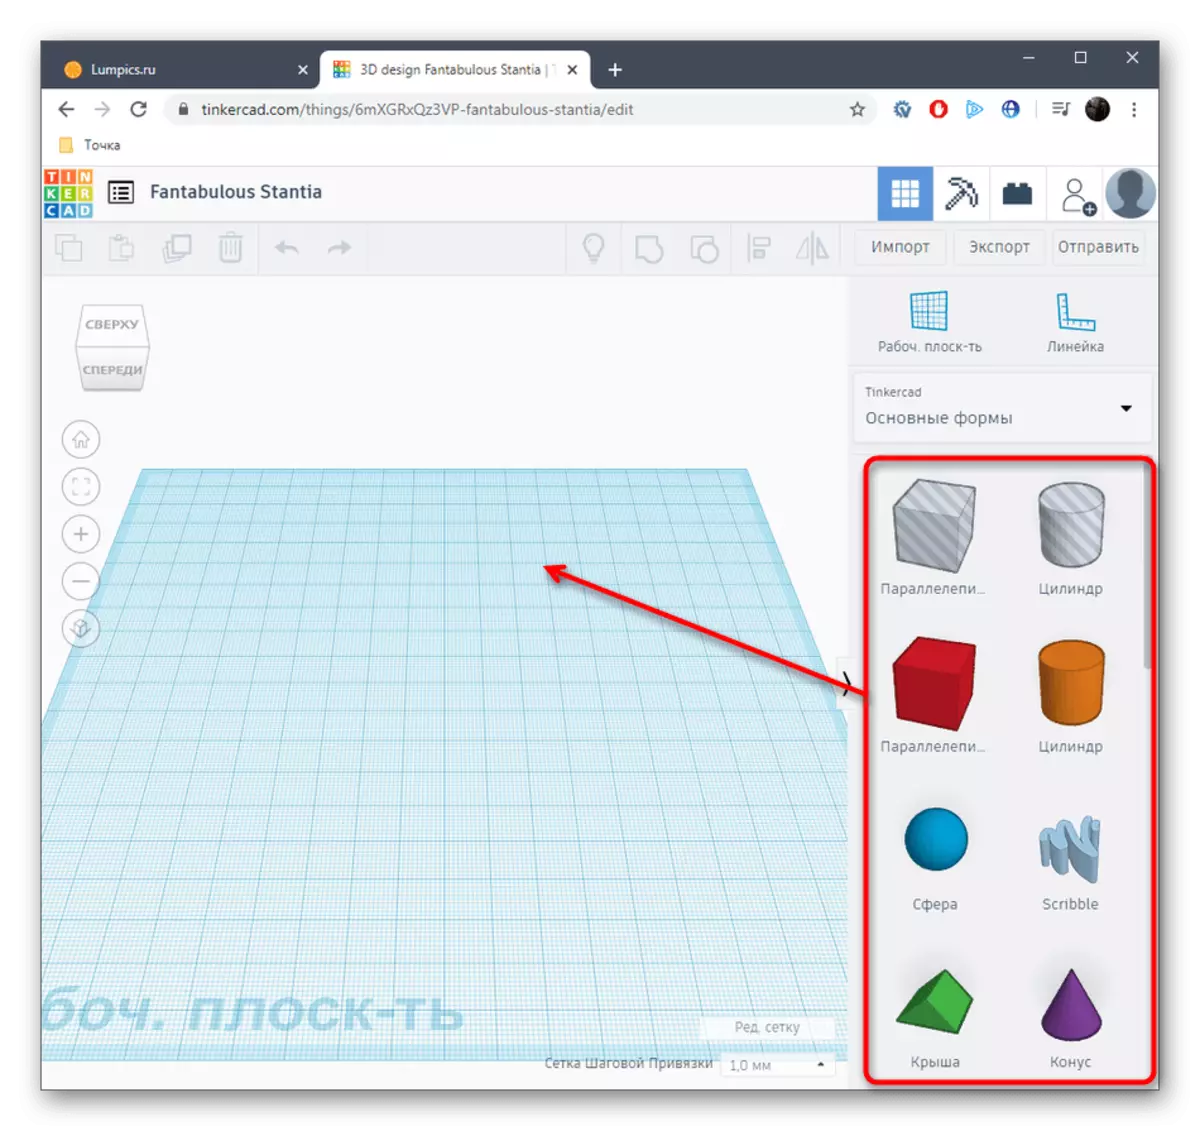
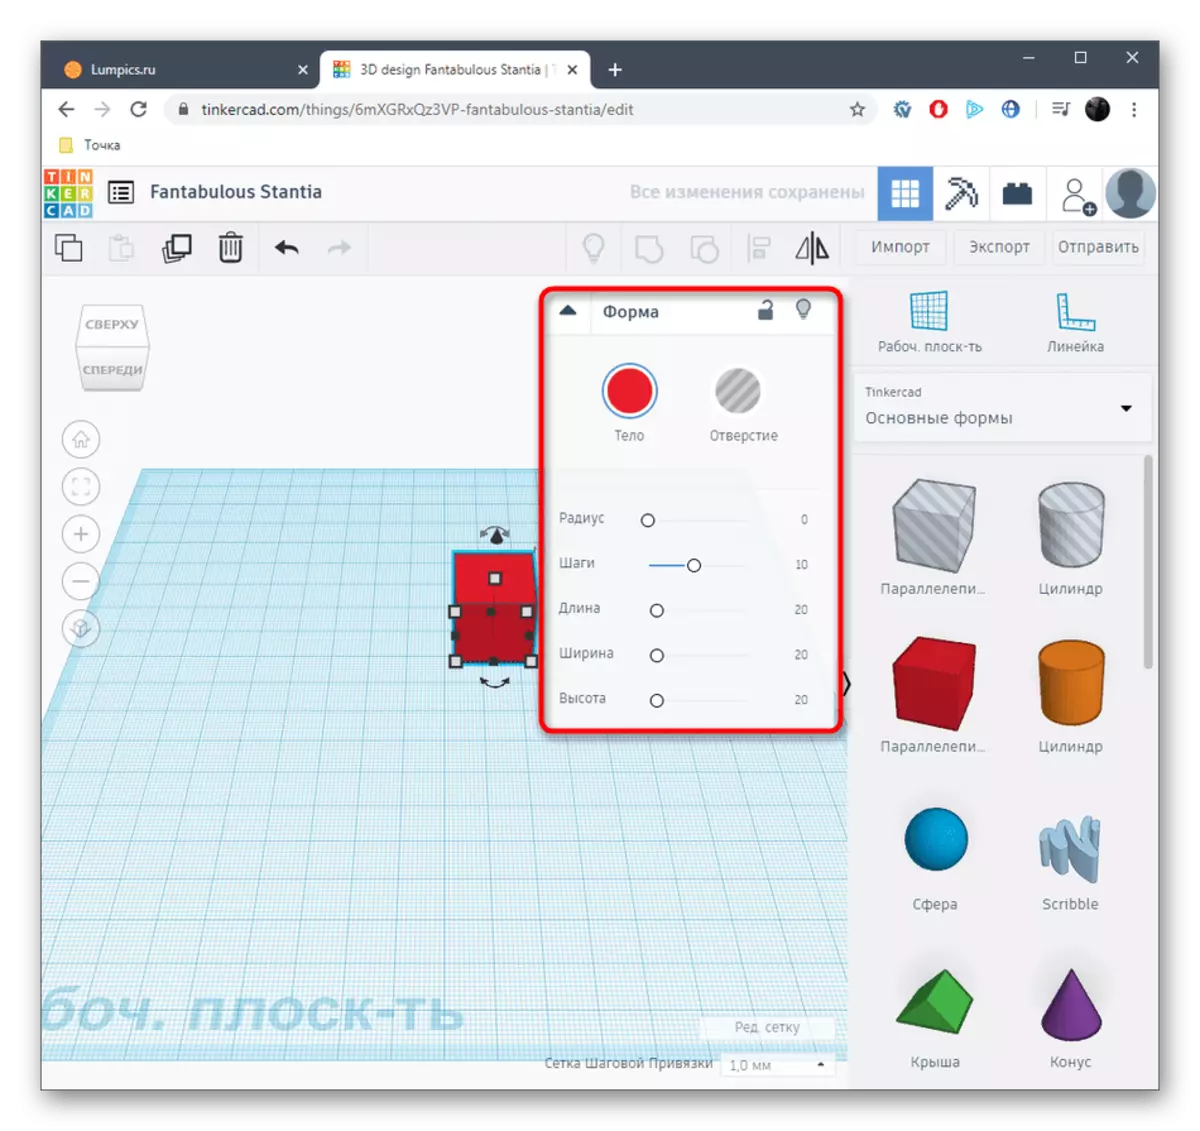
- On the right side of the workspace you see available figures and forms. By dragging, they are added to the plane.
- Then the size of the body and the holes are edited in accordance with the requirements of the user.
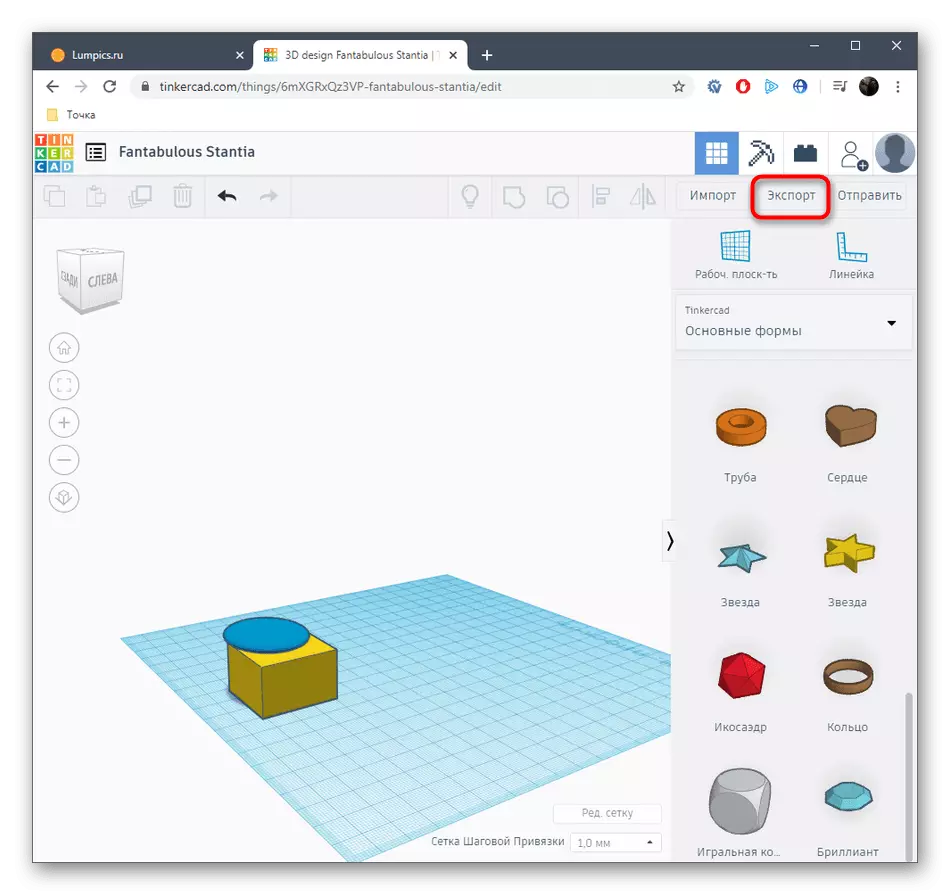
- At the end of work with the project, click on Export.
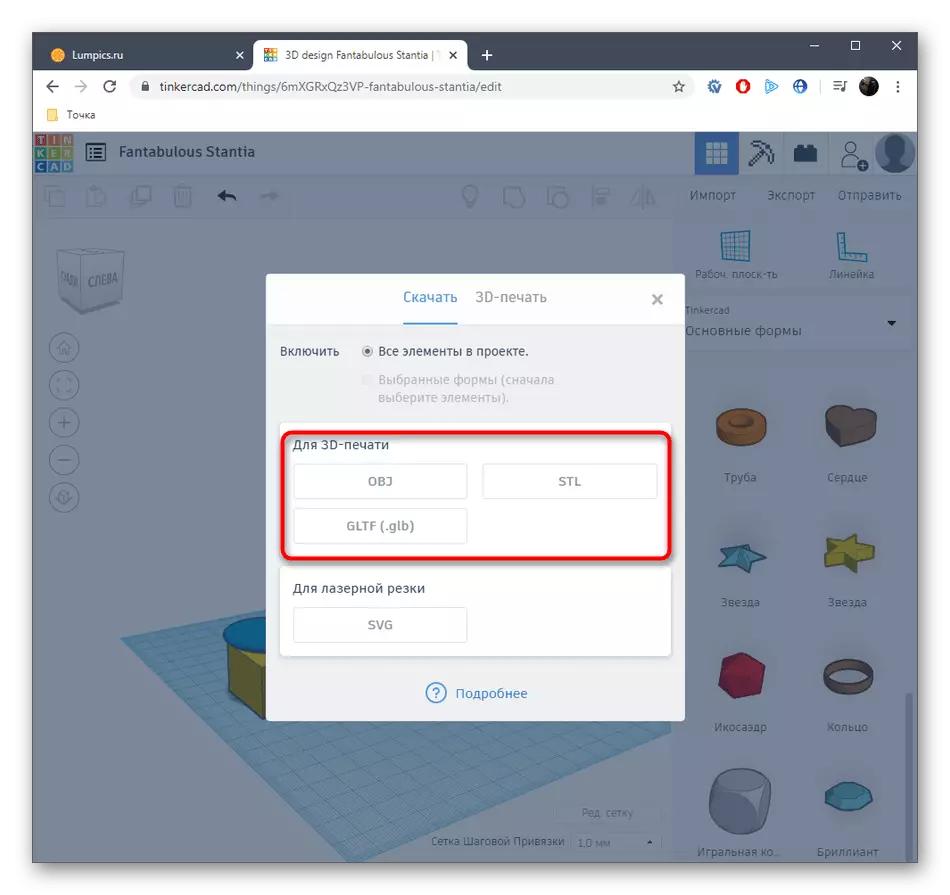
- In a separate window, accessible formats for 3D printing will be displayed.
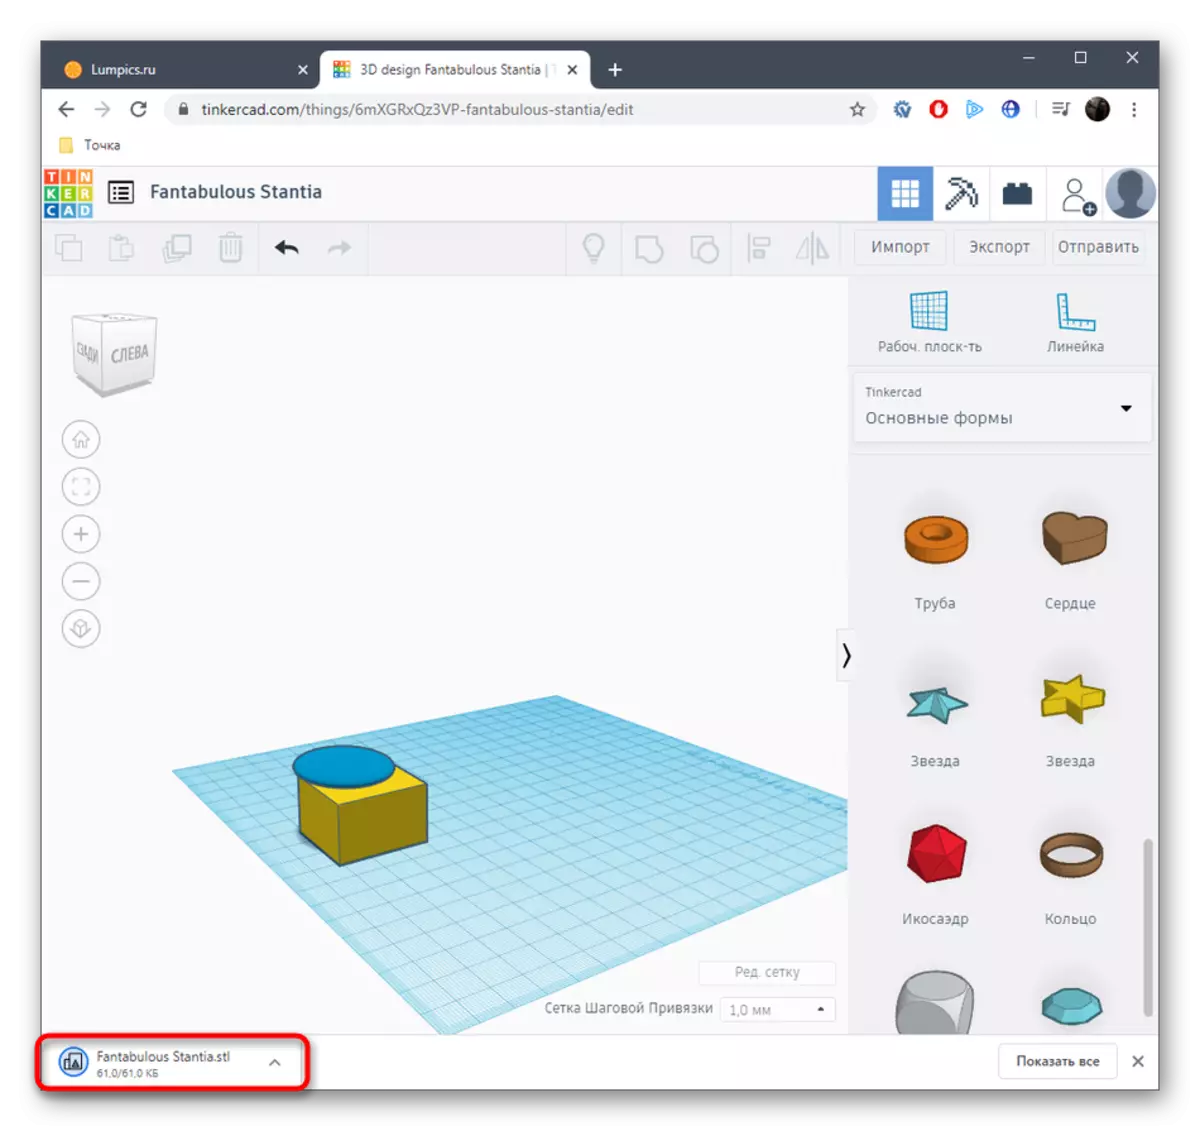
- After its selection, automatic download will begin.
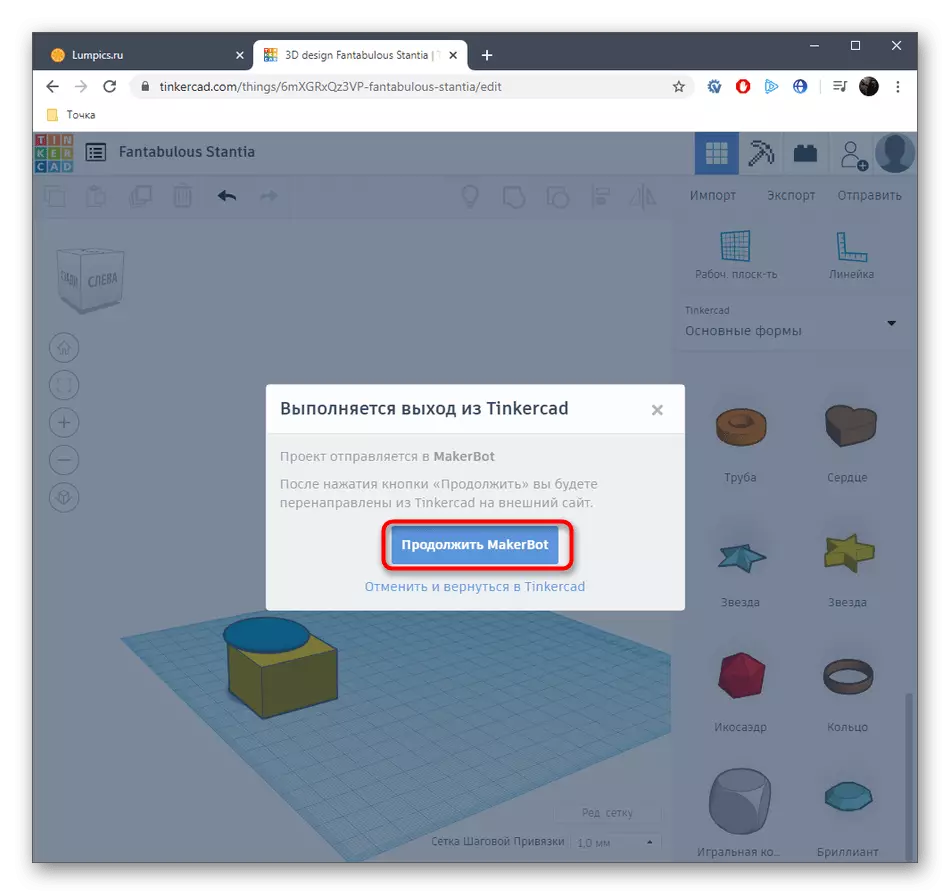
- If you do not want to download the file and you can immediately send the task to print, go to the 3D-Print tab and select the printer there.
- There will be a transition to the external source and then the process of preparing and performing the task will be launched.

We cannot consider absolutely all popular web services on 3D modeling, so we mentioned only one of the best and optimized under 3D printing. If you are interested in this method, just search for sites through the browser to pick up the optimal option.
It was all information about creating a model for printing on a 3D printer, which we wanted to tell in the framework of one manual. Next, you can only download a file with an object in software preparation, connect the printer and start printing.
READ ALSO: 3D printer programs