

As you know, the CENTOS 7 distribution is quite often as an operating system that is installed for managing servers or hosting. However, the standard functionality of the OS does not do here, so almost every administrator faces the need to install additional packages. One of the most popular utilities can be safely considered Webmin. This is a tool implemented in the form of a control panel and allows you to work with servers and hosting. If you are just starting your way in this matter, we offer to explore the two ways presented today to understand exactly how to install this component.
Install Webmin in CentOS 7
Unfortunately, Webmin is missing by default in standard repositories, which makes it much difficult to install the installation procedure especially for beginner users. On the official site there are instructions explaining the principle of adding packages, but they are superficial and will only fit what already has a skill in such installations and knows English. Therefore, we accounted for a detailed guide on this topic with relevant screenshots, describing two available Webmin installation methods in CentOS. Let's start with the first one.Method 1: Install RPM version
First of all, we consider a simpler option that is based on the RPM package from the official website with further installation. This method is suitable even in those situations when you want to add Webmin to another device without connecting to the Internet, after downloading the software for removable media. It looks all the process as follows:
Go to the official Webmin website
- Use the following link to get to the official website of the developers, where immediately move to the "Downloads" section.
- Here you are interested in the link to the RPM package. Right-click on it and copy through the context menu.
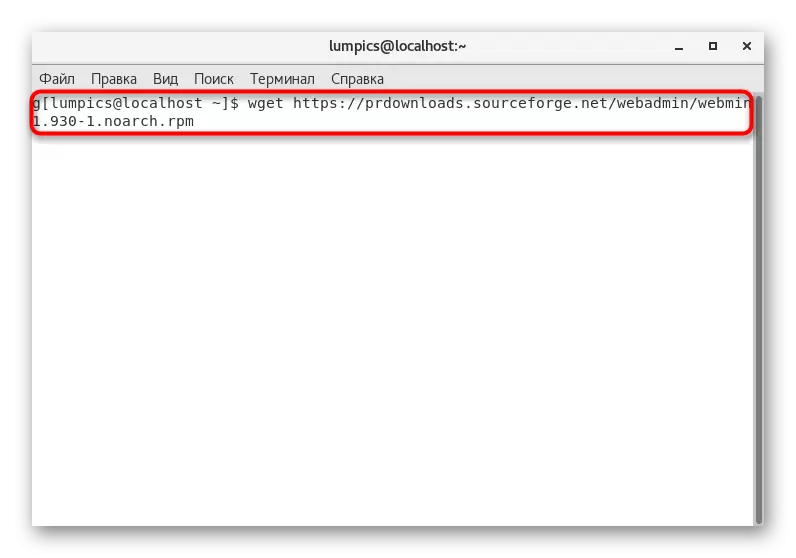
- You can run the "Terminal", since all other actions will be made through it. First we get the package itself by entering the WGET + command copied earlier link.
- Downloading will take a certain amount of time, and the progress will be displayed at the bottom. During this, do not close the console so as not to interrupt the operation.
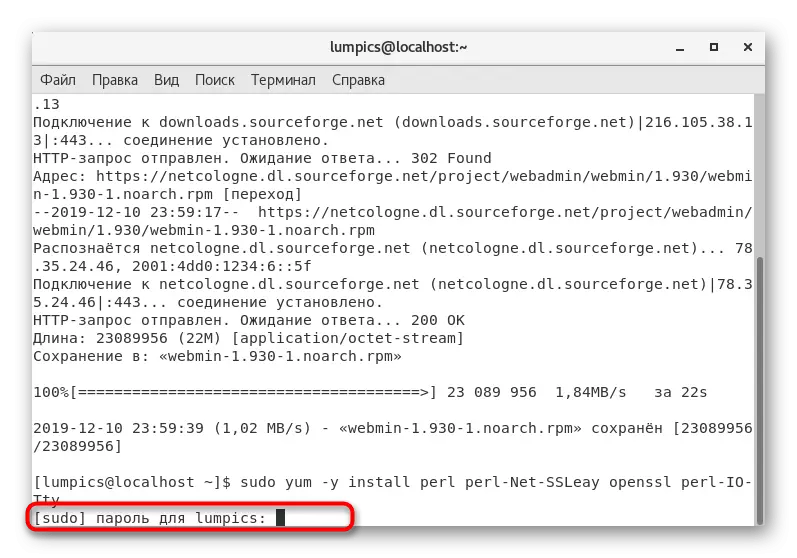
- Before starting the main procedure for installing the received package, you must check the dependencies and correct them. This will help the Sudo Yum-SSleay OpenSSL Perl-Io-Tty team.
- It is executed on behalf of the superuser, and therefore, to confirm you have to enter a password, the characters of which are not displayed in the string when writing.
- You will be notified of the successful completion of the dependency installation, and can be processed to the following action.
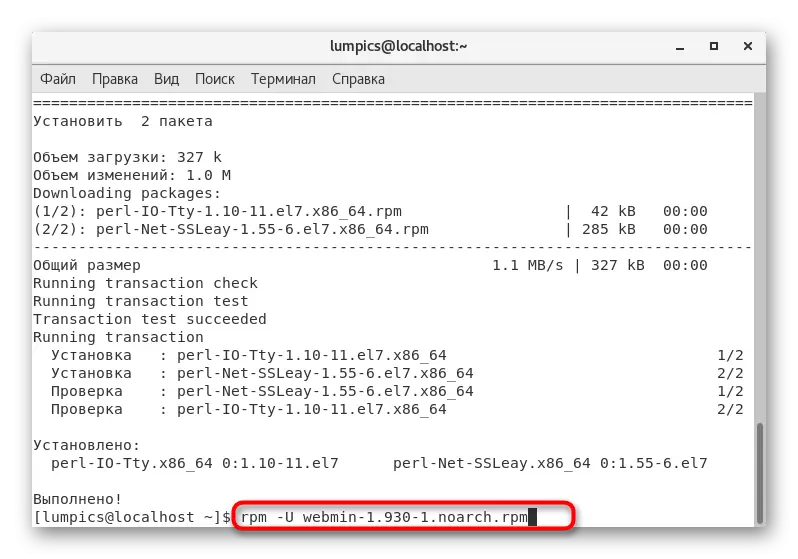
- Use the RPM -U Webmin-1.930-1.noarch.rpm command to set the previously received Package with Webin, replacing the name in the name of the already downloaded package.
- This process will take the most time, so you have to be patient.
- At the end you will be notified that the installation has completed successfully, and the link for authorization and standard password will be provided.
- Insert this link to the browser and when you go, accept all the risks.
- Use standard login and password to authorize to make sure that the control panel is correct.


The execution of this method takes from the strength of ten minutes, and is also not particularly difficult, but it simply does not suit some users due to different circumstances. Especially for such cases, we prepared an alperient option.
Method 2: Adding Yum repository
As you know, Yum is a standard CENTOS batch manager. It can quickly install only those programs that have been added to the repository list stored in a special folder. Webmin is missing there, but nothing prevents us from adding it yourself, and then make installation. An example of such an installation is just described on the official website, and it looks in detail so:
- Further actions will have to be produced through a text editor. You can use absolutely any convenient tool, and we will focus on simple Nano. If it has not yet been added to your distribution, use the Sudo Yum Install Nano command.
- Confirm your intention to add a package by specifying the superuser password.
- Agree with a warning about installing a new package. If Nano has already been added to the OS, the message "Do nothing" will appear.
- Now create a file where information about the package for download will be stored. This is done through sudo nano /etc/yum.repos.d/webmin.repo.
- When you open a text editor, you will immediately be notified that this is a new file. Do not be scared, because it should be.
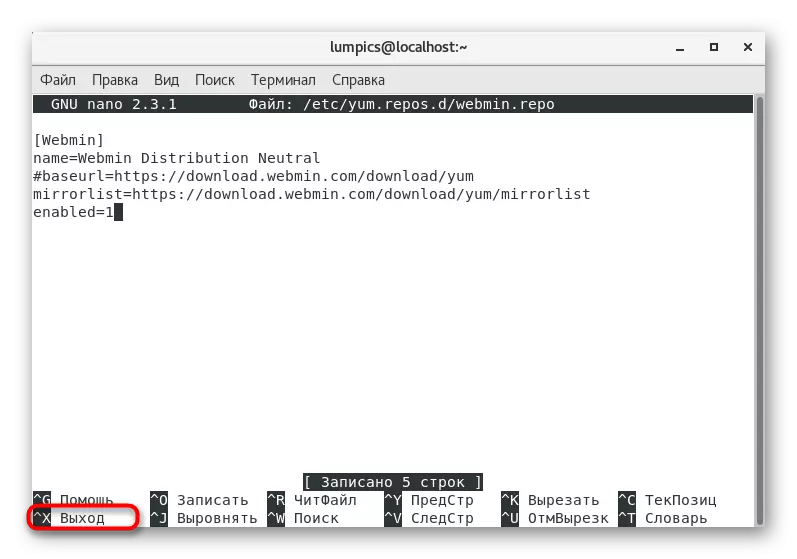
- Insert the contained below.
[Webmin]
Name = Webmin Distribution Neutral
# BaseURL = https: //download.webmin.com/download/yum
MirrorList = https: //download.webmin.com/download/yum/mirrorList
Enabled = 1.
- After that, press Ctrl + O to save the changes.
- Do not change the file name, but simply press the ENTER key.
- You can then boldly leave the text editor by pressing the Ctrl + X combination.
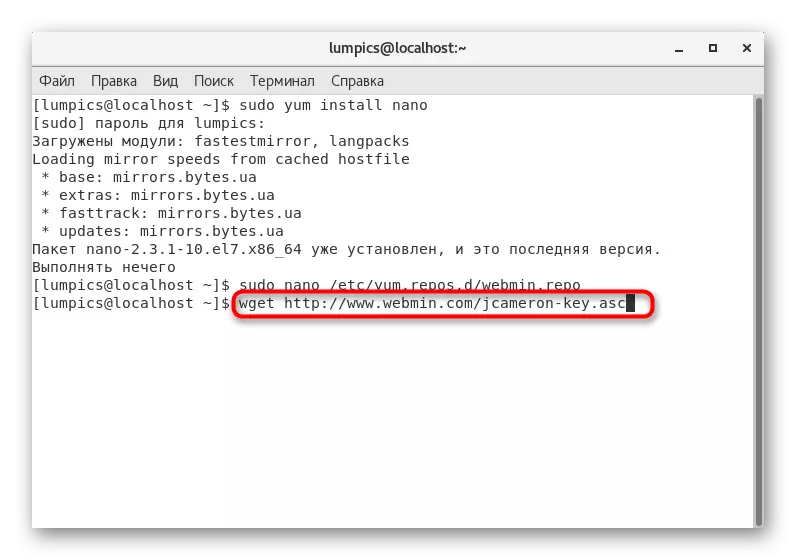
- The next step will be the receipt of a public key that will be required for the correct installation of the packages. First, download it through the wget http://www.webmin.com/jcameron-key.asc.
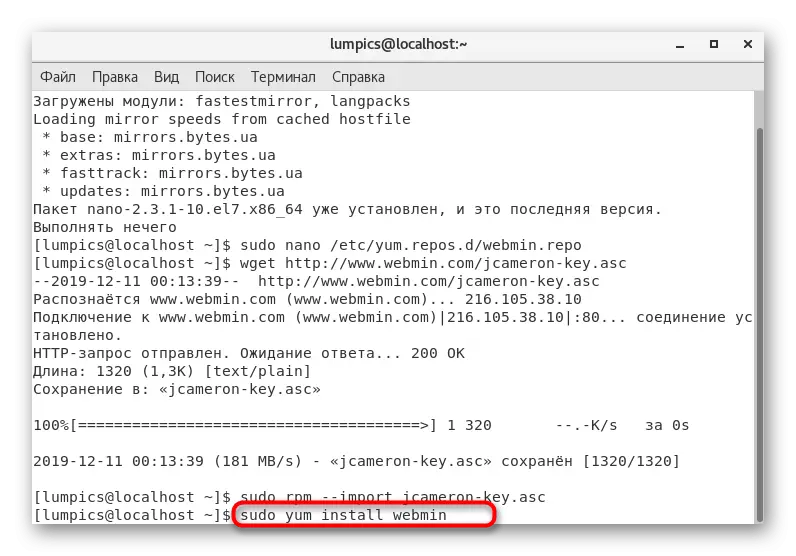
- After running the Sudo RPM --import jcameron-key.asc command to import it into the system.
- It remains only to register Sudo Yum Install Webmin to start the installation of the control panel under consideration today.


As you can see, the implementation of this method turned out to be a bit more complicated first, but now you can repeat Sudo Yum Install Webmin at any time to immediately install the program when it is random or intentionally deleted. The remaining actions do not need to be performed, since the configuration is preserved in the OS.
Start Server After Installation
Not always Webmin automatically starts after installation, which can be associated with different factors. If this did not happen, the transition to the test site will be impossible, so you have to activate the service yourself by entering the SERVICE Webmin Start command in the Terminal.

However, consider the fact that this control panel is not added to the autoload immediately after installation, so when creating a new session, it will be disabled. If you want to avoid this, simply write one line Chkconfig Webmin ON and activate it.

You are familiar with two ways to install Webmin in CentOS 7. It remains only to choose the optimal option for yourself and follow the instructions that the entire process is successful.