

To administering your site on a local server, you need to install a set of additional components that organize a single system that is planned simultaneously and without any errors. One of the main components of such a structure can be considered a web server. Users most often prefer to use Apache because of its simplicity and flexibility of the setup, as well as the possibility of connecting external modules. However, the installation and main configuration - the process is not fast and even difficult for some, so we would like to tell about it in more detail, taking the CENTOS 7 distribution.
Install Apache in CentOS 7
The structure of today's article will be phased, so that even the most novice user understood exactly how the installation and preparation of the web server under consideration is carried out. Immediately clarify that we do not provide manuals for the detailed adjustment of Apache, as it depends on the user's personal preferences and the existing other important components. For this information, we always advise you to turn to official documentation.Step 1: Preparation and Installation
Let's start immediately from installing components responsible for the correctness of Apache and add all subsidiary services. We offer the repository of the distribution to use the distribution repository for this, since the last stable version of the software is always laid out, and the installation process itself does not take much time.
- Run the "Terminal", for example, through the icon in the "Favorites" section.
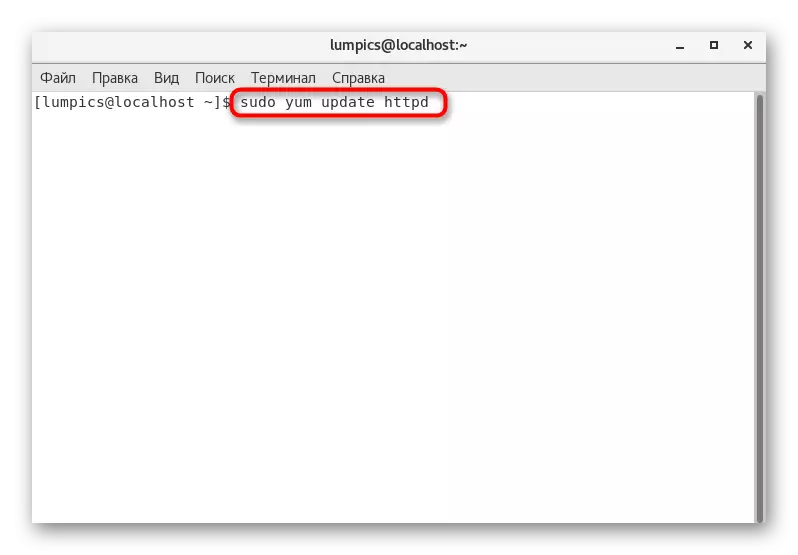
- If an Apache has already been installed on the computer or you accidentally deleted one of its components, simply use the Sudo Yum Update HTTPD command by activating it by pressing the Enter key.
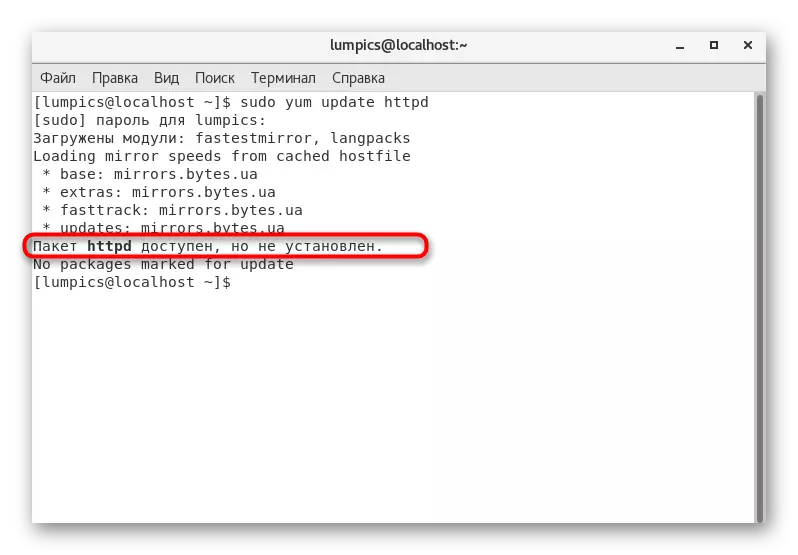
- This action is performed on behalf of the superuser, which means you have to confirm it by specifying a password from this account.
- If updates are installed, you will be notified of this, and if the packet is missing, then another message of the appropriate character will appear.
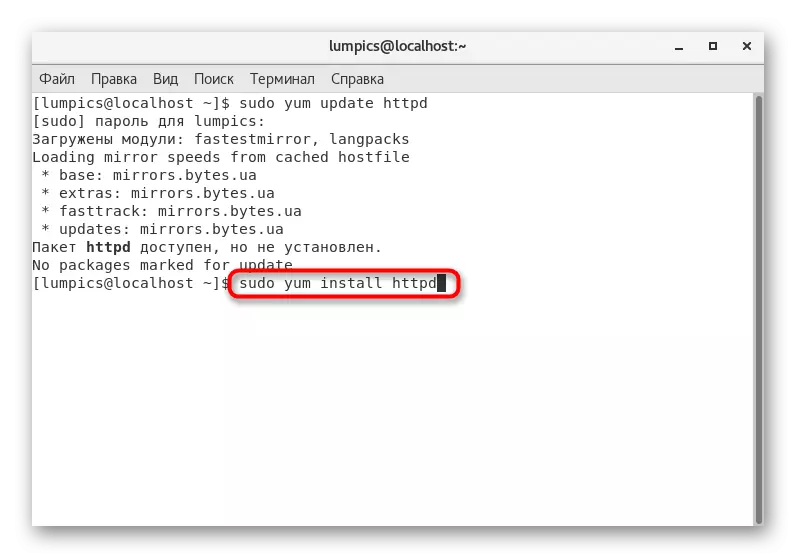
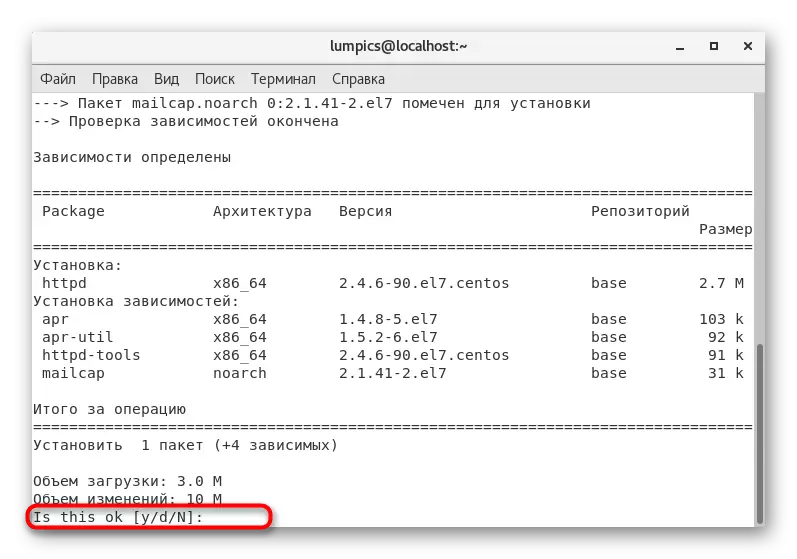
- Now let's talk about the installation of Apache from scratch. As we have already said, we will use official repository to use for this, therefore, you need to enter the Sudo Yum Install command HTTPD.
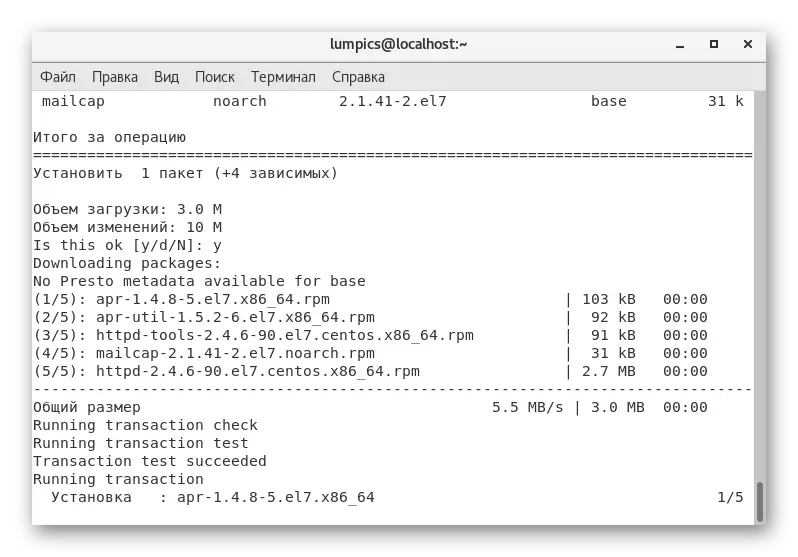
- When notifying the installation of the package, confirm it by selecting the Y version.
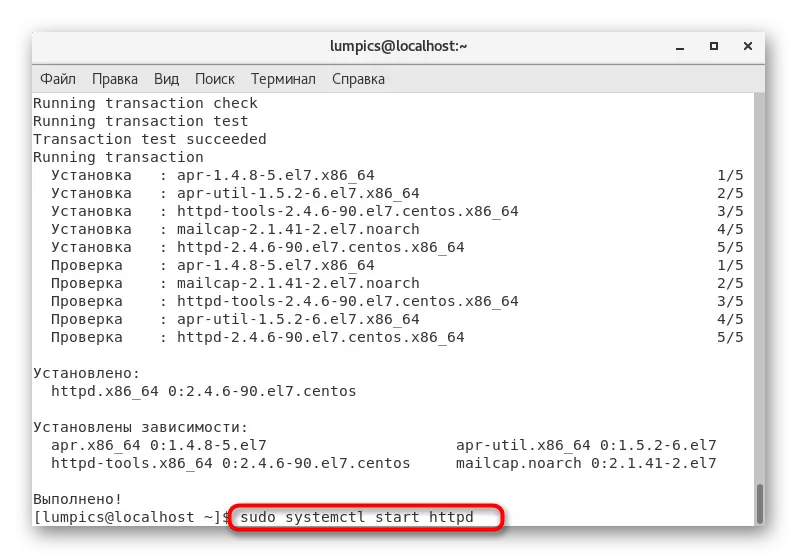
- Expect the installation completion, while you do not close the current terminal session so as not to interrupt the process.
- At the end, it is immediately recommended to start a web server that can be done via Sudo SystemCTL Start HTTPD.
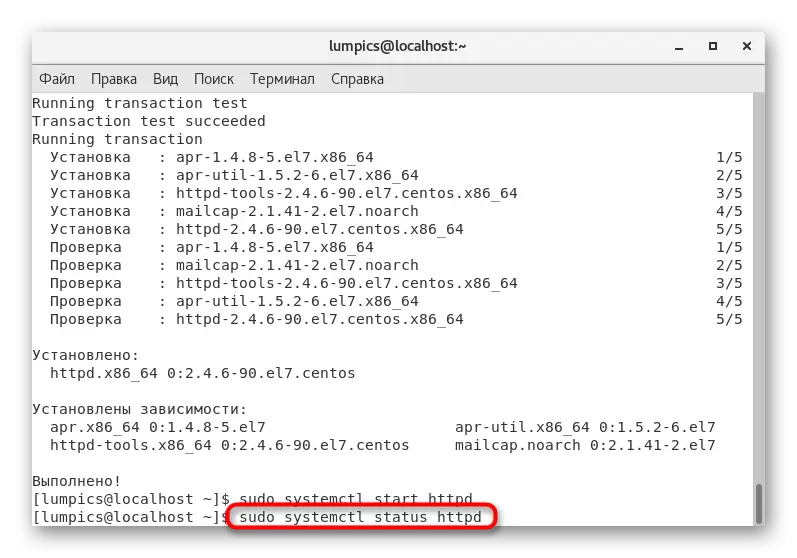
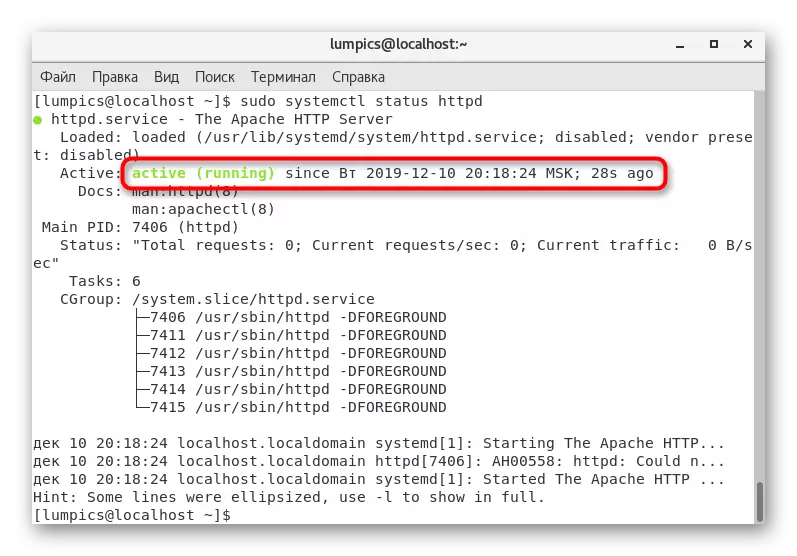
- Check the current status through the Sudo SystemCTL STATUS HTTPD.
- Notification "Active: Active (Running)" implies that now Apache is functioning correctly and you can proceed to its further configuration.

It was all that you need to know about the basic procedure for installing a web server. As you can see, nothing complicated in it. Next, we want to talk about interaction with the main services and the installation of the main configuration, and you remains to decide whether it is worth exploring the instructions or knowledge of configuration and management already exist.
Step 2: Apache Management
The web server in CENTOS, as in other distributions, functions in the background in the form of service. By default, it is added to the autoload, and we have already told about activation and validation of the state earlier. If you have a desire to manage this tool, it is carried out like this:
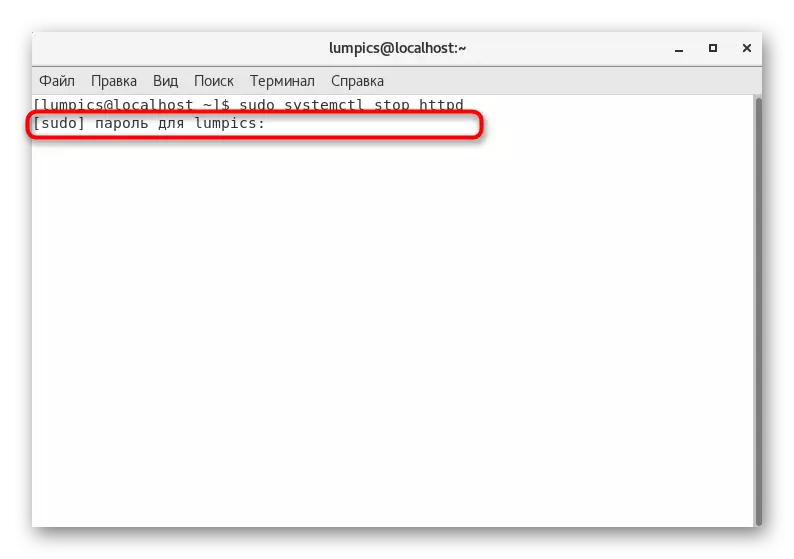
- Enter the Sudo SystemCTL STOP HTTPD to complete Apache.
- This and all subsequent commands will be executed on behalf of the superuser, so you will need to confirm it by entering the appropriate password.
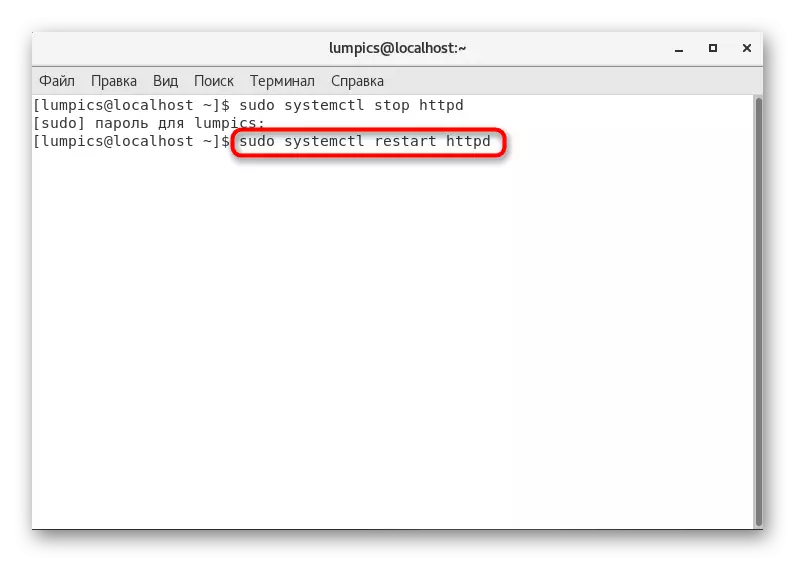
- Restart takes place through the Sudo SystemCTL RESTART HTTPD command. This team is relevant in those situations where the server gives failures or is required to restart it due to the features of interaction with the rest of the components.
- Use the Sudo SystemCTL RELOAD HTTPD if it is necessary that all changes after setting entered into force, but none of the connections were broken.
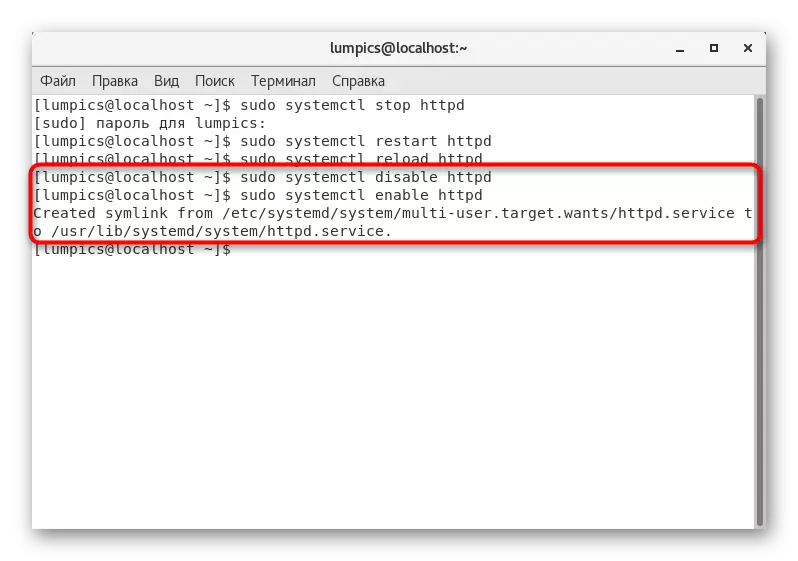
- The Sudo SystemCTL DISABLE HTTPD command removes Apache from autoload, and sudo systemctl enable httpd returns a standard state. Additionally, when you enable this option, you will be notified of creating a new symbolic link that is responsible for this parameter.


As you can see, manage the state of service the most standard teams. They will be easy to remember if you are often forced to resort to such measures during network administration, a separate site or any applications.
Step 3: Basic Configuration
The basic configuration refers to the virtual host configuration, which is useful for the settings and placement of different domains on one server. One standard virtual host is quite enough if you only deal with one site, however, when registering other domains, you will have to resort to the creation of additional parameters. Now for example, we will take a standard virtual host, and you change its address if required.
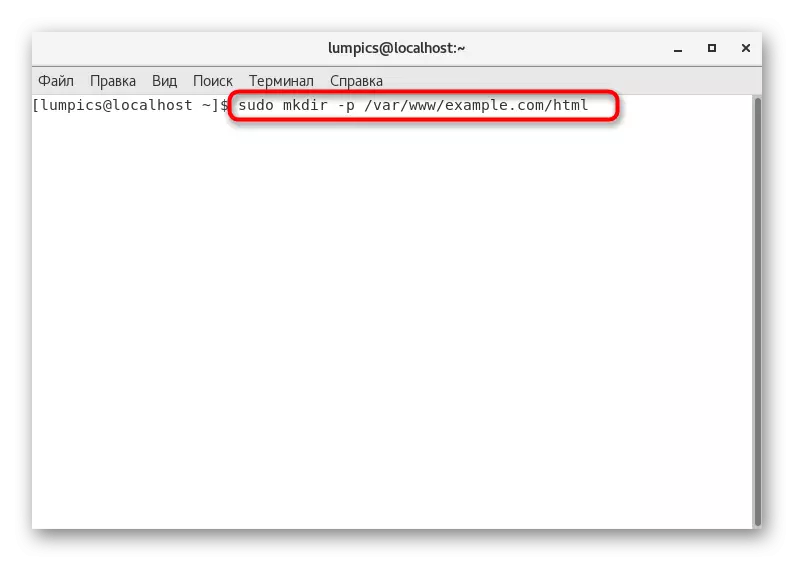
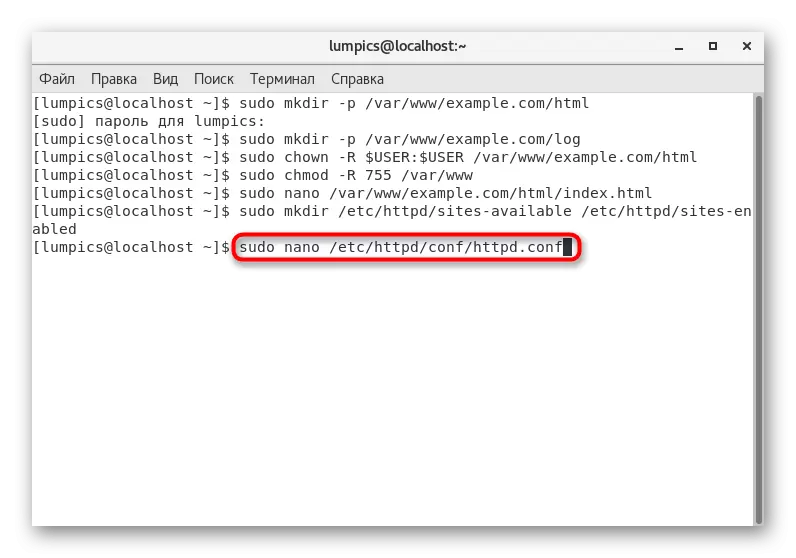
- Let's start with the creation of a catalog where all the daughter of the virtual host will be stored. This is done through the sudo mkdir -p /var/www/example.com/html command.
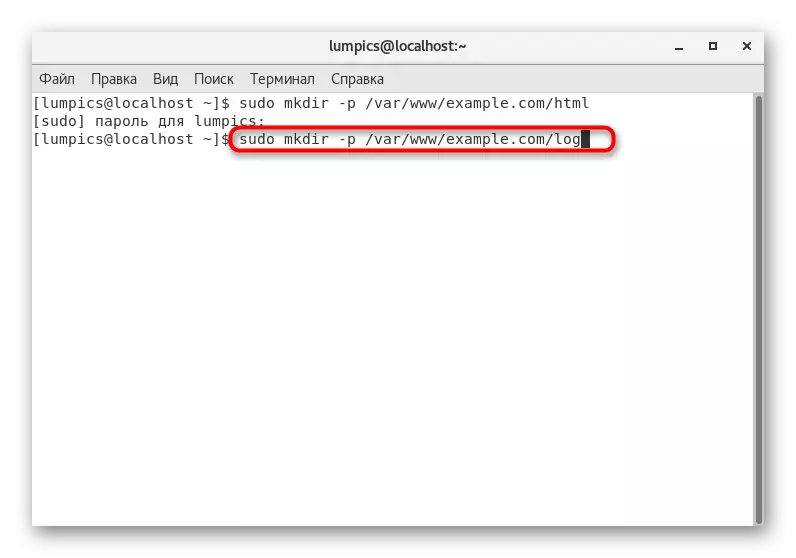
- An additional folder is needed, where event logs will be automatically saved. To add it to enter Sudo mkdir -p /var/www/example.com/log.
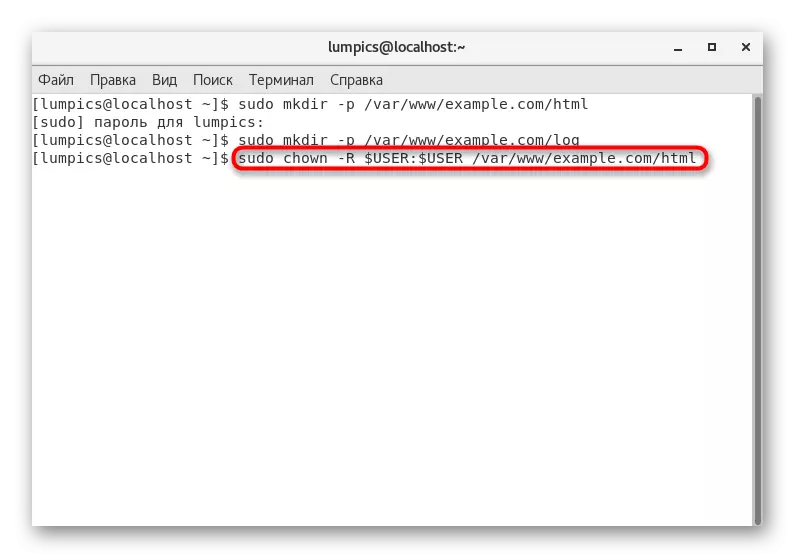
- Set the standard rights to the directory through the Sudo Chown -r $ USER: $ user /var/www/example.com/html.
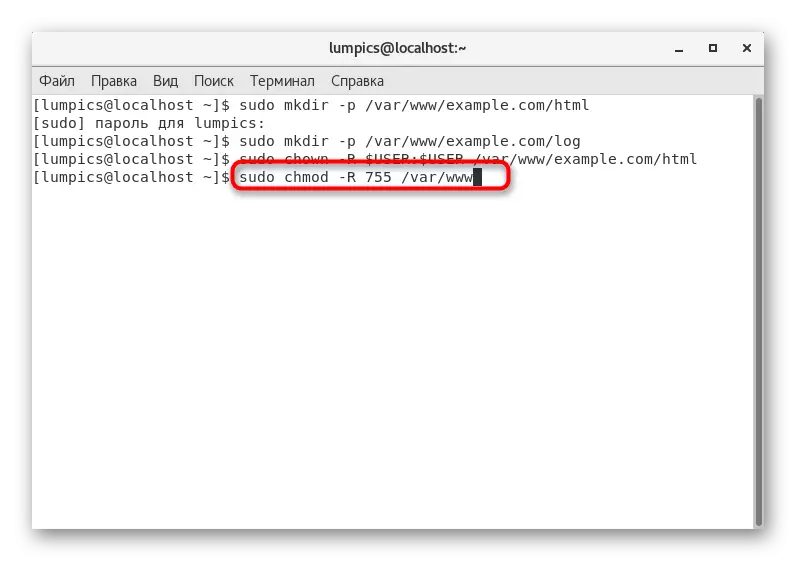
- Additional Install and privileges for each user inserting Sudo Chmod -R 755 / VAR / WWW.
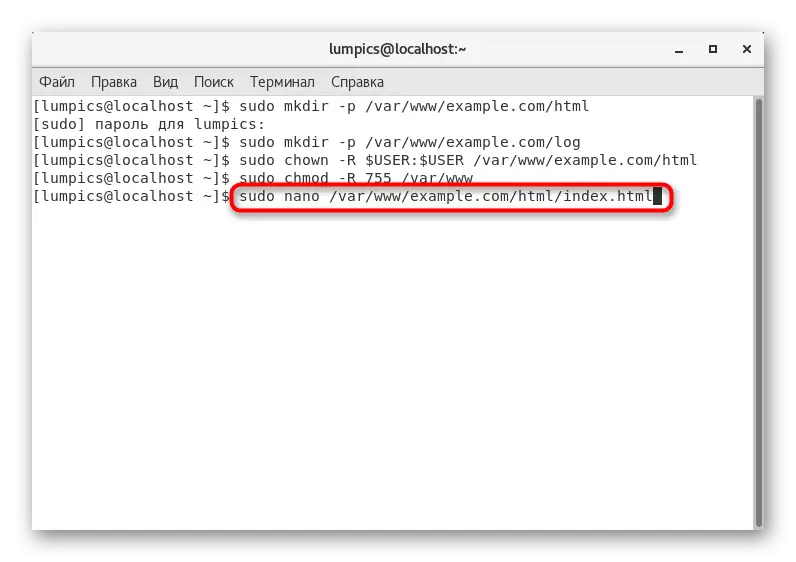
- We will proceed to create a sample of the main page that will be displayed when checking the workability of the host. Create a new text file through a convenient editor, for example, using Nano, you should enter Sudo Nano /Var/www/example.com/html/index.html.
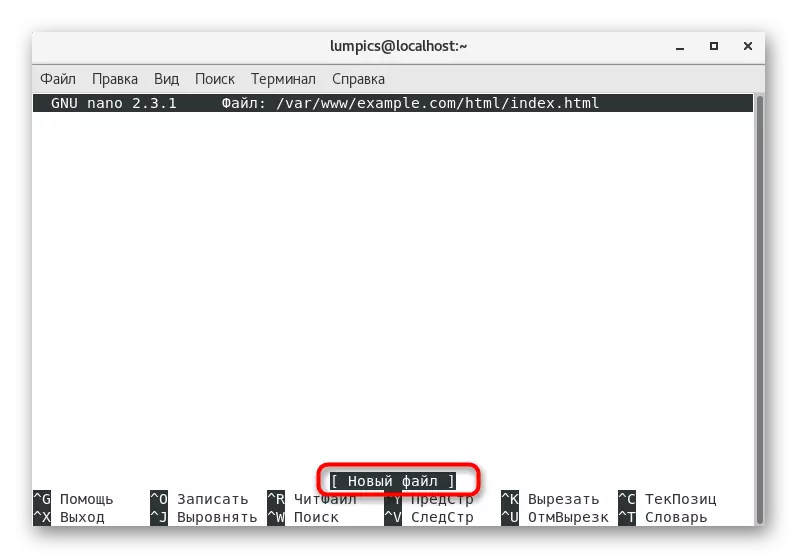
- When you open a text editor, a notification will be notified that this is a new file. Do not worry, because it should be. We specifically create it, exposing the appropriate configuration.
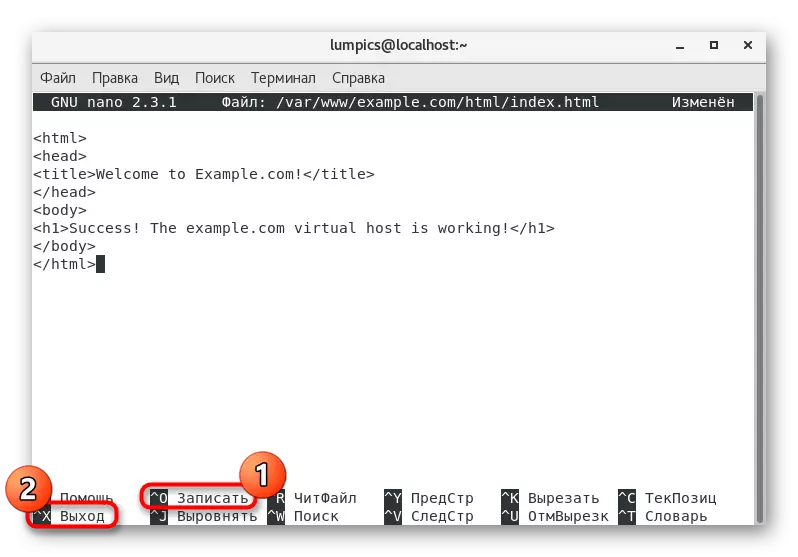
- Insert the code below, replacing the standard greeting on arbitrary text. If you want, you can completely redo the structure by creating a suitable page.
Welcome to Example.com!
SUCCESS! The Example.com Virtual Host Is Working!
- Save the changes by clicking on Ctrl + O, and then leave the text editor via Ctrl + X.
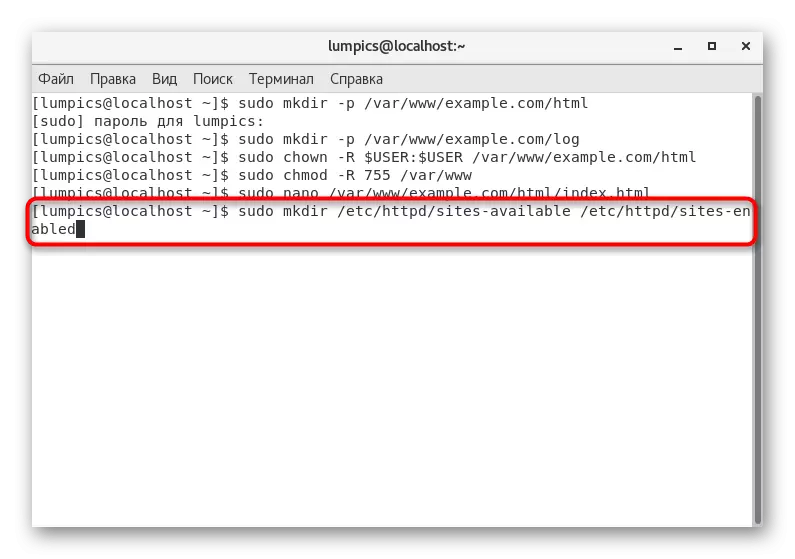
- These were only preliminary settings. Now proceed to the virtual host: you first need to specify folders for its storage. To do this, enter Sudo MKDIR / ETC / HTTPD / SITES-AVAILABLE / ETC / HTTPD / SITES-ENABLED.
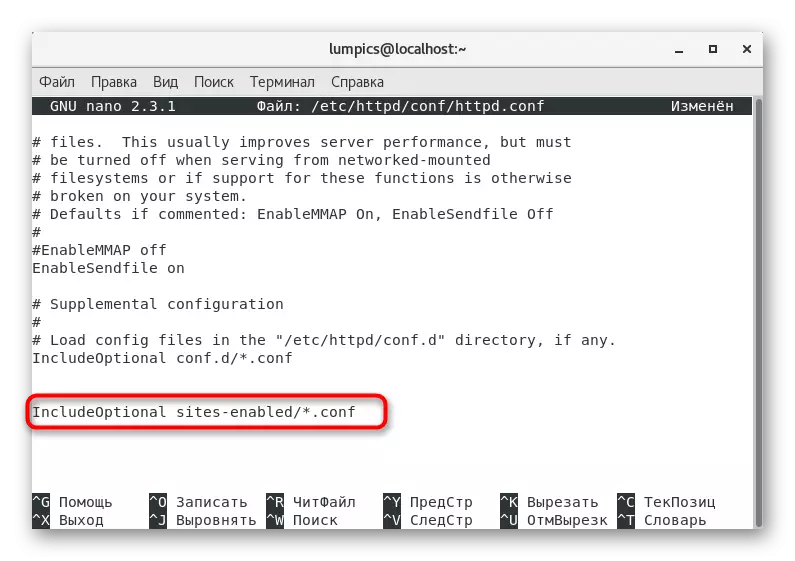
- After that, specify the web server that now he needs to interact with other components. This task is carried out through editing the main configuration file. Run it through a text editor by specifying sudo nano /etc/httpd/conf/httpd.conf.
- Run at the bottom of the list and insert the IncludeOptional SiteS-Enabled / * string. CONF.
- Before leaving the text editor, do not forget to save all changes.
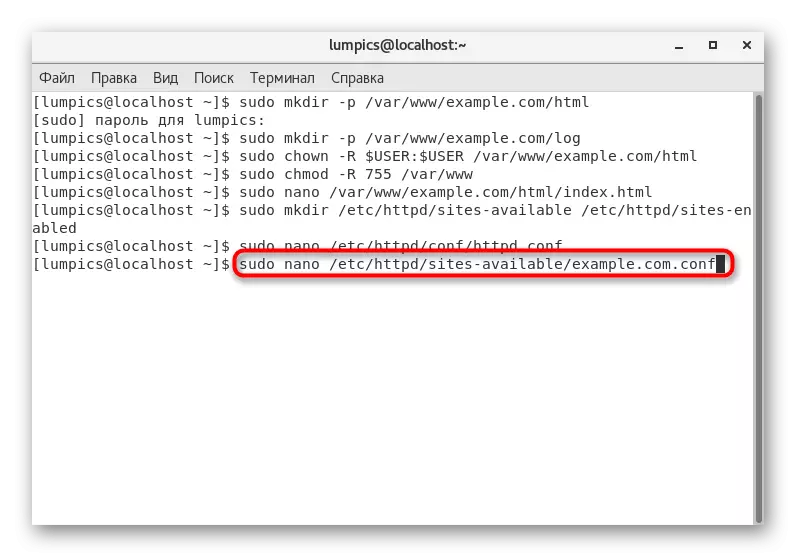
- To create the virtual host, you will need another configuration file. Create it through sudo nano /etc/httpd/sites-available/example.com.conf.
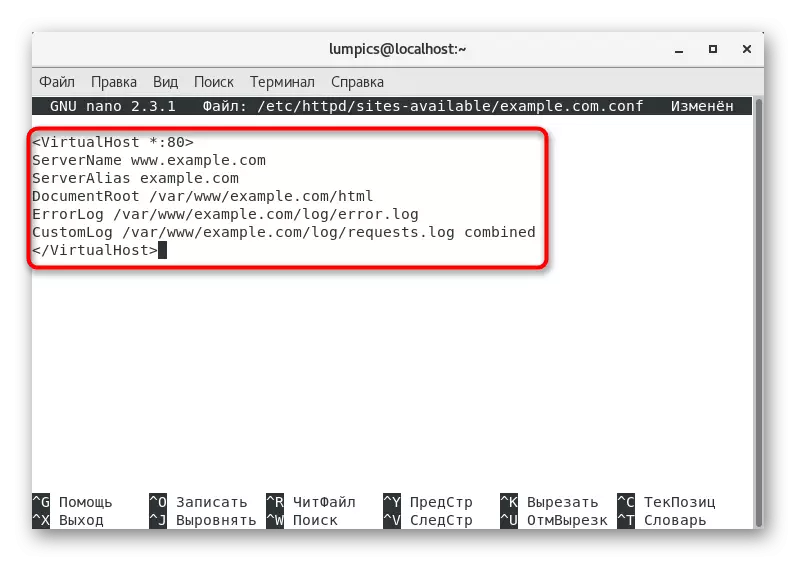
- Insert the content here further, replacing the required rows to yours.
ServerName www.example.com
Serveralias example.com.
Documentroot /var/www/example.com/html.
Errorlog /var/www/example.com/log/error.log.
Customlog /var/www/example.com/log/requests.log Combined.
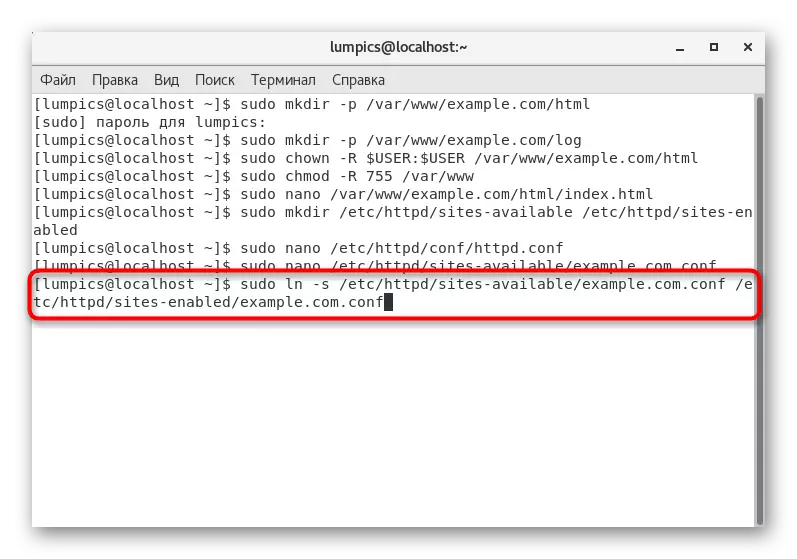
- It remains only to activate the file by creating a symbolic link through Sudo LN -S /etc/httpd/sites-available/example.com.conf /etc/httpd/sites-enabled/example.com.conf.


Step 4: Access Control Setup
If it comes to setting up global parameters, it is necessary to provide access control, indicating a number of users who will be able to make changes to the previously considered directories. This procedure is performed using the standard Selinux tool responsible for managing access levels.
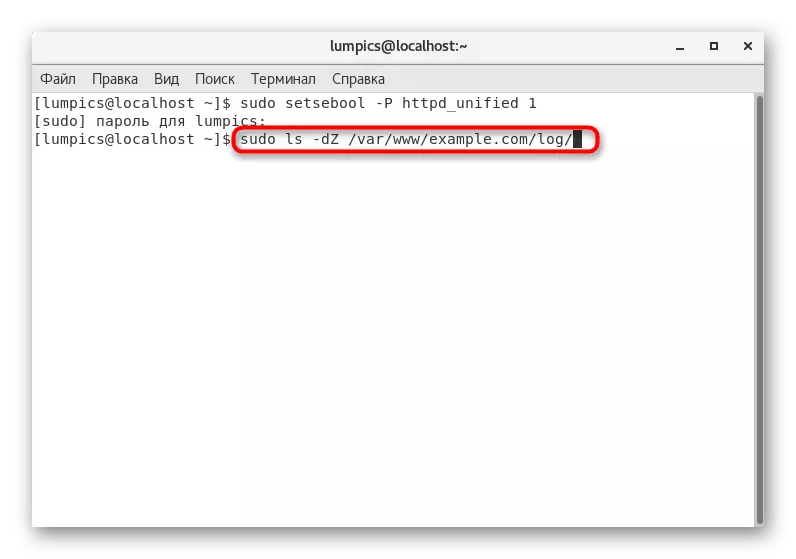
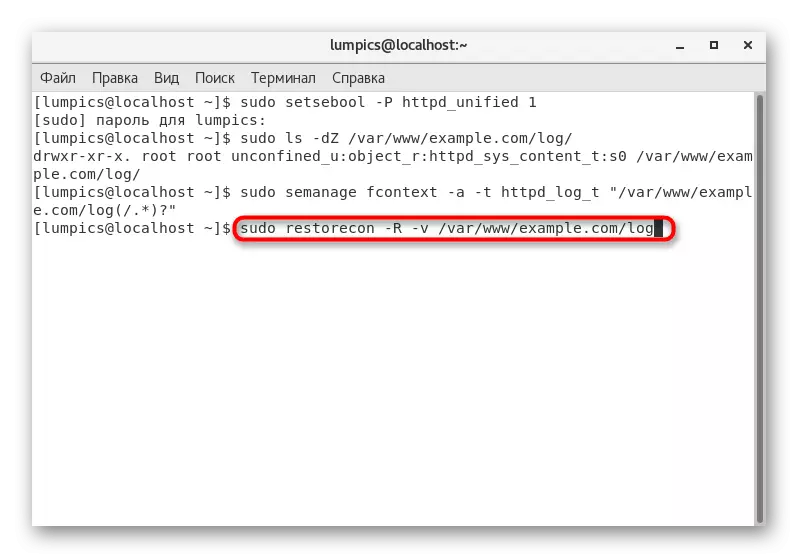
- Set the global security parameter through the Sudo Setsebool -p httpd_unified 1. It will provide all types of processes as one.
- Next it is recommended to check the current SELinux parameters that were provided automatically. To do this, write sudo ls -dz /var/www/example.com/log/.
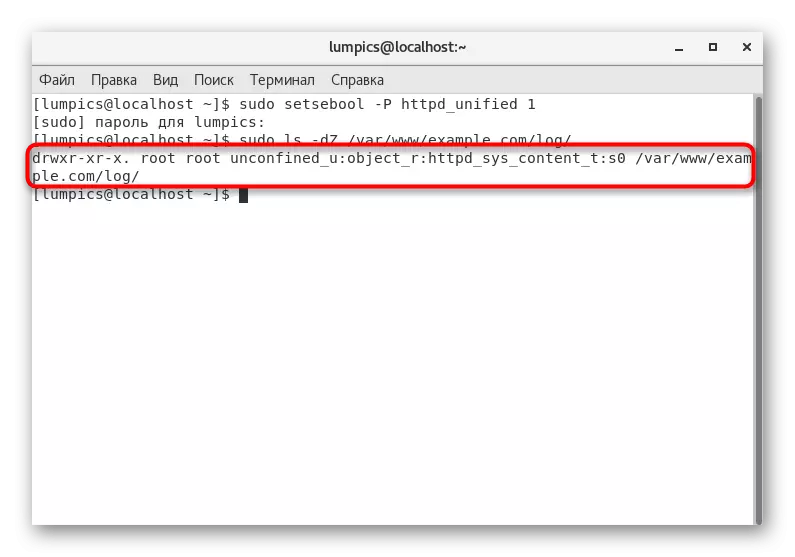
- As a result, you will see the contents of DRWXR-XR-X. root root unconfined_u: Object_r: httpd_sys_content_t: s0 /var/www/example.com/log/. It means that now Apache can only read those files that were created in the installed folder, respectively, will have to change the configuration.
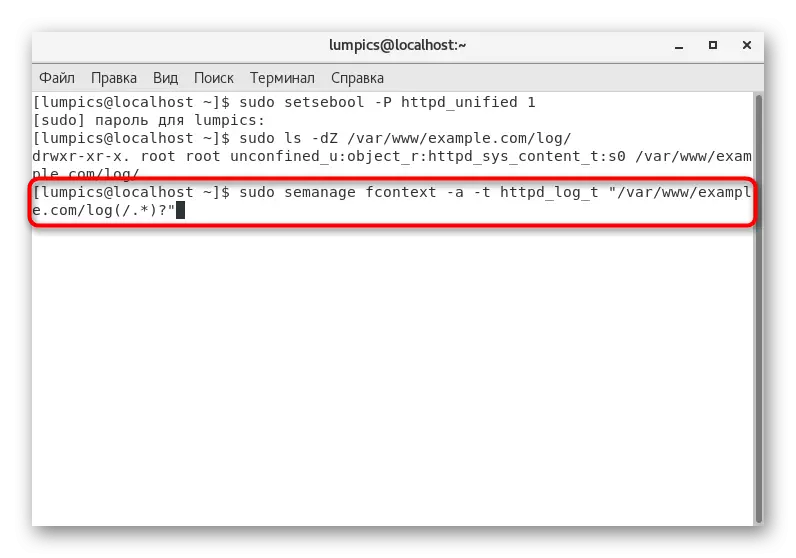
- This task is performed via Sudo Semanage FContext -a -t httpd_log_t "/var/www/example.com/log(/*)?".
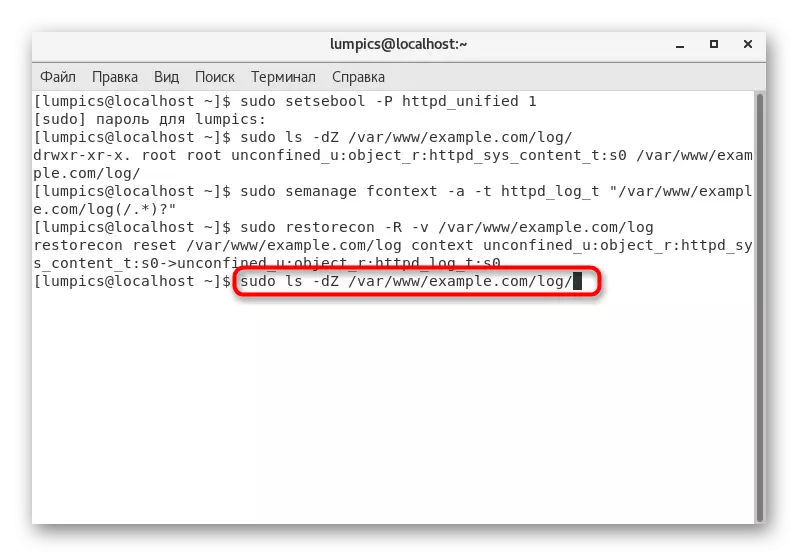
- Save the changes and make it so that they are activated after rebooting the server by entering Sudo Restorecon -R -V /Var/www/example.com/log.
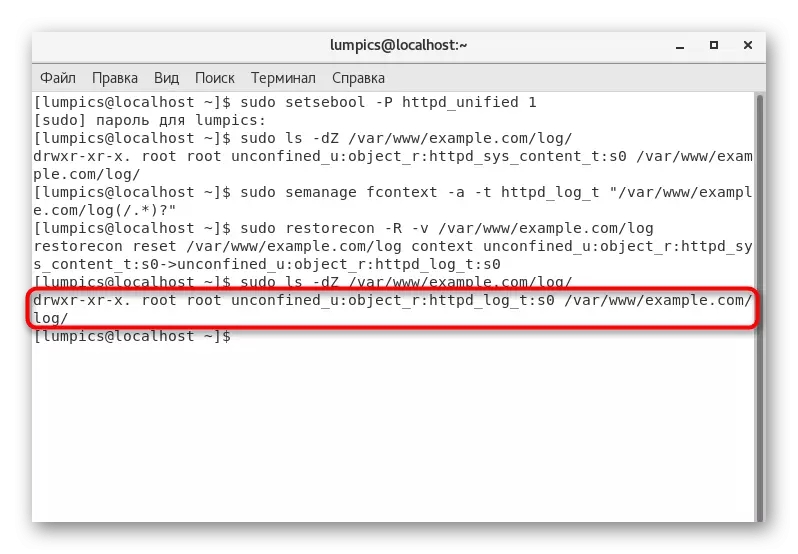
- Now check the changes in Sudo LS -DZ /VAR/www/example.com/log/ again.
- As you can see, as a result, the conclusion has the form DRWXR-XR-X. root root unconfined_u: object_r: httpd_log_t: s0 /var/www/example.com/log, therefore, everything is done correctly.
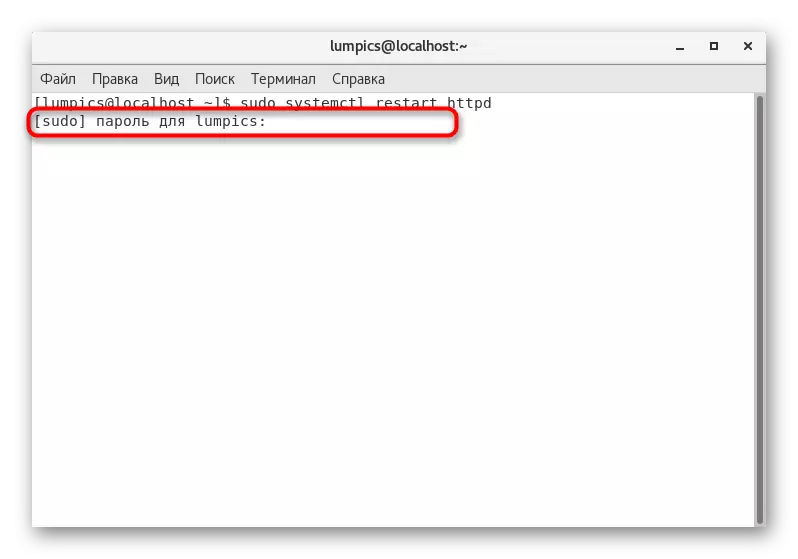
- It remains only to test all the changes. To do this, enter the Sudo SystemCTL Restart HTTPD and click on ENTER.
- Confirm the action by specifying the superuser password.
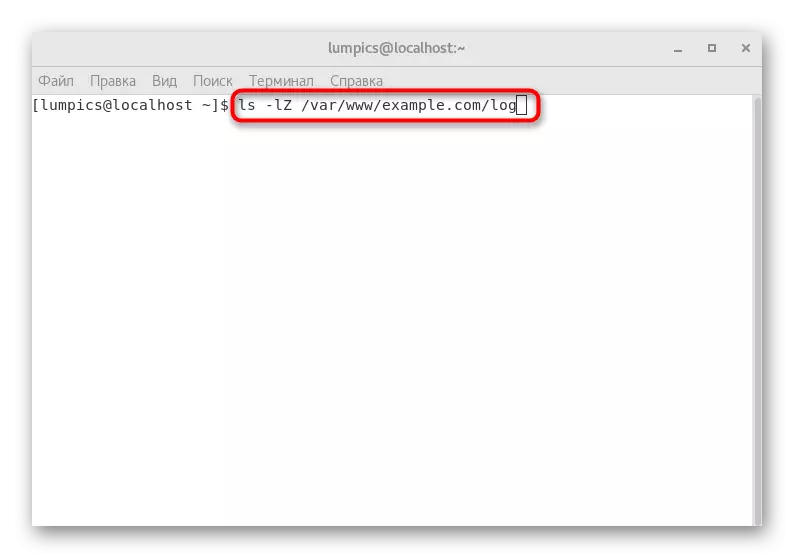
- Create a request for the directory by entering LS -LZ /VAR/www/example.com/log. If the content that has appeared has -RW-R - R--. 1 root root error.log -rw-r - R--. 1 root root 0 requests.log, it means that all previous settings have been completed correctly.


You have been familiar with the installation procedure and the overall configuration of the Apache web server in CentOS 7. As you can see, the installation itself will not take much time, and all the difficulties are connected only with the configuration. If the presented manual for changing parameters and the APACHE management, you turned out to be not enough, we advise you to explore the official documentation by using reference below.
Go to the official website of the Apache documentation