
As you know, the open SSH technology allows you to remotely connect to a specific computer and transmit data through the selected protected protocol. This allows you to implement and fully control the selected device, ensuring safe exchange of important information and even passwords. Sometimes users have the need to connect through SSH, but in addition to installing the utility itself, it is necessary to produce and additional settings. We want to talk about it today, taking the Debian distribution for the example.
Customize SSH in Debian
We divide the configuration process into several steps, since each is responsible for the implementation of specific manipulations and may simply be useful to certain users, which depends on personal preferences. Let's start with the fact that all actions will be made in the console and will need to confirm the rights of the superuser, so prepare for this in advance.Installing SSH-Server and SSH-Client
By default, the SSH is included in the standard DEBIAN operating system utility set, however, due to any features, the necessary files can be outrage or simply absent, for example, when the user manually produced uninstallation. If you need to pre-install SSH-Server and SSH-Client, follow the following instructions:
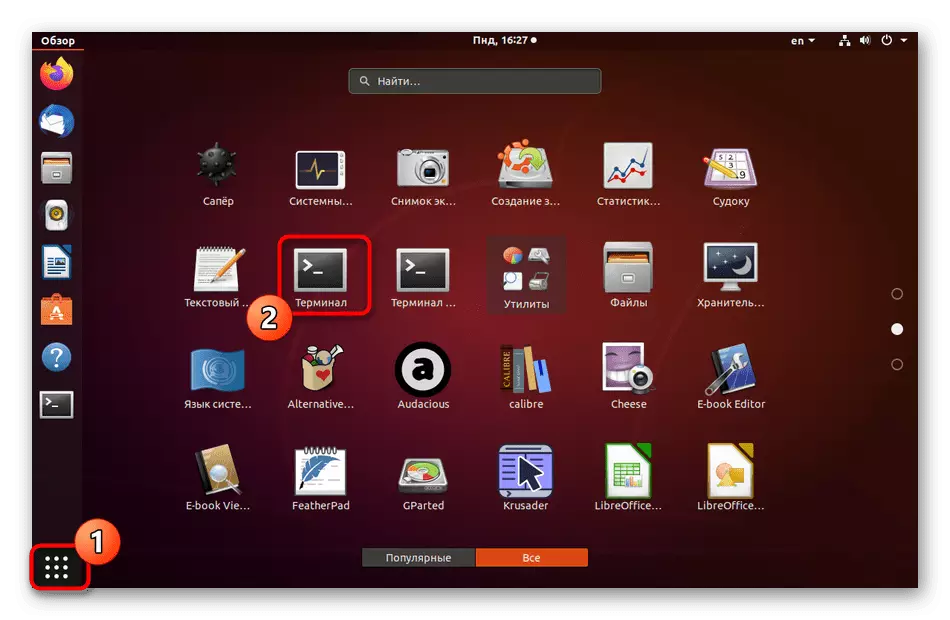
- Open the Start menu and start the Terminal from there. This can be done through the standard key combination Ctrl + Alt + T.
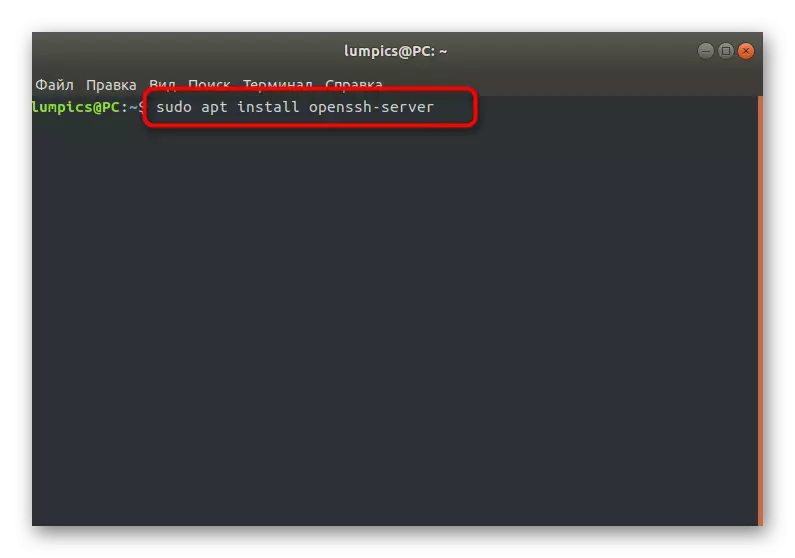
- Here you are interested in the Sudo Apt Install OpenSSH-Server command that is responsible for installing the server part. Enter it and click on ENTER to activate.
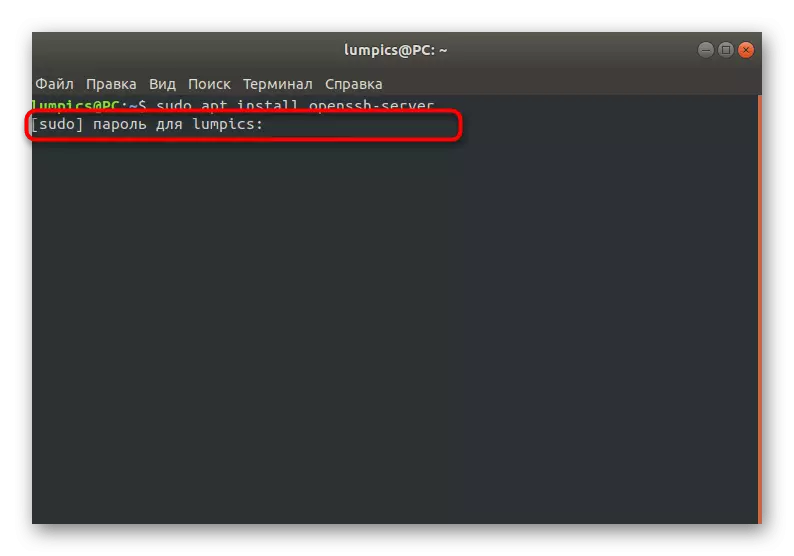
- As you already know, the actions performed with the Sudo argument will need to be activated by specifying the superuser password. Consider that characters entered in this line are not displayed.
- You will be notified that packages are added or updated. If the SSH-Server is already installed in Debian, a message appears on the presence of the specified package.
- Next, you will need to add to the system and the client part, as for the computer to which the connection will be connected in the future. To do this, use a similar Sudo Apt-Get Install Openssh-Client command.


There are no more additional components to install any additional components, you can now safely switch to the server management and configuration files to create keys and prepare everything to further connect to the remote desktop.
Server Management and Checking His Work
Briefly let's focus on how the installed server is managed and the check of its operation. It must be done before switching to the setup to make sure that the functioning of the added components is correct.
- Use the Sudo SystemCTL Enable SSHD command to add a server to autoload, if it does not happen automatically. If you need to cancel the launch with the operating system, use SystemCTL Disable SSHD. Then the manual startup will be needed to specify SystemCTL Start SSHD.
- All such actions absolutely must always be performed on behalf of the superuser, so you need to enter his password.
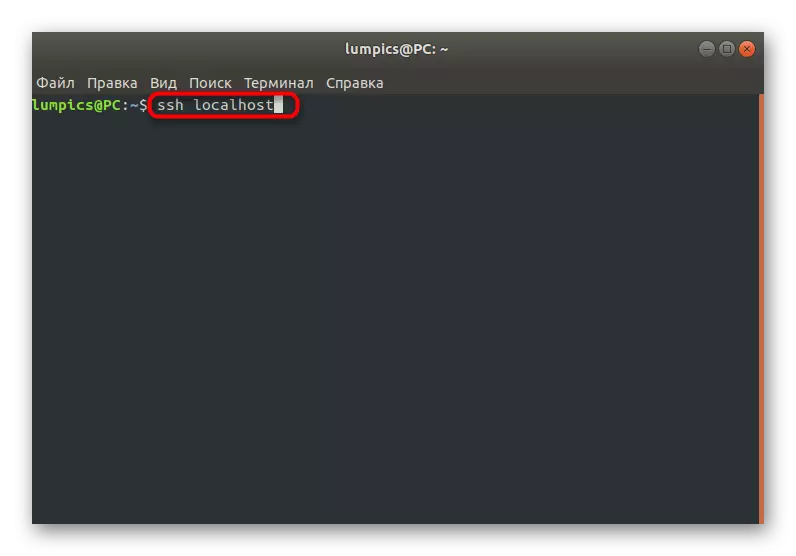
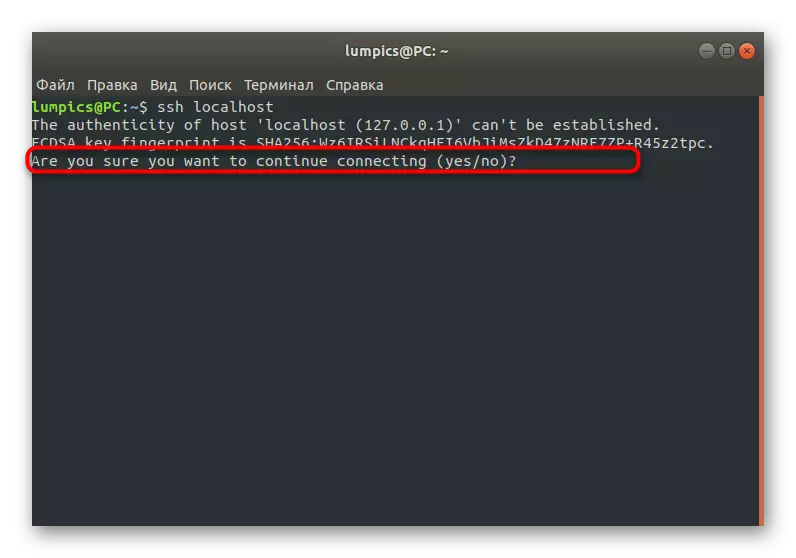
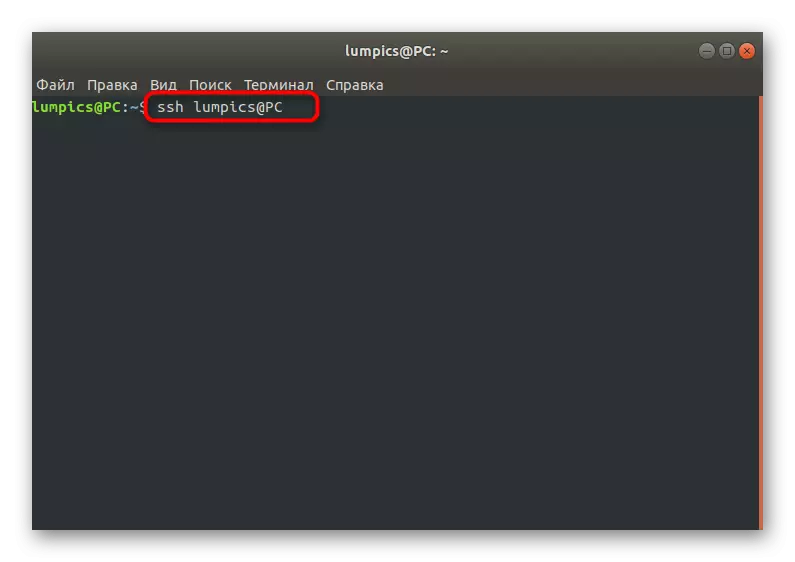
- Enter the SSH Localhost command to check the server for performance. Replace Localhost to the local computer address.
- When you first connect, you will be notified that the source is not verified. This happens because we have not yet set the security settings. Now just confirm the continuation of the connection by entering Yes.


Adding a pair of RSA keys
Connecting from the server to the client and vice versa via SSH is carried out by entering a password, however, it is recommended to create a pair of keys that will be developed through the RSA algorithms. This type of encryption will make it possible to create optimal protection, which will be difficult to get around the attacker when trying to hack. To add a pair of keys only a few minutes, and it looks like this process:
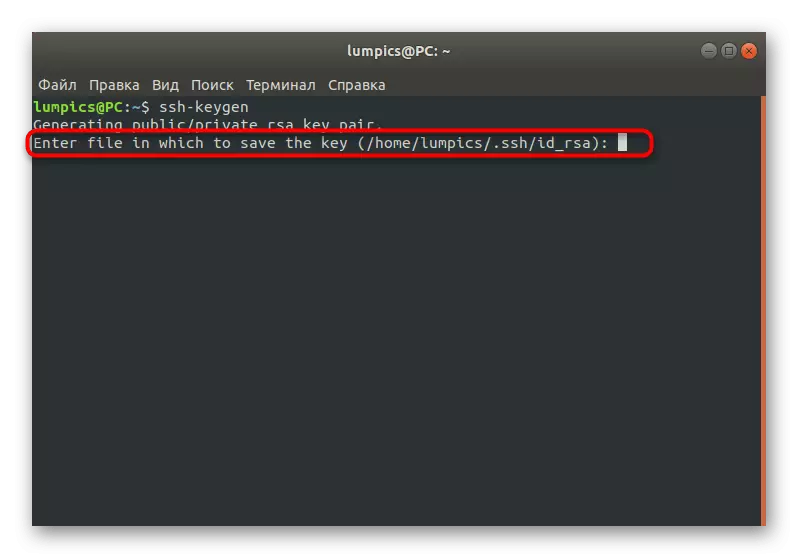
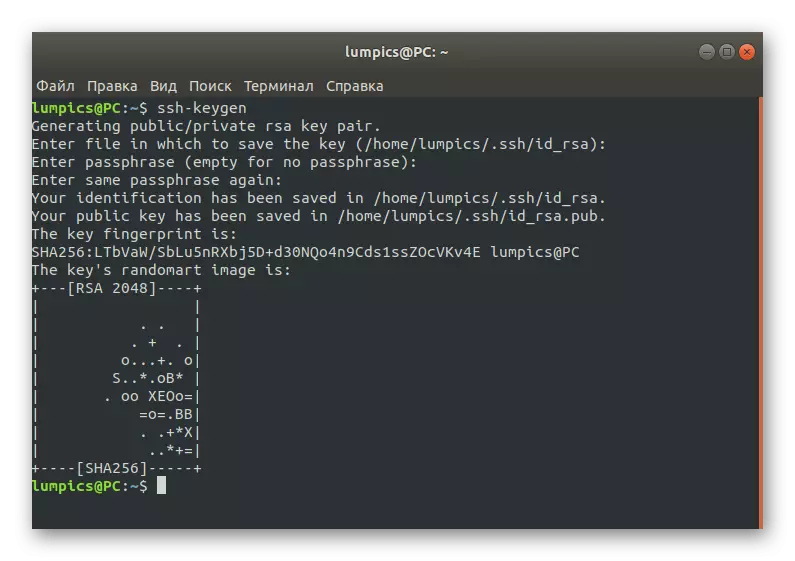
- Open the "Terminal" and enter SSH-KEYGEN there.
- You can independently choose a place where you want to save the path to the key. If there is no desire to change it, simply press the ENTER key.
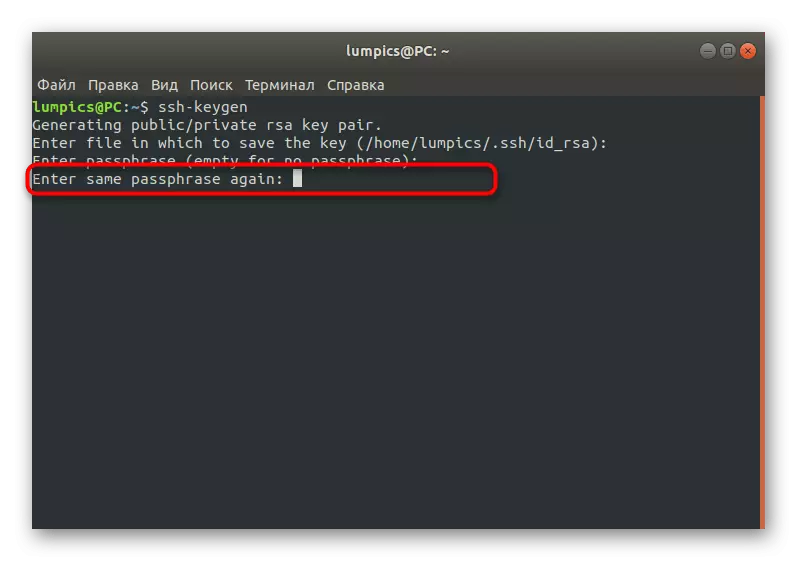
- Now the open key is created. It can be protected by a code phrase. Enter it in the displayed string or leave empty if you do not want to activate this option.
- When entering the key phrase will have to specify it again to confirm.
- A notification of the creation of a public key will appear. As you can see, he was assigned a set of random symbols, and an image was created on random algorithms.


Thanks to the action done, a secret and public key has been created. They will be involved for connecting between devices. Now you have to copy the public key to the server, and you can do this by different methods.
Copy open key to server
In Debian, there are three options with which you can copy the public key to the server. We suggest immediately familiarize yourself with all them in order to choose the optimal in the future. This is relevant in those situations where one of the methods does not fit or not satisfy the needs of the user.
Method 1: SSH-Copy-ID Team
Let's start with the simplest option that implies the use of the SSH-COPY-ID command. By default, this utility is already built into the OS, so it does not need pre-installation. Its syntax is also the most simple as possible, and you will need to perform such actions:
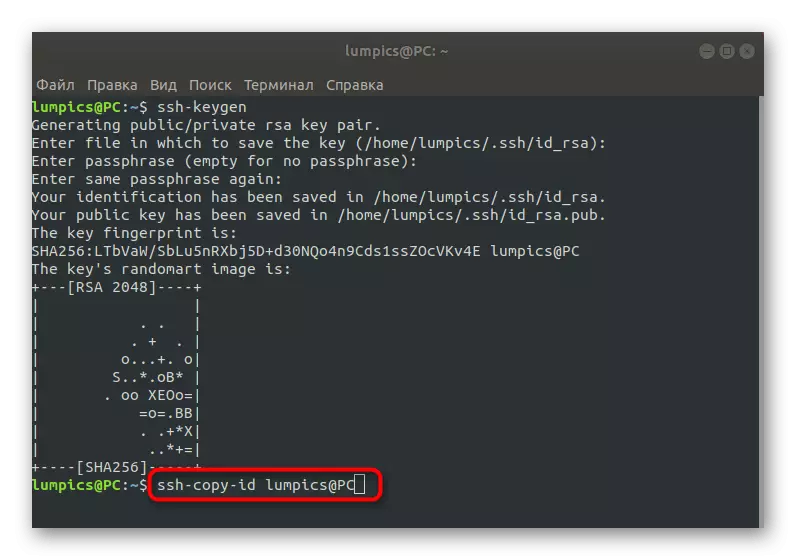
- In the console, enter the SSH-Copy-ID command to the username @ remote_host and activate it. Replace the username @ remote_host to the address of the target computer so that sending has passed successfully.
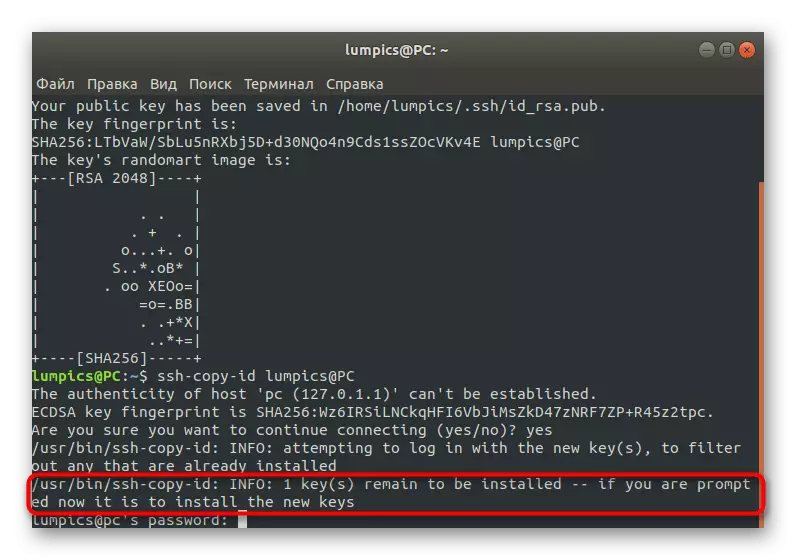
- When you first try to connect, you will see the message "The Authenticity of Host '203.0.113.1 (203.0.113.1)' CAN't Be Established. ECDSA KEY FINGERPRINT IS FD: FD: D4: F9: 77: FE: 73: 84: E1: 55: 00: AD: D6: 6D: 22: Fe. Are You Sure You Want to Continue Connecting (YES / NO)? YES. " Select a positive answer to continue the connection.
- After that, the utility will independently work as search and copying the key. As a result, if everything went successfully, the notification "/ USR / BIN / SSH-Copy-ID" will appear on the screen: info: attempting to log in with the new key (s), to Filter Out Any That Are Alady Installed / USR / Bin / SSH-Copy-ID: info: 1 Key (s) Remain to Be Installed - if you are prompted now it is to install the new keys [email protected]'s password: ". This means that you can enter the password and move to directly controlling the remote desktop.

Additionally, I will specify that after the first successful authorization in the console, the next character will appear:
Number Of Key (S) Added: 1
Now try logging INTO THE MACHINE, WITH: "SSH '[email protected]'"
And check to make sure that Only The Key (s) You Wanted Were Added.
It says that the key was successfully added to a remote computer and no longer any problems will arise when you try to connect.
Method 2: Export Key through SSH
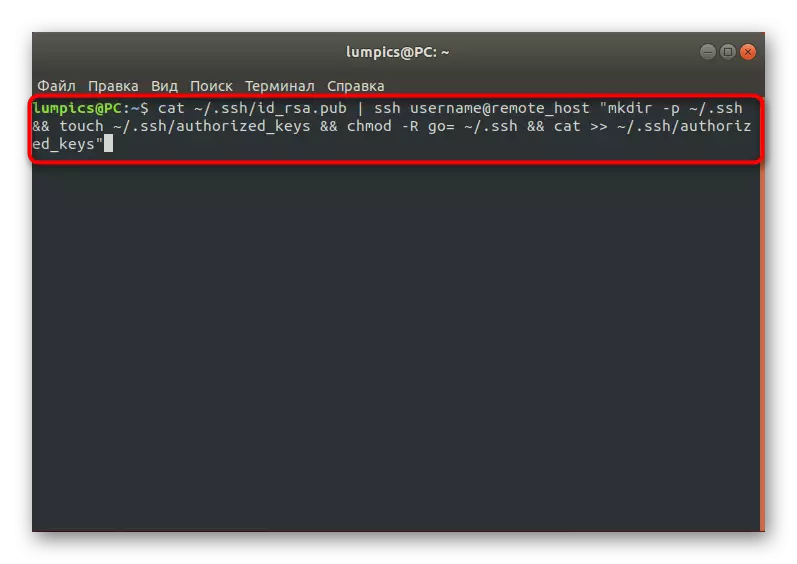
As you know, the export of a public key will allow you to connect to the specified server without prior to enter the password. Now, while the key is not yet on the target computer, you can connect via SSH by entering the password so that you manually move the desired file. To do this, in the console you will have to enter the command Cat ~ / .ssh / id_rsa.pub | SSH UserName @ Remote_Host "mkdir -p ~ / .ssh && touch ~ / .ssh / authorized_keys && chmod -r go = ~ / .ssh && Cat >> ~ / .ssh / authorized_keys."
A notification must appear on the screen.
The Authenticity of Host '203.0.113.1 (203.0.113.1)' CAN't Be Established.
ECDSA KEY FINGERPRINT IS FD: FD: D4: F9: 77: FE: 73: 84: E1: 55: 00: AD: D6: 6D: 22: FE.
Are You Sure You Want to Continue Connecting (YES / NO)?.
Confirm it to continue the connection. The public key will be automatically copied to the end of the Authorized_keys configuration file. On this export procedure, it is possible to be finished.
Method 3: Manual Copy Key
This method will suit those users who have no ability to create a remote connection to the target computer, but there is physical access to it. In this case, the key will have to be transferred independently. To begin with, determine the information about it on the server PC via Cat ~ / .ssh / id_rsa.pub.

The console should appear the SSH-RSA string + key as a set of characters == DEMO @ TEST. Now you can go to another computer, where you should create a new directory by entering mkdir -p ~ / .ssh. It also adds a text file called Authorized_keys. It remains only to insert there a certain earlier key via Echo + row of a public key >> ~ / .ssh / authorized_keys. After that, authentication will be available without prior password entry. This is done through the SSH Username @ Remote_Host command, where the username @ remote_host should be replaced with the name of the required host.
Considered just the ways allowed to transfer a public key to a new device to make it possible to connect without entering the password, but now the form on the entry is still displayed. Such a position of things allows attackers to access the remote desktop, simply passwording. Next we offer to ensure security by performing certain settings.
Disable password authentication
As mentioned earlier, the possibility of password authentication can become a weak link in the safety of a remote connection, since there are means of misracting such keys. We recommend disabled this option if you are interested in maximum protection of your server. You can do it like this:
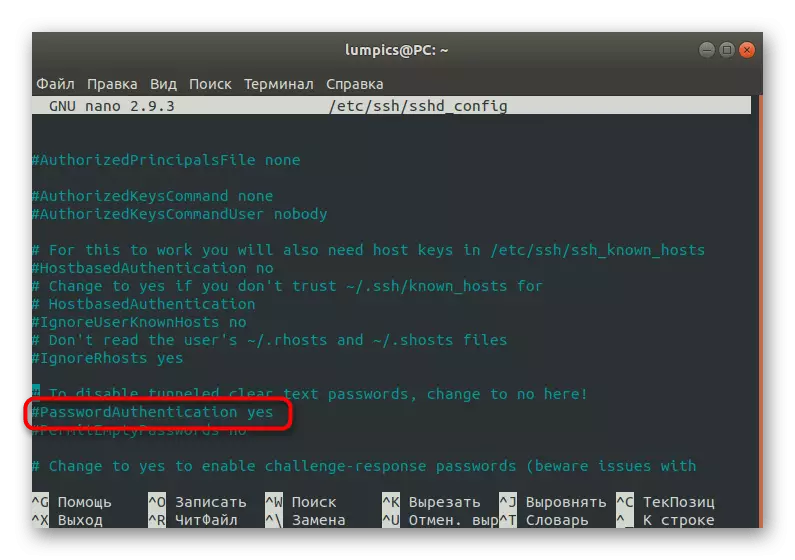
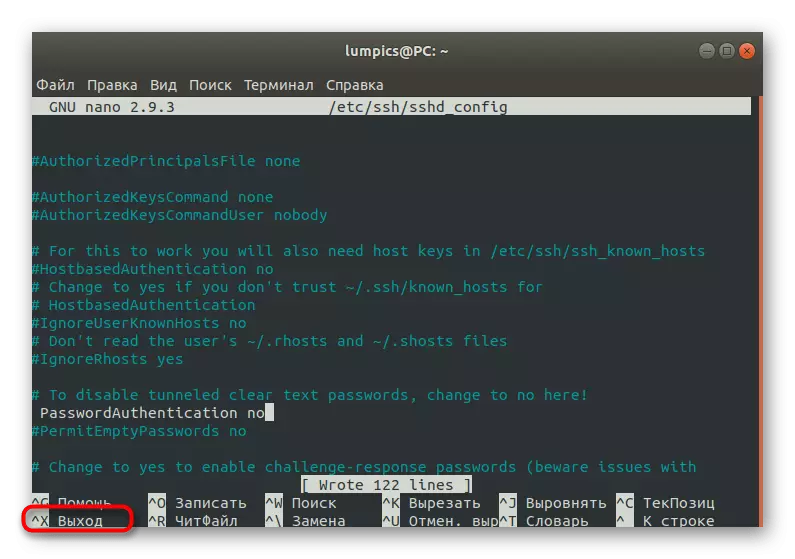
- Open the / etc / ssh / sshd_config configuration file via any convenient text editor, it may be, for example, gedit or nano.
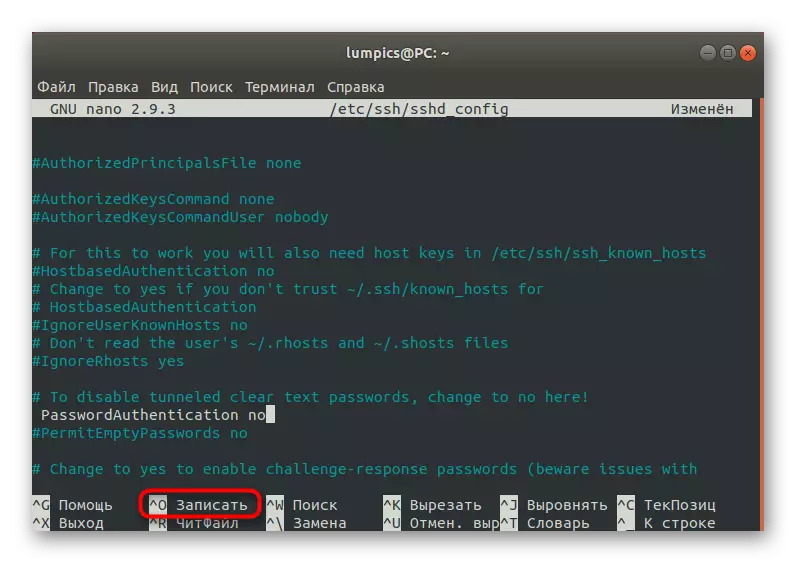
- In the list that opens, find the "passwordauthentication" string and remove the # sign to make this command active. Change the value of YES to NO to disable the option.
- Upon completion, press Ctrl + O to save the changes.
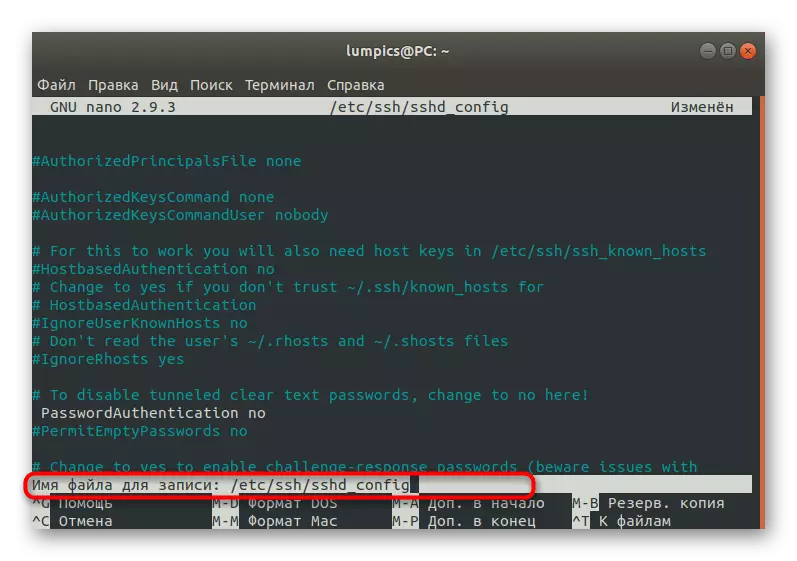
- Do not change the name of the file, but simply press ENTER to use the setup.
- You can leave the text editor by clicking on Ctrl + X.
- All changes will take effect only after restarting the SSH service, so do it immediately via Sudo SystemCTL Restart SSH.


As a result of actions, the possibility of password authentication will be disabled, and the input will be available only after a couple of RSA keys. Consider this when a similar configuration.
Configuring the firewall parameter
At the end of today's material, we want to tell about the configuration of the firewall, which will be used for permissions or prohibitations of the compounds. We will pass only by the main points, taking the Uncomplicated Firewall (UFW).
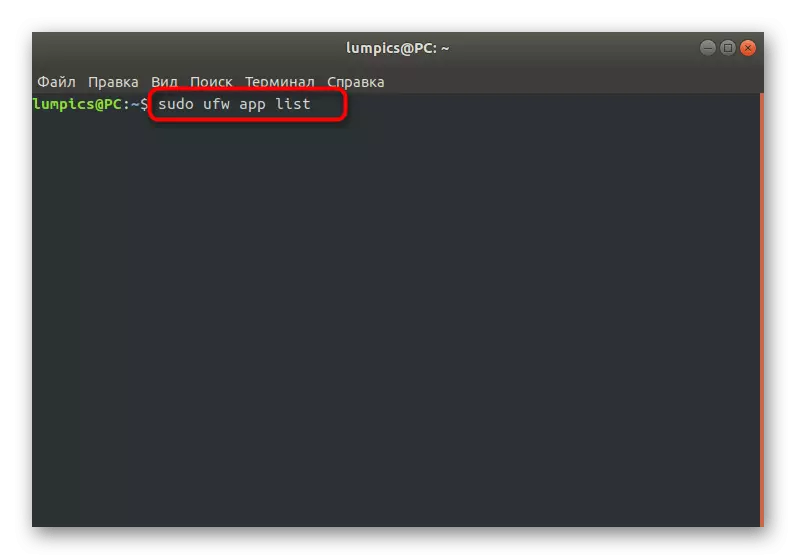
- First, let's check the list of existing profiles. Enter the Sudo UFW App List and click on ENTER.
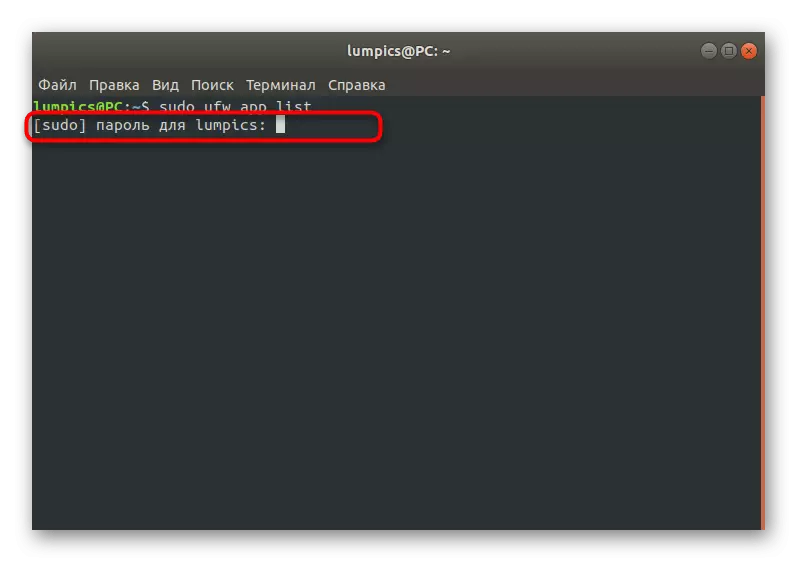
- Confirm the action by specifying the superuser password.
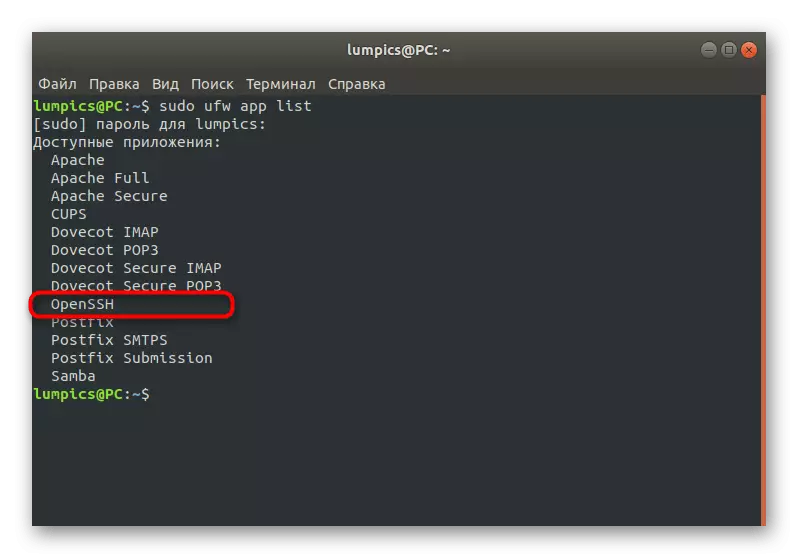
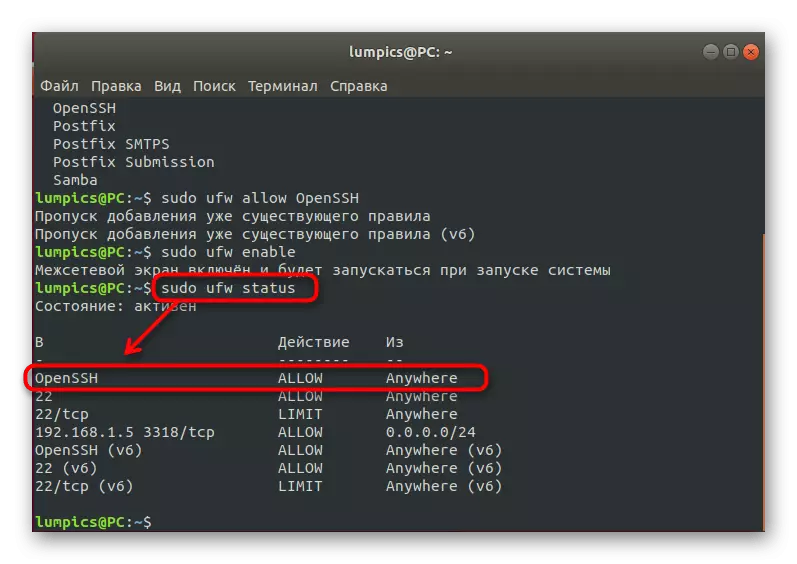
- Lay SSH in the list. If this line is present there, it means that everything functions correctly.
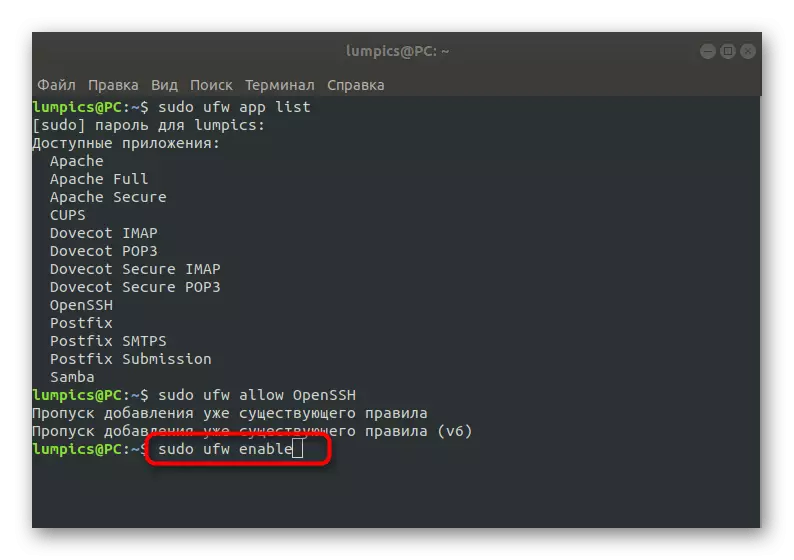
- Allow the connection through this utility by writing Sudo UFW Allow OpenSSH.
- Turn on the firewall to update the rules. This is done through the sudo ufw enable command.
- You can check the current status of the firewall at any time by entering Sudo UFW Status.

On this process, the SSH configuration in Debian is complete. As you can see, there are many different nuances and rules that need to be observed. Of course, within the framework of one article, it is impossible to fit absolutely all the information, so we only touched on basic information. If you are interested in obtaining more in-depth data about this utility, we advise you to familiarize yourself with its official documentation.