
If the hard disk is fully formatted before installing the Windows 10 operating system or it is only purchased, it will have to be divided into logical volumes to create a correct structure. This task is carried out directly during the installation of the OS and can be performed in two ways: through the graphic menu of the installer and the command line.
We want to clarify that if you are going to reinstall Windows, having access to the current version, the disk markup can be marked yet through the graphical interface using programs or built-in functionality. After that, it remains only to format the system section and install the new version of the OS. Read more about it in the material further.
Read more: 3 ways to split the hard disk to sections in Windows
Method 1: Graphic Menu Installer
First, let's consider the standard method of separating the disk, which is suitable even for inexperienced users. It is to use the installer built into the installer, which literally in several clicks create one or more logical volumes of any sizes, separating one physical drive.
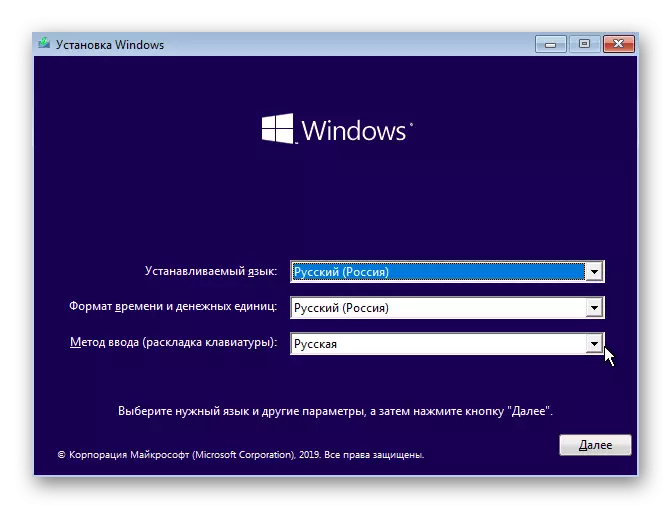
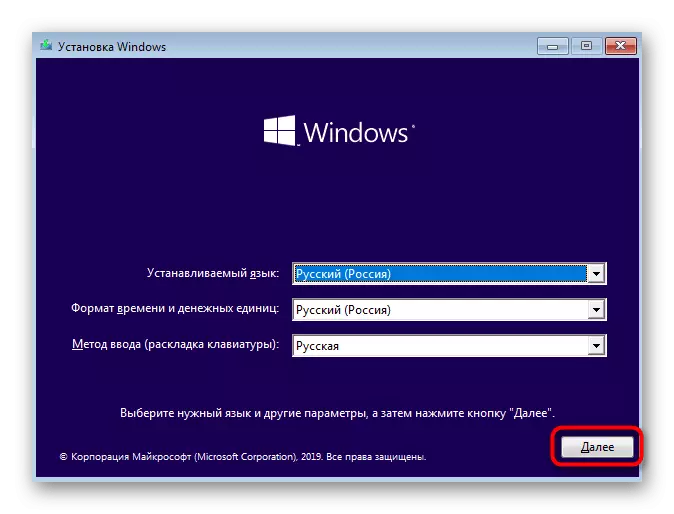
- After downloading the installer, select the best language and proceed to the next step.
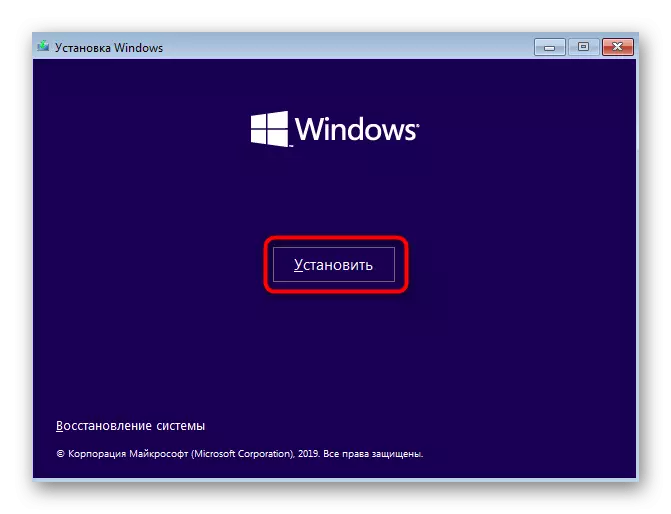
- Click on the Install button.
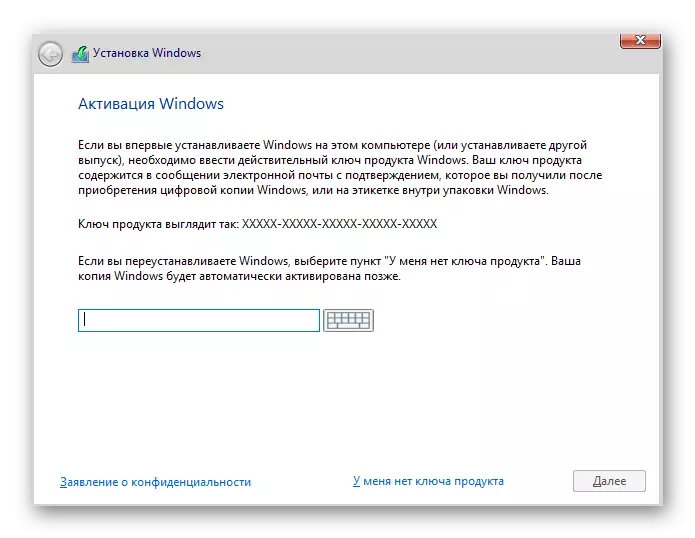
- Enter the operating system activation key or skip this step if you want to confirm the license later.
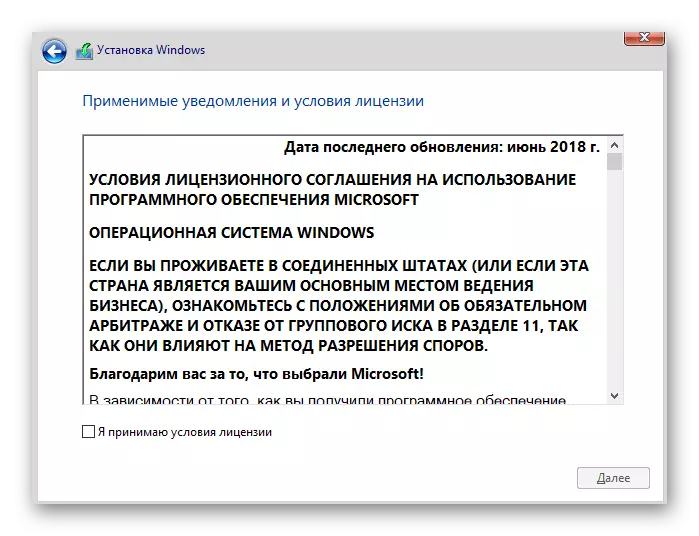
- Take the terms of the license agreement and go further.
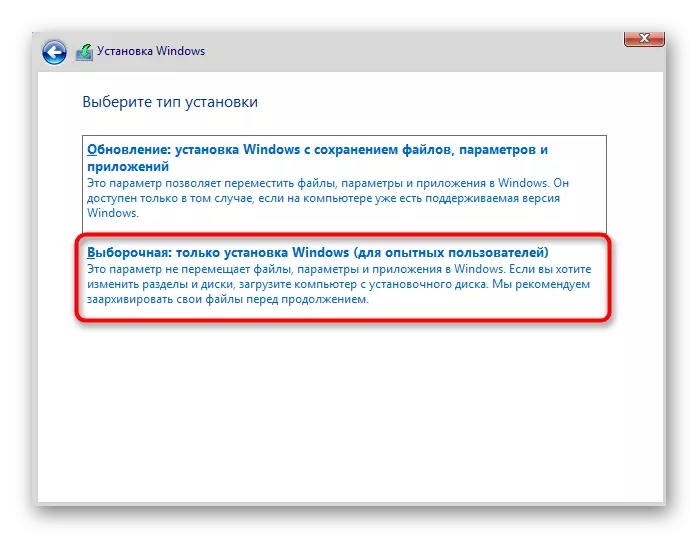
- Select the installation option "Selective".
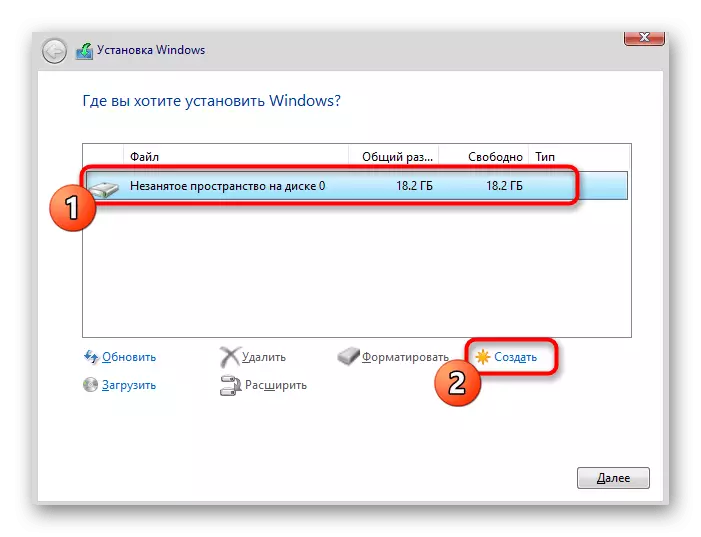
- Now in a separate menu, the option "Unmounted space on a disk 0" appears. Highlight it with the left mouse click and click on the "Create" button.
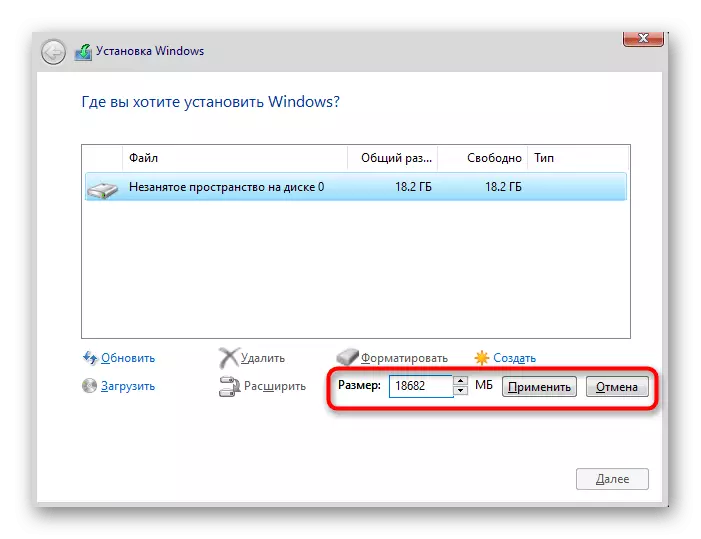
- Specify the desired size of the new logical partition and apply the changes.
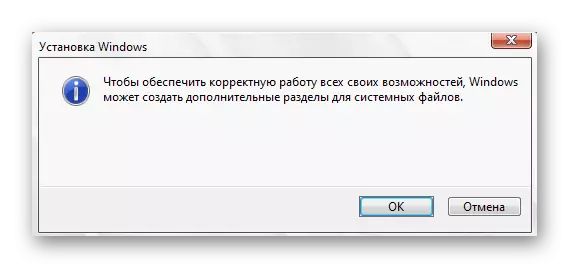
- Confirm the creation of additional volumes for system files if necessary.
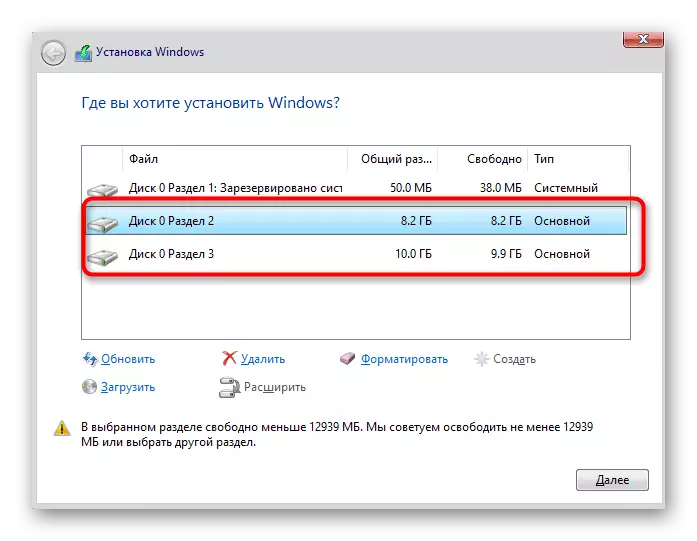
- Now new sections will be displayed in the menu under consideration. Select the main to which you want to install OS, and go further.

It remains only to follow further installation instructions so that after switching to normal interaction with the operating system. More detailed instructions on further actions are looking for in a separate material on our website as follows.
Read more: Installation Guide Windows 10 from USB flash drive or disk
Method 2: Command String
As we have already spoken above, the second method of separating the disk when installing Windows 10 is to use the command line. For some users, this option may seem too difficult, but it is the only alternative to the graphical menu.
- During the boot of the operating system installer, select the language and go further.
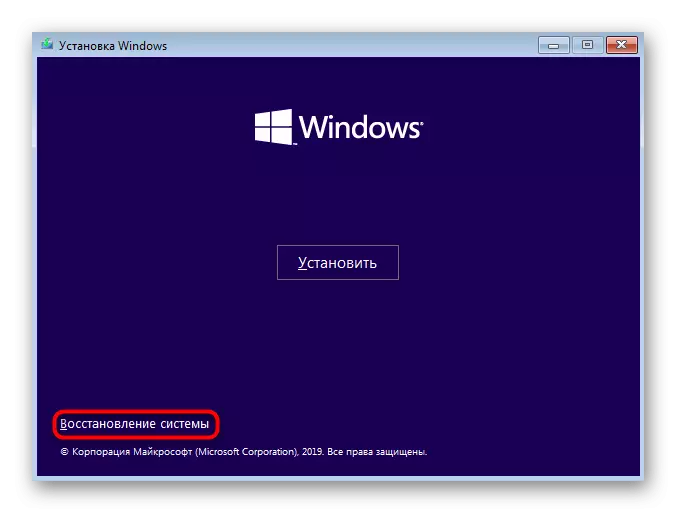
- In the first window, where the "Set" button is to click on the inscription "System Restore".
- Next, select the category "Troubleshooting".
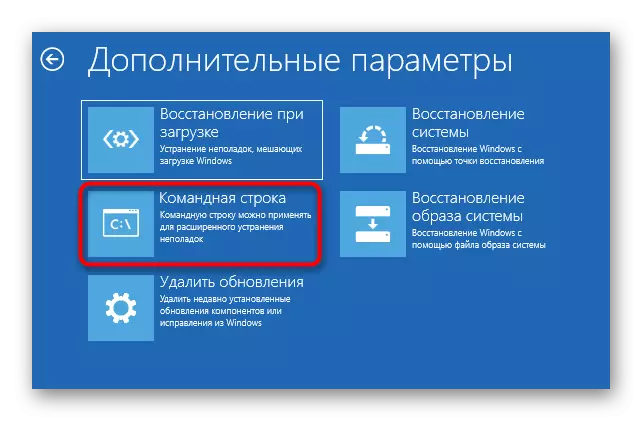
- In the category "Advanced Parameters" you are interested in the "Command Line" block.
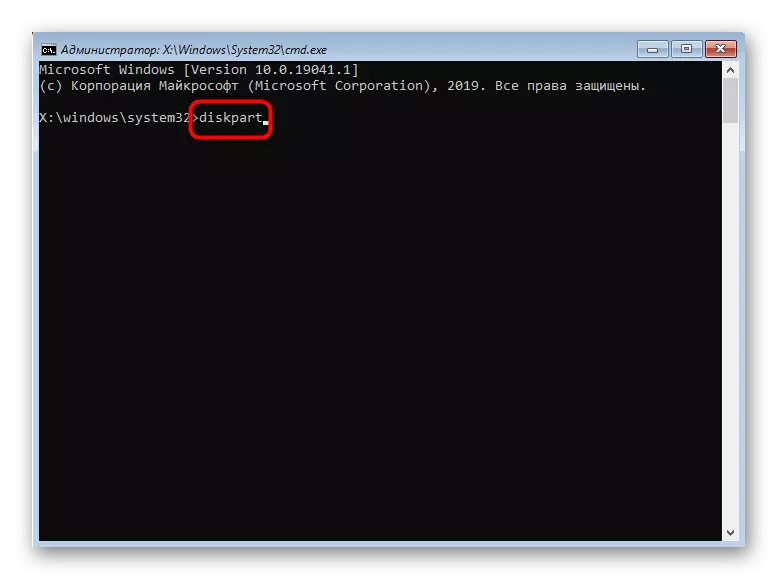
- All further actions will be carried out through the system utility that is started by entering DiskPart.
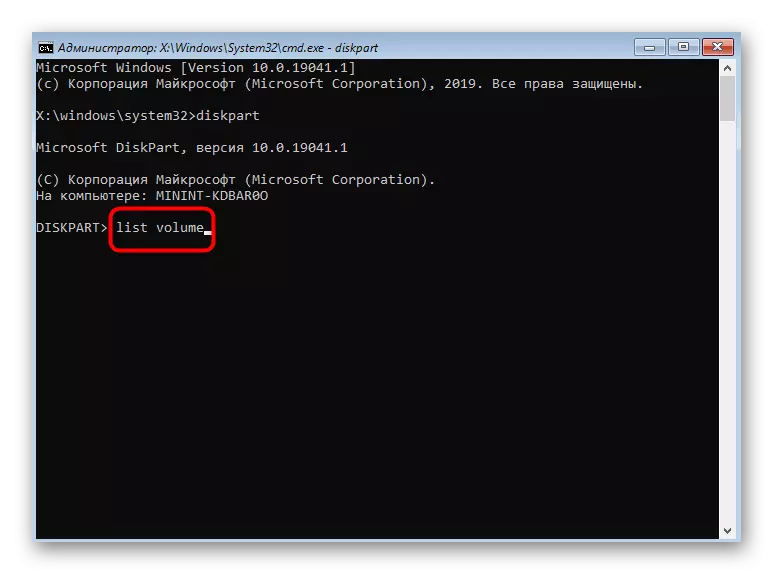
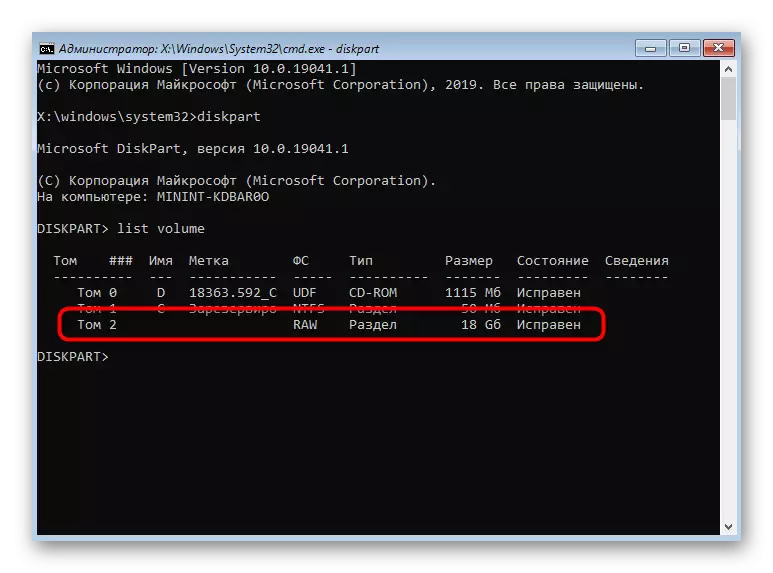
- Browse a list of available sections via List Volume.
- Remember the number of unstable space.
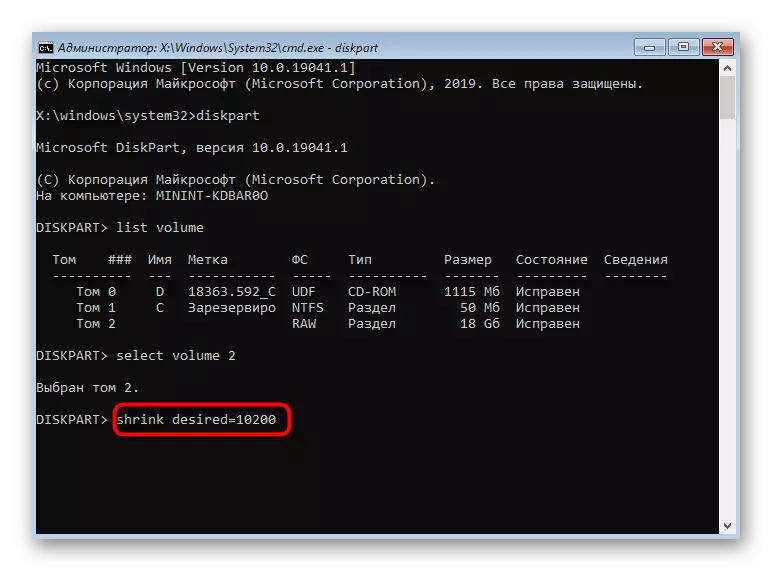
- After that, enter SELECT VOLUME N, replacing N to volume number to activate it.
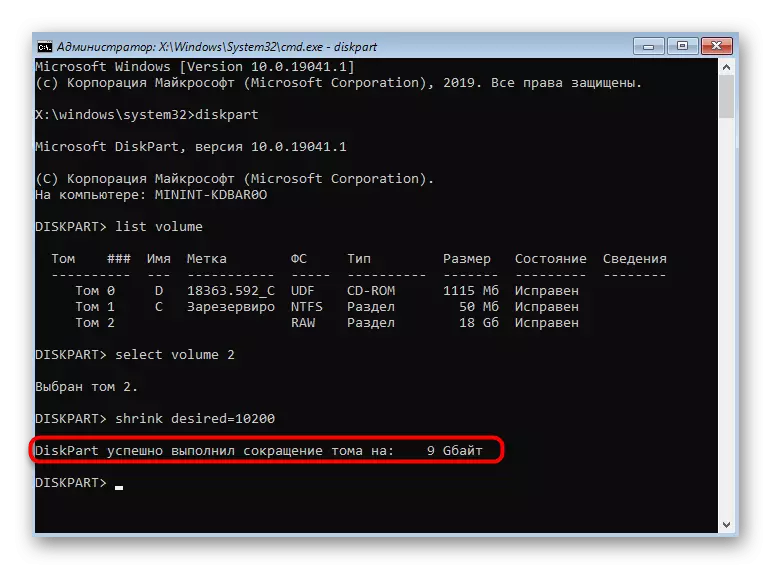
- Write the SHRINK Desired = Size command by setting the size for a new logical partition in megabytes, and click on ENTER.
- You will be notified of the reduction in the size of the selected volume.
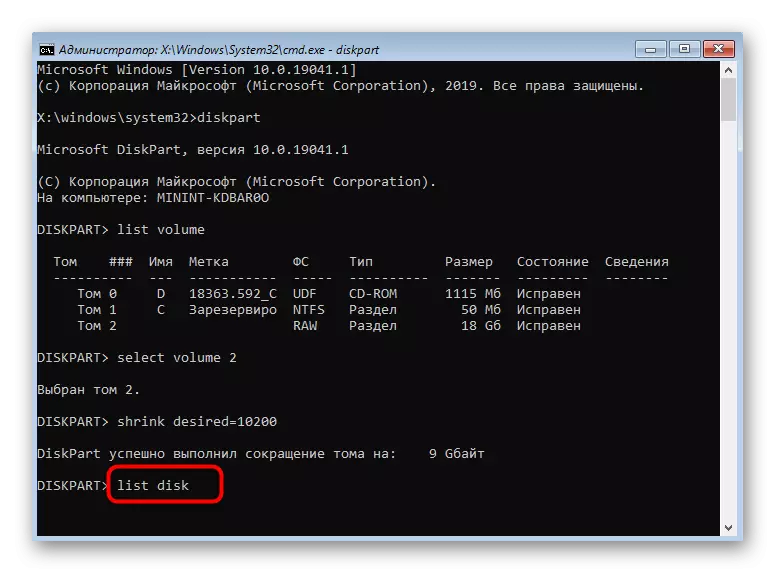
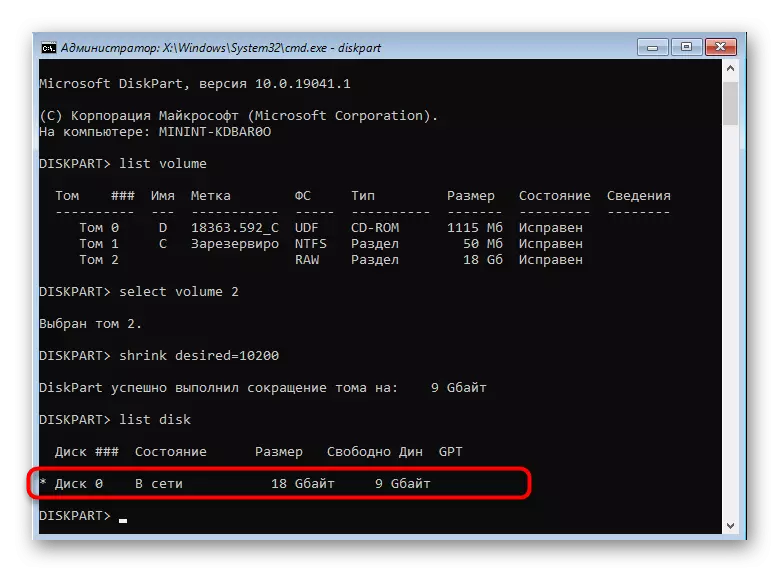
- Now use List Disk to see the number of the physical drive.
- In the table that appears, find the drive used and remember the digit assigned to it.
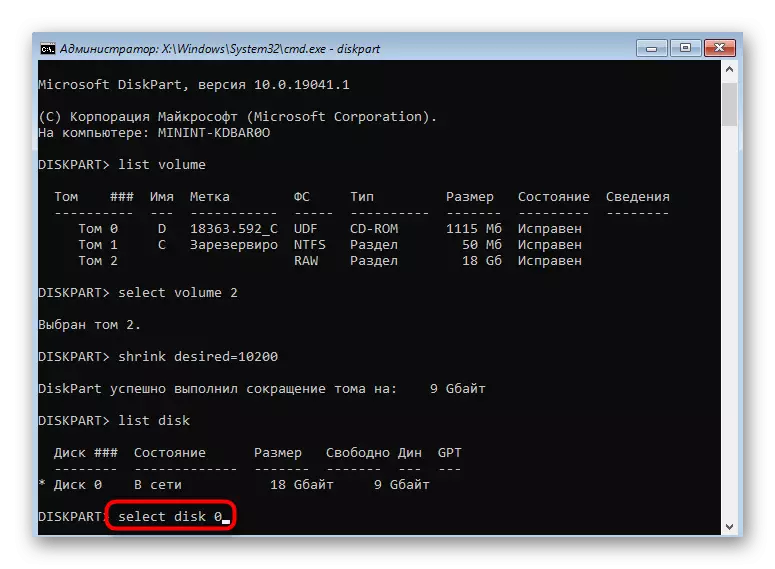
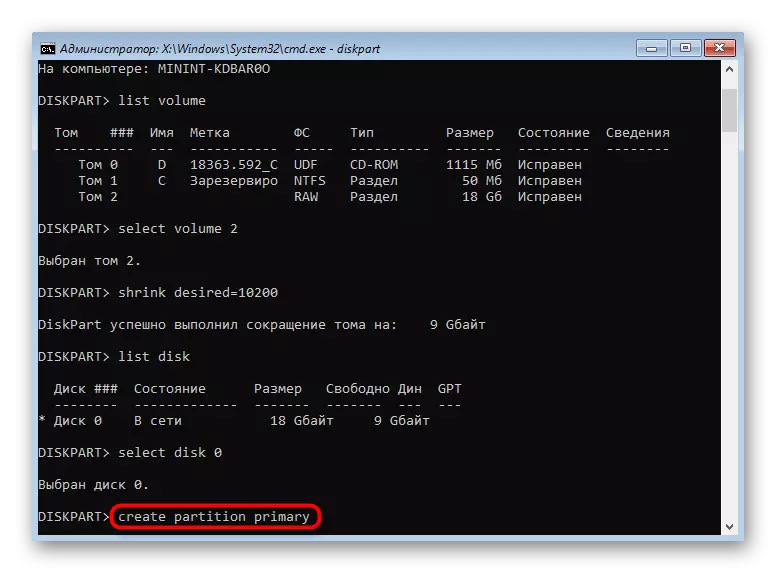
- Select this disc via SELECT DISK 0, where 0 is a specific number.
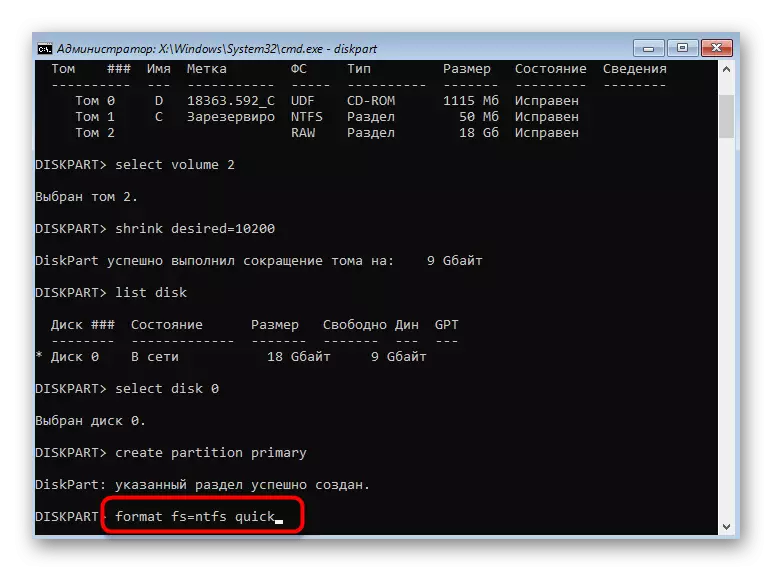
- Create the main partition from unbalanced space by entering and activating the Create Partition Primary command.
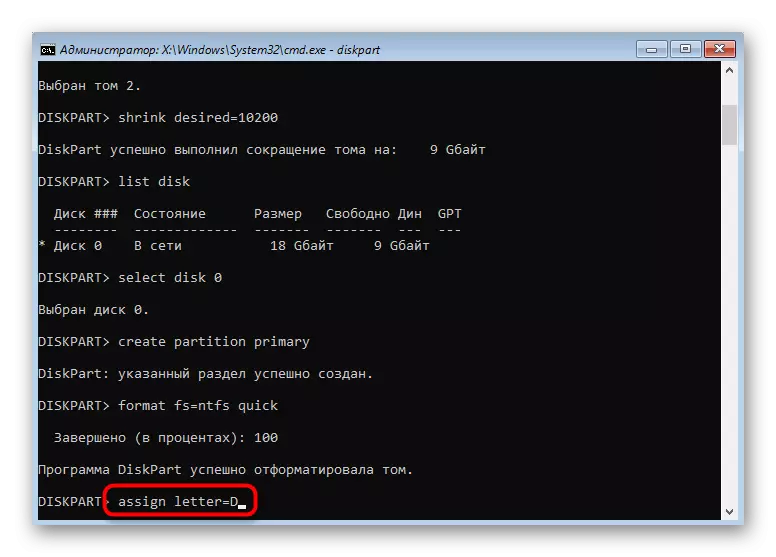
- Format the file system of the new volume using Format FS = NTFS Quick.
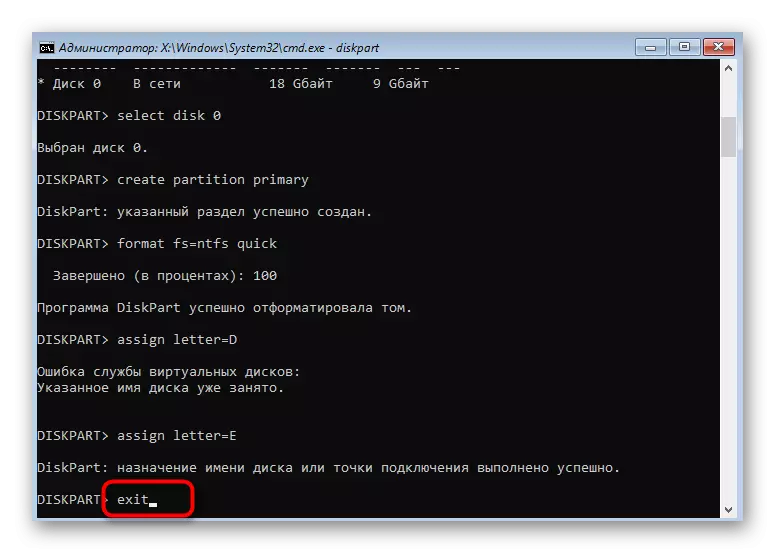
- It remains only to enter Assign Letter = N, replacing N on the desired letter of the new volume.
- Write an exit to leave the snap and close the console.
- After that, when installing the operating system, you will see the section or partition created earlier and you can select any of them to install Windows.


In the same way, you can divide the disk by creating the required number of partitions through the command line. Do not forget to select the correct volumes of volumes and disks to accidentally not delete important data.
The most common problem that appears when you try to divide the disk before installing the OS, the absence of the drive itself in the list. This may be caused by the most different reasons, so we advise you to read a separate material on this topic, finding the appropriate solution there and proceeding after this to the separation of HDD to logical volumes.
READ ALSO: No hard disk when installing Windows
Above, we presented two disk separation methods when installing Windows 10. You can only choose the appropriate and follow the instructions to correctly perform the task without any additional difficulties.