

Step 1: Installation of the necessary packages
Before you start considering the following instructions, we want to note that on our site there is already a general configuration guide to the standard DNS in Linux. We recommend using exactly the material if you should set the settings for the usual visit to Internet sites. Next, we will show how the main local DNS server with the client part is installed.At the end of this process, you will be notified that all packages have been successfully added to the system. After that, go to the next step.
Step 2: Global DNS Server Setup
Now we want to demonstrate how the main configuration file is edited, as well as which rows are added there. We will not dwell on each line separately, as it will take a lot of time, moreover, all the necessary information is available in the official documentation.
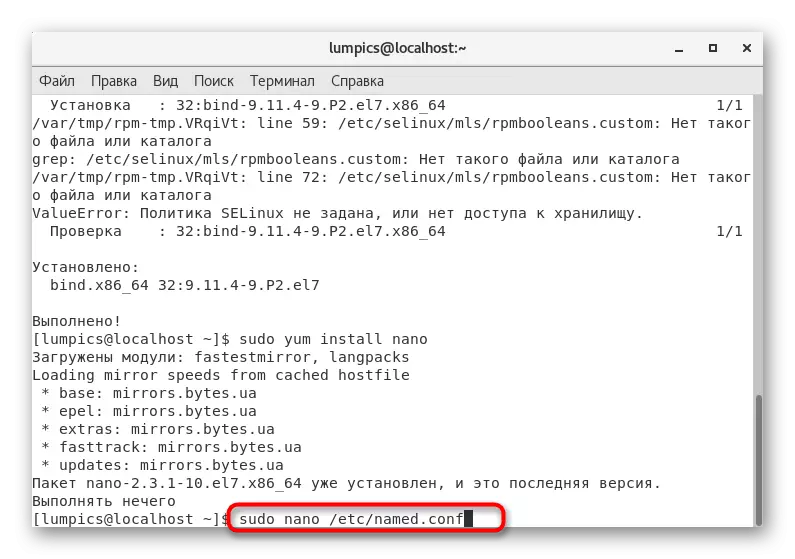
- You can use any text editor to edit configuration objects. We offer to install a convenient Nano by entering the sudo yum install nano in the console.
- All the necessary packages will be downloaded, and if they are already present in the distribution, you will receive a notification "perform nothing."
- We will proceed to edit the file itself. Open it through sudo nano /etc/named.conf. If necessary, replace the desired text editor, then the string will be as follows: sudo vi /etc/named.conf.
- Below we present the contents that you need to insert into the opened file or verify it with already existing by adding missing lines.
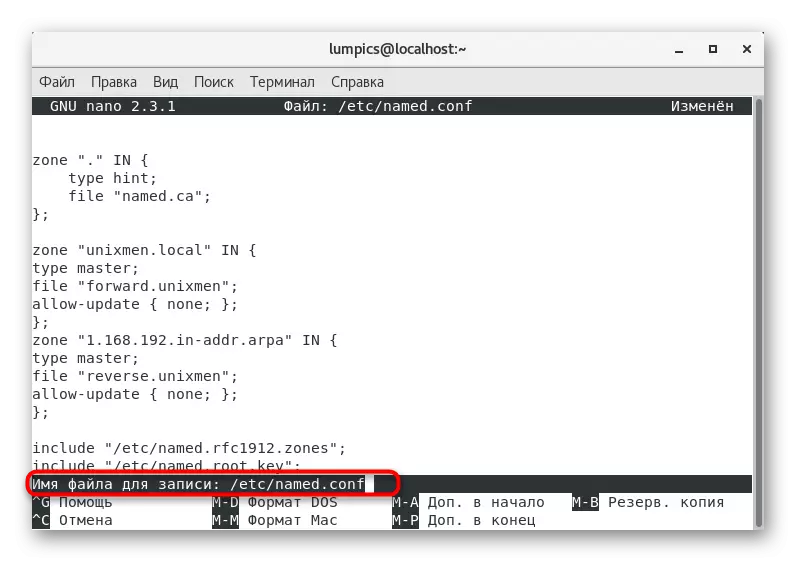
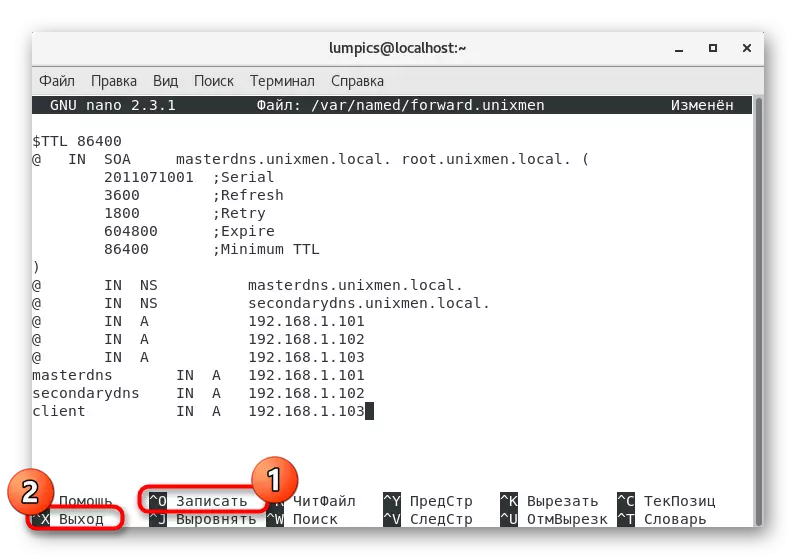
- After that, press Ctrl + O to record changes.
- You do not need to change the file name, just click on ENTER.
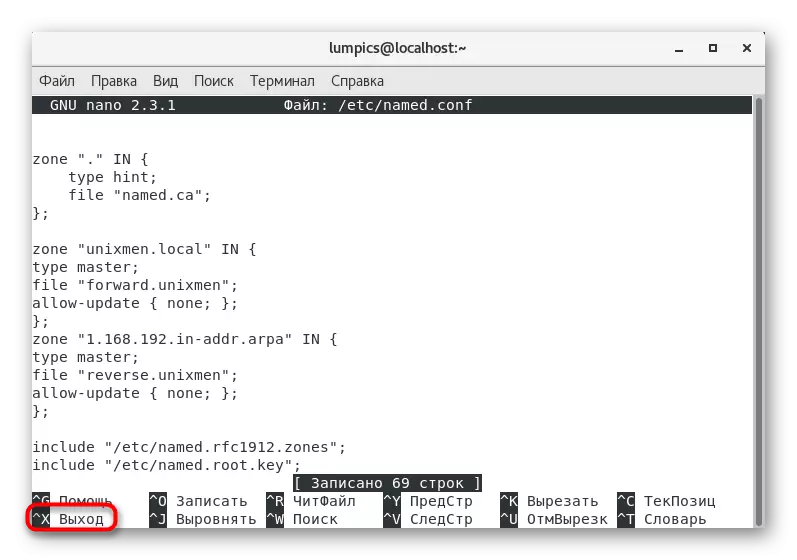
- Leave a text editor via Ctrl + X.


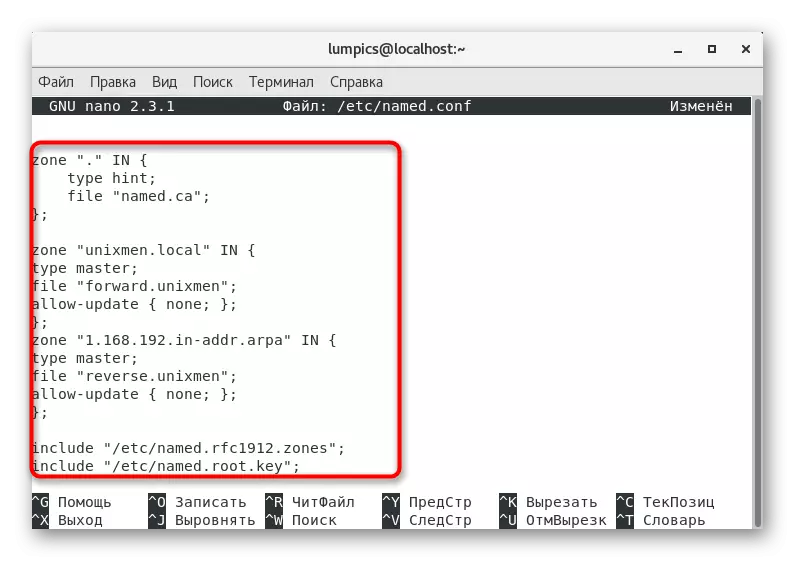

As it has already been said earlier, the configuration file will require insert certain lines that specify the general rules for the DNS server behavior.
//
// Named.conf.
//
// Provided by Red Hat Bind Package to Configure The ISC BIND Named (8) DNS
// Server As A Caching Only NameServer (AS A Localhost DNS Resolver ONLY).
//
// SEE / usr / Share / Doc / Bind * / Sample / for example named configuration files.
//
Options {
Listen-on port 53 {127.0.0.1; 192.168.1.101;}; ### Master DNS IP ###
# Listen-on-v6 port 53 {:: 1; };
Directory "/ Var / Named";
dump-file "/var/named/data/cache_dump.db";
statistics-file "/var/named/data/named_stats.txt";
MemStatistics-file "/Var/Named/Data/Named_mem_stats.txt";
ALLOW-QUERY {LOCALHOST; 192.168.1.0/24;}; ### IP Range ###
ALLOW-TRANSFER {LOCALHOST; 192.168.1.102; }; ### Slave DNS ip ###
/*
- if you are building An Authoritative DNS Server, Do Not Enable Recursion.
- If You Are Building A Recursive (Caching) DNS Server, You Need to Enable
Recursion.
- IF Your Recursive DNS Server Has A Public IP Address, You Must Enable Access
Control to Limit Queries to Your Legitimate Users. FAILING TO DO SO WILL
Cause Your Server to Become Part of Large Scale DNS Amplification
Attacks. Implementing BCP38 Within Your Network Would Greatly
Reduce Such Attack Surface
*/
Recursion YES;
dnssec-enable yes;
DNSSEC-VALIDATION YES;
DNSSEC-LOOKASIDE AUTO;
/ * PATH TO ISC DLV KEY * /
bindkeys-file "/etc/named.iscdlv.key";
Managed-keys-directory "/ var / named / dynamic";
pid-file "/urn/named/named.pid";
session-keyfile "/urn/named/Session.Key";
};
Logging {
Channel Default_debug {
File "Data / Named.Run";
SEVERITY DYNAMIC;
};
};
Zone "." In {
Type Hint;
File "Named.ca";
};
zone "unixmen.local" in {
Type Master;
File "Forward.unixmen";
ALLOW-UPDATE {NONE; };
};
zone "1.168.192.in-addr.arpa" in {
Type Master;
File "Reverse.unixmen";
ALLOW-UPDATE {NONE; };
};
include "/etc/named.rfc1912.zones";
include "/etc/named.root.key";
Make sure that everything is exposed exactly as shown above, and then go to the next step.
Step 3: Creating a direct and reverse zone
For information about the source, the DNS server uses direct and inverse zones. The direct allows you to receive an IP address by host name, and the return via IP gives a domain name. The correct operation of each zone must be provided with special rules, the creation of which we offer to do further.
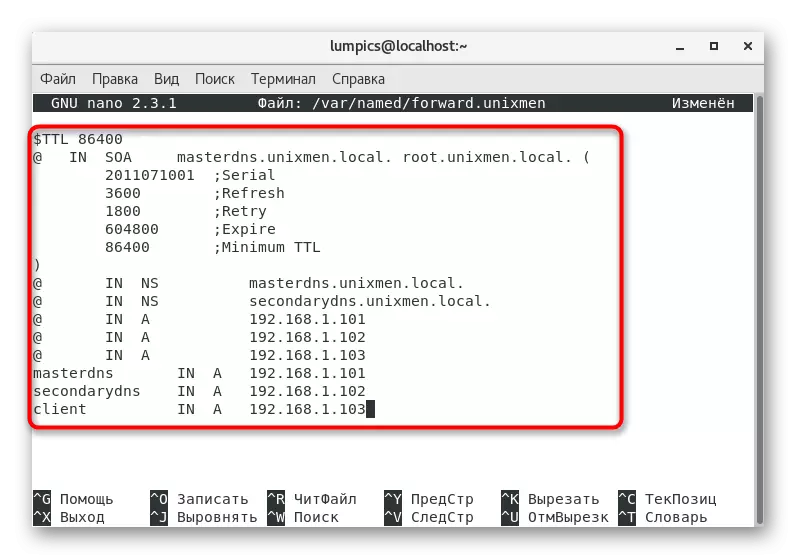
- For a direct zone, we will create a separate file through the same text editor. Then the string will look like this: sudo nano /var/named/forward.unixmen.
- You will be notified that it is an empty object. Paste the following contents there:
$ TTL 86400.
@ In soa masterdns.unixmen.local. root.unixmen.local. (
2011071001; Serial
3600; Refresh.
1800; Retry.
604800; EXPIRE
86400; Minimum TTL
)
@ IN NS MASTERDNS.UNIXMEN.LOCAL.
@ In ns secondarydns.unixmen.local.
@ IN A 192.168.1.101
@ IN A 192.168.1.102
@ IN A 192.168.1.103
MasterDNS IN A 192.168.1.101
SECONDARYDNS IN A 192.168.1.102
Client In A 192.168.1.103
- Save the changes and close the text editor.
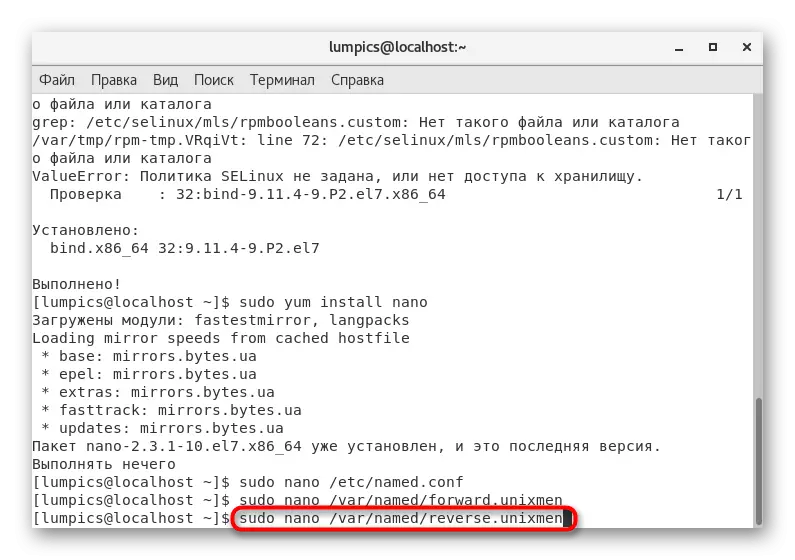
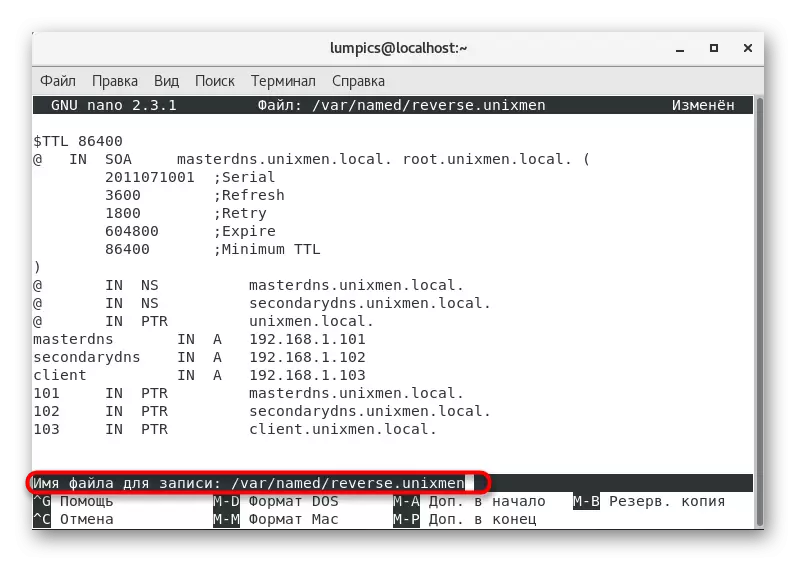
- We now turn to the reverse zone. It requires a /Var/Named/reverse.unixmen file.
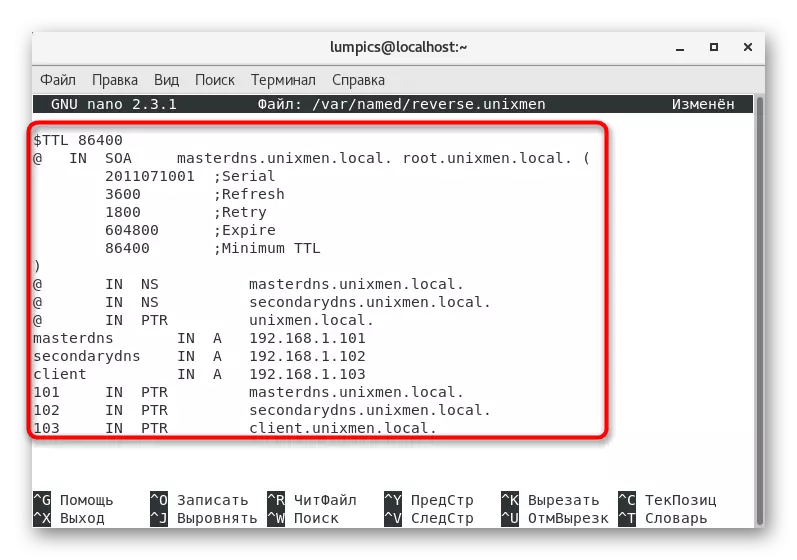
- This will also be a new empty file. Insert there:
$ TTL 86400.
@ In soa masterdns.unixmen.local. root.unixmen.local. (
2011071001; Serial
3600; Refresh.
1800; Retry.
604800; EXPIRE
86400; Minimum TTL
)
@ IN NS MASTERDNS.UNIXMEN.LOCAL.
@ In ns secondarydns.unixmen.local.
@ In ptr unixmen.local.
MasterDNS IN A 192.168.1.101
SECONDARYDNS IN A 192.168.1.102
Client In A 192.168.1.103
101 in ptr masterdns.unixmen.local.
102 in Ptr SecondaryDns.unixmen.local.
103 in ptr client.unixmen.local.
- When saving, do not change the object name, but simply press the ENTER key.

Now the specified files will be used for direct and reverse zone. If necessary, you should edit them in order to change some parameters. You can also read about it in official documentation.
Step 4: Start DNS Server
After completing all previous instructions, you can already start the DNS server so that in the future it is easy to check its performance and continue setting up important parameters. The task is carried out as follows:
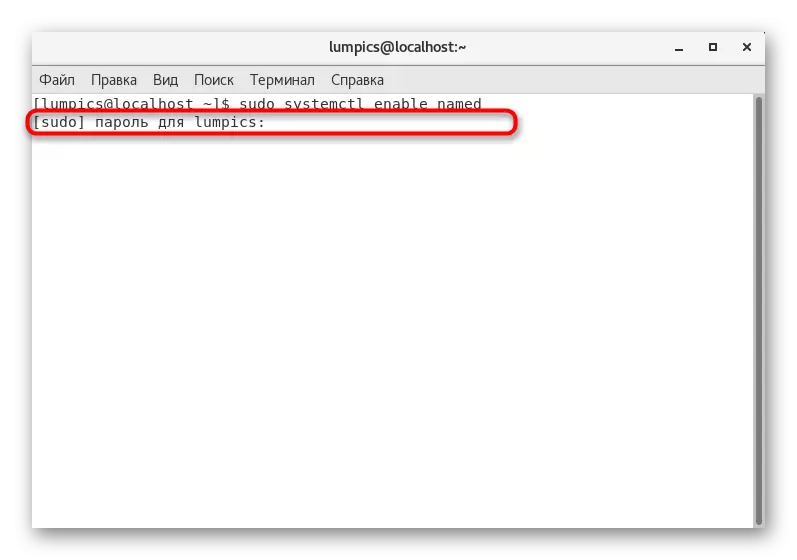
- In the console, enter Sudo SystemCTL Enable Named to add a DNS server to autoload for automatic start when starting the operating system.
- Confirm this action by entering the superuser password.
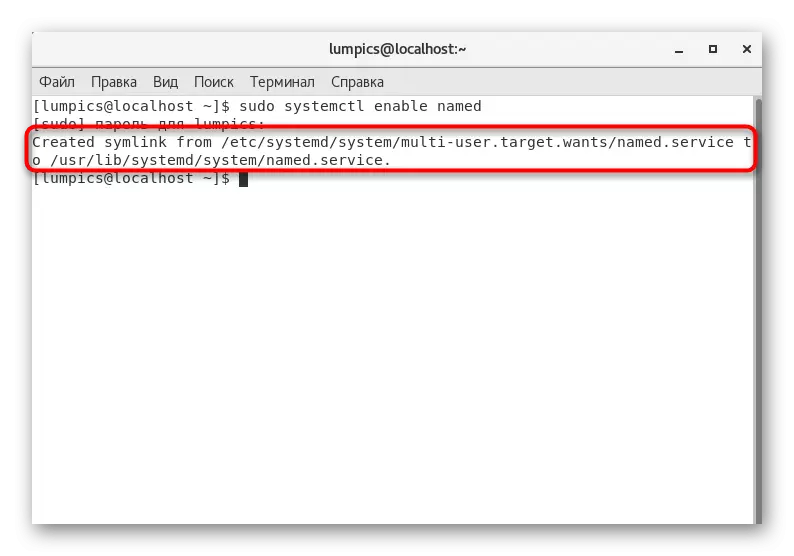
- You will be notified of the creation of a symbolic reference, which means that the action has been successful.
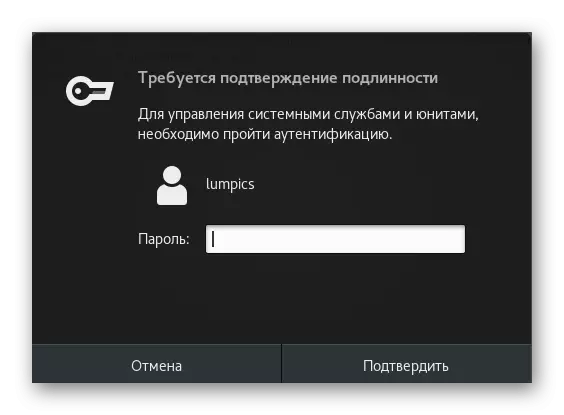
- Run the utility via SystemCTL Start Named. You can stop it in the same way, only replacing the START option on Stop.
- When the authentication pop-up window is displayed, enter the password from the root.


As you can see, the management of the specified service is carried out according to the same principle as all other standard utilities, therefore, there should be no problems with this even at novice users.
Step 5: Changing the parameters of the firewall
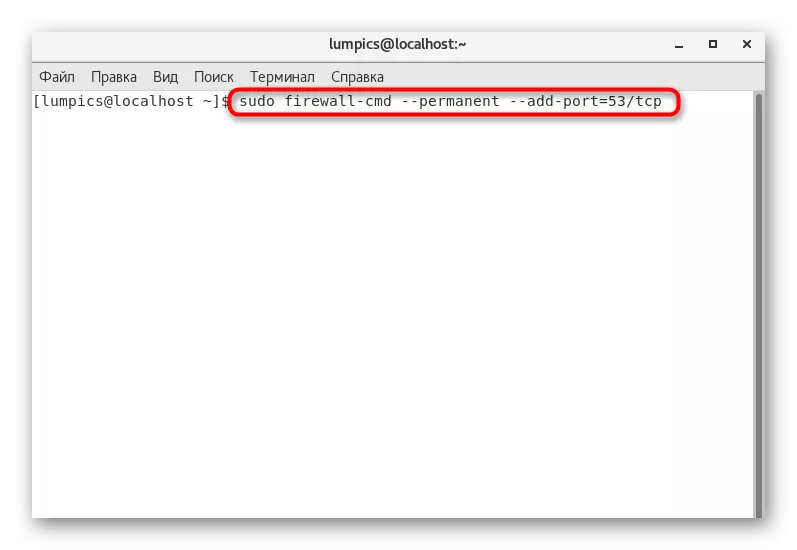
For the correct operation of the DNS server, you will need to open port 53, which is carried out through the Firewalld standard firewall. In the Terminal, you will need to introduce only three simple commands:
- The first features a view of Firewall-CMD --permanent --DD-port = 53 / TCP and is responsible for opening the TCP protocol port. Insert it into the console and click on ENTER.
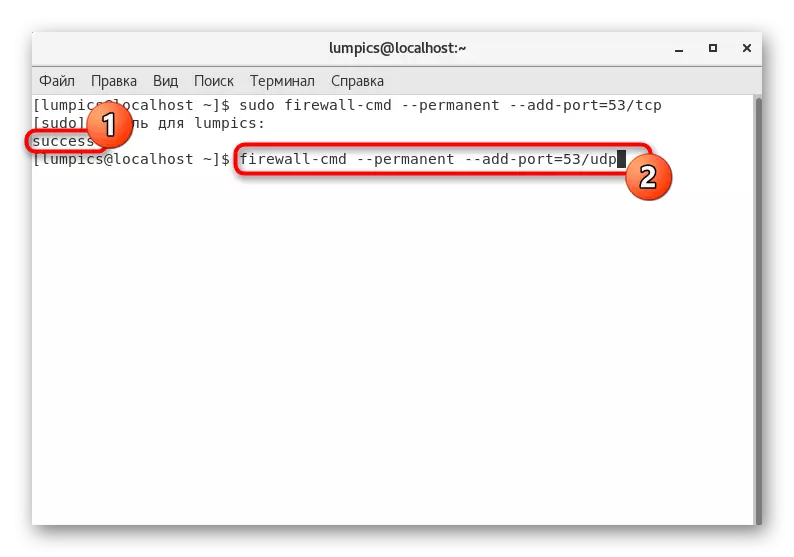
- You must receive the "Success" notification, which indicates the successful application of the rule. After that, insert the Firewall-CMD --perManent --DD-port = 53 / UDP string to open the UDP protocol port.
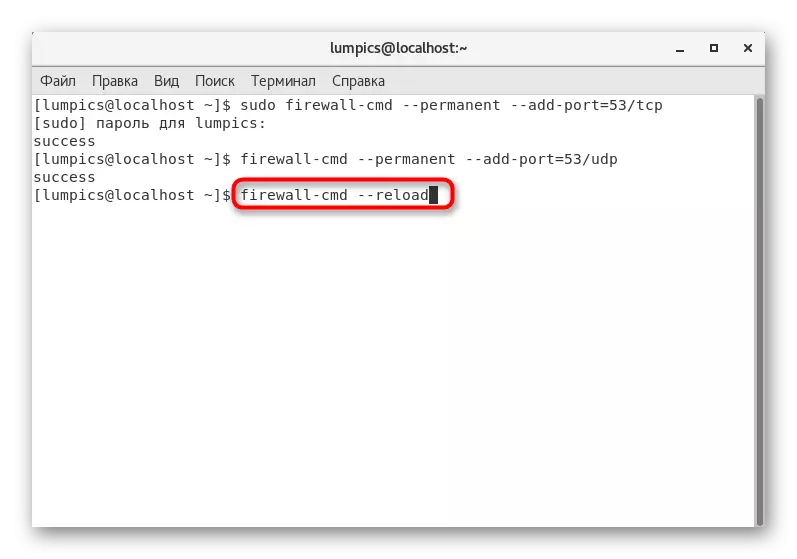
- All changes will be applied only after rebooting the firewall, which is performed through the Firewall-CMD --RELOAD command.
There are no more changes with firewall to produce. Keep it constantly in the on state, so that there are no access problems.
Step 6: Adjust access rights
Now it will be necessary to set the main permissions and access rights to protect the DNS server function and protect the usual users from the ability to change the parameters. We will make it in a standard way through Selinux.
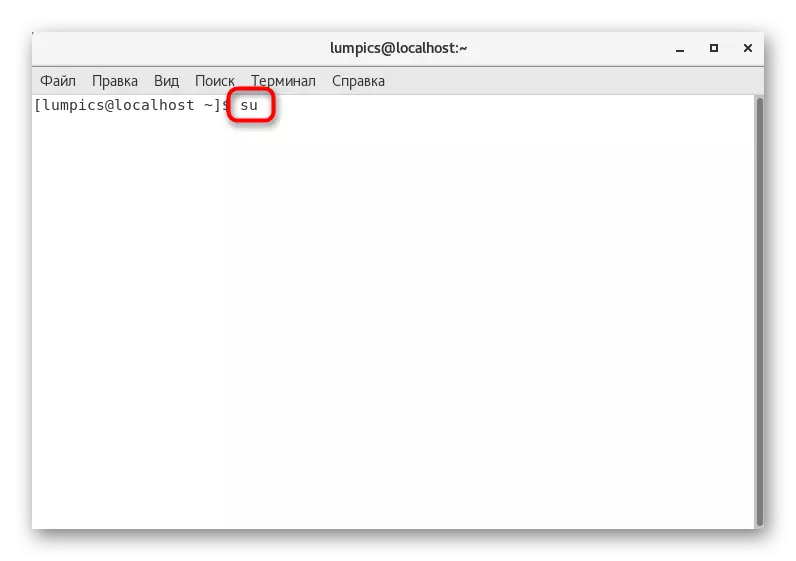
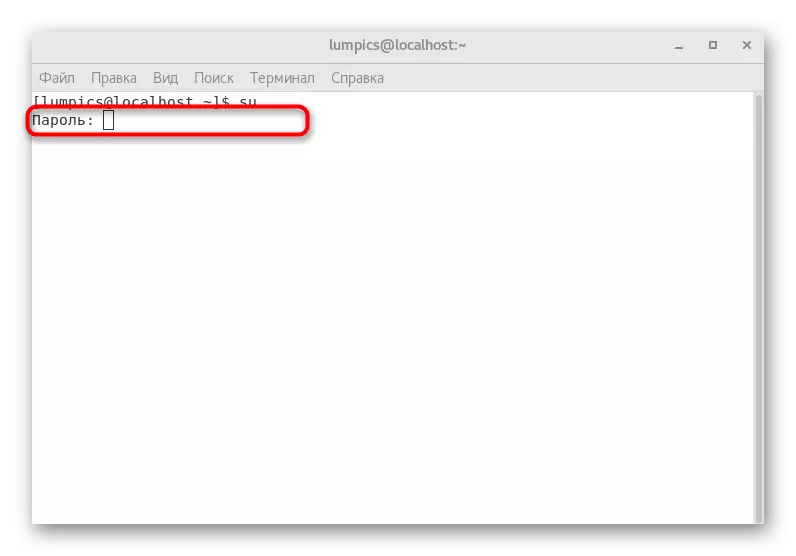
- All subsequent commands must be activated on behalf of the superuser. To constantly not enter the password, we advise you to enable permanent root access for the current terminal session. To do this, enter SU in the console.
- Specify the access password.
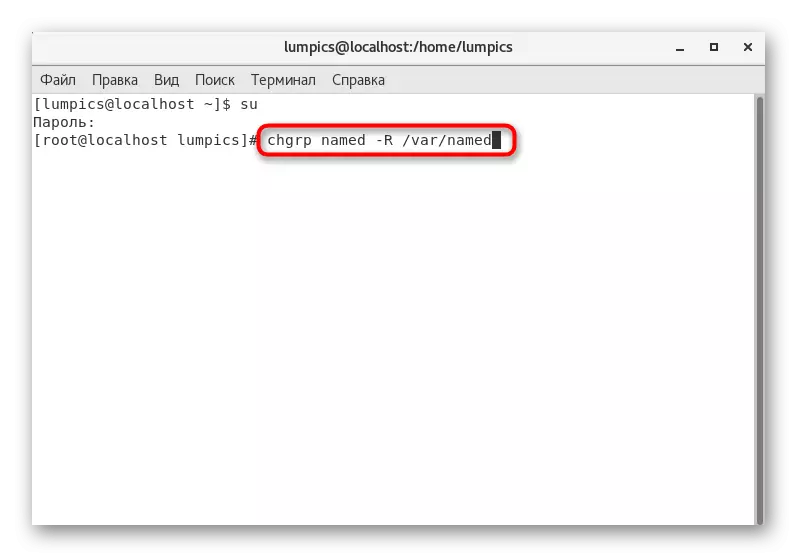
- After that, alternately enter the following commands to create optimal access configuration:
CHGRP Named -R / Var / Named
Chown -v root: named /etc/named.conf
Restorecon -RV / VAR / Named
Restorecon /etc/Named.conf.
On this, the general configuration of the main DNS server is completed. It remains only to edit several configuration files and test errors. We offer all this to figure out the next step.
Step 7: Testing for errors and completing the setting
We recommend starting with error checks so that in the future it does not have to change the remaining configuration files. That is why we will consider it all within one step, as well as we give samples of proper output of commands for testing.
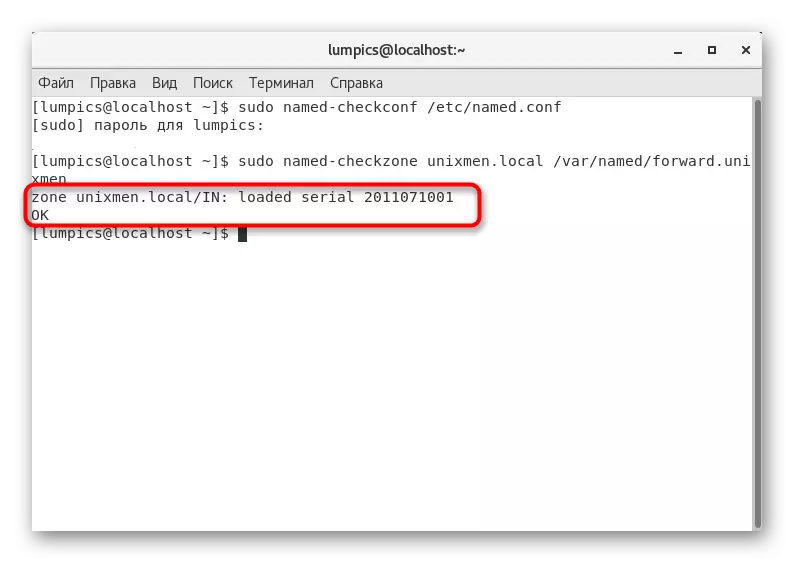
- Enter the Named-Checkconf /etc/Named.conf in the Terminal. This will allow you to check global parameters. If, as a result, no output followed, it means that everything is configured correctly. Otherwise, learn the message and, pushing out from it, solve the problem.
- Next you need to check the direct zone by inserting the Named-Checkzone unixmen.local /var/named/Forward.Unixmen string.
- Output sample is as follows: zone unixmen.local / in: Loaded Serial 2011071001 OK.
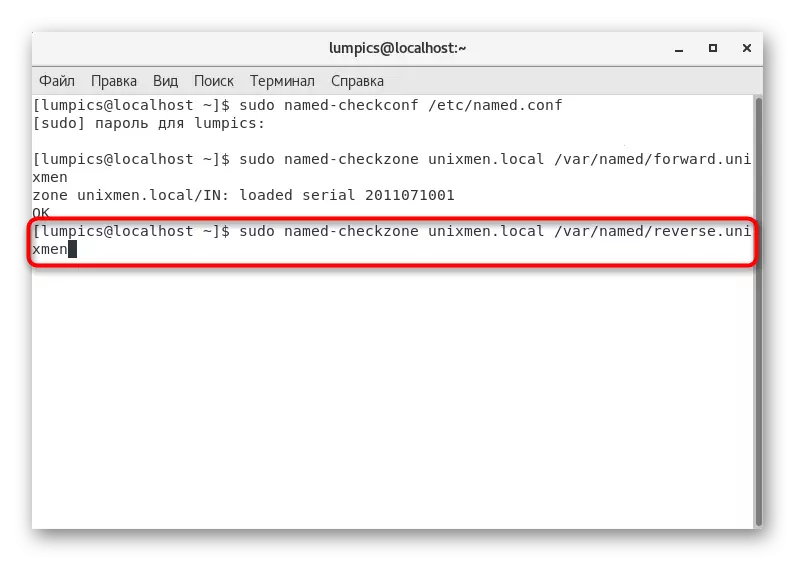
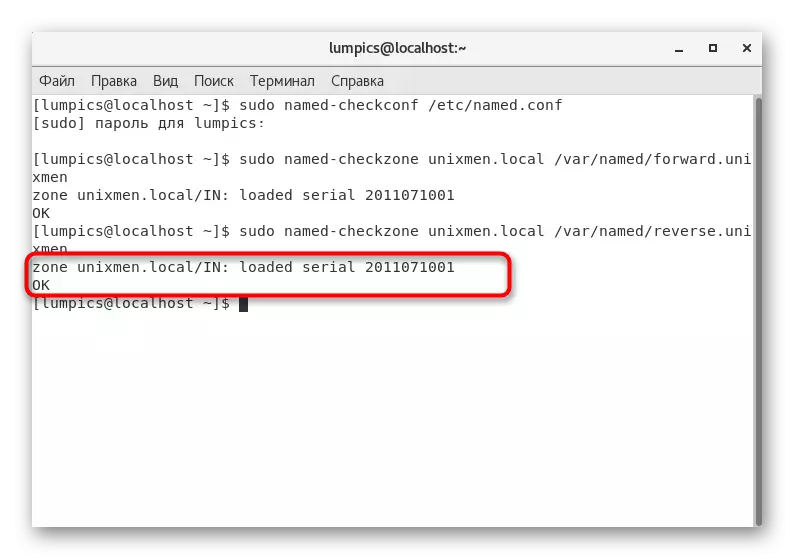
- Approximately the same and with the reverse zone through the Named-Checkzone unixmen.local /var/named/reverse.unixmen.
- The correct output should be: zone unixmen.local / in: Loaded Serial 2011071001 OK.
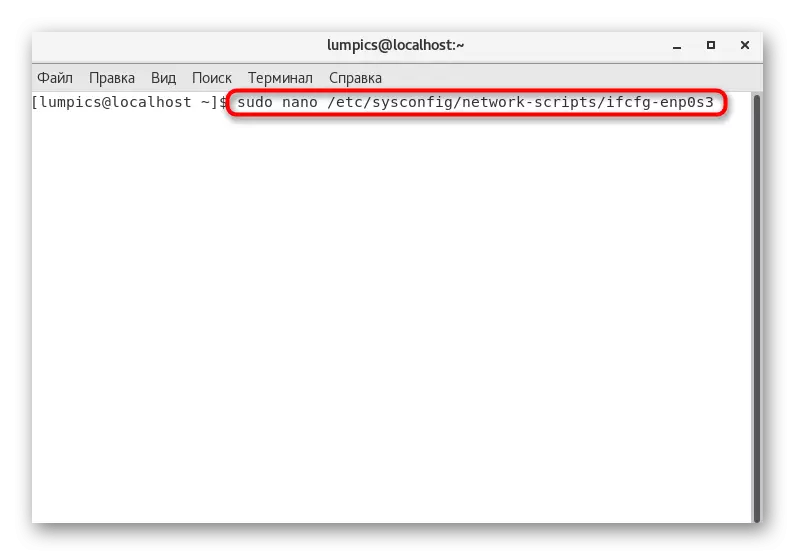
- We now move on to the settings of the main network interface. It will require add data of the current DNS server. To do this, open the / etc / sysconfig / network-scripts / ifcfg-enp0s3 file.
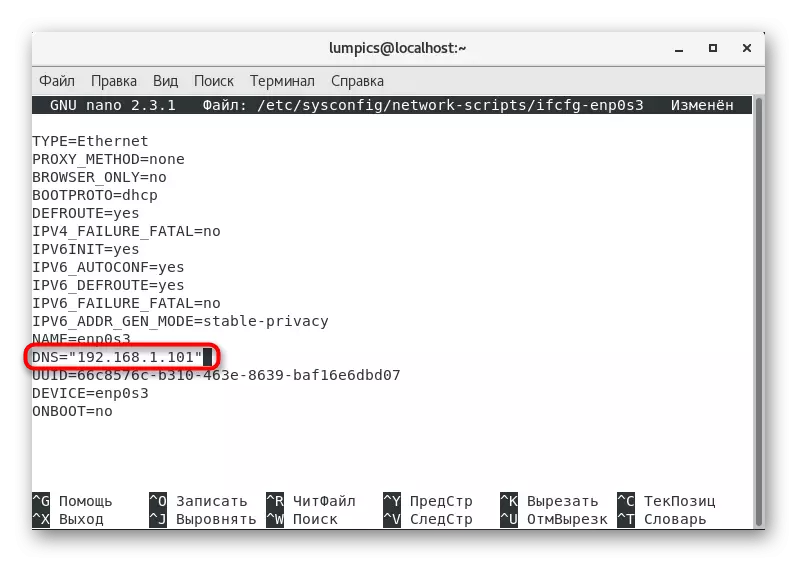
- Check that the contents are as shown below. If necessary, insert the DNS parameters.
Type = "Ethernet"
BootProto = "None"
Defroute = "Yes"
Ipv4_failure_fatal = "no"
Ipv6init = "yes"
Ipv6_autoconf = "yes"
IPv6_DEFROUTE = "YES"
IPv6_FAILURE_FATAL = "NO"
Name = "ENP0S3"
UUID = "5D0428B3-6AF2-4F6B-9FE3-4250CD839EFA"
ONBOOT = "YES"
Hwaddr = "08: 00: 27: 19: 68: 73"
Ipaddr0 = "192.168.1.101"
Prefix0 = "24"
Gateway0 = "192.168.1.1"
DNS = "192.168.1.101"
IPv6_peerdns = "Yes"
IPv6_peerroutes = "Yes"
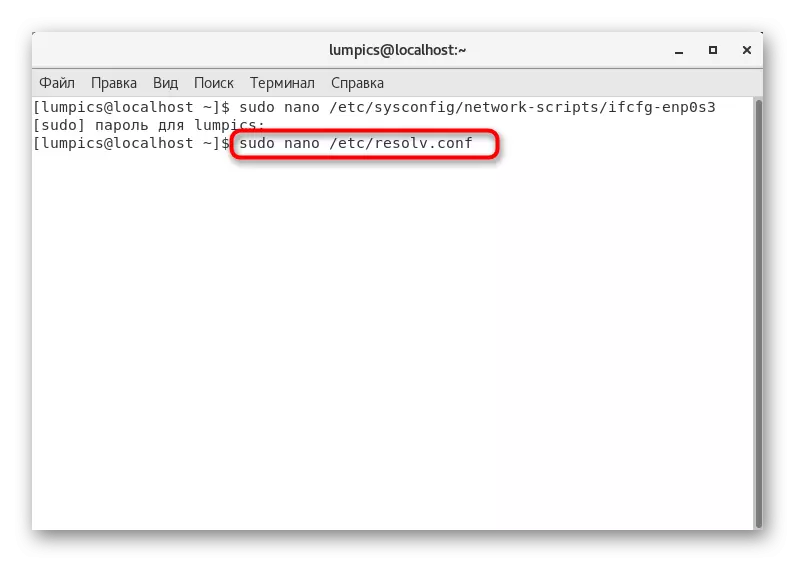
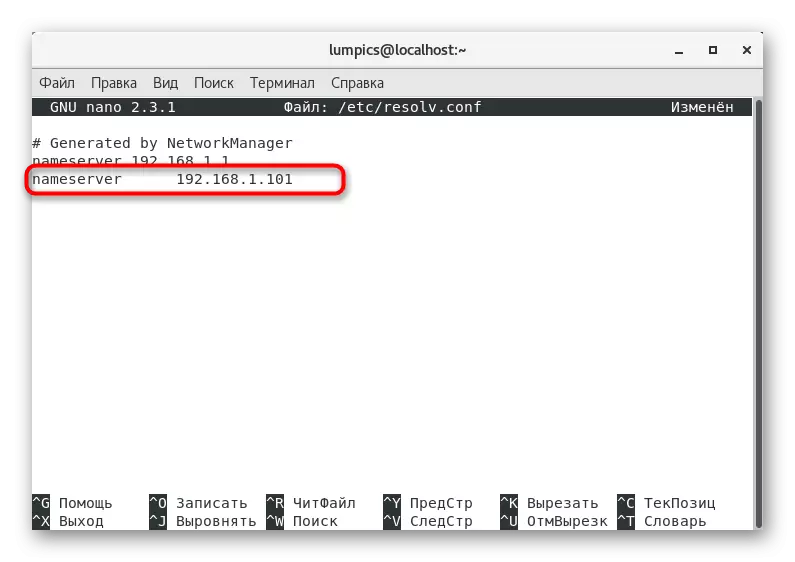
- After saving changes, go to the /etc/resolv.conf file.
- Here you need to add just one line: NameServer 192.168.1.101.
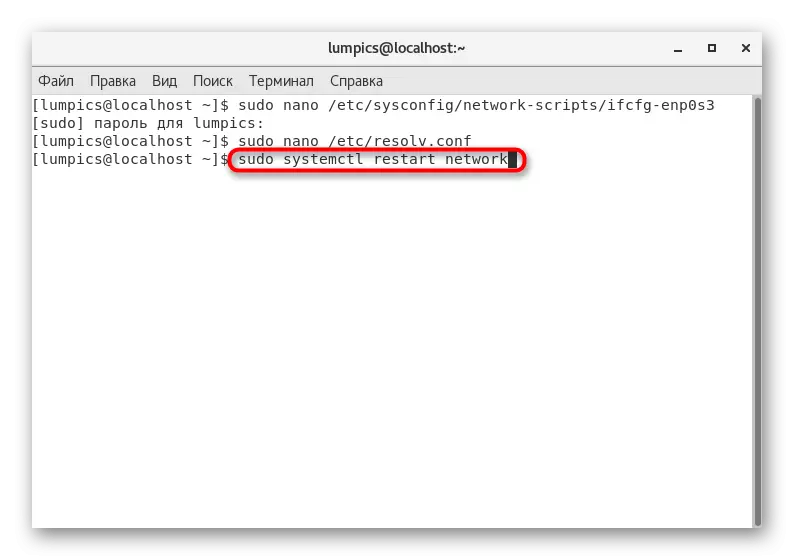
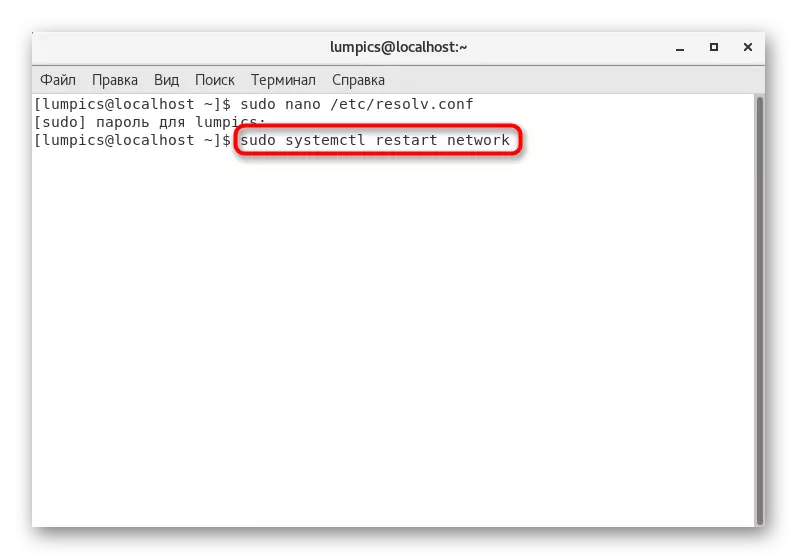
- Upon completion, it remains only to restart the network or computer to update the configuration. The network is restarted through the SystemCTL RESTART NETWORK command.
Step 8: Checking the installed DNS server
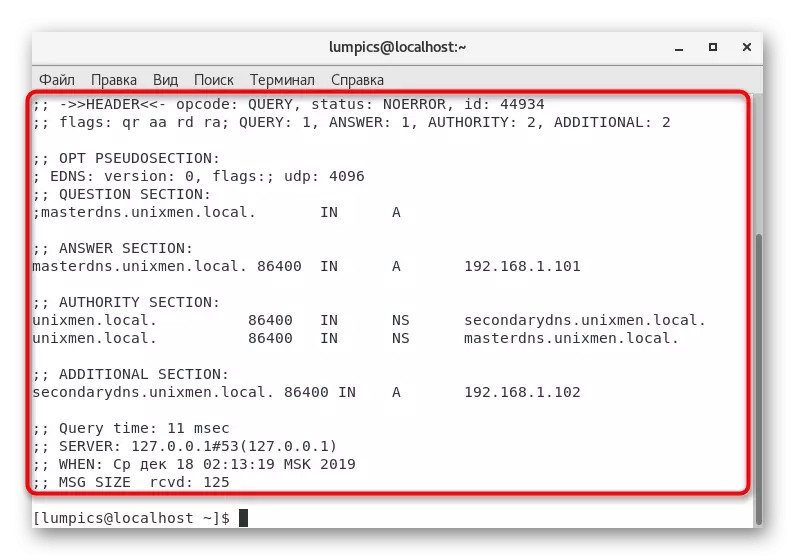
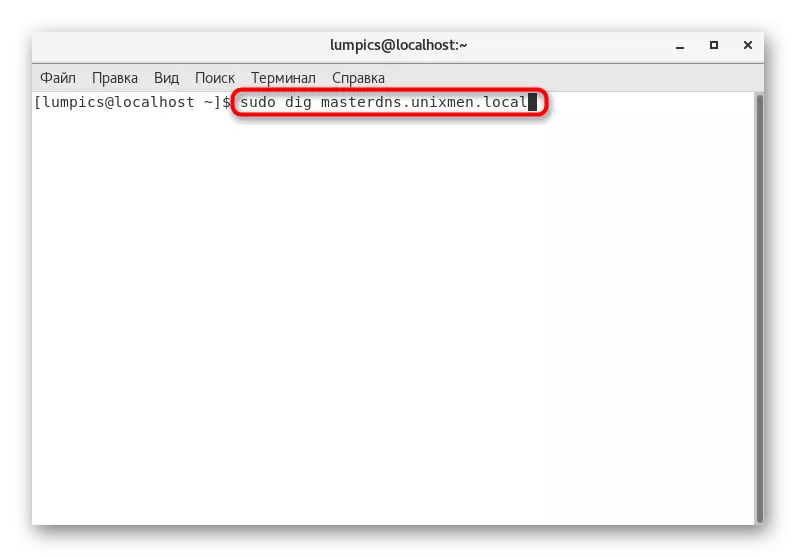
At the end of the configuration, it remains only to verify the operation of the available DNS server after it is added to the global network service. This operation is also performed using special commands. The first of them has the form of Dig Masterdns.Unixmen.local.

As a result, an output should appear on the screen, which has a similar representation with the content specified below.
; Dig 9.9.4-Redhat-9.9.4-14.EL7 MasterDns.Unixmen.local
;; Global Options: + CMD
;; Got Answer:
;; - >> Header.
;; Flags: QR AA RD RA; Query: 1, Answer: 1, AUTHORITY: 2, ADDITIONAL: 2
;; OPT Pseudosection:
; EDNS: Version: 0, Flags:; UDP: 4096.
;; Question Section:
; masterdns.unixmen.local. In A.
;; ANSWER SECTION:
Masterdns.Unixmen.local. 86400 IN A 192.168.1.101
;; Authority Section:
unixmen.local. 86400 in ns secondarydns.unixmen.local.
unixmen.local. 86400 in ns masterdns.unixmen.local.
;; ADDITIONAL SECTION:
Secondarydns.unixmen.local. 86400 IN A 192.168.1.102
;; Query Time: 0 MSEC
;; Server: 192.168.1.101 # 53 (192.168.1.101)
;; WHEN: WED AUG 20 16:20:46 IST 2014
;; MSG Size RCVD: 125
An additional command will allow you to learn about the status of the local DNS server. To do this, insert nslookup unixmen.local to the console and click on ENTER.
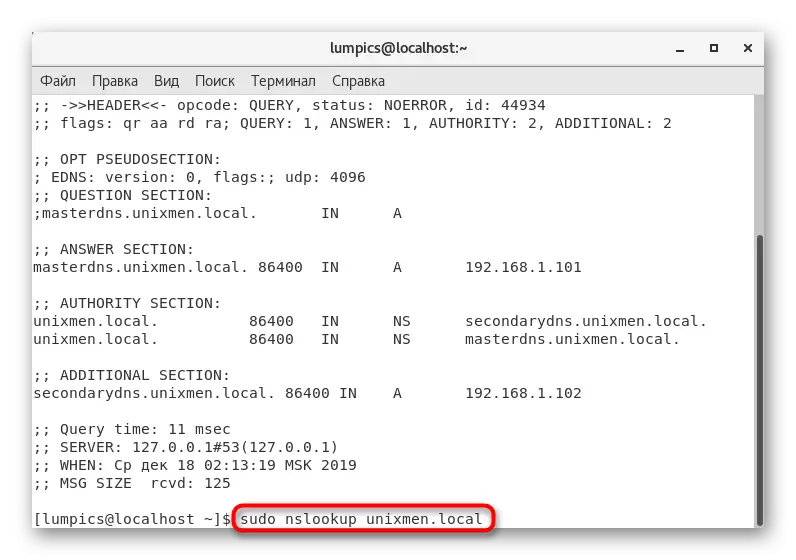
As a result, three different representations of IP addresses and domain names should be displayed.
Server: 192.168.1.101
Address: 192.168.1.101 # 53
Name: unixmen.local
ADDRESS: 192.168.1.103
Name: unixmen.local
Address: 192.168.1.101
Name: unixmen.local
ADDRESS: 192.168.1.102

If the output matches the one that we indicated, it means that the configuration is completed successfully and you can go to work with the client part of the DNS server.
Setting up the client part of the DNS server
We will not separate this procedure on individual steps, since it is performed by editing only one configuration file. It is necessary to add information about all clients that will be connected to the server, and the example of such a setup looks like this:
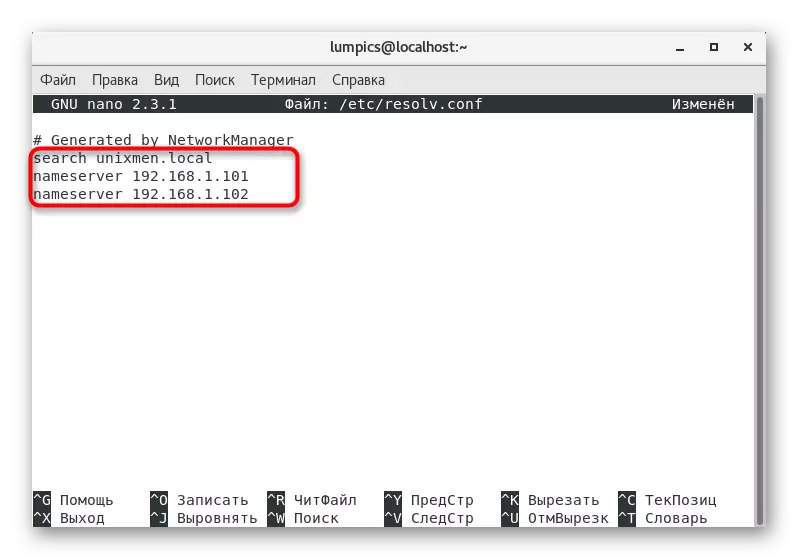
- Open the /etc/resolv.conf file through any convenient text editor.
- Add a string to search unixmen.local nameserver 192.168.1.101 and NameServer 192.168.1012, replacing the necessary client addresses.
- When saving, do not change the file name, but simply press the ENTER key.
- After leaving the text editor, restart the global network through the SystemCTL RESTART NETWORK command.


These were the main points of the customer component of the DNS server, which we wanted to tell. All other nuances are offered to study by reading the official documentation if required.
DNS Server Testing
The last stage of our today's material is the final testing of the DNS server. Below you see several commands, allowing you to cope with the task. Use one of them by activating through the "Terminal". If no errors are observed in the output, therefore, the entire process is done correctly.
Dig Masterdns.unixmen.local
Dig Secondarydns.unixmen.local
Dig client.unixmen.local
nslookup unixmen.local
Today you have learned all about setting up the main DNS server in the CENTOS distribution. As you can see, the entire operation is focused on entering terminal commands and editing configuration files, which can cause certain difficulties from novice users. However, you only need to accurately follow these instructions and read the results of the checks so that everything goes without any errors.