
Method 1: UnetBootin
Today, today I would like to consider programs with a graphical interface, because through them to record the disk image in Ubuntu is the easiest way that especially concerns novice users. As the first example, take UnetBootin. Of course, by default, this tool is missing in the operating system, so it must be installed to begin. The installation process and control is as follows:
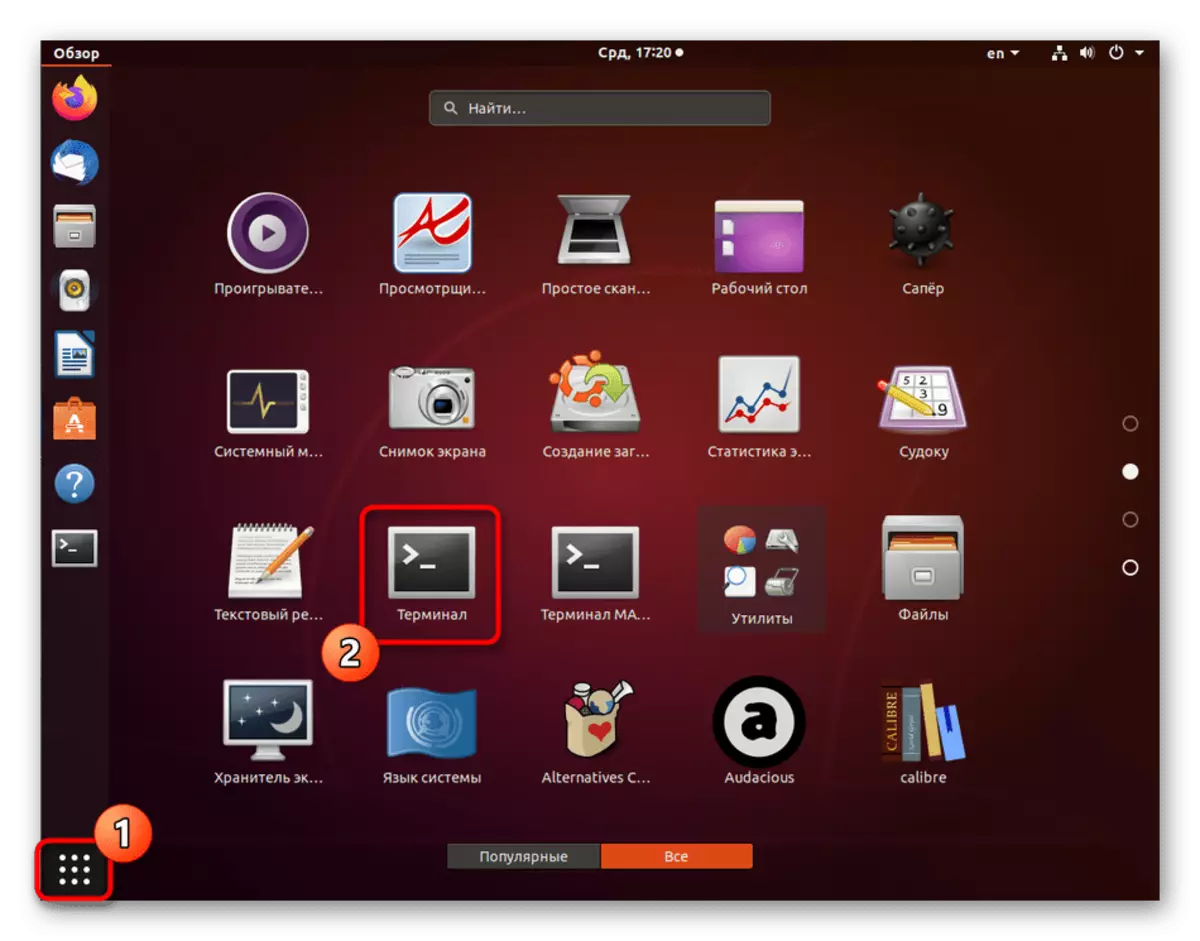
- Open the application menu and run from the "Terminal" from there. You can make it possible and by pressing the standard hot key Ctrl + Alt + T.
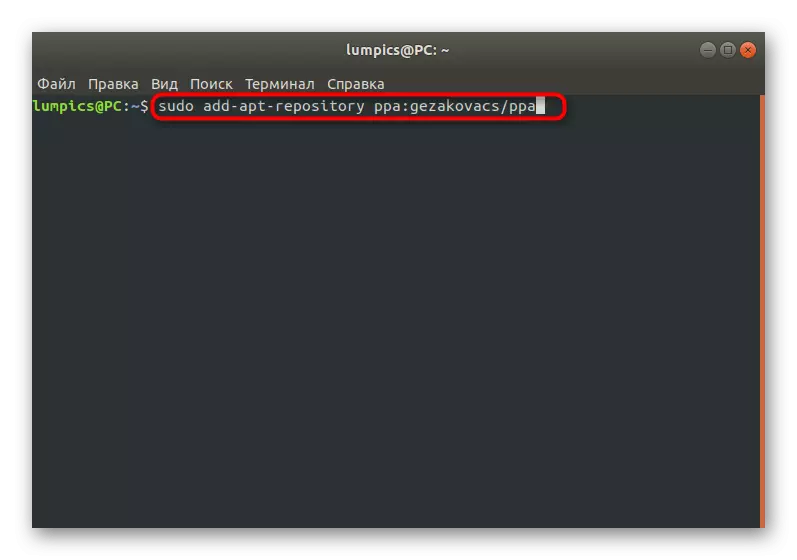
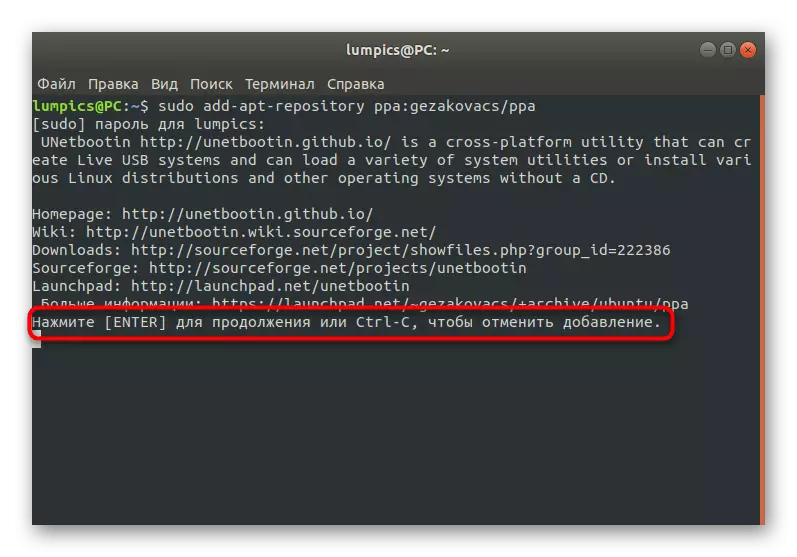
- Now you can get the considered tool only through user repositories, which means the need to add them to the system. This is done by entering the Sudo team ADD-APT-Repository PPA: Gezakovacs / PPA.
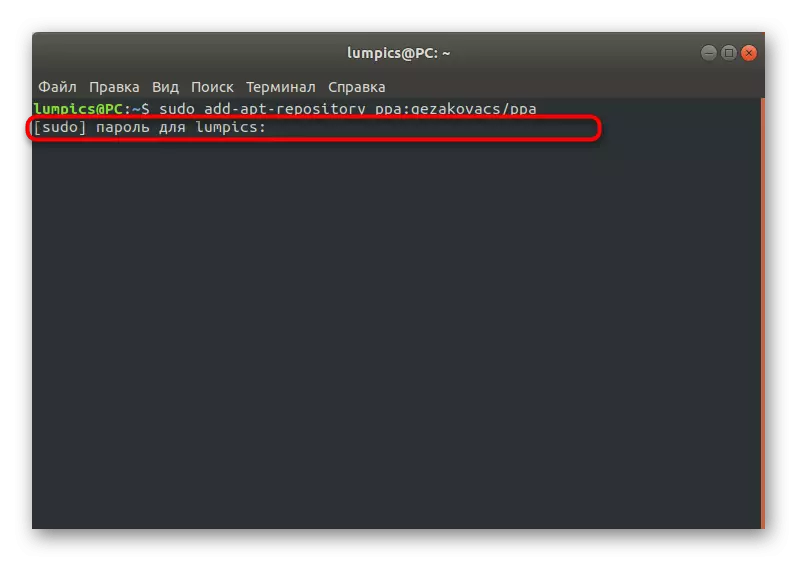
- This action is made on behalf of the superuser, so confirm it by entering the password in the corresponding string. Consider that the access key written in this way is never displayed in the console.
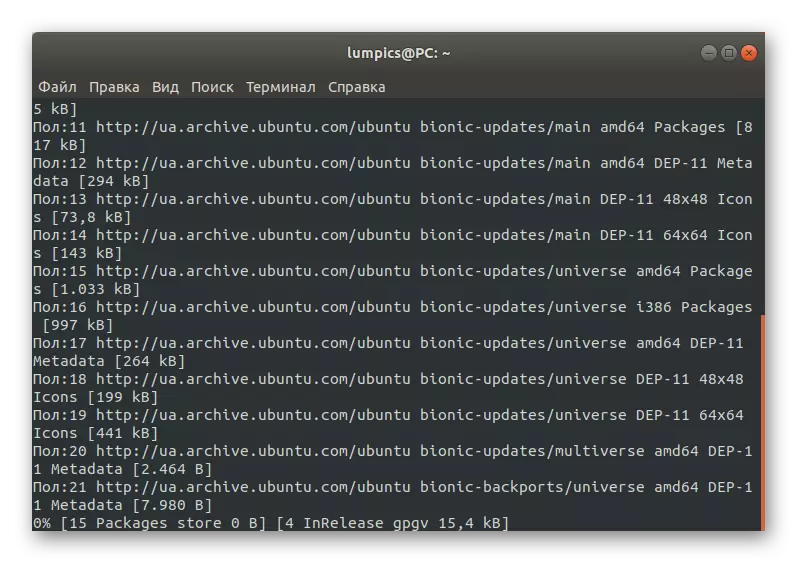
- The screen will display information about the need to download packages from certain resources. Confirm this by clicking on the ENTER key.
- Expect downloads. It takes a few minutes, which depends on the speed of the Internet connection. During this operation, do not close the console, otherwise all progress will betray.
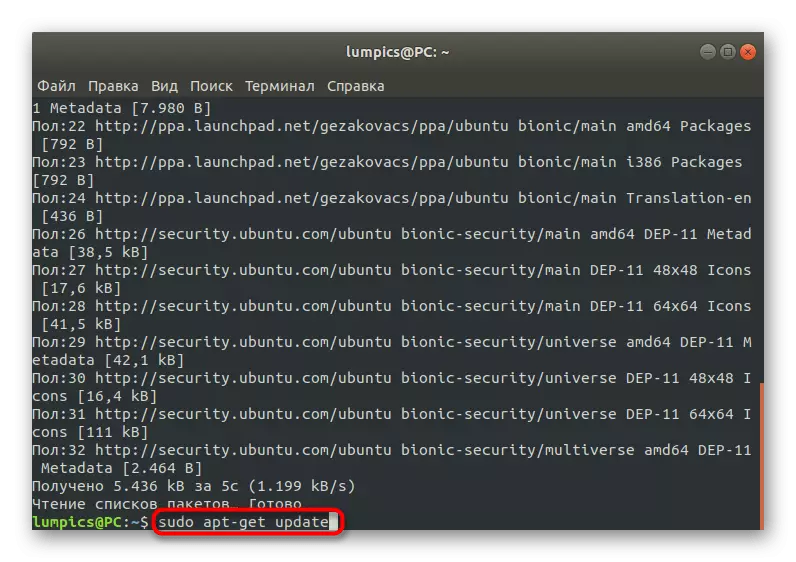
- After that, update the list of system repository by entering Sudo APT-Get Update.
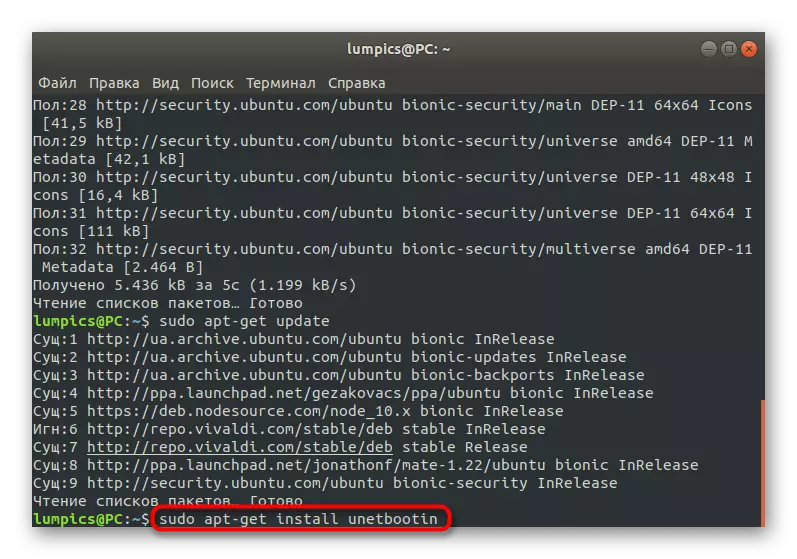
- It remains only to establish the program. This is done through Sudo Apt-Get Install UnetBootin.
- When prompted for downloading archives, select D.
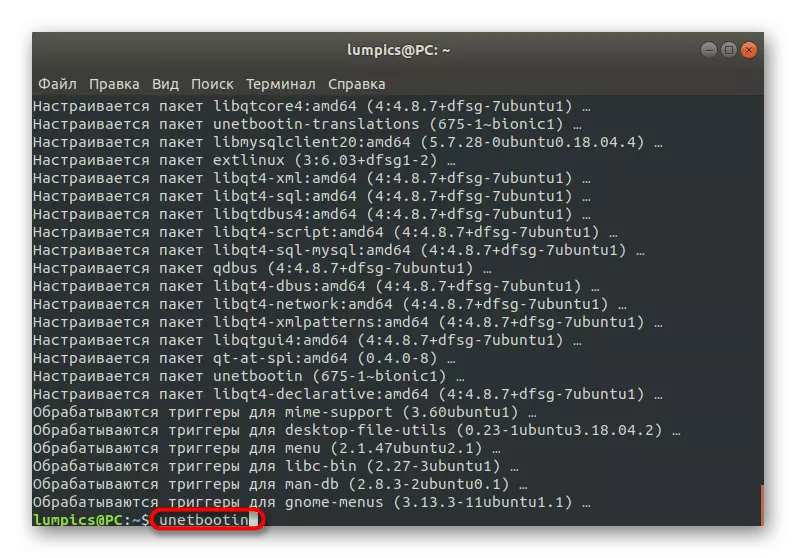
- You can run the installed application directly from the console by entering UnetBootin.
- Additionally added program icon in the application menu. Use the search to find it and open UnetBootin.
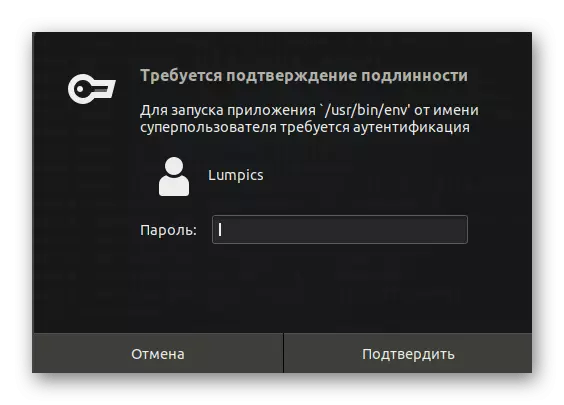
- For the correct startup, you will need to specify the superuser password in the displayed form.
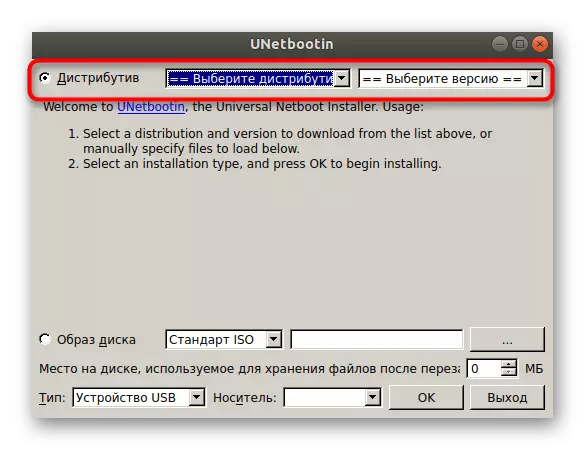
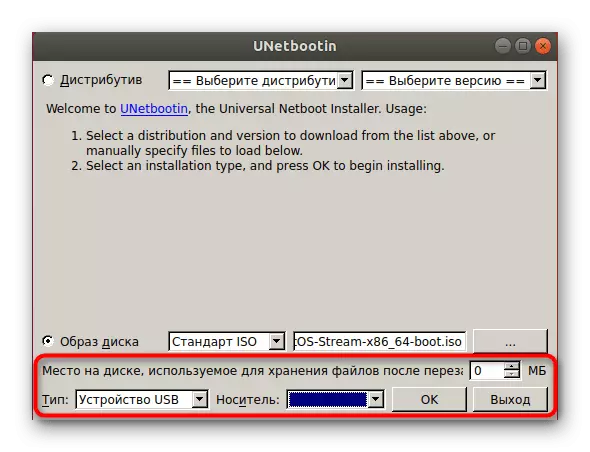
- Now you can proceed to direct image recording. If you are going to write the distribution of the operating system, check it on top form by filling out the necessary information.
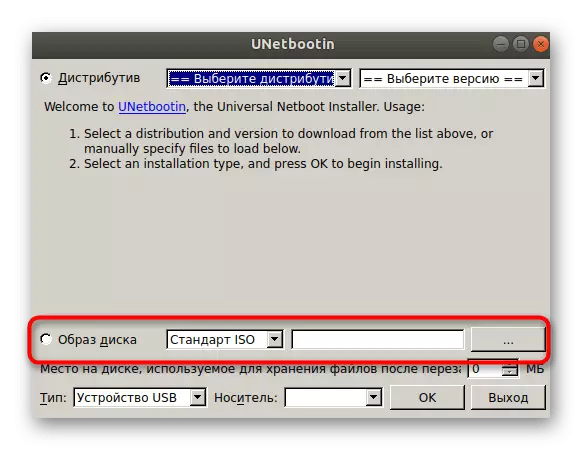
- In the case when it is a regular virtual disk, mark the corresponding item with the marker, specify the file format and add it through the standard file manager.
- In the end, it remains only to select the type of device, mark the recording medium and click on "OK".
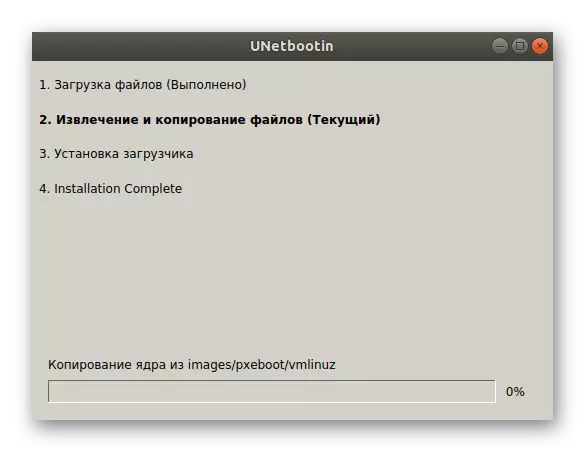
- You will be able to follow the progress of the record, and upon completion, a notification will appear, meaning that you can close the UnetBootin and switch to the use of the loading flash drive with the image recorded on it.


As you can see, in the UnetBootin control there is nothing complicated, and the same time will take the installation procedure itself. The graphical interface has a simple design and Russian, which will allow you to quickly get used to novice users. If you have any questions about the installation and use of this software, we advise you to explore the necessary information on the official website of the developer, going to the link below.
Go to the official website of the UnetBootin
Method 2: Balenaetcher
We decided to consider another program with a graphical interface called Balenaetcher, since the first option may not arrange some users. Balenaetcher is an even simpler application, but with a complicated installation scheme. Let's start with the immediate addition of this tool to the Ubuntu operating system.
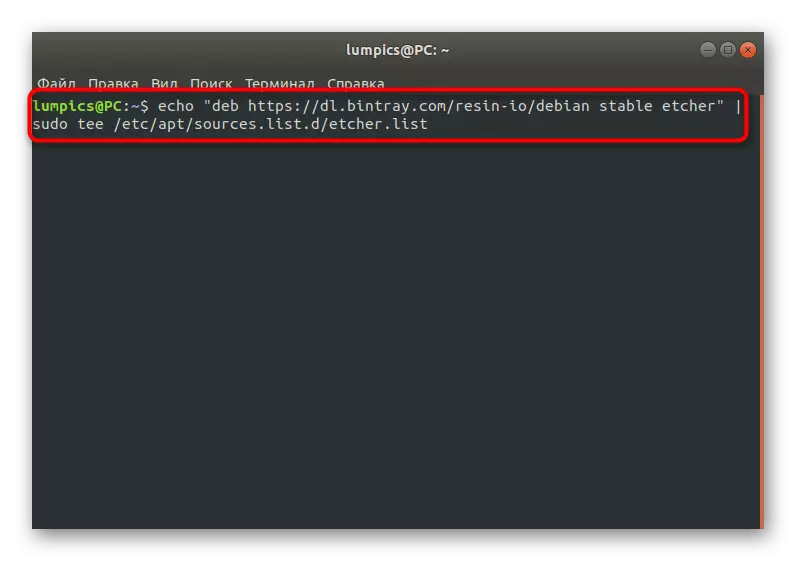
- In Terminal, enter ECHO "DEB https://dl.bintray.com/resin-IO/Debian Stable etcher" | sudo tee /etc/apt/sources.list.d/etcher.list to get a list of packages from user storage.
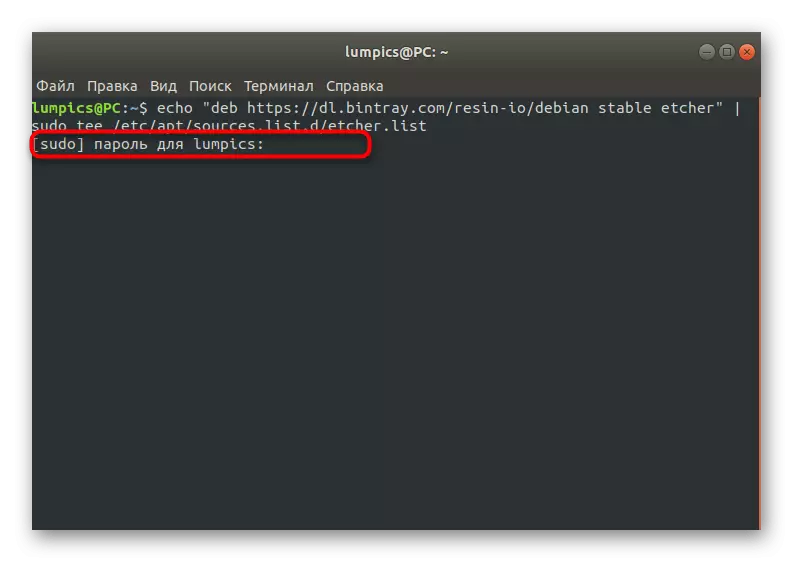
- Confirm this action by scoring a superuser password.
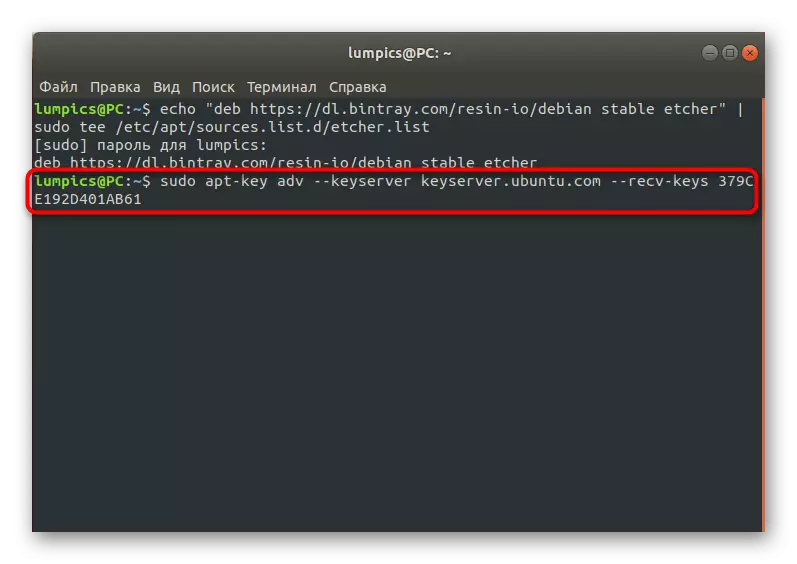
- Next, you will need to generate a key responsible for access to software. To do this, the Sudo Apt-Key ADV --KeyServer KeyServer.ubuntu.com --reCV-Keys 379CE192D401AB61 is suitable for this.
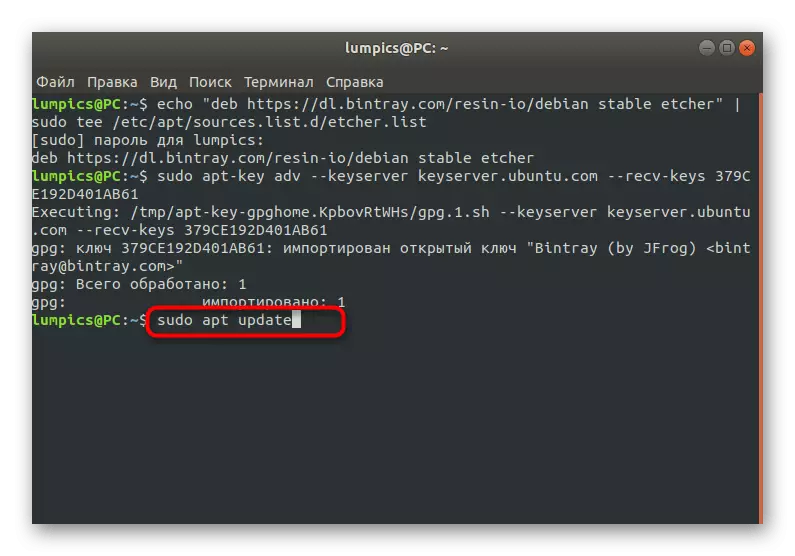
- After graduating, update the packet list by specifying Sudo Apt Update.
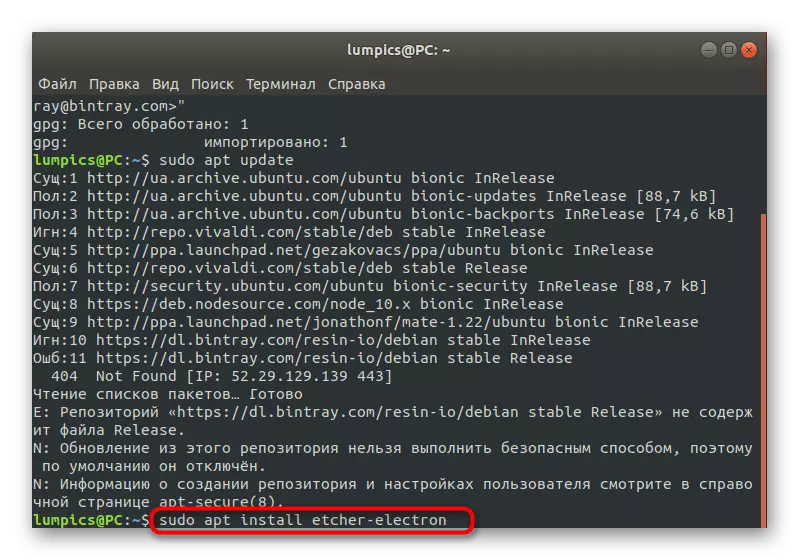
- Make the installation of software through the sudo APT Install etcher-electron.
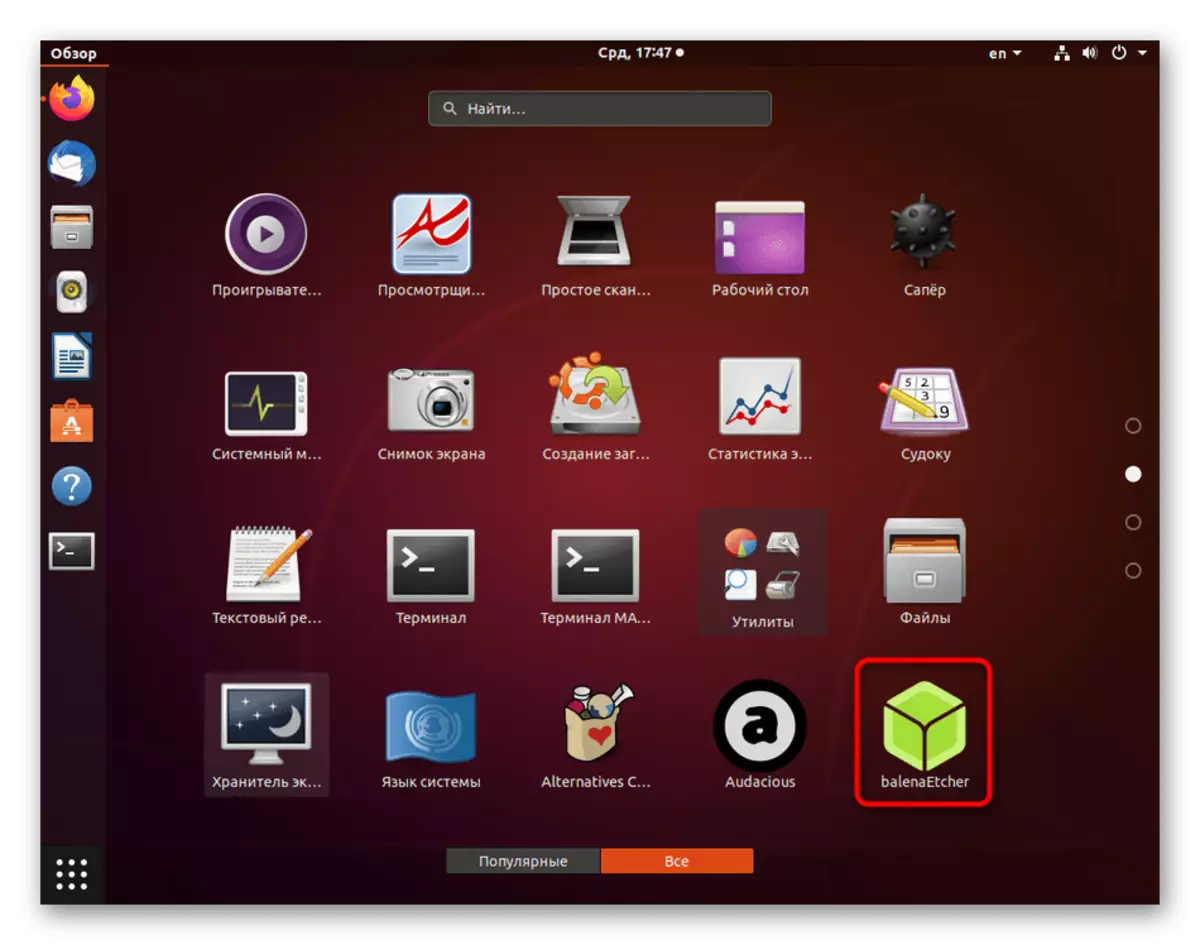
- Run Balenaetcher is the easiest way through the added icon in the application menu.
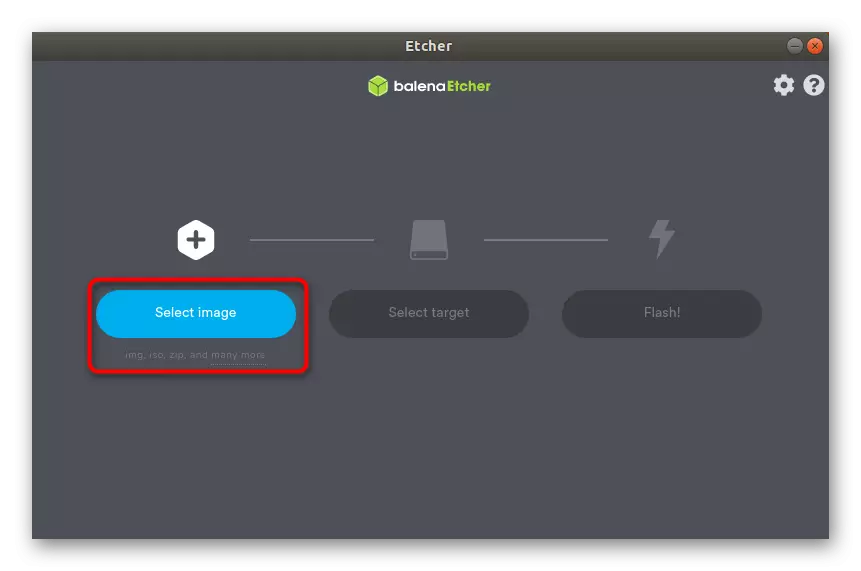
- The disk image recording process has a step-by-step representation. To begin with, click on the "Select Image" button to start the file manager.
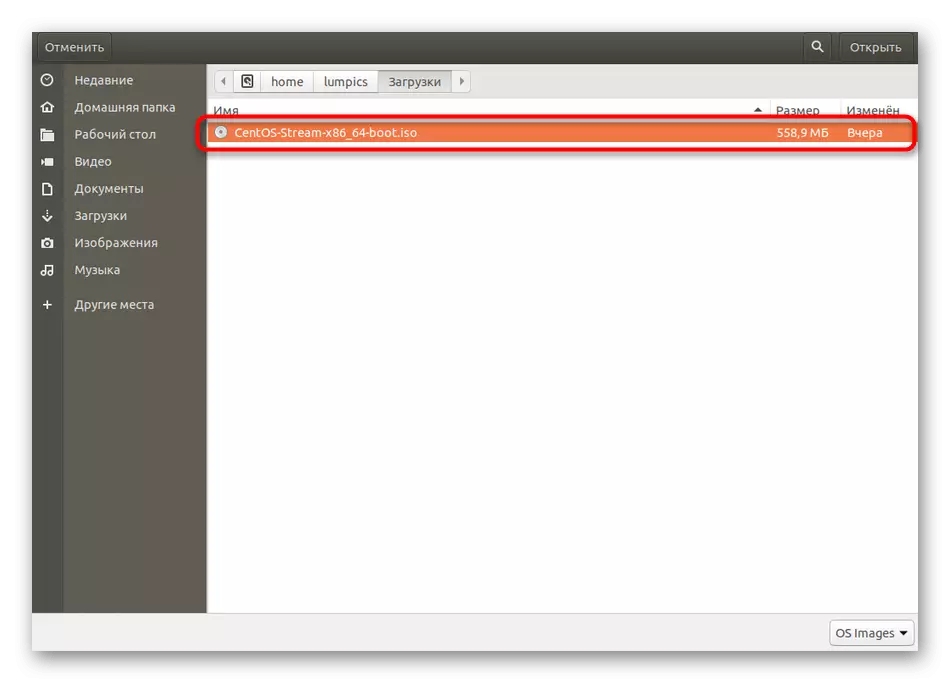
- In it, select a suitable image.
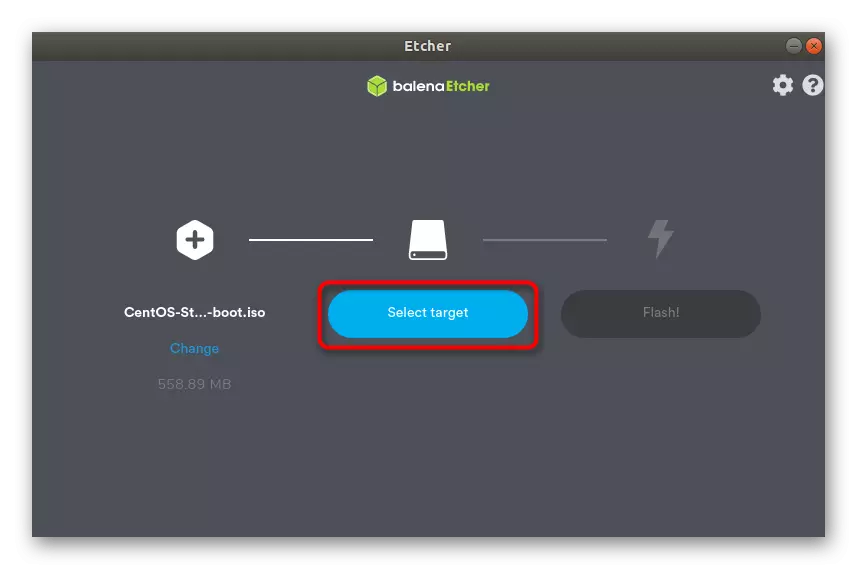
- Next, click the SELECT TARGET button to specify a removable recording device.
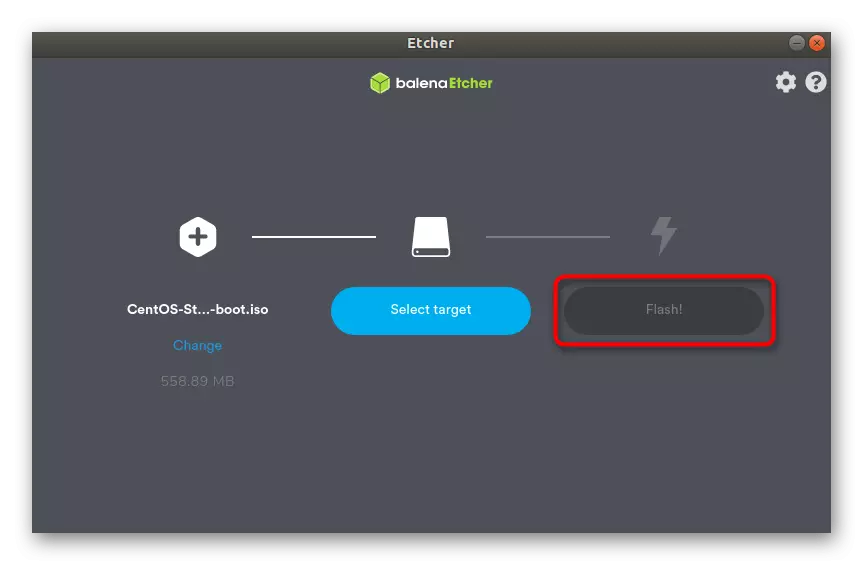
- Upon completion, it remains only to click on "FINISH", thereby running the recording process. Consider that the formatting of the flash drive in this case will be automatically produced.
Note that problems using Balenaetcher are regularly observed in some users due to failures in user storage facilities. This makes it impossible correctly downloading and installing the program described above. Alternatively, we propose to use the official website by downloading the program archive from there, or the GitHub library, where there is a suitable DEB package.
Download Balenaetcher Archive from the Official Site
Download Deb Package Balenaetcher with GitHub
Method 3: DD utility
The latter method we want to talk within today's material will be useful to experienced users, since it implies interaction with the terminal utility with the need to enter commands. Below you see the instruction in which the example of creating a loading flash drive in Ubuntu via DD is described in detail.
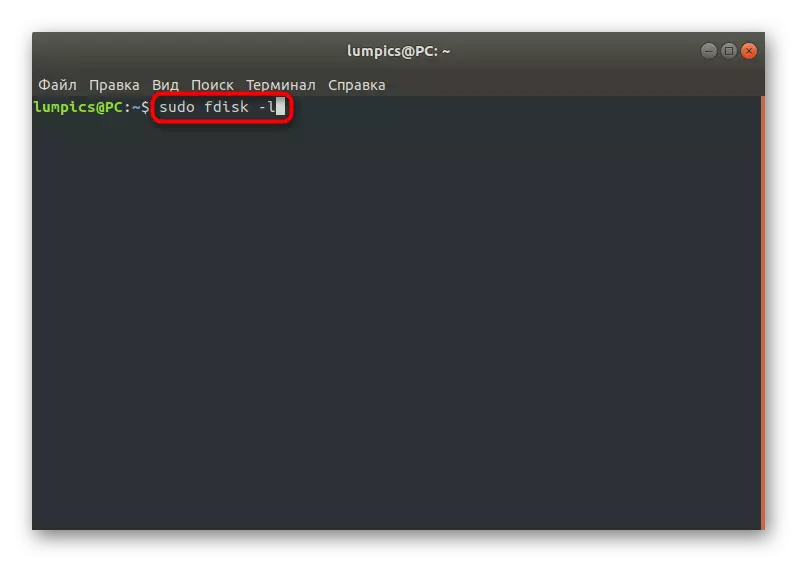
- To begin with, we define the name of the removable drive to which you want to write a virtual disk image. This is done through the Sudo FDISK -L command.
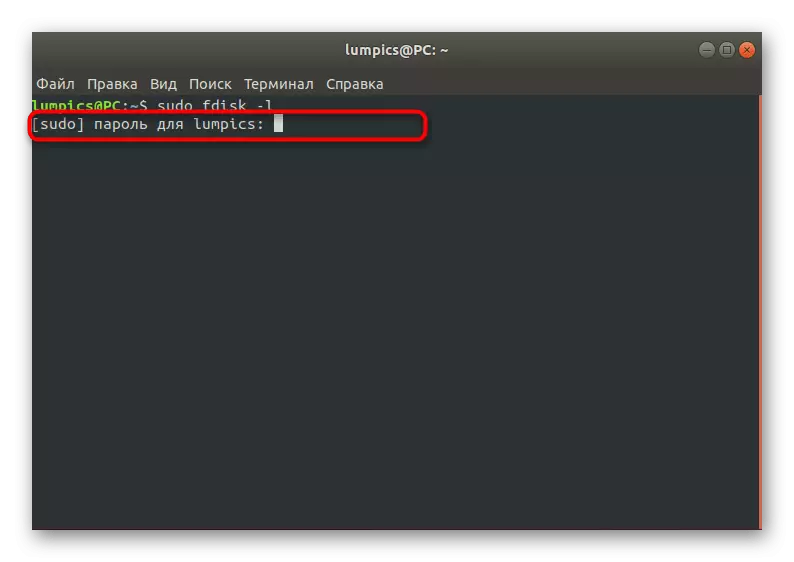
- Confirm the action by entering the root access password.
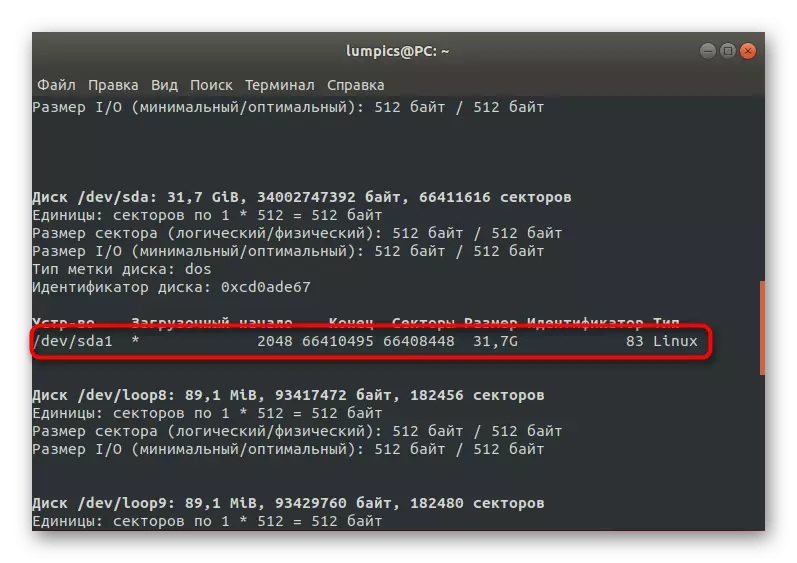
- Here, find the device that matches the size with the desired flash drive, and determine its name by copying or remembering the string.
- It remains only to enter DD if = ~ / downloads / ubuntu.iso of = / dev / sdb1 and start the process. ~ / Downloads / ubuntu.iso - accurate path to the disk image with a mandatory indication of its format, A / DEV / SDB1 - the name of the corresponding drive for recording.

The ISO image to the flash drive is started, and the progress of this operation will be displayed in the console. Follow it, and at the end you can immediately start using the resulting device. There are no more features of the DD utility, so the instruction can be considered complete.
Today we presented three ways to record a disk image on a USB flash drive in Ubuntu. Each user will decide for himself for himself whether it is worth loading a program with a graphical interface or with the task you can easily cope with the standard console utility.