
Step 1: Downloading Distribution
As you know, most Linux distributions can be installed next to another operating system. This rule refers to completely identical distributions, for example, Linux Mint. Even the novice user can implement it, and it should be started from downloading a disk image.
Go to the official site of Linux Mint
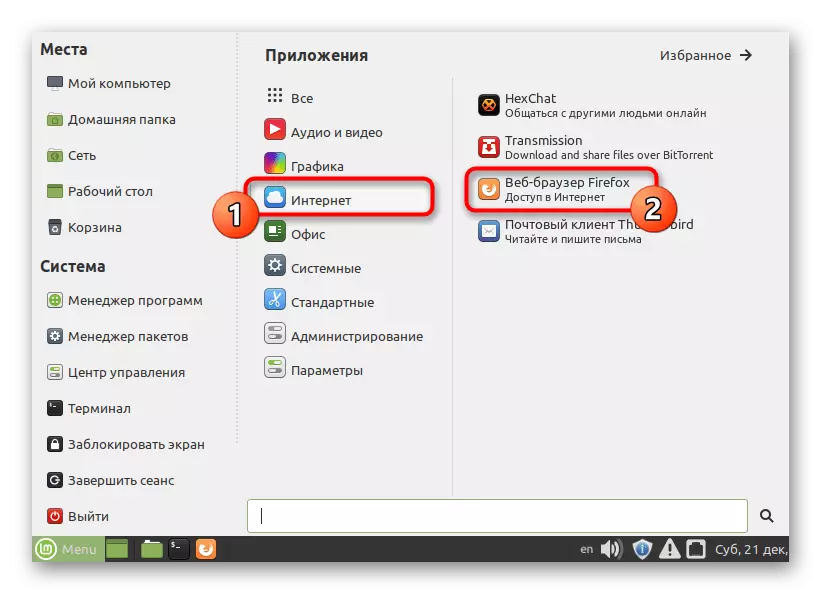
- Run the convenient browser through the application menu or shortcut on the desktop.
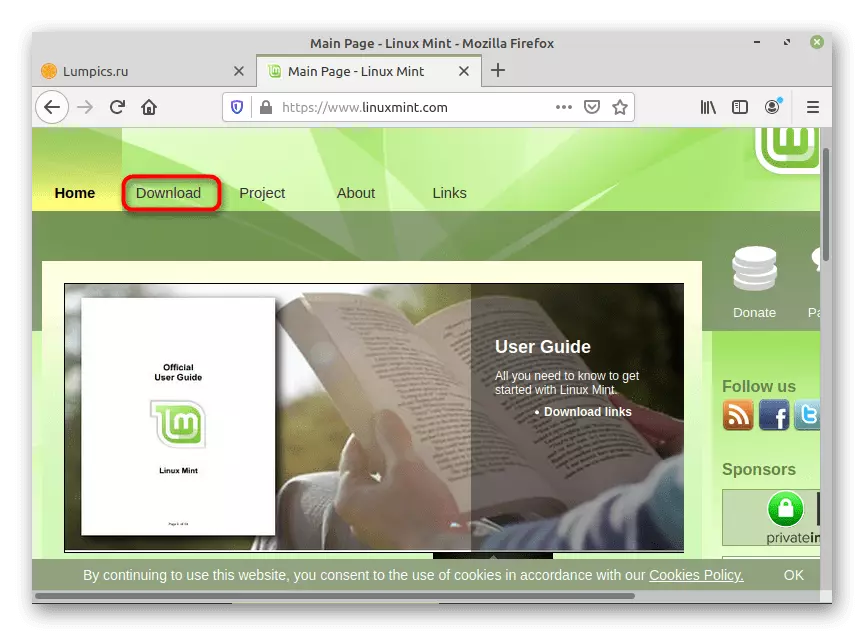
- Use the reference above to go to the official MINT site. Here you are interested in the section "Download".
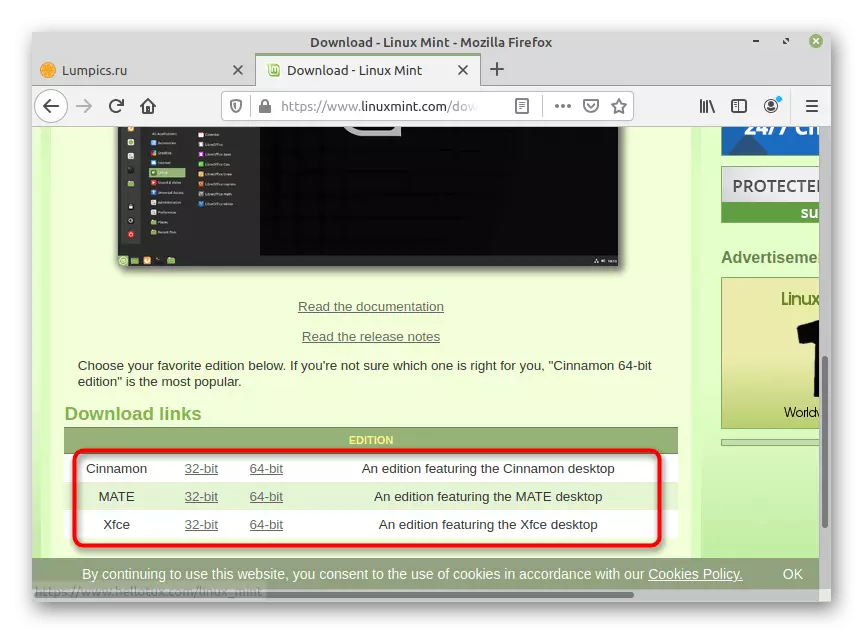
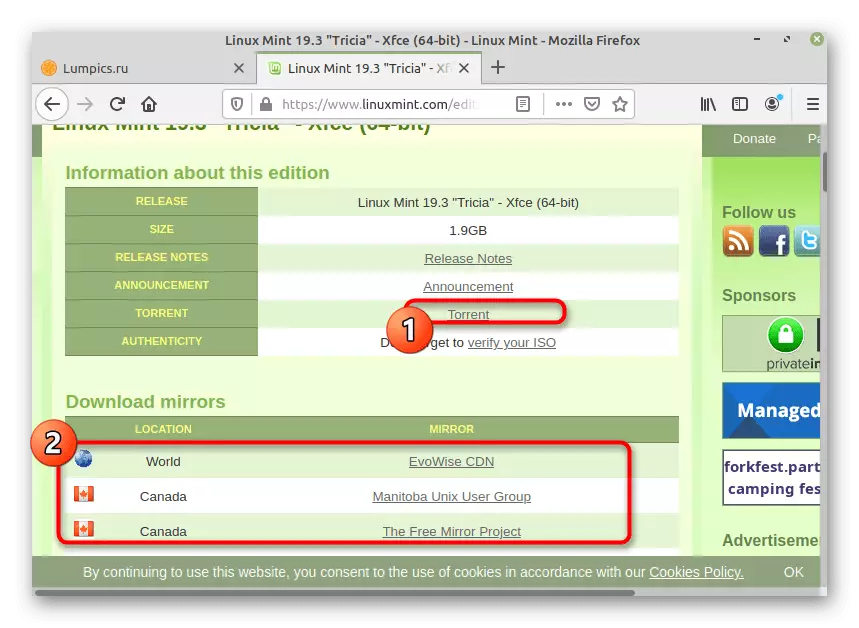
- Select an assembly with a suitable graphical interface and bit.
- Next, developers offer to use accessible mirrors or get a torrent link to download. Select the optimal option to load the ISO format disk image.
- When notification of the start of download appears, specify "Save File".
- Expect downloads.


Now the computer has a suitable image in ISO format. It will be used to install the operating system, but now it is impossible to simply run and start installation. You will have to prepare a flash drive and write a virtual disk on it than we offer to do further.
Step 2: Record the image on the disk
Creating a loading flash drive - familiar for many users process, since now the preferential majority of OS are installed in this way. This operation is carried out thanks to special programs, because it is simply so impossible to transfer files to the USB flash drive. Let's focus on two ways to implement this action.
Option 1: Built-in MINT tool
Linux Mint is one of the few distributions in which a graphical interface program is already built, allowing you to write images to a USB drive. Therefore, as the first option and take this tool.
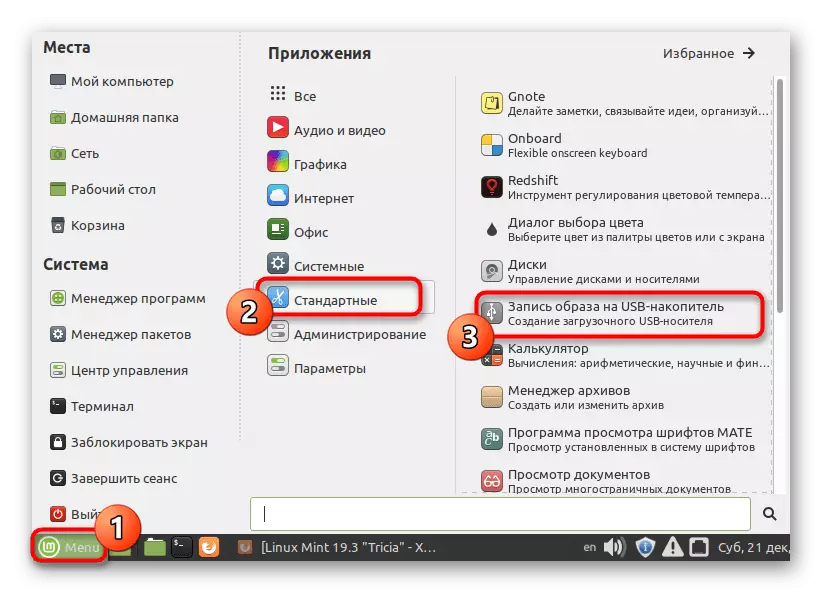
- Open the application menu and run the "Record image to a USB drive" through the "Standard" section.
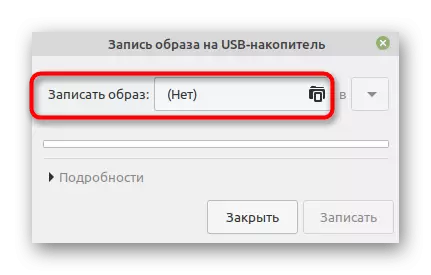
- In the "Image Record" row, click the folder icon to go to the file selection.
- Standard file manager will start. Watch out an ISO image in it, highlight it and click on the "Open" button.
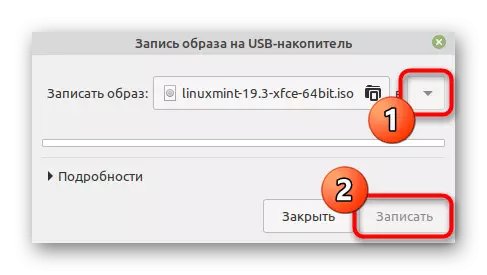
- Expand the pop-up list to select a flash drive from there. After that, it remains only to click on "write" to activate the corresponding process.

You will be notified that the record has begun, and it remains only to wait for the completion of the operation. After that, you can restart the computer to start loading from the removable drive.
Option 2: UnetBootin
Sometimes the built-in agent is not suitable for the user or for some reason is absent. In such situations, special programs with a graphical interface or terminal commands come to the rescue. The popular solution of such a plan is called UnetBootin. We propose to consider this software as an alternative to the previous one.
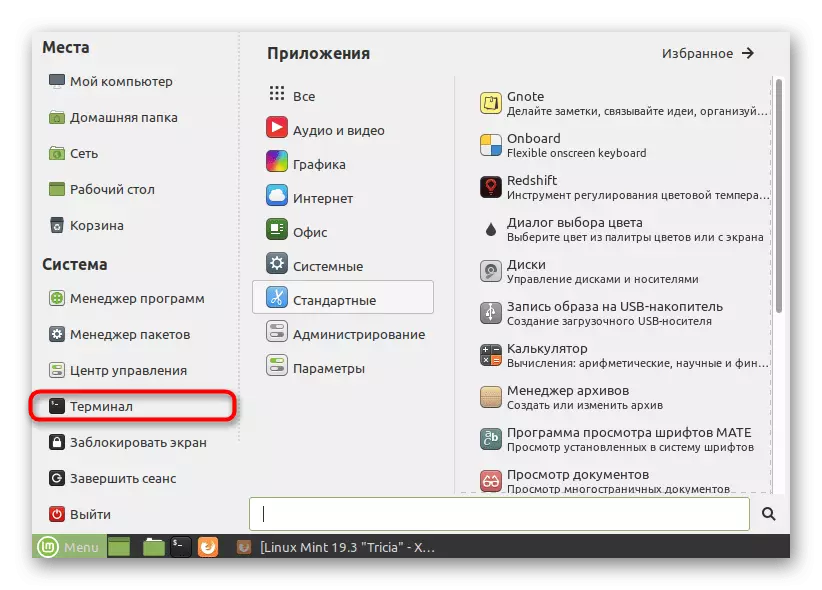
- Open the application menu and run from the "Terminal" from there. This can be done by pressing the hot key Ctrl + Alt + T.
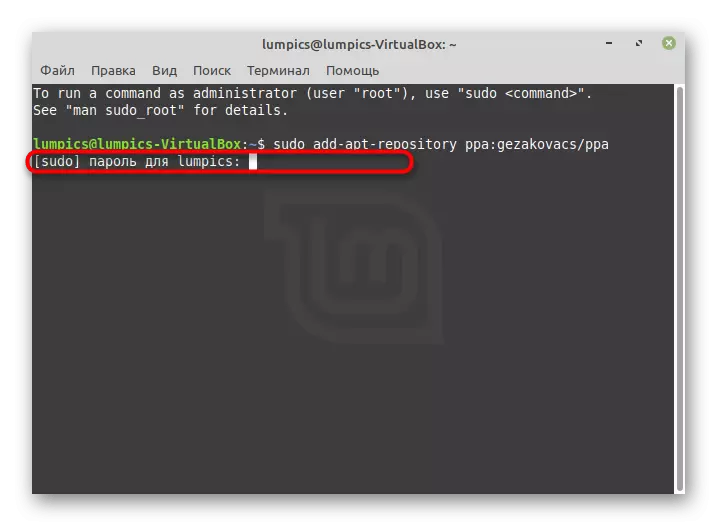
- Initially, UnetBootin is missing in the list of standard distribution repositories, so we suggest add a link to the repository by inserting the Sudo team Add-APT-Repository PPA: Gezakovacs / PPA.
- This action requires confirmation of the Super User Account. Enter the password and press ENTER to start the reference process.
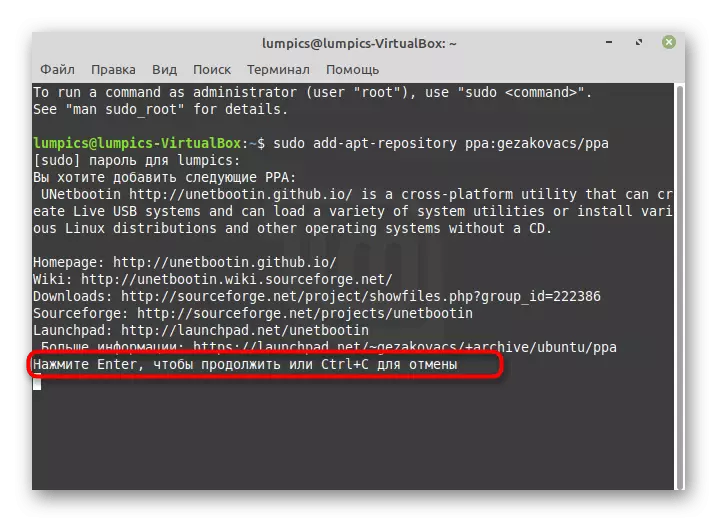
- Re-confirm the action by clicking on ENTER.
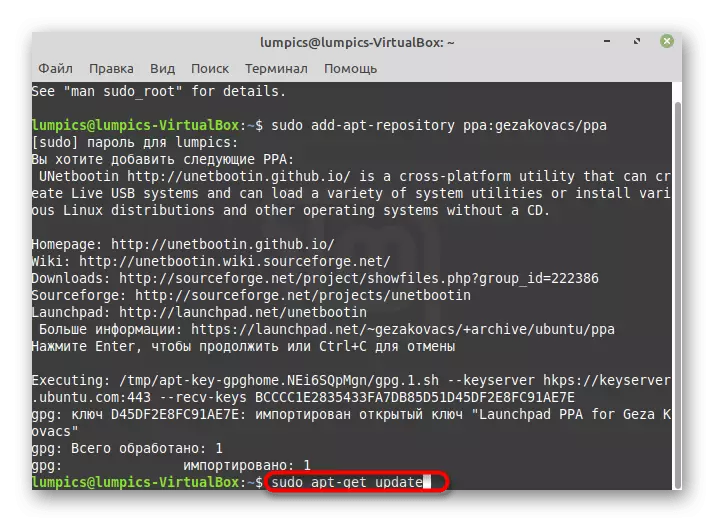
- The next step is to update the system repository through the sudo APT-Get Update command.
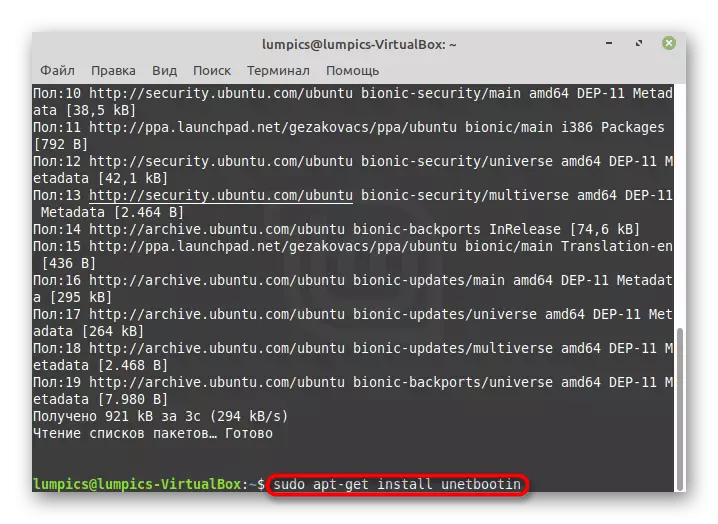
- It remains only to install the program itself by inserting sudo APT-Get Install UnetBootin.
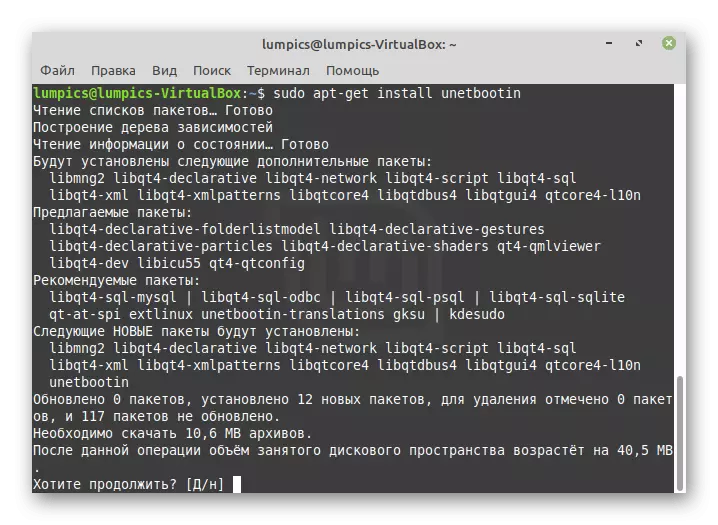
- Confirm the addition of new files in OS by selecting the D. option
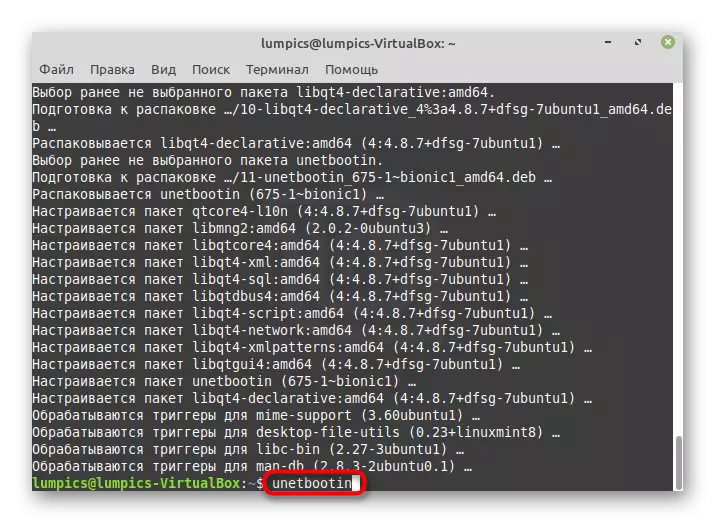
- When you complete, run the UnetBootin through the icon in the Application menu or use the UnbetBootin command in the console.
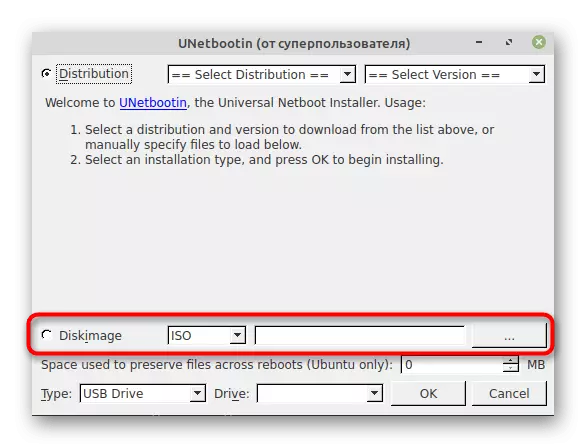
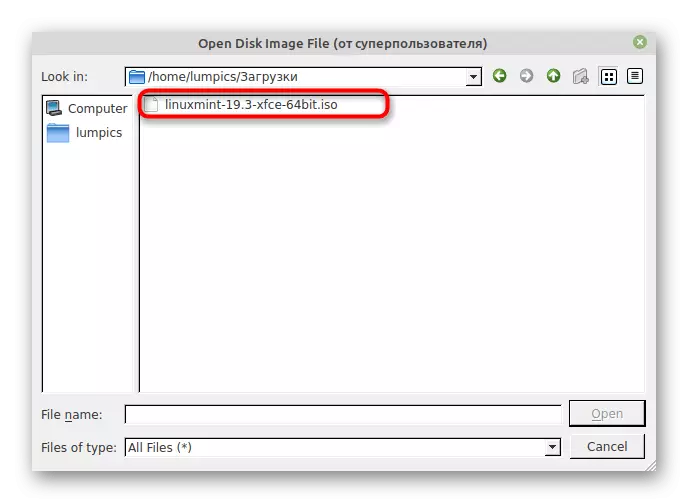
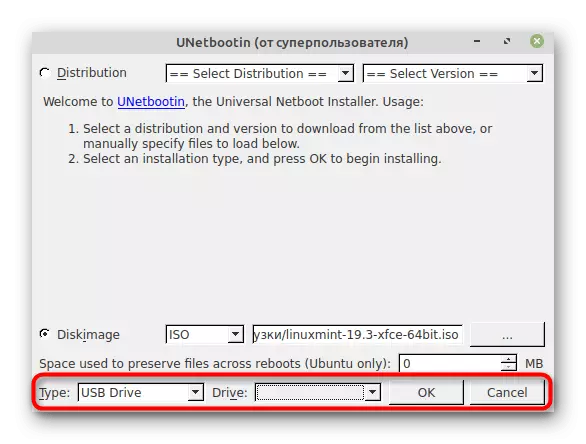
- In the graphical interface, check the "Diskimage" paragraph and go to the file selection.
- In the browser, specify the corresponding image.
- Determine the record for recording, and then click on "OK".
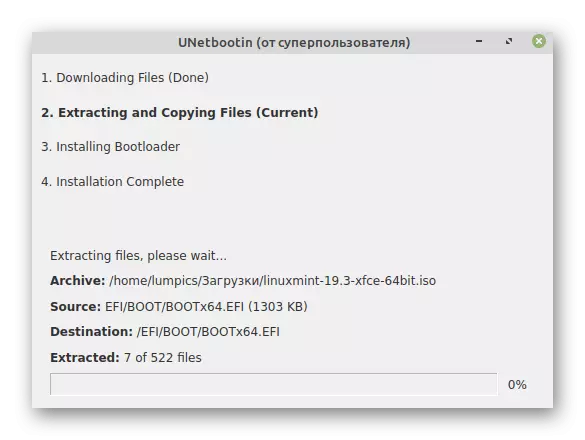
- A separate window with the progress of recording will appear. Wait for his end and you can move to the next step.

Of course, many more examples of tools can be brought to create a loading flash drive with an operating system image, but there is no point in this, since the two above options are stable and allow without any difficulties to perform intended.
Step 3: Installing Linux Mint next to Linux Mint
Go to the main step of our today's material. It just lies in the installation of the second Linux Mint assembly next to the first, while maintaining all user files and opening the ability to select a version for download.
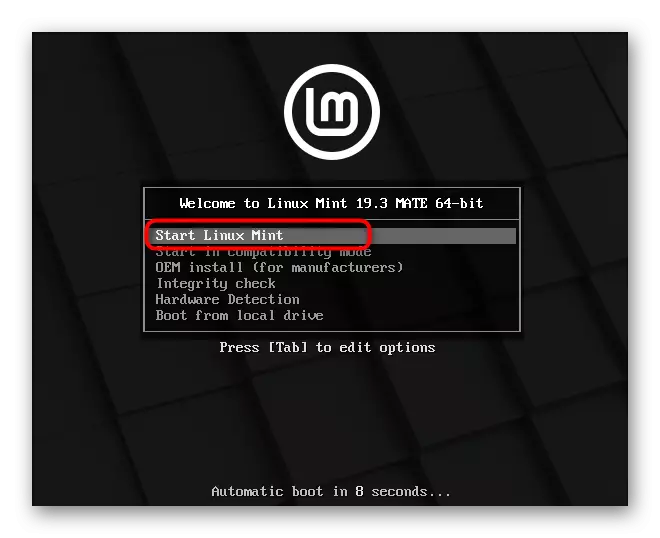
- Insert the bootable flash drive into the computer and start it. Download must be made precisely from this drive. Wait for the selection window appears in which you are interested in the first "Start Linux Mint" item.
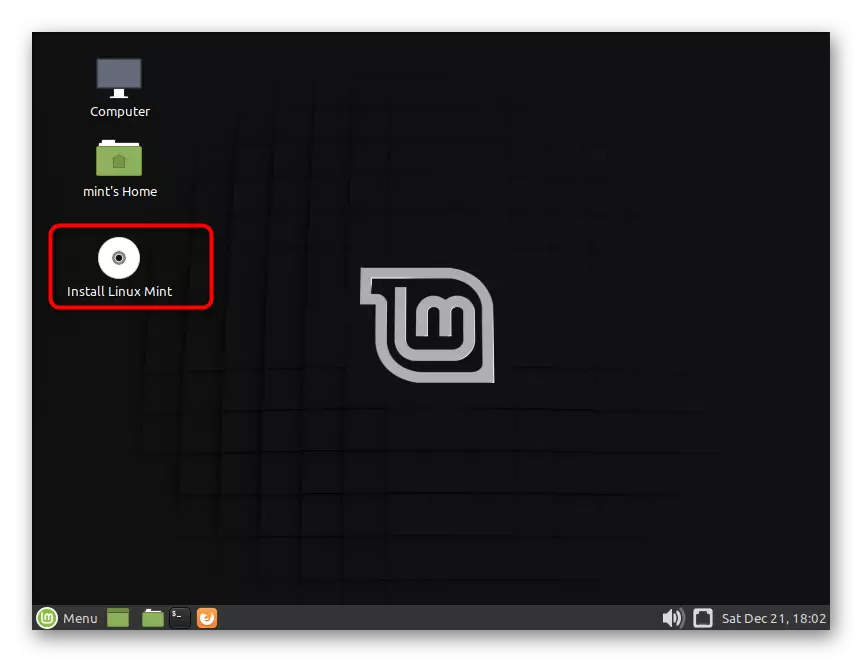
- Now the Live mode opens. In it on the desktop, make a double click on the "Install Linux Mint" icon.
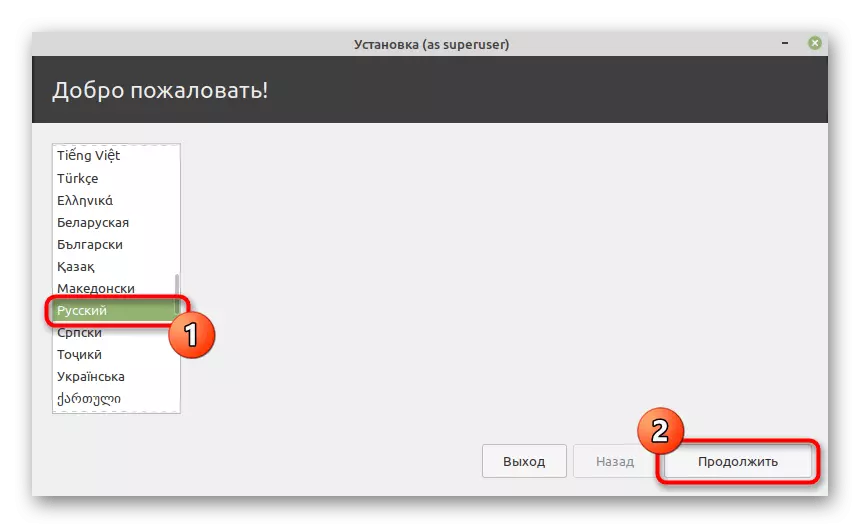
- The whole process begins with the window "Welcome". Here, select the optimal language of the interface and click on "Continue".
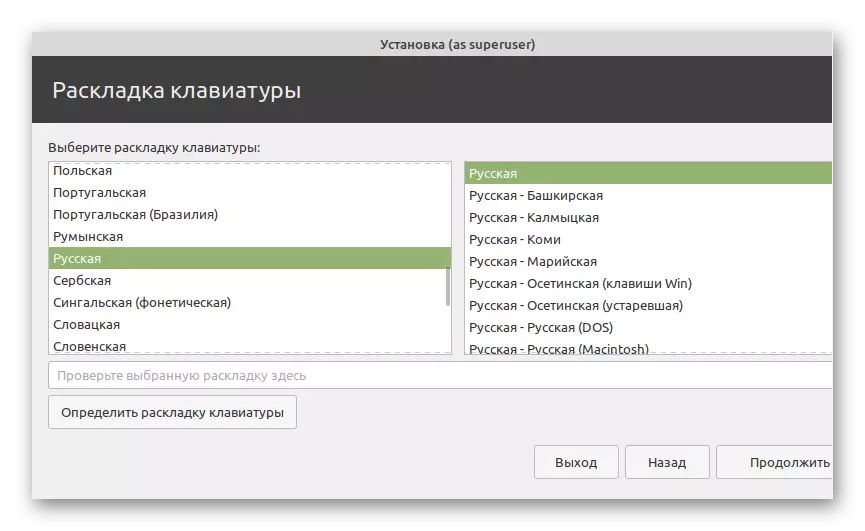
- Next, determine the keyboard layout.
- A proposal will appear with a choice of third-party software installation and some drivers. If you want to install such components, mark the checkbox and go further.
- The most important stage is the choice of installation type. Here we need the second item "Install Linux Mint next to Linux Mint." Make sure the tick is worth it for it, and then click on "Continue".
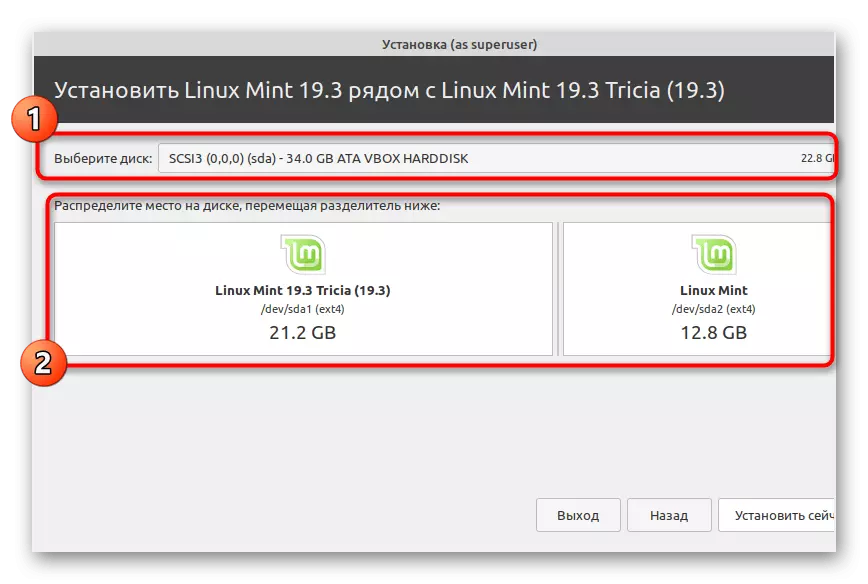
- Select a physical disk and make the distribution of space between the two operating systems. Drag the appropriate slider to determine how many gigabytes of the place will be assigned to each assembly separately.
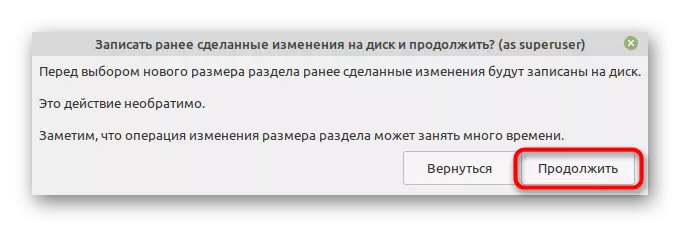
- After the notification of the irreversibility of actions appears. Confirm this message to continue.
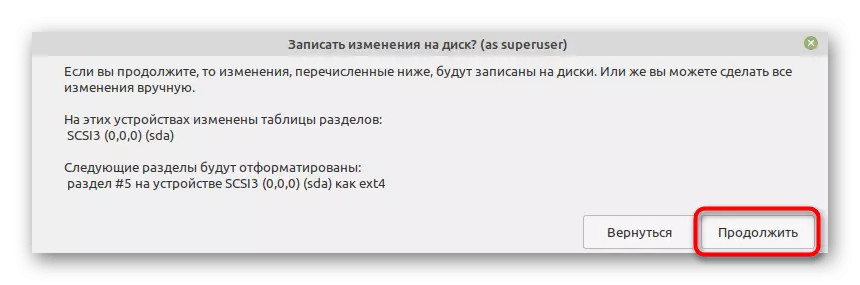
- Another message indicates the change in the partition table. It should also be confirmed if everything was chosen correctly.
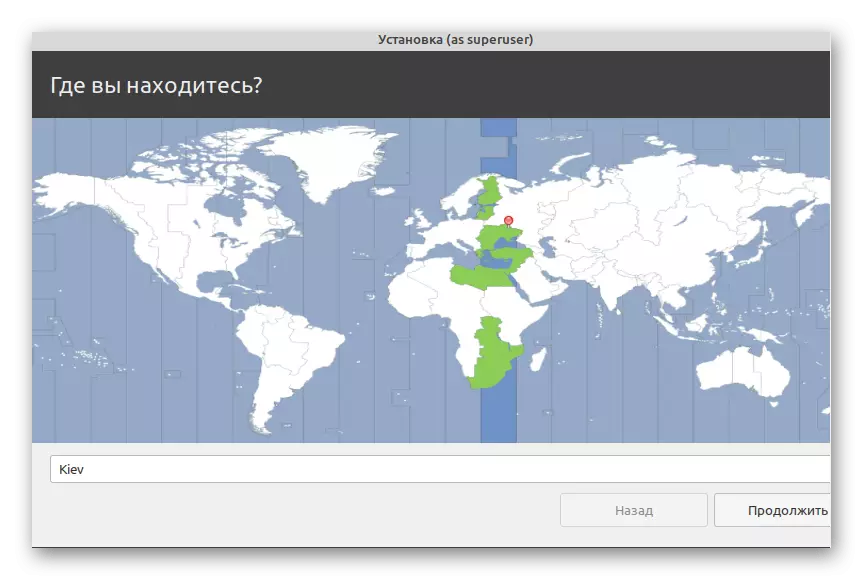
- The penultimate step before starting the installation - selection of the time zone.
- It remains only to create the first account, which will act as a superuser. Fill out the displayed form in accordance with your desires.
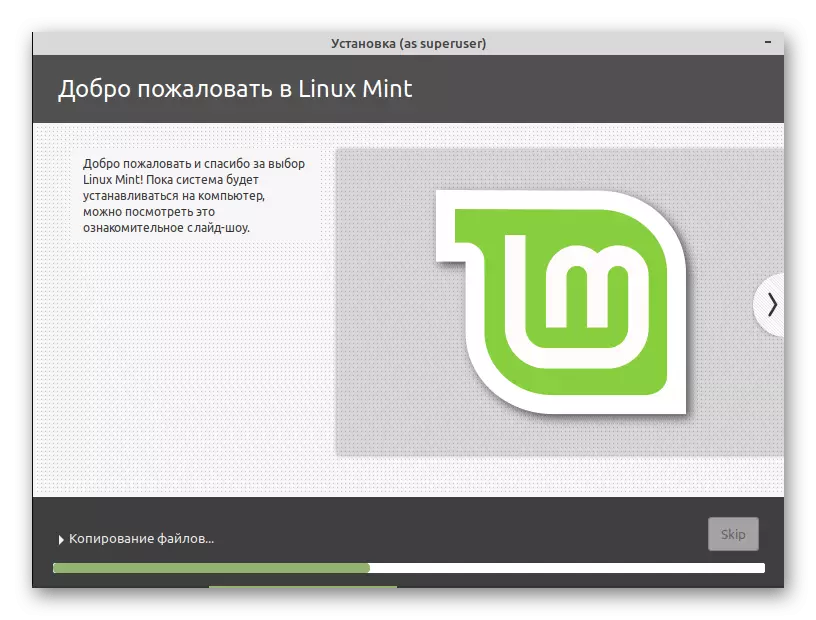
- Installation operation will begin. The bottom will be displayed progress, and in the main window from time to time the slide show is replaced with a demonstration of the distribution capabilities.
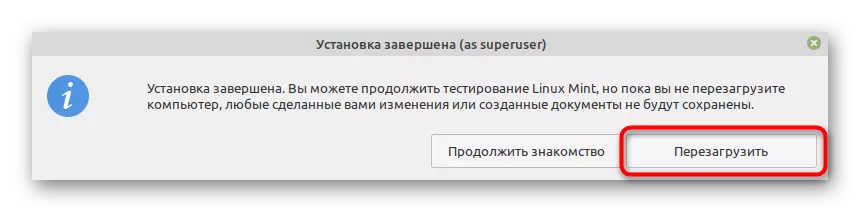
- Upon completion, a notification of successful installation will be displayed. Restart the computer.
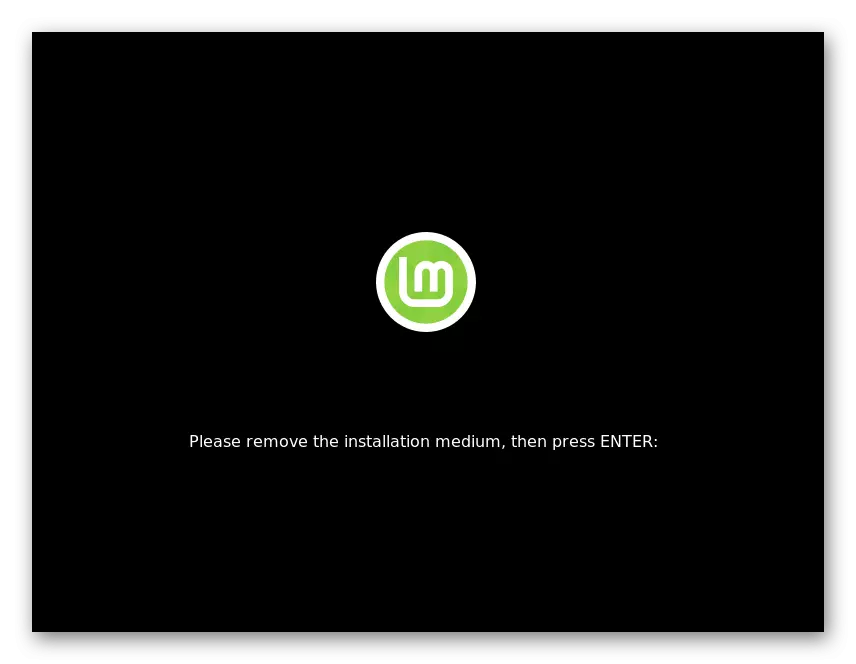
- Remove the drive if this has not done earlier, and click on ENTER to start loading.
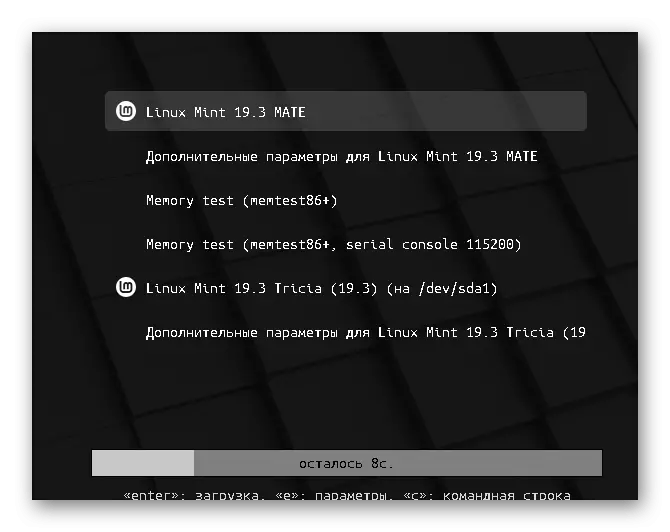
- Now move on the mouse arrows points and select the MINT version you want.
- As we see, a form for authorization appeared, which means everything went successfully.


This is how the installation of two Linux Mint looks nearby. This task will not cause any difficulties even at novice users, as the developers have added the appropriate function that allows you to start the installation in just a few clicks by performing the minimum number of settings. You do not have to independently create a new section or configure the bootloader as it can be when working with other distributions.
Step 4: Using Mint
At the end of today's material, we want to note that some users are faced with the need to install two versions of Mint nearby when familiarizing with this OS family, so further use may be difficult, which is associated with the differences from Windows. We offer to study several useful instructions to understand how basic actions are carried out in the operating system.
See also:
Installing and Configuring a File Server in Linux
Setting up mail server in Linux
Synchronization of time in Linux
Change passwords in Linux
Restart Linux through the console
View Disk List in Linux
User change in Linux
Completion of processes in Linux
Additionally, we note the importance of using terminal commands, even in this distribution, where many graphic solutions are present. This topic is also disclosed as much as possible in other articles on our website, which are presented by the following links.
See also:
Frequently used commands in "Terminal" Linux
LN / FIND / LS / GREP / PWD command in Linux
Now you know everything about installing Linux Mint next to another version of the same distribution. Follow the instructions above to quickly and just cope with the goal and not get unpleasant errors.