

At some point, the user can detect the D3DX9_25.DLL library error. It is found during the launch of a game or a program that uses 3D graphics. The problem is often observed in Windows 7, but in other versions, it also has. The article will tell how to get rid of the system error "file d3dx9_25.dll not found".
Method 1: Download D3DX9_25.dll
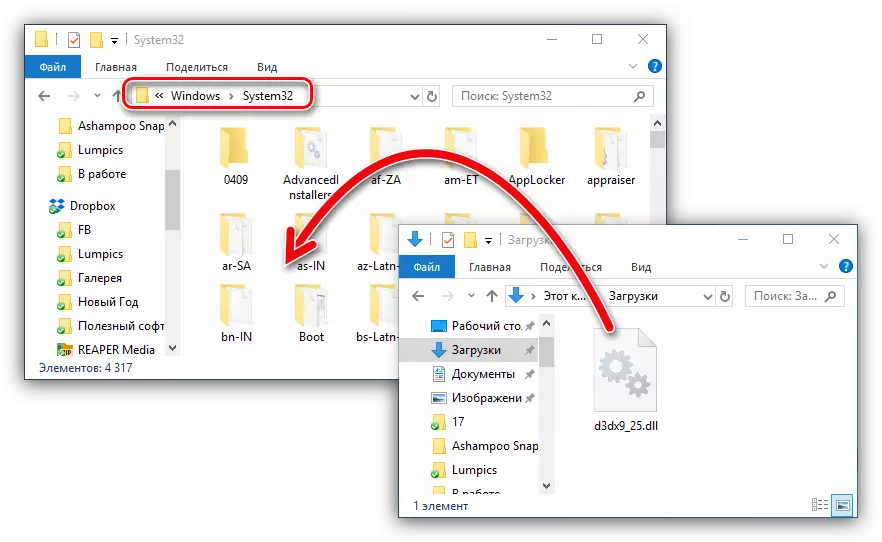
To eliminate the problem associated with D3DX9_25.dll, you can simply attempt to re-download the file separately and move it to the desired directory.
In different operating systems, this directory is in different places, but most often the file must be moved along the path C: \ Windows \ System32. In 64-bit Windows, we additionally recommend using and the C: \ Windows \ SYSWOW64 path (file must be copied immediately into two folders). To move, you can use the context menu, selecting the "Copy" and "Paste" options, and you can open the two desired folders and move the file with the usual dragging.
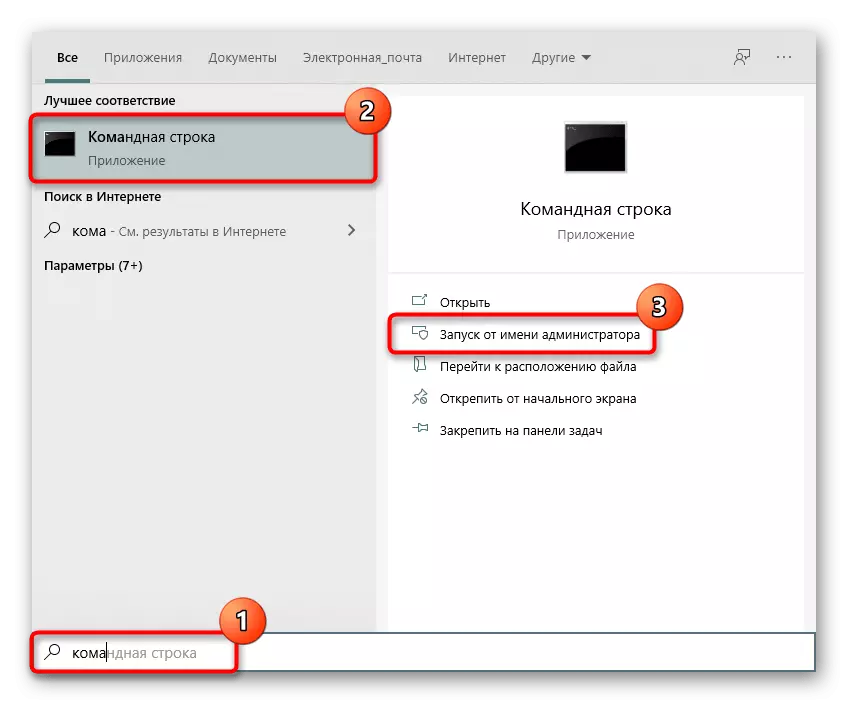
In rare cases, you need to register a library in the system. It is done through the "command line", open with the authority of the administrator.
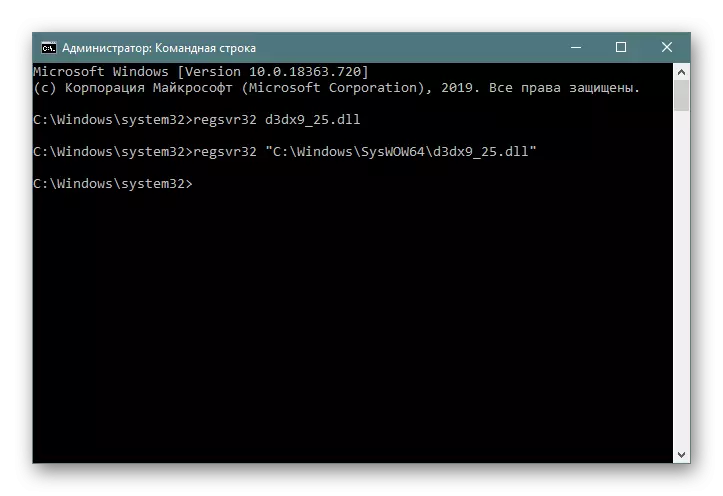
Here write the REGSVR32 D3DX9_25.dll command, and if the file was placed in two folders, then also regsvr32 "C: \ Windows \ syswow64 \ d3dx9_25.dll". After entering each command, press ENTER.
Other logging methods can be found in our separate article on the link below.
Read more: Register the DLL file in Windows
Method 2: Installation DirectX 9
As mentioned above, D3DX9_25.dll is part of the DirectX 9 program. That is, installing it, you set the missing file to the system. It should be borne in mind that in Windows 10 the directories have already been initially built in, and therefore the order of action to correct damaged or receiving all package files will be somewhat different. Instructions for owners of this version of the OS we have been submitted to a special guide.
Read more: Reinstalling and adding the missing DIRECTX components in Windows 10
When using a computer running the older version of the system, do the following:
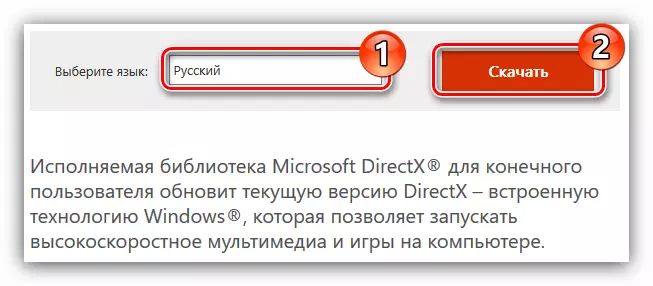
- From the list, determine the localization of your OS. Click "Download".
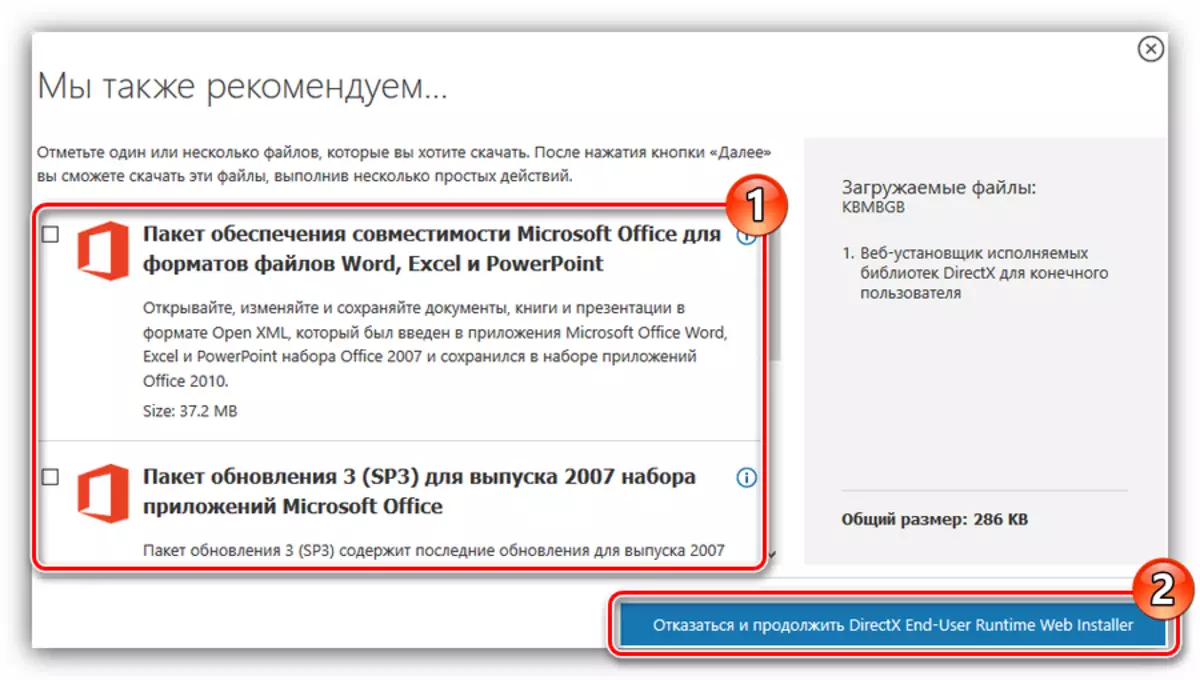
- In the dialog box that appears, remove the ticks from the offered packages to download and click the "Refuse and continue ..."
DirectX 9 boot will begin, after the end of which follow the instructions:
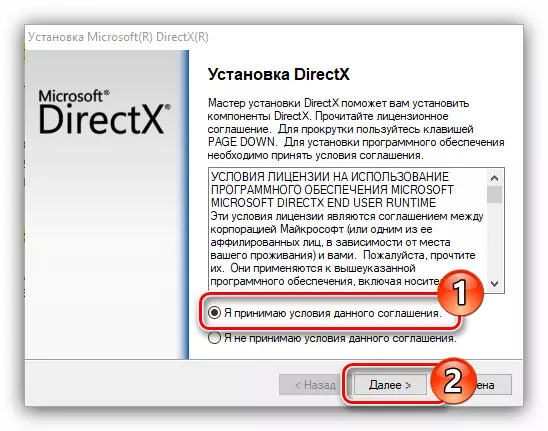
- Open the downloaded program. Accept the license agreement and click "Next".
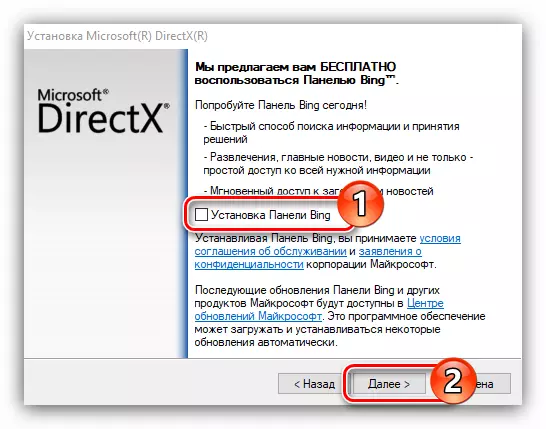
- Remove the "Install Bing Panels" checkbox if you do not need them, and click Next.
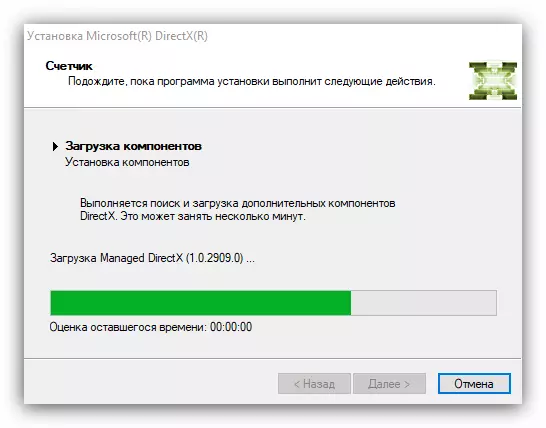
- Wait until download and install all package components.
- Complete the installation by clicking "Finish".
Among the installed libraries was both D3DX9_25.dll, which means that the error is eliminated.
Method 3: Fixing game errors
It is worth understanding that not only because of the failures of the operating system may occur the error in question. Sometimes the "curve" assembly of the game (usually hacked) flatly refuses to detect the file that is present in all necessary folders. In such a situation, the installer should be re-downloaded or find another installer, preferably without modifying by amateur authors. If the game and so licensed, it remains only to reinstall, but if it was installed through the game client of the style type or origin, first you can try to check the integrity of the files.
Steam
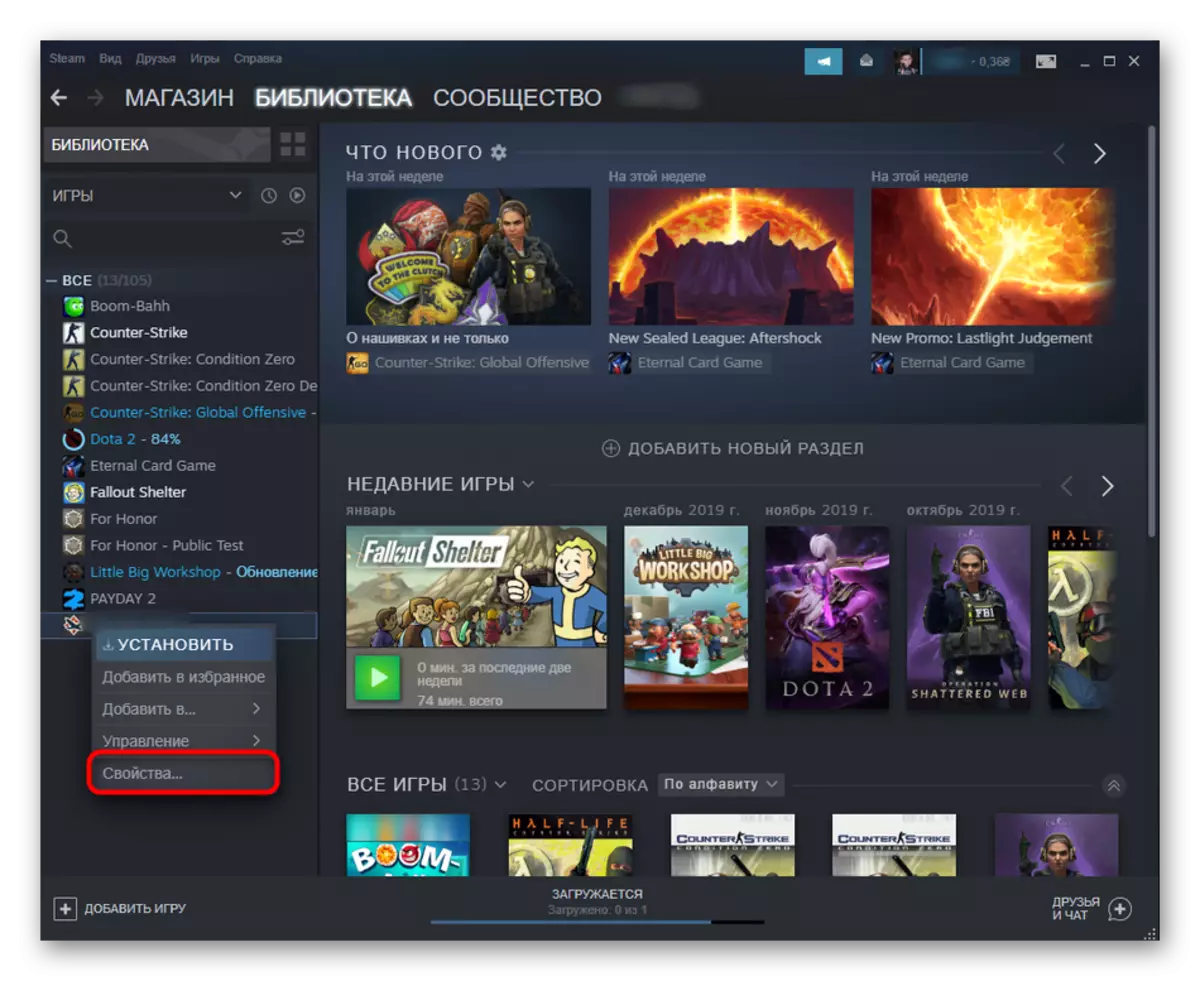
- Open the "Library" section of the game client and find a game there with difficulties. Click on it right-click and go to "Properties".
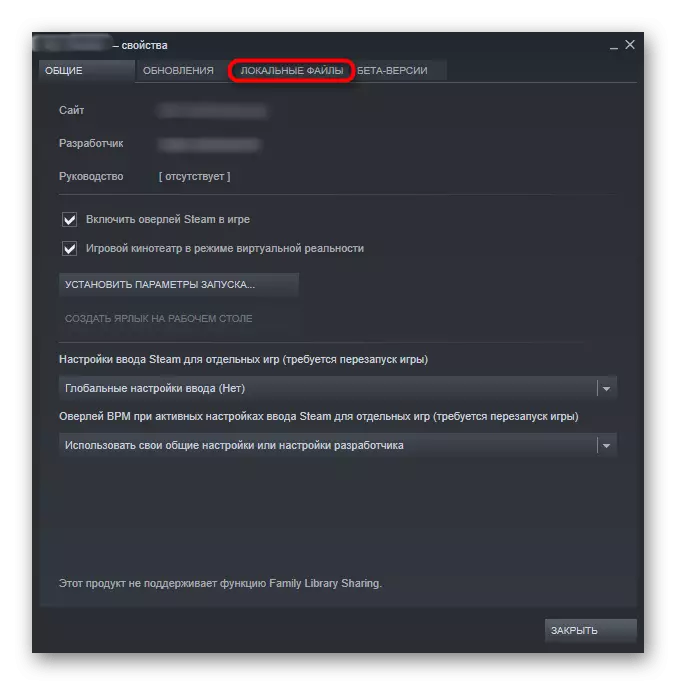
- Go to the Local Files tab.
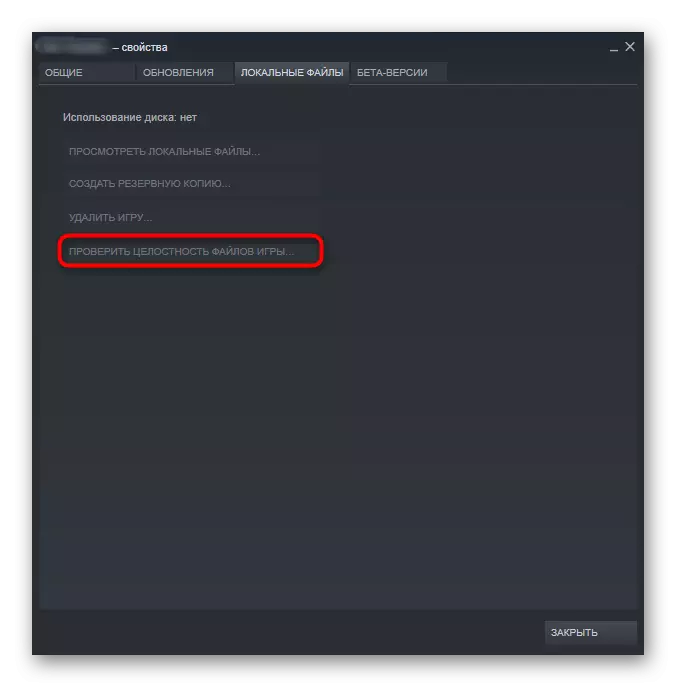
- Here you need the "Check the integrity of the game files". Run the procedure and wait for it. Once the scan is completed, an alert will appear in a separate window whether some errors have been fixed or not.
Origin.
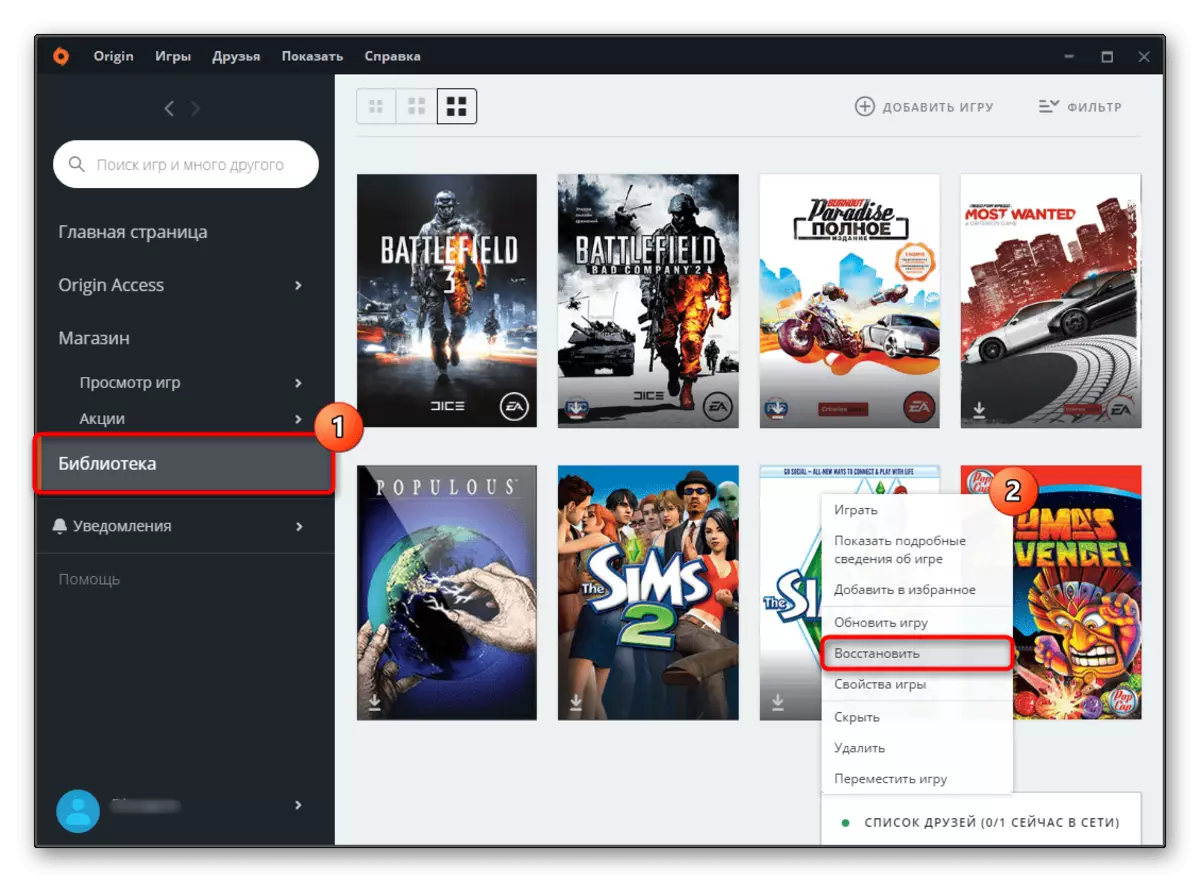
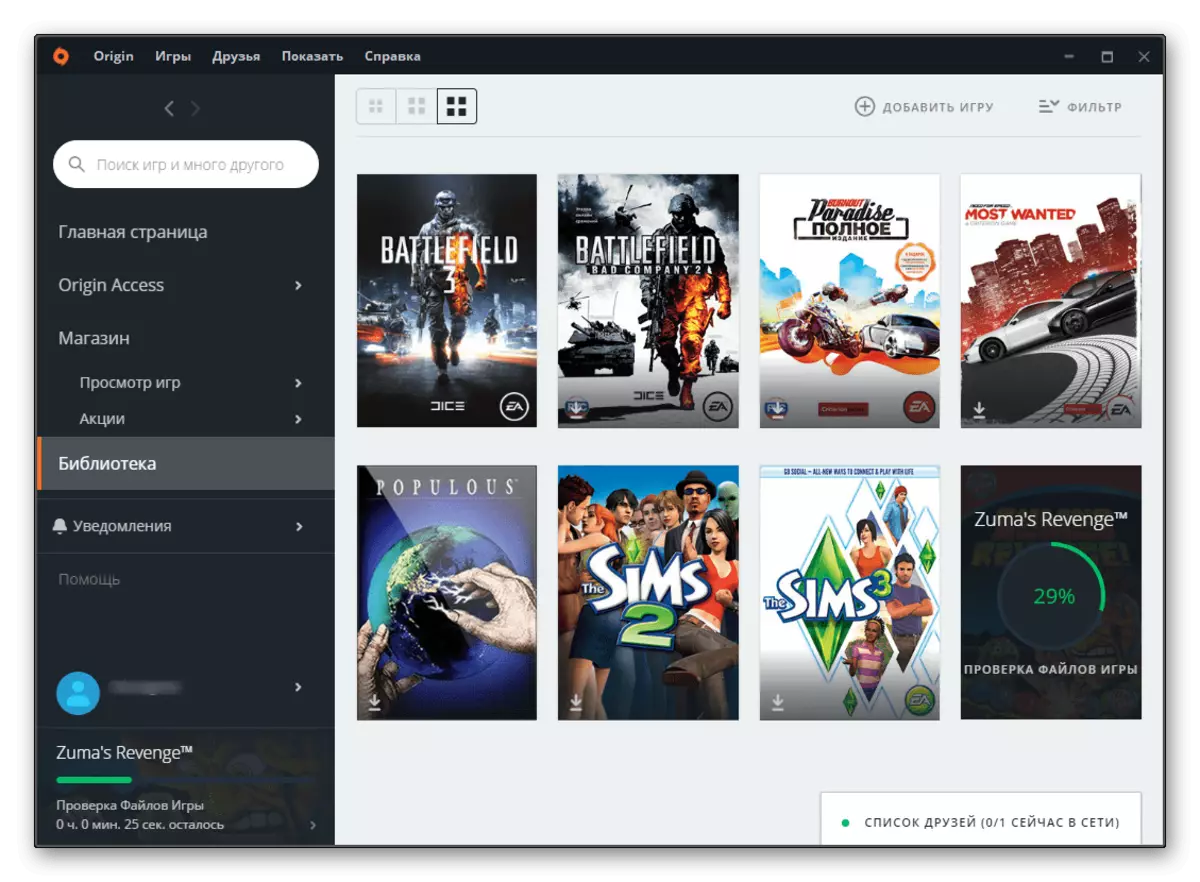
- Go to the "library" in Origin and find the tile with the game. PKM will call the context menu on it, from which you should choose to "restore".
- The process will start, and the notification of this will be displayed in the same tile and left.
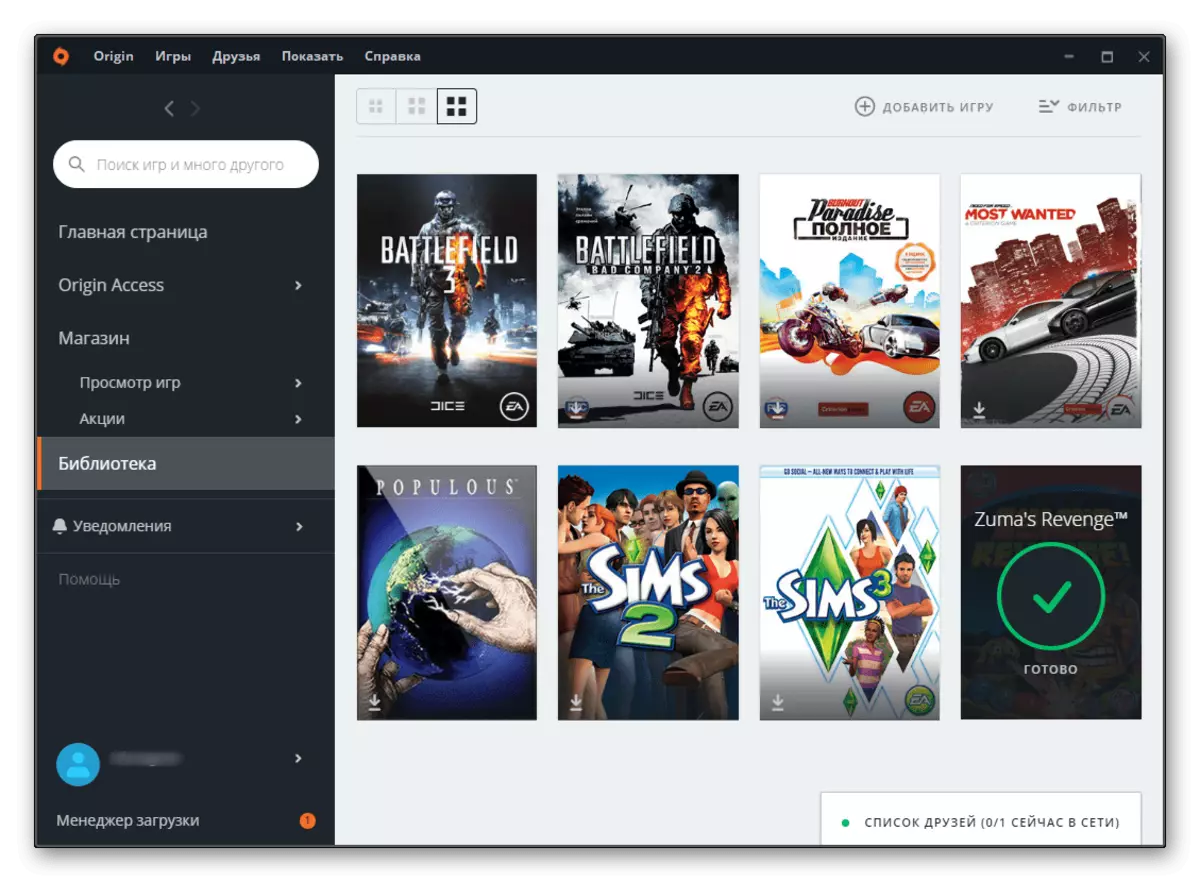
- At the end you will receive a successful recovery notification, after which it remains to check the performance of the game.
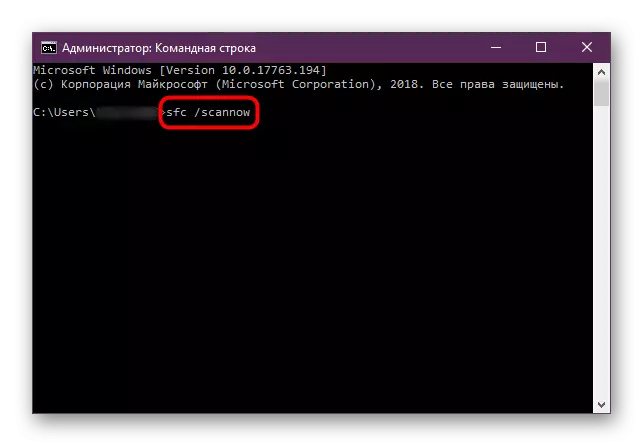
Method 4: Check Windows files for integrity
And although direct system operating system files should not affect the DIRECTX library type, it could indirectly occur during damage to some components. In such a situation, it will not be superfluous to scan certain sections of the operating system using the built-in console application. Due to the simplicity of the implementation of this action, we recommend the launch of the utility, although it is necessary to warn that the method itself turns out to be effective indefinitely. Nevertheless, if there are some system failures, all previous recommendations may be ineffective, and this is another reason to check.
Read more: Using and restoring the integrity of system files in Windows
Do not forget that if the system as a whole started behaving strange, for example, other errors began to appear, blue screens of death, the Windows work slowed down, it is worth checking the computer for viruses. Since they are quite often blocking the performance of some system processes, the consequences of this can be the most different, including the failure of the DLL.
Read more: Fighting computer viruses