

Method 1: Adjust access rights
The first way to correct the error "File system is read-only" in Linux is to check the access rights. Sometimes the user randomly or intends to establish restrictions that apply to other users. First, we offer to check the attributes, and then make changes if required.
- Run the console convenient for you by the method. To do this, you can use the corresponding icon in the application menu or the hot key Ctrl + Alt + T.
- Here enter the LS -L command to view the entire list of discs with detailed information, among which will be necessary for us.
- Examine the attributes that are shown in the first column opposite the problem disk or partition. If there is one character -R, it means that the system is read only. The presence of W is openness to read and write.
- If the problem is really associated with the specified attributes, you will have to reconfigure the rights. Enter the Sudo Chown -R [User] command: [user] / home / [user], replacing the user to the name of the desired user, to which all changes will be applied.
- This action is carried out with the Sudo option, so it will have to confirm, specifying a superuser password in the new line.


After activating the team, you will be notified that all changes have successfully entered into force. It is recommended to restart the PC and you can proceed to testing. If, when using the LS command, it was found that all the required attributes are installed for a partition or media, you should go to other solutions to the problem.
Method 2: Error Correction through Gparted
Gparted is one of the most famous disk management utilities in Linux with a built-in graphical interface. Its feature is the presence of many auxiliary functions related to the solution of various carrier errors.
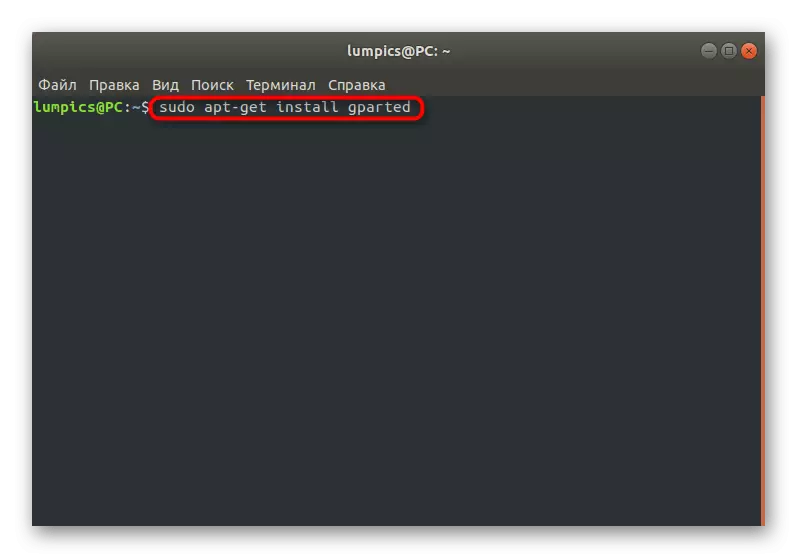
- If the default gparted is missing in your distribution, install it using the sudo APT-Get Install Gparted command. Confirm this action by entering a superuser password and approved downloading archives.
- After that, the utility is easiest to run by clicking on the appropriate icon in the application menu.
- For opening, the superuser's rights will also need.
- At the entrance, it will immediately become clear which of the sections is problematic, because an exclamation mark will be lit near it. Click on this line with the right mouse button.
- In the context menu, click on "Check for errors".
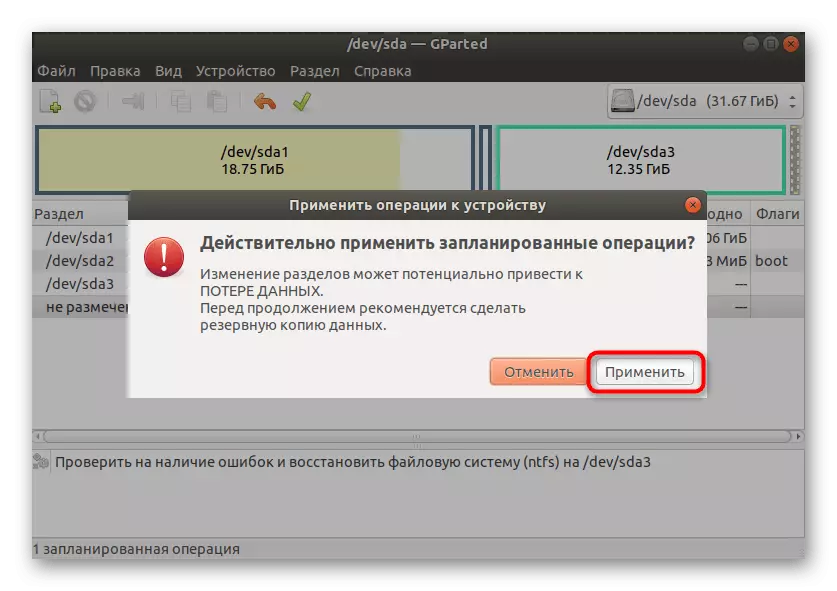
- Run the execution of operations by clicking the button in the form of a check mark, which is located on the top panel.
- Confirm the launch of the check.
- It remains only to wait for the completion of this process.


If any problems are found and fixed, you will receive an appropriate notification. At the end of the check, you should restart the PC so that at the beginning of the next session immediately check the effectiveness of the actions performed. If they did not bring any result, go further.
Method 3: Correction of damaged blocks
Sometimes an error with a failed read mode arises due to damage to the hard disk sectors. There are special utilities that allow you to distribute the problem space or correct it if it is possible. Linux has a built-in command that is responsible for performing this operation. We offer to take advantage of it if the recommendations above did not bring any result.
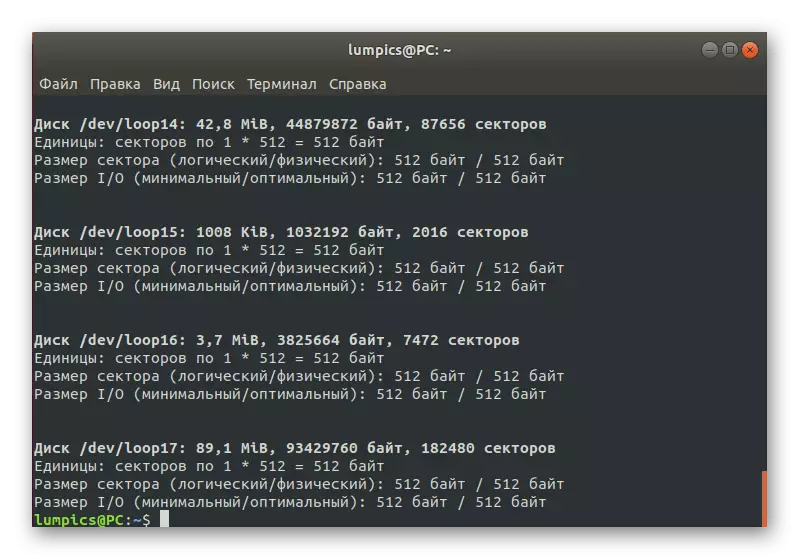
- To begin with, browse the list of disks to understand which one should be checked. This is done through the FDISK -L command.
- In the list, find the problem drive, defining its exact name. Next, it will be required when activating the relevant team for the treatment of blocks.
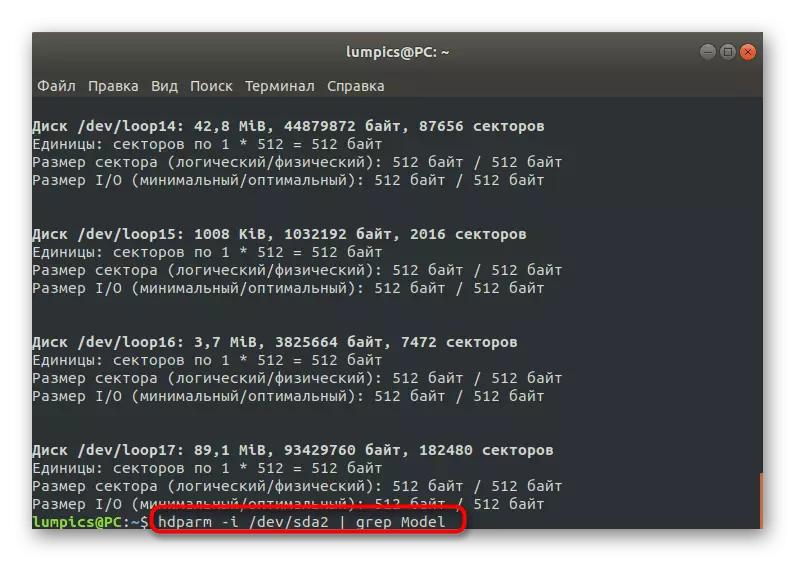
- Now use the HDPARM -I / DEV / SDA2 command | GREP MODEL to check the selected media or logic disk. Replace / dev / sda2 here on a certain previously defined name.
- After that, unmount the disk to start checking the blocks in the future. This is done through the UMOUNT / DEV / SDA2 string.
- Run the check by inserting the Badblocks -S / DEV / SDA2> / ROOT / BADBLOC command.
- Detected blocks that are not subject to correction, it is required to note that the system stops them to use. To do this, use E2FSCK -L / ROOT / BADBLOCK / DEV / SDA2.


All changes will be applied immediately, however, as usual, it is recommended to create a new operating system session to verify whether the problem has been solved with an error "File system is only readable".
Method 4: Formatting the drive
The latter method we want to tell under today's article is the most radical, since it implies the full formatting of the drive, after the status of the file system will be restored. This option is suitable only in that situation if there are no important files on the disk and all content can be deleted. Look for more detailed instructions on this topic in a separate material on our website, using the following reference.
Read more: Disk formatting in Linux
Today we disassembled the four malfunction methods "File system is read only." It remains to be found only by interacting, performing in order all the instructions given. In most cases, at least one of them turns out to be effective and allows you to completely eliminate the error considered.