

Method 1: Manual Mounting
Sometimes the flash drive is not detected in Linux due to problems with automatic mounting. Then this operation will have to produce this operation independently by performing the appropriate actions that are responsible for connecting disks. More detailed instructions on this topic on the example of several methods you will find in another material on our website by clicking on the link below.Read more: Mounting disks in Linux
Method 2: Marking a new flash drive
Sometimes problems with the detection of media in Linux are associated with the lack of sections on it. Most often it concerns new flash drives of certain models. In such situations, you need to use one of the available utilities to create a partition. If you only purchased the device and encountered a similar problem, make the following actions.
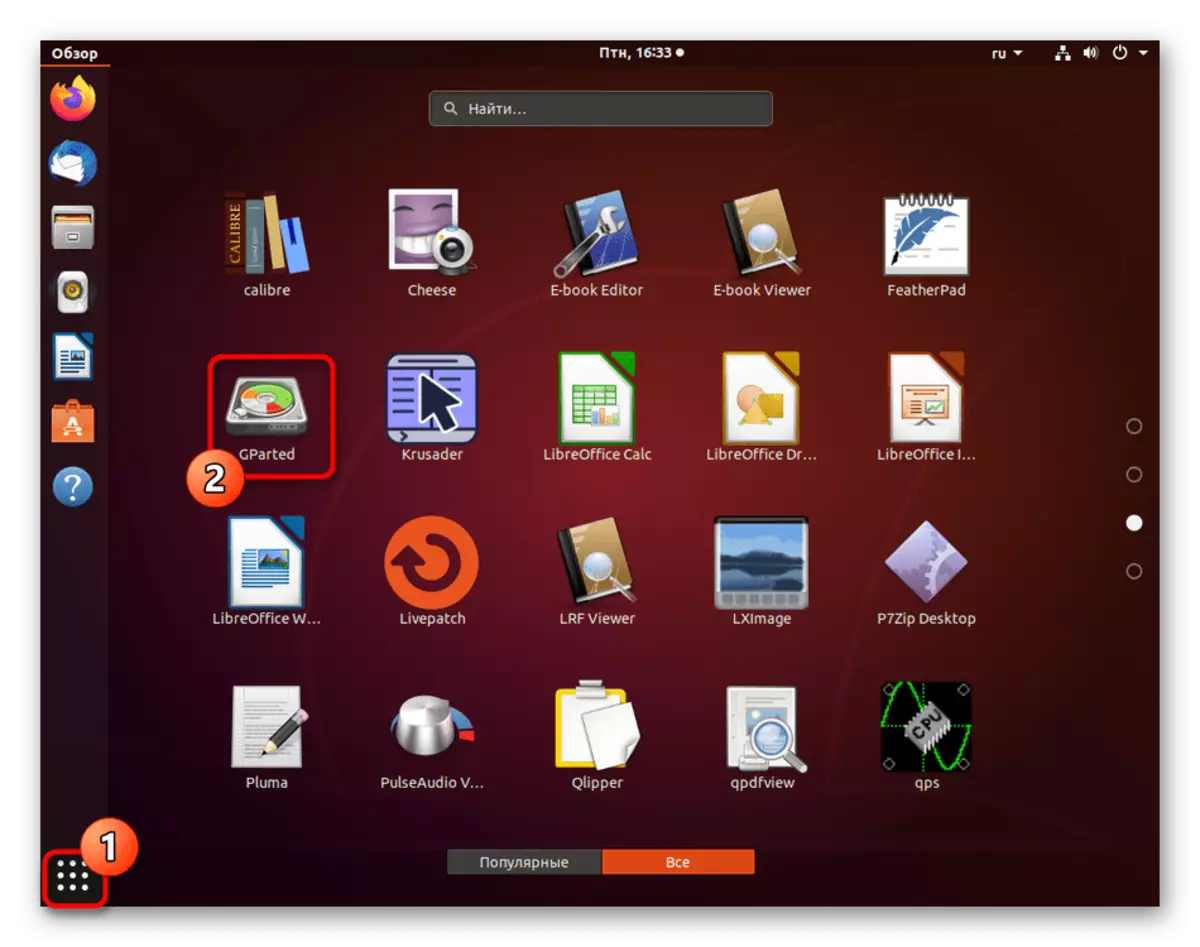
- Open the application menu and find the standard Gparted application there. If it is missing in the default in the shell, pre-install the installation through the official repositories, enters the Sudo Apt-Get Install command or sudo yum install gparted.
- Starting the utility will have to confirm by specifying the superuser password.
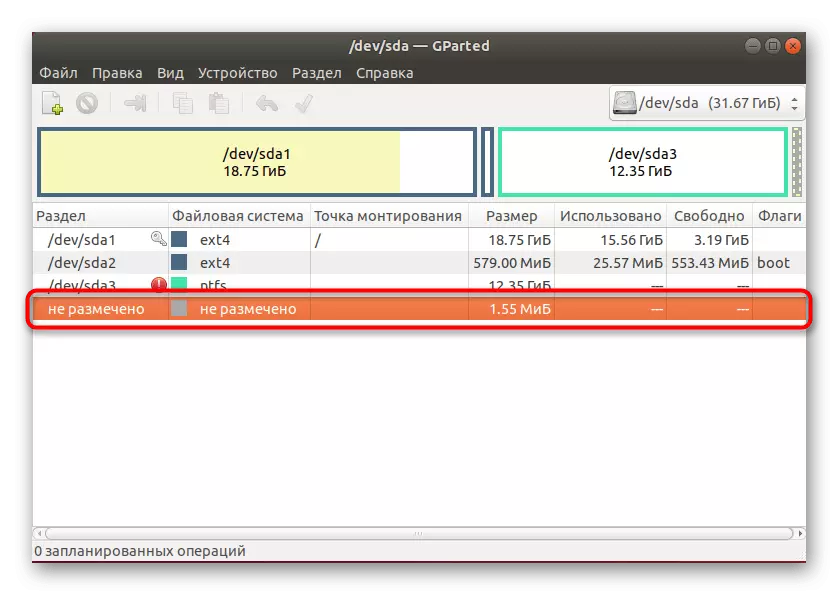
- If now the flash drive space has no partitions, in one of the lines you will see the inscription "not marked". Then it should be fixed. Click on this string with the right mouse button.
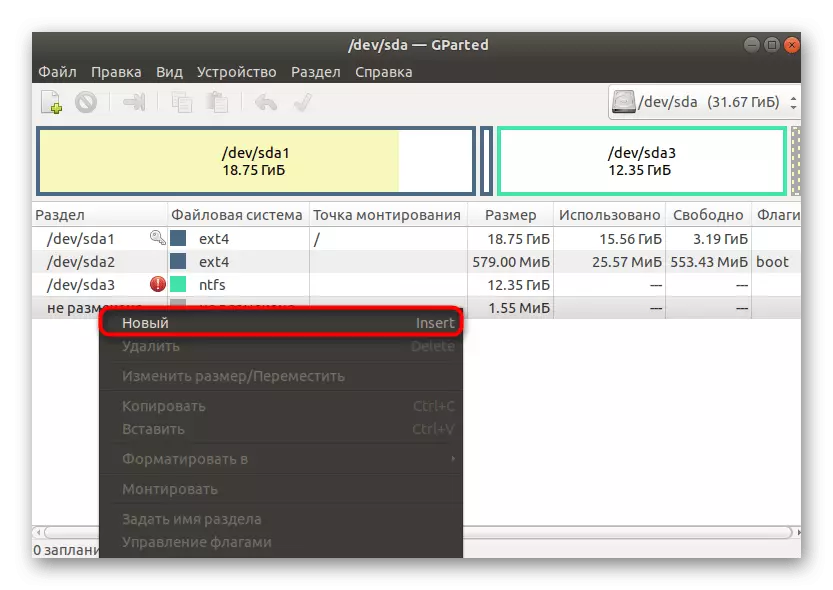
- In the context menu that appears, select the "New" option.
- Pay special attention to the right column with "Create as" and "File System" items. Here, select "Main section" and the required FS, which is set by default as ext4.
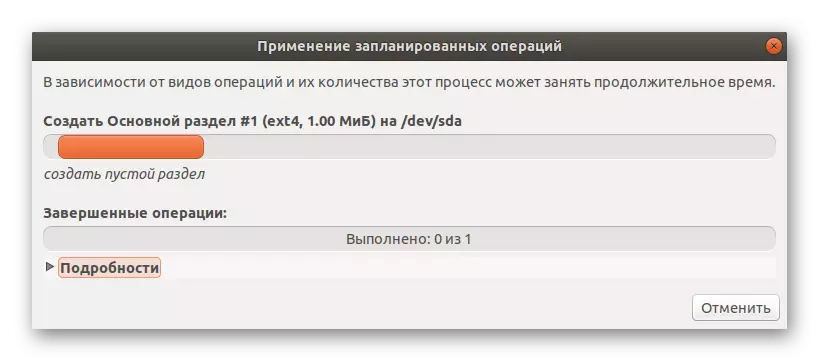
- After adding a job, only click on the icon in the form of a green tick to run the execution of the operation.
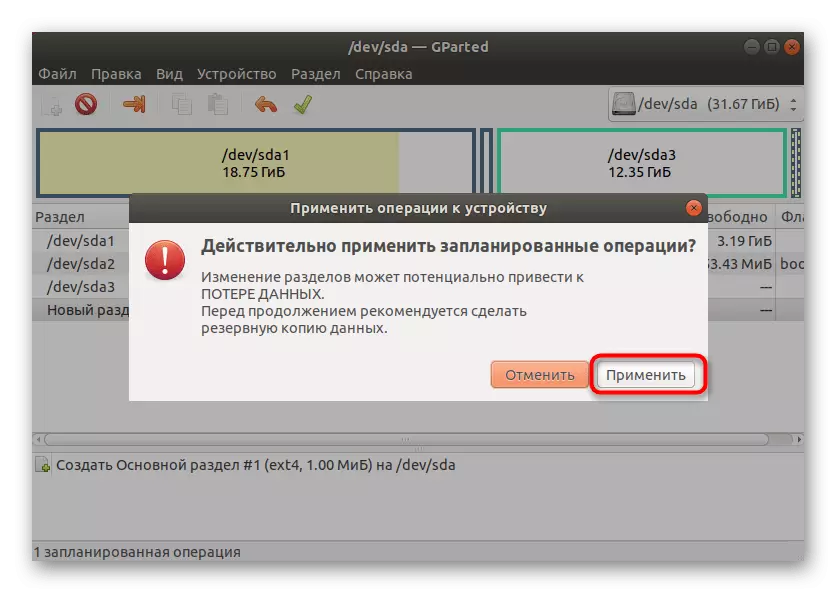
- Confirm this process by clicking on the "Apply" button.
- Wait for the end of creating the main partition.
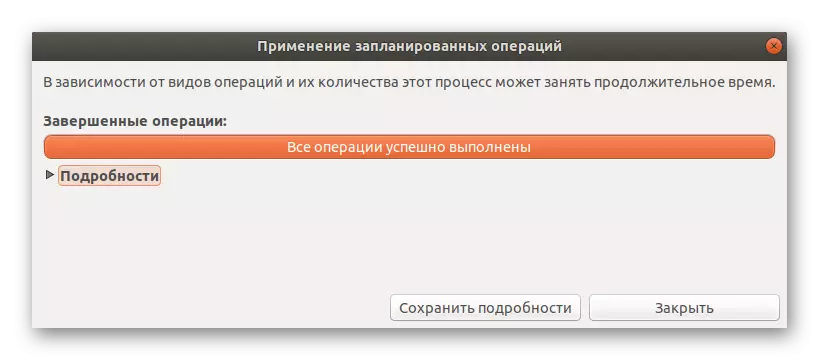
- You will be notified of the successful completion of the operation.
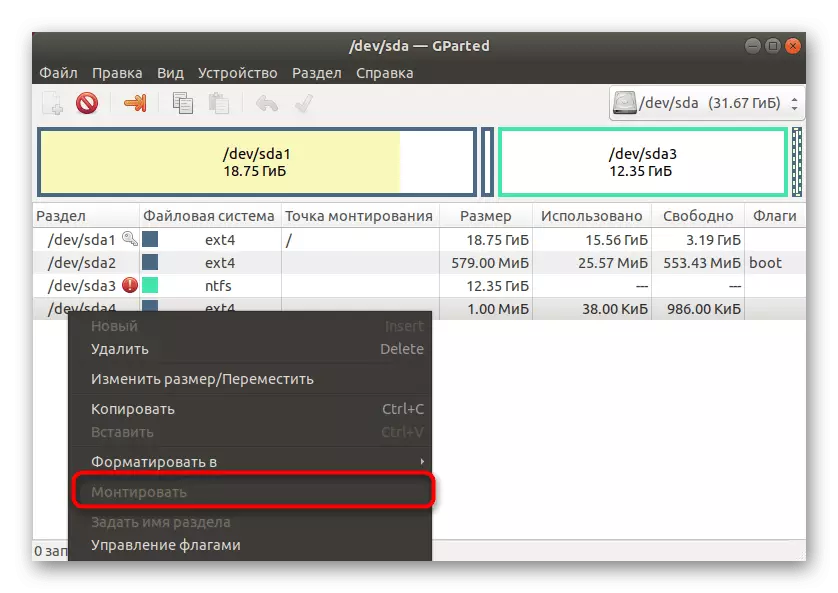
- If after that the device was not configured automatically, click on the PCM section and select "Mount" in the context menu.


As can be seen, there is nothing complicated to use the Gparted utility, because in most of the actions are made automatically. It remains only to choose a problem flash drive and create the main partition on it to get rid of the error.
Method 3: Installing the utility for automatic disk mounting
For Linux, there is a specialized utility without a graphical interface that functions in the background. It is designed to automatically mount the disks, including flash drives, when connecting to the system. By default, it may not be established, which is why the problem under consideration occurs today. It is possible to solve it:
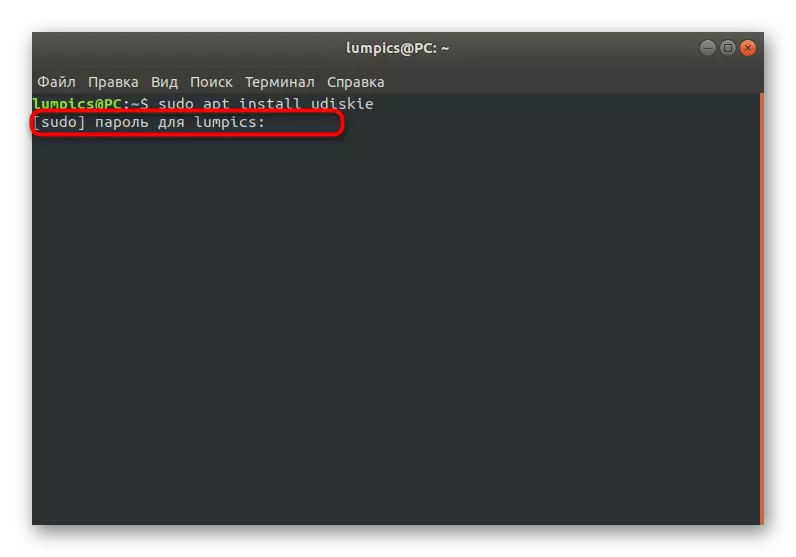
- Open the "Terminal" through the application menu or the standard hot key Ctrl + Alt + T.
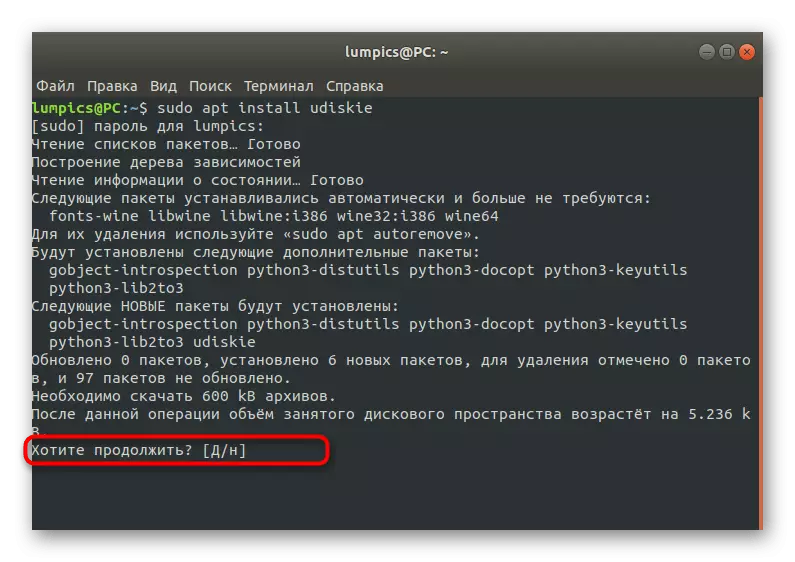
- Here enter the Sudo Apt Install UDiskie command, which is responsible for installing the utilities you need.
- This action will have to confirm by specifying the password of the superuser.
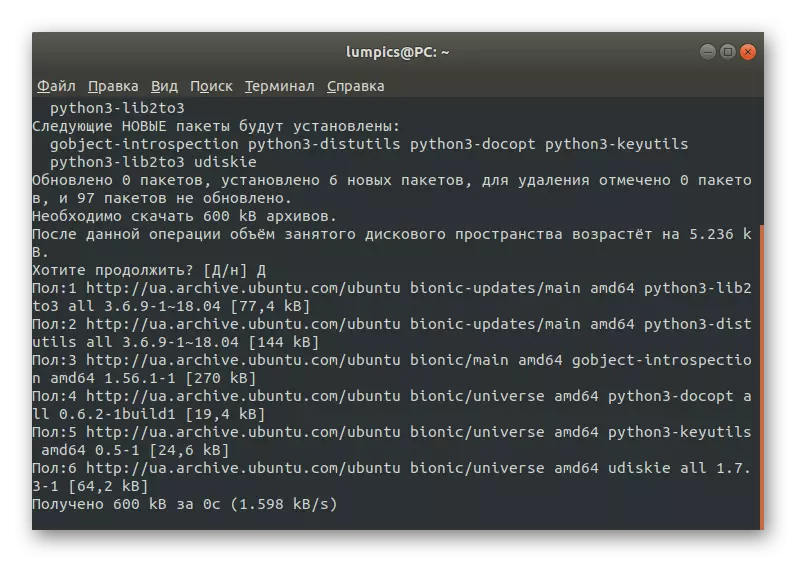
- Additional Select option D to start downloading archives.
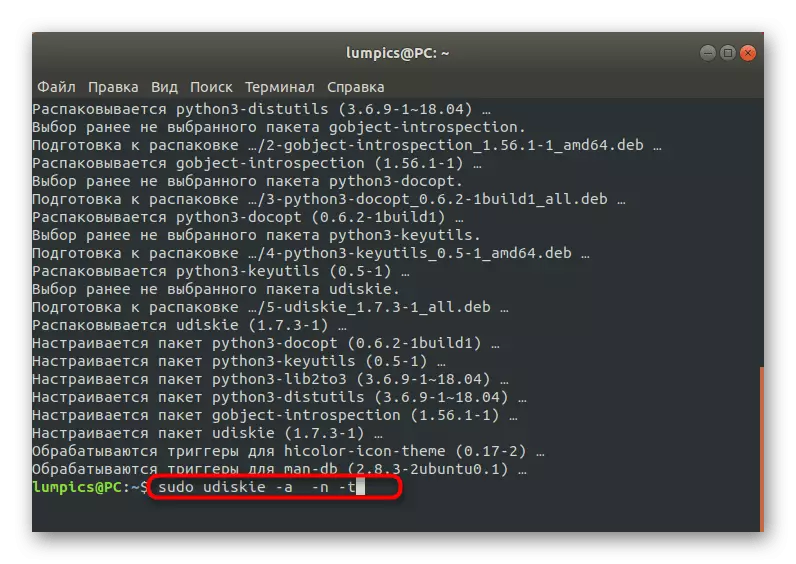
- Expect the end of downloading and installing files. During this operation, do not close the console, otherwise all progress will be automatically reset.
- After the installation is completed, use the UDiskie -A -N -T command to set the basic work parameters of the utility.
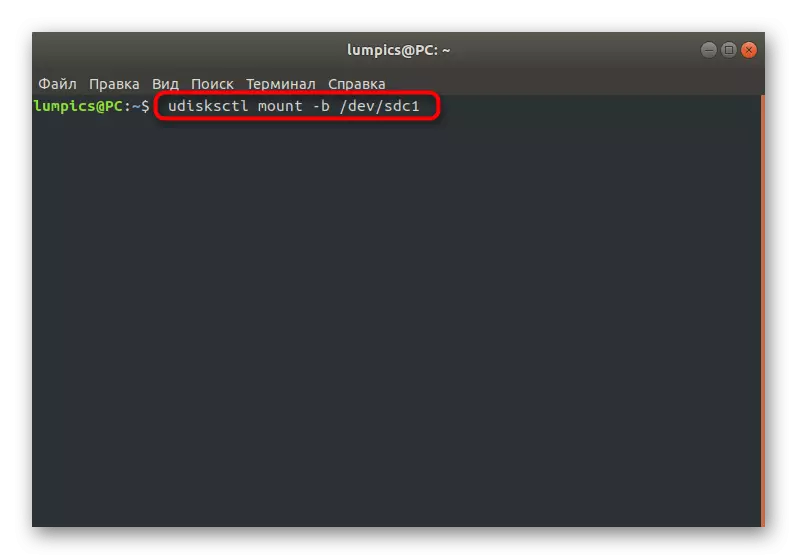
- Now you can connect a flash drive to check its work, or it will be enough to enter the UDiskSctl mount -B / DeV / SDC1, replacing the name of the disk to the necessary to make mounted in the current session.


As a result, each device connected to the computer will be mounted automatically, so the more topic under consideration should not disturb you.
Method 4: Formatting flash drive
Formatting a drive with full file system restore is the best way to get rid of all errors related to the detection of equipment. As you know, usually a flash drive is displayed in various utilities or can be seen in the list of disks by entering the corresponding commands, but it is not available in the file manager. If you can easily part with the data stored on the device or they simply are sitting there, it does not interfere with the full formatting through the available system tools. Read more about it in another material on our website by clicking on the link below.
Read more: Formatting flash drive in Linux
In this material you learned about the methods for solving problems with the flash drive detection in Linux. As you can see, there are a wide variety of options that will be optimal in certain situations.