
View download log
If the operating system suddenly stopped loaded, first of all, it should be found out the cause of errors. Unfortunately, it turns out not always, but it's still worth trying to check the download log to determine possible problems. We recommend performing the task before the direct transition to the analysis of the following methods.
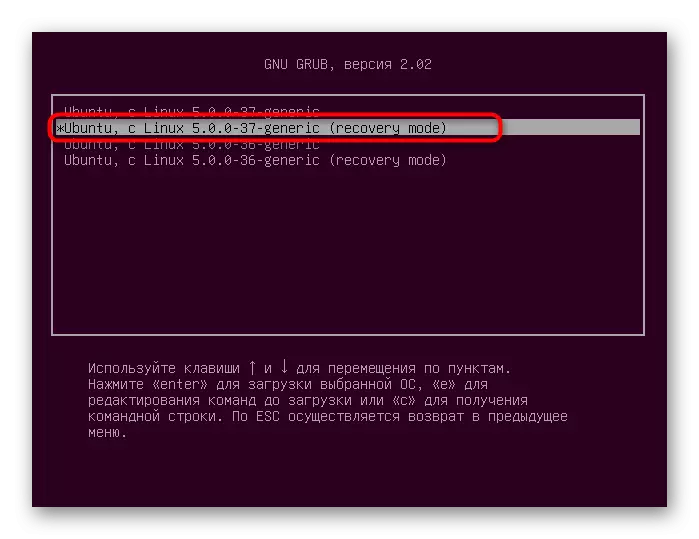
- Restart your computer and immediately press F8 or ESC to open the startup parameters. If multiple distributions are installed on the PC, or, for example, also Windows 10, you can simply wait for the advent of the GRUB loader. Here you are interested in the line "Advanced parameters for Ubuntu". Today we take for an example of Ubuntu, and if the OS used differs from said, it is necessary to take into account the features of its launch, the graphical interface and the difference in the syntax of the commands, which is most often not critical and fully matches the following.
- Next you need to find the core string with the assicious "Recovery Mode". Use the arrows on the keyboard to move between items, and then press ENTER to activate.
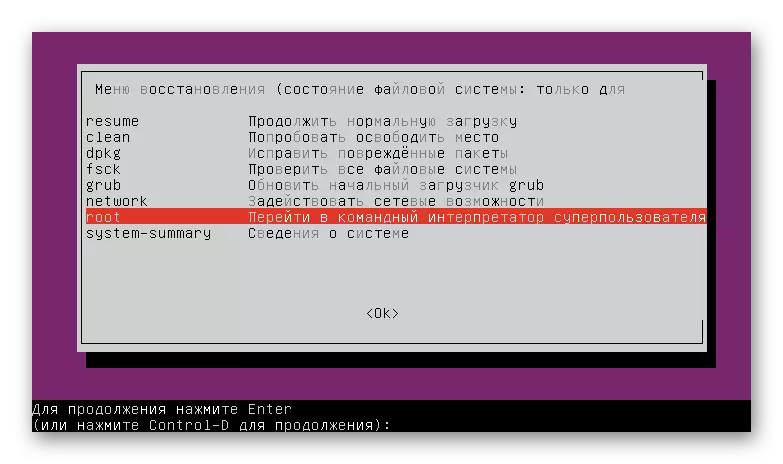
- In the Recovery menu, run the command line in ROOT mode. To do this, simply select the appropriate string and click on ENTER.
- Another pressing on ENTER is necessary to continue the launch of the command interpreter.
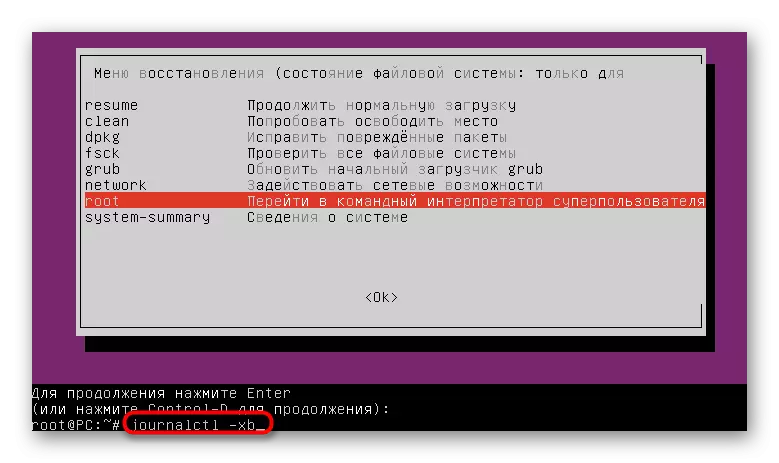
- Use the journalctl -xb command to view the records log.
- Among all the lines, find error notifications. In the future, information provided there should be used to find an optimal solution.
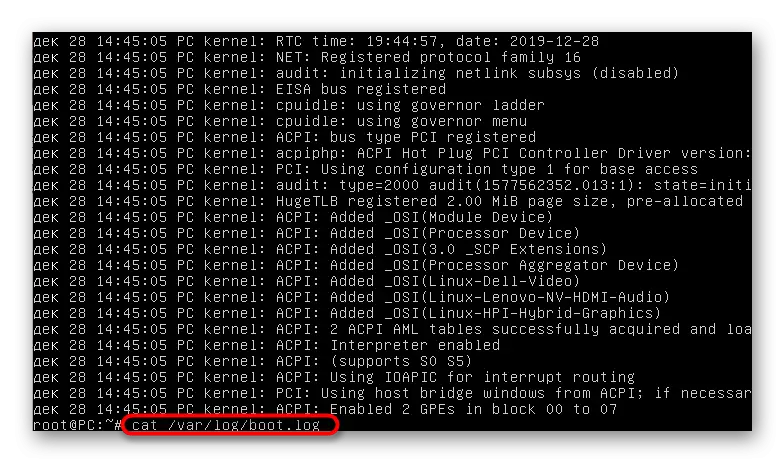
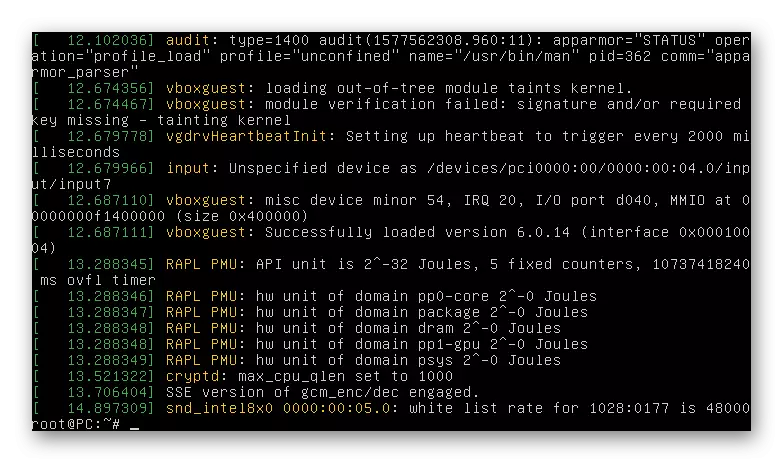
- Additionally, you can enter Cat /Var/Log/Boot.log. As a result, you will see messages that were displayed during the operating system boot. This command is useful to all to users who when enabled a computer observes just a black screen. Relevant messages will also be suitable during the search for correction.
- The last utility starts via DMesg and shows the kernel logs. It is not so effective as the two previously shown, but can help when global problems are found.


Now, pushing out the information received, you can move to a problem solving. Next, we propose to explore the most common methods that correct popular errors. At the end of the article, we will definitely imagine tips for those who could not find a solution and from whom Ubuntu still does not start.
Method 1: Checking free space
Particular attention to the first option is required to pay users who have encountered the problems of loading the operating system after installing updates or any programs. The fact is that Ubuntu is very sensitive to the ending destination on local storage facilities, so it can refuse to start if less than 2 gigabytes of free space remained on the disk. Before deleting files, you need to check this theory, and then do the cleaning space.
- First you will need to record the OS on the USB flash drive, creating a LiveCD. From this image and download will occur. Detailed instructions on this topic on the example with Ubuntu can be found by clicking on the link below.
- After launching the LiveCD, select the viewer mode with the system, previously defining the optimal language of the interface.
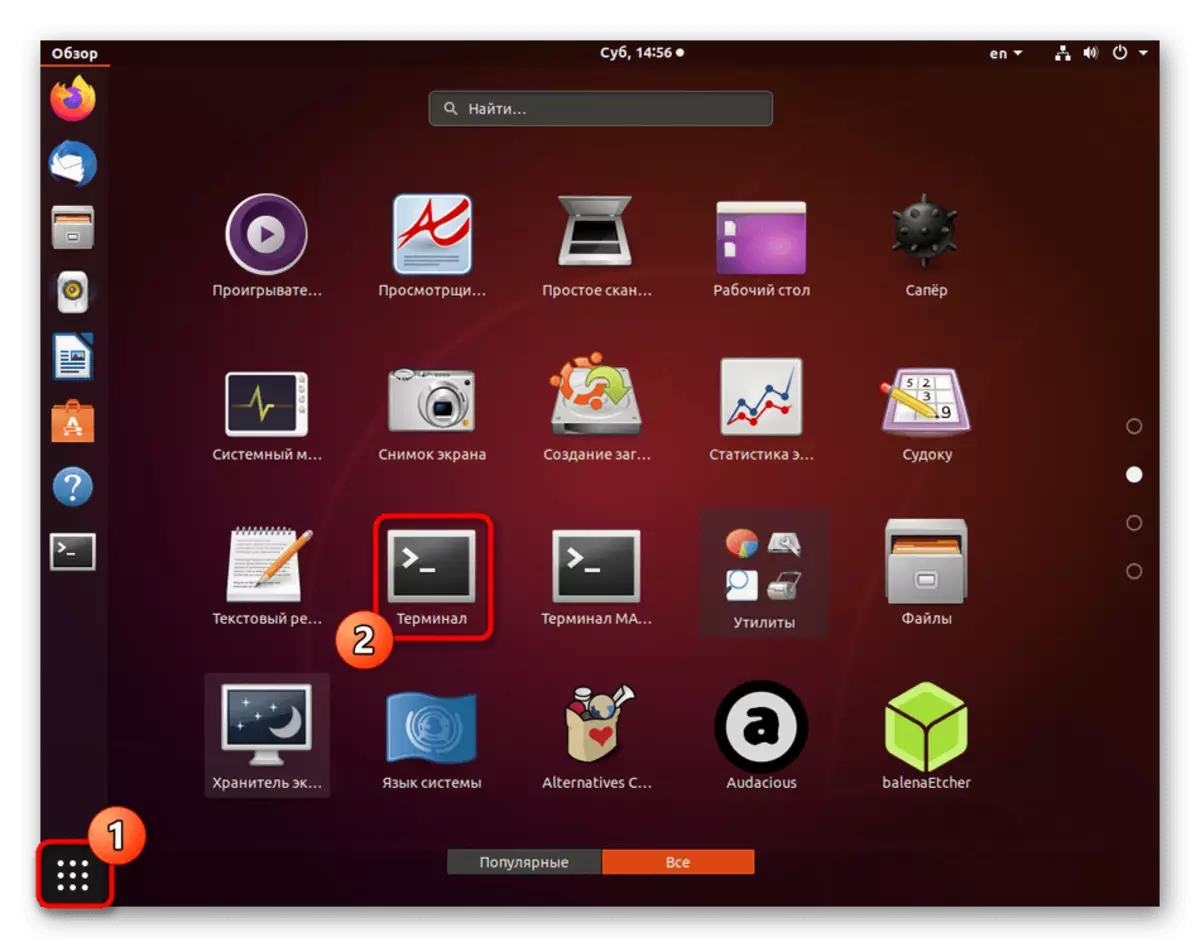
- Run the "Terminal" convenient for you, for example, through the hot key Ctrl + Alt + T or the icon in the application menu.
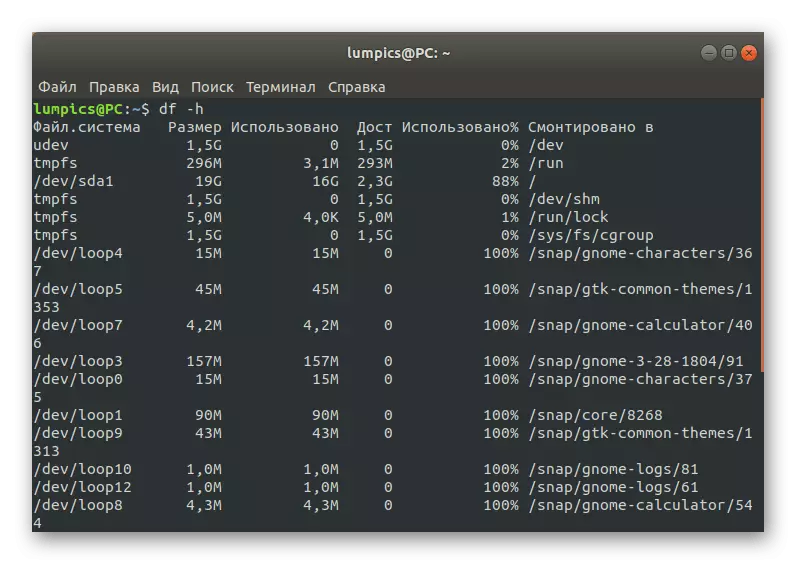
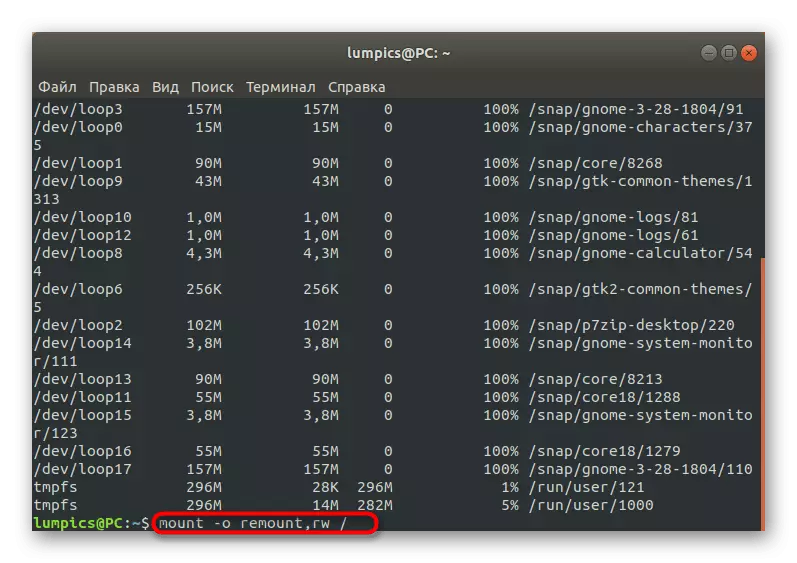
- Use the DF -H command to display a list of discs with information about busy and free space.
- Check out the rows obtained to decide whether the place on the carrier ends.
- If the problem really consists in an ending space, remount the file system to read and write mode, specifying Mount -o Remount, RW /. After that, you can move to removing unnecessary files, programs or directories. Take advantage of the instructions below to deal with the principles of performing this operation.
Download Ubuntu with LiveCD


Read more:
Create and delete files in Linux
Deleting directories in Linux
Removing packages in Linux
Method 2: Package Correction
As you know, packages in Ubuntu, the main components responsible for the launch of utilities and programs, including the system elements. If there was some breakdown with important batch files, it is likely that the OS will not boot. Correct this situation as follows:
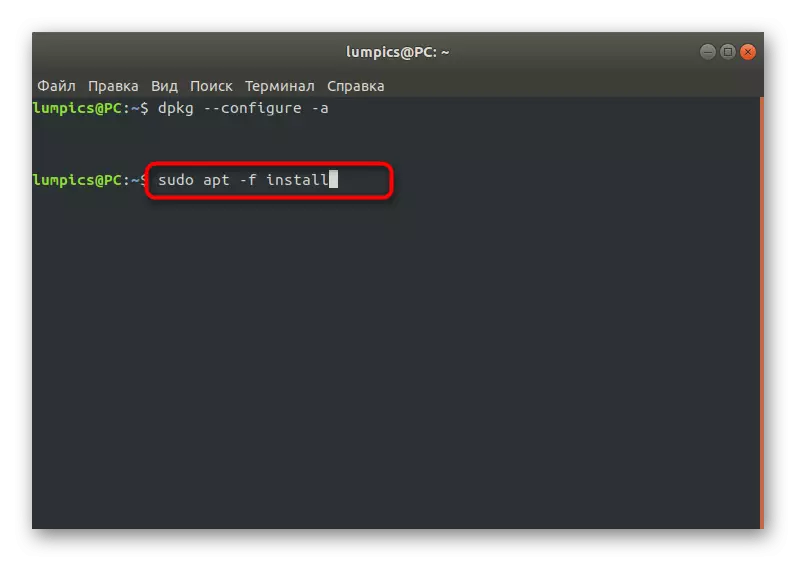
- In the console, write dpkg --configure -a and click on ENTER.
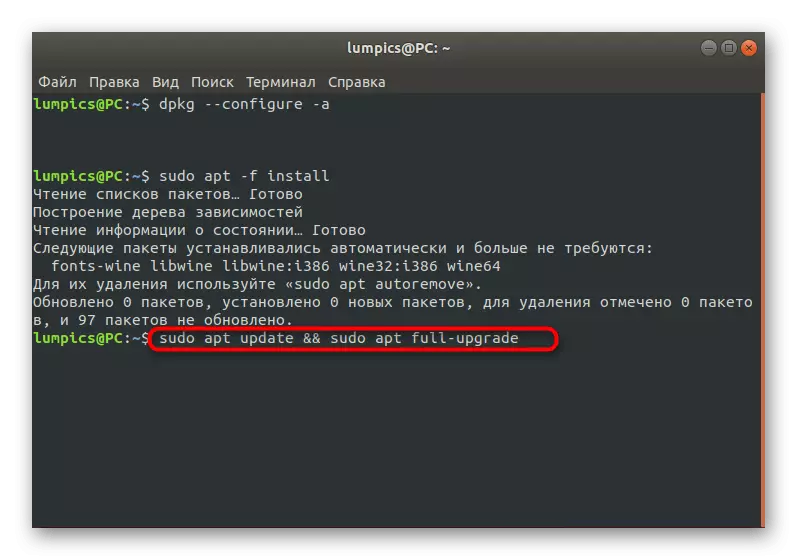
- Wait for scanning and troubleshooting. Additionally, you need to insert the Sudo APT -F Install command.
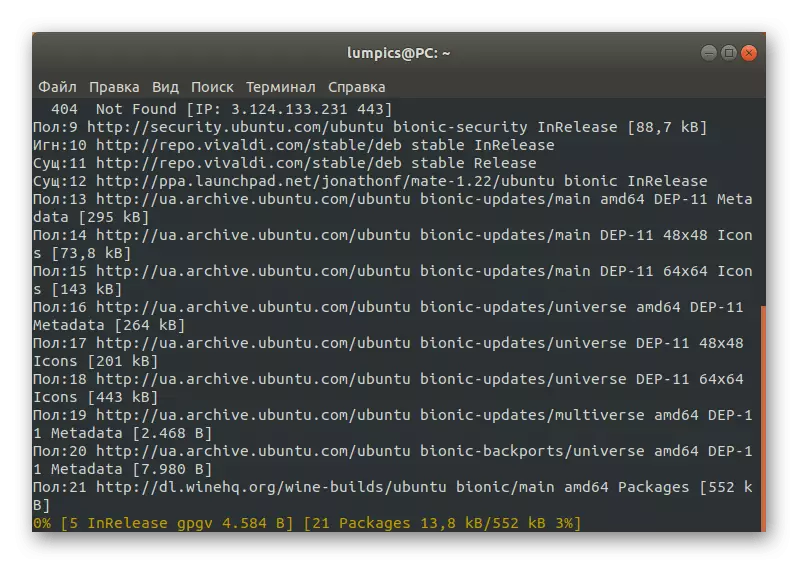
- After that it is recommended to check all updates and install them via Sudo APT Update && Sudo Apt Full-Upgrade.
- At the same time, it is necessary to have an active Internet connection so that all components have been successfully loaded.

It remains only to restart the system in normal mode, pre-sealing a flash drive with LiveCD to check the effectiveness of this method. If the OS started successfully and the entrance to it passed normally, it means that the problem was solved and can be transferred to the usual interaction with Ubuntu. Otherwise, go to the following methods.
Method 3: Checking the File System
Sometimes the problem under consideration is related to the damage to the file system. They may be insignificant, but this does not prevent them from preventing the correct loading of the OS. If you have found a message notifying the FS problems when viewing the Event Logs, you must perform such actions:
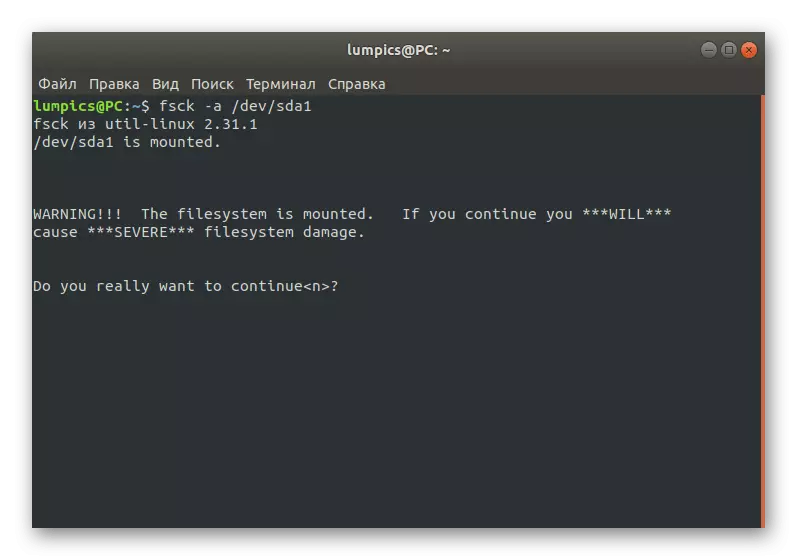
- In the LiveCD mode through the console, the FSCK -A / DEV / SDA1 command, where / dev / SDA1 is a necessary disk or logical volume for verification.
- Confirm the continuation of the scan, simply by clicking on the Enter key.
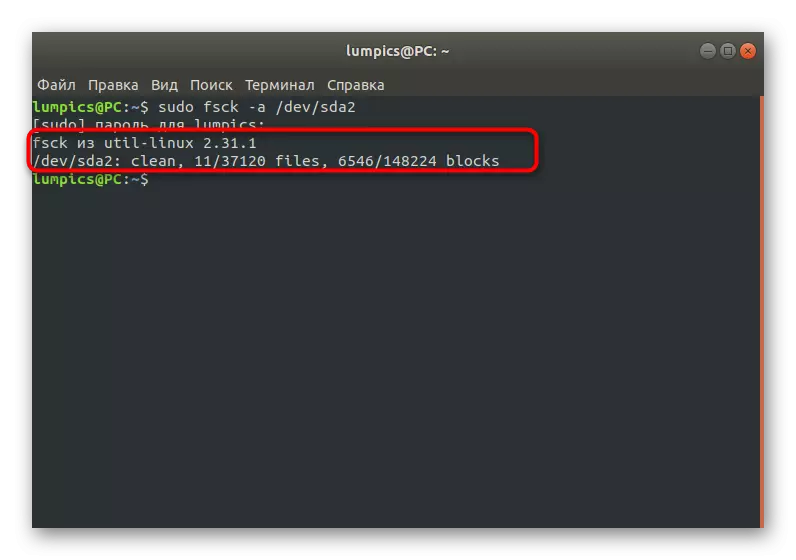
- You will be notified that the verification is successfully completed, and the errors found are fixed.

After that, you can move to the OS boot in normal mode and check whether the necessary effects are brought.
Method 4: Removing incompatible graphics drivers
Sometimes the built-in driver for downloading drivers installs incompatible with hardware software or this can be done manually, wanting to expand the functionality of the video card. If the problem is associated with these files, only a black screen will be displayed during the OS boot, and the optimal correction of this situation is to complete the removal of problem drivers.
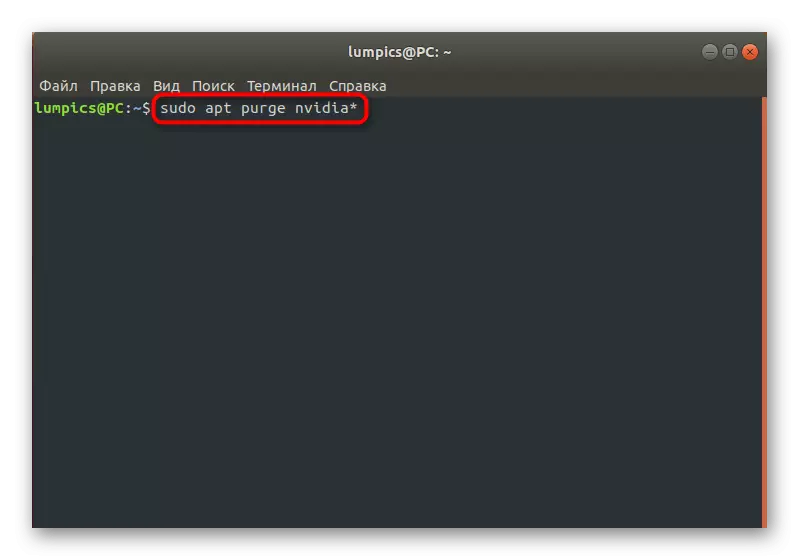
- The owners of graphic adapters from NVIDIA in Live mode should enter APT PURGE NVIDIA * and click on ENTER.
- After there is a notification that all packages associated with the video card manufacturer have been deleted.
- AMD video card holders need to be changed the contents of the string on the APT PURGE FGLRX *


Method 5: Change file / etc / fstab (for experienced users)
This method is better to use only the users who have already come across the need to edit configuration files and knows exactly what to do if there are problems with violation of the integrity of sections entries. If the download log displays the message "Dependency Failed for / Dev / Disk / BY-UUID / F4D5DDC4-584C-11E7-8A55-970A85F49BC5", you can conclude from this that one of the file systems is not mounted. In most cases, this is due to the wrong entry in the configuration facility. Correct this by checking the contents of the file / etc / fstab. It starts through the LiveCD using the VI or Nano editor. Replace incorrectly specified hard disk sections if these were detected.Method 6: GRUB loader recovery
GRUB is a bootloader responsible for the correct launch of any Linux distribution. Its breakdown can provoke the installation of the second operating system or disrupt the integrity of certain files. In such situations, the screen immediately appears notice that Grub is not able to activate the shell. On our site there is a separate manual for its recovery, where several working methods are given. You can choose the best and follow the instructions.
Read more: Grub recovery in Ubuntu
On this we will end the analysis of the main methods for solving problems with download Ubuntu. If in this material you did not find a suitable solution, but at the same time you have the result of issuing a magazine, which we talked about at the very beginning, you should seek help to the official documentation of the distribution or well-known forums. Additionally, you can leave a comment under this article, describing its problem in detail, and we will try to grant a solution as soon as possible.