

RDP Technology (Remote Desktop Protocol) allows users of the same or different versions of operating systems to make remote control of the computer. There are special customers who distingurable from console utilities, where this option is implemented through the graphical interface, which means that the user is provided with a full view of the desktop, the ability to interact with the keyboard and mouse pointer. As part of today, we want to tell about the use of popular RDP clients in Linux.
Use RDP clients in Linux
Now there are not many RDP clients, since there are difficulties in the implementation of technology that are connected with its proprietary. However, at least three different options are offered to the usual yowser. Next, we want to tell only about the most popular and reliable of them, and you, pushing out the instructions, can already install the appropriate client and connect to the server.Option 1: Remmina
Remmina is the most popular remote desktop client, which is pre-installed by default in many Linux distributions. However, its version often is obsolete. This program has a simple and understandable GUI with a huge number of auxiliary tools. Even a novice user can master it, so we placed this software in the first place. Let's step by step in the installation procedure, settings and connectivity in Remmina.
Step 1: Installation
You should start with the installation of this RDP client to the operating system. As mentioned earlier, by default, many Remmina distributions are already present, but it will not hurt to update its version that does not take much time.
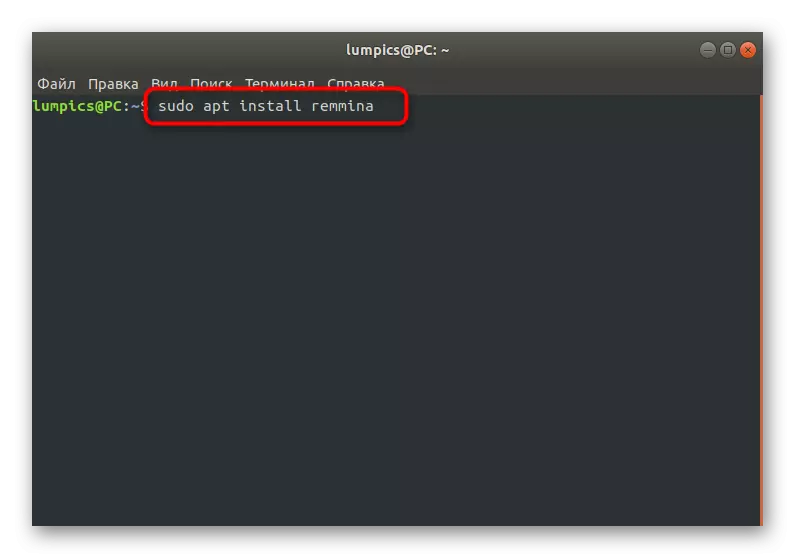
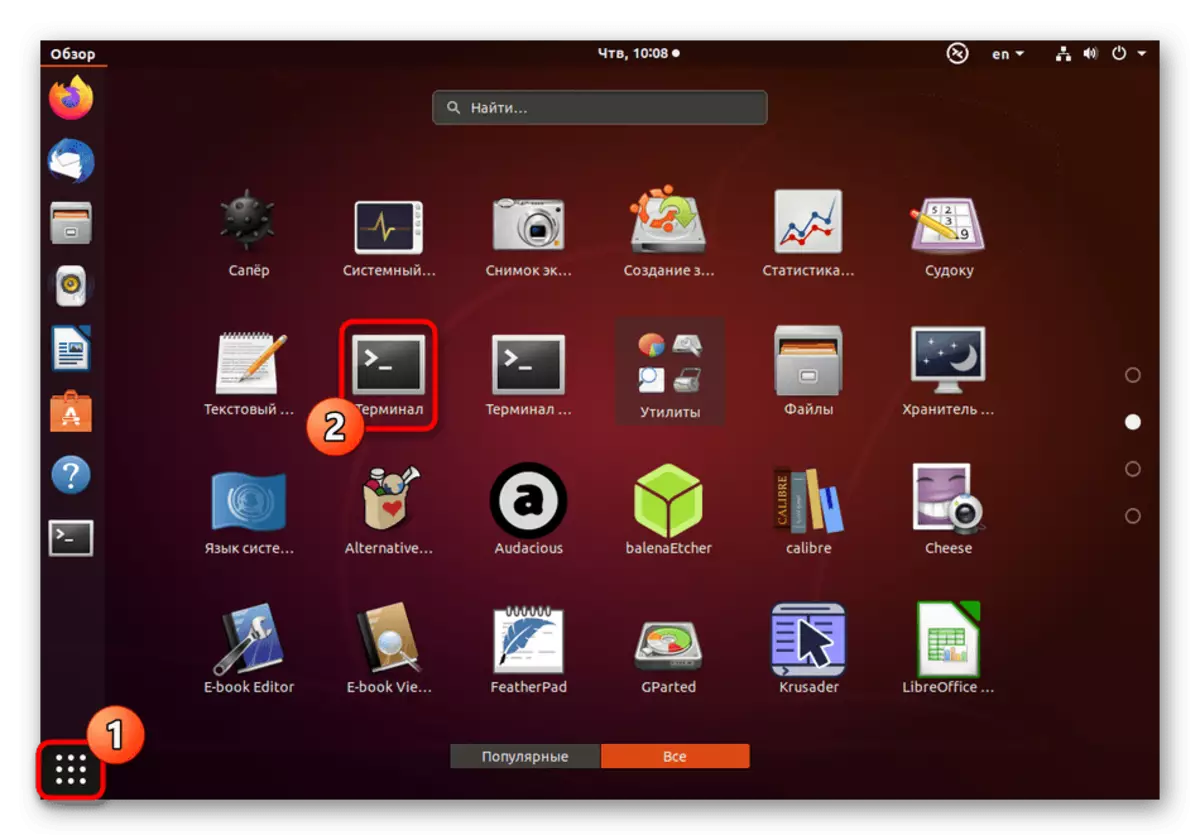
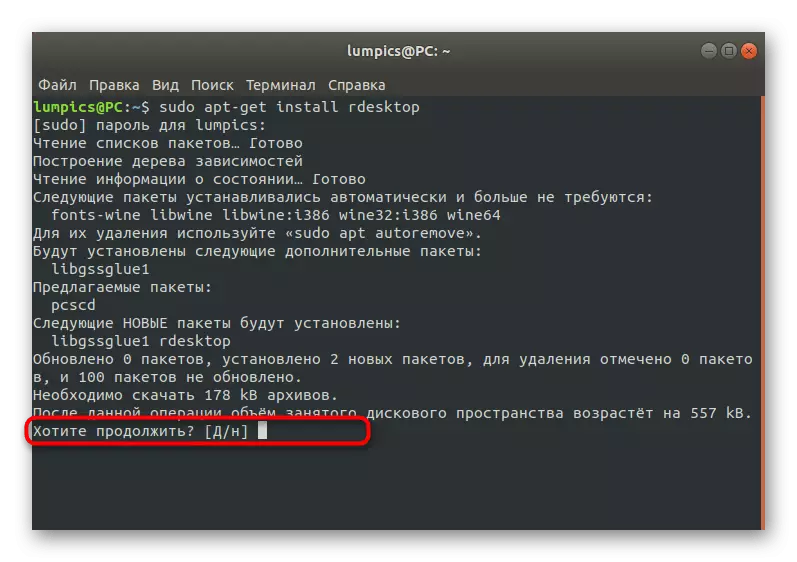
- If there is simply missing in your REMMINA system and you want to install a stable, but not the latest assembly, to start run the "terminal" in a convenient way, for example, through the application menu or clamping a Ctrl + Alt + T combination.
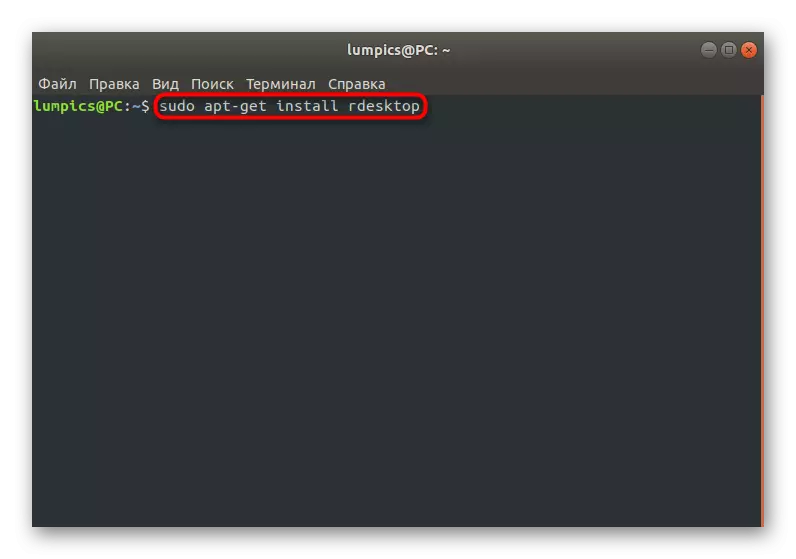
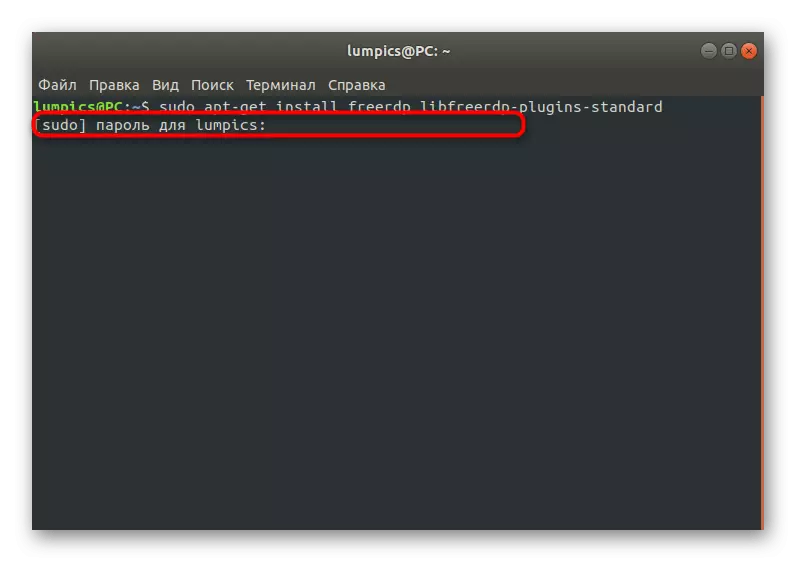
- In the current console, enter Sudo Apt Install Remmina and click on ENTER. Replace the APT packet manager to another if you use a distribution based on RedHat or Fedora.
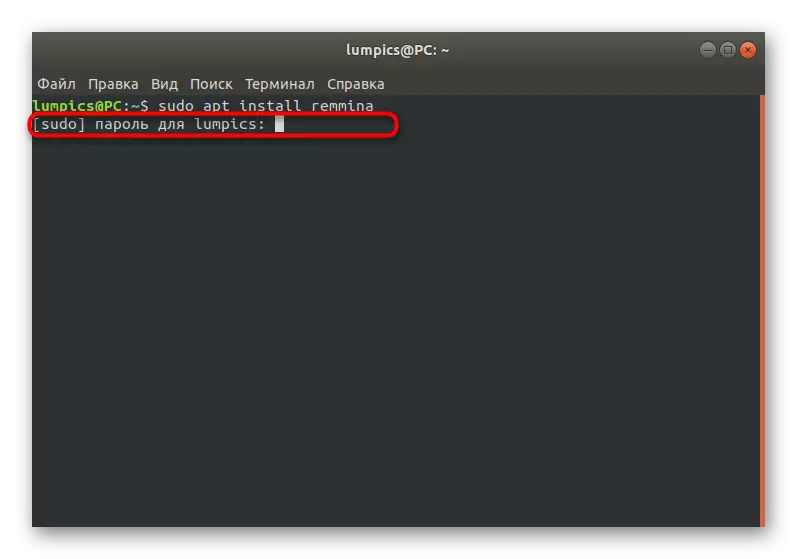
- Always installing installations are launched on behalf of the superuser, so you have to confirm them by entering a password in a new line. This situation did not exception.

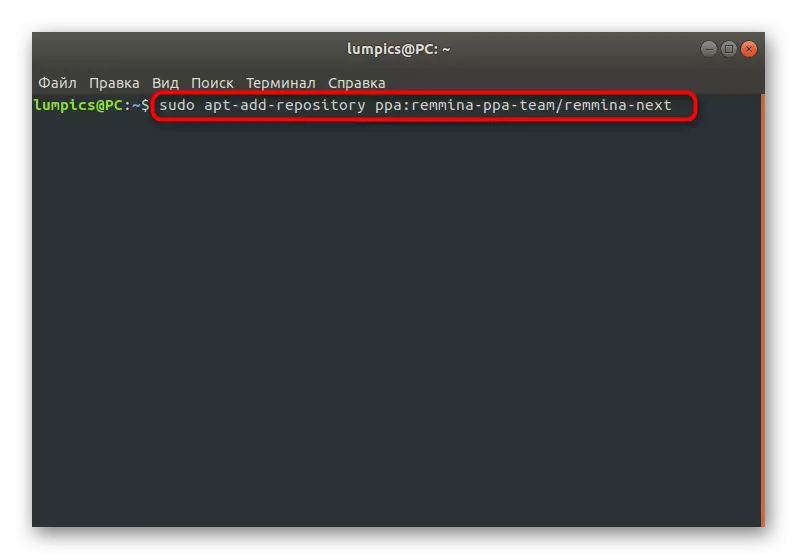
This may require additional confirmation of the extension of a busy disk space. After successfully completing the installation, you can move to the use of the client. If you want to update the version, you will have to use custom storage facilities, because there are no official builds. Sales will be a little more difficult, but looks like this:
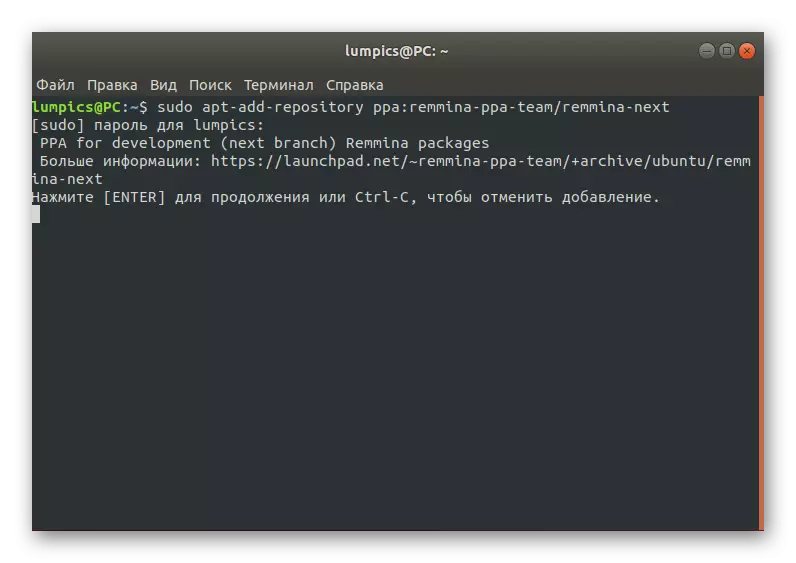
- In the console, enter the Sudo APT-Add-Repository PPA: Remmina-PPA-Team / Remmina-next to get files from the repository.
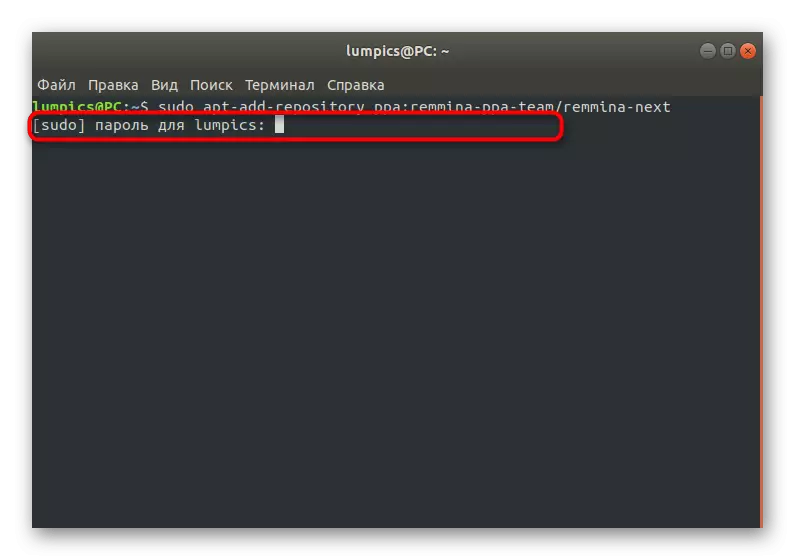
- Confirm this action by writing a superuser account password.
- You will be notified of the packages received. Take them by clicking on ENTER.
- Expect to download files. During this operation, do not close the console and do not interrupt the Internet connection.
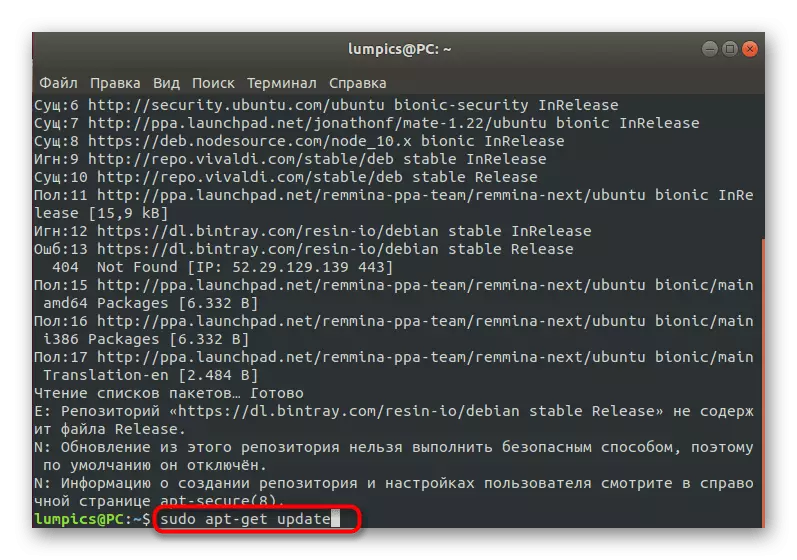
- After that, you should update the list of system storage via the Sudo APT-Get Update command.
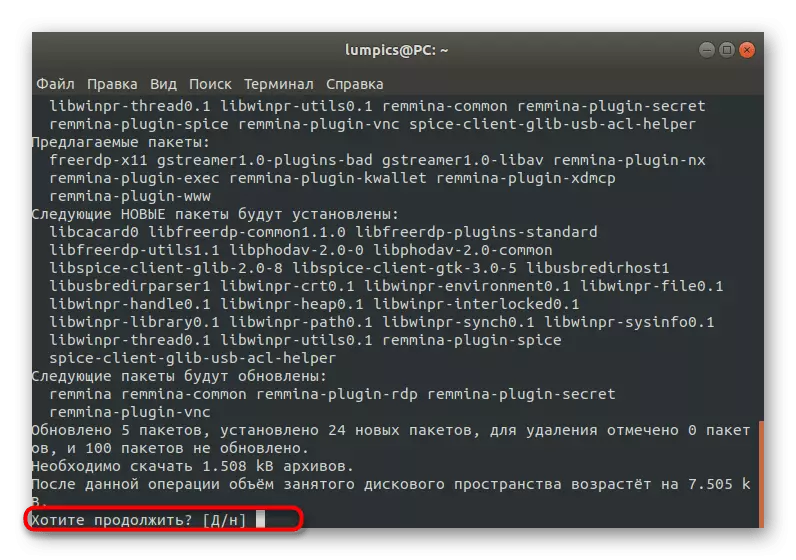
- It remains only to install the RDP client and the plug-ins withdrawn by him by entering Sudo Apt-Get Install Remmina Remmina-Plugin-RDP libfreerdp-plugins-standard.
- Confirm the information about the occupied disk space by selecting the answer d, and wait for the end of the procedure.


This install Remmina completed. The old version will be automatically replaced by a new one, therefore, you can close the console and go to the first start of the software.
Step 2: Run and Setup
With the start and configuration of Remmina, even the most novice user will understand, and official documentation will help with the latter. However, we still want to stay at the main points so that when implementing this task there is no difficulty.
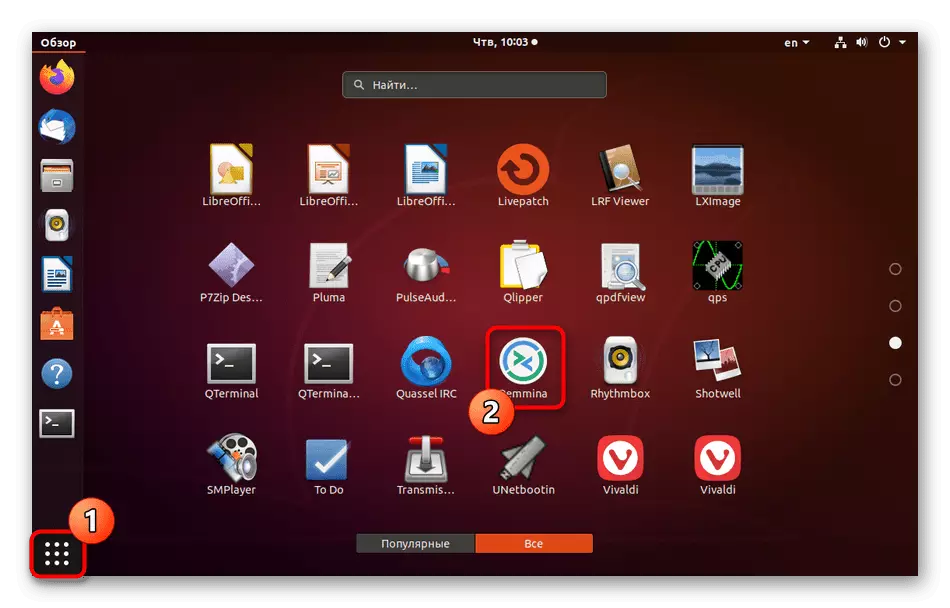
- By default, the REMMINA icon immediately after installation will be added to the application menu. Watch it there by srolling the list or using the search string.
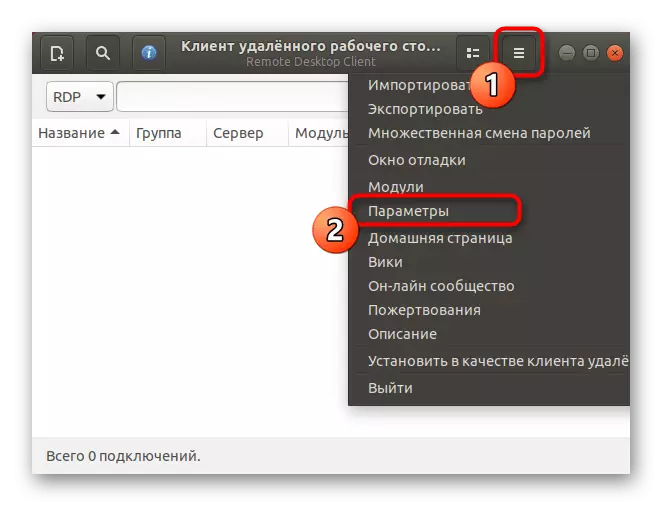
- To go to the settings, click on the button in the form of three horizontal lines and select "Parameters".
- Now the Remmina Settings window appears on the screen. It has a huge number of tabs responsible for making global and user changes. For example, here you can set the standard screen resolution, change key combinations, edit SSH and security protocol points.
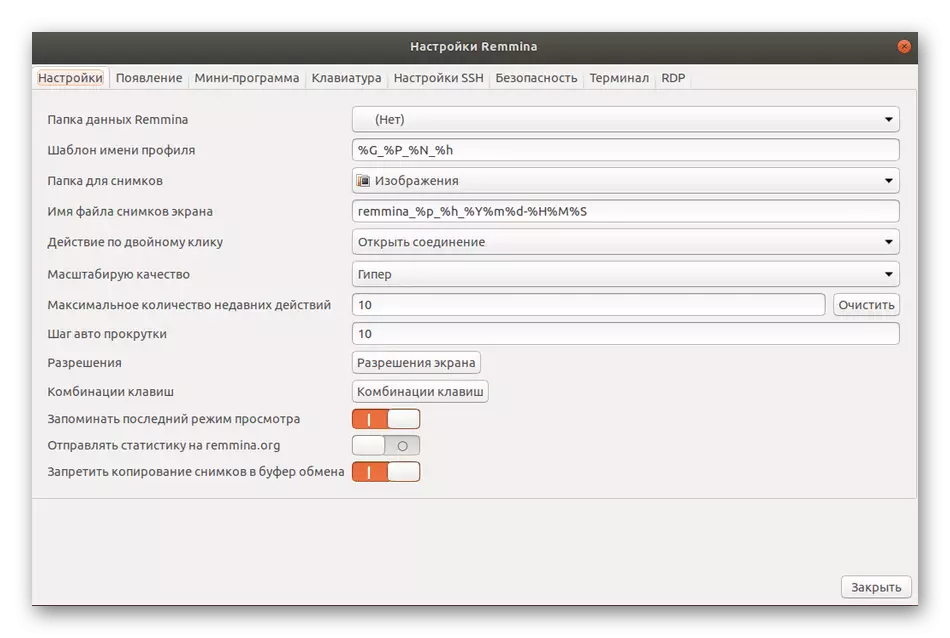
We will not dwell on each present item in detail, since the developers provide official information for each option, as well as the Remmina interface has a Russian language, which will help independently understand everything.
Step 3: Creating a Profile and Connection
After installing the optimal Remmina configuration, it remains only to create a connection profile using the protocol in question to successfully connect to the remote desktop. We propose to disassemble the basic principle of this procedure.
- Find the appropriate icon on the top panel and click on it with the left mouse button to display the connection creation form.
- Fill in all the lines in accordance with your requirements. Be sure to recheck these accounts and server addresses. After that you can choose an action. If you click on "Connect", the specified settings will not be saved, because for this you should click on "Save and Connect".
- In the future, saved profiles can be started directly through the main menu Remmina. All available connections will be displayed as a table with detailed information.
- After startup, a separate window with a virtual desktop opens. Expect to start downloading and use the tools on the left pane to manage the session.


Now it remains only to start interaction with the remote desk, performing the necessary actions there. If you have any questions about Remmina Management, pay special attention to the documentation: there, in the maximum detailed form, the answers are described absolutely to all user questions.
Option 2: Rdesktop
The next tool called Rdesktop is not so popular among novice users, since all settings are made through the console by entering the corresponding commands. However, this decision was in demand among professionals and lovers of console utilities.
Step 1: Install Rdesktop
In short, we will focus on the RDESKTOP installation procedure itself. This access program in official distribution storage facilities, thanks to which the user does not need to download additional files or packets.
- Open the "Terminal" in any convenient way.
- Enter the Sudo Apt-Get Install RDesktop command and click on ENTER.
- Confirm this action by entering the superuser password in the new line.
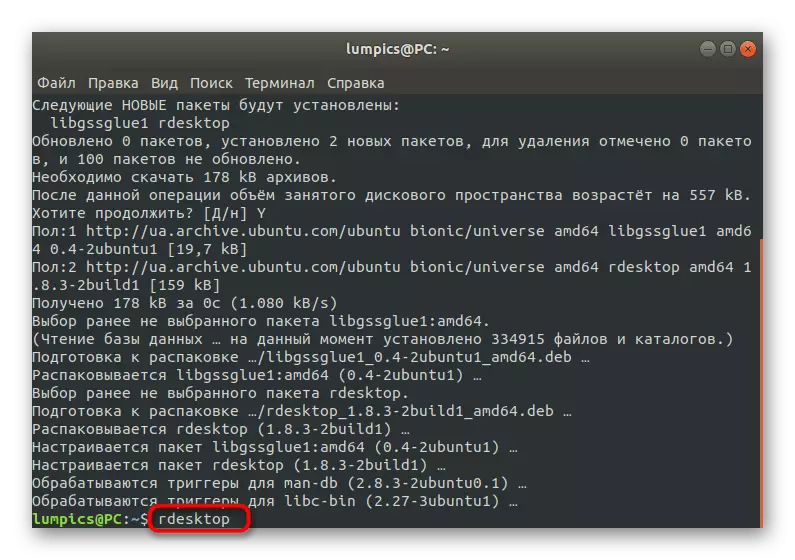
- The installation will continue immediately after selecting a positive response "D".
- The launch of this utility is also carried out through the "Terminal" through the RDesktop command.

If the Distribution used is not based on Debian, the APT-GET argument in the installation team will have to be replaced by YUM or PACMAN. There are no differences with Linux assemblies.
Step 2: Start and Connection
If you simply enter the rdesktop command in the console, the following strings will display a brief summary of syntax and available options. We recommend to examine the information that appears to understand exactly how the connection with the remote desktop is monitored through this utility.

After that, you can immediately connect to another computer. Let's analyze this process on the example of the rdesktop -z -p -p -g -p 1280x900 -u -p -p -p -p password server_ip.
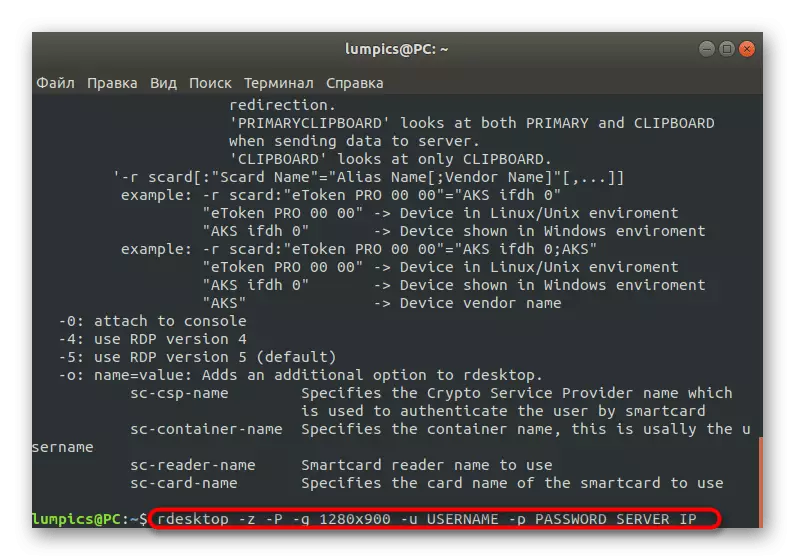
Here you should consider in detail absolutely every argument and fitted information.
- -z. This option is responsible for activating the stream compression. Use it to optimize the connection. Especially relevant for systems with low Internet speed.
- -P. Creates caching. It helps save some information on the local storage, in the future is not referring to the server every time for its download.
- -g. Sets the user resolution of the desktop window. After this option, enter the desired parameter to be applied.
- -u. After this option, specify the username that will be displayed on the server.
- -p. This argument is necessary if the password is presented.
- Server_IP. Always indicated at the end of the line. Instead of this inscription, enter the domain name of the server to which you want to connect.
Step 3: File sharing between Windows and Linux in the current session
In the completion of the RDESKTOP utility, we want to tell about the basic actions performed through the input of commands in the console. To begin with, let's talk about the most sought-after tasks that are associated with the exchange of files. Network folder is connected via Rdesktop -R Disk: Share = / HOME / Documents -Z -P -p -g 1280x900 -u username -p password server_ip, where all the specified options and addresses are replaced with the required.
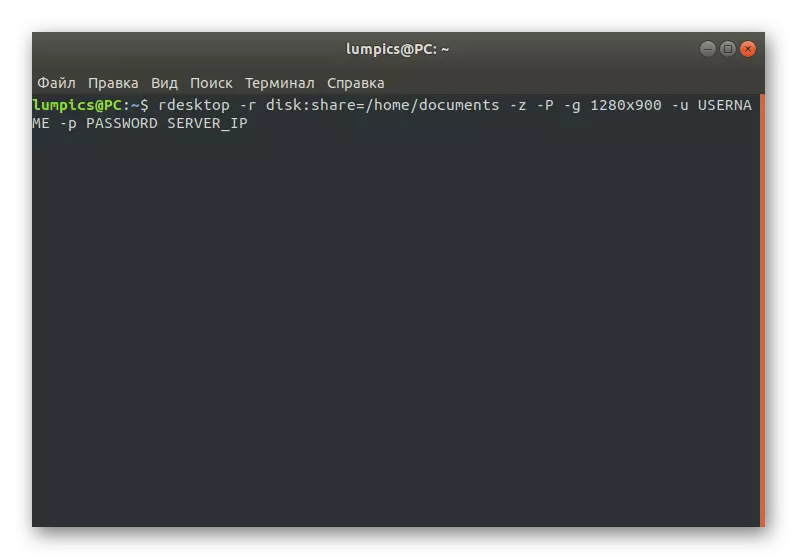
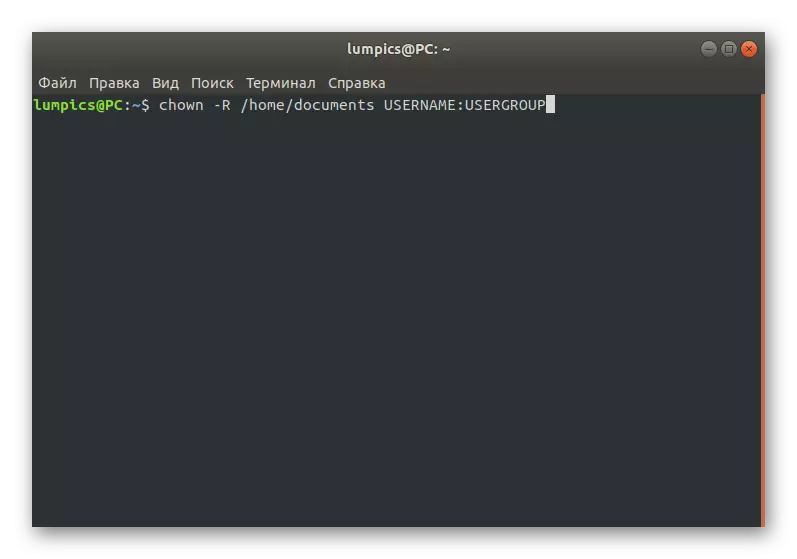
After entering this command, the folder will be available for reading and writing, which will allow in every way to manage files there. However, if access problems arose, you will have to close the session, activate the CHOWN -R / Home / Documents UserName: UserGroup command, and then connect the directory again.
Step 4: Creating a quick access icon
When studying the first RDP client, you could notice that all profiles are saved in the graphical menu table, which allows you to quickly connect and switch between them. Unfortunately, there is simply no such function in Rdesktop, so there is only one alternative method - manual creation of a quick access button for each server.
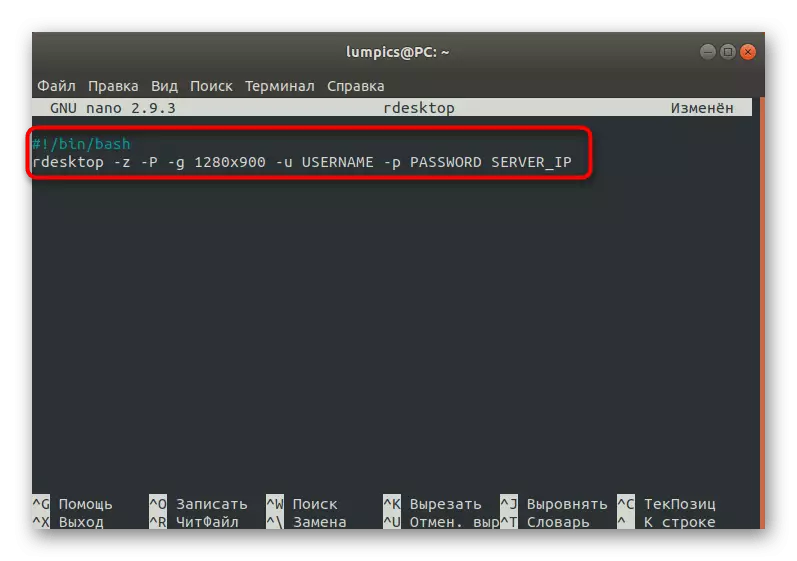
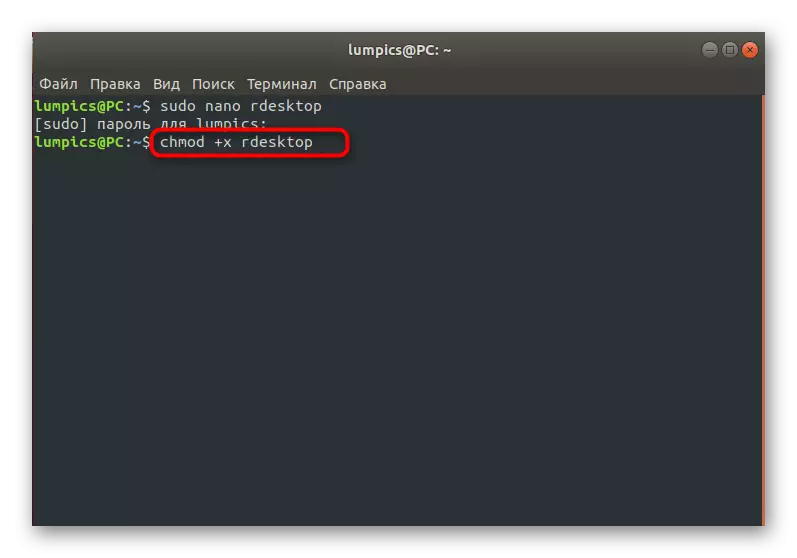
- In the console, create an empty text file with an arbitrary name through a convenient text editor. The team itself will find something like this: sudo Nano Rdesktop, where Nano is the text editor used, and the RDESKTOP is the name of the file itself.
- When the window appears insert the two lines listed below, replacing the options and server information on the available.
- Save all changes and complete work in a text editor.
- Enter the chmod + x rdesktop command to create a quick start icon on the desktop.

#! / BIN / BASH
RDESKTOP -Z -P -G 1280x900 -U UserName -P Password Server_IP

All other options and nuances of interaction with Rdesktop, about which we did not speak above are described in detail in official documentation or are used quite rarely, therefore do not need explanations.
Option 3: Freerdp
Freerdp is the newest of all known RDP customers, which is just starting to gain momentum. The management of them is also carried out in the console, and there are few functions now, so we delivered this option to the last place.
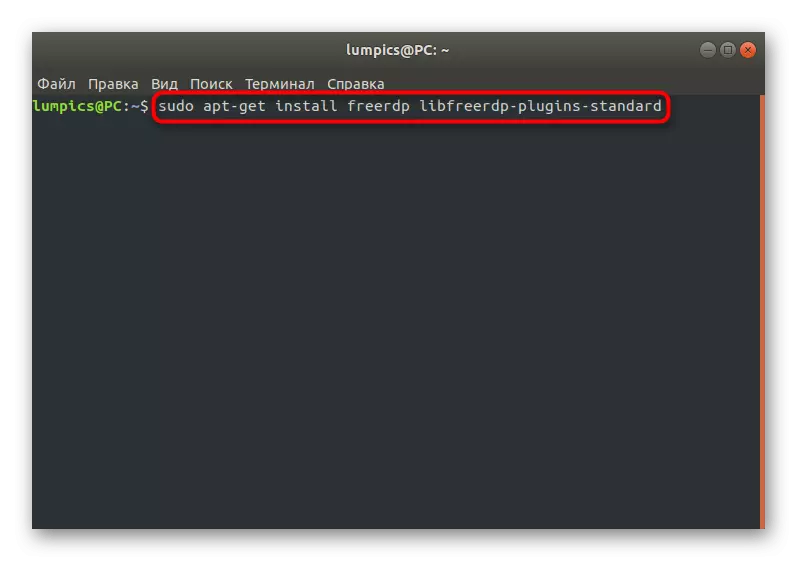
- Freerdp is installed with all the necessary components through the sudo APT-Get Install Freerdp libfreerdp-plugins-standard command.
- Installation will start immediately after confirming the password.
- Select the answer d to download all archives.
- Use the XFreerDP -U BLACK -D Work -n "Lumpics" -A 15 -K US -G 1440x830 --Plugin Cliprdr --plugin RDPDR --Data Disk: Diskp: / Home / Black - My.RDP.Server. NET to run a connection to the server.

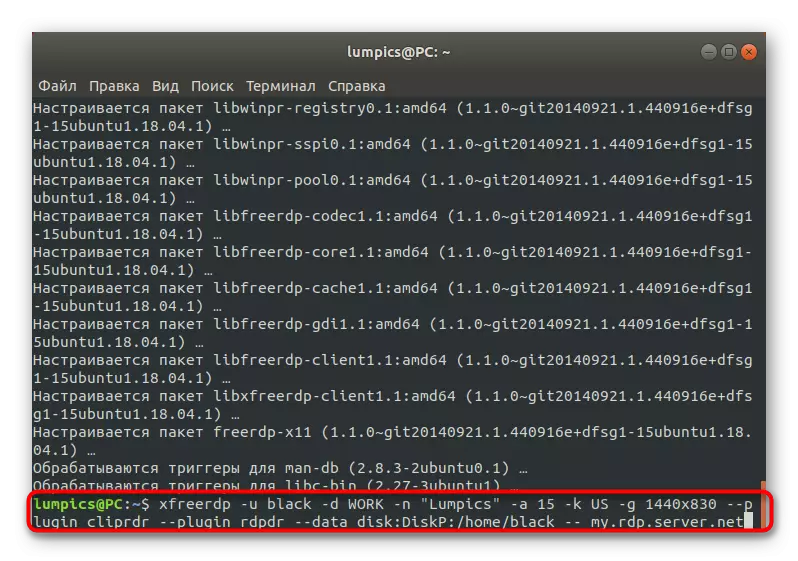
Now we suggest learning all the options that you saw in the previous line. They are a bit similar to those used in the second version when interacting with the Rdesktop client, but also have their own characteristics.
- -u. Responsible for the user name on the server. Immediately after this option, the corresponding login must be entered.
- -d. The same, but only with the domain of the working group, which is determined in advance and should be the same for all participants in the local network.
- -n. Defines host name.
- -a. After this argument, the depth of the window color is indicated. By default, the value of 15 is selected.
- -K. Sets the standard keyboard layout, where the state code is specified as a parameter.
- -g. Specifies the size of the displayed window in pixels.
- --Plugin Cliprdr. Activates the overall clipboard with a future remote desktop.
- --Plugin RDPDR --Data Disk: Diskp: / Home / Black -. Connects a home folder as a common network and allows you to exchange data.
- MY.RDP.Server.net. Replaced with the name of the RDP server used.
Above you received a general summary of the three different RDP clients for Linux. As you can see, they all have their own characteristics and will suit different users. Each of them can connect to Windows, so all complexity of the choice is only in the differences in the control and implementation of the graphical interface of the remote desktop display window.