
Method 1: Zen Installer
There are various graphic installers for Archlinux, which can be told under the same article, however, we decided to stay on the three most popular options. I would like to start with Zen Installer, since this is the most flexible installer, which allows you to implement all the actions that are manufactured in the console with the usual installation of this distribution.Step 1: Loading the image
All today's material will be divided into steps so that novice users are not confused in the sequence of actions and could focus on specific tasks. Of course, for a start, you will have to load the installation itself for installation, which is carried out like this:
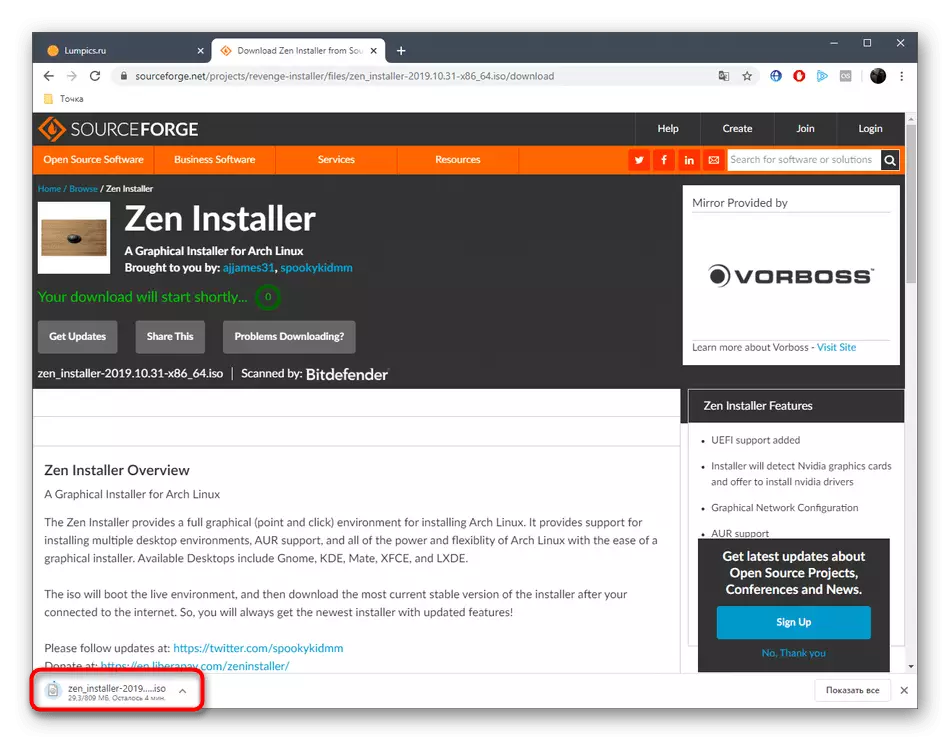
Go to the official website of Zen Installer
- Go to the link below. Here, go down a bit down the page and find the current versions of the installer. Select the required and click on the link.
- Expect to start downloading. It will start five seconds after opening the page.
- It remains only to wait for the download, after which you can immediately move to the next step.


Step 2: Record an image on a flash drive
Now the installation of operating systems is most often produced using the loading flash drives, which the obtained ISO image is written in advance. With Zen Installer the situation is the same. Use the link below if you work with Windows and want to record the disk through this OS.Read more: Instructions for creating a boot flash drive
Additionally, we note that sometimes Archlinux is installed next to another distribution. In this case, the instructions are not approached above, because in Linux, the record manifested through other programs. On our site there are separate instructions, where it is described about such solutions. You can familiarize yourself with them by clicking on the following header.
Read more: Recording ISO images on a flash drive in Linux
Step 3: Start Zen Installer
Now that all preparatory work is performed, you can safely begin to install. Start it stands with the download of Zen Installer download, because here also has its own features that cause questions from novice users.
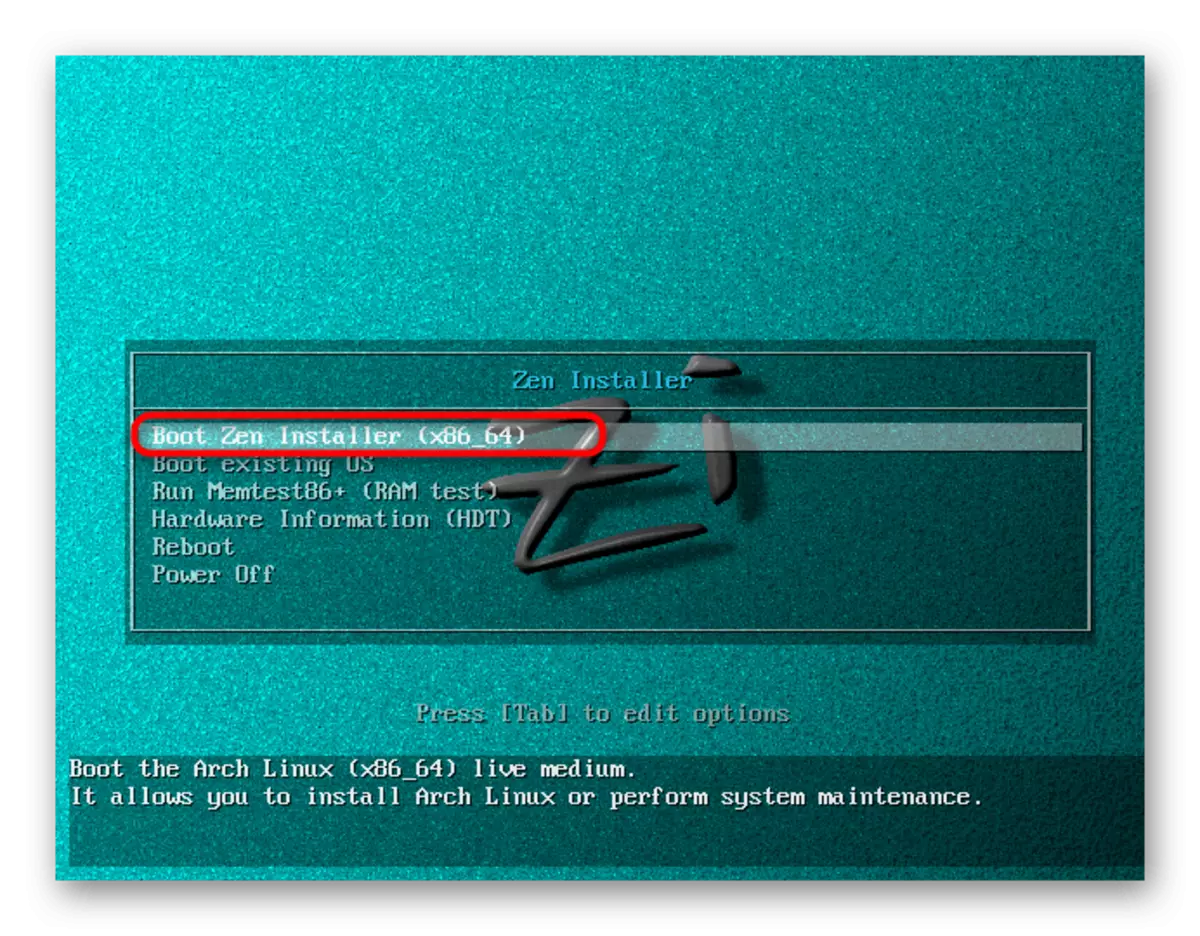
- After inserting the boot flash drive, start the computer. After a few seconds, the installer window will appear. Here, with the help of the arrows, select "Boot Zen Installer" and click on ENTER.
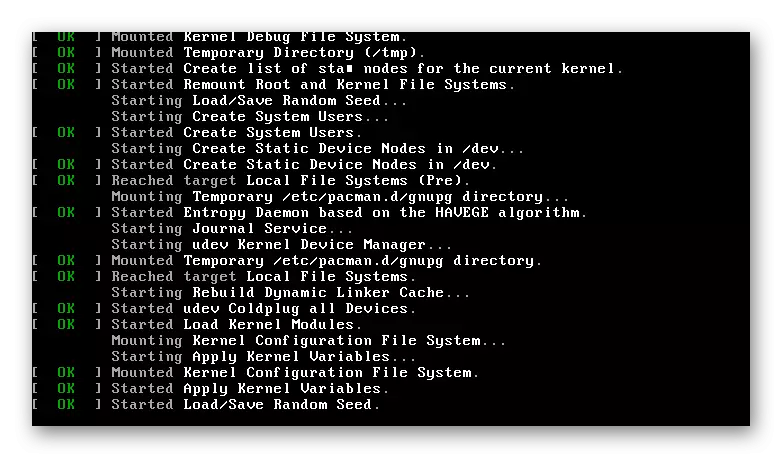
- The operation of loading modules and kernel will begin. Expect her end.
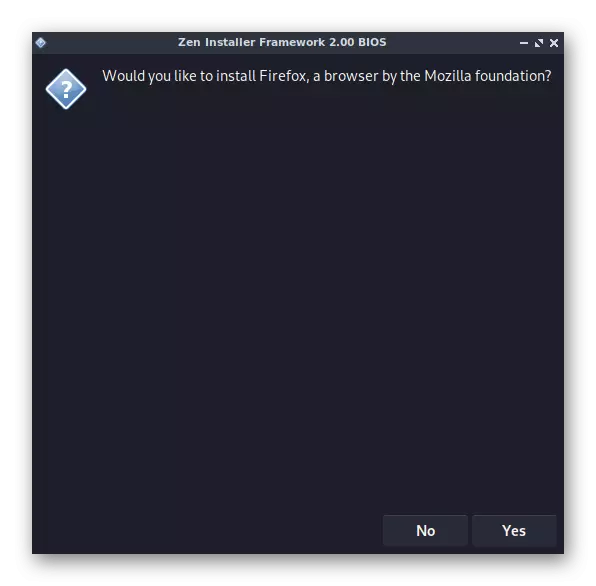
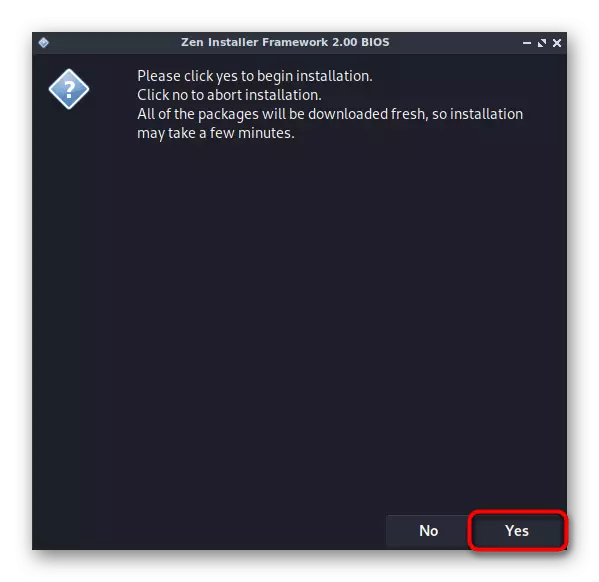
- Check out the welcoming window, read the basic installation rules presented here, and then click on "Yes".
- For the correct installation, you do not need to use VPN, but if you want to connect to the server, click on "YES".


Step 4: Disc Markup
Today, we will not dwell on the hand-drawing of the hard disk to the storage sections and under the loader, since the graphic installers are interested in novice users, and experienced already know how this task is made. Therefore, let's choose automatic marking and set the general rules.
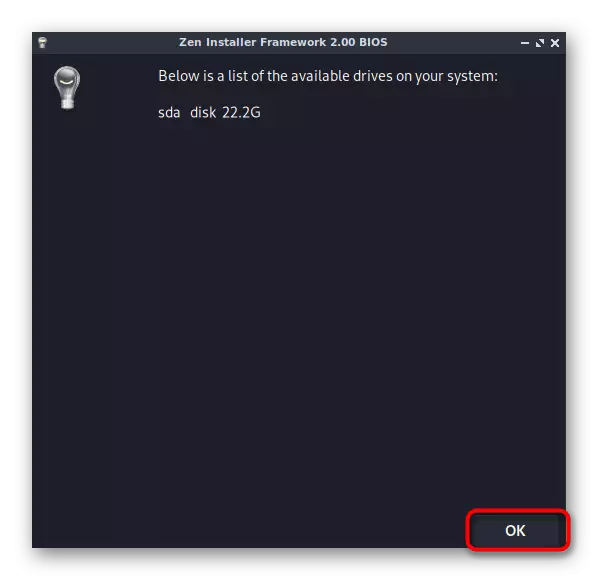
- When an appropriate query appears, check the Automatic Partitioning item and click on the "OK" button.
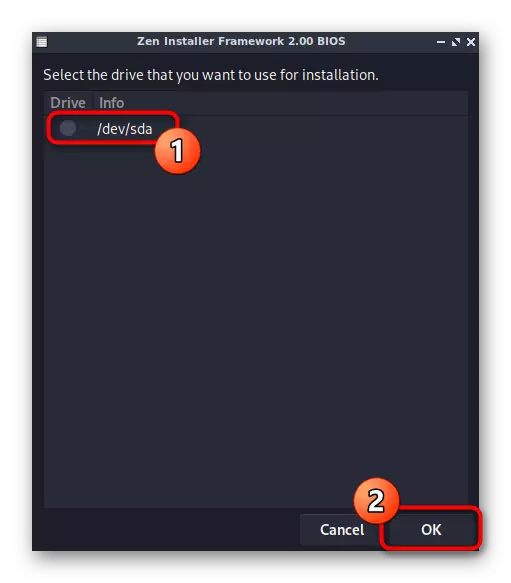
- Confirm the selected drive.
- If several physical drives are installed in the system, you will have to determine which OS should be installed on. After selecting, proceed to the following action.
- When a warning about erasing all data is manifested, select "YES" to go further.
- Expect the end of creating new sections.


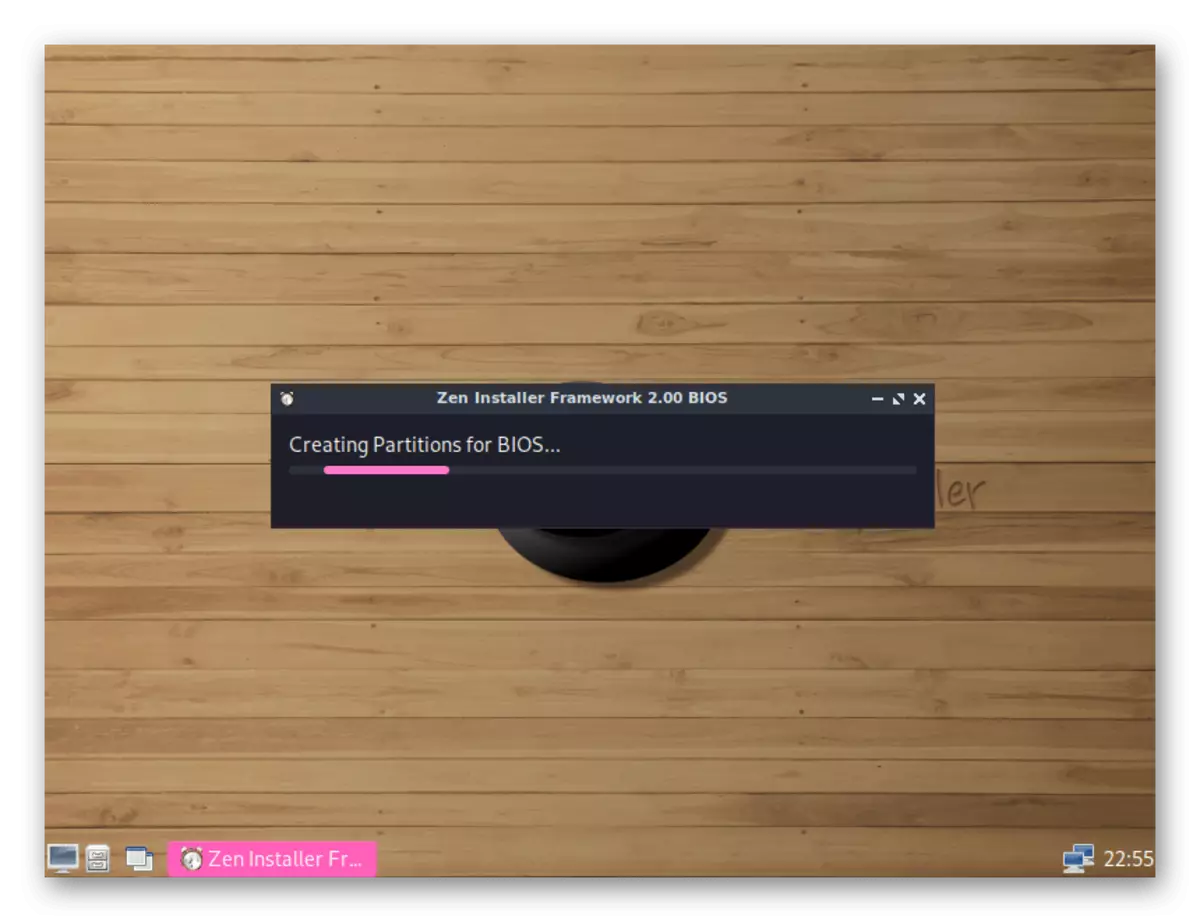
On this actions with partitions of hard drives are completed. The manipulations performed in all the following windows will be responsible for setting up the general parameters of the operating system before installation.
Step 5: OS Setup and Installation
The following selection options will be focused on the user settings of the system parameters before installation. Here, each user must determine which items should be noted that after completing the installation, get a correctly working distribution.
- Developers propose to specify the code of their country so that the optimal mirror is selected for downloading key files.
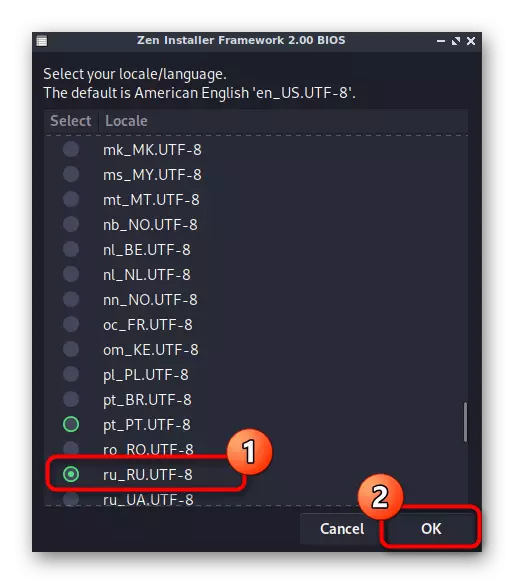
- After that, location and language is selected. Source down the list to find the Russian language and the corresponding encoding of characters.
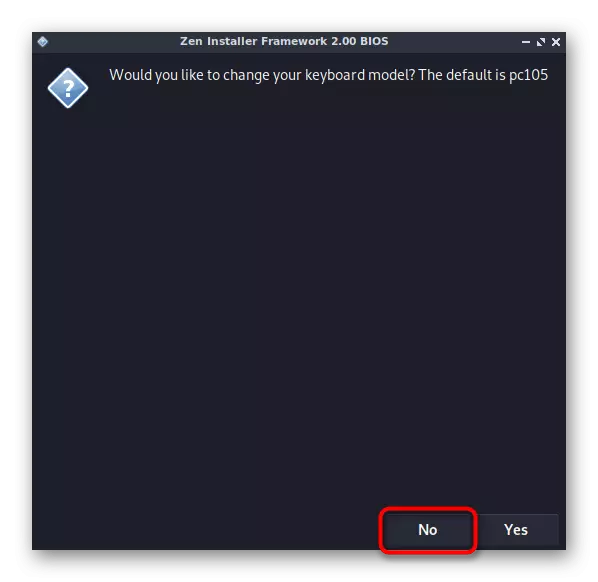
- By default, the standard keyboard model is selected with the usual location of the keys, so it does not make sense to change these settings.
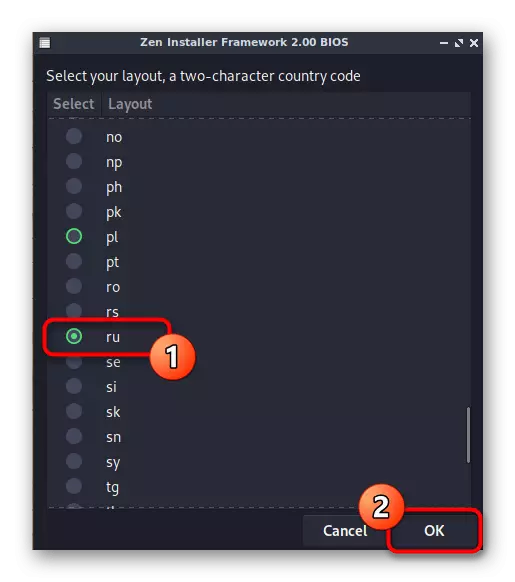
- The next window selects the second keyboard layout on the country code.
- When notified "Would You Like to Change Your Keyboard Variant" appears, click on "NO" if you do not want to change the location of the keys.
- If you need to choose an alternative layout, you will have to mark the appropriate option in a separate list.
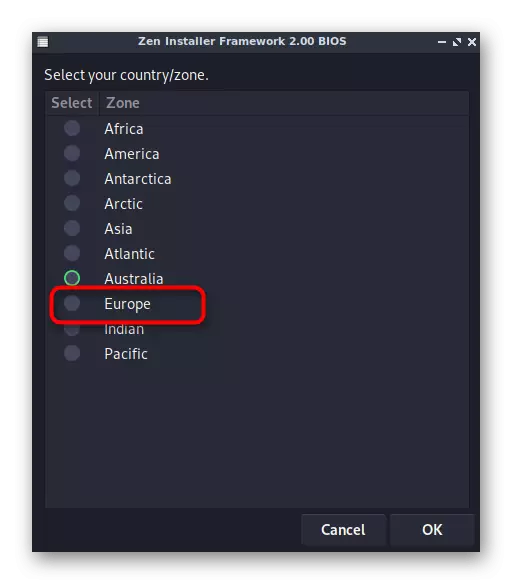
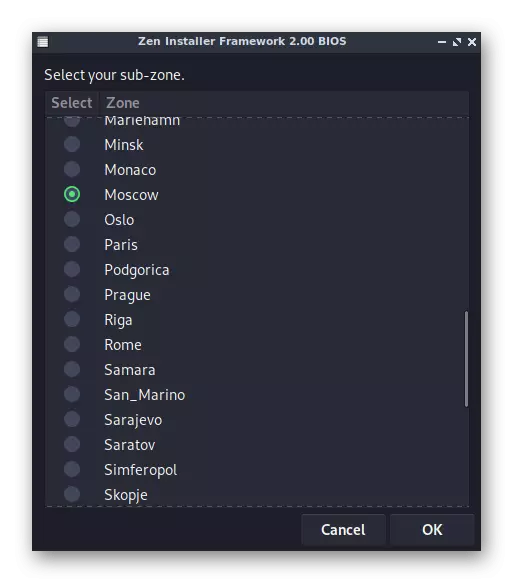
- After that, specify your watch zone. In the future, it will be used to synchronize time.
- Next, mark the appropriate city for subzones.
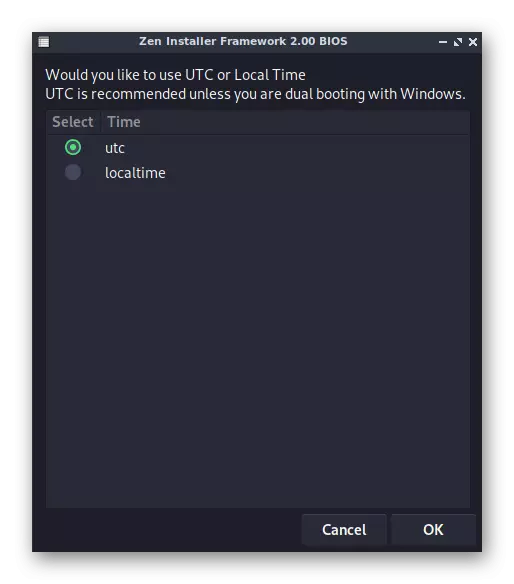
- It is not necessary to change the time format, but it is only done by personal user preferences.
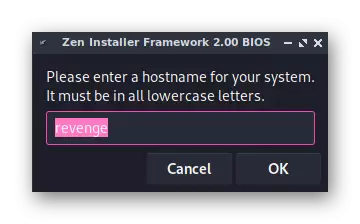
- Now the computer and user starts. First of all, the host name is entered. It is it that will be using when connected to another PC on a local or global network.
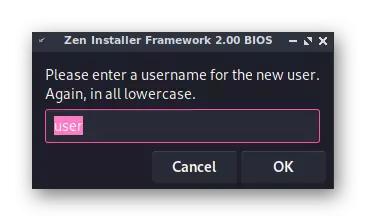
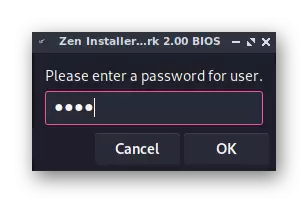
- The first user will be created to belong to root rights. Here enter the appropriate name and go further.
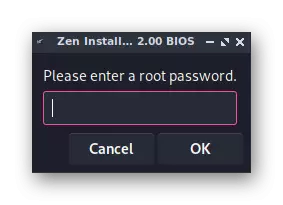
- Set Root Access Password.
- Repeat it input.
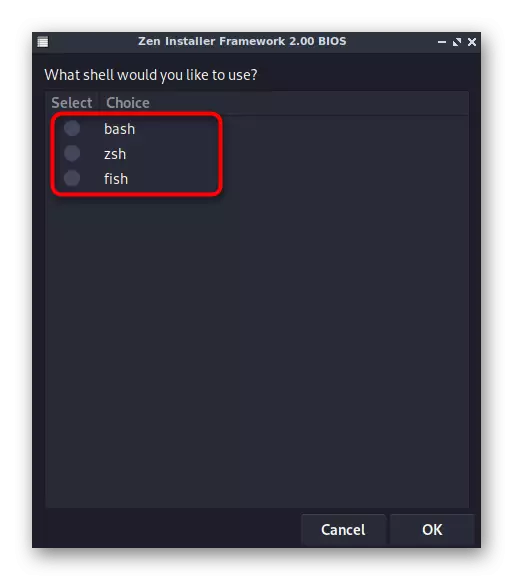
- Next request, select the marker suitable for you the shell. If you are a novice user, the optimal choice will be "bash".
- The same rule applies to the kernel. Newbies should choose "Linux", after which you can move to the next step.
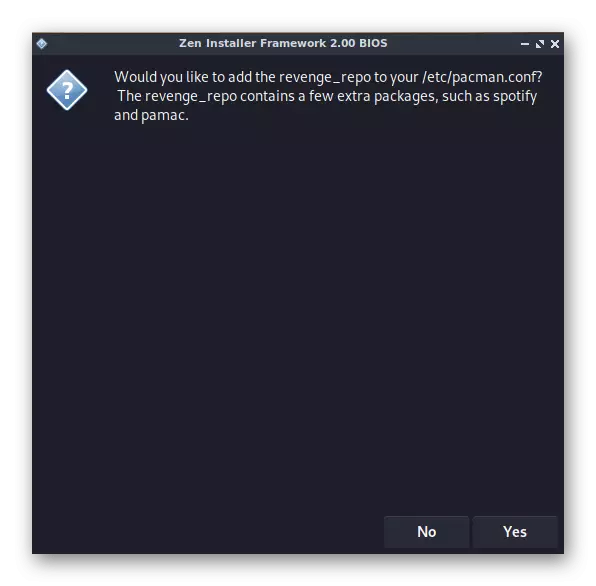
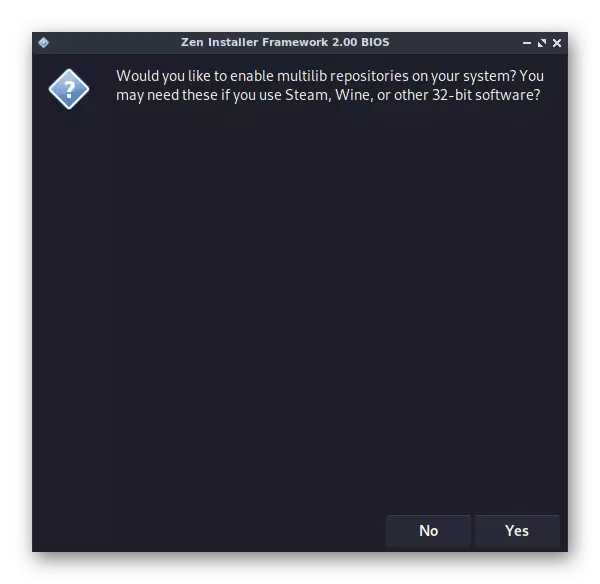
- Subsequent questions will be related to user repositories responsible for downloading certain programs through the "Terminal". If you do not know what we are talking about, simply respond to "NO".
- However, before answering, you must read the contents of the question. For example, in the screenshot below, it can be seen that its essence is to add repositories responsible for the performance of Steam, Wine, and other similar programs. If you are going to use them, answer such questions positively.
- A hint appears, the contents of which indicates the need to select a file manager and environment. Here just click on "OK".
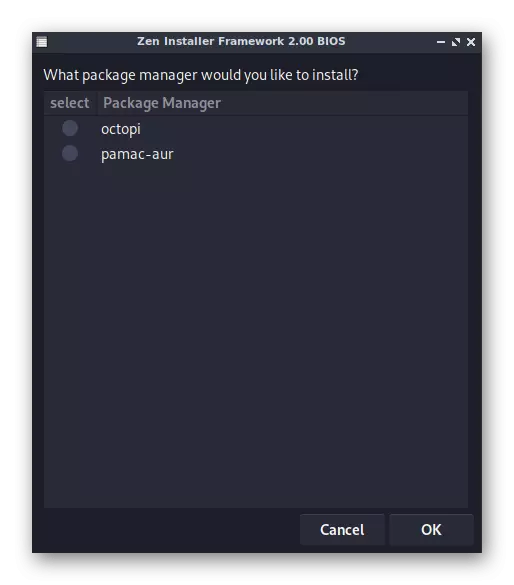
- As a batch manager, it is better to specify "Pamac-Aur", but this is also a subjective choice. Before his work, we advise you to explore the official documentation of both managers in order to understand what exactly is suitable.
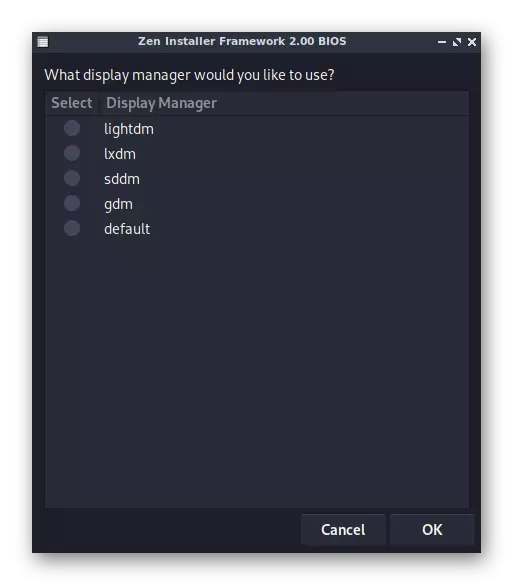
- The selection of the display manager also depends solely on personal preferences.
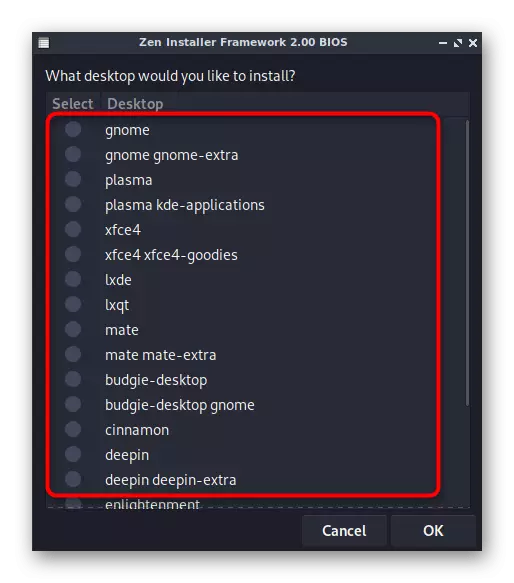
- The same applies to the graphic shell. As you can see, Zen Installer has a huge amount of ways available, so we set this installer to the first place of our today's material.
- By default, the standard browser will not be installed, so when an appropriate question appears to answer positively to add it to the distribution.
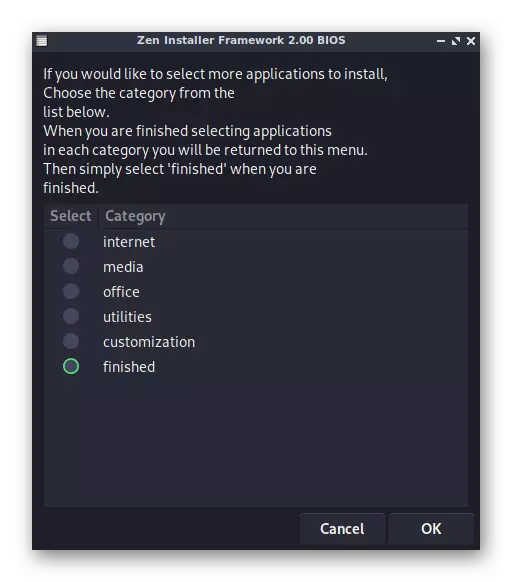
- You can go into separate categories to install additional software at this stage. We choose the option "finished" to end this operation.
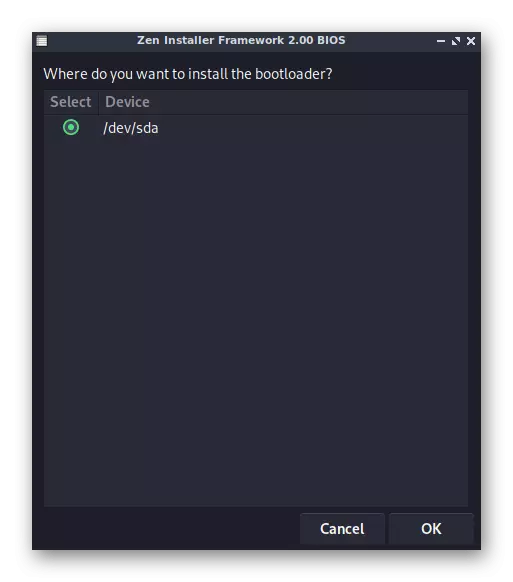
- The penultimate step before installing the installation will be adding a bootloader.
- Specify the place to store it. We did not create markup on our own, so tick the main logical volume.
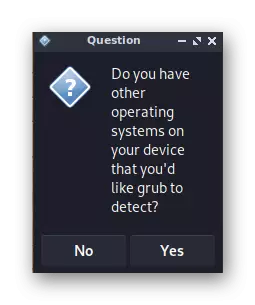
- Following the question of the presence of other OS on the computer. If they are missing, click on "NO".
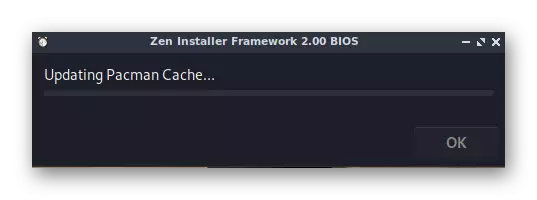
- Installation will begin immediately after clicking on "YES" in the window that appears.
- It remains only to wait for the unpacking of all files.
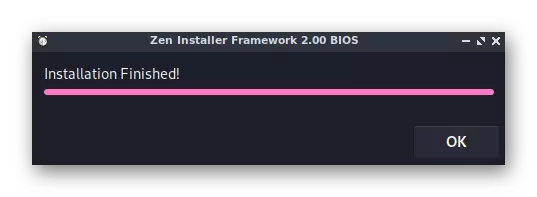
- You will be notified of the successful completion of the installation. Here click on "OK".
- Select "Restart" to restart the system and start using Archlinux with a graphic shell.
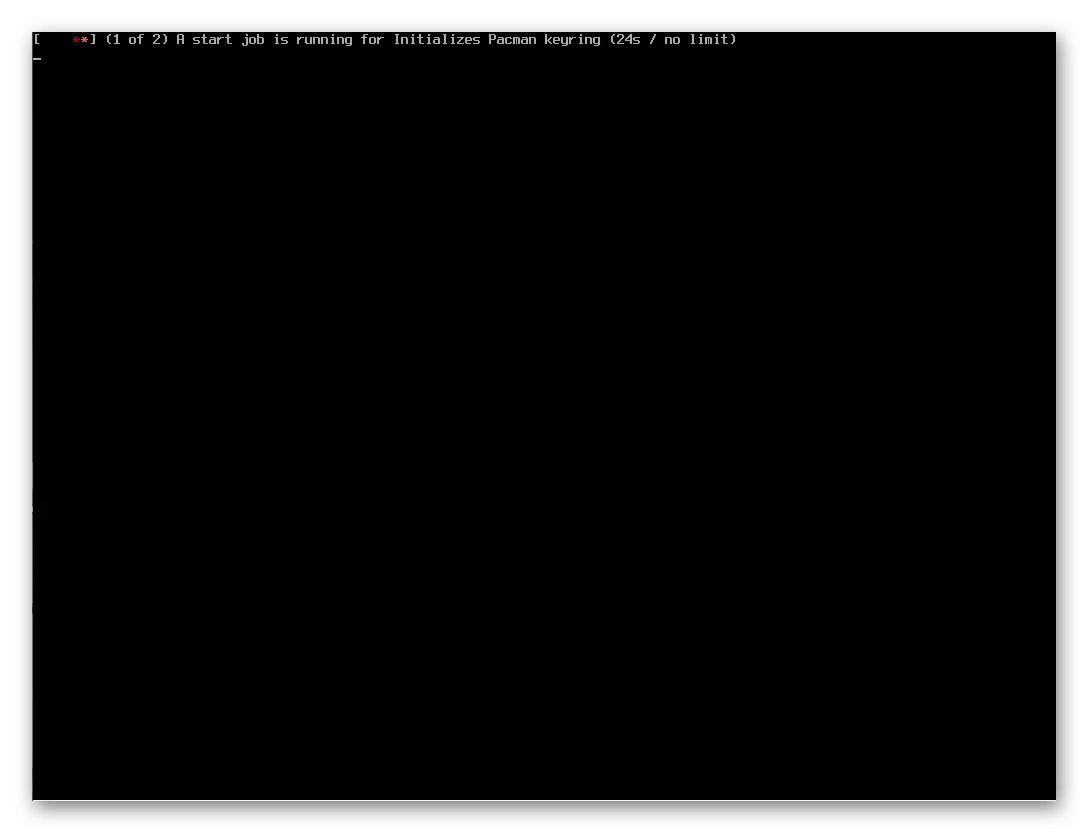
- When the GRUB bootloader appears, start the standard launch.
- As you can see, a form for authorization appeared, which means that all actions have been completed correctly.


On this, all actions with Zen Installer are completed. You can safely start using ARCHLINUX with installed desktop environment. We will talk about further configuration and installation of additional programs a little later, and now let's pay attention to alternative methods.
Method 2: ANTERGOS
ANTERGOS - a full-fledged distribution based on Archlinux, but not having any differences from the original In addition to the presence of a graphical installer with the ability to select the optimal environment for the desktop. Therefore, Antergos and got into our today's material.Step 1: Download ISO-Image
The support of ANTergos developers was discontinued, so the download of the distribution is possible only from third-party sites, the links to which we do not distribute. This will not affect the installer's performance, however, it should be borne in mind that in the future antergos repository will be closed, and updates for installed programs will start loaded through the standard AUR.
Step 2: Record an image on a flash drive
This stage is completely identical to the one we talked about when considering the previous method, so we offer to move to it and use instructions for successfully launching an image on a flash drive.Step 3: Distribution Setup and Installation
After successfully recording the disk image to the removable drive, you can safely switch to its download. As you already guessed, all further action will occur through the GUI, and the preparation for the distribution configuration selection is carried out like this:
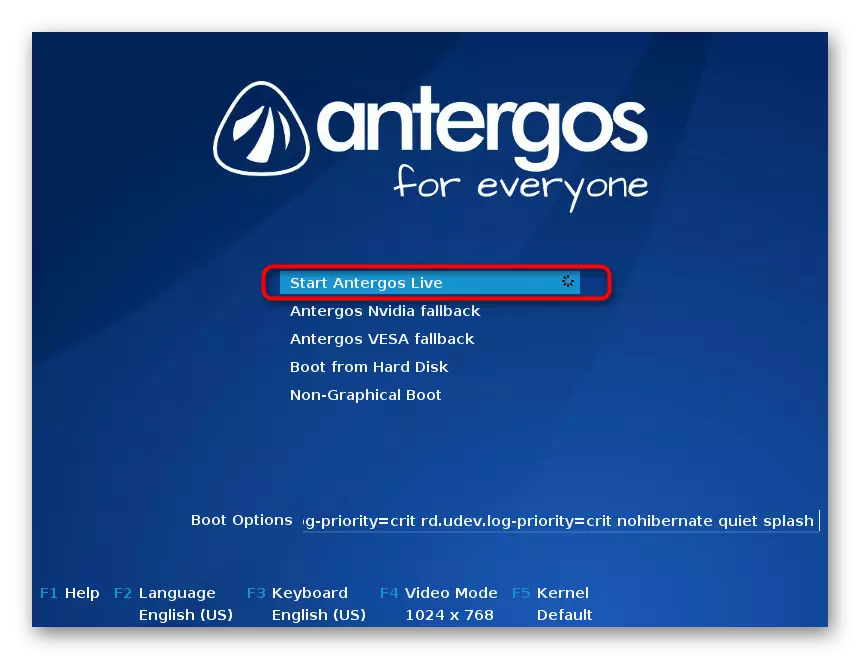
- When starting, the black screen with the progress of downloading files will appear. Do not press any keys, and simply wait for the appearance of the following windows.
- In the new selection menu you are interested in the first item. Press Enter to go to the graphics installer.
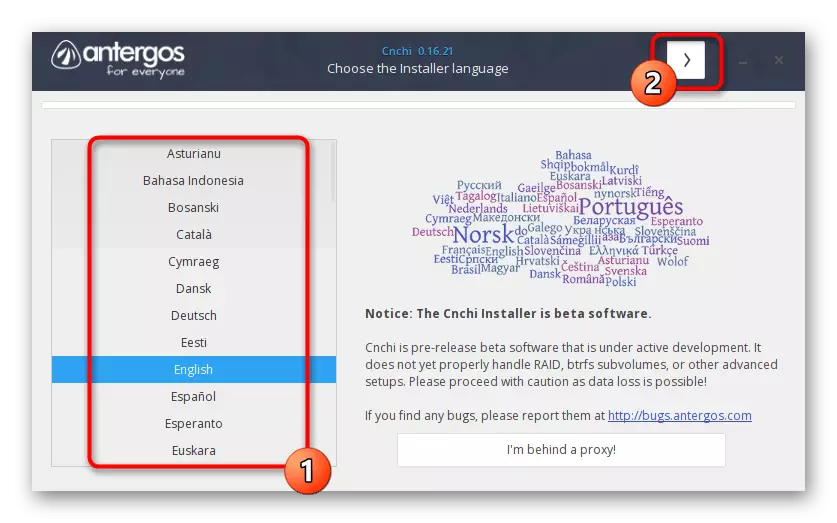
- In the first window the country is selected. From this will depend on the installation language in the future.
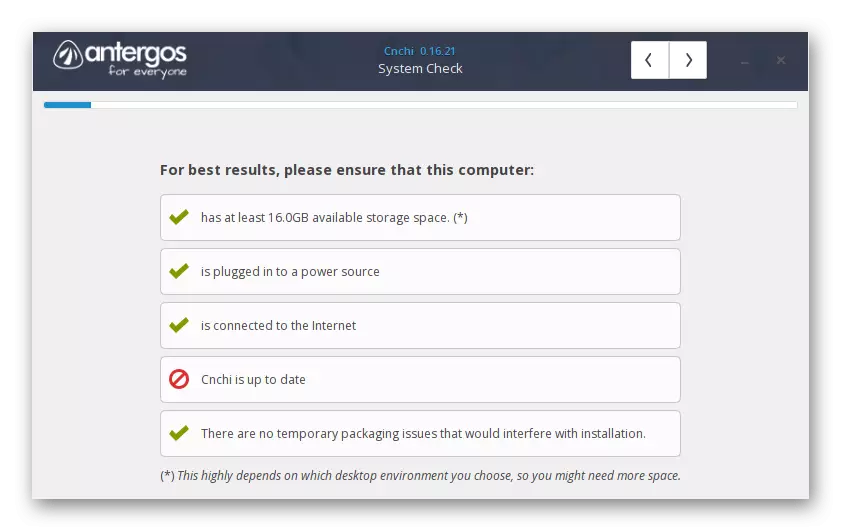
- You will see information about the computer characteristics of the computer.
- Decide with the system language.
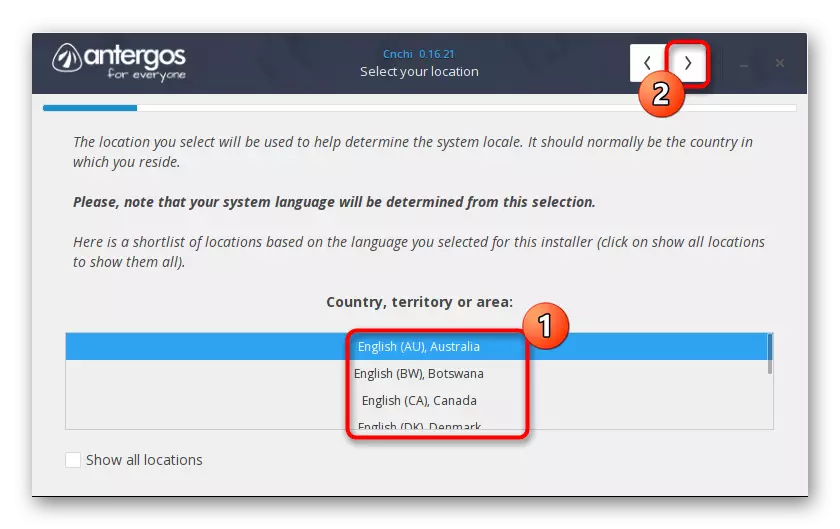
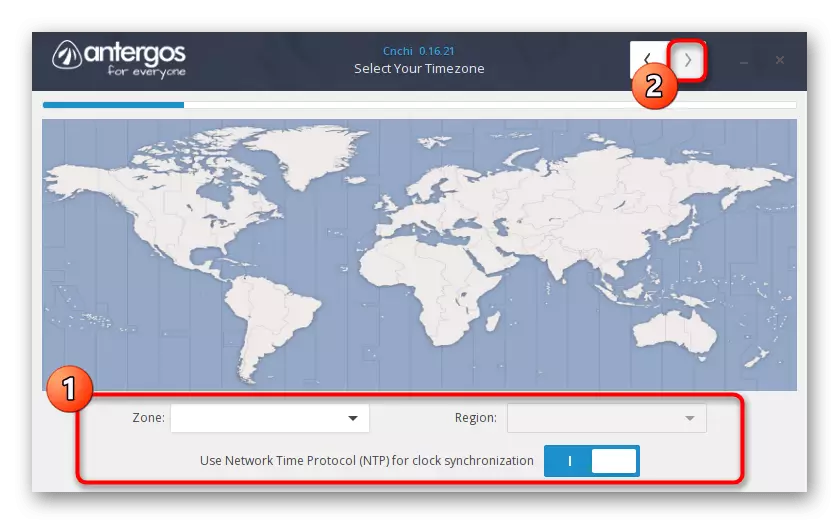
- Next, specify the time zone and the region to establish time synchronization.
- Determine the keyboard layout. Now it is better to choose English, because the switching during the installation will not be available, respectively, to set the username or password of Cyrillic access will not work.
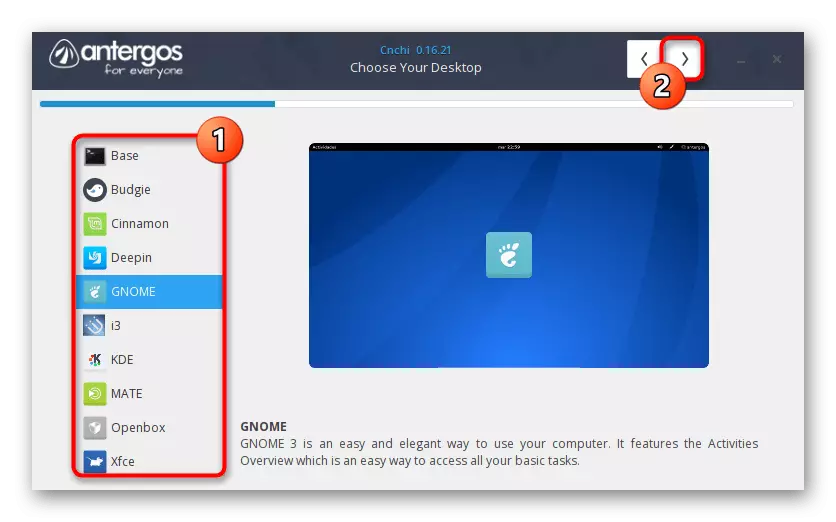
- Now the installer proposes to decide on the shell. Review screenshots and descriptions to make the optimal choice.
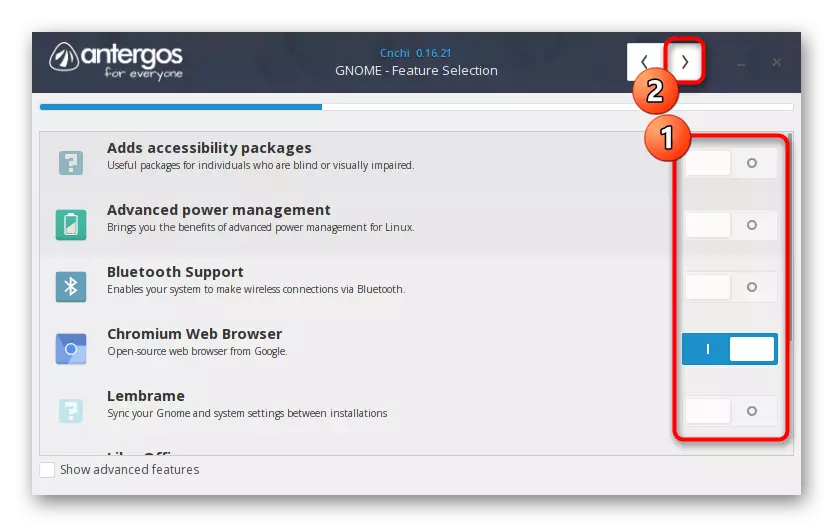
- Set additional settings and extended components. We will not stop at each of them, since this is a subjective step. We only clarify that the activation or deactivation of items is carried out by moving the corresponding sliders.
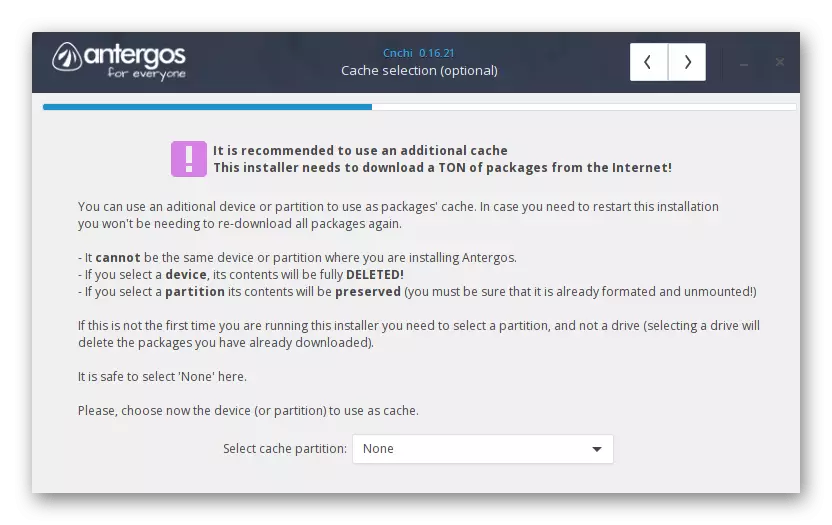
- After that, the developers advise responsibly approach the creation of a section for storing cache files. Follow the instructions on the screen to cope with the task or immediately go further if you do not want to create such a logical volume.
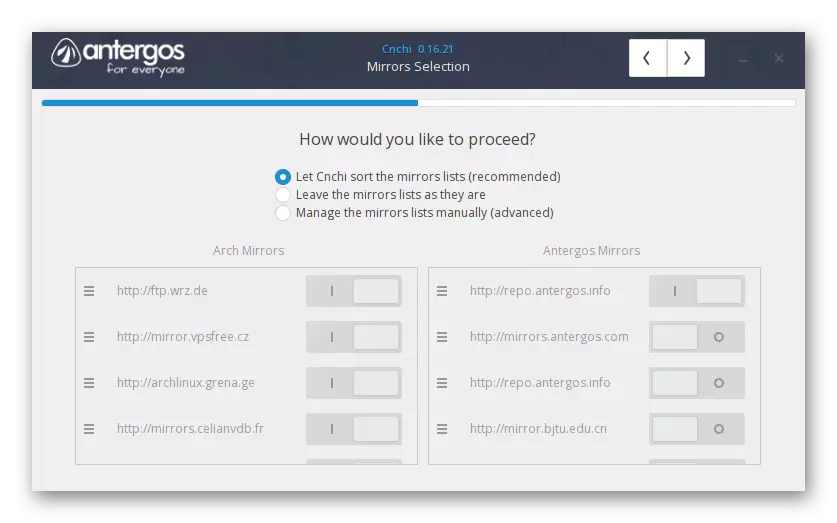
- The following window is displayed in which the mirror selection is selected for downloading the necessary files. It is better to leave the default parameters if you do not own the appropriate information about the selection of individual storage.
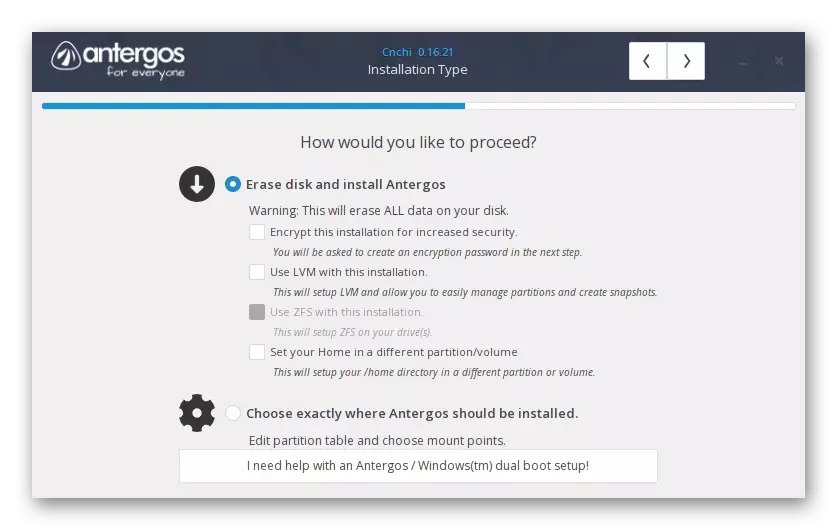
- With the markup of the hard disk, they will also do simply - set the standard formatting without changing the parameters, and then go further. Experienced users will independently be able to create the required logical volumes. This is without problems, and upon completion of the installation of the OS.
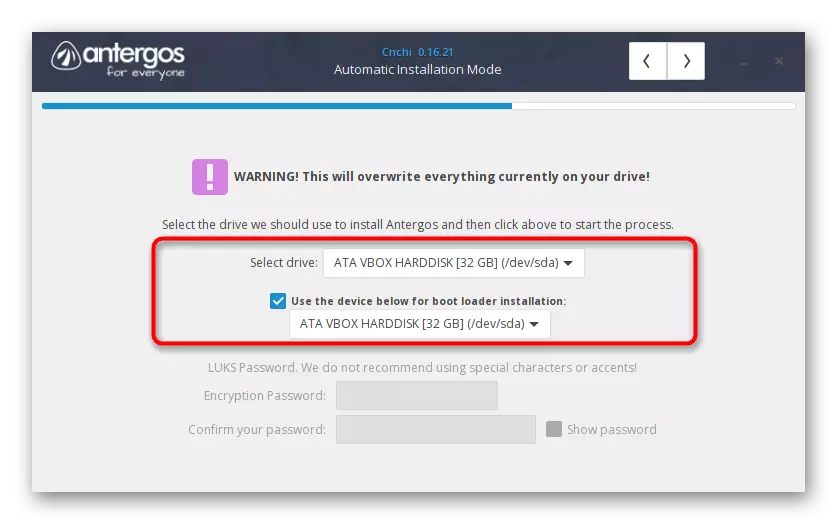
- Next, the disk itself is specified to which all files will be stored. We suggest it to choose as a bootloader storage.
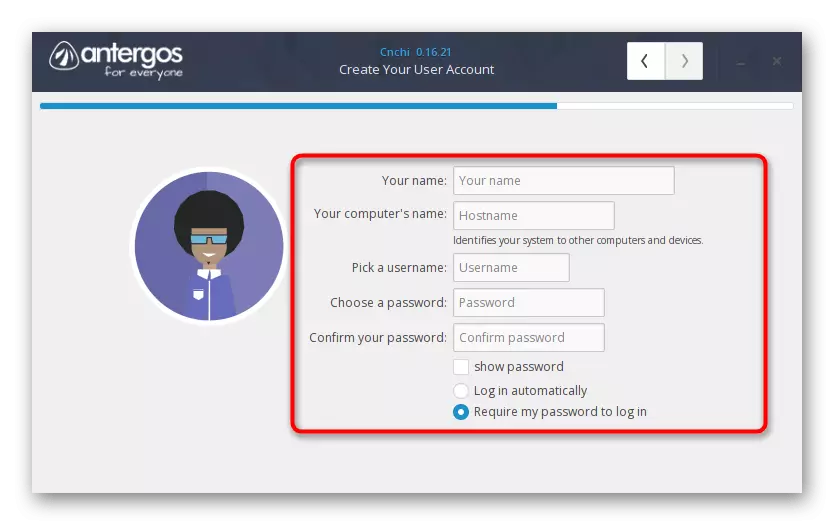
- Create a first account with root rights by filling out the appropriate form in the installation menu, and then go to the next step.
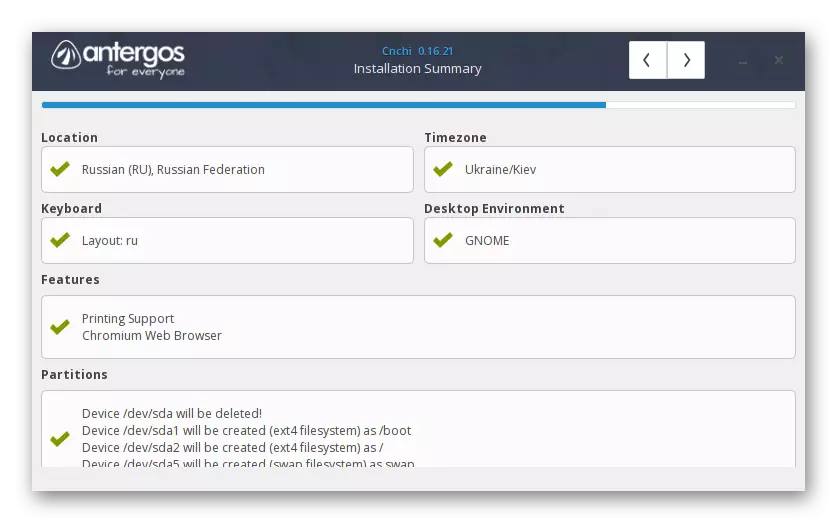
- Make sure everything was set correctly, having studied the report that appeared, and only then start the installation.
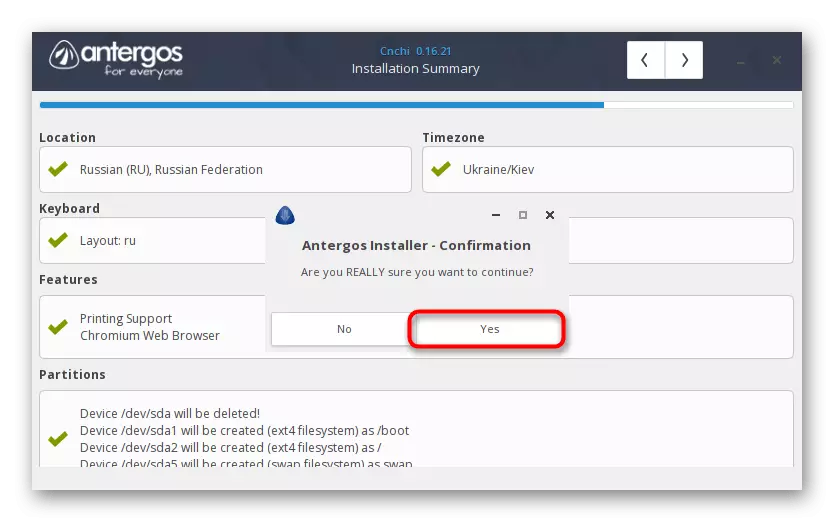
- Confirm your intention to start installing Archlinux.
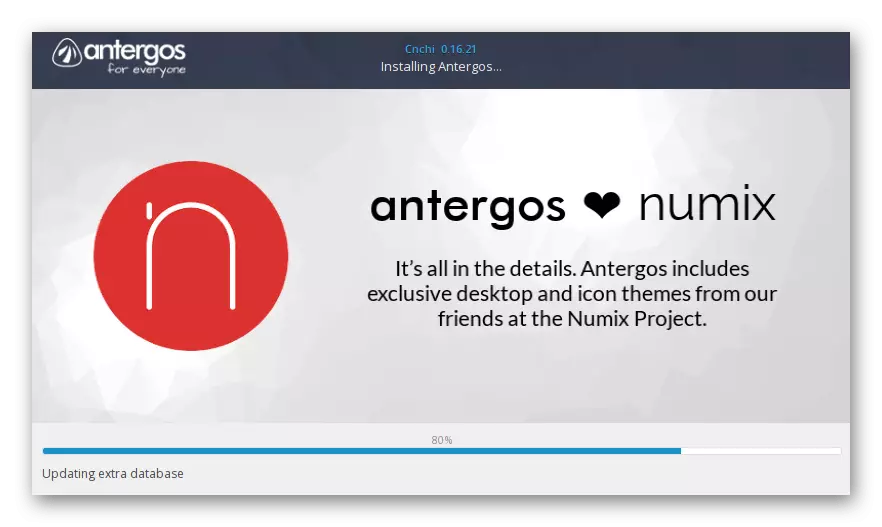
- Expect the operation to complete, and then restart the PC, previously selecting the boot flash drive.

Next, it remains only to run the existing distribution kit to make sure that it works. As can be seen, this graphic installer is a little easier than the previous one, and it is not inferior to him by functionality. However, there is a solution even easier. It is recommended to pay attention to beginners. Next, we suggest familiarizing yourself with it.
Method 3: Manjaro Linux
Previously, Archlinux was considered one of the most complex distributions, since all installation processes should occur manually by entering commands in the console. However, the graphic version called Manjaro Linux was created enthusiasts. It is this assembly that is positioned as ideal for beginners who do not want to face various installation difficulties. You already have a separate instructions for installing this version of the operating system through the graphic menu. If the two previous options do not come to you for any reason, we advise you to learn MANJARO Linux.
Read more: Installation of the Distribution Manjaro Linux
Be prepared for the fact that immediately after installation have to add some more important components in the OS and make basic settings. We propose to pay attention to the following links to deal with the tasks or at least study the principle for adding software and perform the main configuration points.
See also:
Installing and Configuring a File Server in Linux
Setting up mail server in Linux
Synchronization of time in Linux
Change passwords in Linux
Restart Linux through the console
View Disk List in Linux
User change in Linux
Completion of processes in Linux
At least the presence of a GUI-shell distribution and allows you to implement a lot through programs with the GUI, however, to the "Terminal" will still have to handle. We have already written a lot of useful guidelines related to standard and frequently used commands. In such instructions, the operation algorithm of utilities and their main options are dealt.
See also:
Frequently used commands in "Terminal" Linux
LN / FIND / LS / GREP / PWD command in Linux
As part of today's article, you were familiar with three different ideas of Archlinux graphic installers. As you can see, each of them has its own characteristics and will suit users from different categories. It remains only to figure out the main differences in order to understand what option will be optimal.