

The Debian operating system is one of the very first distributions based on the Linux kernel. In view of this, the process of installing many users who have just decided to familiarize themselves with this system may seem complex. In order to do not have problems during it, it is recommended to follow the instructions that will be provided in this article.
After that, the image of the Debian 9 distribution kit is started. After completion, go to the next step of this instruction.
Step 2: Record the image on the carrier
Having a downloaded image on your computer, you need to create a bootable flash drive with it so that later it is launching a computer. The process of its creation can cause many difficulties for an ordinary user, so it is recommended to refer to the instructions on our website.Read more: Record OS image on a USB flash drive
Step 3: Starting a computer from a flash drive
After you have a USB flash drive on your hands with a DEBIAN 9, you must insert it into the computer port and start it. To do this, log in to the BIOS and make some settings. Unfortunately, universal instructions, but on our site you can find out all the necessary information.
Read more:
Configuring BIOS to run from flash drive
We find out the version of BIOS.
Step 4: Start Installation
The Debian 9 installation begins with the main menu of the setting image, where you immediately need to click on the "Graphical Install" item.

After that, it comes directly to configure the future system, you need to do the following:
- Select the installer language. List in the list and click the "Continue" button. The article will cover the Russian language, you act at your discretion.
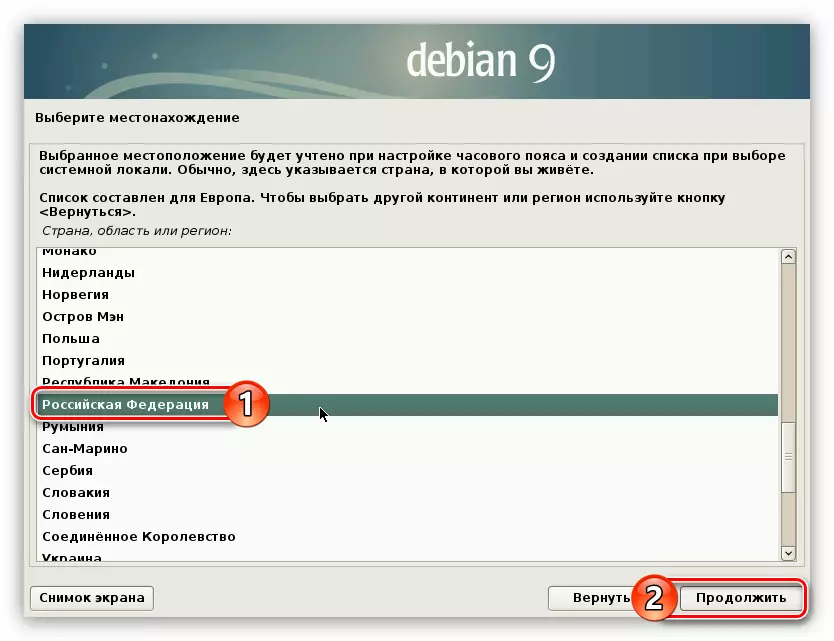
- Indicate your location. By default, you are selected from one or more countries (depending on the previously selected language). If there is no needed in the list, click on the "Other" and select it from the list, then click "Continue".
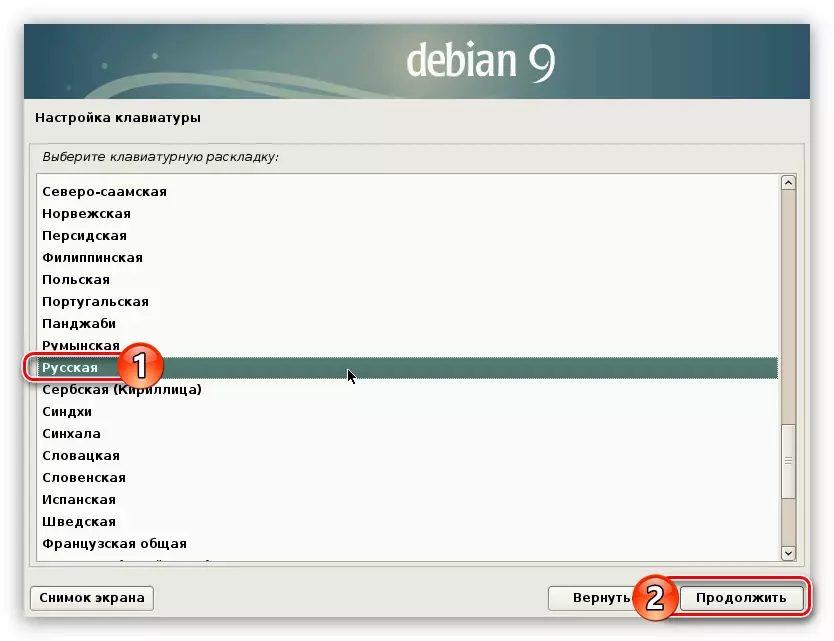
- Determine the keyboard layout. From the list, select the language to which it will match by default, and click the "Continue" button.
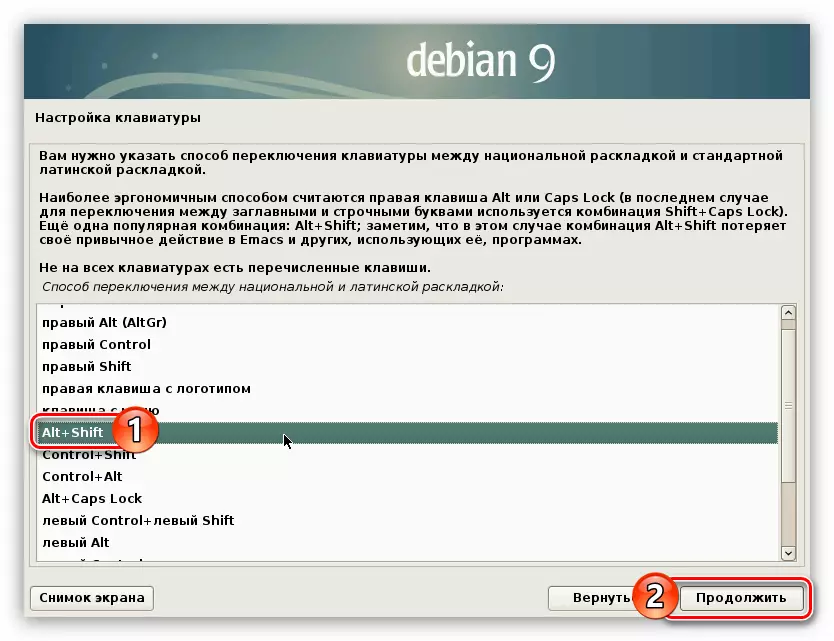
- Choose hotkeys, after pressing the layout language will change. It all depends on your preferences - which keys you are more convenient to use, those choose.
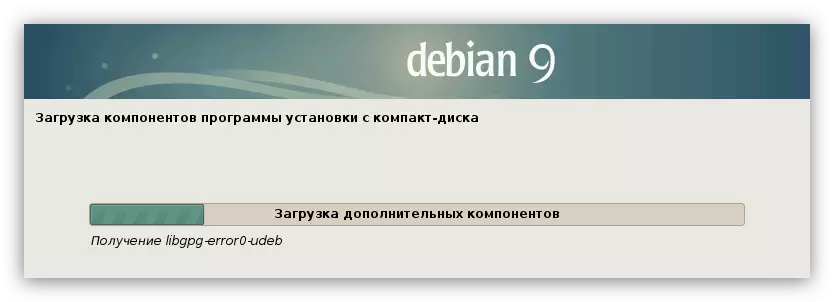
- Wait for the process of downloading and installing additional system components. Behind the progress you can follow, depending on the corresponding indicator.
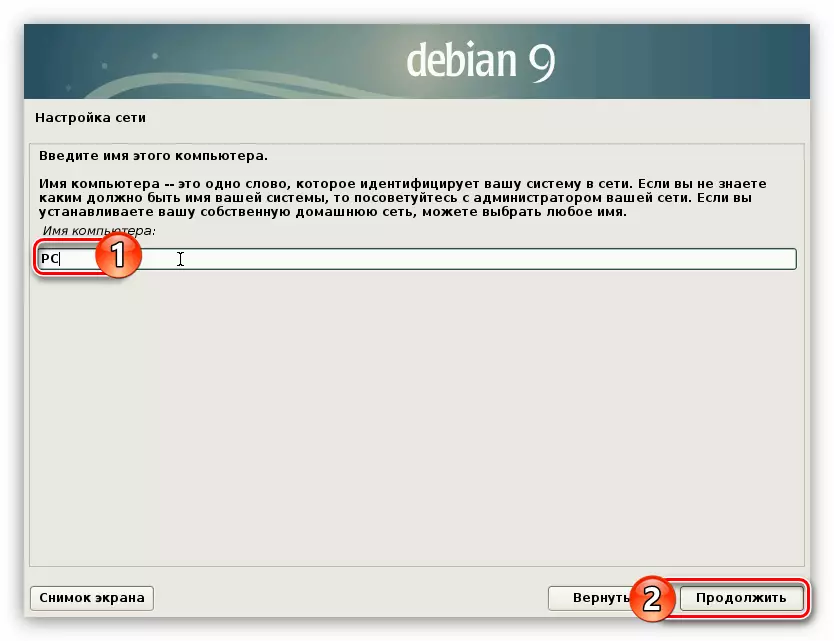
- Enter your computer name. If you are going to use a PC at home, then choose any name and press the "Continue" button.
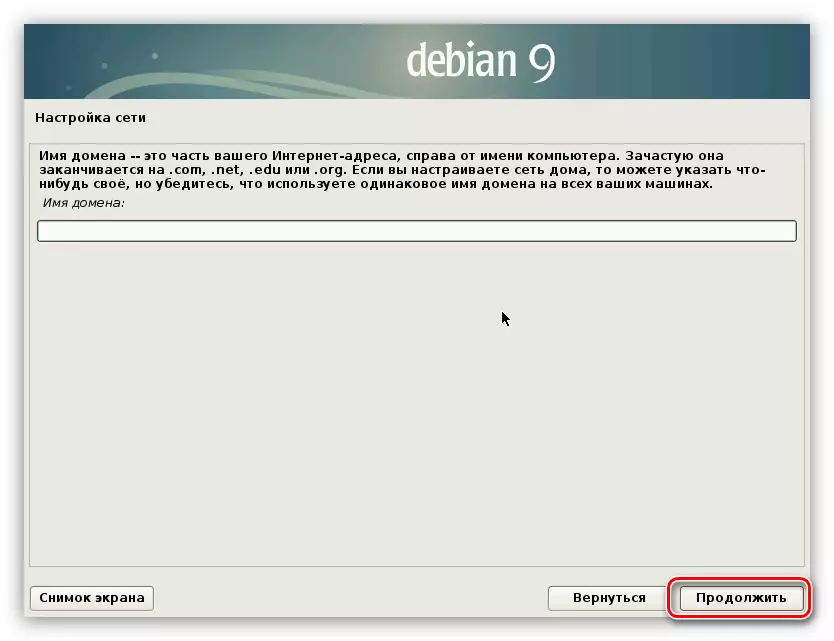
- Enter the domain name. You can simply skip this operation by clicking the "Continue" button if the computer will be used at home.
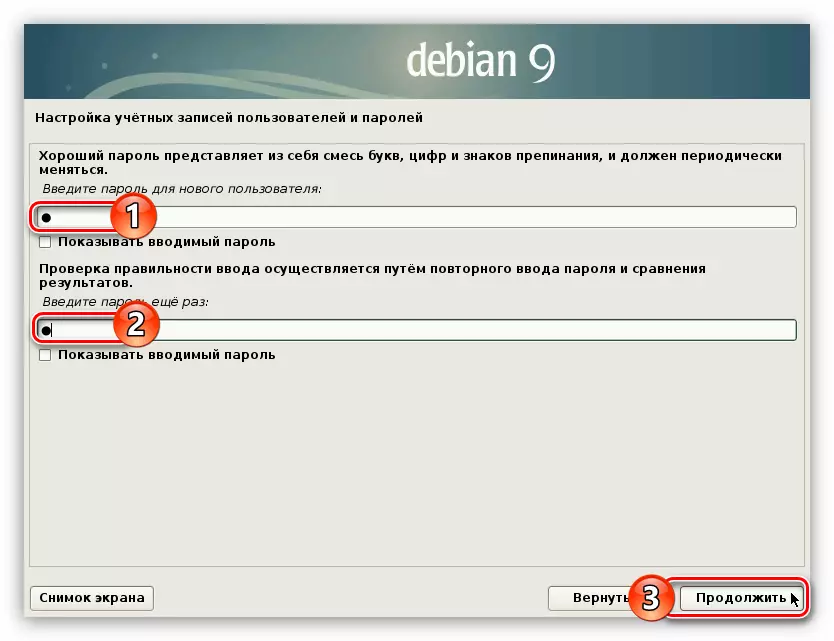
- Enter the superuser password, then confirm it. It is noteworthy that the password can consist of only one symbol, but it is better to use difficult so that unauthorized persons cannot interact with your system elements. After entering, click "Continue".
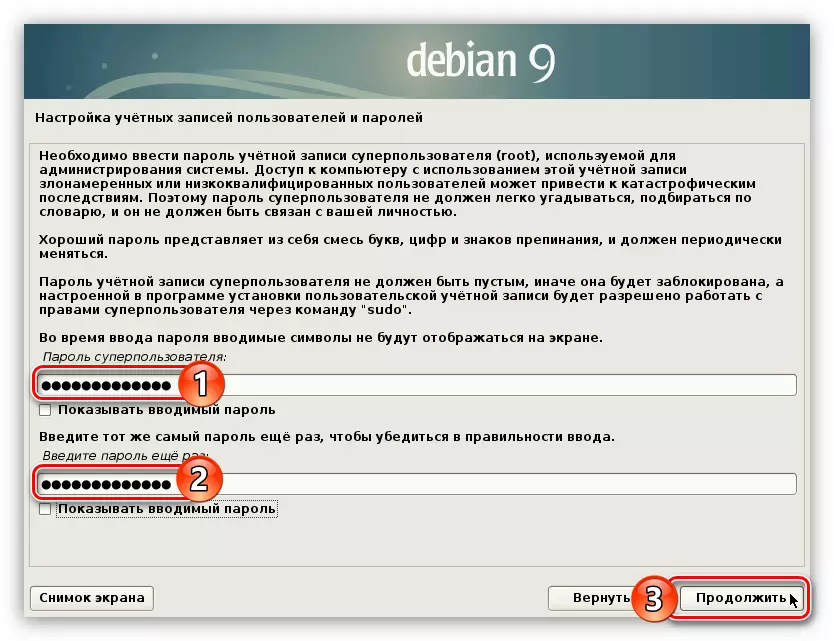
Important: Do not leave the fields empty, otherwise you yourself will not be able to work with system elements that require superuser rights.
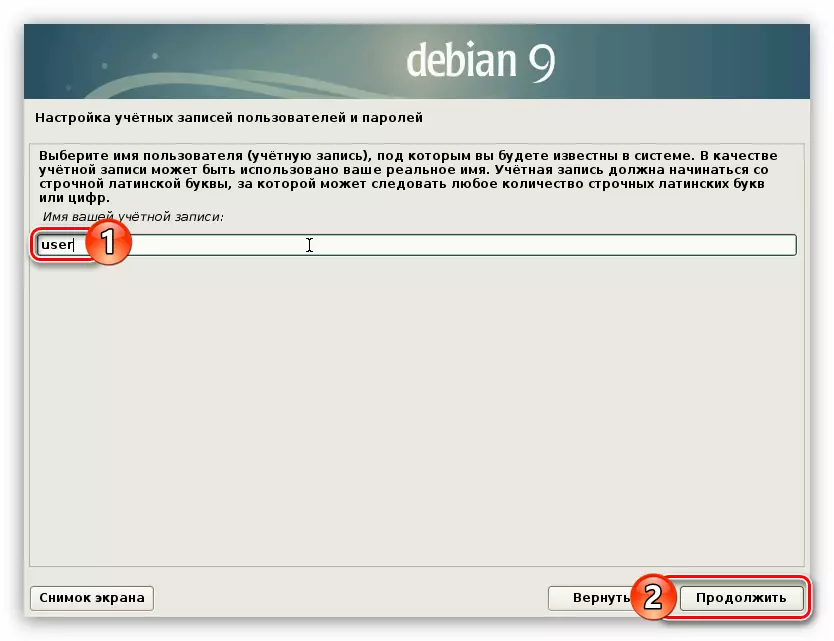
- Enter the username.
- Enter your account name. Be sure to remember it, because sometimes it will serve as a login to access the elements of the system requiring the right of the superuser.
- Enter the system password and confirm it, then click the Continue button. It will be necessary to enter the desktop.
- Determine the time zone.


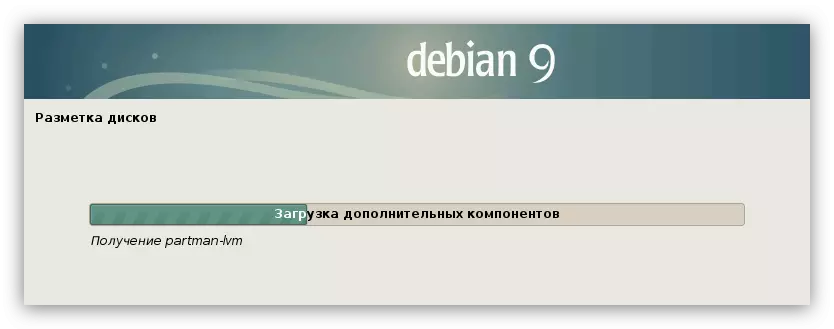
After that, the primary configuration of the future system can be considered over. The installer will load the disk markup program and will display it on the screen.
The following should be directly working with the disk and its sections, which requires a more detailed analysis.
Step 5: Disc markup
The disk marking program will meet you in which you want to select the markup method. Of all you can only allocate two: "Auto - use the entire disk" and "manually". It is worth disassembling more each separately.
Automatic disk markup
This option is perfect for those users who do not want to understand all the subtleties of disc marking. But choosing this method, you agree that all information on the disk will be erased. Therefore, it is recommended to use it if the disk is completely empty or files on it are not important.
So, to place the disc automatically, do the following:
- Select "Auto - use the entire disk" and click "Continue".
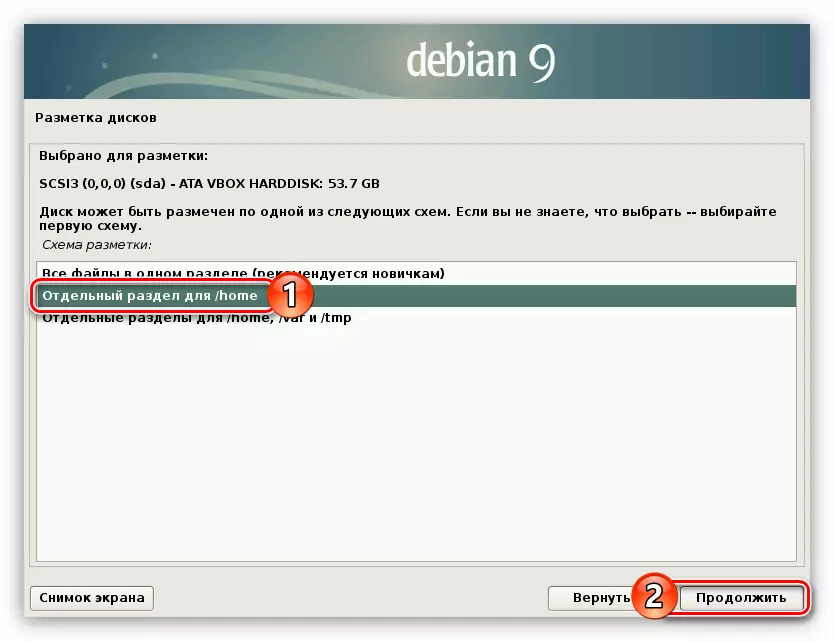
- From the list, select the disk where the OS will be installed. In this case, it is only one.
- Determine the markup scheme. The choice will be offered three options. All schemes can be characterized by the degree of security. Thus, selecting "Separate sections for / home, / var and / tmp", you will be maximally protected from hacking from the outside. For an ordinary user, it is recommended to choose the second item from the list - "Separate section for / Home".
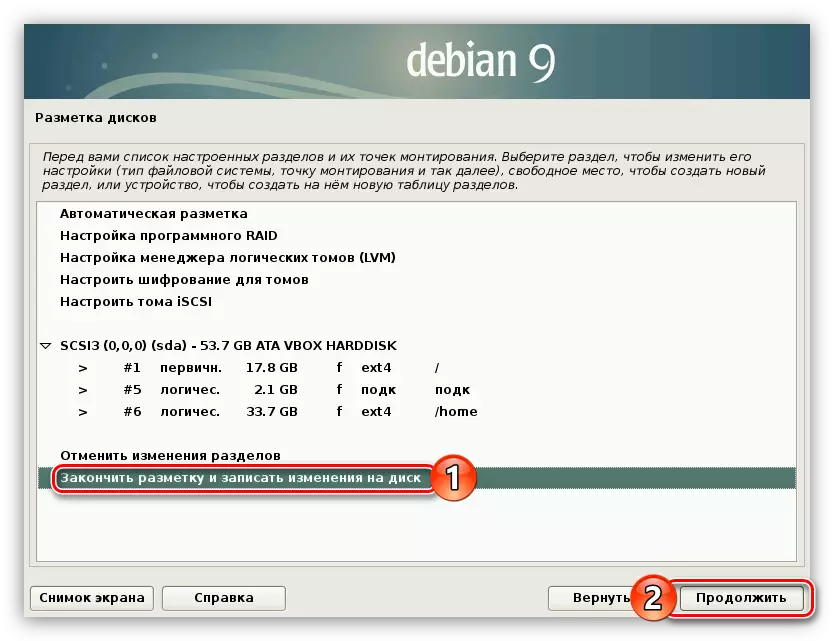
- After reading the list of created partitions, select the string to "finish markup and write changes to the disk" and click the "Continue" button.


After the action proceeds, the system installation process will begin, as soon as it is over, you can immediately begin using Debian 9. But sometimes the automatic disk markup is not suitable for the user, so you have to do it manually.
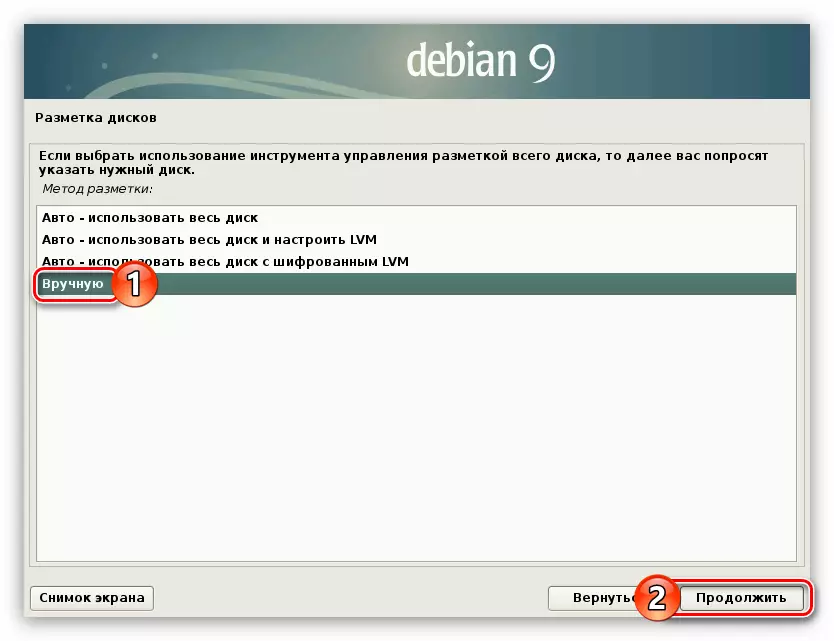
Hand markup disc
Placing the disk manually well the fact that you yourself can create all the sections that you need, and set up each of them to your needs. To do this, do the following:
- While in the Markup Method window, select Manual String and click Continue.
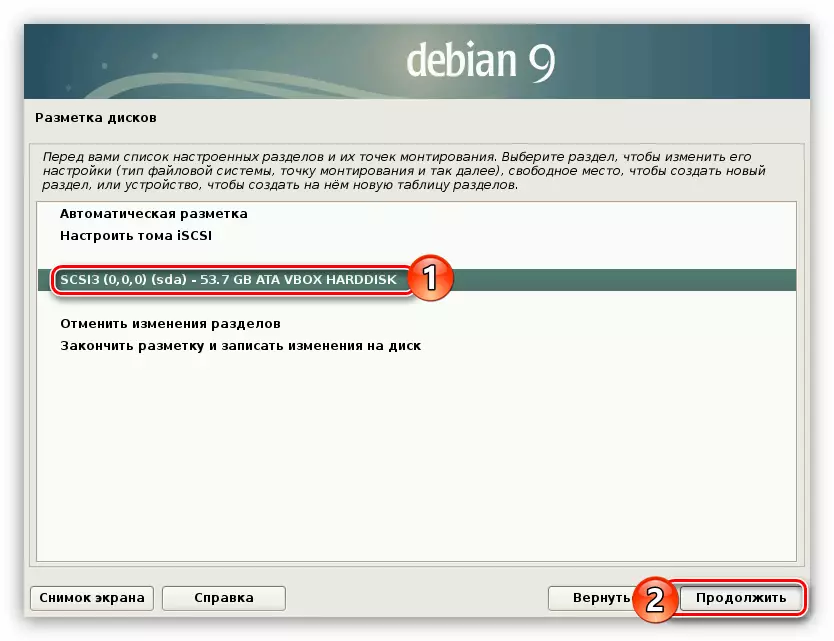
- Select from the list the media to which Debian 9 is installed.
- Give consent to the creation of a partition table by setting the switch to the "Yes" position and clicking the "Continue" button.

Note: If partitions were previously created on the disk or you have installed the second operating system, this window will be skipped.
After the new partition table was created, you need to decide which partitions you will create. The article will present a detailed instruction on marking with the average degree of security, which is great for most users. Below you can view examples of other markup options.
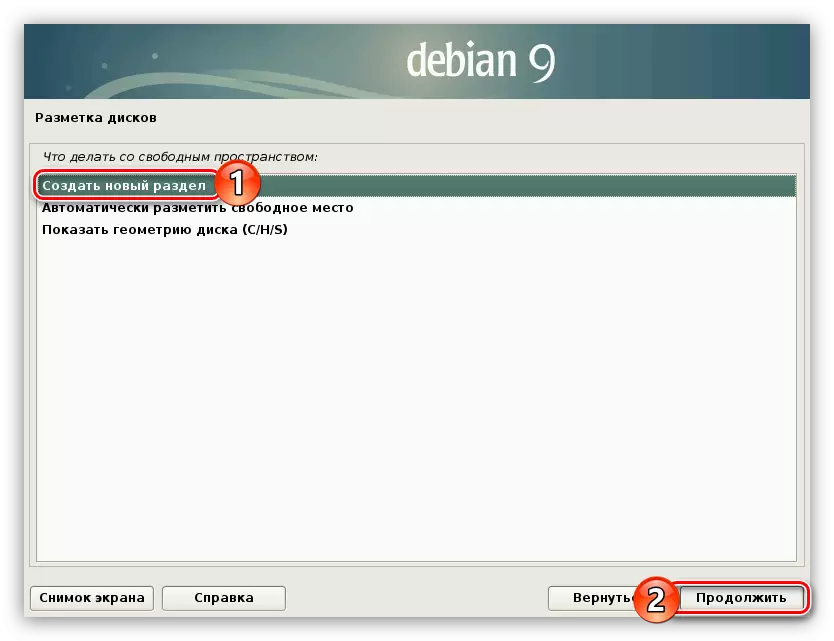
- Highlight the "free space" string and click on the "Continue" button.
- Select in the new window "Create a new section".
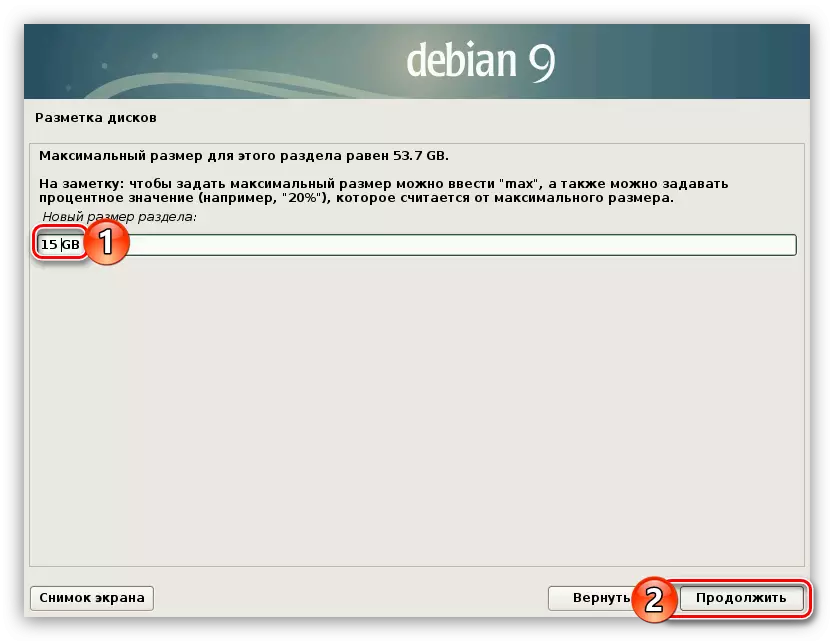
- Specify the amount of memory you want to highlight under the root section of the system, and click the Continue button. It is recommended to indicate at least 15 GB.
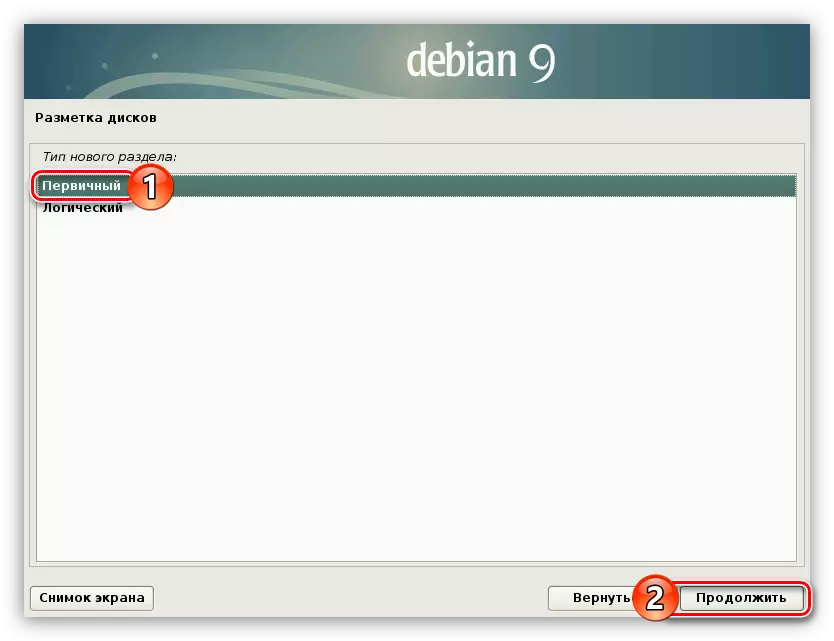
- Select the primary type of new partition if, in addition to Debian 9, you are not going to install other operating systems. Otherwise, choose the logical.
- Determining the location of the root partition, select "Start" and click "Continue".
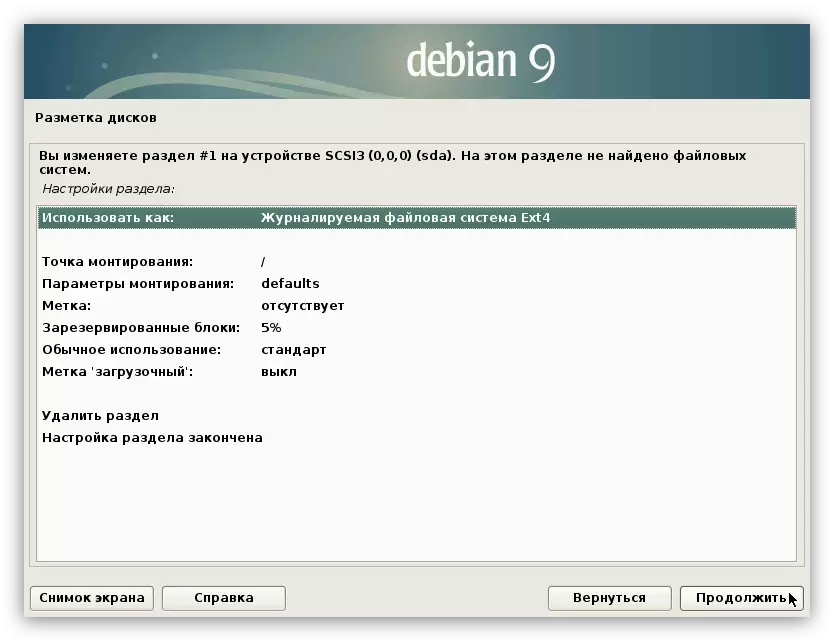
- Set the root partition configuration similar to the example shown in the image below.
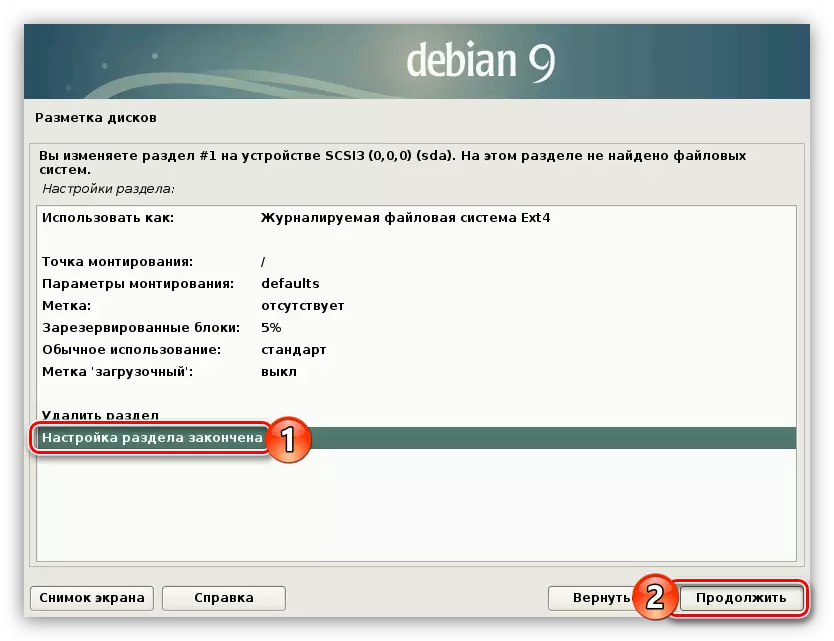
- Highlight the section "Setting the section is completed" and click the "Continue" button.


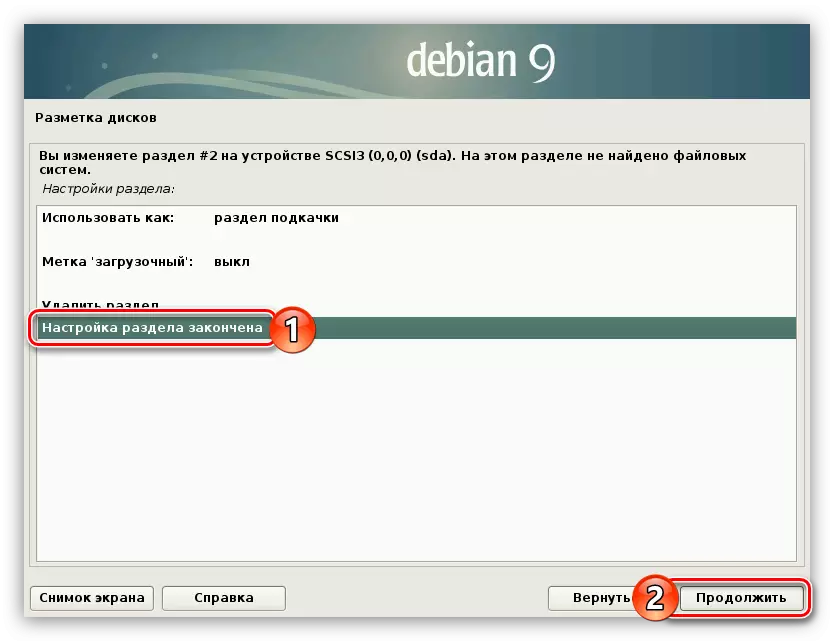
Root partition has been created, now create the swap partition. For this:
- Repeat the first two items of the previous instruction to start creating a new section.
- Specify the amount of memory equal to the volume of your RAM.
- As the last time, define the type of section depending on the intended number of sections. If there are more than four, choose "logical", if less is "primary".
- If you selected the primary type of partition, then in the next window, select the "End" string.
- Twice click on the left mouse button (LKM) on the "Use How" row.
- From the list, select "Pag" section ".
- Click on the "Configuration of the section Completed" line and click Continue.


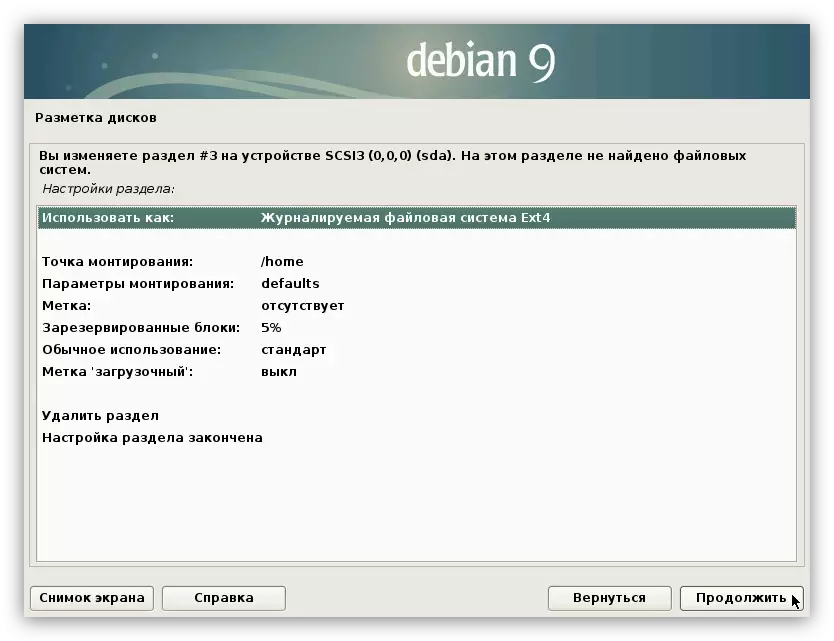
The root section and the paging section were created, it remains to create only the home section. To do this, follow the following instructions:
- Start creating a section, highlighting all the remaining space for it and determining its type.
- Set all the parameters in accordance with the image below.
- Double click on LMB "Setting section is finished."
Now all the free space of your hard disk must be distributed under sections. On the screen you must see about the following:
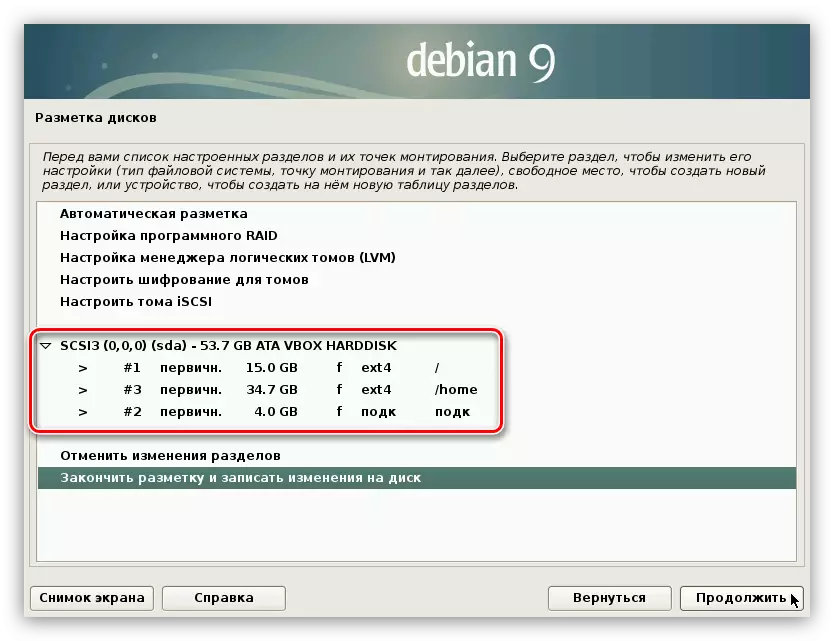
In your case, the sizes of each section may differ.
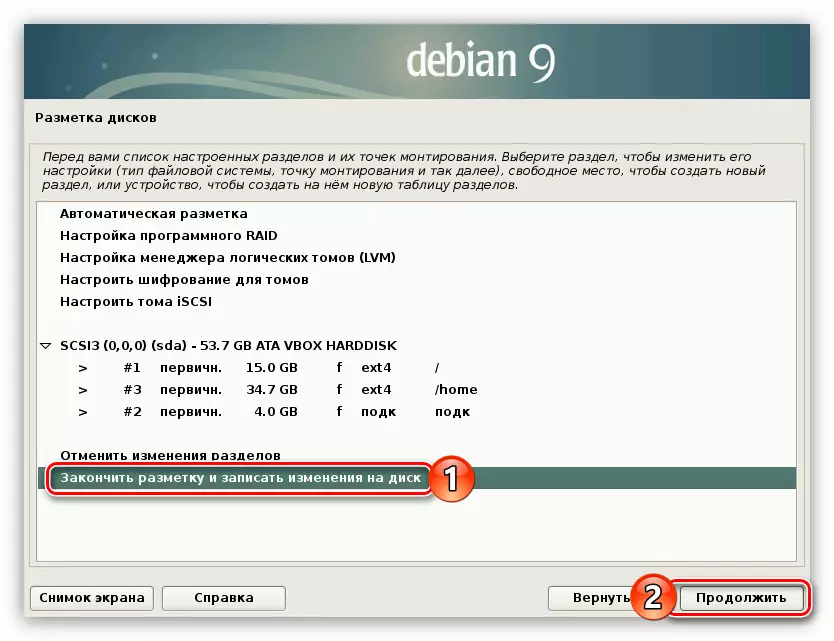
On this disk markup is completed, so highlight the string to "finish the markup and write changes to the disk" and click the "Continue" button.
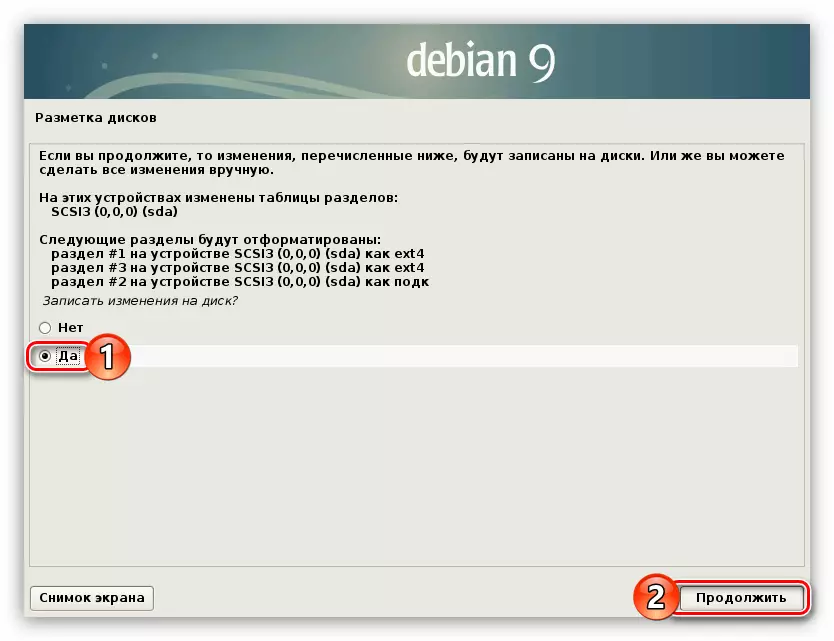
According to the result, you will be given a detailed report on all changes. If all its points coincide with the actions done by the earlier set the switch to "Yes" and click "Continue".
Alternative disk markup options
Above the instructions for the markup of the medium security disk. You can use the other. Who will present two options.
Weak defense (perfectly suitable for beginners who only want to familiarize themselves with the system):
- Section # 1 - root section (15 Gb);
- Section # 2 - Switching section (RAM volume).
Maximum protection (for users who plan to use the OS as the server):
- Section # 1 - the root section (15 GB);
- Key # 2 - / boot with the option ro (20 MB);
- Section # 3 - swap (RAM);
- Section # 4 - / tmp with parameters nosuid, nodev and noexec (1-2 GB);
- Section # 5 - / val / log with noexec parameter (500 MB);
- Key # 6 - / home with parameters noexec and nodev (remaining space).
As you can see, in the second case, you must create multiple partitions, but after installing the operating system, you can be sure that no one can penetrate it from the outside.
Step 6: Installation complete
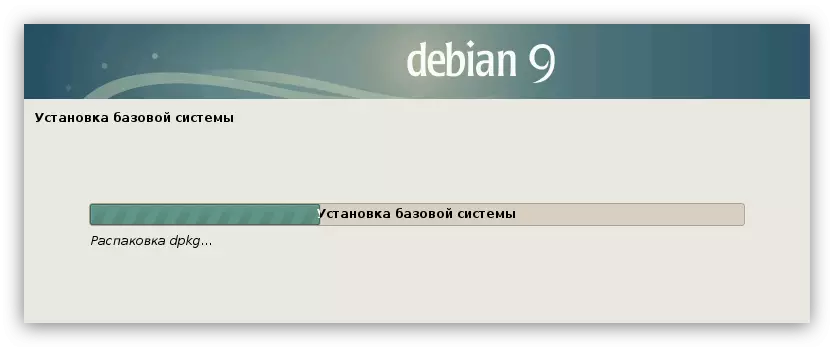
Immediately after the previous instructions to begin the installation of Debian base components 9. This process can take quite a long time.
Upon its completion, it will be necessary to set a few parameters to complete the full installation of the operating system.
- In the first configuration the package manager window, select "Yes", if you have an additional disk with system components, otherwise click "No" and click on the "Continue" button.
- Select the country in which it has a mirror system archives. It is necessary to provide high-speed downloading of additional system components and software.
- Define the mirror of the Debian archive 9. The best choice would be «ftp.ru.debian.org».
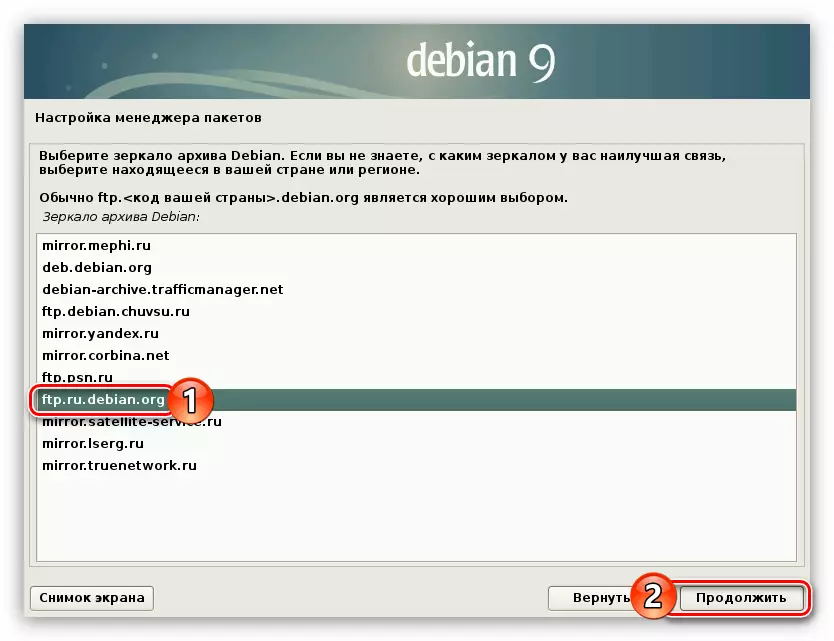
Note: If you choose a different country of residence in the previous window, instead of «ru» to address the mirror will display a different region code.
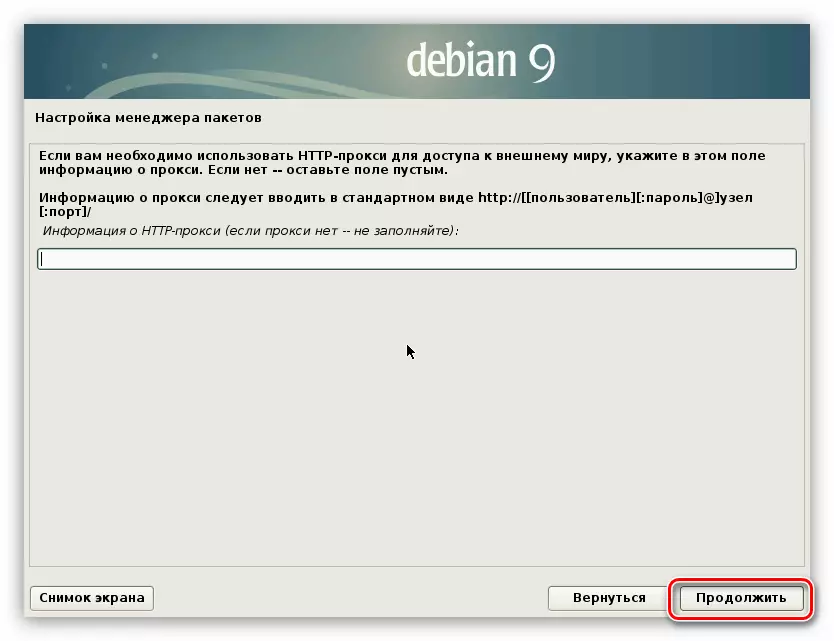
- Click "Continue" if you do not intend to use a proxy server, otherwise enter the address in the appropriate input box.
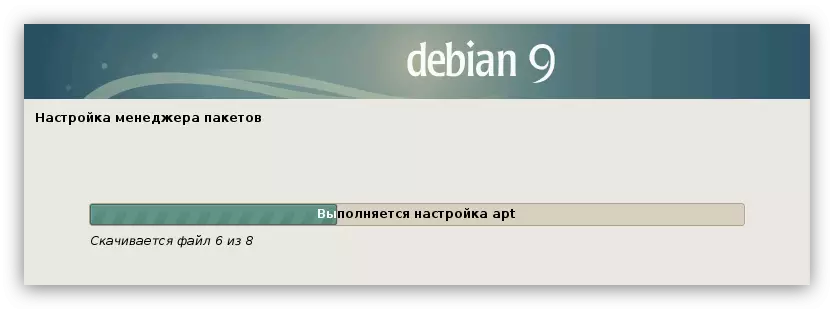
- Wait until the download process and install additional software, and system components.
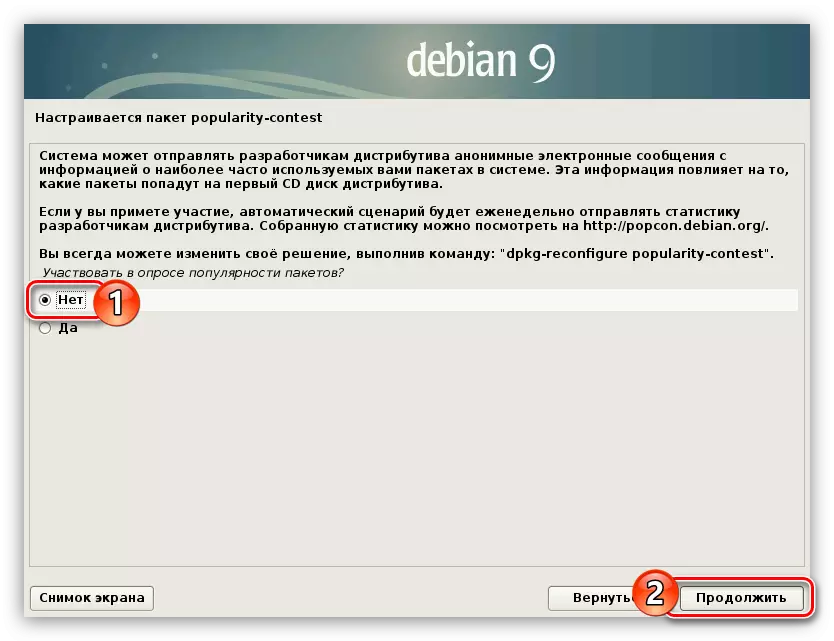
- Give your answer to the question of whether you want to have the system on a weekly basis to send anonymous statistics about the distribution developers commonly used packages.
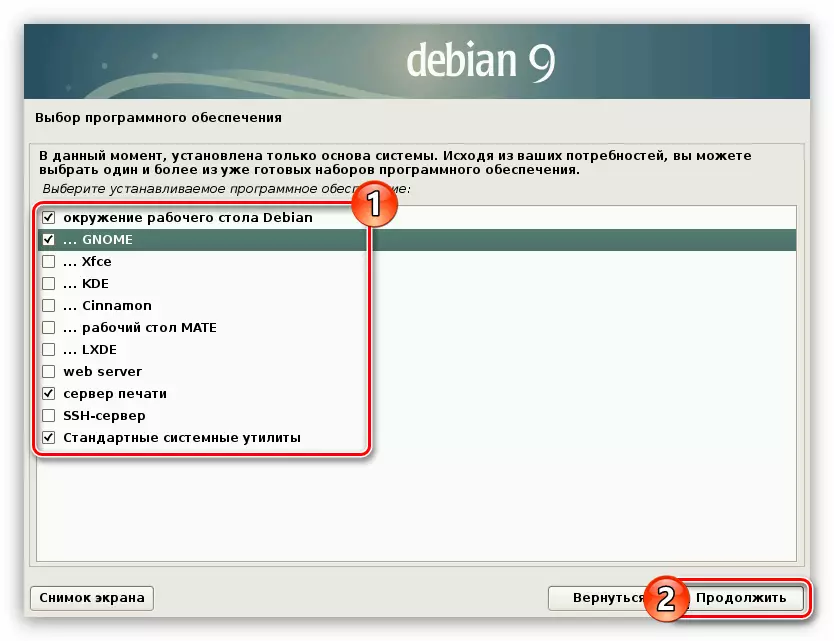
- Select from a list of desktop environment that you want to see in your system and additional software. Then click "Continue".
- Wait until will be downloaded and installed components are selected in the previous window.
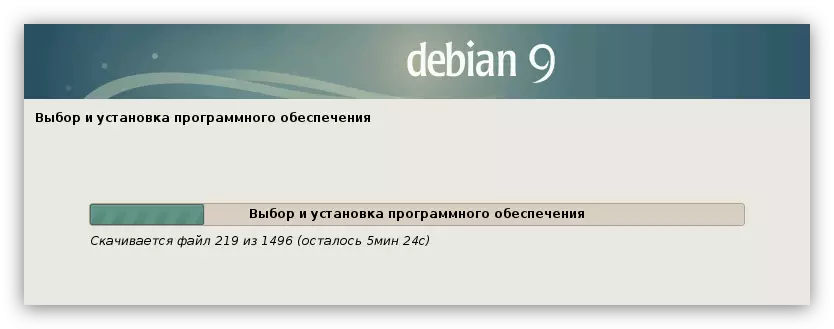
Note: The progress of the task can be quite long - it all depends on your Internet speed and processing power.
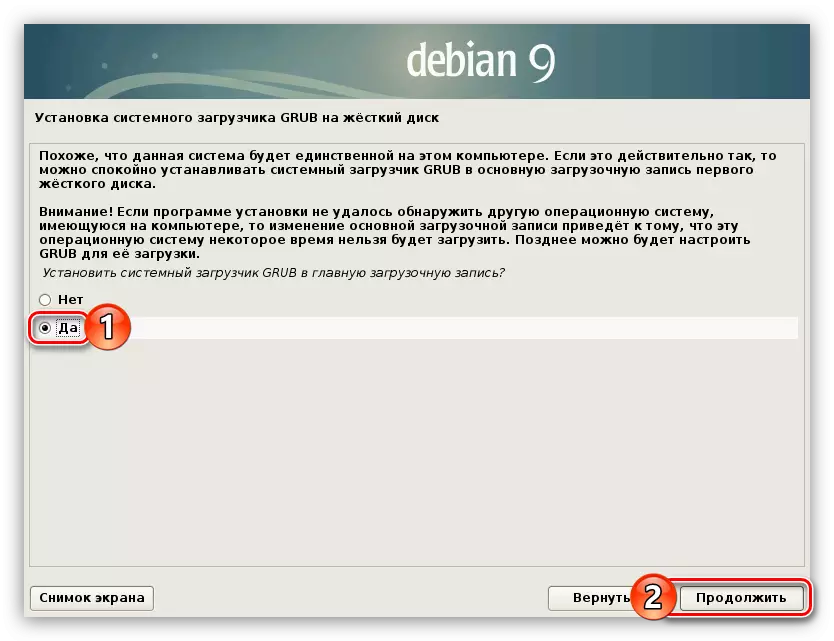
- Give permission to install GRUB to the main boot record by selecting "Yes" and clicking "Continue".
- Select the drive from the list, where the GRUB loader will be located. It is important that it is located on the same disk on which the operating system itself is installed.
- Click the "Continue" button to restart the computer and start using the newly installed Debian 9.


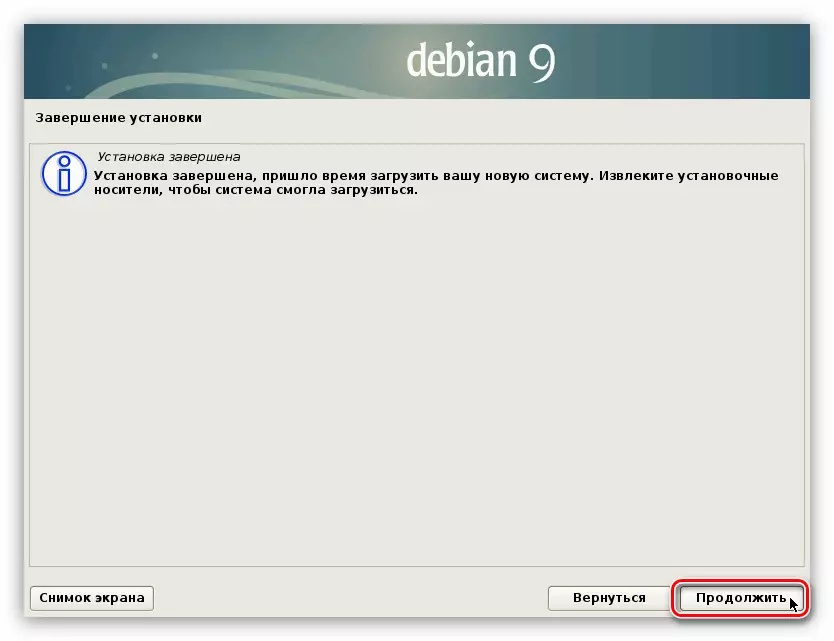
How can I understand, this system is completed on this. After restarting the PC, you will fall in the GRUB bootloader menu in which you want to select OS and press ENTER.
Conclusion
After completing all the above actions, you will watch the Debian desktop 9. If this has not happened, revise all installation manual items and in case of discrepancies with your actions, try to start the installation process of the OS update to achieve the desired result.