

Option 1: Website
Register on the social network Facebook using the desktop version of the site, it is quite possible without a phone number, instead by using the email address of the email. This procedure is made directly from the main page of the resource under consideration or on a separate reference below, and is the filling of all the presented fields in accordance with the desired data.
Go to Facebook registration page
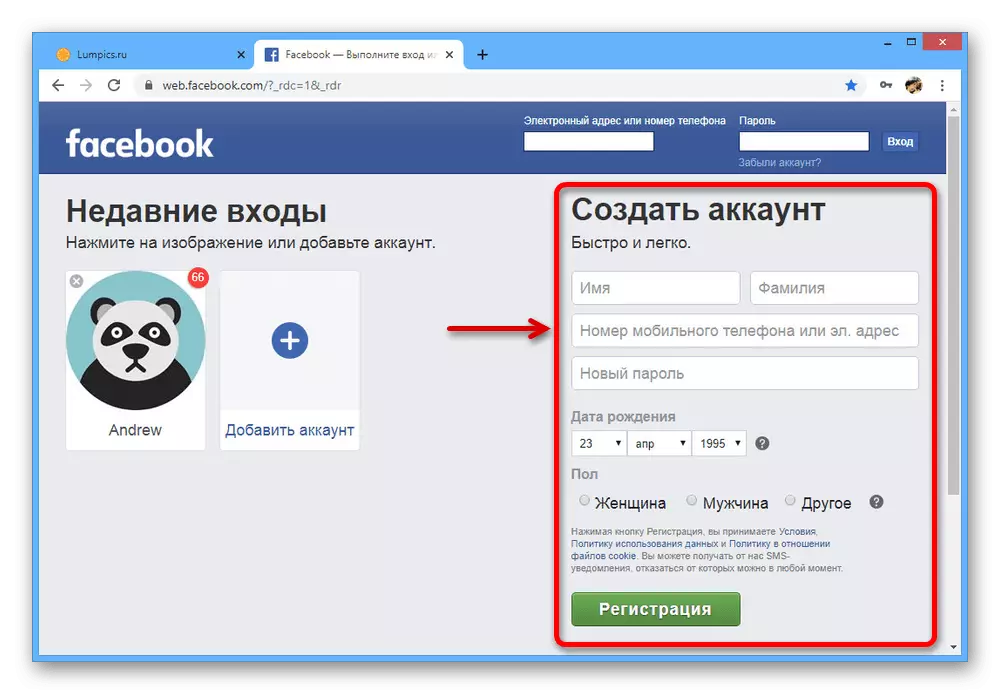
Quite in detail the topic of registration was already considered by us in a separate instruction. It is important to understand that the account without a tied phone number, even if you fill in the user profile, most likely be blocked after a certain period of time after registration.
Read more: How to register on Facebook from a computer
Option 2: Mobile application
The mobile device on the Android or iOS platform can also be used to create a new account on the Facebook, limiting the e-mail binding instead of the phone number. We will consider the procedure for creating an account exclusively on the example of the official client, while the mobile version requires completely similar actions, but performed through the Internet browser.
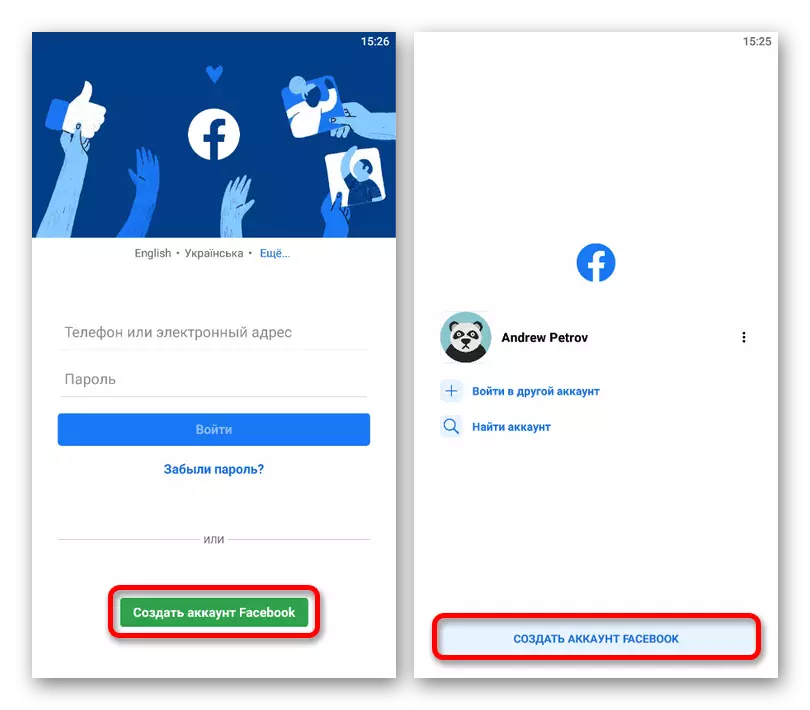
- Open the Facebook application and in the bottom block "or" use the "Create Facebook Account" button. If you previously added accounts on the device, it will be highlighted in blue.
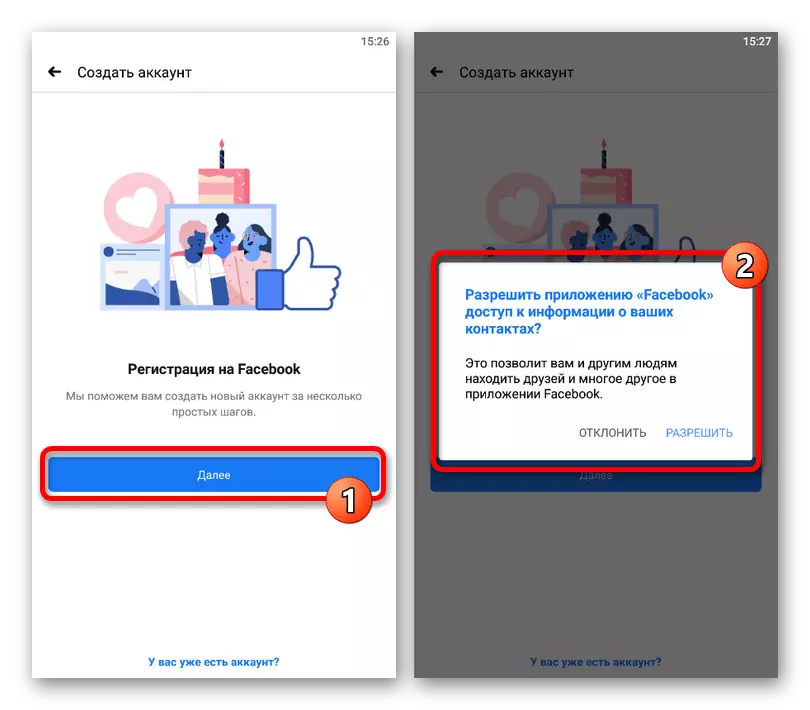
- Immediately after that, there will be automatic redirection to the welcome page of the registration page. After clicking "Next", you can accept or refuse to import contacts from the address book of the phone.
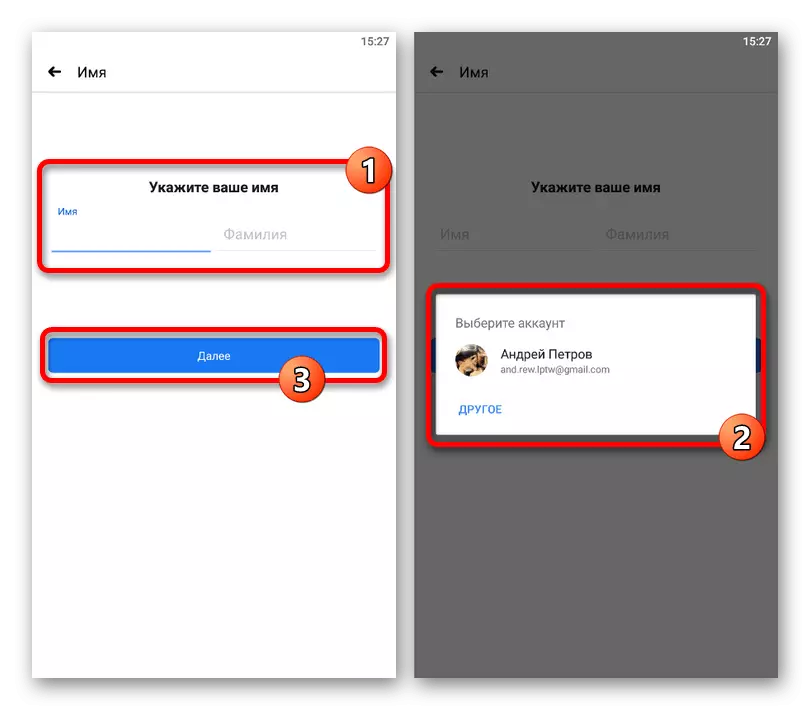
- At the next stage, specify the desired "name" and "surname" in your native, including Russian, or in English. Alternatively, you can use the automatic import of the name from the accounts available on the phone, such as Google.
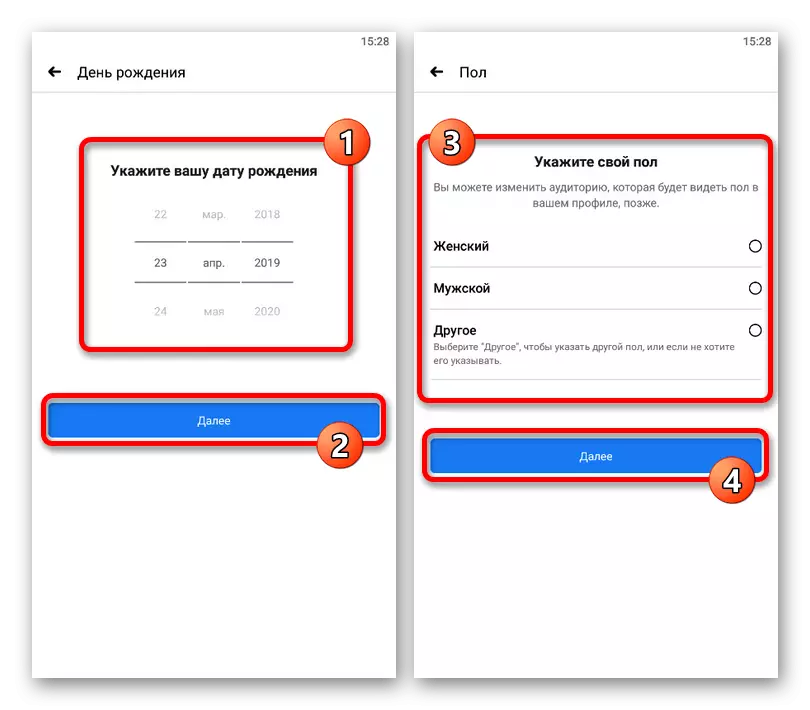
- Before clicking "Next", specify the date of birth and sexuality. Note that age can affect the availability of some functions of the social network after registration.
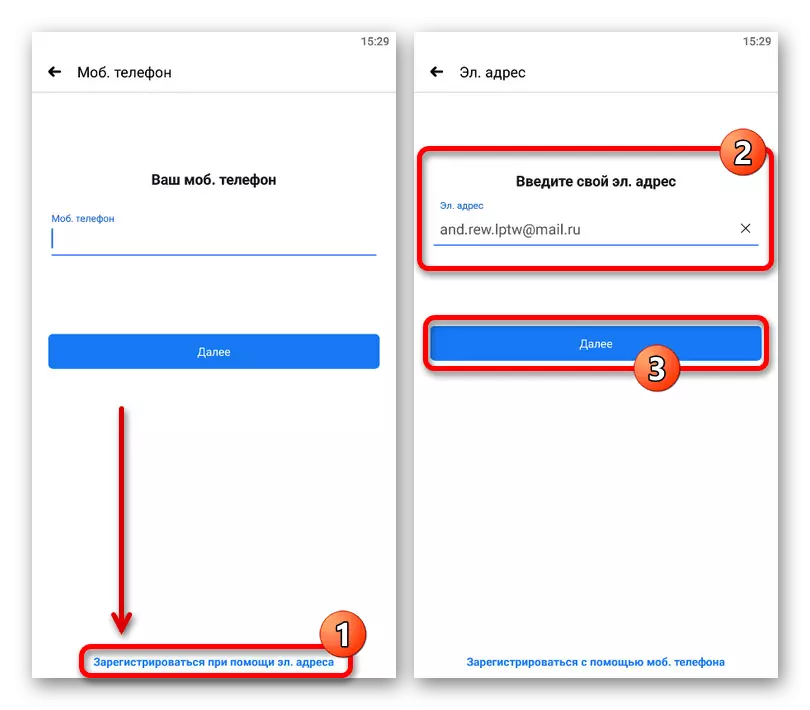
- After switching to the page "Your Mob. Telephone "At the bottom of the screen, find and use the link" Register with EL. Addresses. " Enter the name of the mailbox available to you.
Note: Try to use English-language mail services like Gmail, as in the case of Yandex or Mail.ru, problems may arise at the final confirmation step.
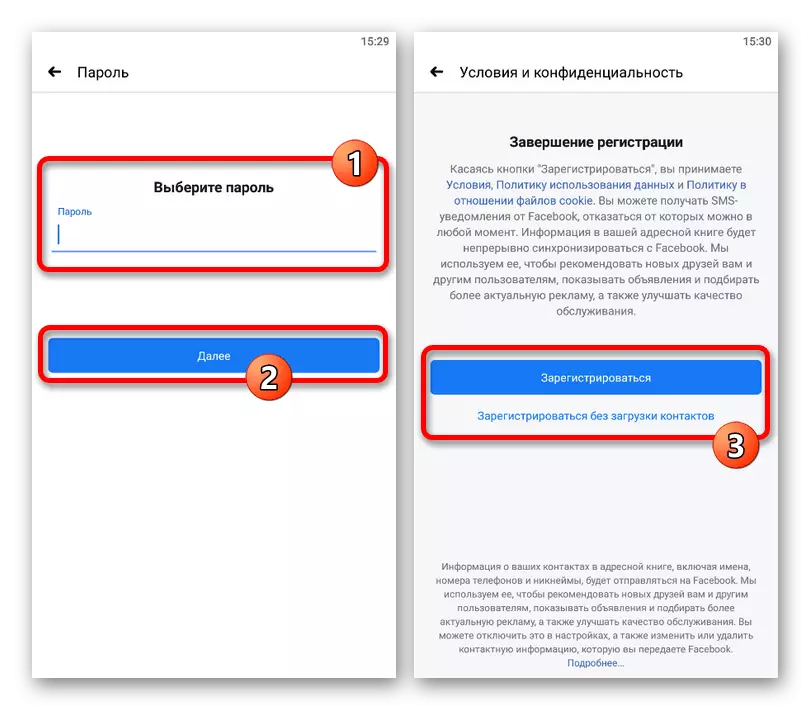
- After the tap on the "Next" button, another page will open with the requirement to enter a password for the future account. On the penultimate "Conditions and Privacy" screen, click "Register without downloading contacts" or just "Register" if you want to immediately add friends to a new page.
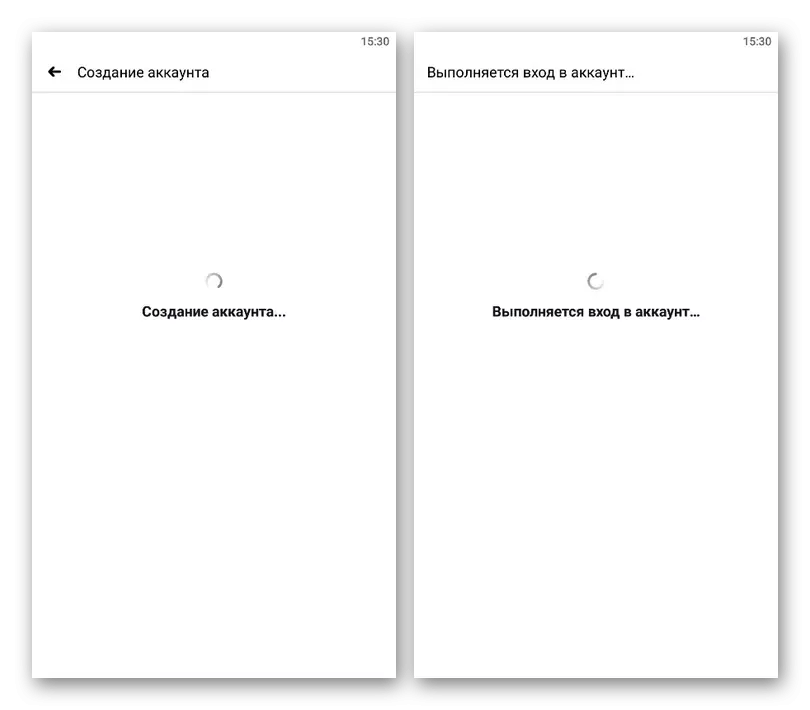
Wait for the procedure for checking, creating and authorizing. Only after that it will be possible to confirm.
- In the "Confirmation Code" text field, enter the set of characters sent to the email address you specified before. Here you can re-send the code, change the mail and, as a last resort, even use an alternative way to confirm with the phone.
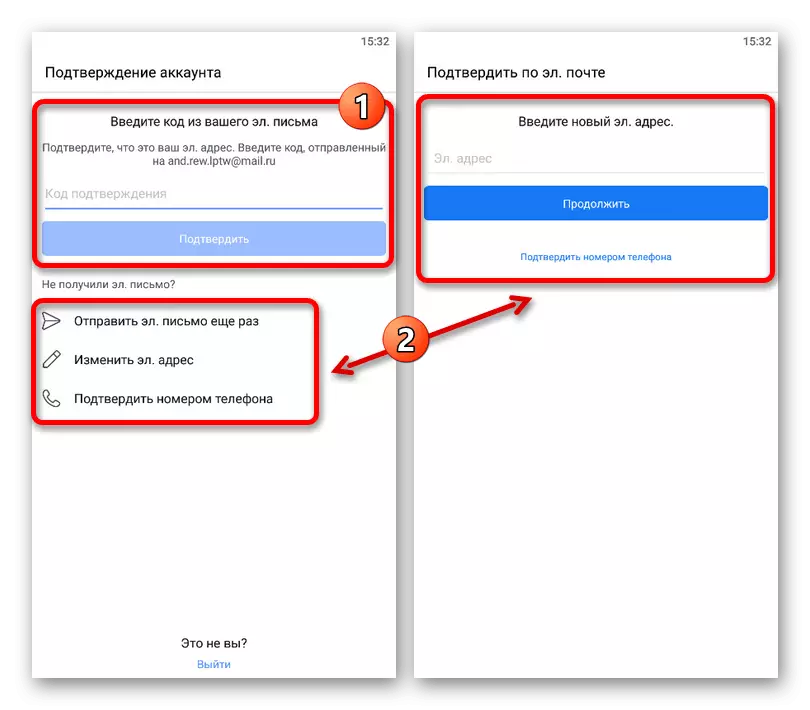
Note: Add a phone number anyway can be done not only at this stage, but also after the registration is completed using mail. In this case, the latter can also be changed without any problems.
After executing these actions, the page will be created, but even taking into account this, try to add data about yourself to avoid possible blocking, to remove which you can only through the support service.