
Method 1: Standard Tools
In all modern smartphones there is a camera and an application for managing it, in which the possibility of activating geotegov is usually present. As an example, we will use the Google Camera solution installed in the "clean" Android 10.
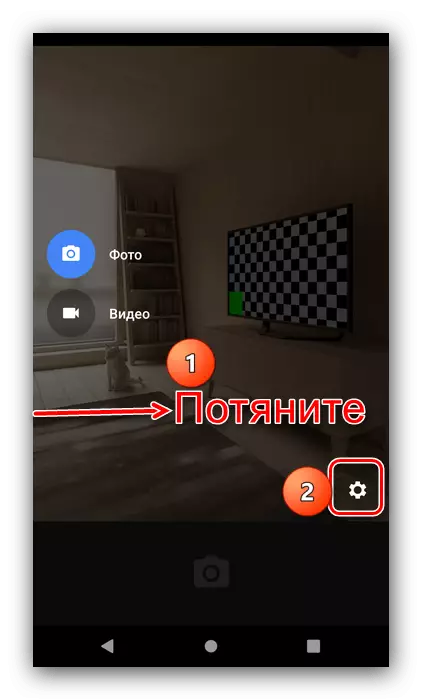
- Run the application, then pull on the left side of the screen to the right. A menu will appear with shooting modes and access to the settings - the button in the form of a gear, according to which you want to tap.
- Find the "location" switch and transfer it to the active position.
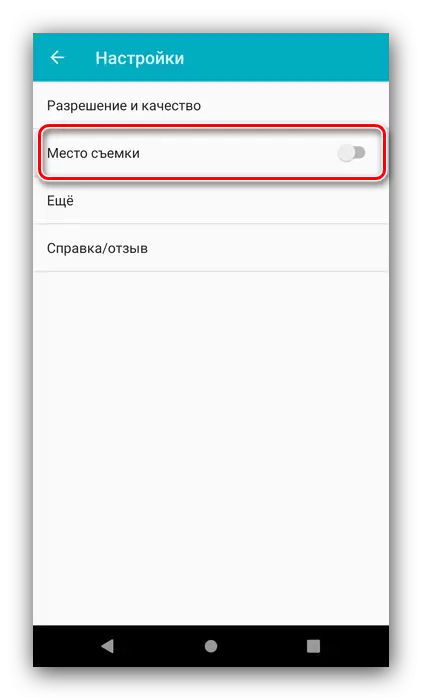
Ready - Now in the pictures made by Google Camera, information from the GPS module will appear.
Method 2: Side Application
If for some reason you do not want to shoot the stock app, you can use the solution from third-party developers, in which the support of the geometers is built. One of these is Camera FV-5 Lite.
Download Camera FV-5 Lite with Google Play Market
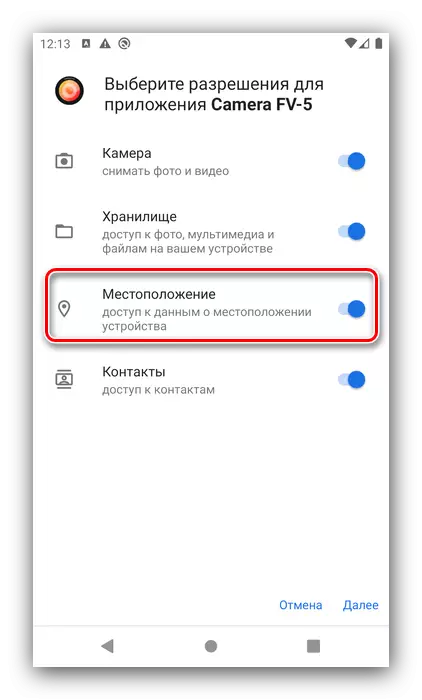
- Run the application. In modern smartphones on the current version of Android, you usually display a proposal to configure permissions - make sure that the location option is active in this list.
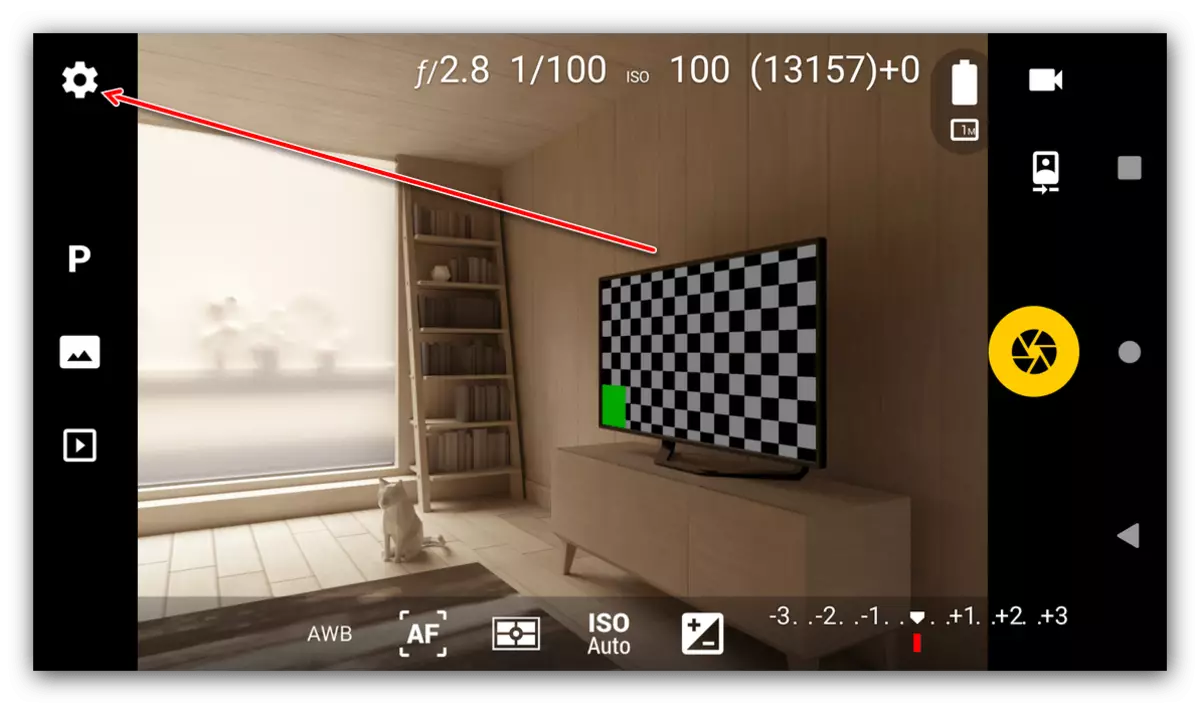
- After starting the interface, tap the settings button in the form of a gear located at the top of the left.
- By default, the parameters open on the Basic Settings tab, where the "Geometry" string is located. Tap on it and select the GPS data type that you want to see on your photos.
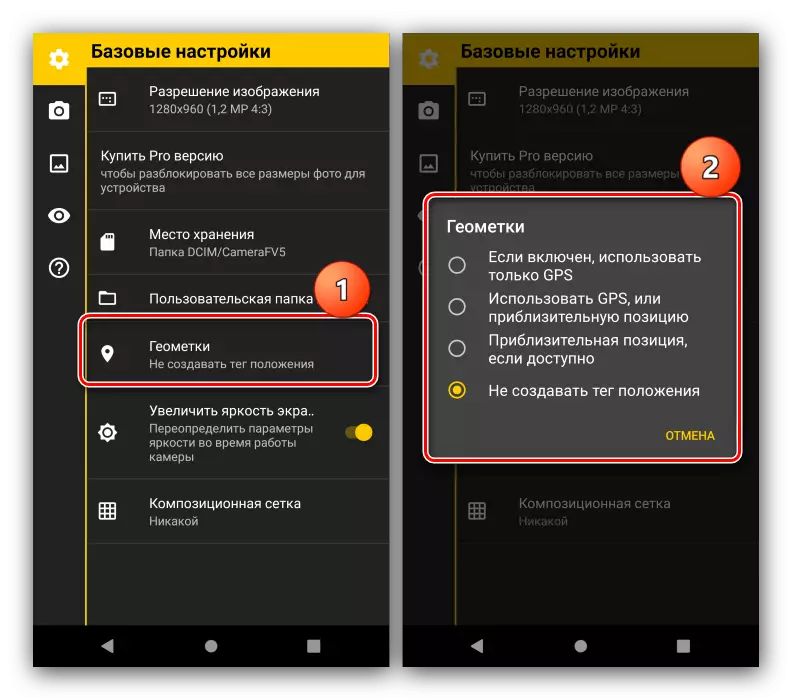
To apply the parameters, restart the application.
Of course, there are many other third-party chambers on the market. If the Camera FV-5 Lite does not suit you something, we suggest familiarizing yourself with the list of alternative solutions.
Read more: Applications Camera for Android
If the geometry does not appear
Sometimes the simple inclusion of geolocation in the camera application turns out to be ineffective, and the required label does not appear in new pictures. This problem occurs for two reasons: the GPS is disabled on the phone or you did not give out the program corresponding permission.
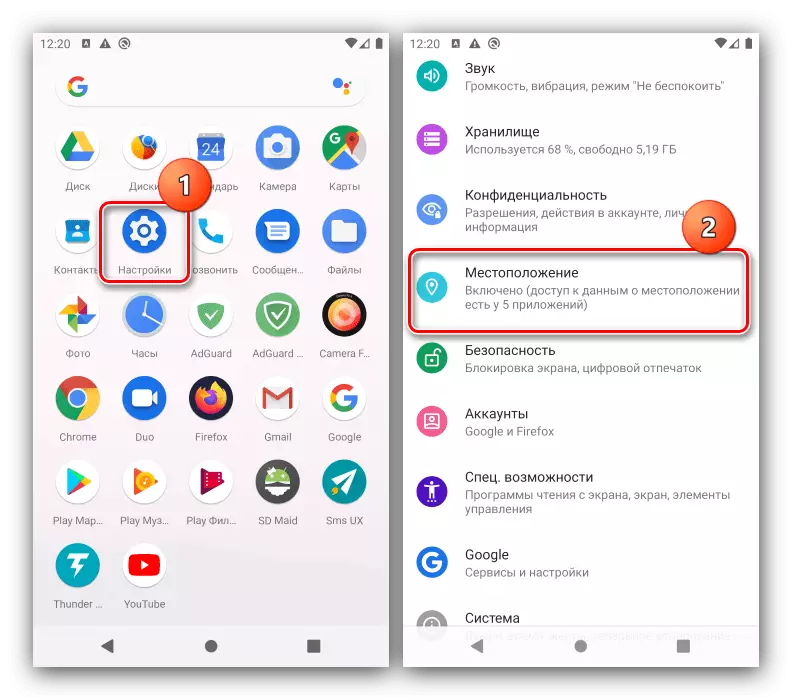
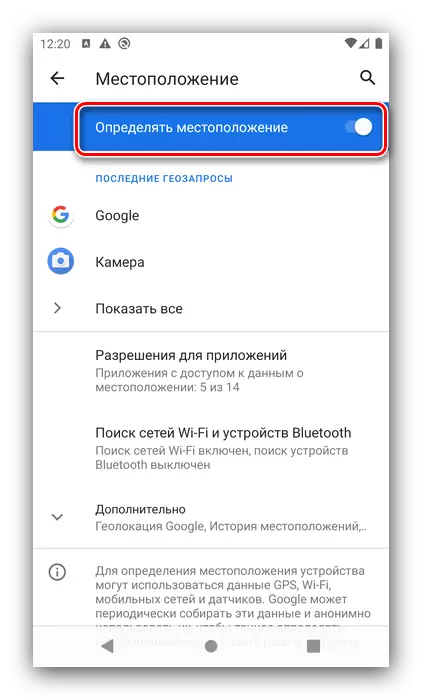
- First of all, check whether the function of working with geodan is active at all. To do this, open the "Settings" - "location".
- Make sure the "Determine location" switch is in an active position.
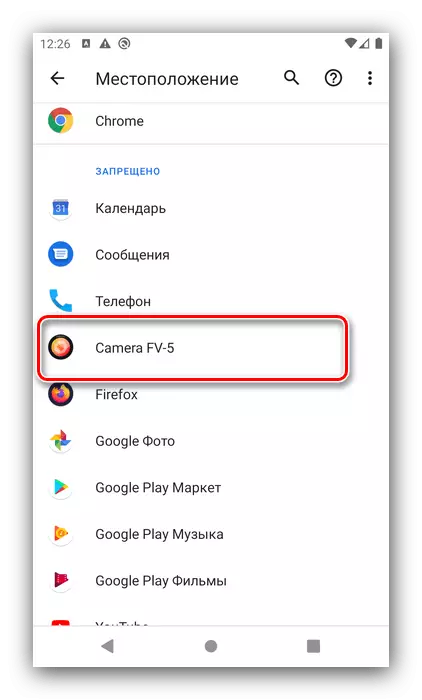
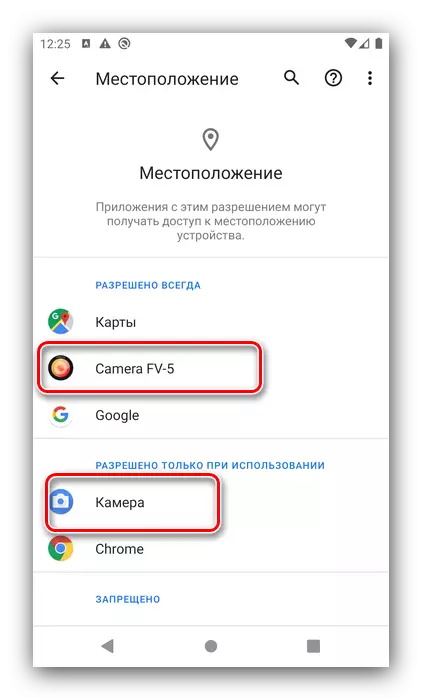
- Next, check whether permissions are issued for applications - tap on the item to the same name.

The camera program must be in the blocks "allowed always" or "allowed only when used."
- If this application was in the section "Forbidden", tap it.
A list of permissions options will appear, set "Allow in any mode" or "Allow only when using the application".

These actions must eliminate the problem. If even with the Activated GPS, there are failures with a geometry installation, use the article further.
Read more: What to do if the GPS does not work on Android