

Method 1: Fotor
Fotor is the only Russian-language online service that fell into our article. It has at least one useful tool that is accurately useful when restoration of the photo. All the rest comply with standard browser graphic editors.
Go to online service fotor
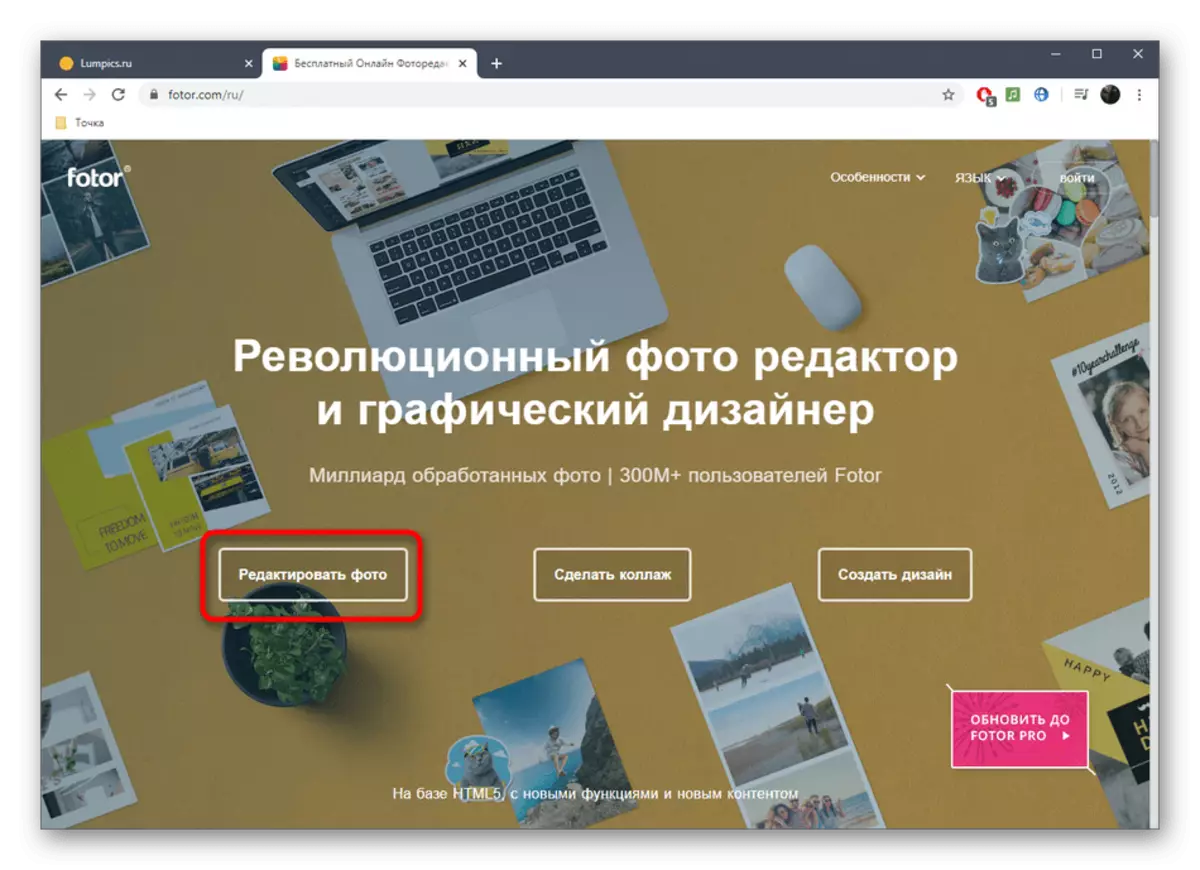
- Click on the link above to get to the Main Page of the Fotor site, where click Edit Photo.
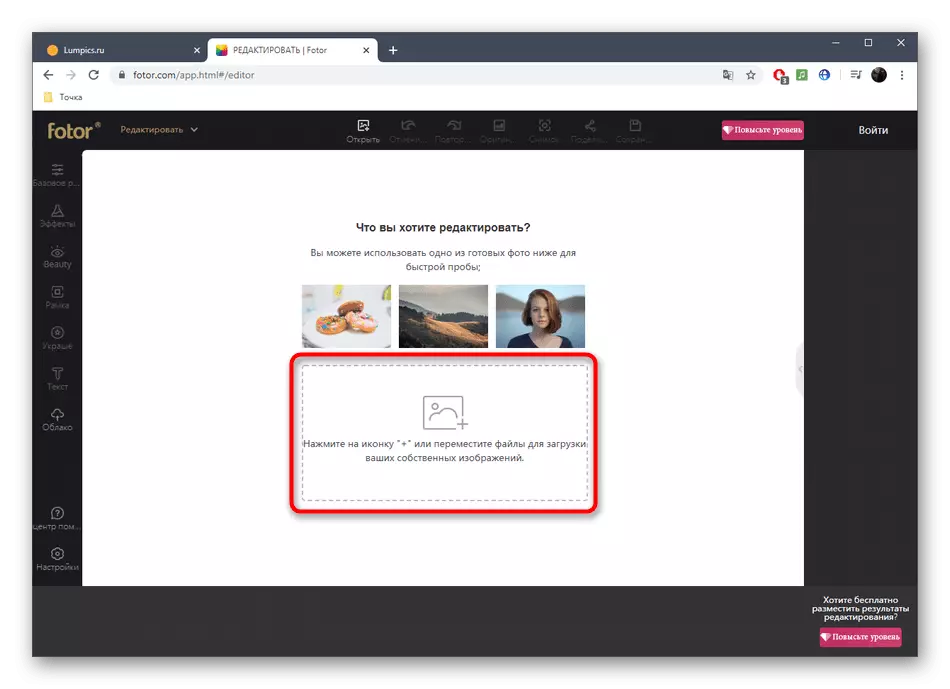
- In the window that opens, click the icon to add a photo or move the image directly to the tab.
- When opening the conductor, find the picture required for the restoration.
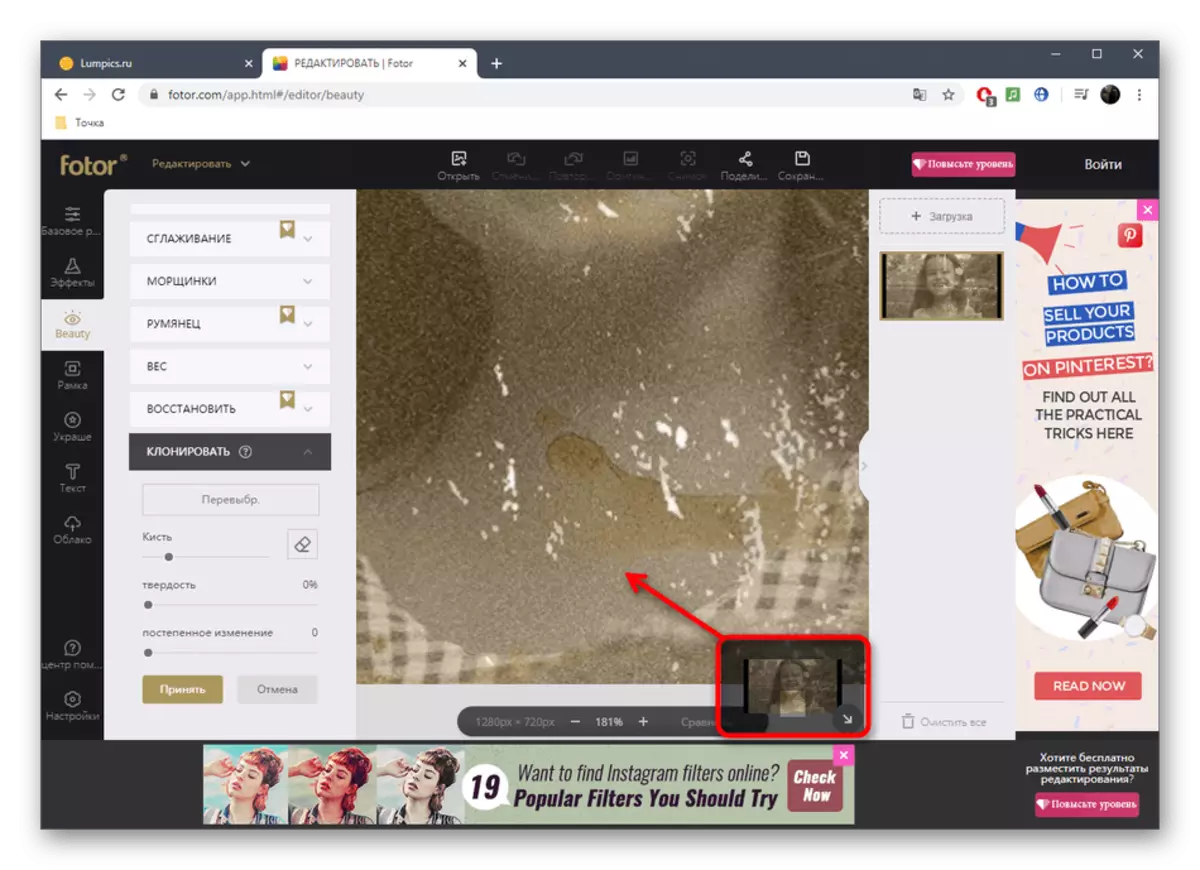
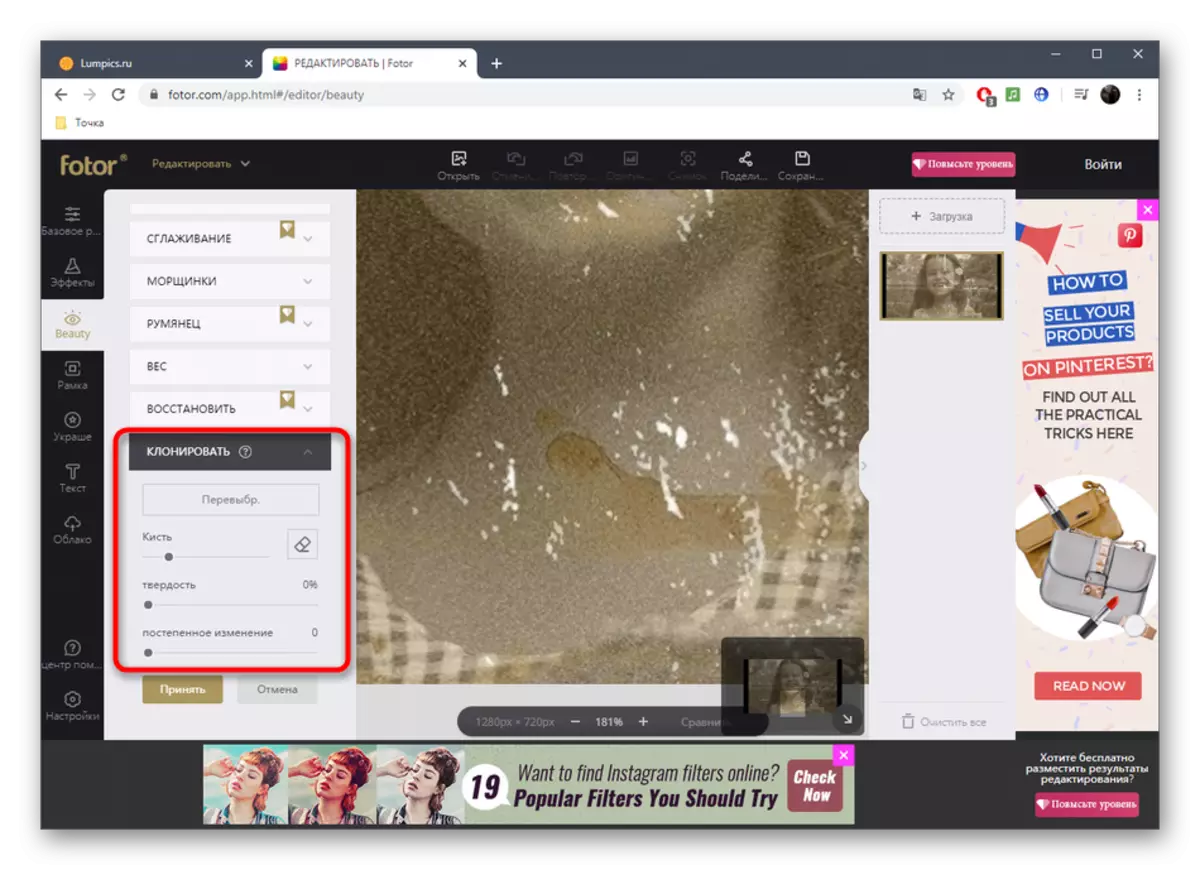
- First of all, we are interested in the "cloning" tool, which is in the "Beauty" section. With it, it will be replaced by damaged sections of the photo to normal.
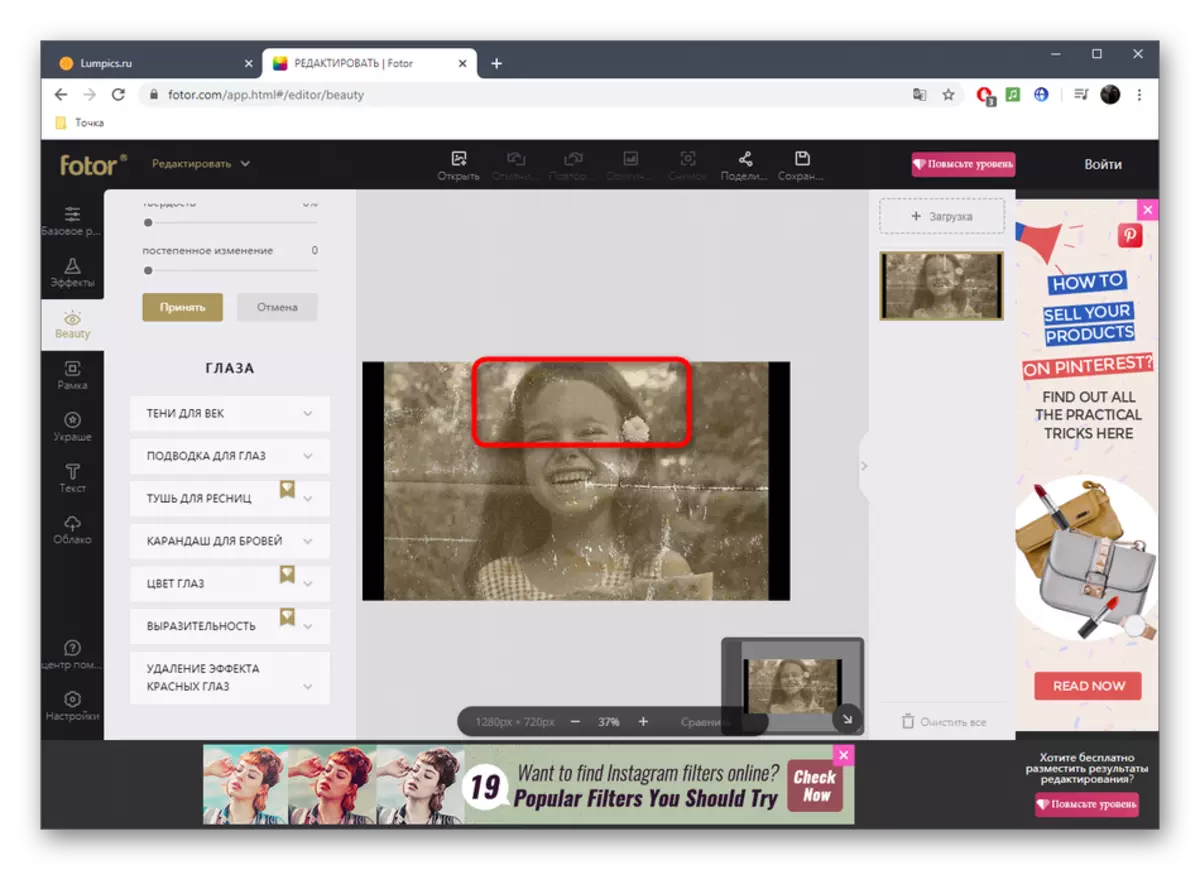
- We immediately advise you to use scaling to better see all the damaged elements of the photo.
- For the "Cloning" tool, configure the size of the brush and rigidity.
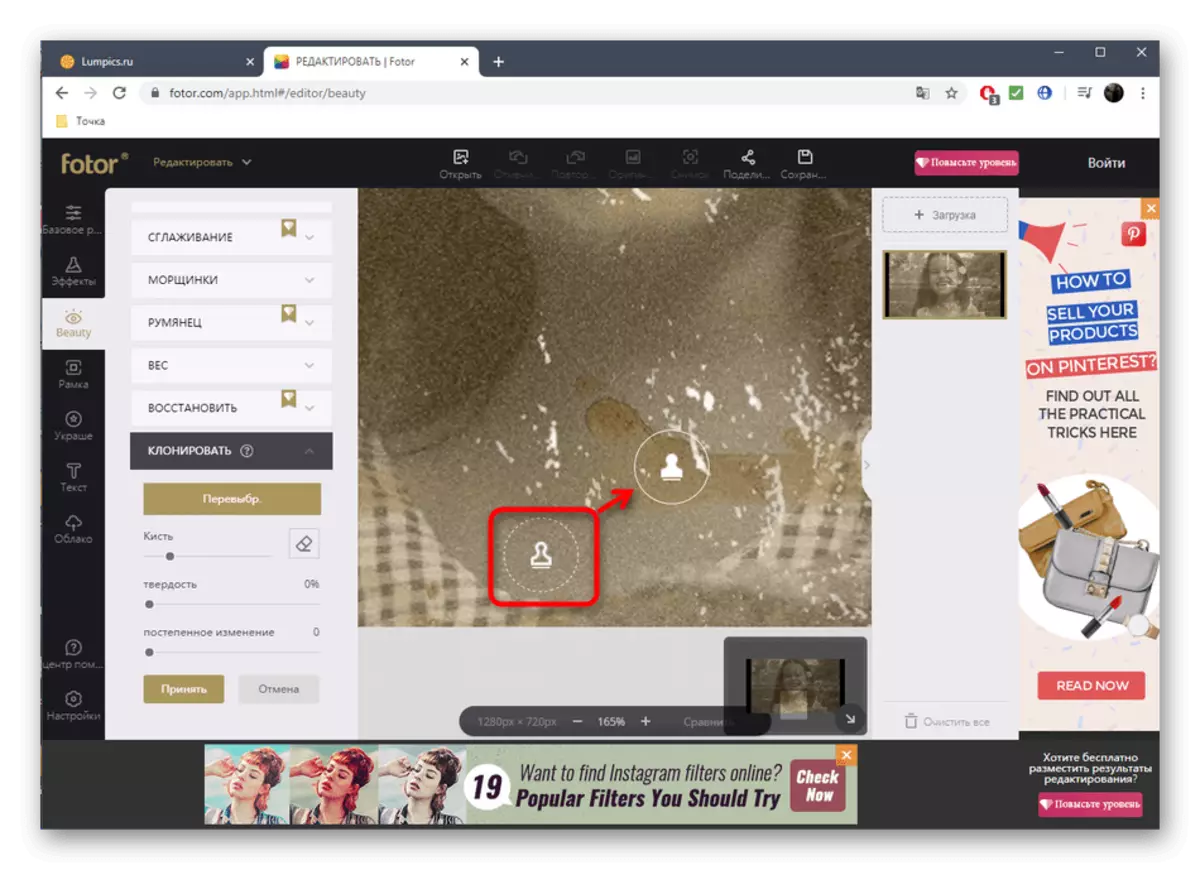
- First, select the preserved item, which will be cloned by clicking on it with the left mouse button. Then click on damaged areas to replace items. Use Ctrl + Z if you want to cancel the last action.
- It is not always the first time to make cloning so that it does not get into the eyes, so you have to pay a fairly large amount of time to deal with the correct replacement for the harmonious type of picture. The principle of selection of elements for the stamp depends on the image itself, so no accurate recommendations here can be.
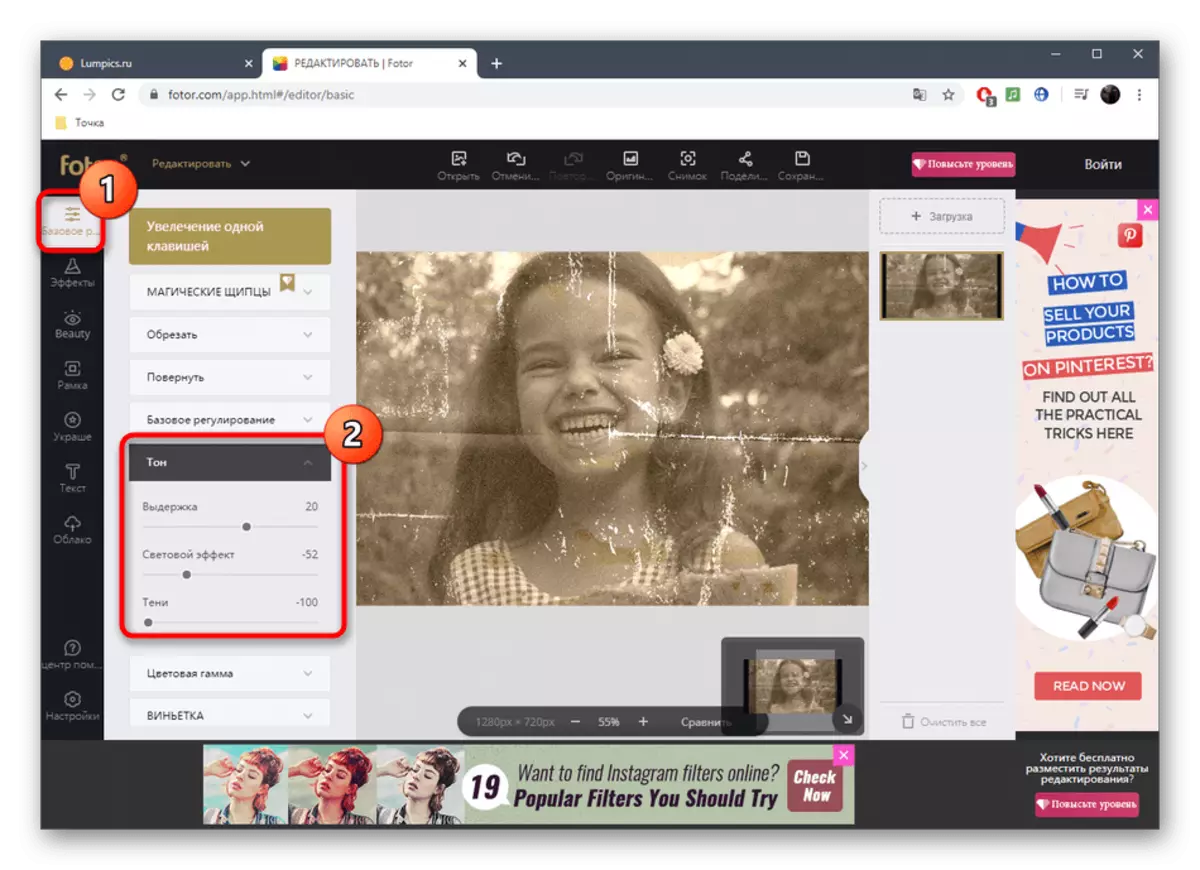
- After all objects are replaced, the restoration can be considered completed, but ideally you need to provide a light effect, add shutter speed and shadows. All this is adjusted through the "Basic Editing" section. Move the sliders there to achieve the perfect result.
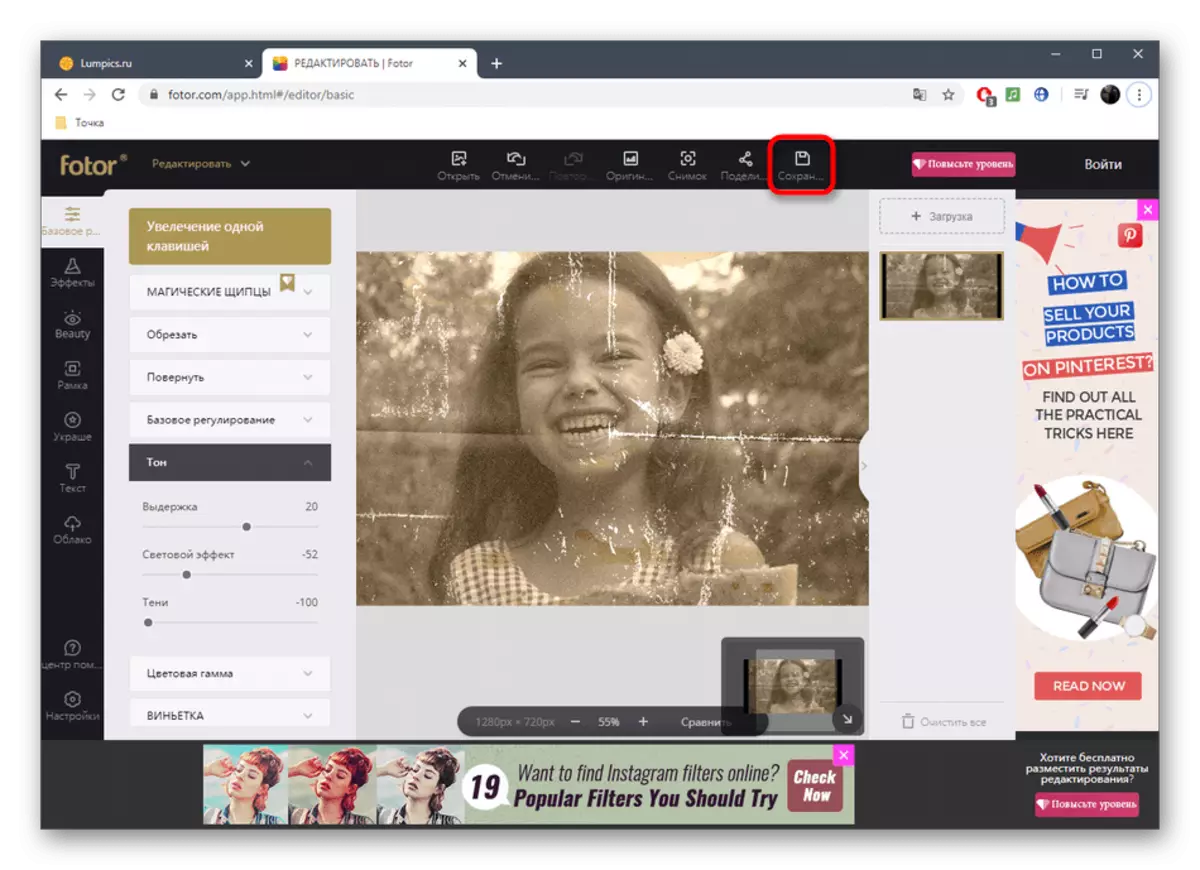
- If the final photo suits you, click on the "Save" button to go to download it.
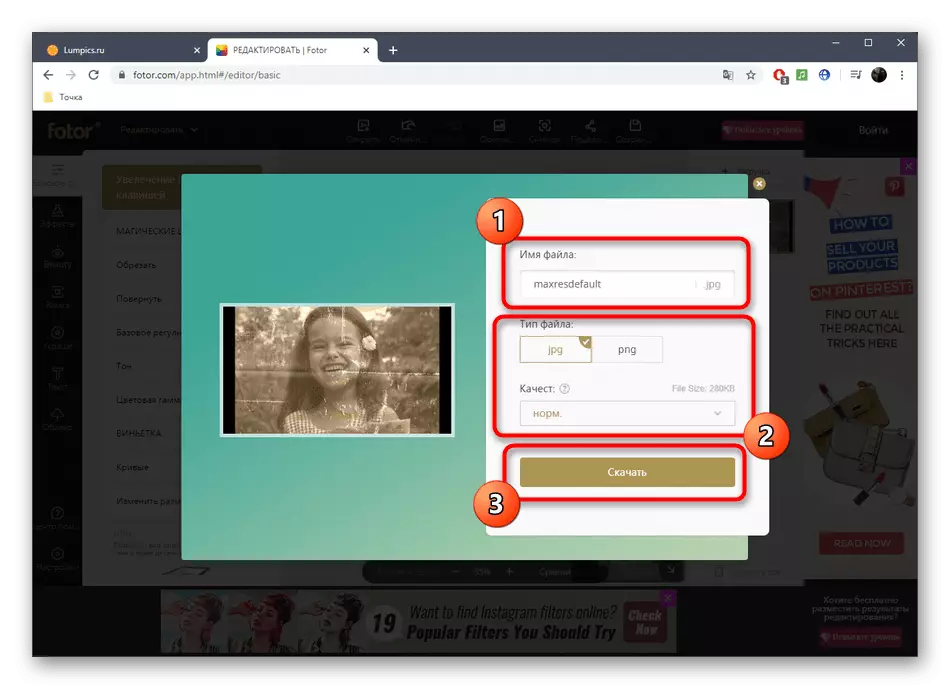
- Set the file name, specify the format and quality, and then click on "Download".
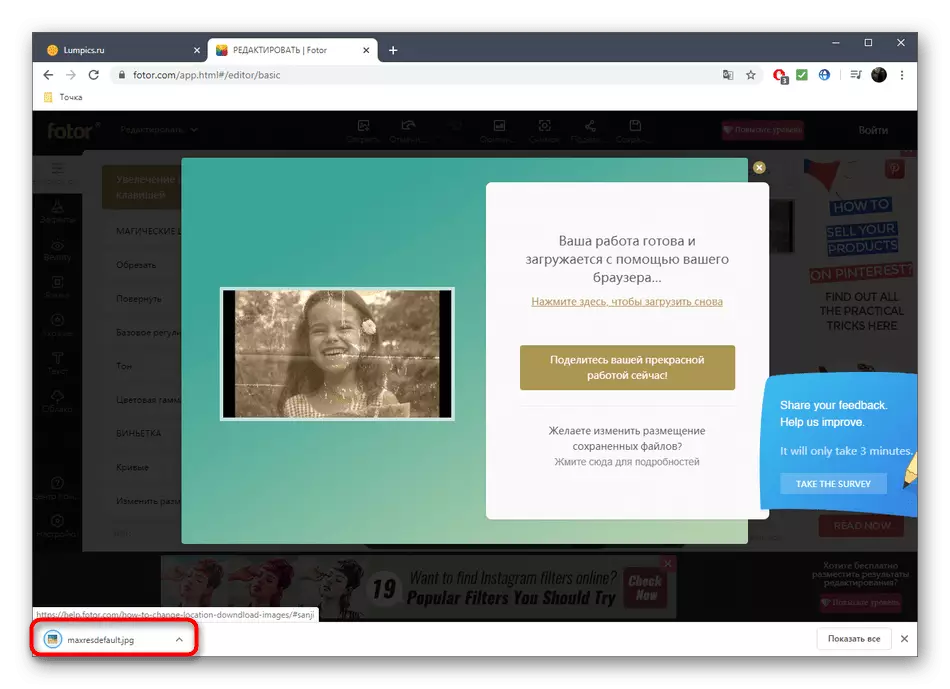
- The photo will be downloaded immediately.

The tool "cloning" is the most basic of all present, because it helps to replace damaged objects to the whole, while restoring the snapshot. It is worth spending time on his development to ultimately learn to achieve the desired effect.
Method 2: PIXLR
The functionality of the PIXLR online service is already more interesting, because there are several important filters that fully change the image display. With them, we will also figure it out, but it stands with the main restoration.
Go to online service PIXLR
- On the main page of the site, click on the Advanced Pixlr E button to go to the editor.
- Through the left panel, go to the adding photo by clicking Open Image.
- In the system conductor window, look for a suitable snapshot and open it for editing.
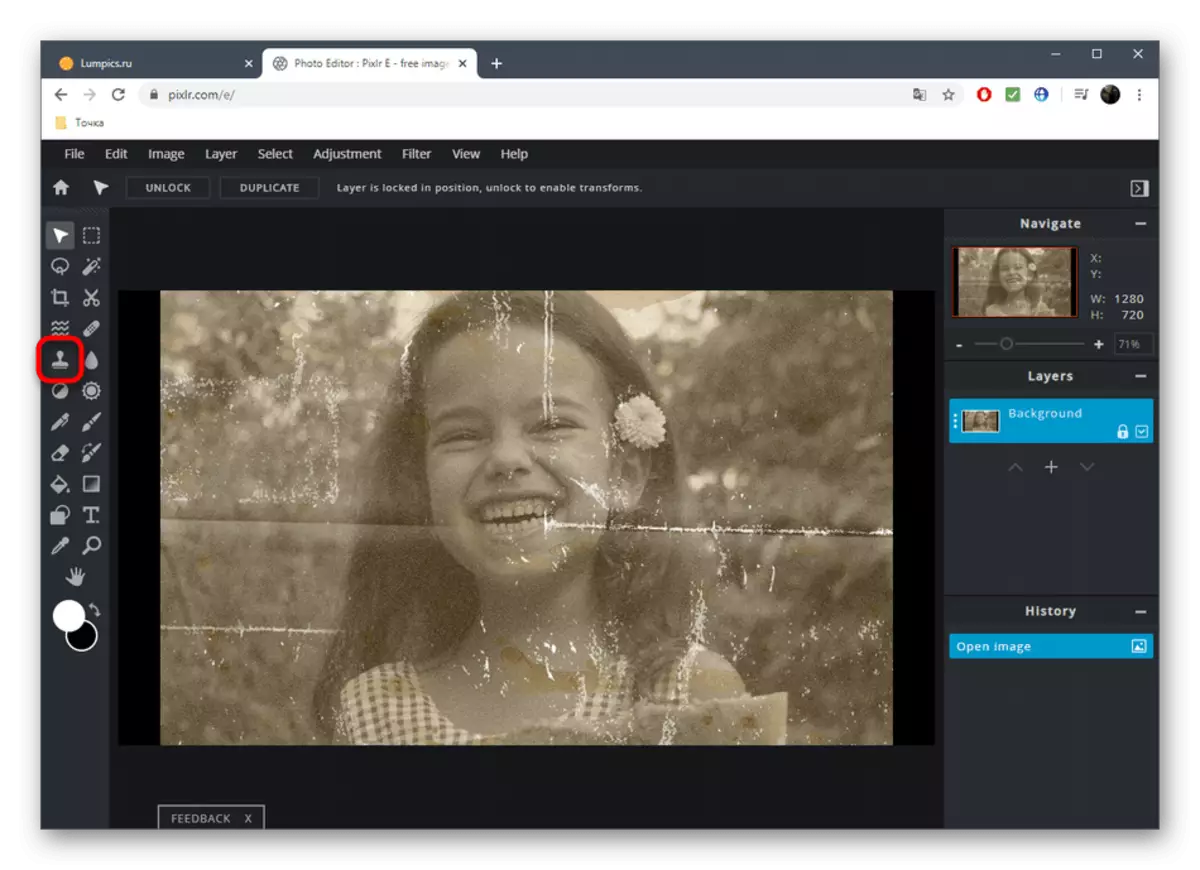
- On the left pane, select the "Clone" tool. It works in the same way as discussed when parsing the past online service.
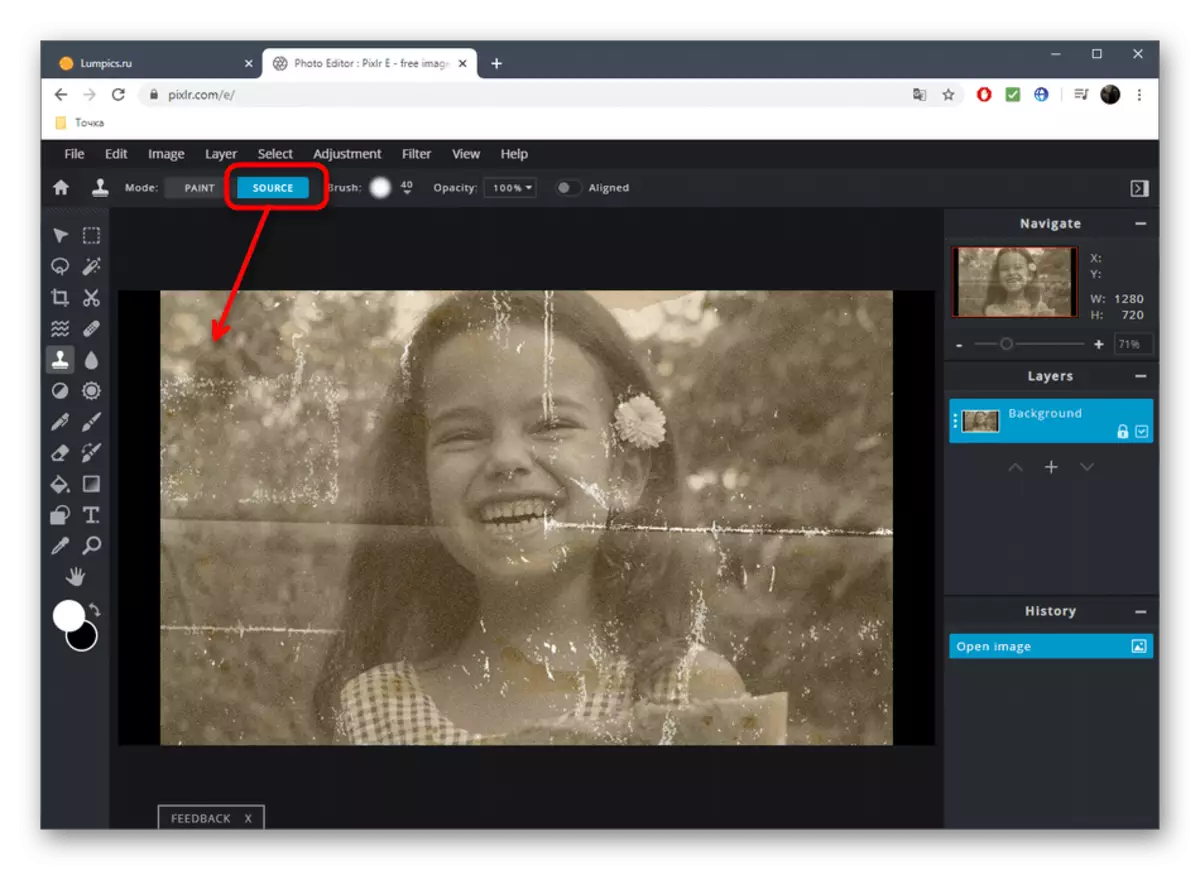
- Switch to "Source" mode to select a whole area for further cloning.
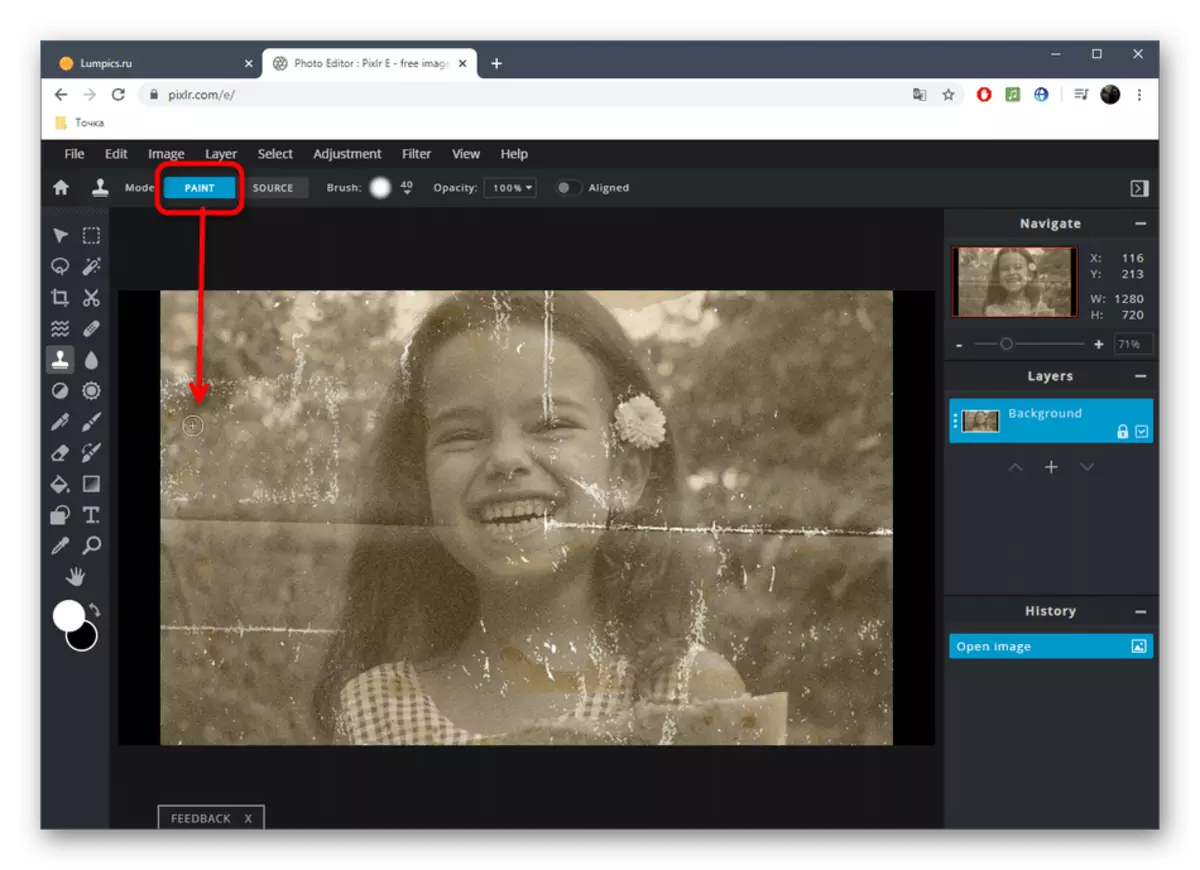
- Using Paint, start drawing, replacing damaged parts.
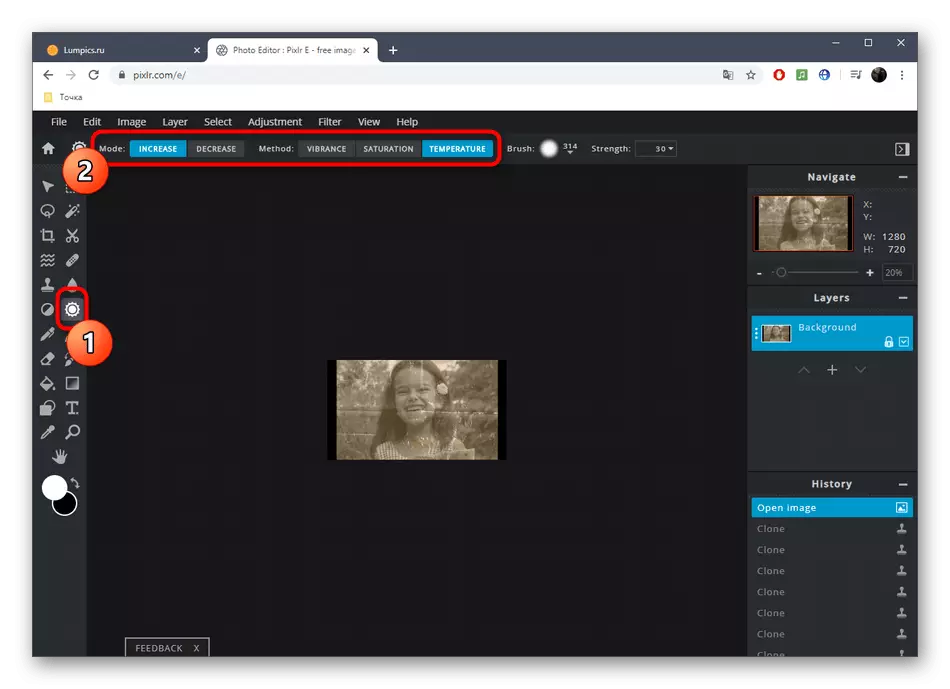
- Use color setting to adjust the temperature, add or reduce the light, thereby normalizing the visibility of black and bright sections of the image.
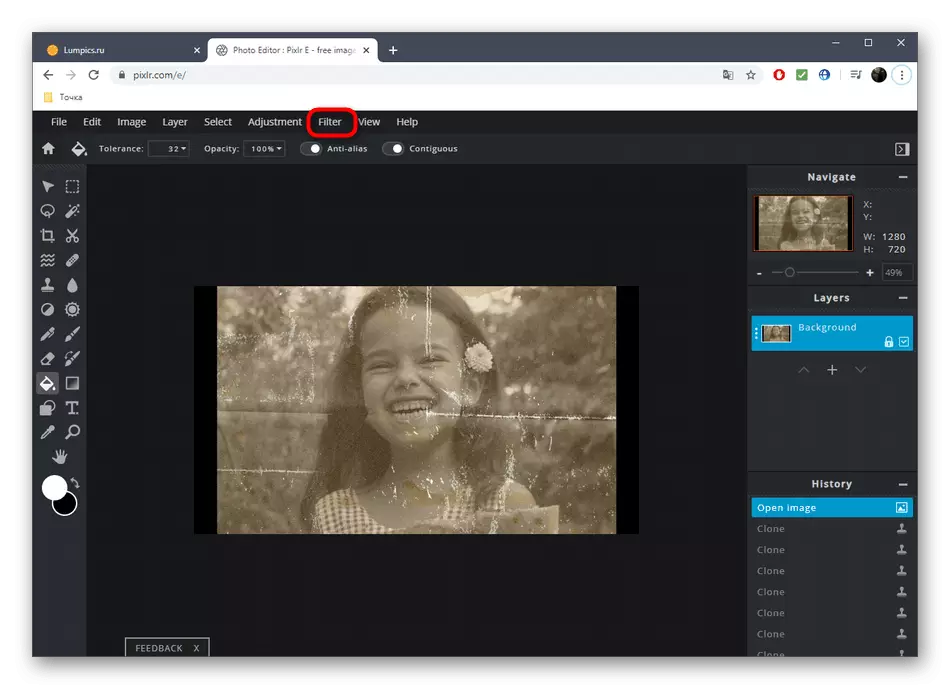
- Go to the most interesting options that will be useful when restoration of photography. To do this, open the category "Filter" using the top panel.
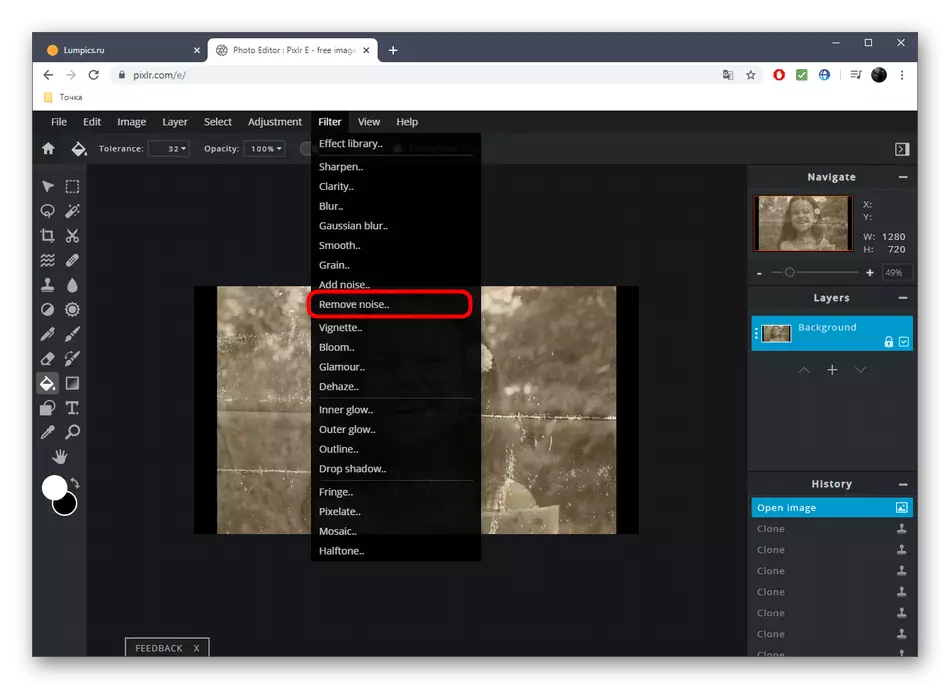
- In the list, first find "Remove Noise" and click on the label of the left mouse button. This filter is responsible for removing noise.
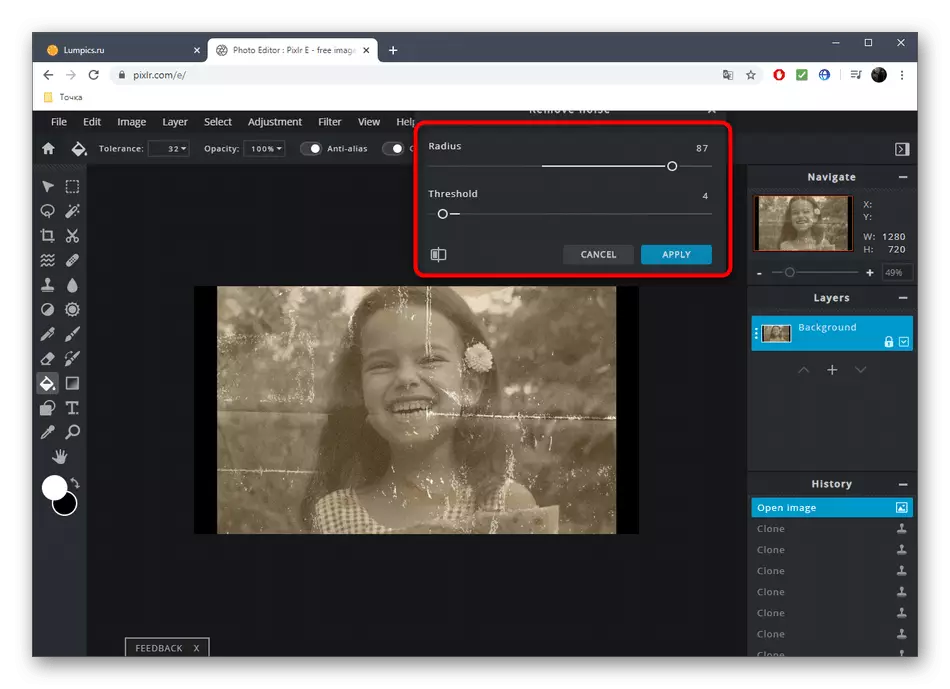
- A small window with two regulators will appear. Change their position to achieve a normal effect.
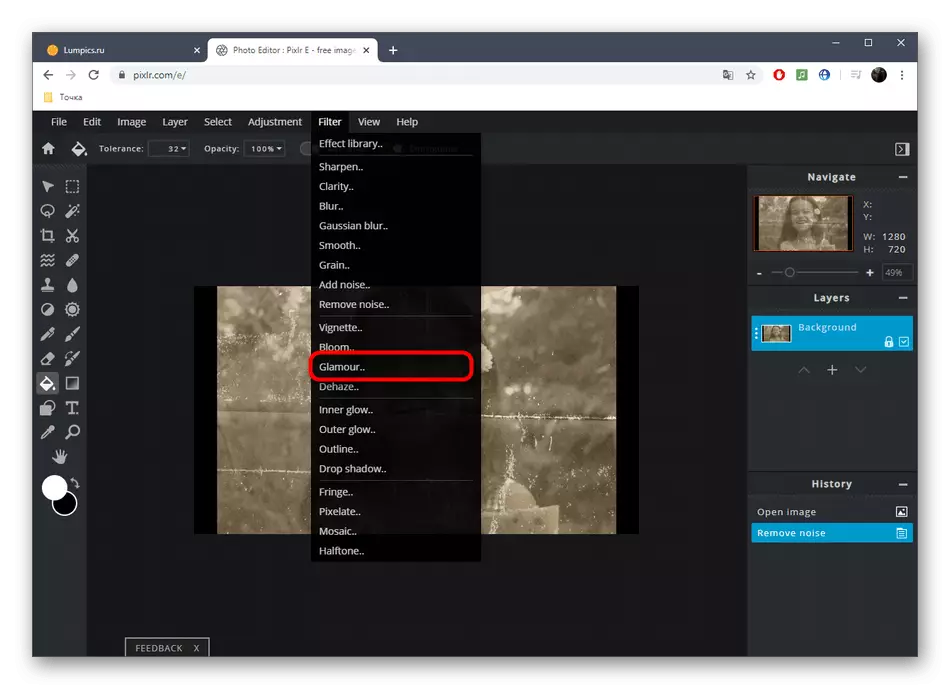
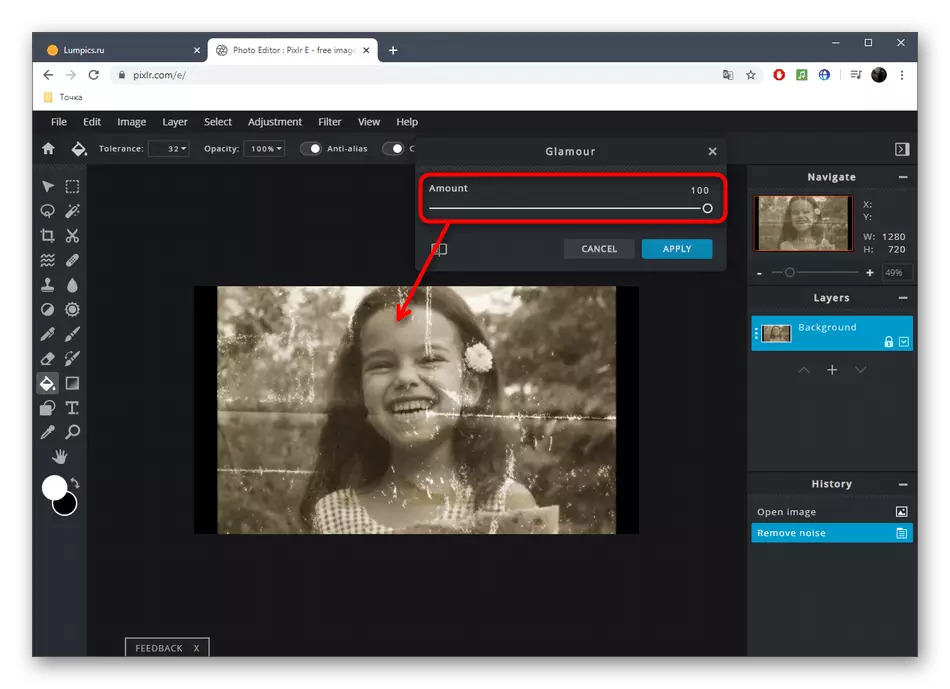
- Apply the changes and in the same list, specify "Glamor".
- Remove the slider of this parameter to 100%, and you can immediately make sure how high-quality photo has become. The incomprehensible fog was removed, the shadows found a deeper appearance, and the picture itself became more contrasting. If a color image is used, you may have to lower the filtering level, since then the realism of the flow of colors is lost.
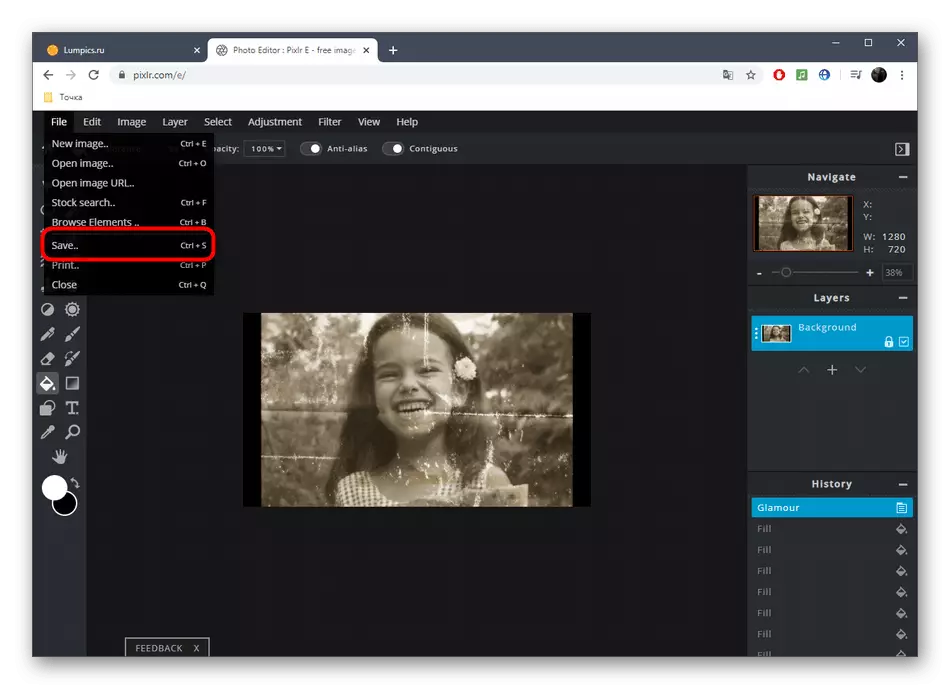
- All other setup tools correspond to the standard set of any graphic editor. Use them if you want to change something else in the picture. After in the "File" section, specify the "Save" item or instead, clamp the standard Ctrl + S key combination.
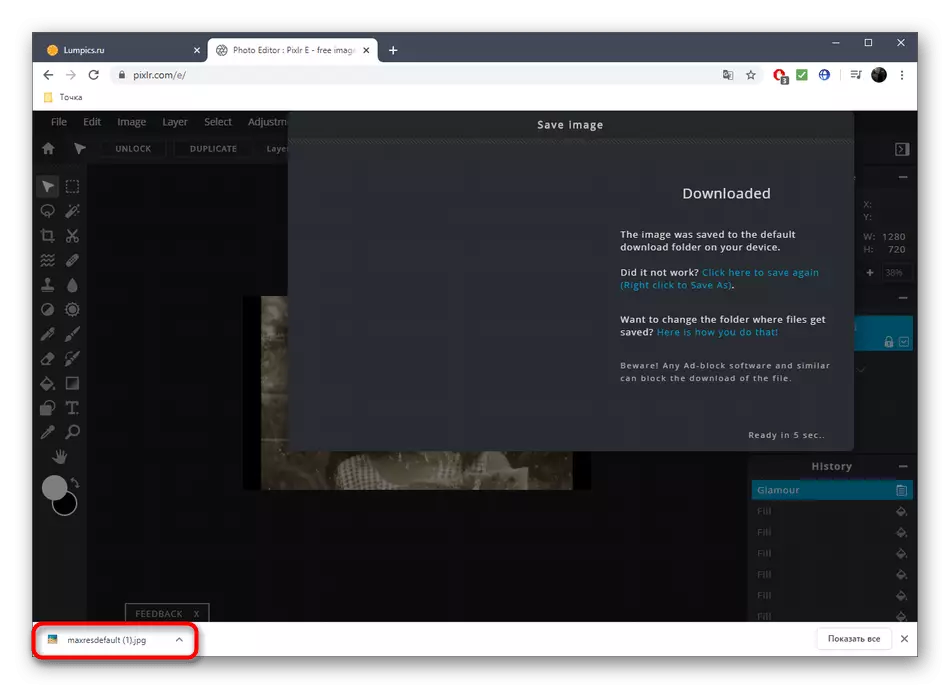
- Specify the file name, specify the appropriate format for it, and click on "Download".
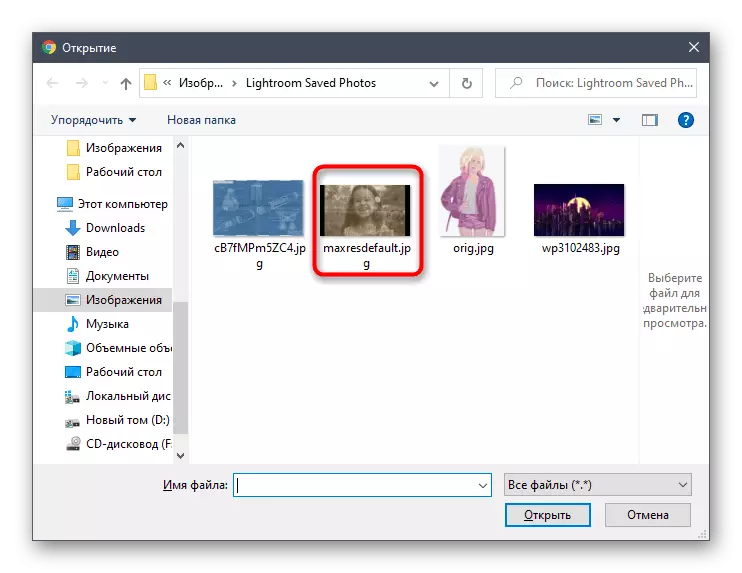
- Expect the download end, and then open the captured image to view.


Method 3: BEFUNKY
Befunky is another advanced graphic editor operating online. There are several useful options here, which will be useful when restoration of the picture, however, it will be practically impossible to cope with difficult work due to the features of the implementation of certain tools.
Go to the BEFUNKY online service
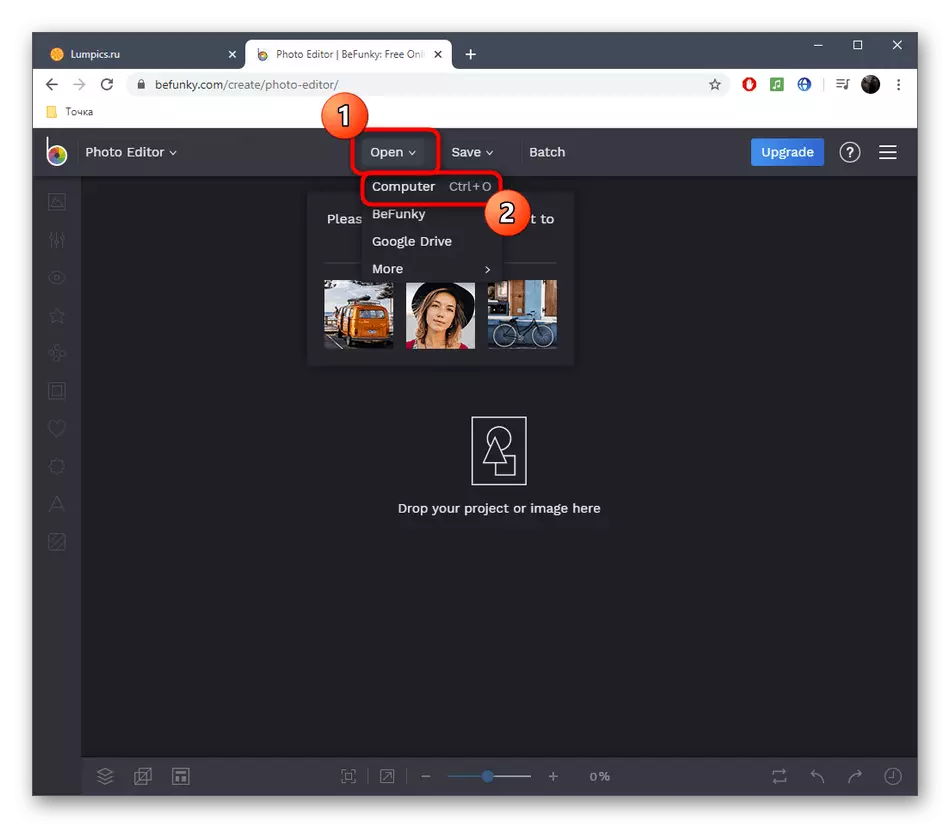
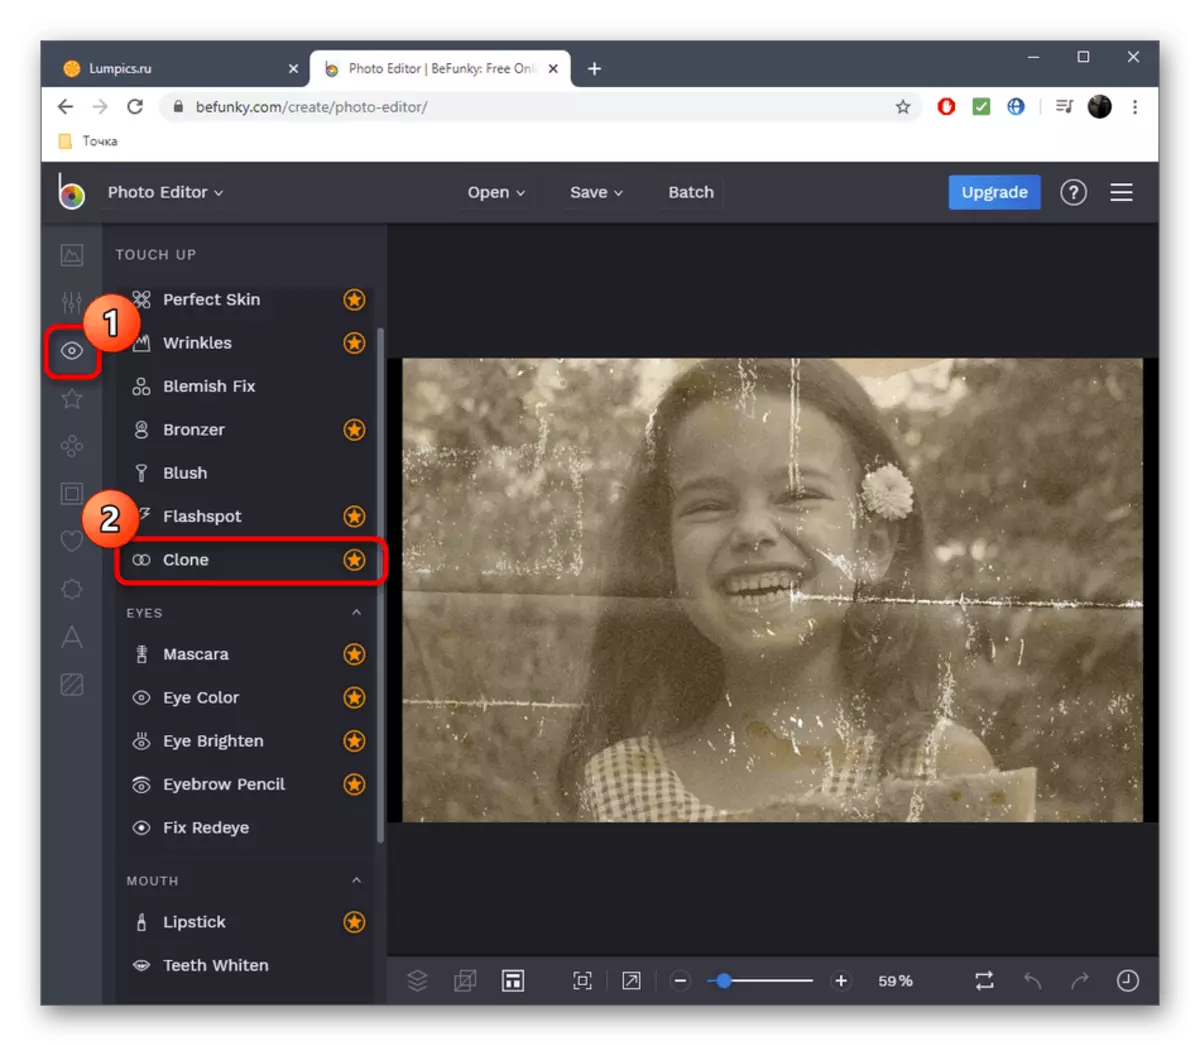
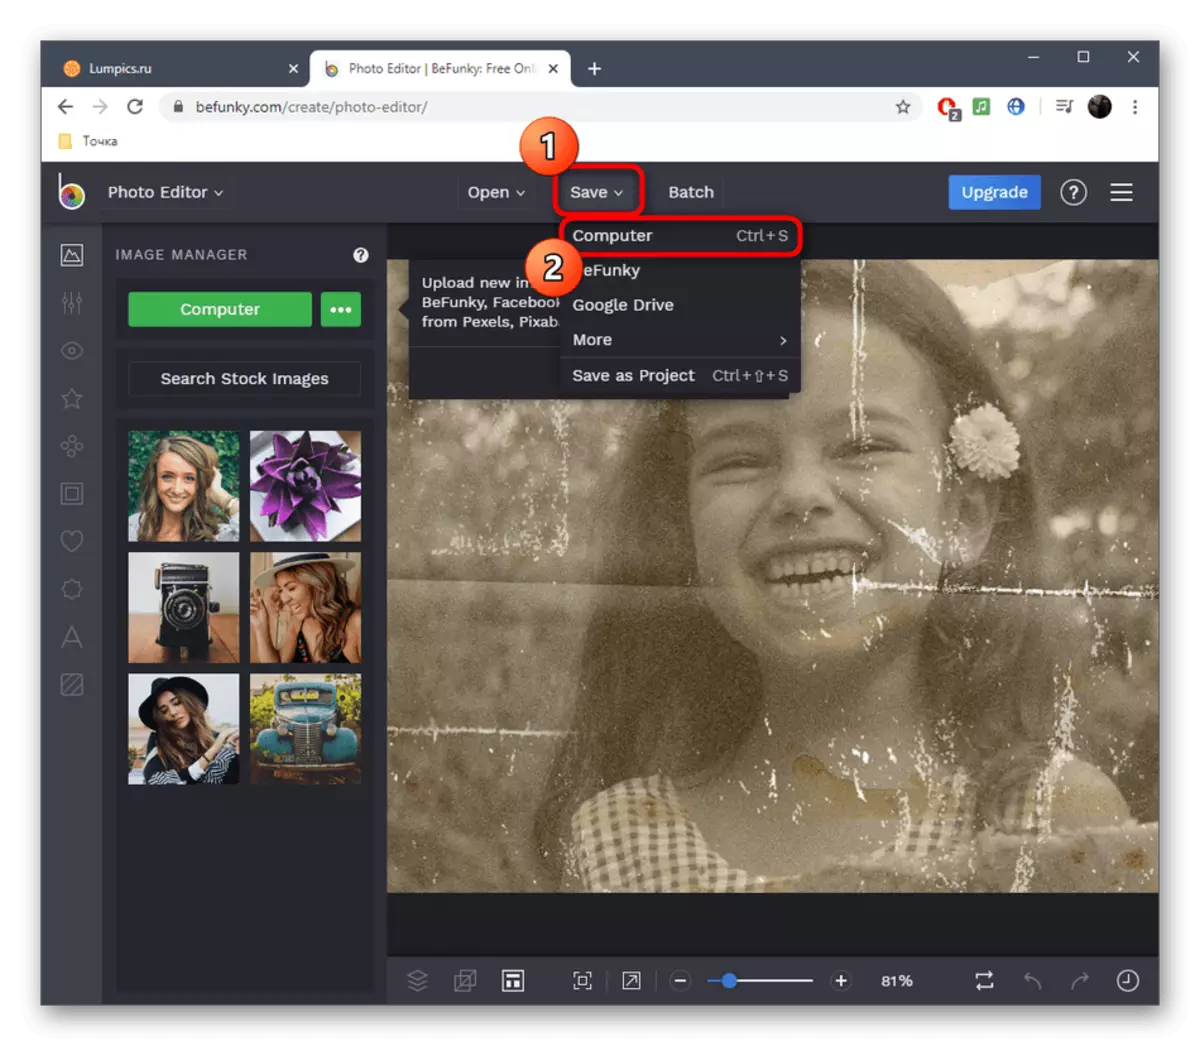
- When you open the Befunky editor, select the Open section and find the "Computer" option there.
- After downloading the snapshot, open the "Touch Up" section and select there already familiar "Clone" tool. Note that all the tools isolated as an asterisk are available to use and in the free version of Befunky, but then a watermark will be placed on the photo itself.
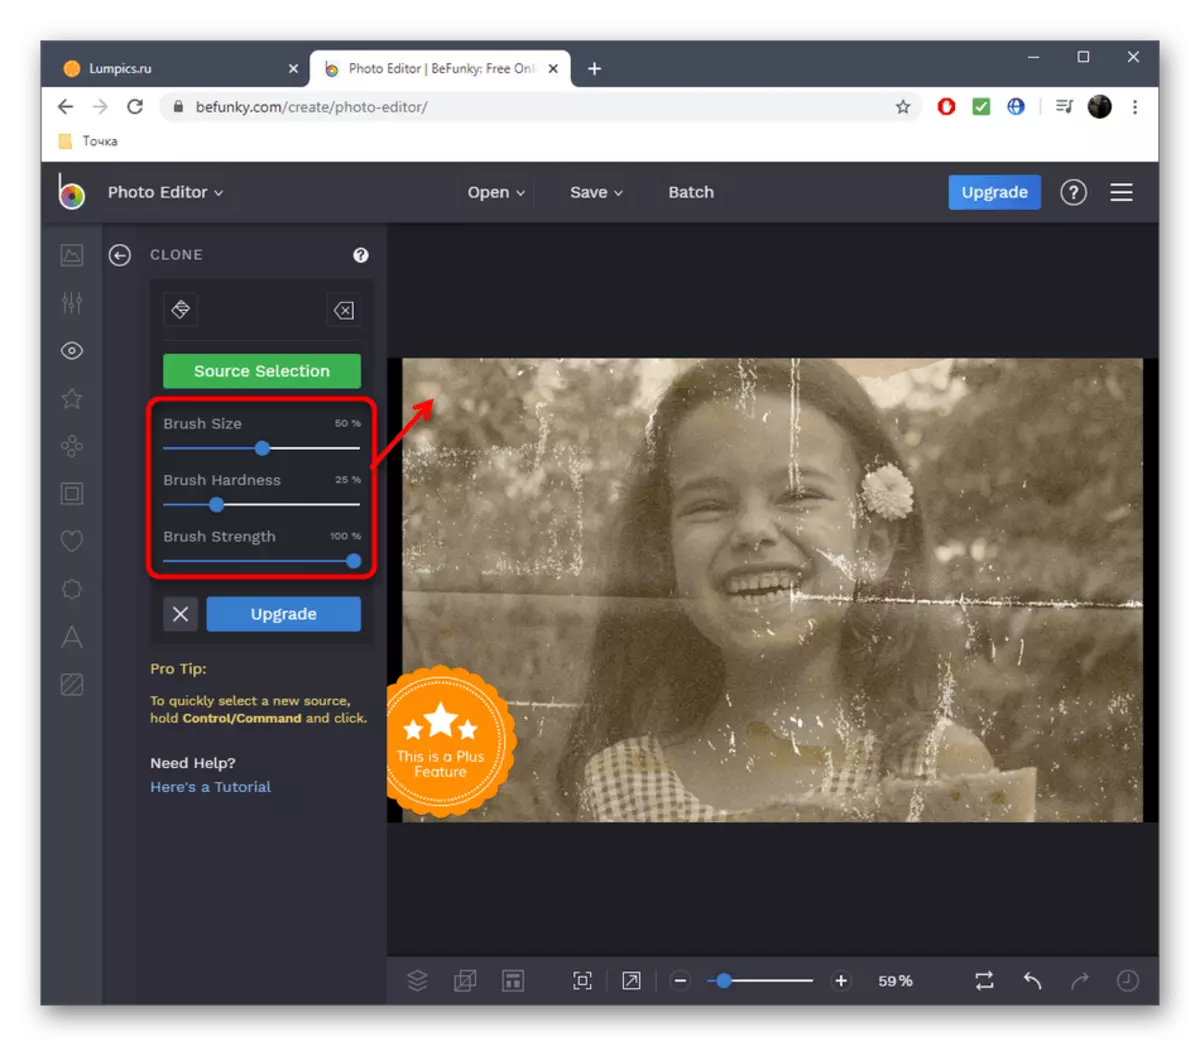
- Set the brush size and cloning stiffness, then specify an item that will be involved as a source. Start sketching problem areas as it has already been shown when the two online services are paced earlier.
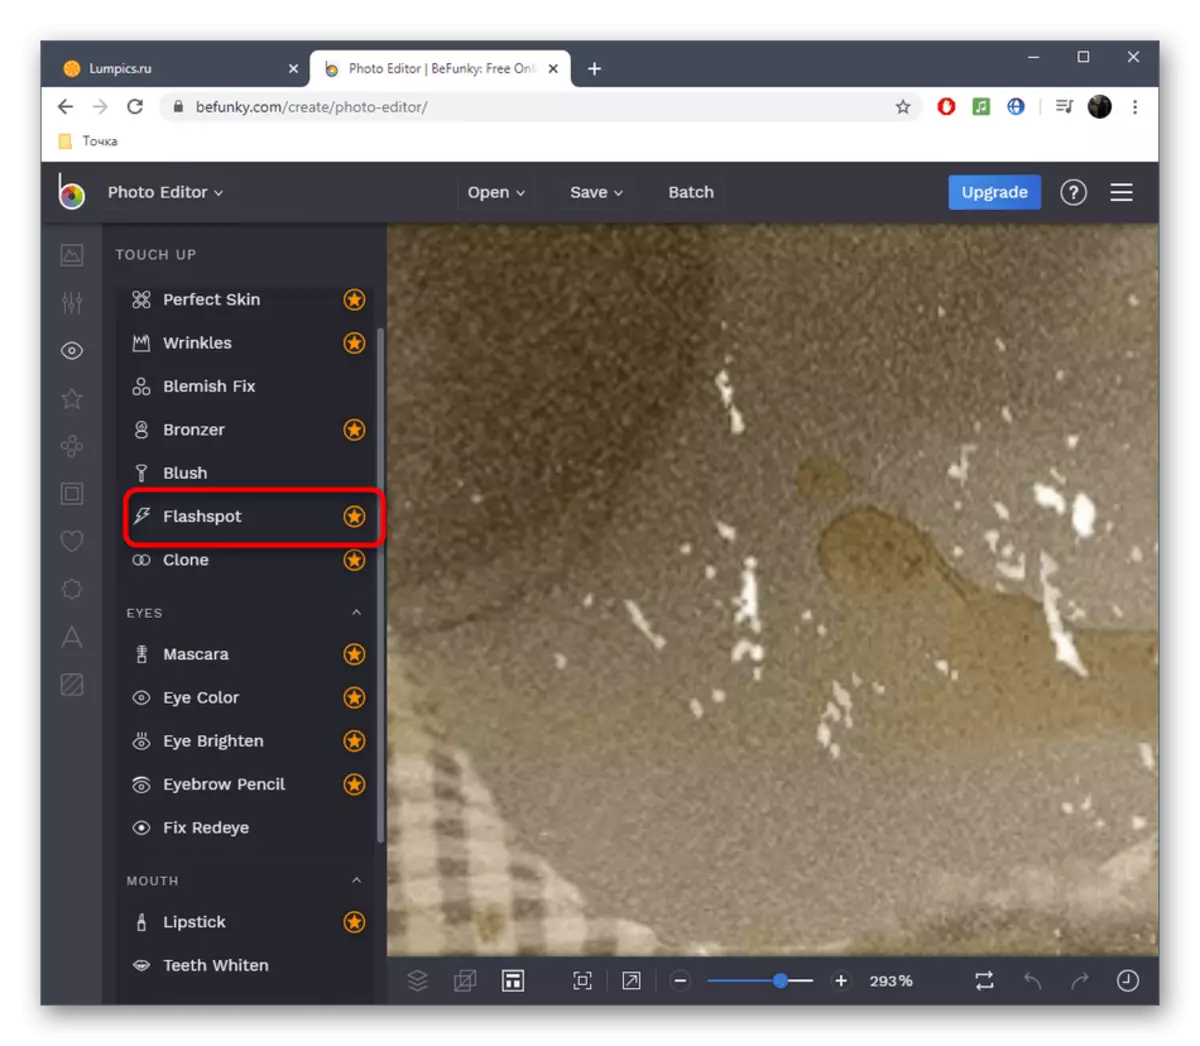
- Additionally, we recommend using "Flashspot". This function will allow to compose the tone of bright areas under the overall. In our case, we involved it to hide white spots.
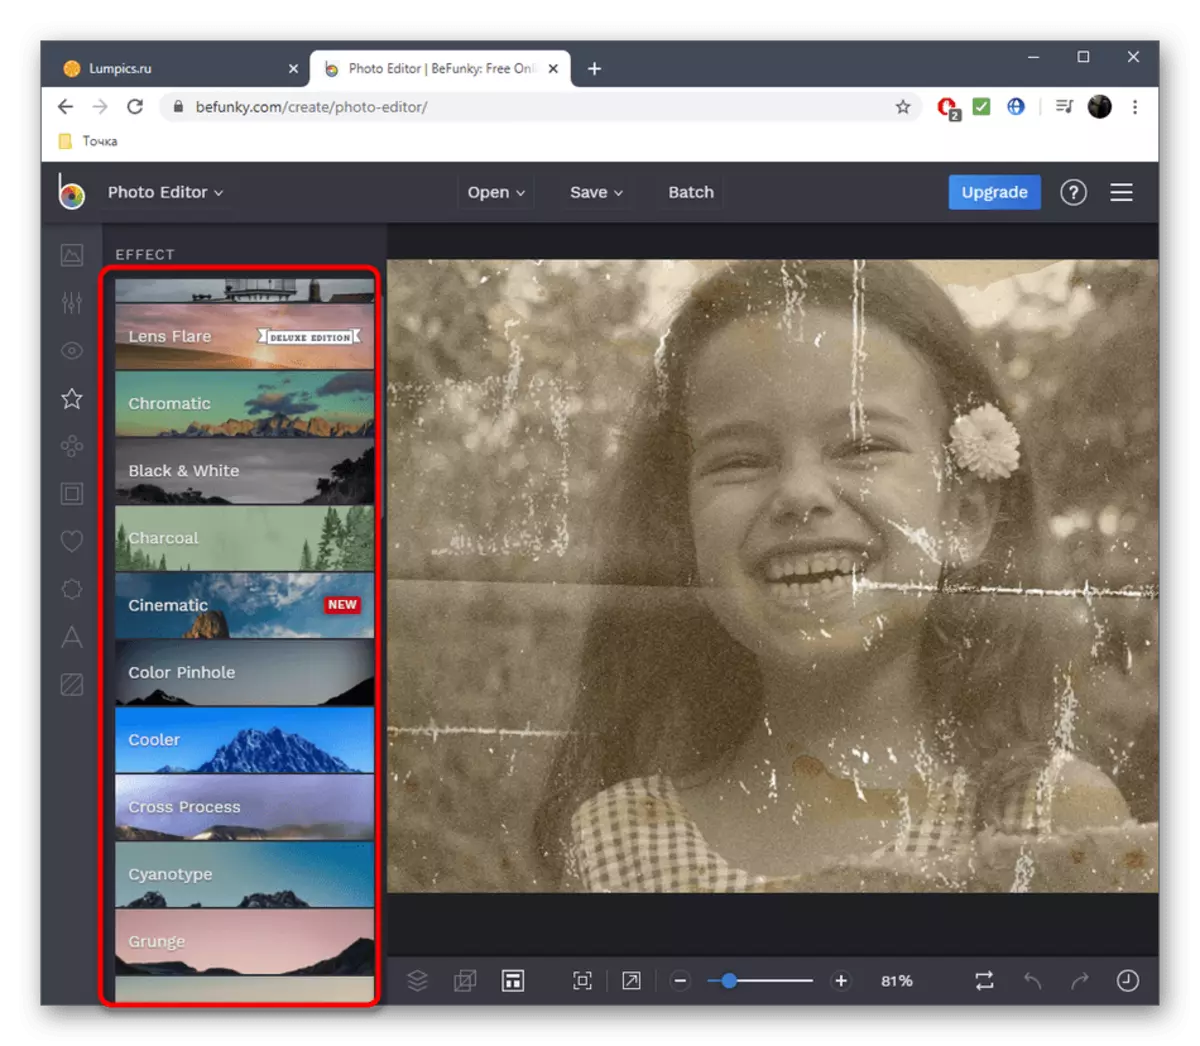
- Pay attention to the effects and filters. Unfortunately, there is no automatic improvement or means to remove noise, however, you may find a suitable effect for yourself, overlapping different photos.
- Upon completion, proceed to the preservation of the project.
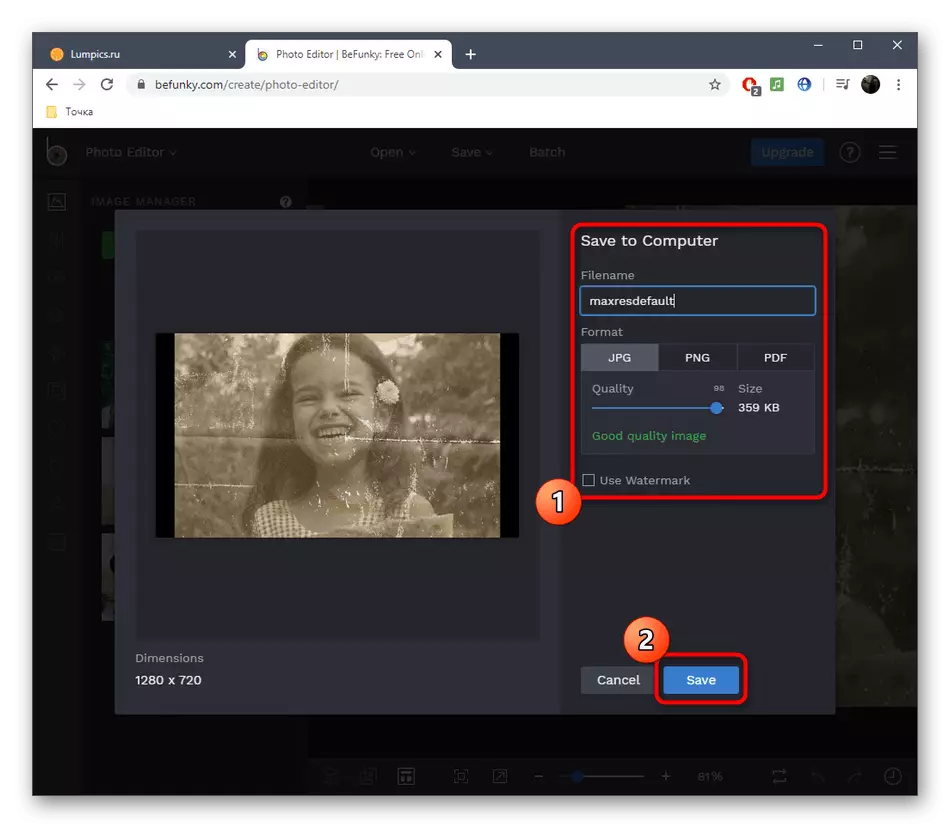
- Set the name, format, quality and click on the "Save" button.
Graphic editors operating online, albeit able to cope with the restoration of the pictures, but only with small damage. Otherwise, do not do without the use of a special software that opens a huge number of most different opportunities before the user.
Read more:
Programs for restoring old photos
Restoration of old photos in Photoshop