

Method 1: Pho.To
Pho.To can be called universal online service, since it allows you to automatically make a comprehensive improvement in the photo. This includes removing noise, raising saturation, color improvement and increasing sharpness. You can independently decide which of the tools to use.
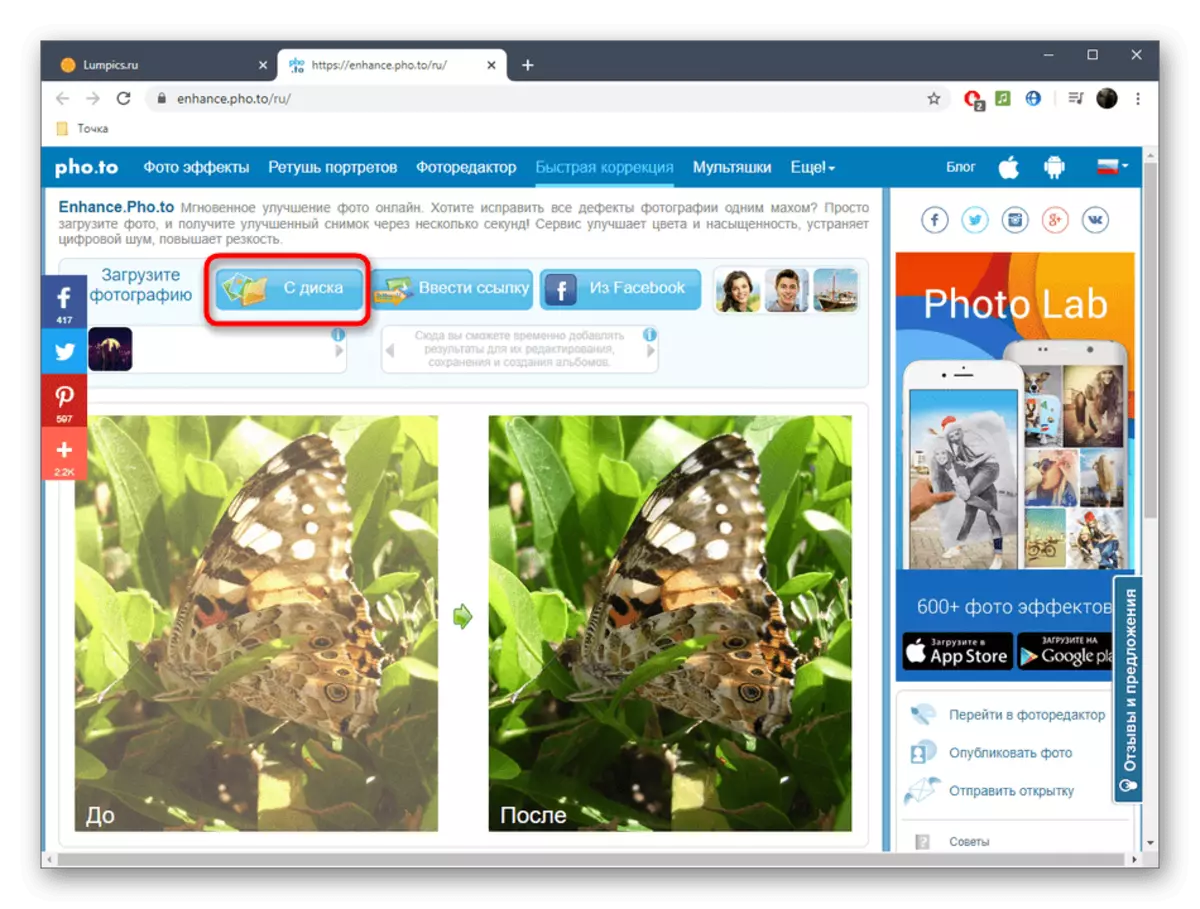
Go to the online service pho.to
- Once on the main page of the Pho.To, near the letter "Download a photo" Click on the button "from the disk".
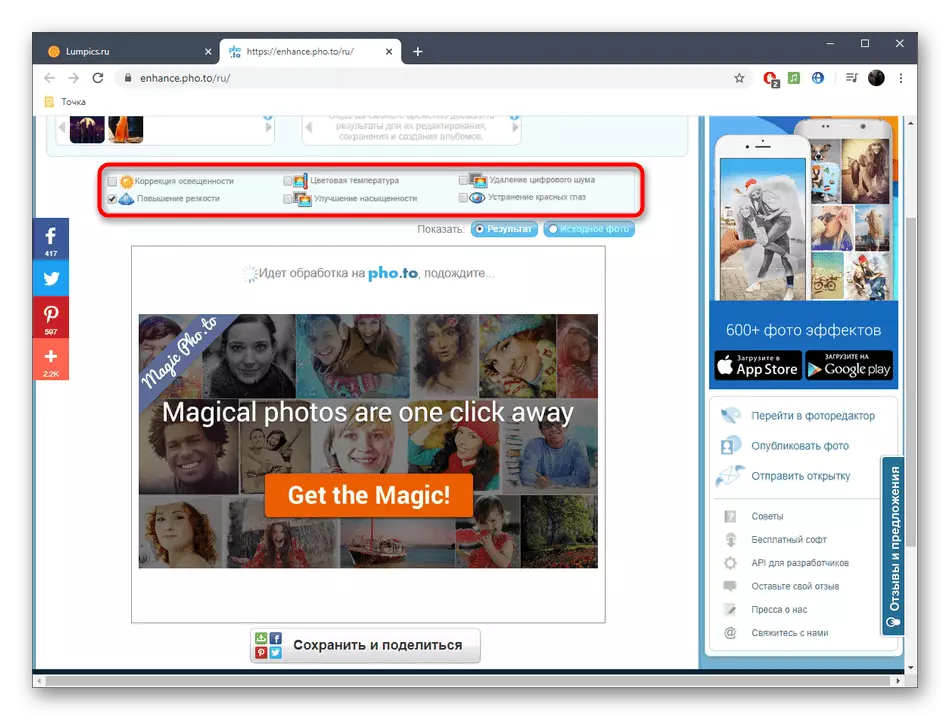
- A conductor window will open, where to find the snapshot for which you want to increase sharpness. After downloading it, check the items that consider necessary. You can even easily leave only "increasing sharpness", and all other improvements disable.
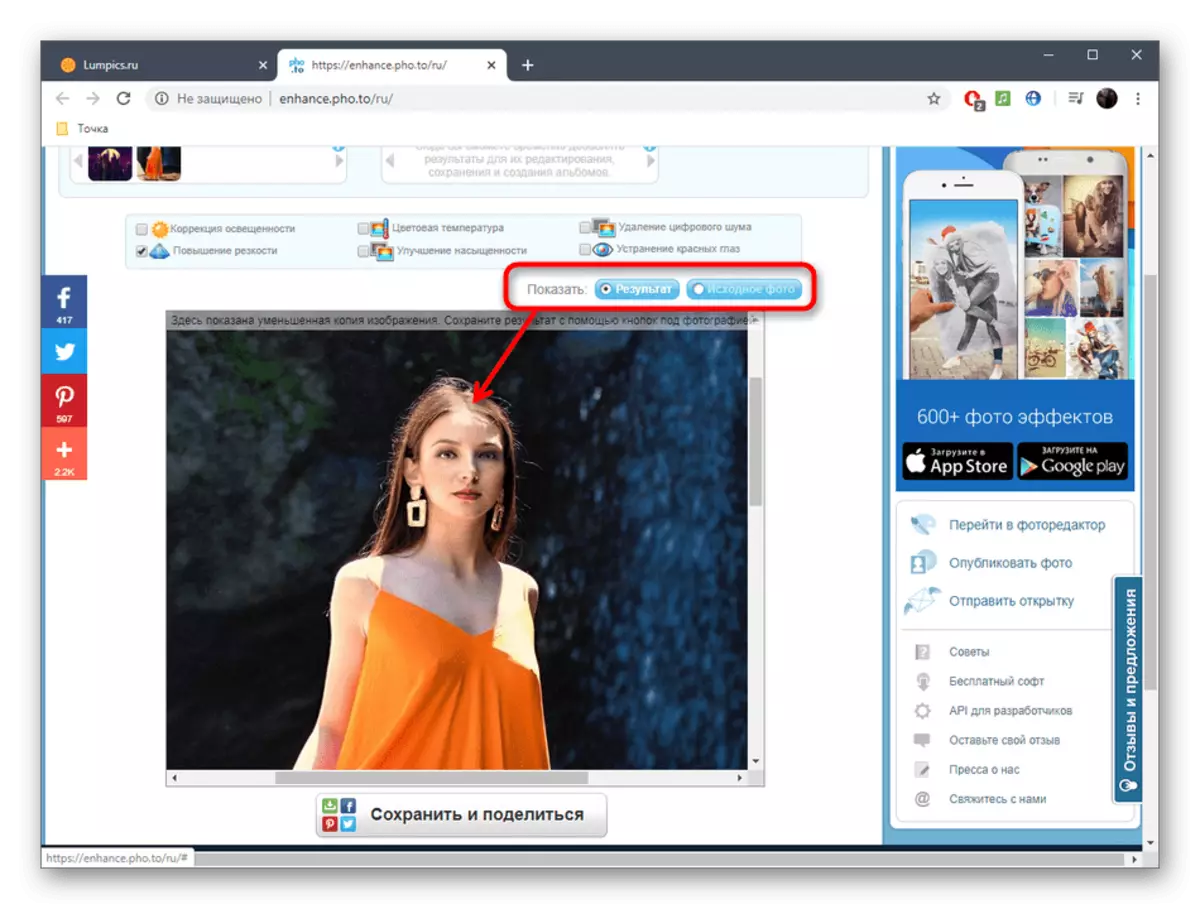
- Switch between the "result" and "source photo" modes to estimate the result of increasing sharpness.
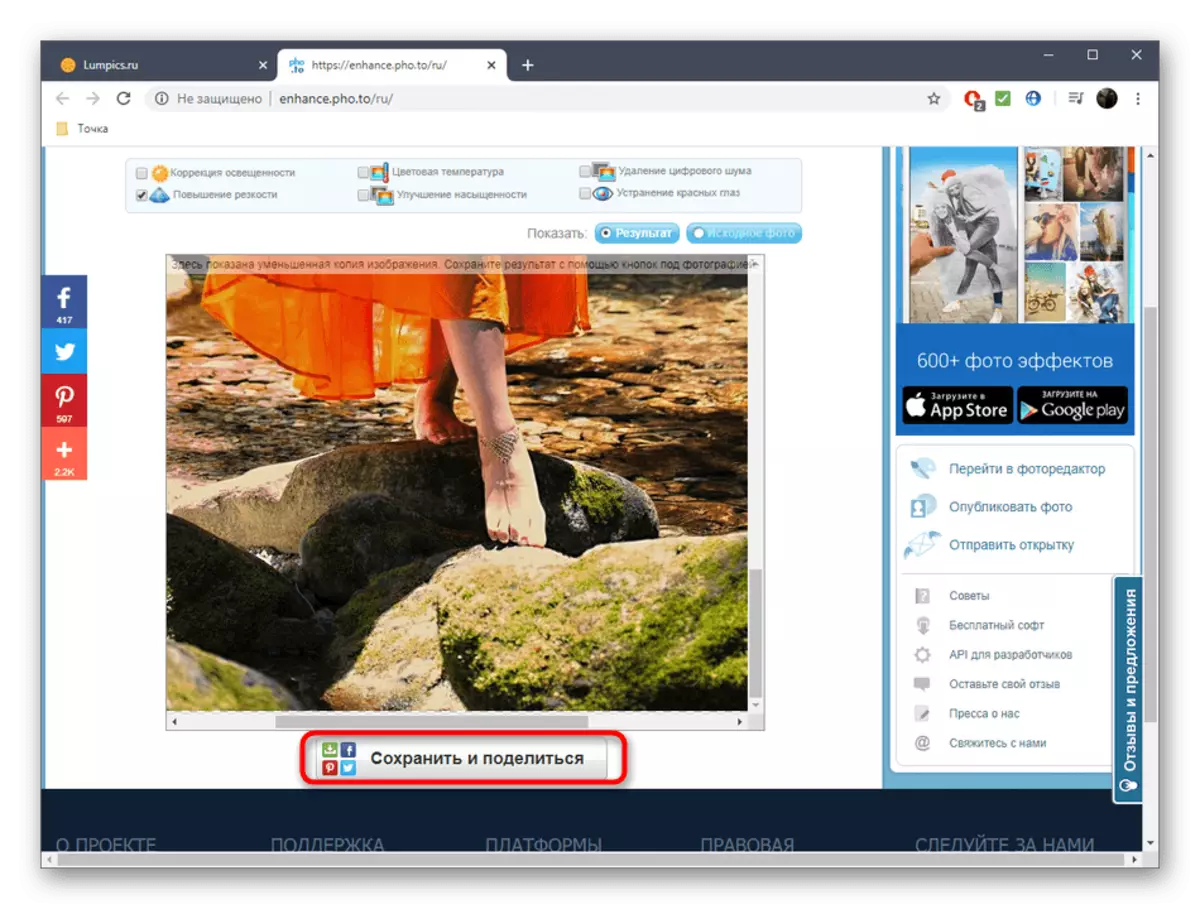
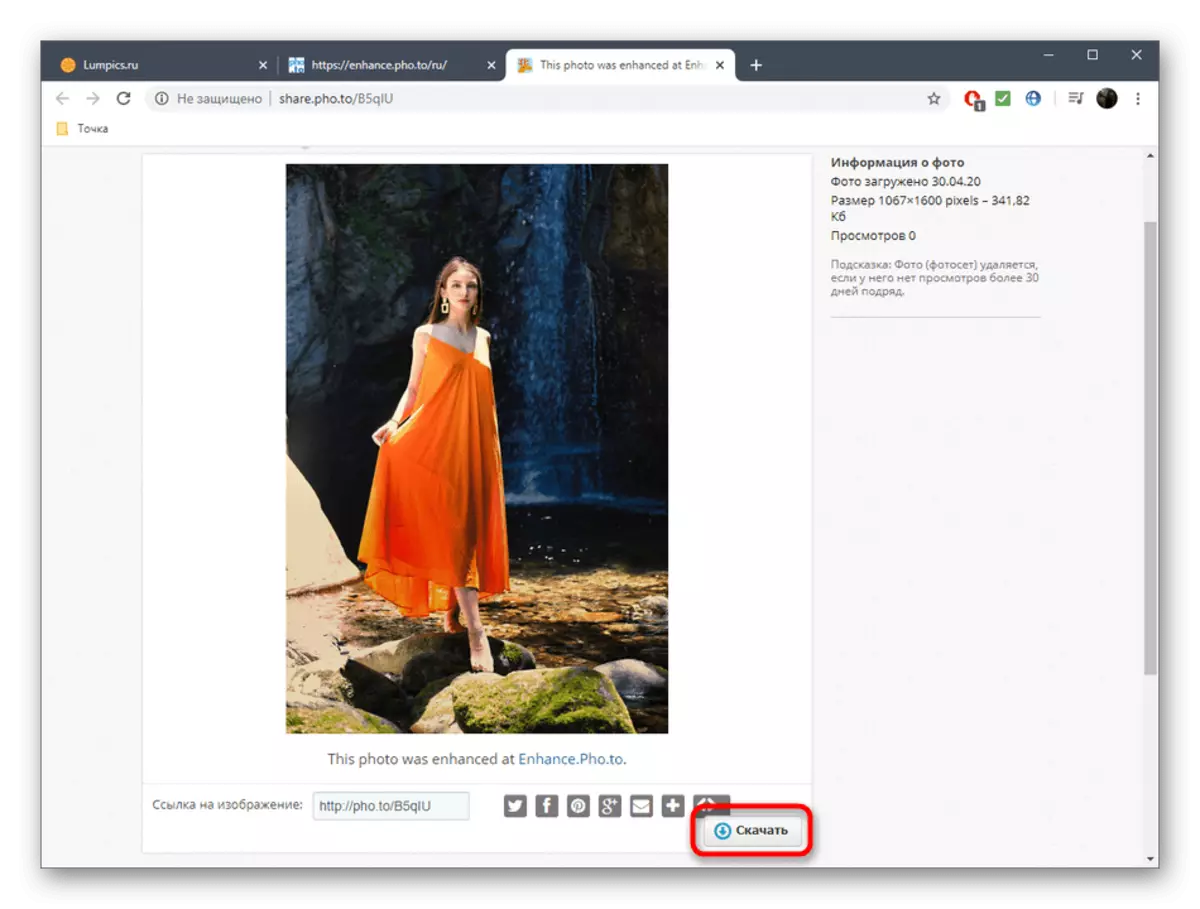
- If it suits you, click on the "Save and Share" button.
- Run down the tab. You can copy the link so that when you go through it, a ready-made result is displayed, but more often it is necessary to download a snapshot to the local storage. For this, a special button "Download" is assigned.
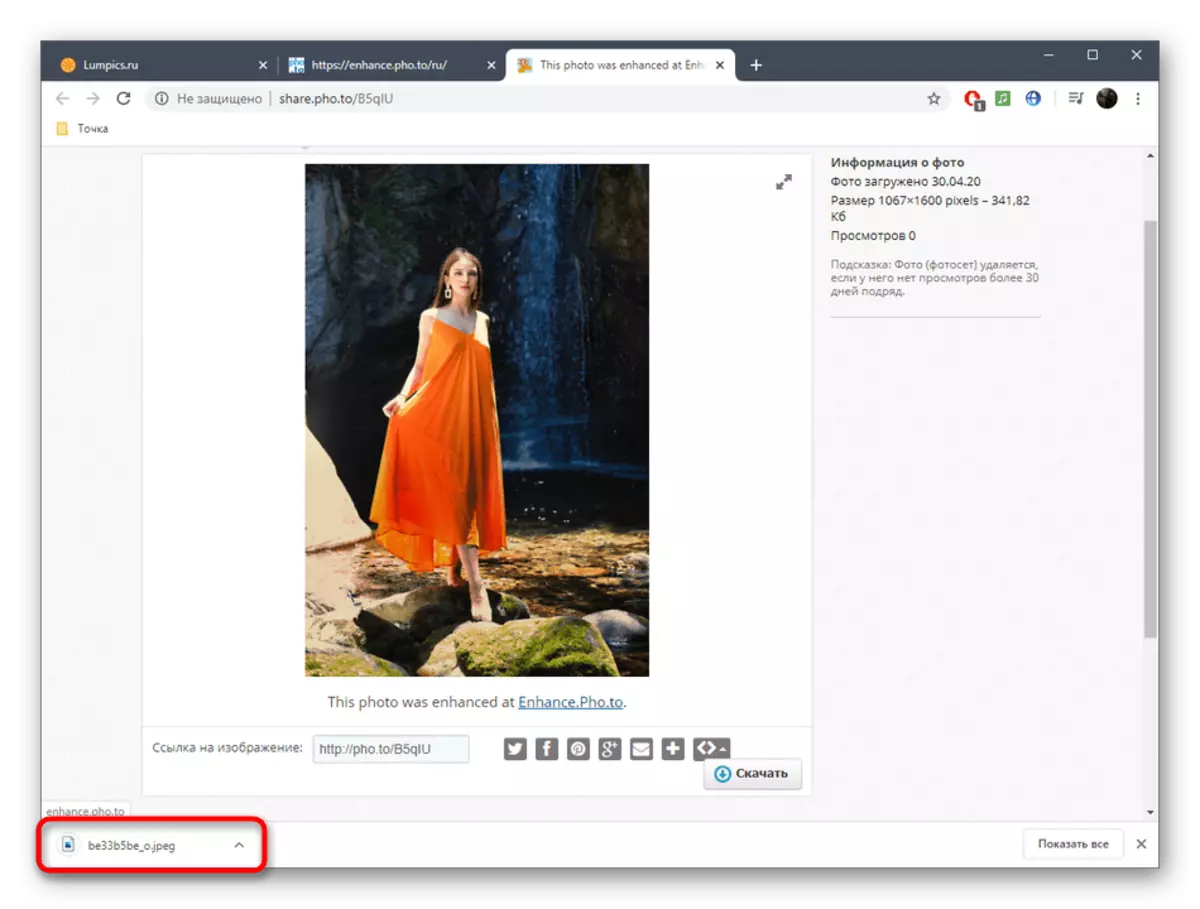
- Expect the download to complete and open the picture for more detailed familiarization.
Method 2: Online PNG Tools
Although the name of the next online service Online PNG Tools and indicates that it is designed to interact with the pictures of the specified format, supports the tool and other popular file types. The advantage of this option is that you can independently adjust the effect of sharpness, following the final result, so that the picture is ideal as a result.
Go to Online Service Online PNG Tools
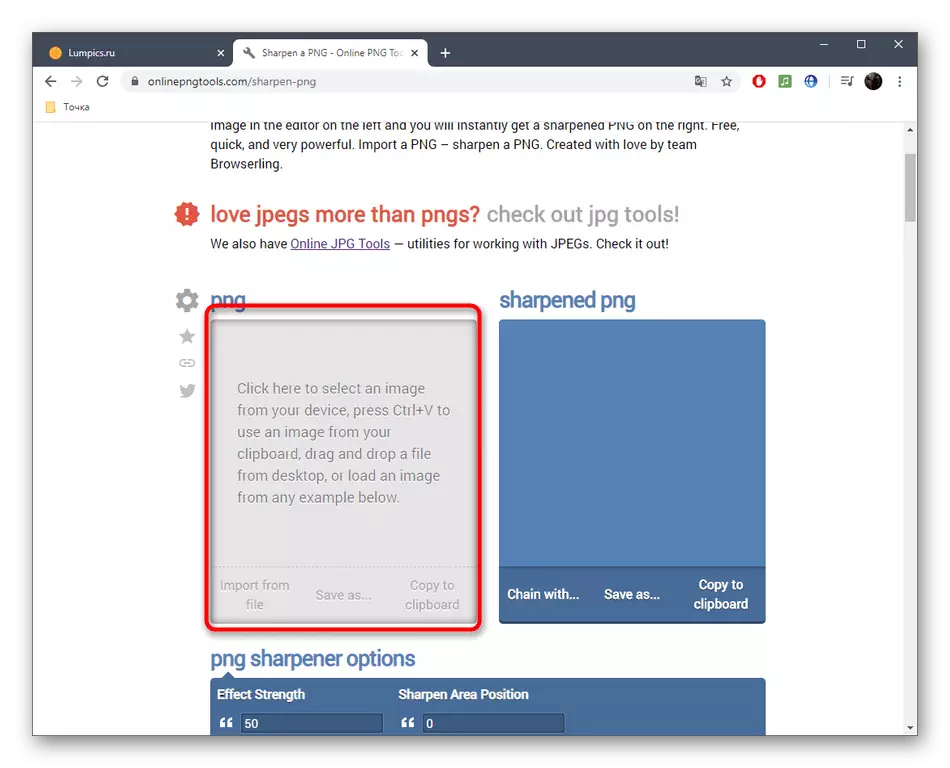
- Open the Online PNG Tools, clicking on the link above. Click on the first block to open the browser to select a photo.
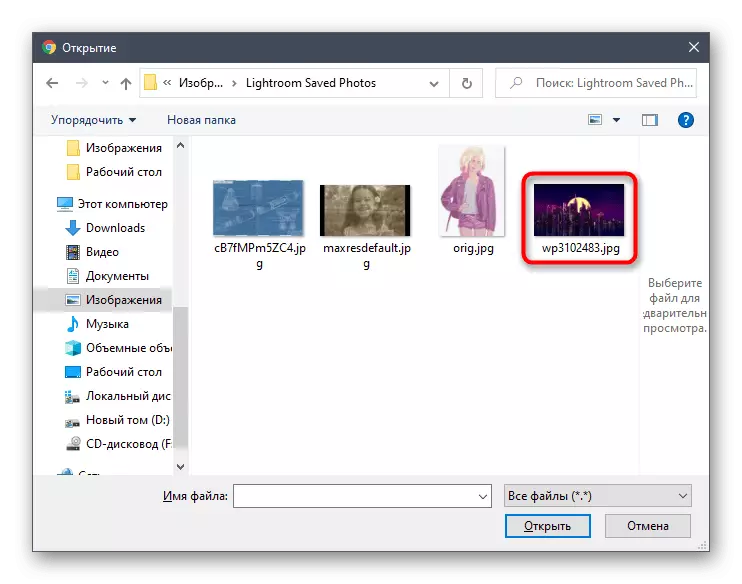
- In the Explorer, find the desired picture and open it for further editing.
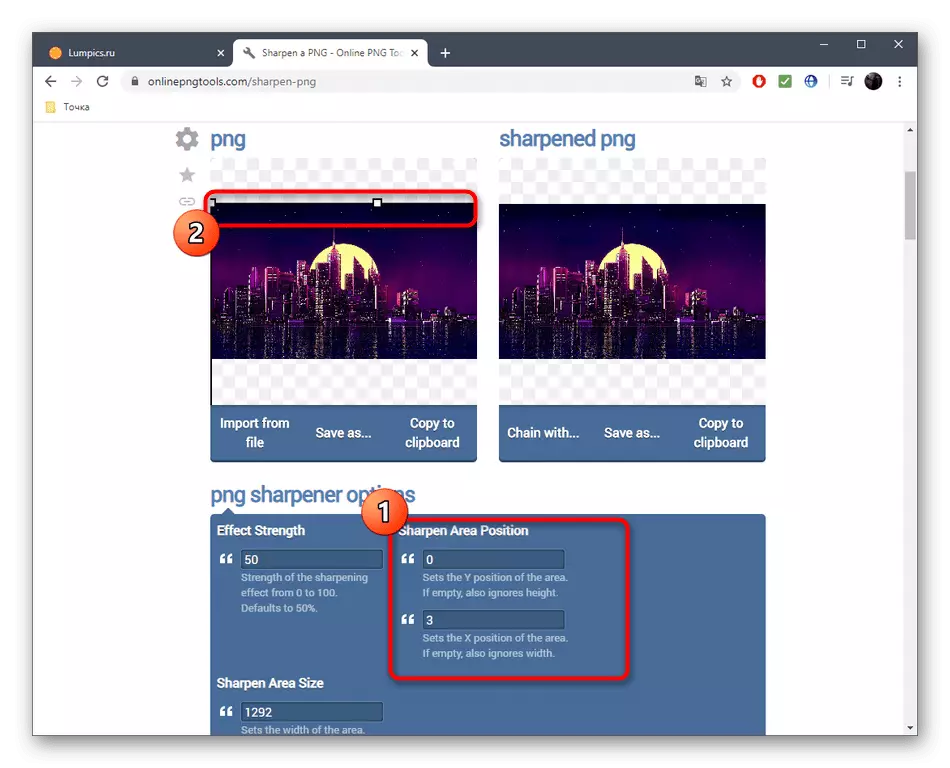
- Select the area that will capture the sharpness tool, moving the rectangle manually or setting the value in two fields allotted for this.
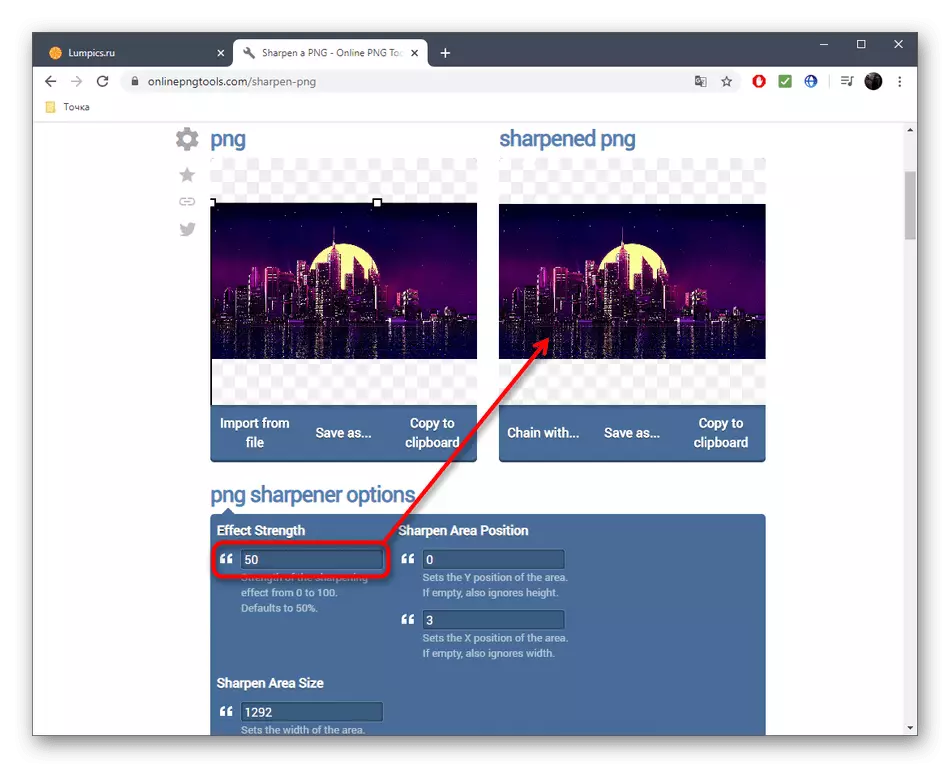
- After modify the value "Effect Strength" from one to one hundred, tracking changes to the second panel. Get an acceptable result, and then go further.
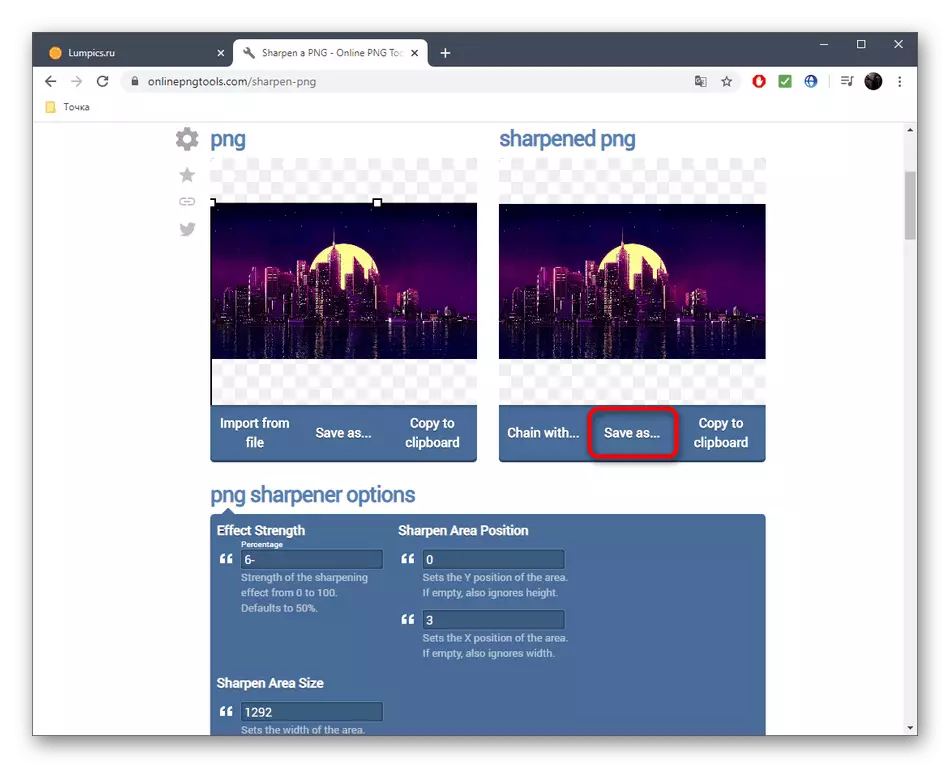
- In the same second block, click on the "Save As" button if you want to save the final image to the computer.
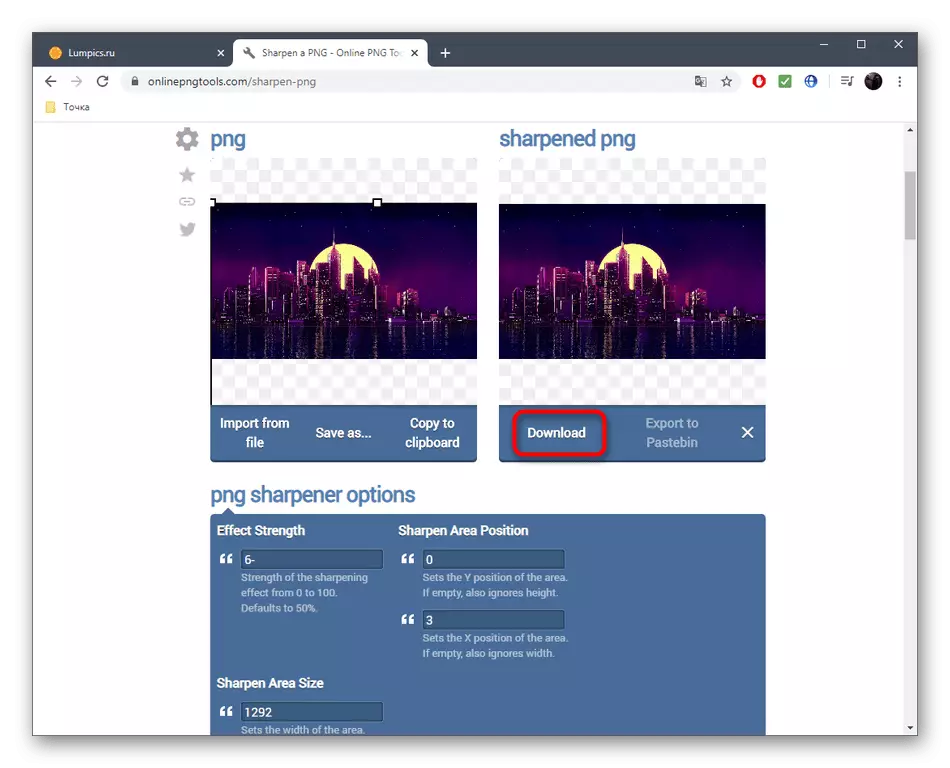
- Once again, click on the "download" button.
- Expect the download and proceed to further interaction with the already modified picture.

Method 3: ImGonline
Imgonline In addition to increasing sharpness, it allows you to configure other parameters associated with displaying textures and other pictures. This will help make it even clearer and high quality, but the main thing is to choose the optimal values of the parameters.
Go to iMgonline online service
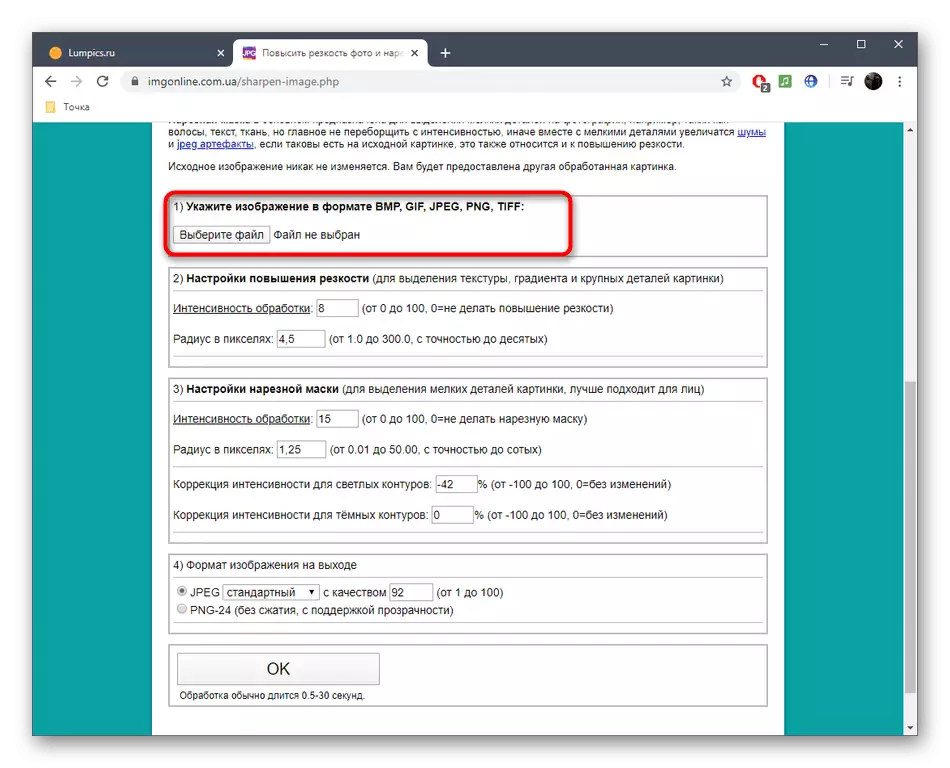
- The entire Imgonline control process is broken down to steps. First, download the photo by clicking "Select File".
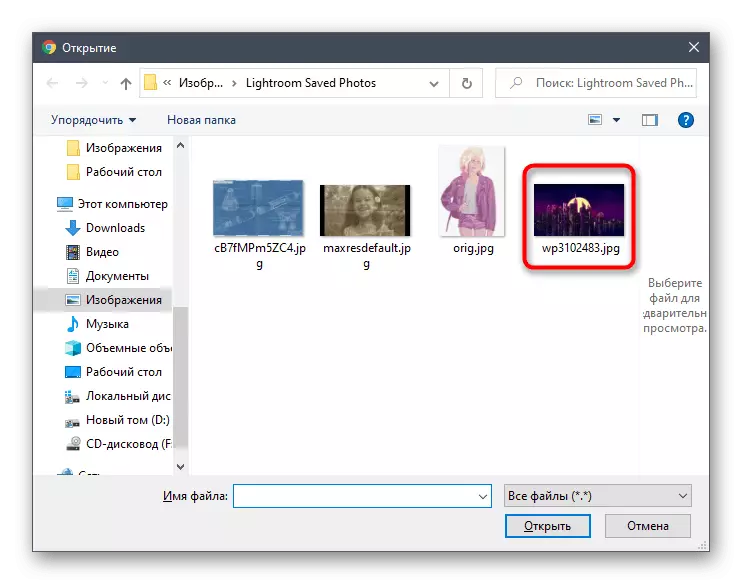
- In the explorer, you can easily find the picture you need to handle.
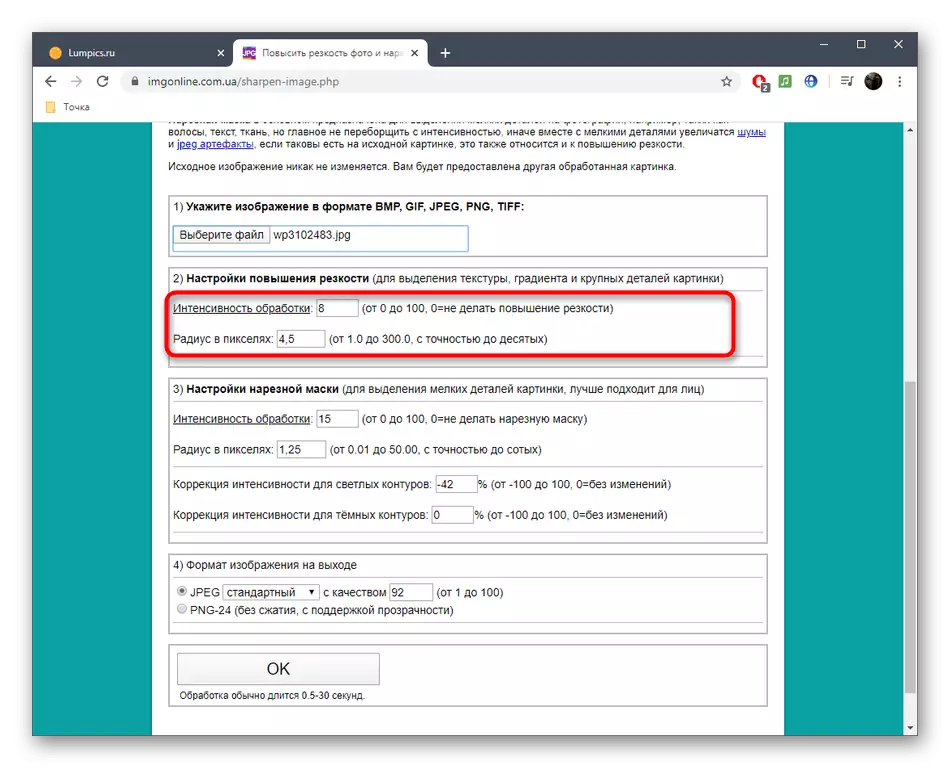
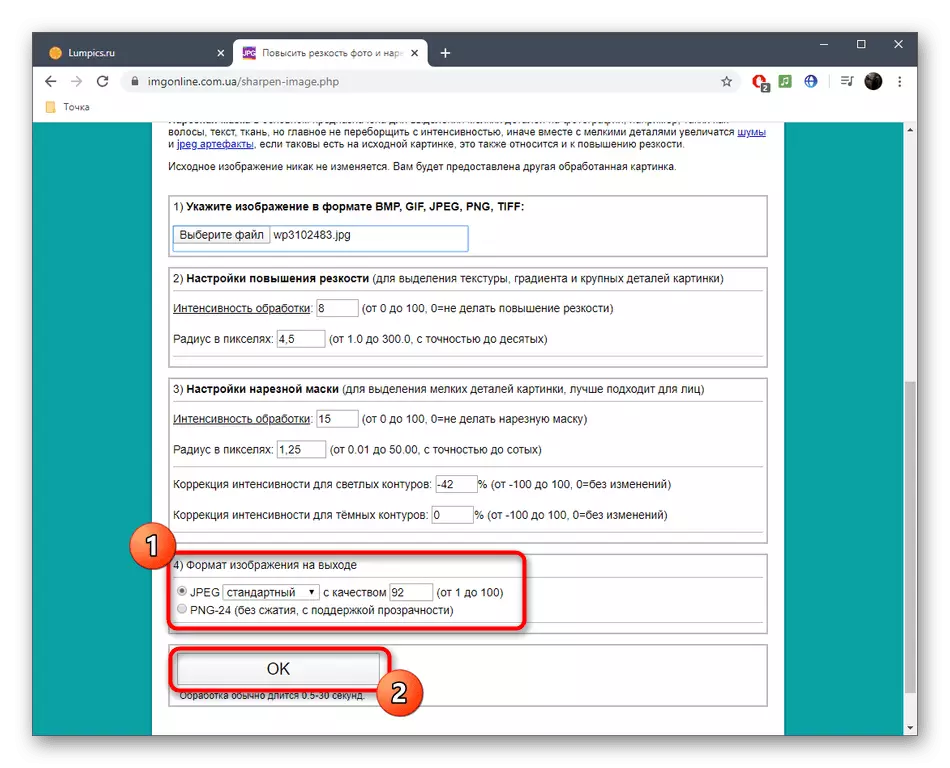
- Set the intensity of increasing sharpness and radius in pixels. Carefully read recommendations from developers in the same tab to determine the ideal parameters.
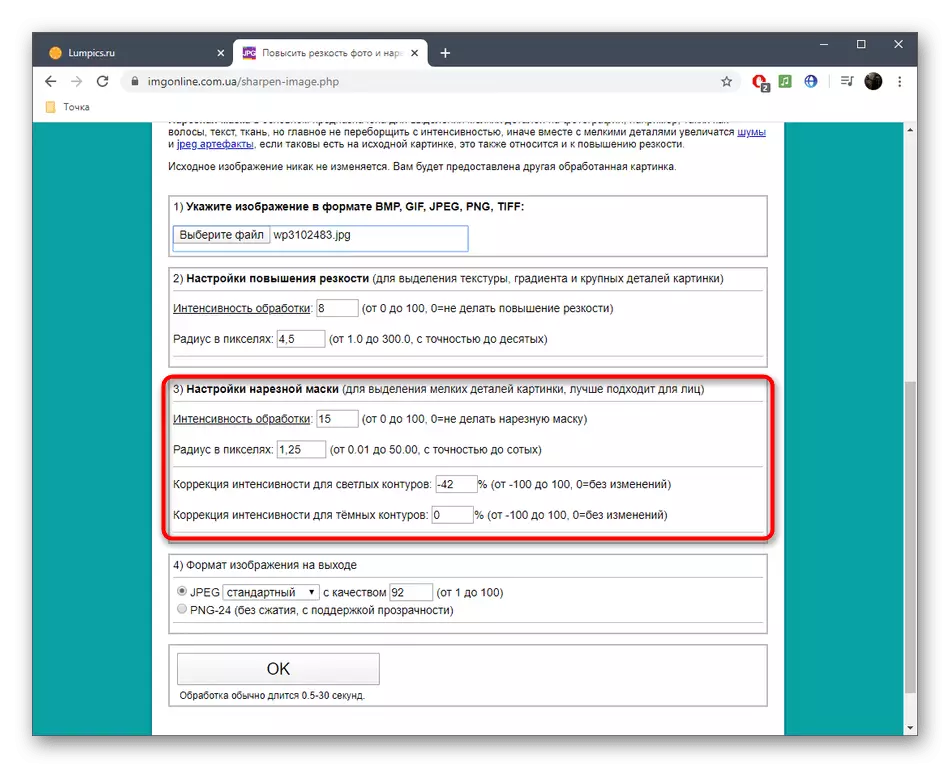
- Setting the cutting mask will increase the accuracy of small parts of the picture, which is suitable for both facial treatment. Here, asks for the processing intensity, the radius in pixels, the correction of intensity for light and dark contours.
- Determine in which format you want to get a final picture, marking the appropriate item. To start processing, click OK.
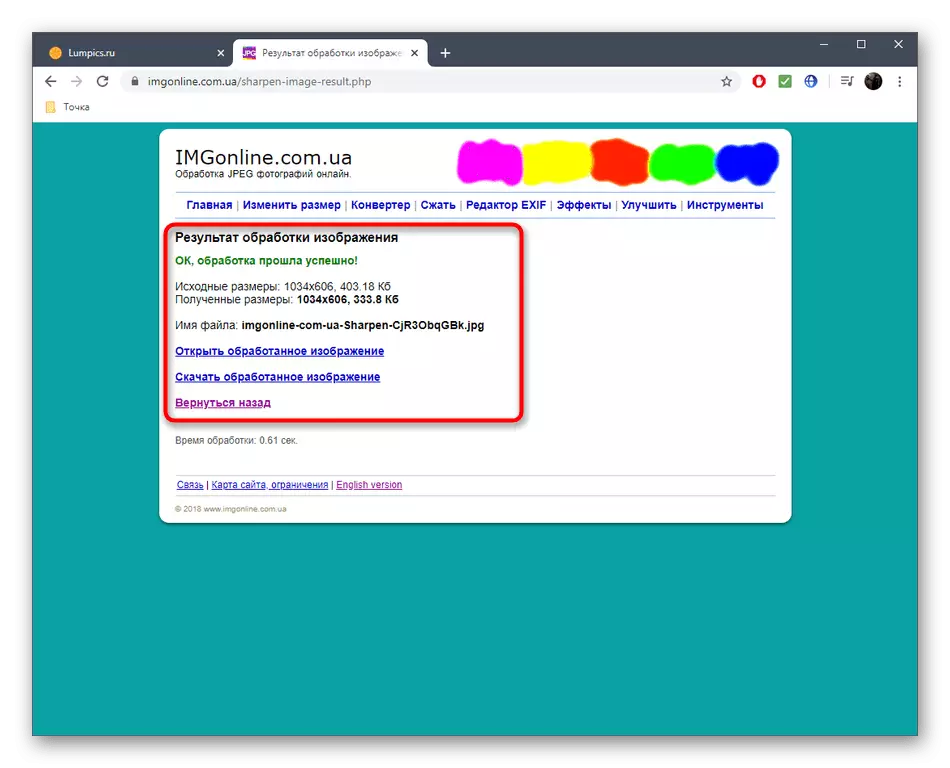
- You will receive a notice of successful photo preservation. Open it for viewing or immediately download to the computer.
Online services normally cope with the task of increasing sharpness, but it is not yet possible to achieve such efficacy as full-fledged graphic editors, so as an alternative we recommend reading the article below.
Read more: How to increase the sharpness in photoshop