
Method 1: EZGIF
EZGIF is an advanced online service that provides a lot of various tools suitable for editing GIF animations. You can work with both the project and with each scene separately, editing the contents for your needs.
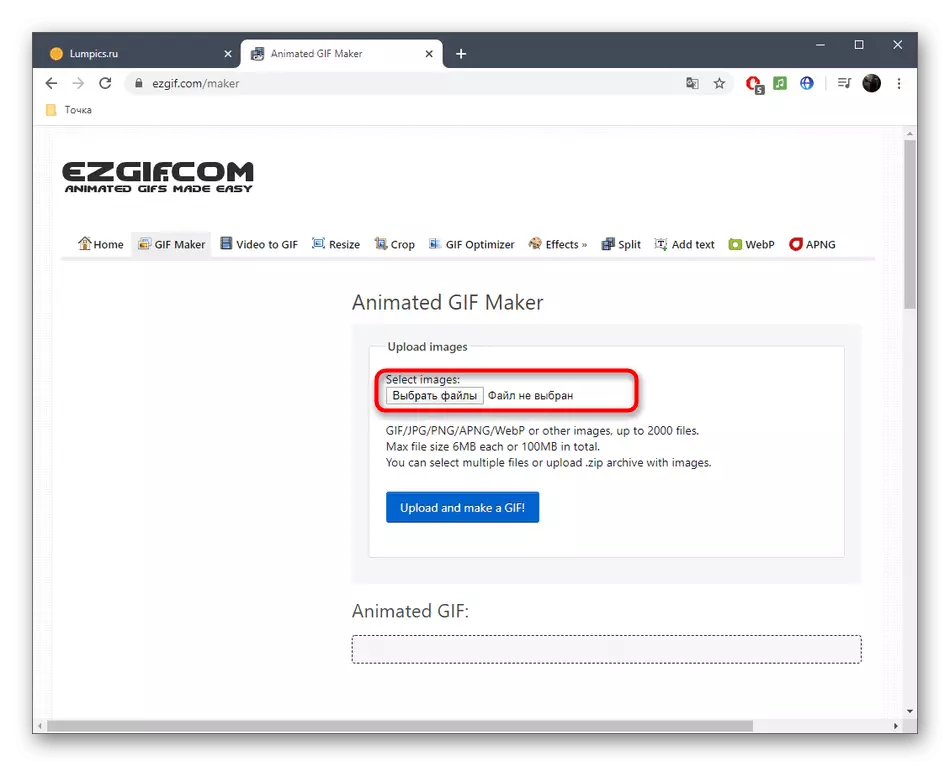
Go to the online service EZGIF
- When moving to the main page of the EZGIF, click on the "Select Files" button to specify which GIF will be further edited.
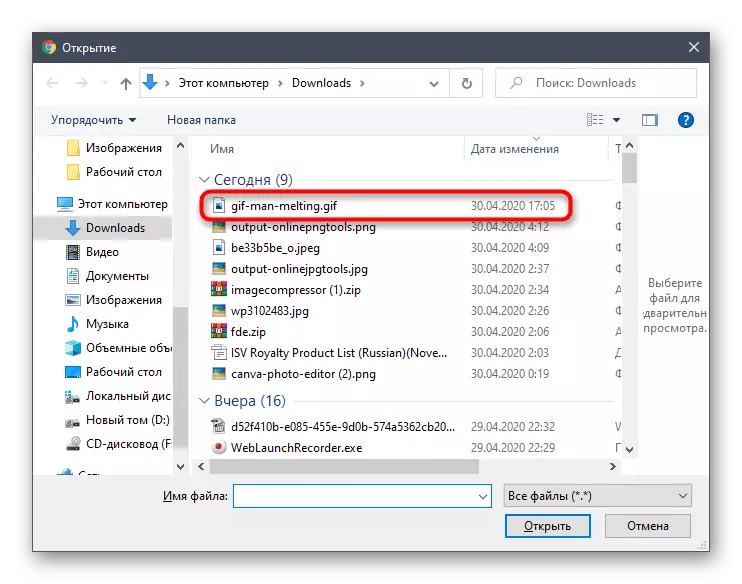
- In the conductor window that opens, find the appropriate object and select it to add.
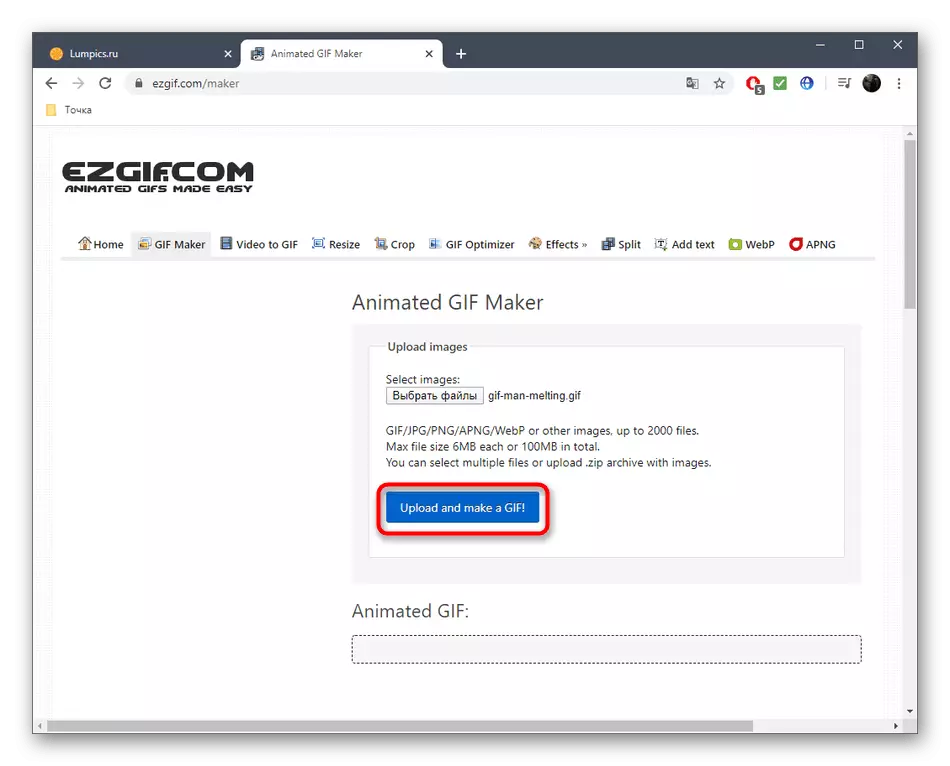
- Next in the same tab, click on "Upload and Make A GIF".
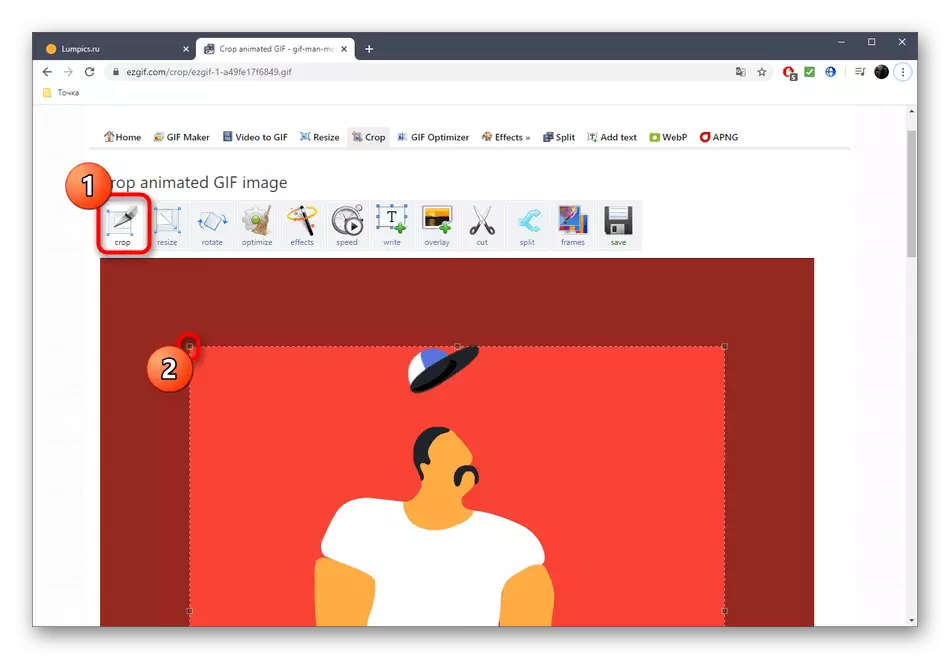
- Consider each instrument in turn by starting with "CROP". Select this option if you want to trim the extra edges of the GIF. For convenience, you can independently select the active area, transforming the displayed rectangle, taking it per point.
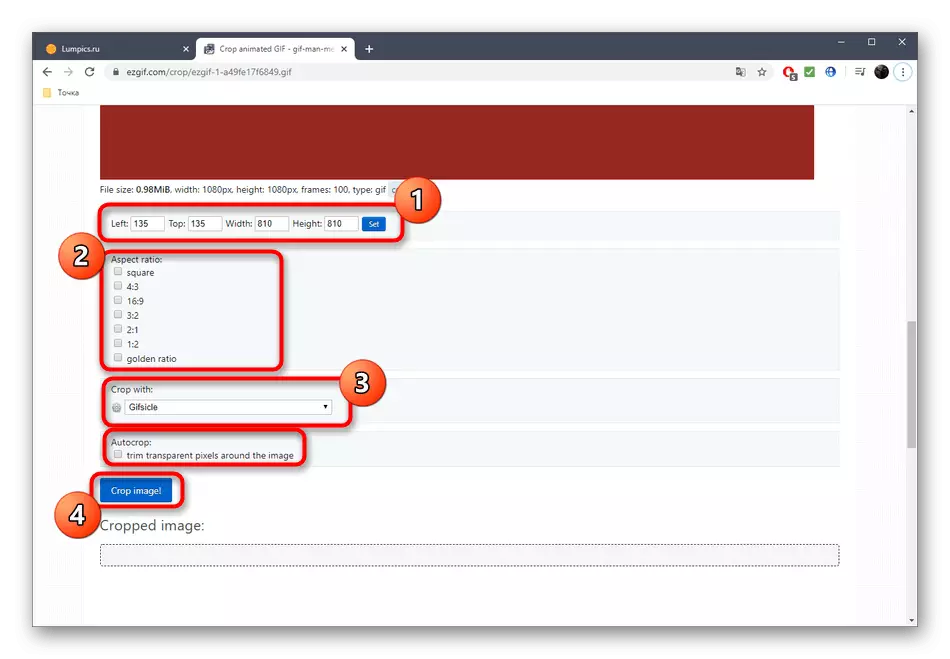
- Run down below to display the remaining trim parameters. You can specify the size yourself, specify the proportions or make the online service automatically cut unnecessary. If the configuration is complete, click on "Crop Image" to save changes.
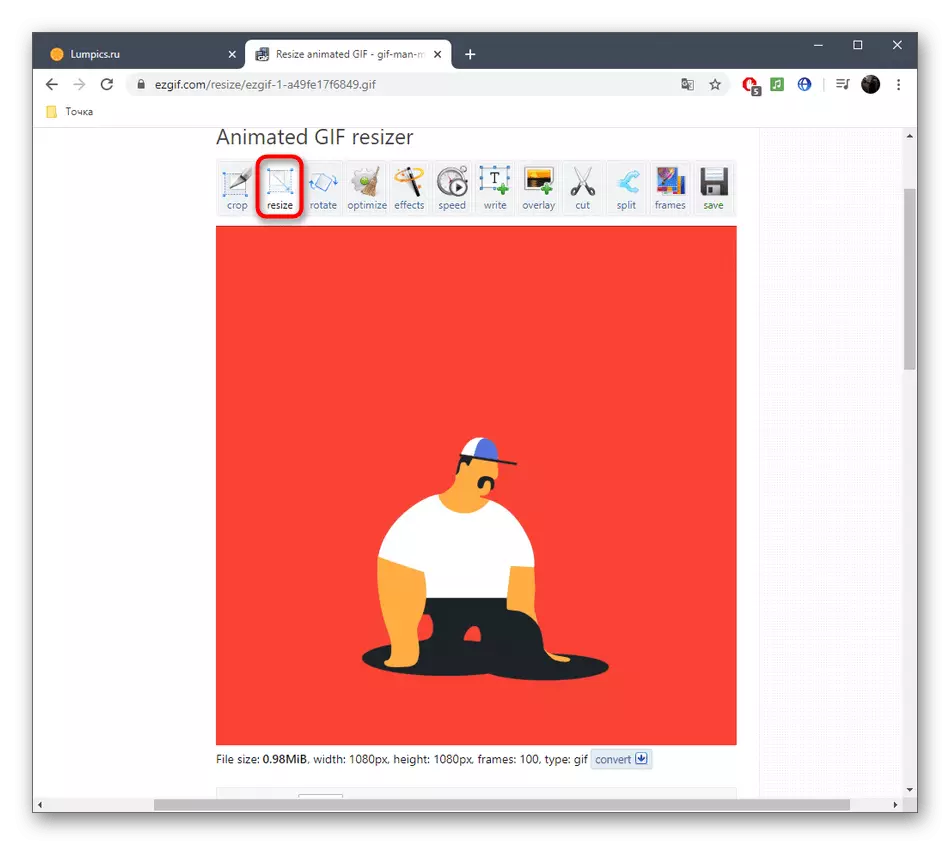
- Select the second section "Resize" to change the overall size of the web.
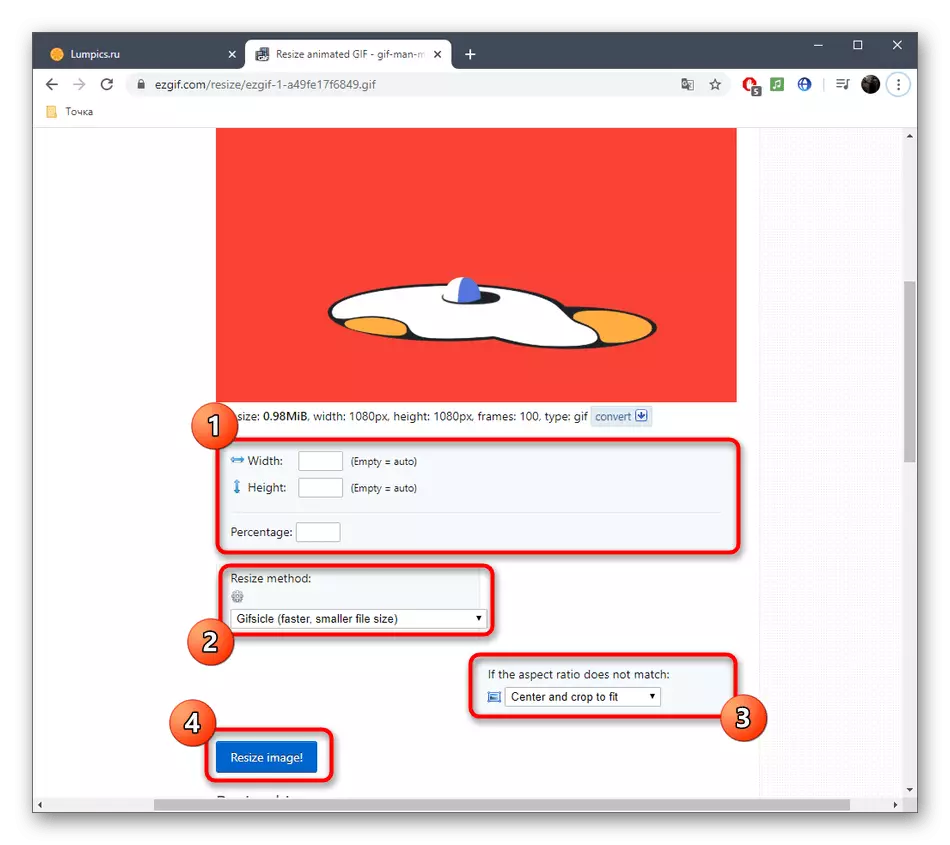
- Under the picture with animation, find the fields responsible for editing the height and width. Set the desired value for each parameter, as well as specify one of the available size modes available. Confirm the action by clicking on "Resize Image".
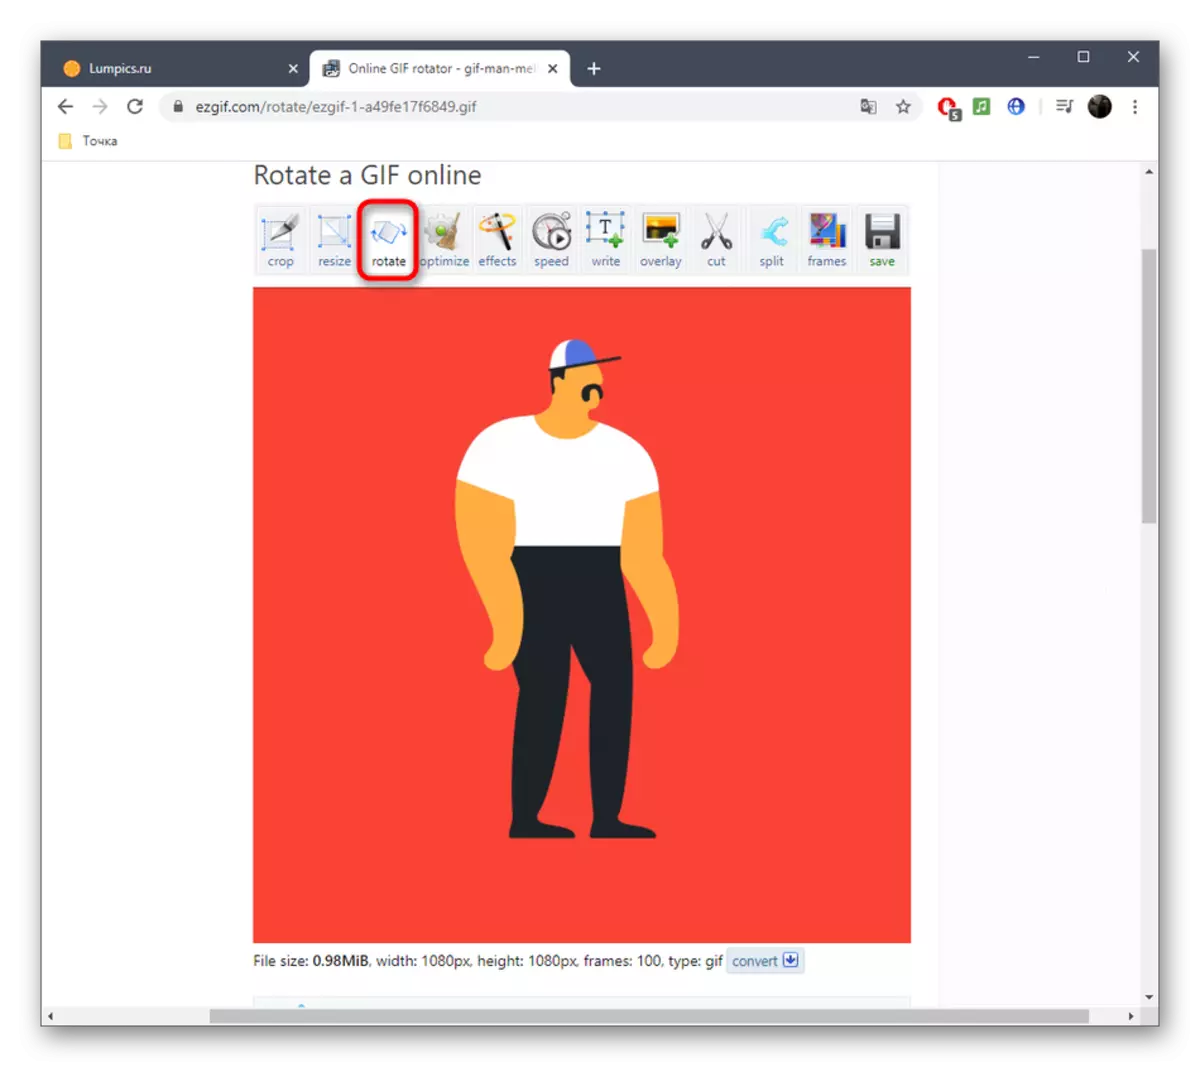
- Following the second tool "Rotate". He is responsible for turning the image in different directions. We will not stop on it, because in the settings of this tool will be sacrificed anyone, without any problems, turning the animation to the required number of degrees.
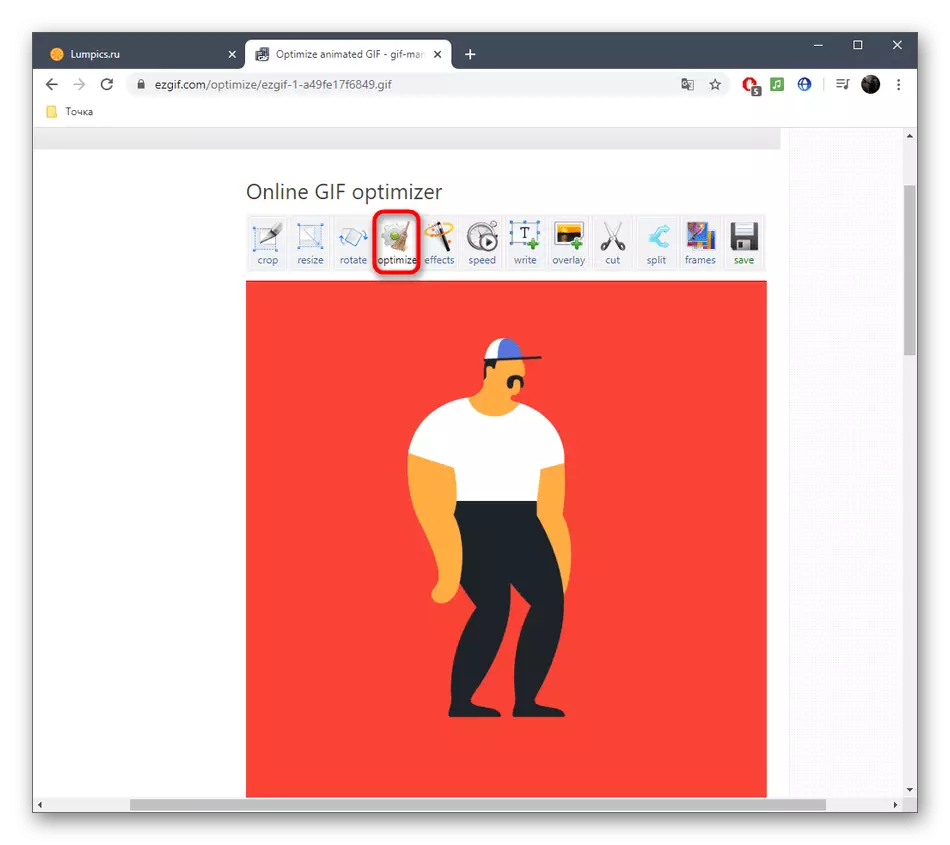
- Select the "Optimize" section, if you want to squeeze the size of the GIF without loss of quality or sacrifice it to decrease the space filed by the file.
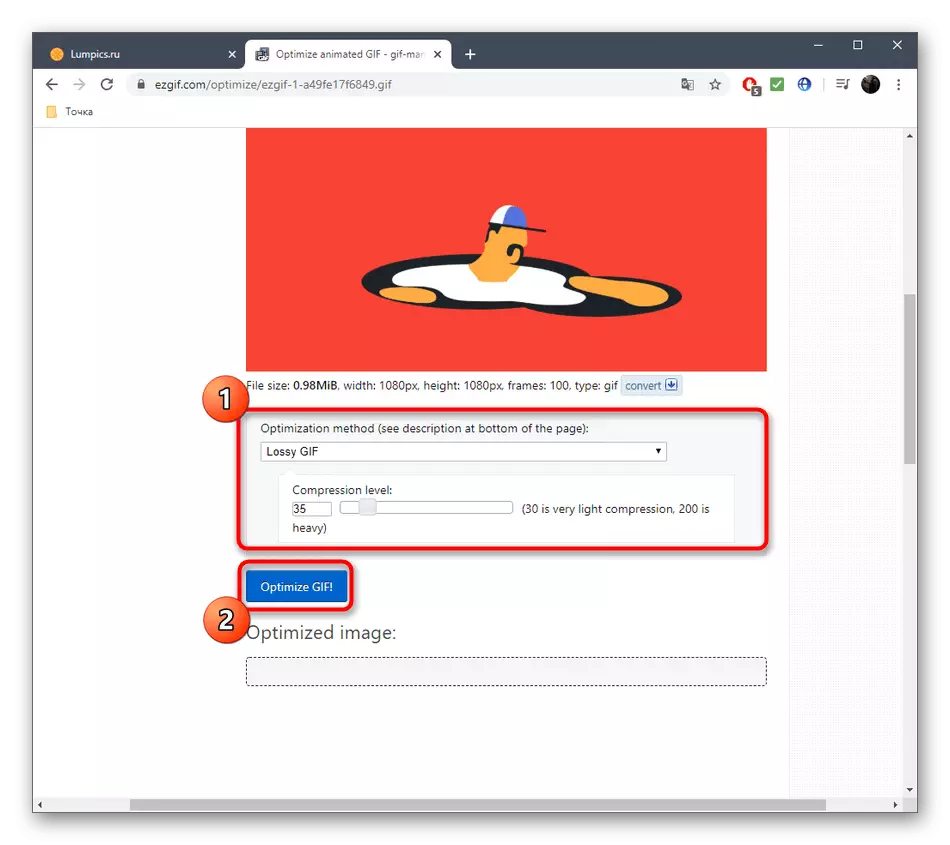
- Under the picture itself, compression is configured: move the slider and follow the result. Having achieved the desired result, click on "Optimize GIF" to save the changes.
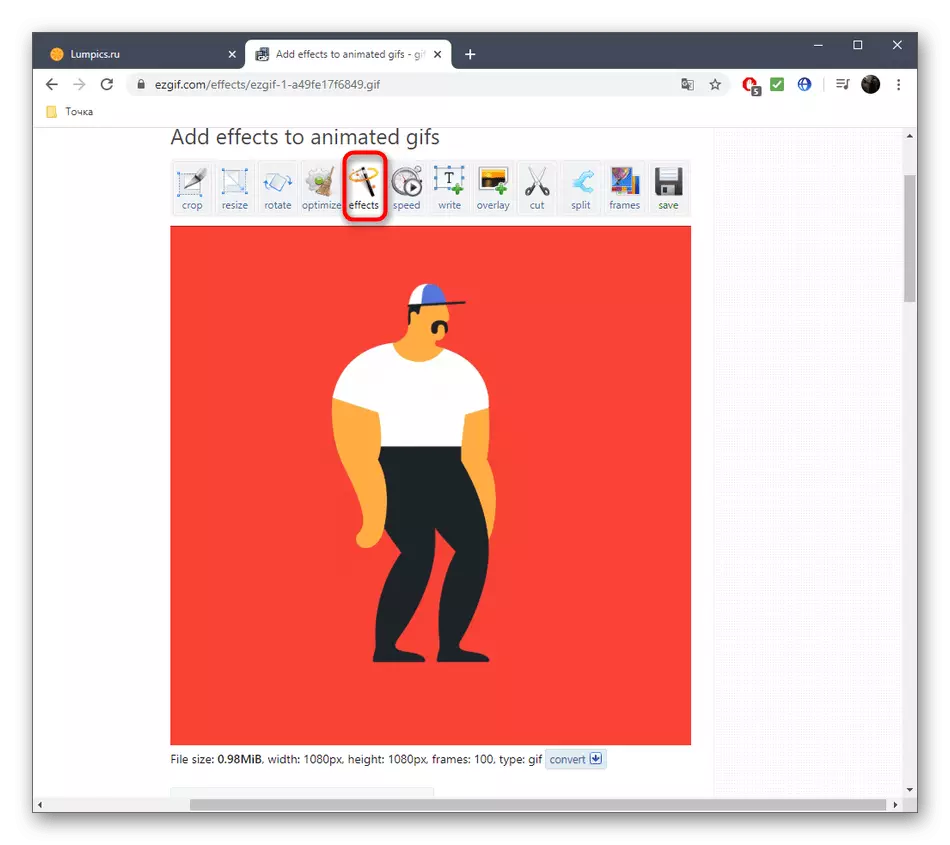
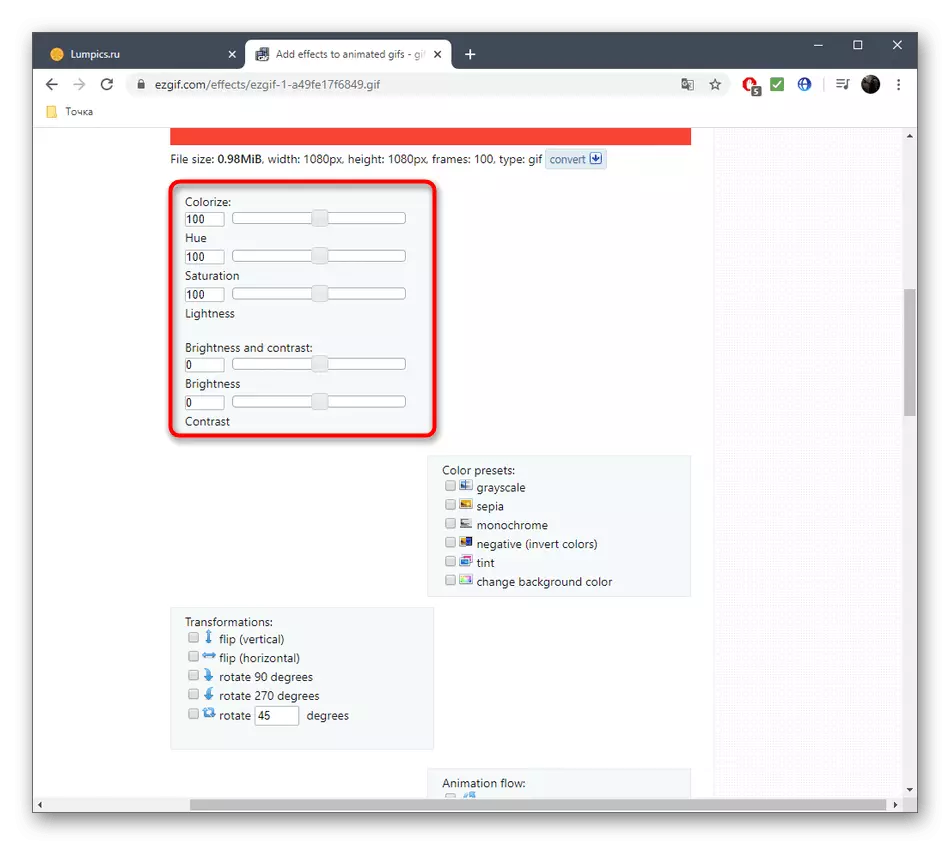
- Next, there is a set of different tools "Effects".
- For him, there is a whole set of various parameters, consider them in turn. First there is a list of sliders, allowing you to adjust the brightness, contrast, saturation and transmission of colors. Adjust them, depending on the result in the preview window.
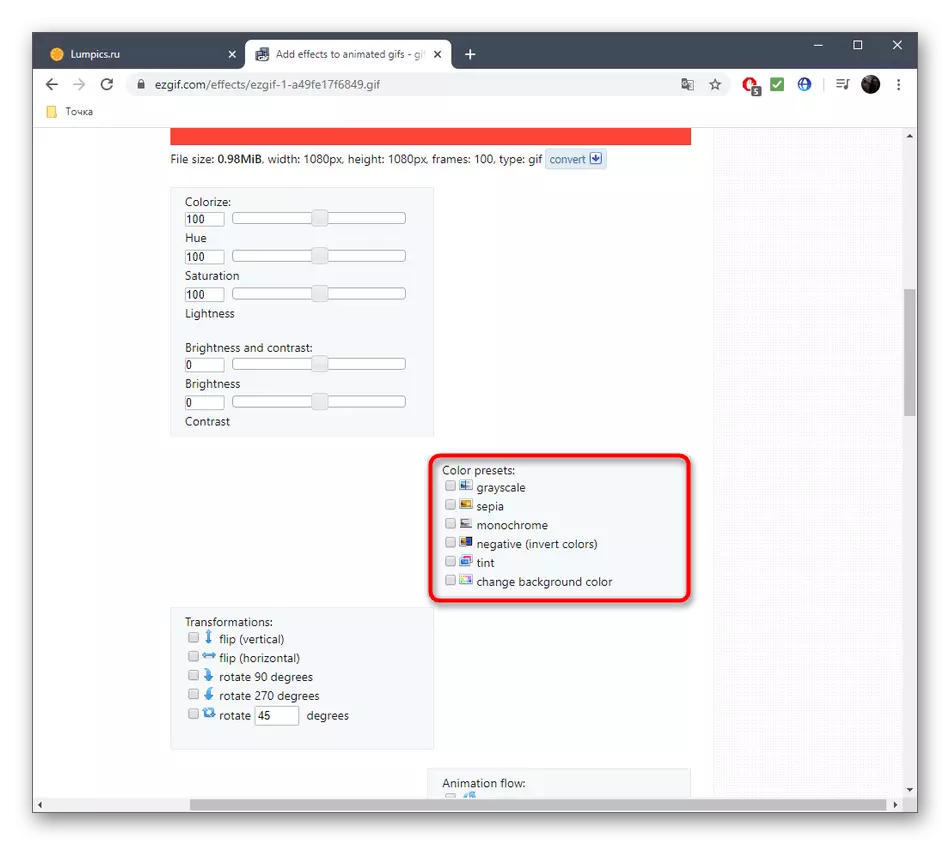
- Use "Color Presets" by activating theret items there by setting the checkclocks near them to choose one of the color blanks or make the black and white animation at all.
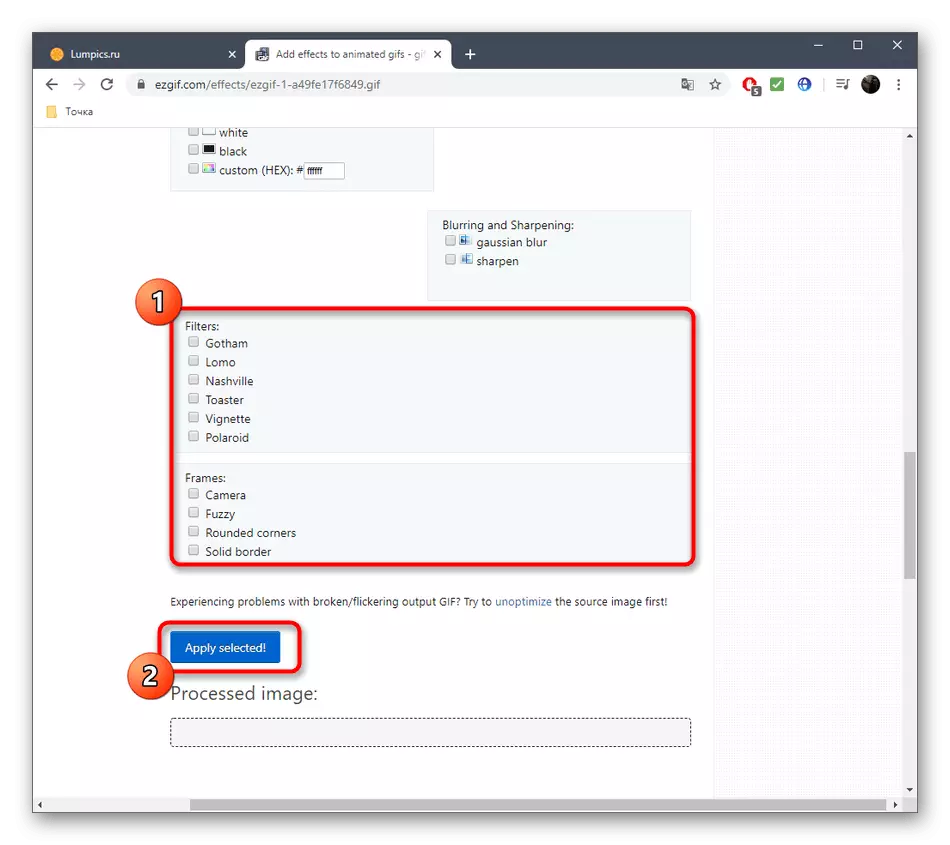
- Additionally, EZGIF proposes to use and a variety of filters that turn the image into something else by full change in the color palette or overlapping additional effects. Familiarize yourself with their action, in turn activating every item to understand which one is suitable for your project. Upon completion, click on "apply selected" to apply the selected one.
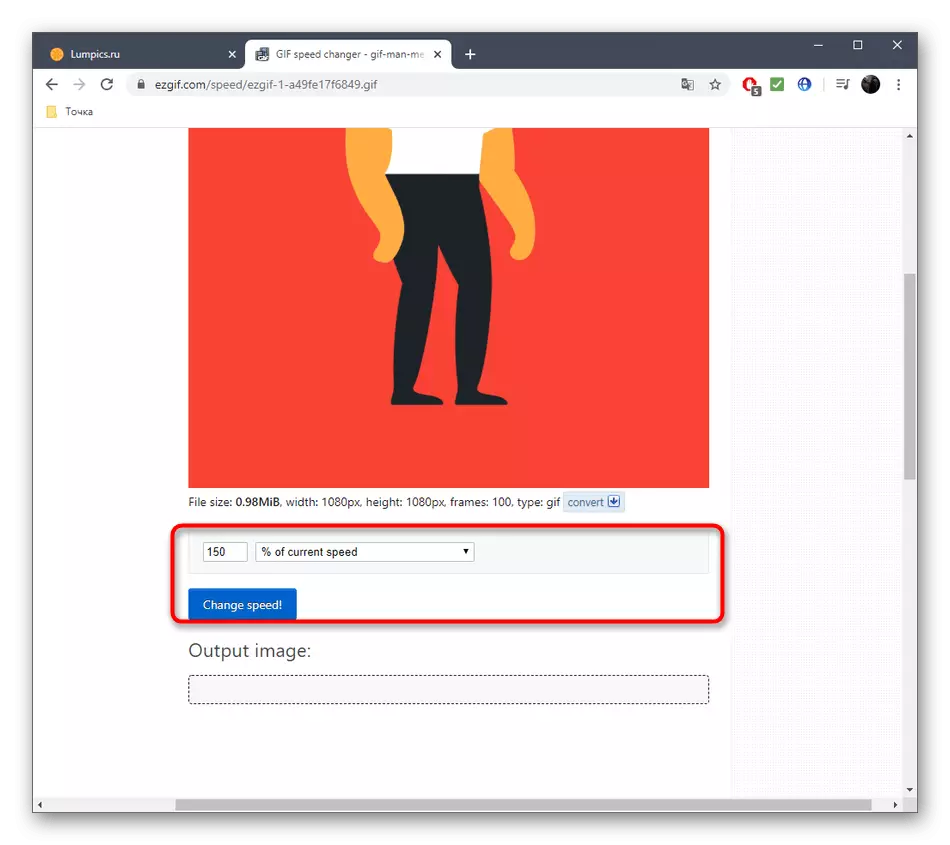
- If you select the "Speed" tool and go down the picture below, you can independently change the animation playback speed. It will immediately start playing in the main window, so tracking for the result occurs in real time.
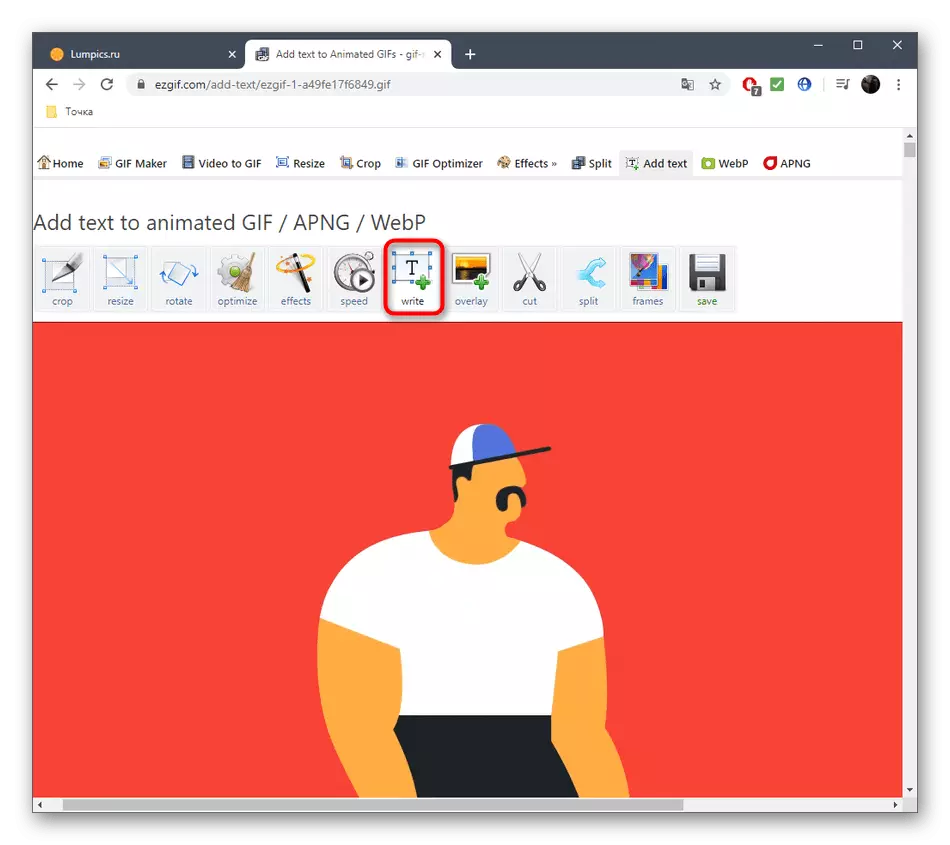
- EZGIF provides option and to add text to each existing animation frame. To do this, there is a specially designated tool called "Write".
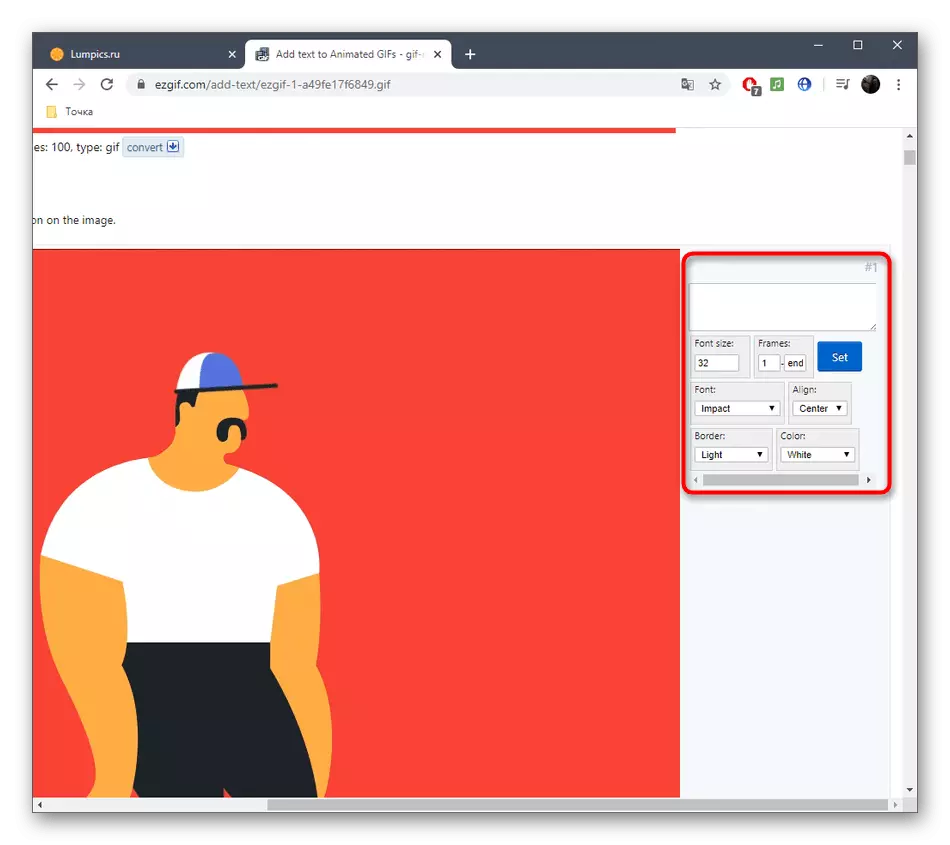
- After his choice, go to the first frame. Enter the text in the designated field, adjust its size, position and color. If you are satisfied with the result, click on "set" to apply it.
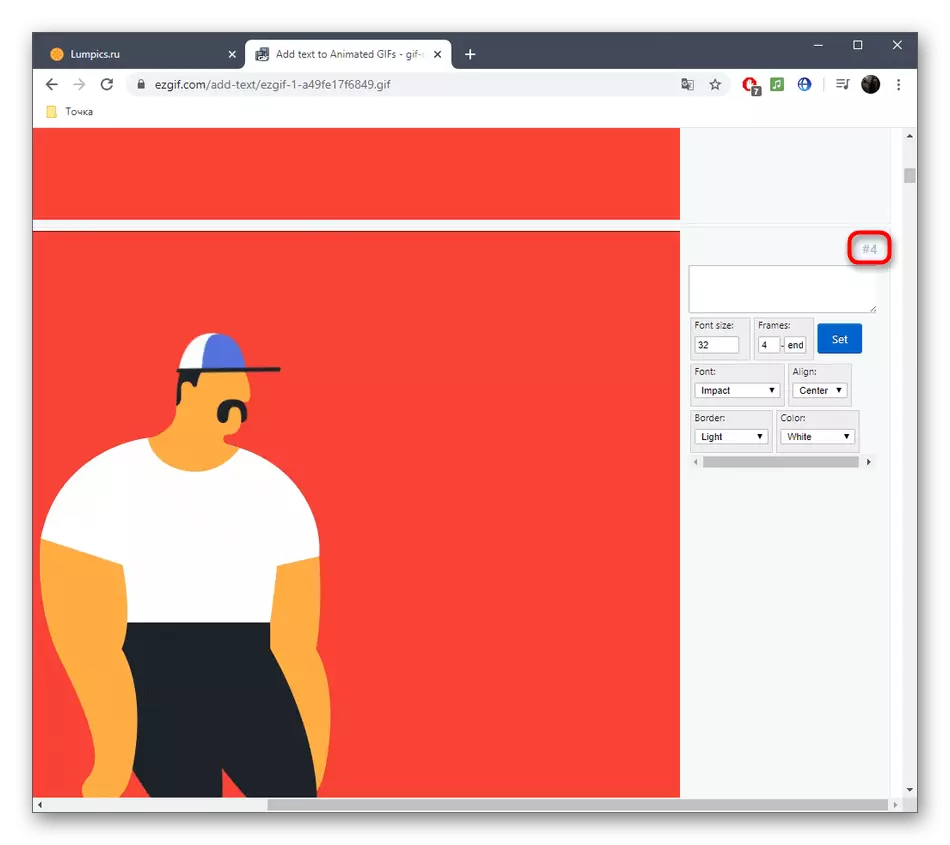
- The same is carried out with all other personnel that are included in the animation. Just go lower and pay attention to the numbering to find suitable items.
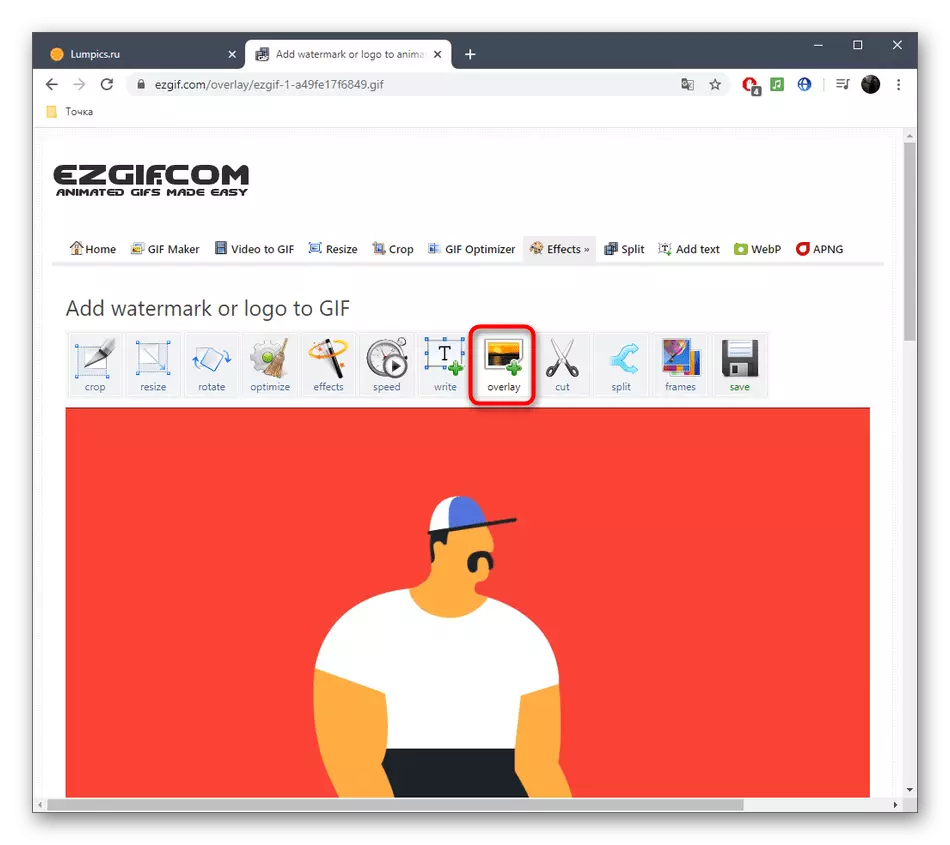
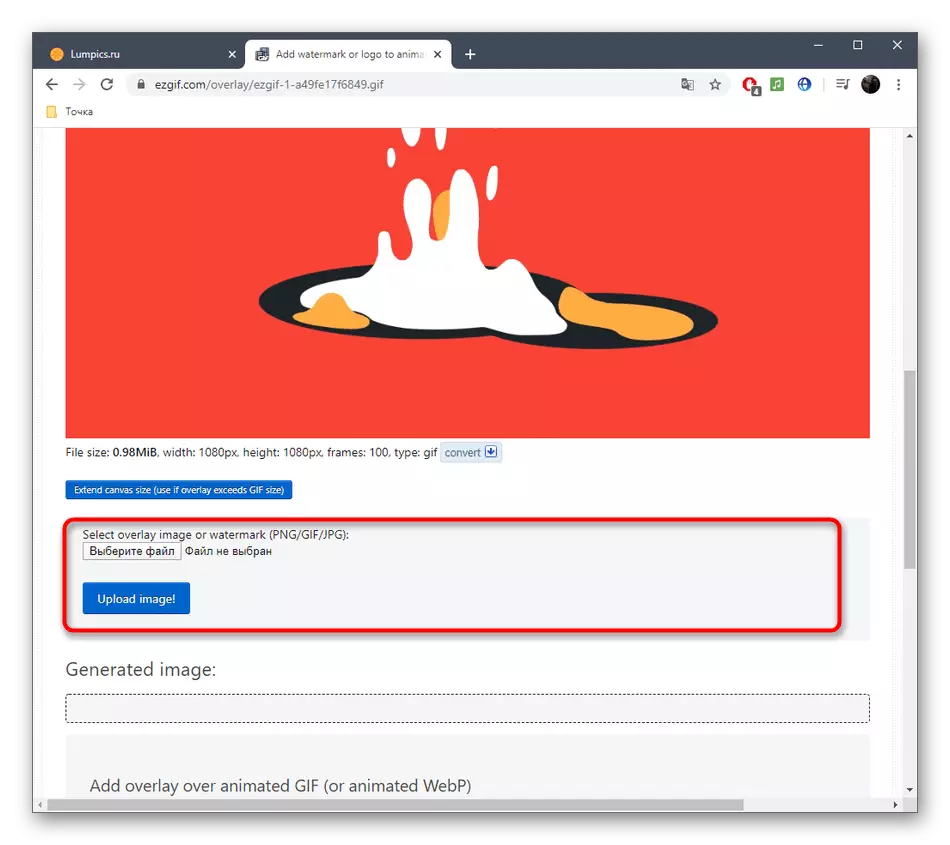
- You can add additional items to the current picture, for example, to impose a watermark. On the top panel, select "Overlay".
- Under the image, go to the selection of a file that will be placed on it, and then set the position and size for it.
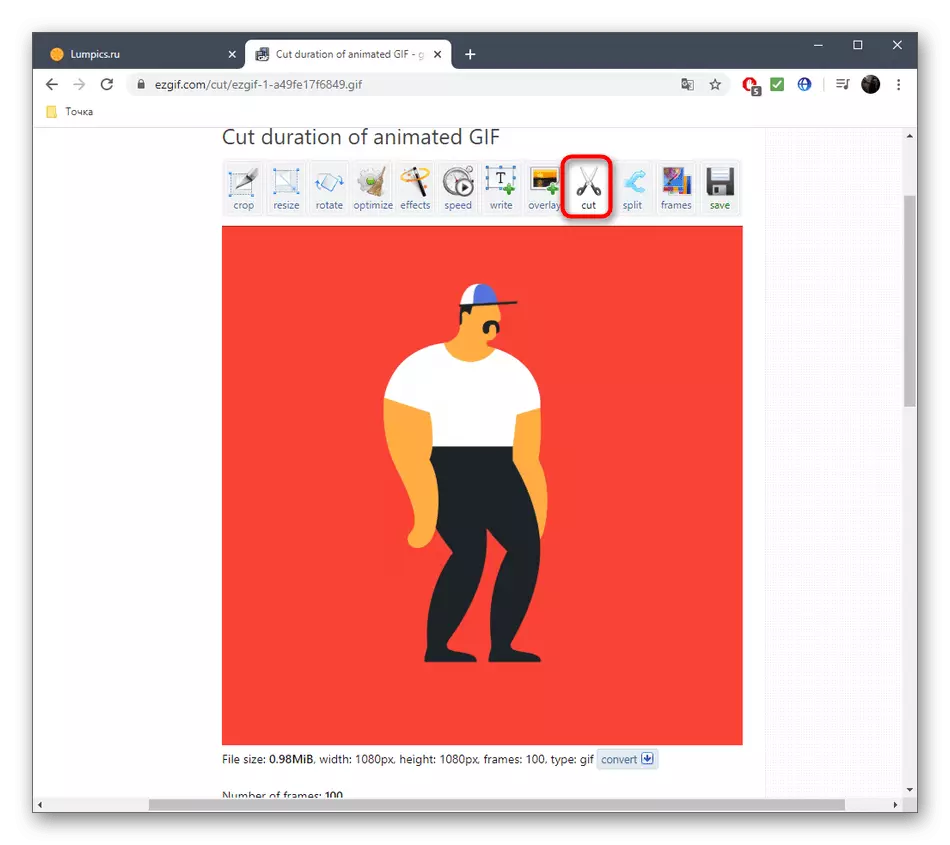
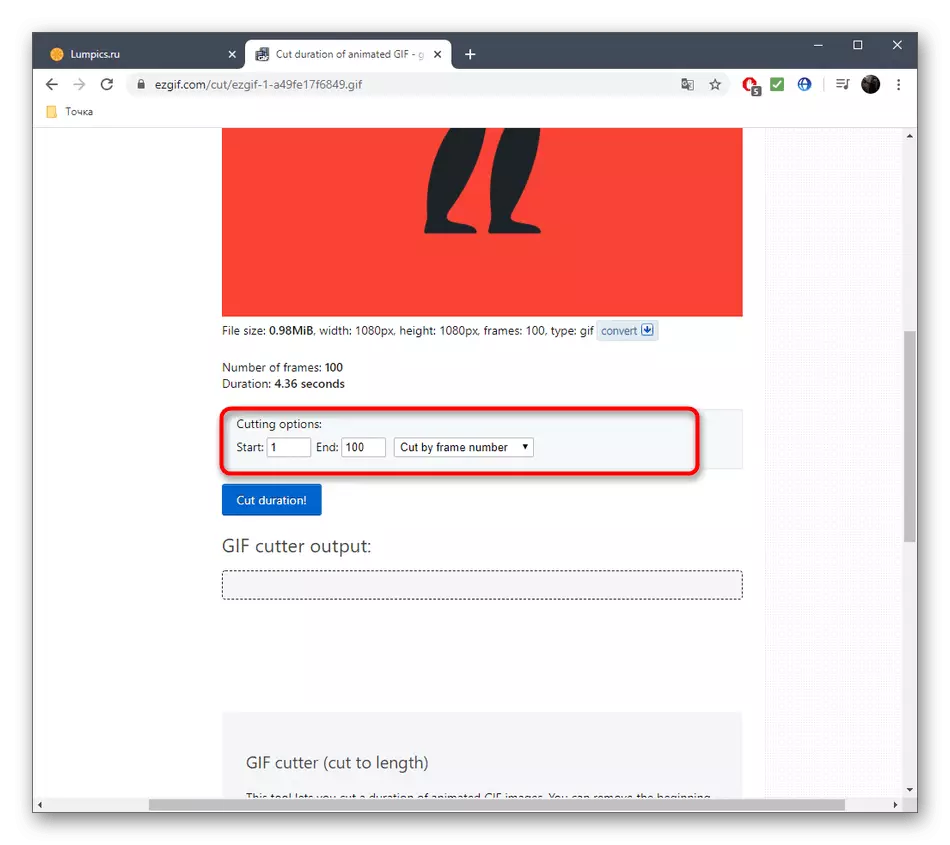
- Sometimes it is necessary to trim the animation, for example, separating the extra first or final frames. This will help the "CUT" tool.
- Use the form below to assign the initial and end frame is the most convenient trimming algorithm that does not occupy a user time.
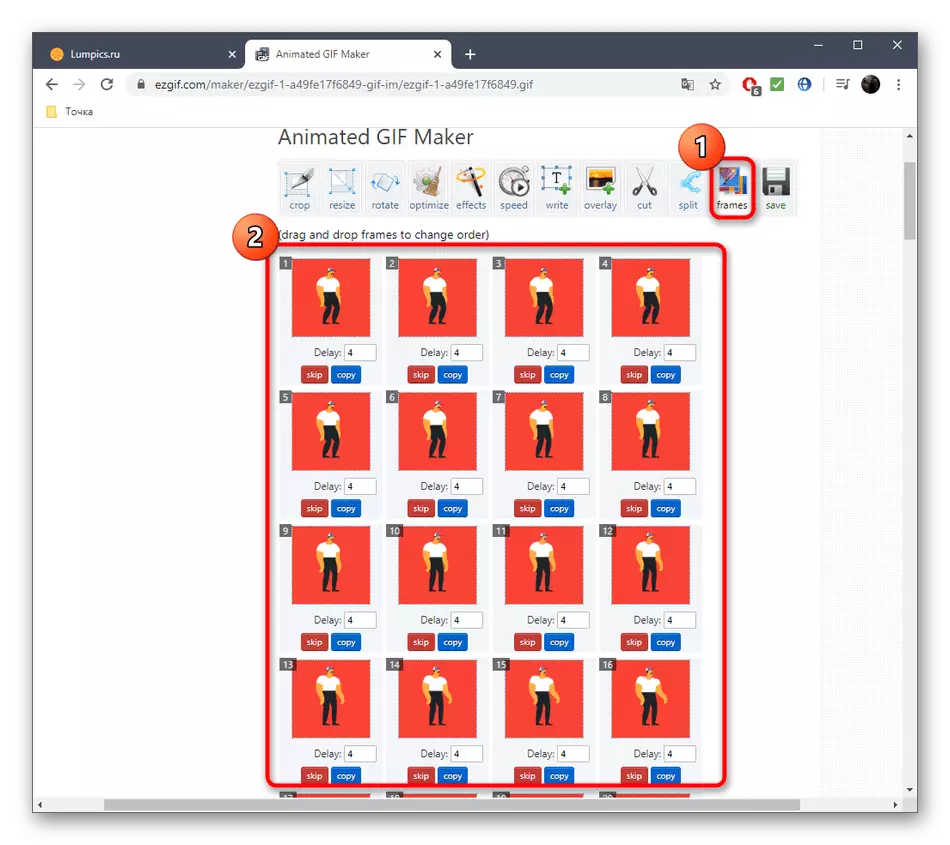
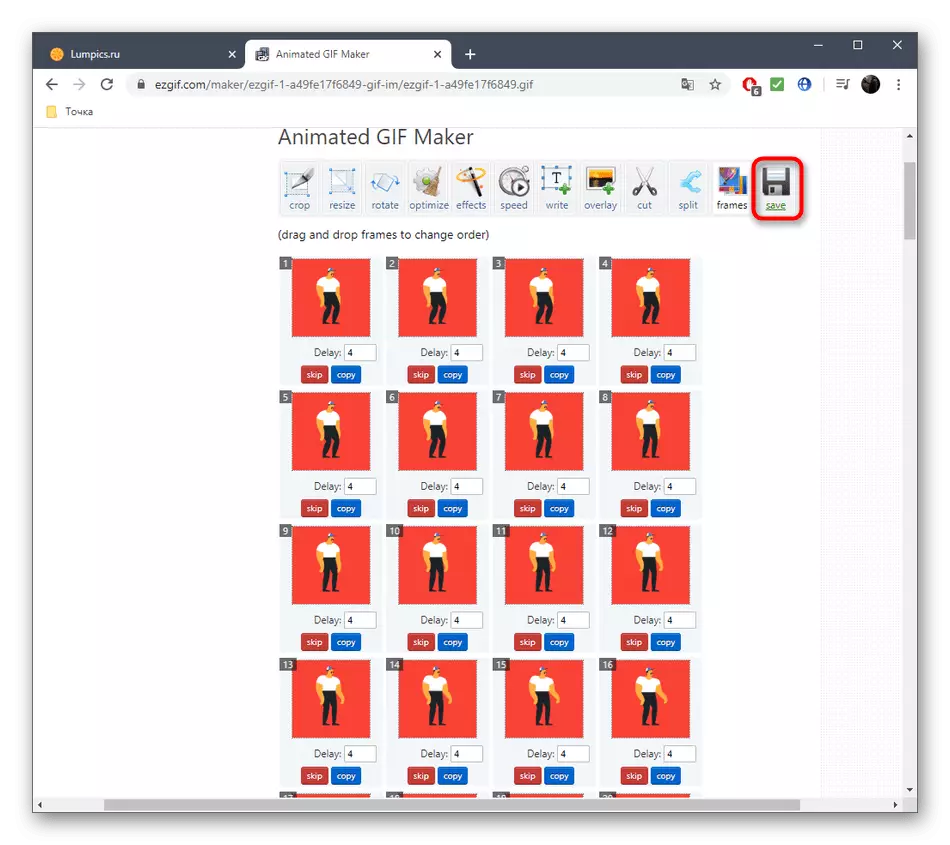
- The last section "Frames" allows you to work with each frame separately, withdrawing them all on the screen. You can choose for each of them the delay, copy or cut out of the project.
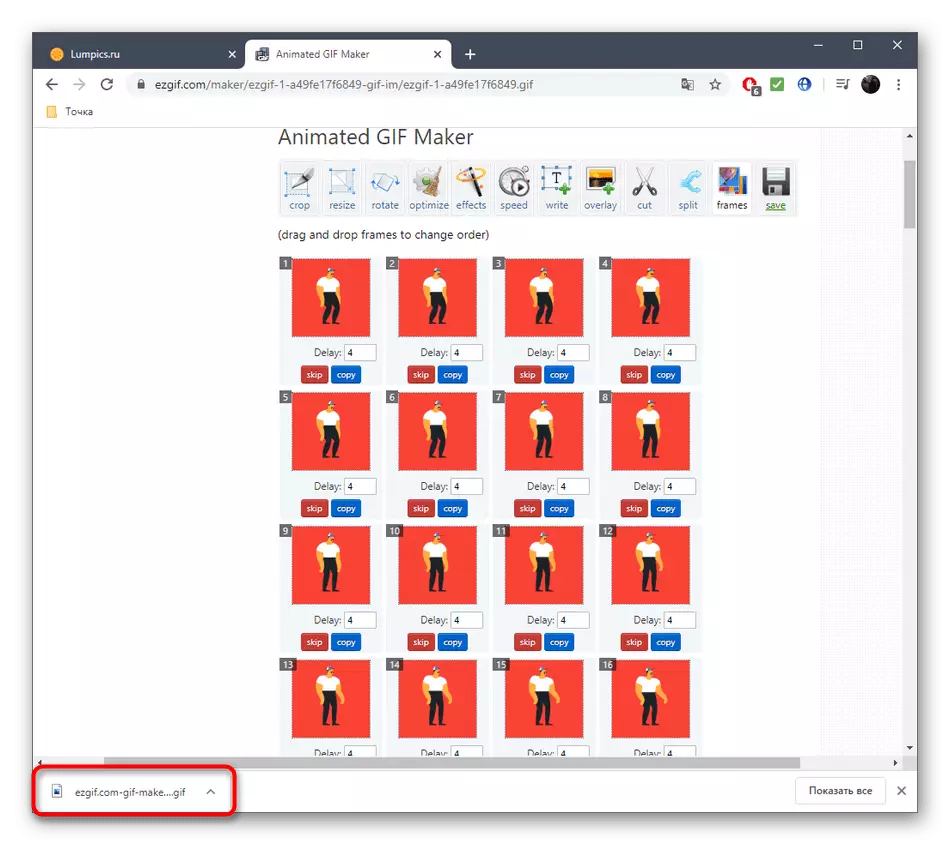
- If the project is completed and you are ready to save it, click on the "Save" button.
- Gif animation will immediately download on the local storage and is available for viewing. Carefully read it to make sure the editing.
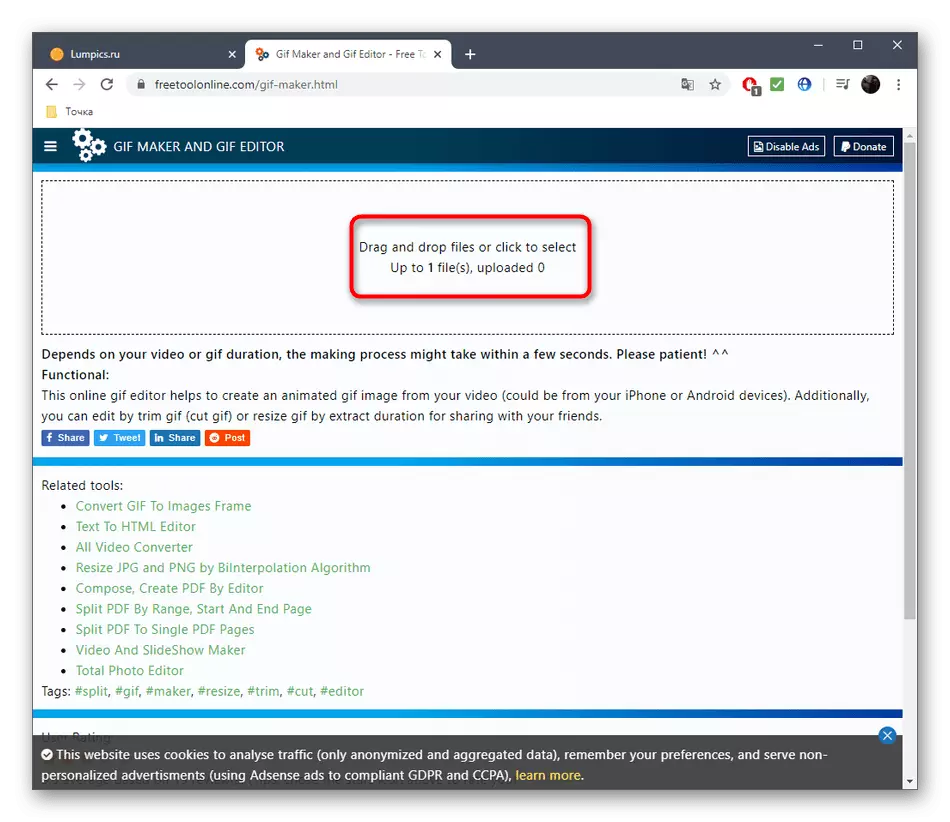
Method 3: GIF Maker and Gif Editor
The last online GIF Maker and GIF EDITOR service allows not only to edit GIF animations, but also to create new ones, but now we are only interested in the first function with all those present tools.
Go to the online service GIF MAKER AND GIF EDITOR
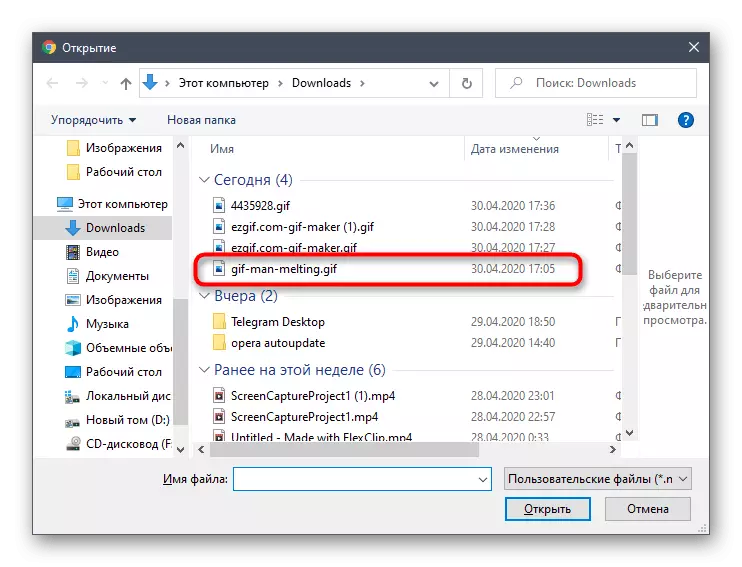
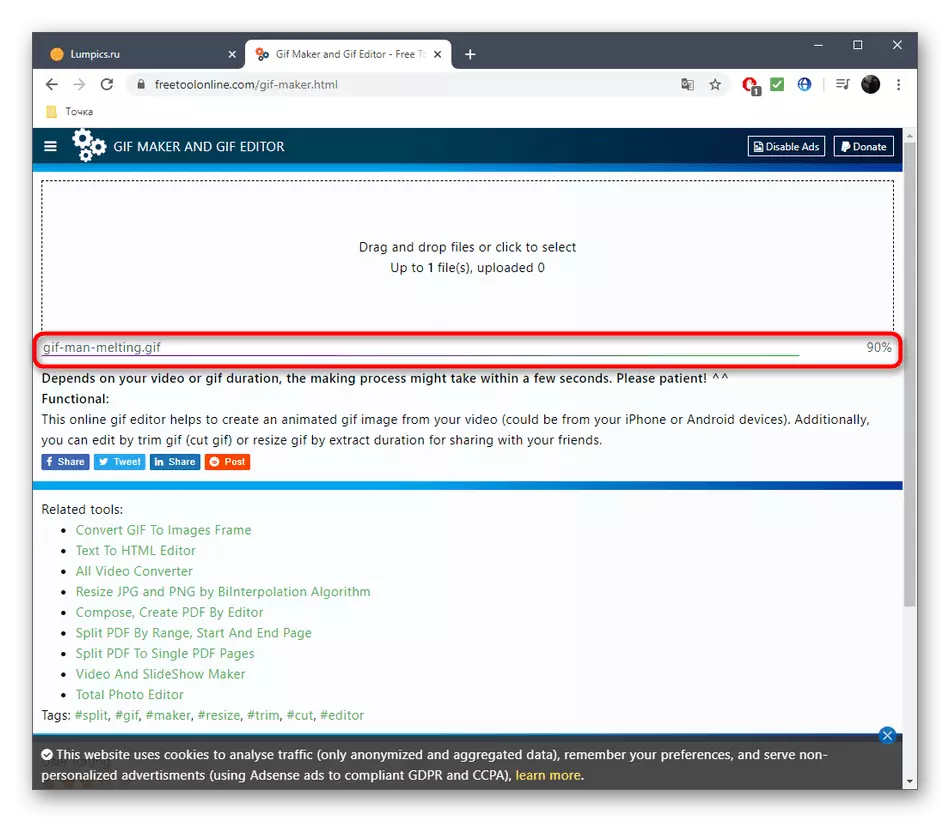
- Open the Gif Maker and GIF Editor and drag to the selected area file to edit. Instead, you can click on it to open the conductor window.
- In the Explorer, find it and select the GIF format object you want to edit.
- Expect the end of the file download to the server, following the progress in the same browser tab.
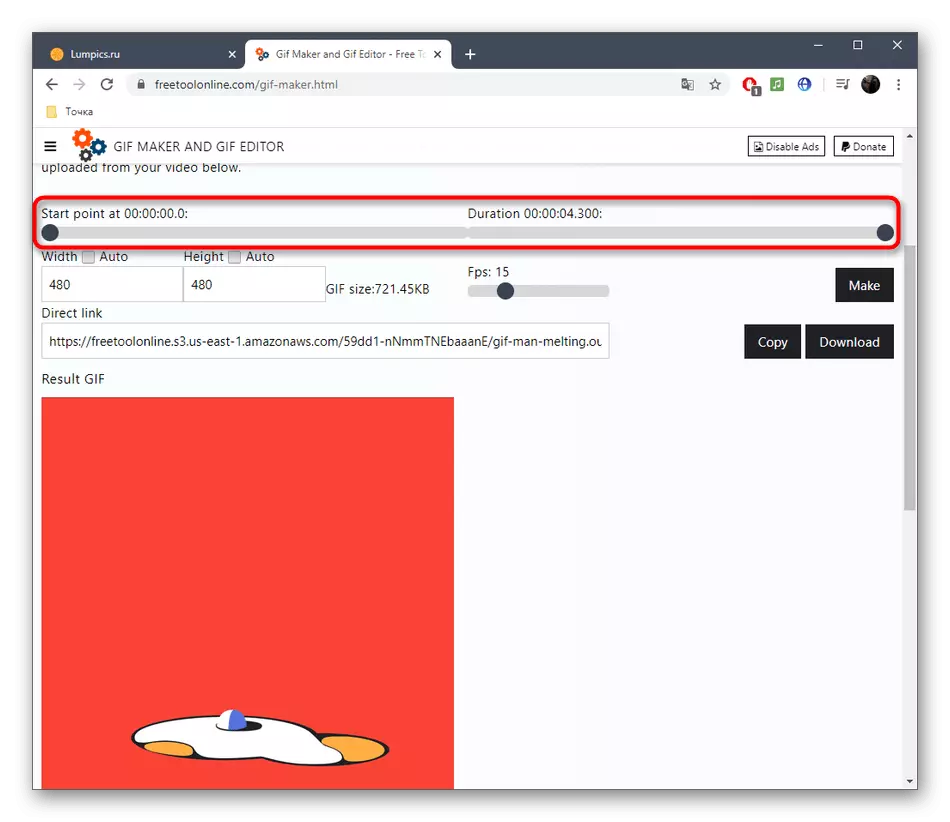
- The first slider allows you to adjust the initial and ending point of playback, thus cutting the animation.
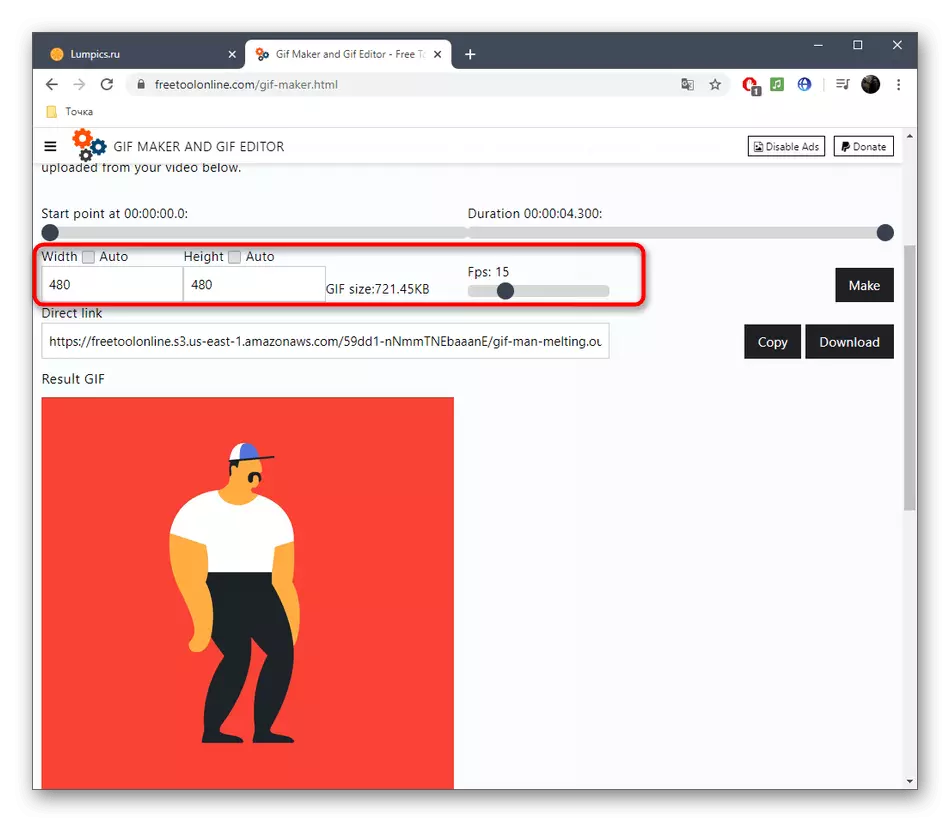
- Next, you can adjust the height and width of the canvas, as well as select the number of frames per second.
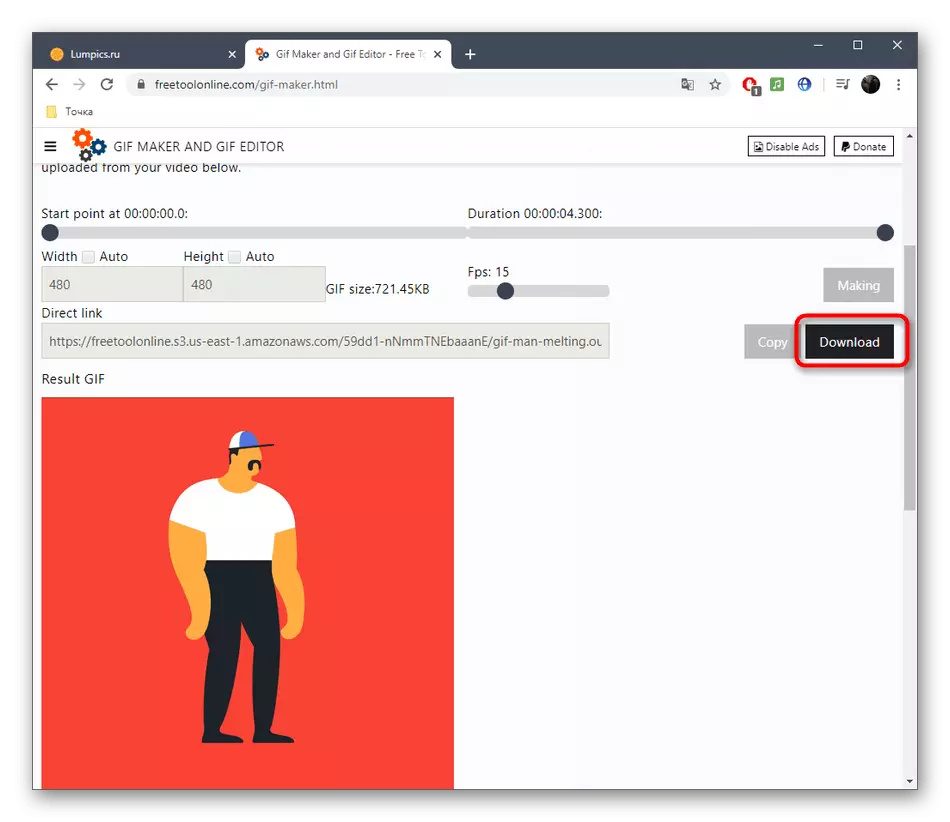
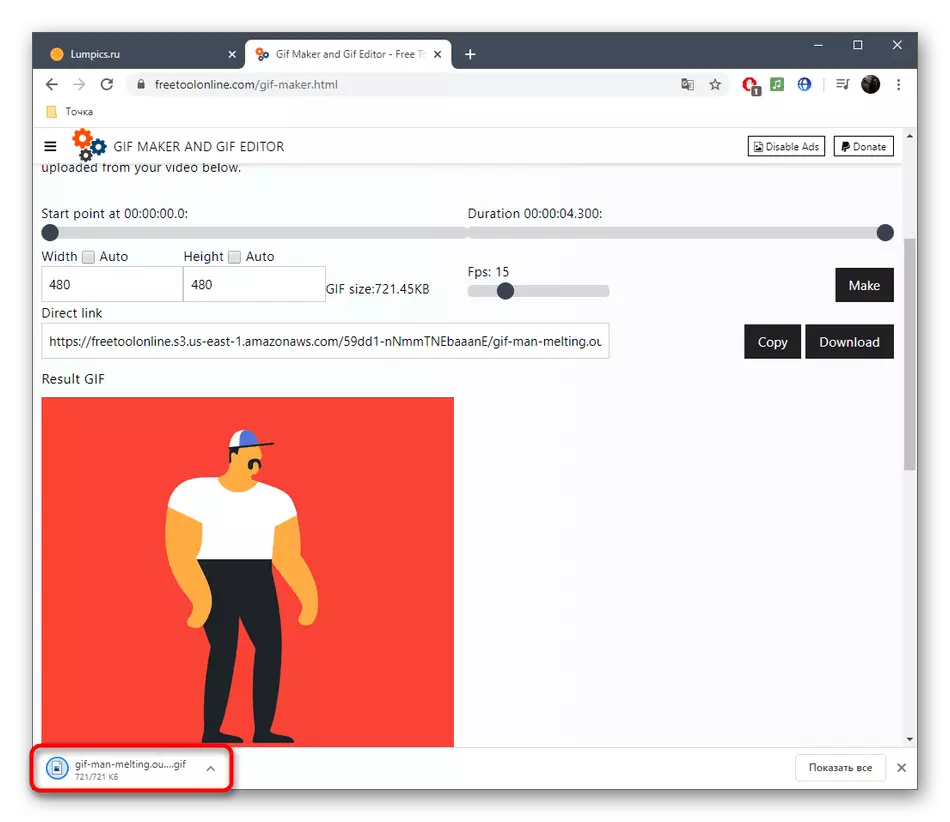
- There are no more parameters that are responsible for editing the animation in GIF Maker and GIF Editor. You can only click on "Make" to collect a changed GIF.
- At the end of this process, click on "Download" to download the file to the computer.
- Be sure to open it for playback to check the result of the changes made.

If you often need to work with GIF, but you are not yet fully familiar with this format of the files, we advise you to seek help to auxiliary thematic materials on our website by clicking on the links you are interested in below.
Read more:
Change the size of the animation in GIF format
Optimization and Saving images in GIF format
Making Gif animation from photos
Crop image of GIF format online
GIF Animation Insert in PowerPoint