Method 1: System Tools
In Windows 10, you can mount ISO images without additional software, one of two ways."Conductor"
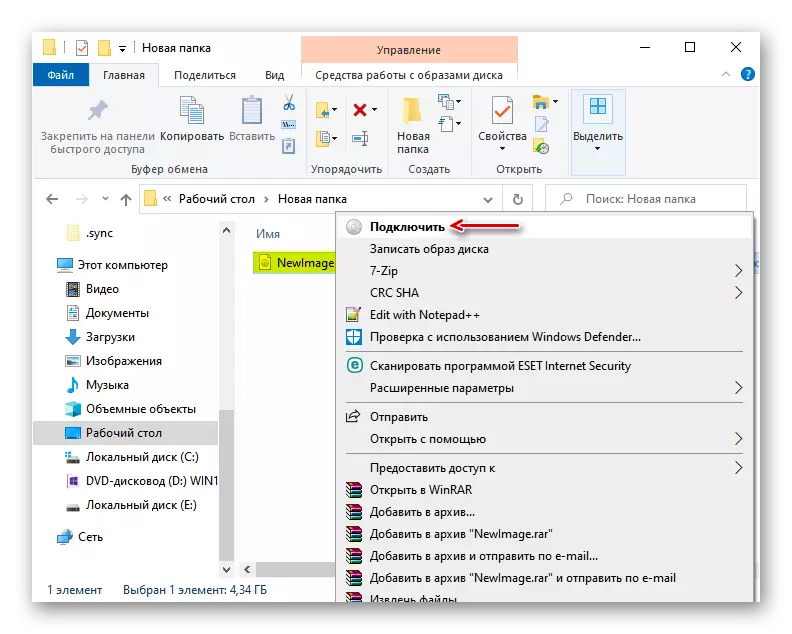
- With a combination of Win + E keys, we open the "Explorer" of Windows, we find the desired file, click on it with the right mouse button and select "Connect" in the context menu. This command is assigned by default, so you can also mount the ISO file by double clicking the left mouse button.
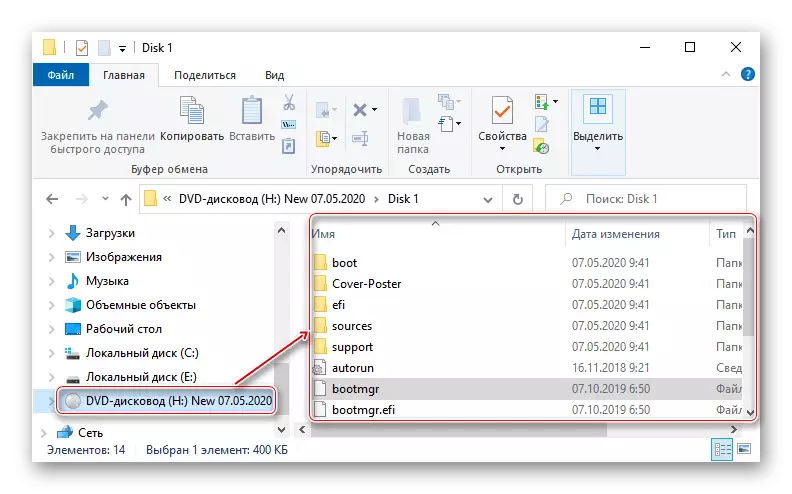
A virtual optical disk will be created on which you can familiarize yourself with the files included in the ISO image.
Windows PowerShell.
- Using the system search, open the PowerShell application.
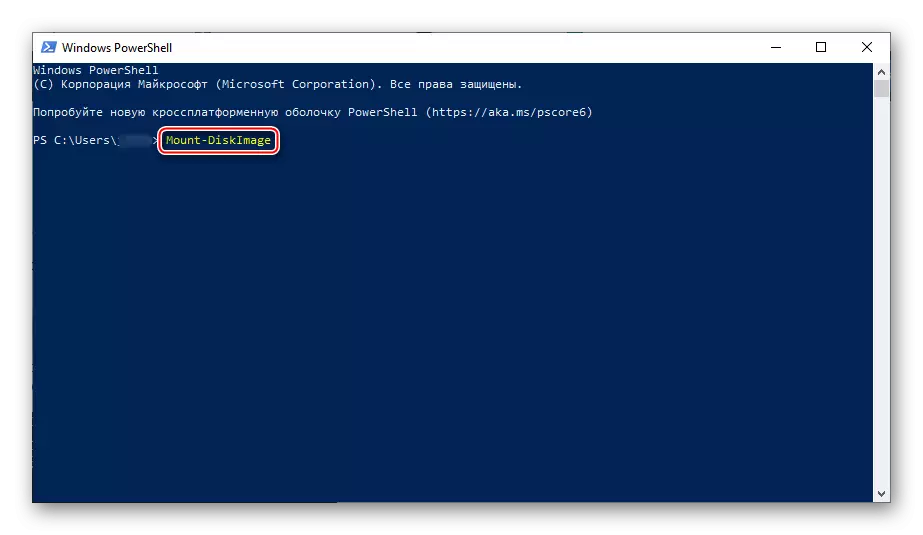
- In the Console field we enter the command:
Mount-diskimage.
And click "ENTER".
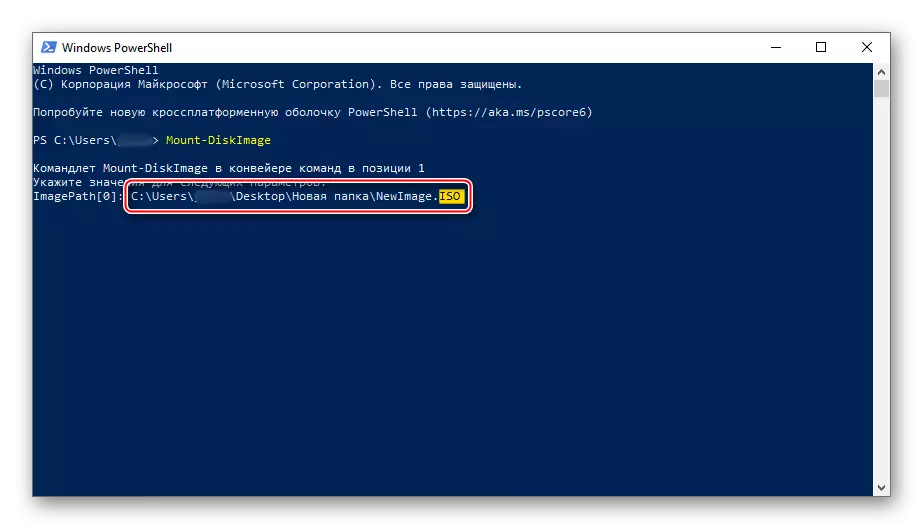
- Specify the path to the file. At the end, there must be an extension .iso.
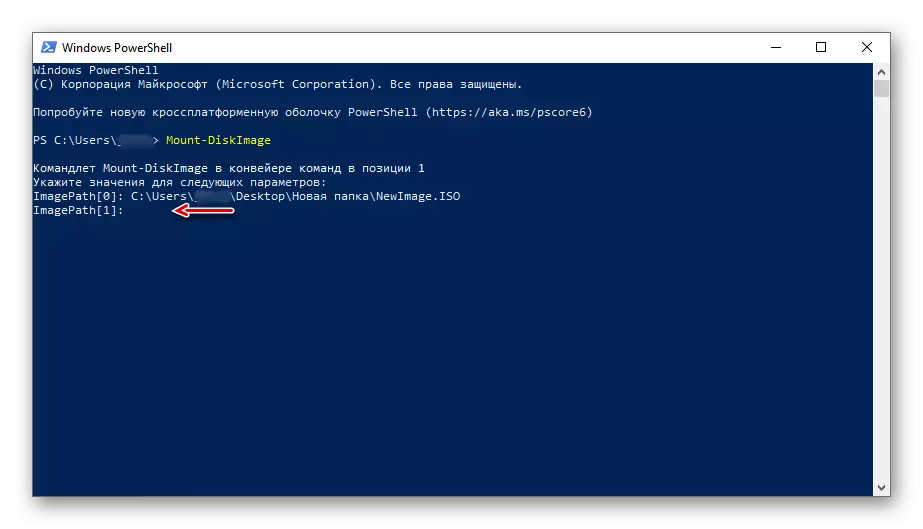
- We are only interested in one ISO file, so leave the following line with empty and press "ENTER". But if necessary, you can add other paths to mount several ISO images at once.
- The value "True" in the "attached" column indicates that the optical disk is created.
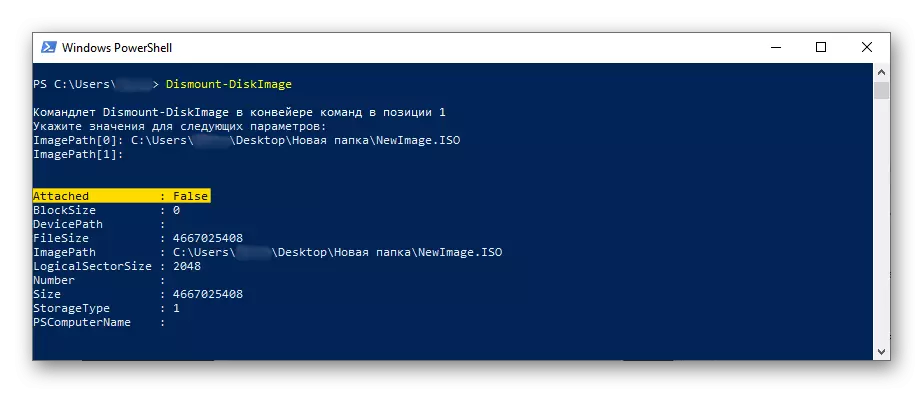
- To unmount it, enter the code:
Dismount-Diskimage.
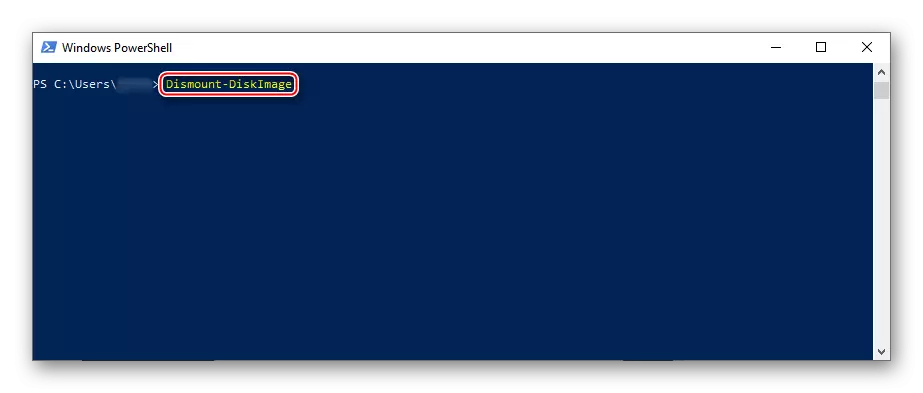
Repeat the path to the location of the file and click "ENTER".


Method 2: Daemon Tools Lite
Demon Tuls Light 10 - Free software by which you can not only mount popular image formats and emulate up to four virtual drives, but also create your own images from files and disks.
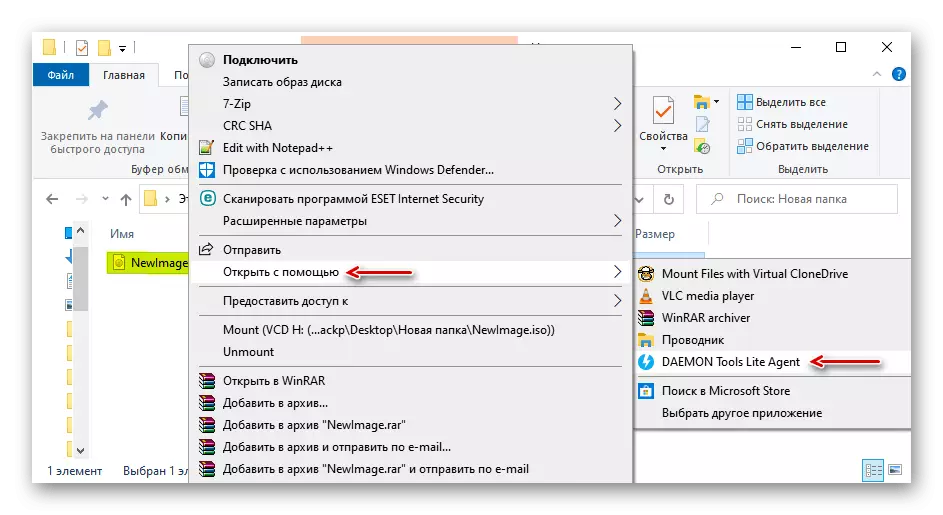
- We install the program, find the ISO file, click on it with the right mouse button, click "Open with" and select Daemon Tools Lite.
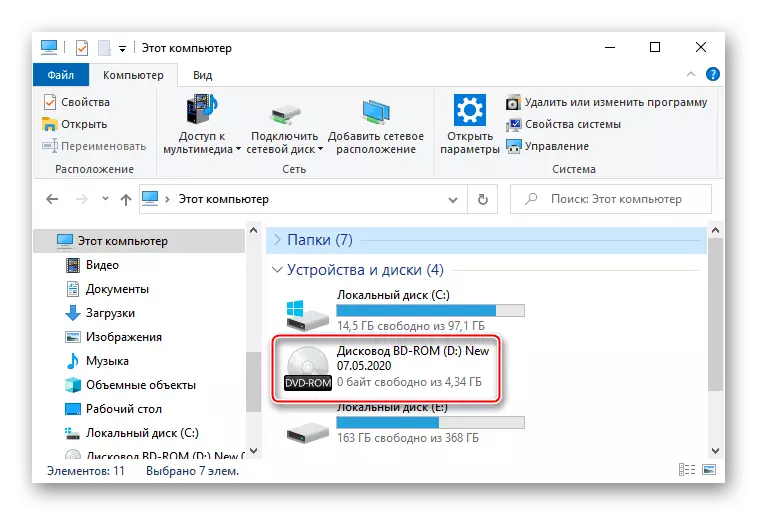
- Check that the image is mounted.
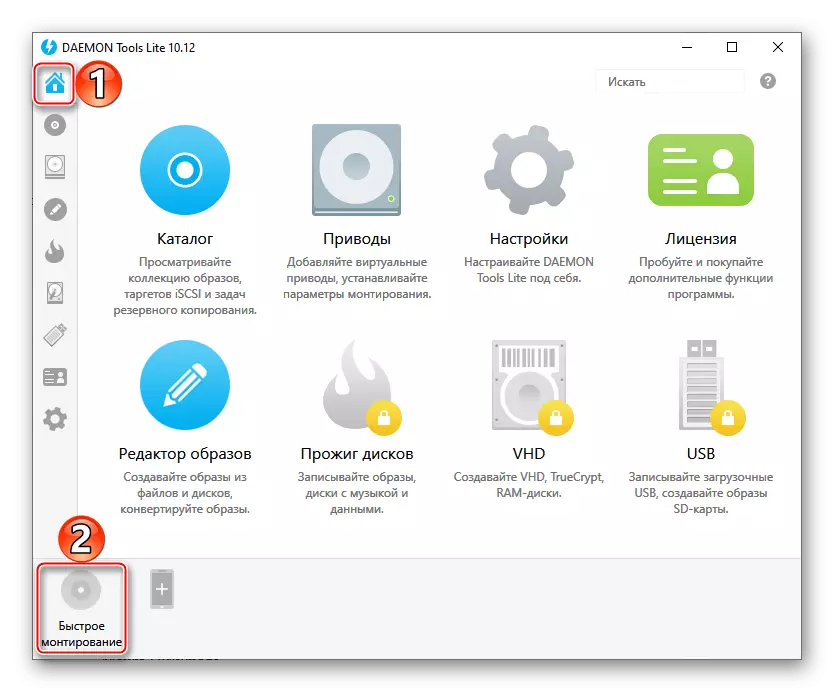
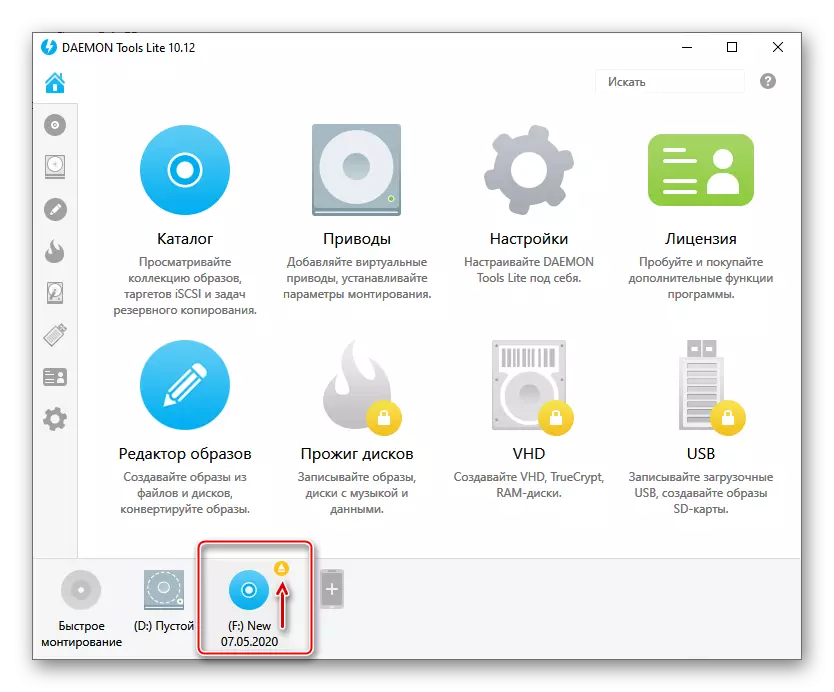
To create a virtual optical disc via DTL 10 interface:
- Run the program and at the bottom of the window we click the "Fast Monting" icon.
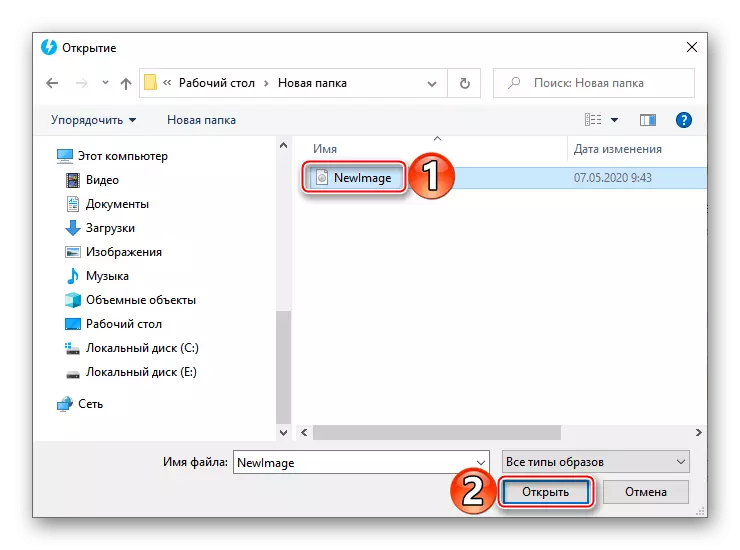
- We find and open an ISO file.
- To unmount it, press the "Extract" icon next to the virtual disk icon.
Method 3: Virtual CloneDrive
Virtual CloneDrive is a free program that does not create ISO images, but supports simultaneously up to 15 virtual optical drives, mounted images from any media and works with all popular formats.
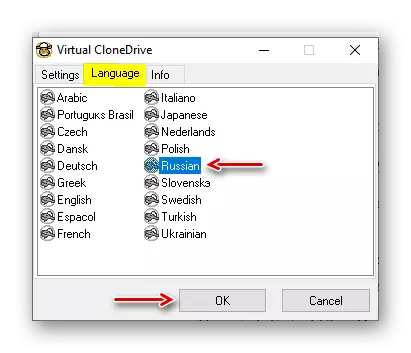
- Run the program. To change the language of the interface, go to the "Language" tab, choose "Russian" and click "OK".
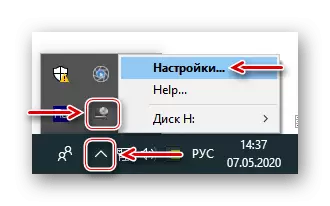
- VCD will be minimized in the notification area. Open it, click the right mouse button on the virtual clone and select the "settings" icon.
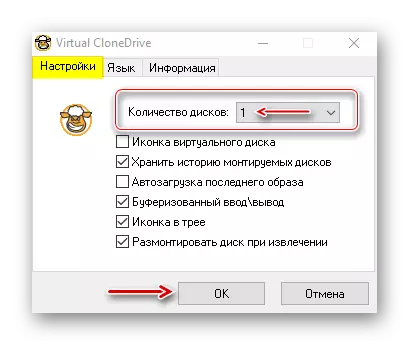
- In the settings window, specify the desired number of virtual disks that can create software, if necessary, change other parameters and click "OK".
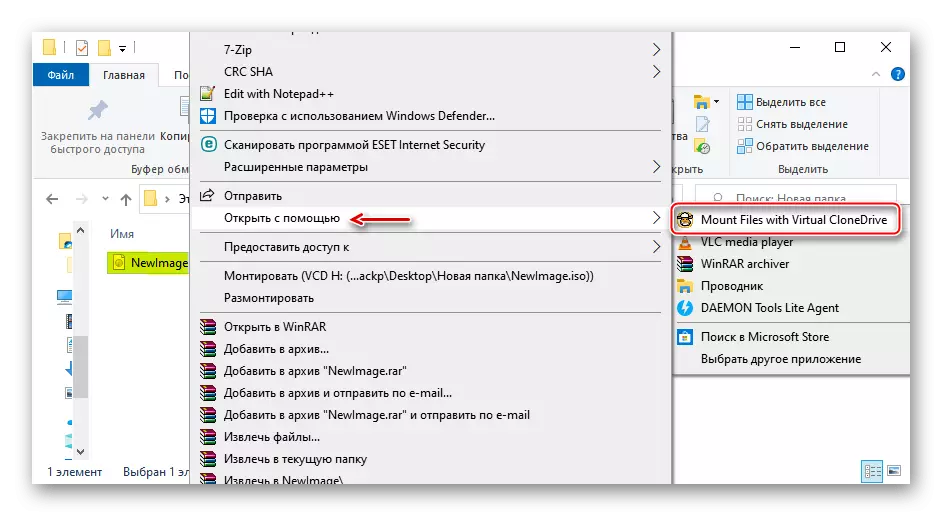
- To mount the ISO file, click on it with the right mouse button and open using Virtual CloneDrive.
- There is another way. Click right-click on the program icon in the notification area, open the "Disc" tab and click "Mount".
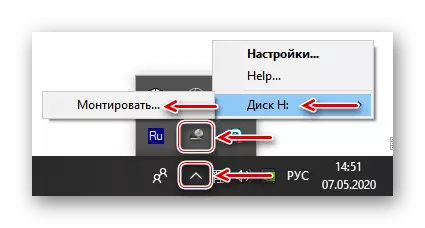
Select the desired file and click "Open".

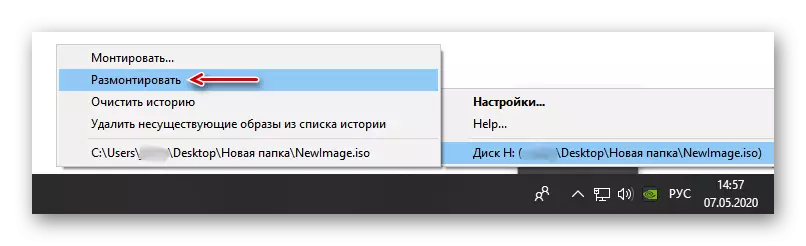
To unmount it, select the corresponding item in the context menu of the disk.
Select a standard application for ISO files
File Association is a mechanism by which the system specifies match between file types and programs that can open them. If it is necessary that the files with the extension .iso by default opened by some specific software, for example, third-party software, you must do the following:
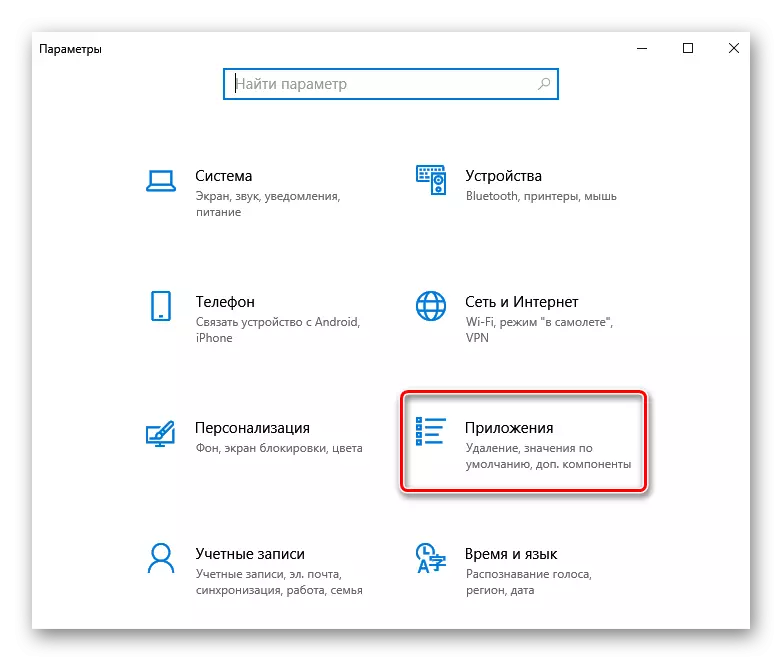
- The Win + I key combination calls Windows 10 parameters and open the "Applications" section.
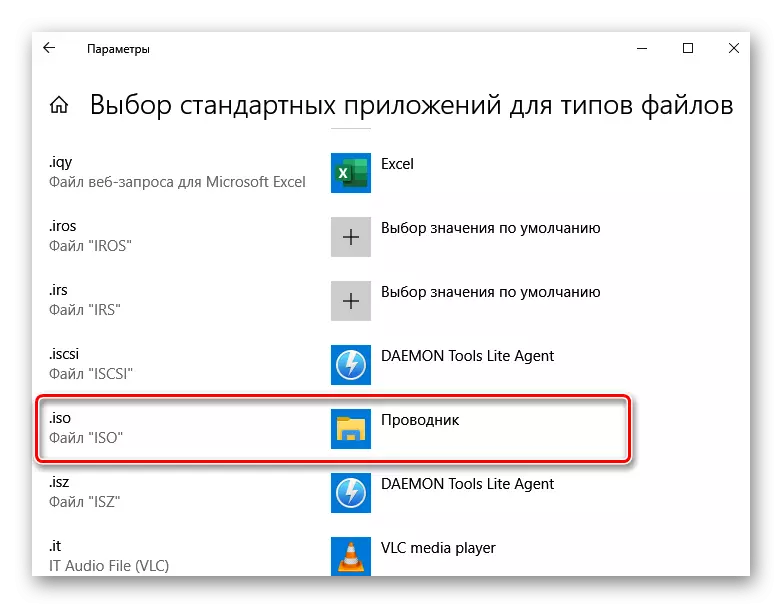
- In the Default Application tab, you scroll down the page down and click "Select Standard Applications for File Types".
- In this case, the ISO files by default opens the "Explorer".
To change the launch method, click on it and select another program from the pop-up list, for example, Daemon Tools Lite.
- Now next to ISO files will be the icon of the software that you are assigned by default.