Method 1: "Mail"
You can register a new mailbox on the iPhone in the standard Mail application. If you have been deleted by some reasons, use the following link to install.
Download the mail application from the App Store
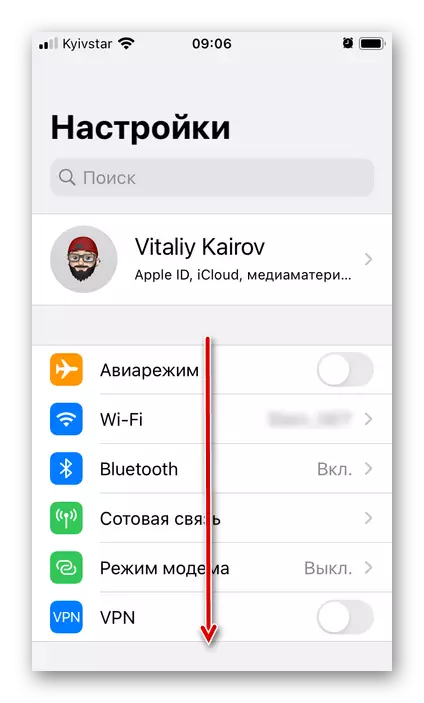
- Run "Settings" and scroll down to the list of standard applications.
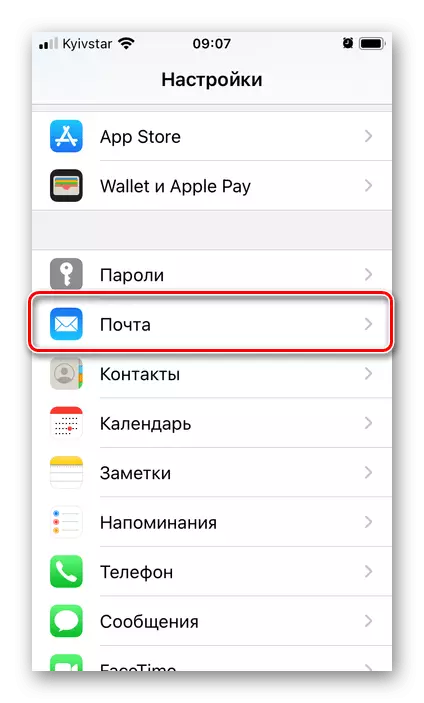
- Tap for "mail".
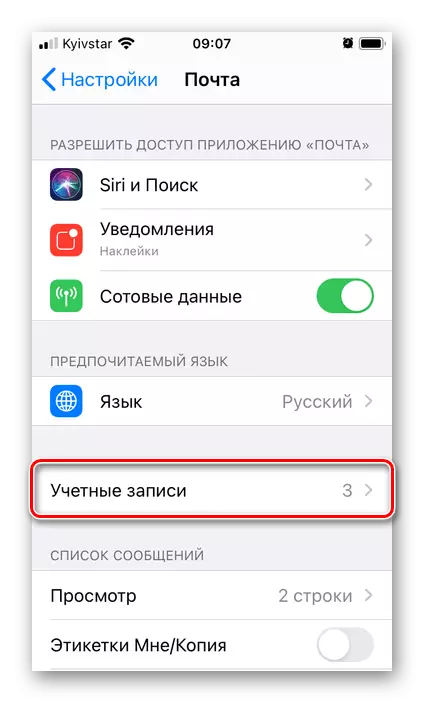
- Open the "Accounts" section.
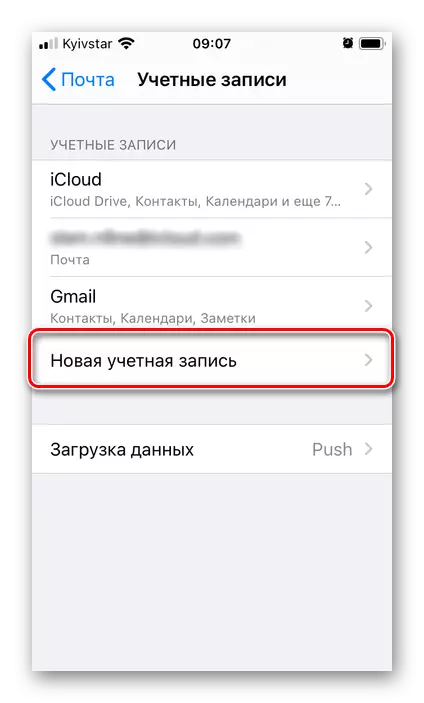
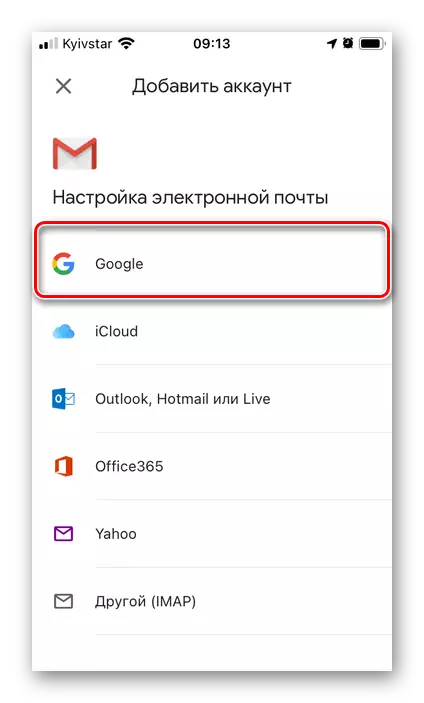
- Click on the "New Account" inscription.
- Select the postal service on the domain of which you want to create a box.
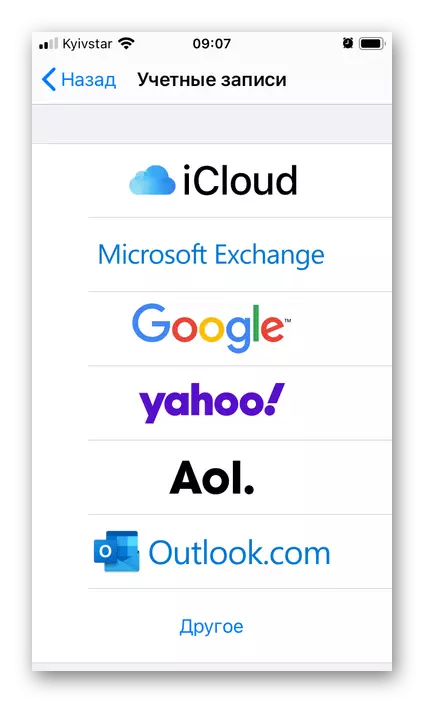
As an example, we will look at the icloud, registration in Google is also available. Other services are either not widely popular, or do not provide us with the ability to be interested in the standard "Mail" interface.
- On the Authorization page, use the Create Apple ID link.
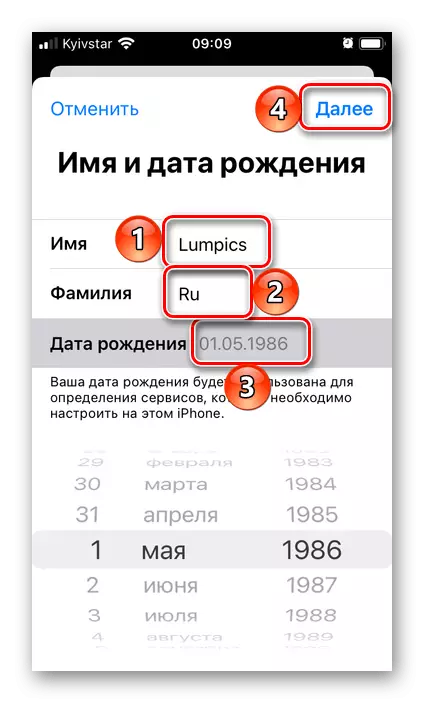
- Enter your name and surname, not necessarily real, and also specify the date of birth, after which go "Next".
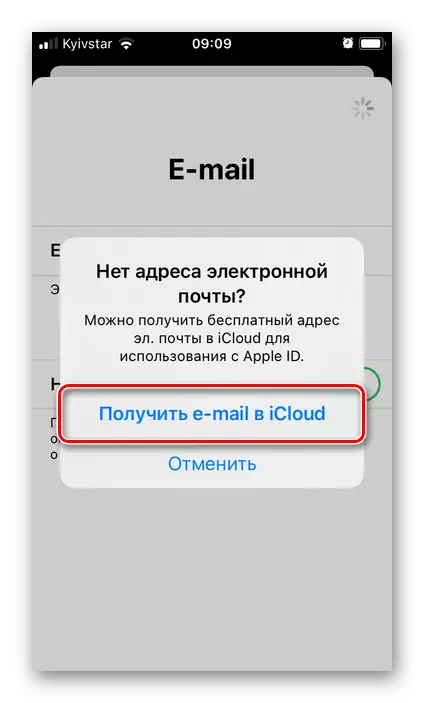
- On the next page, tap the inscription with the question "No email address?",
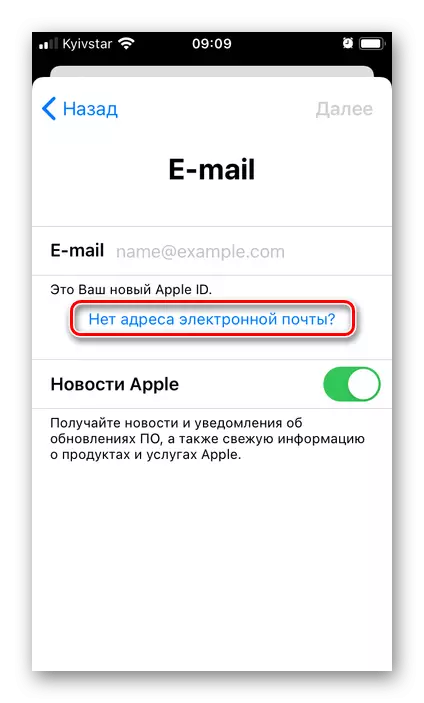
And then "Get E-Mail in ICloud" in the pop-up window.
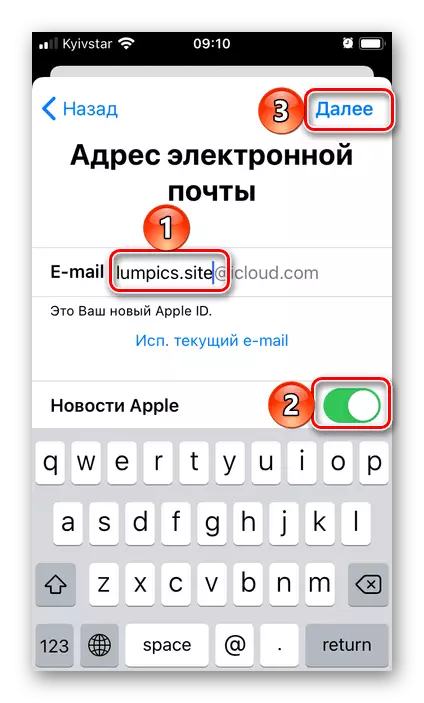
- Come up and enter the name of the box, if you wish, activate or, on the contrary, deactivate the Apple News switch, and proceed "Next".
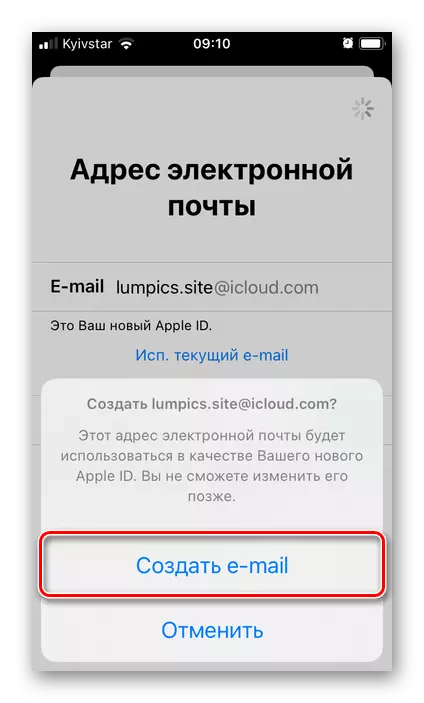
- In the notification window, tap "Create an E-Mail".
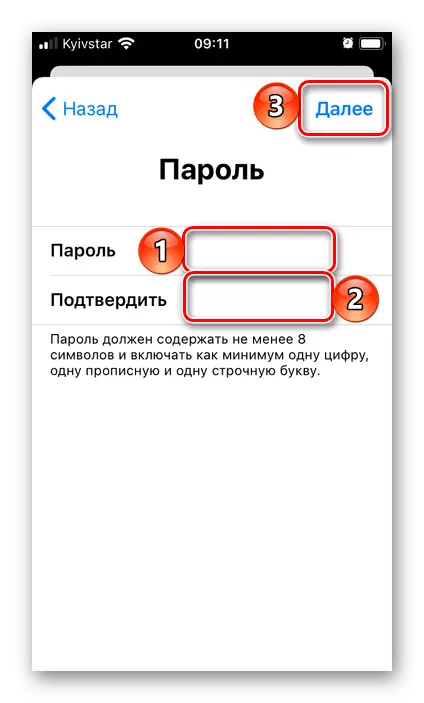
- Come up and confirm the password by specifying it in the appropriate fields, and again go "Next".
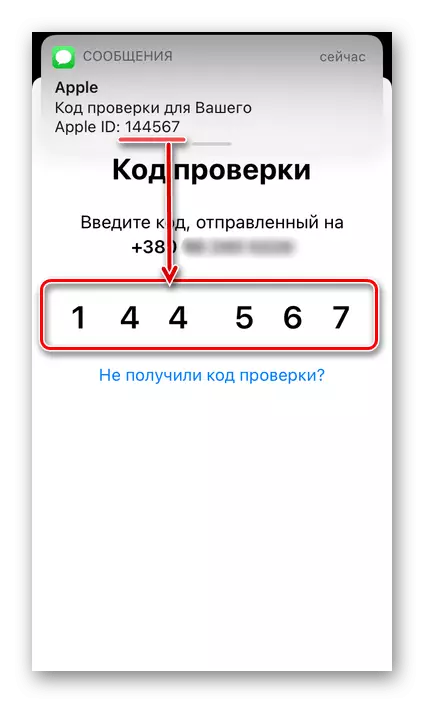
- Enter your phone number and select "Text Message" or "Telephone". Click "Next".
- Get "Court checks" and enter it.
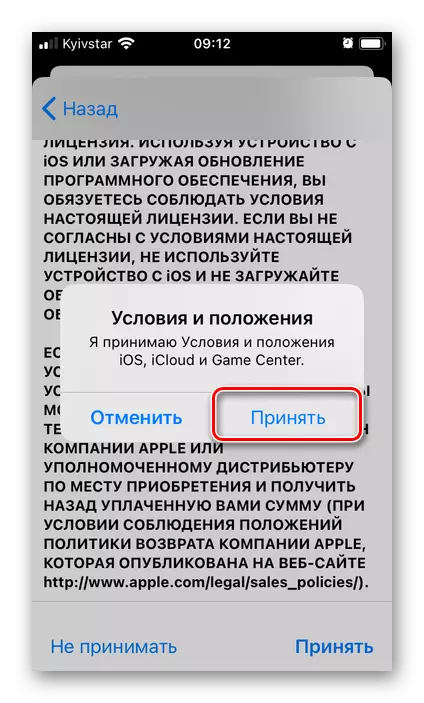
- Check out "Conditions and Regulations", SOLUING them down,
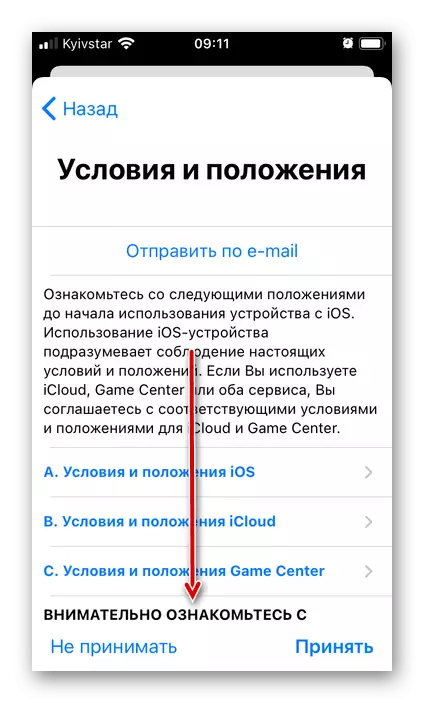
After that, tap "Accept" first below

And then in the pop-up window.
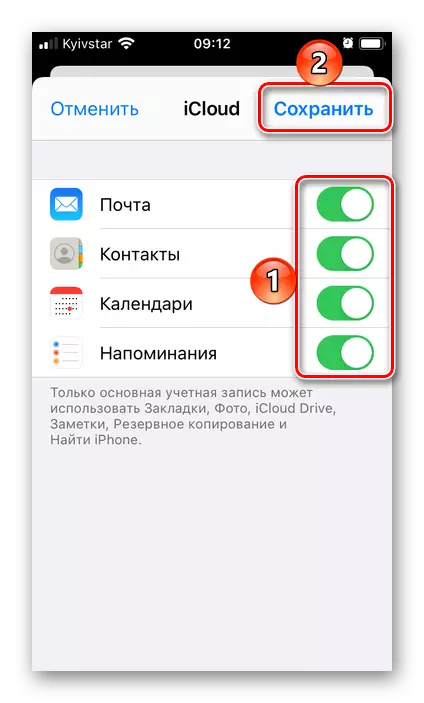
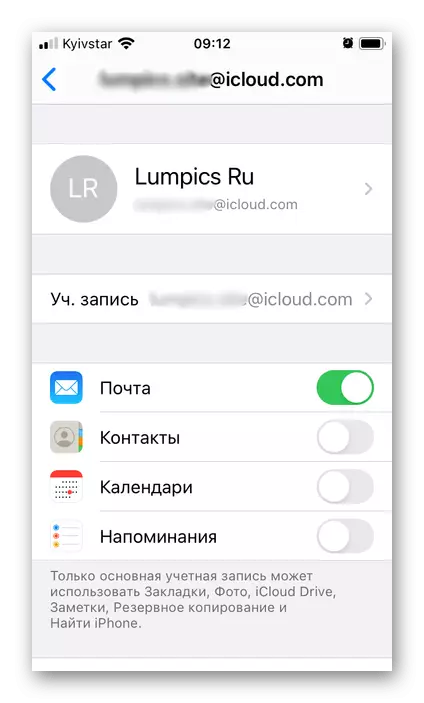
- On this, the creation of an ICLOUD mail, which is also a new Apple ID account, can be considered complete. In the settings section, open upon completion of the procedure, determine which data will be synchronized with it. You can leave all or only "Mail", after which the changes made must be "Save".


The registered account will be displayed in the "Accounts" settings section (Mail application), in which we switched to the second step of this instruction.
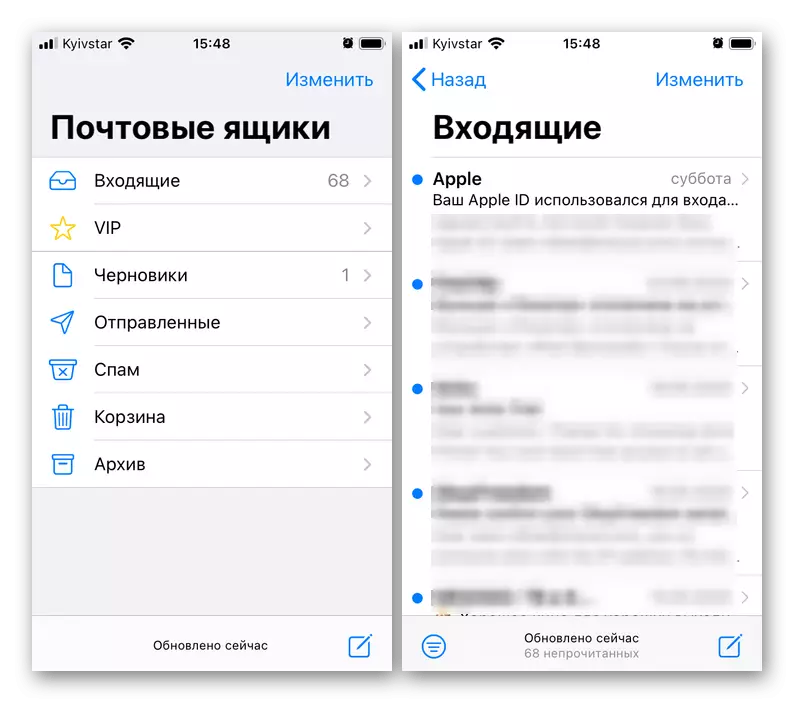
The electronic box itself is available for use in the standard Mail application.
Method 2: Gmail
Google, like Apple, also has its own postal service - Gmail. You can create a new box in the IOS application of the same name.
Download Gmail application from App Store
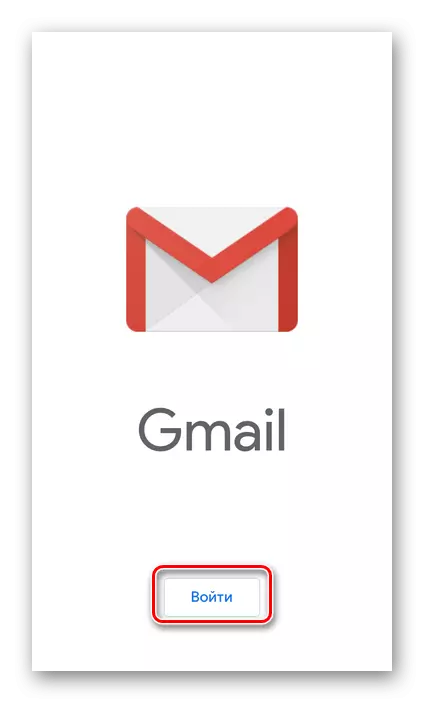
- Install the mail client and run it. On the main screen, click "Log in".
If a Google account is used on the iPhone, select it for input and tap "ready" in the upper left corner or immediately tap "Add account" and go to the next step.
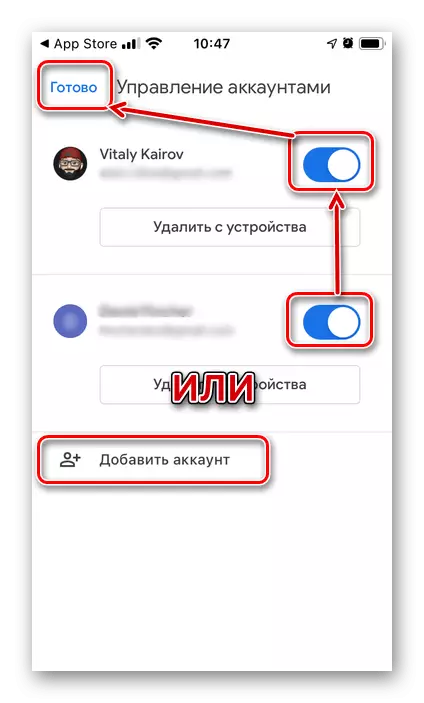
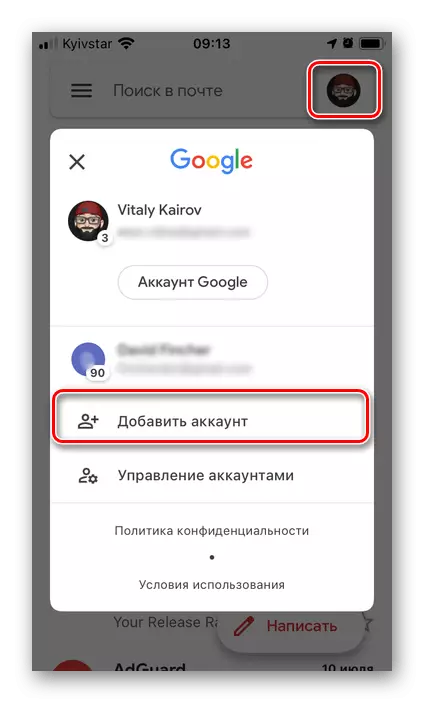
If you already use Gmail mail and logged in it, to register a new box, click on the image of your profile and select the Add Account in the pop-up window.
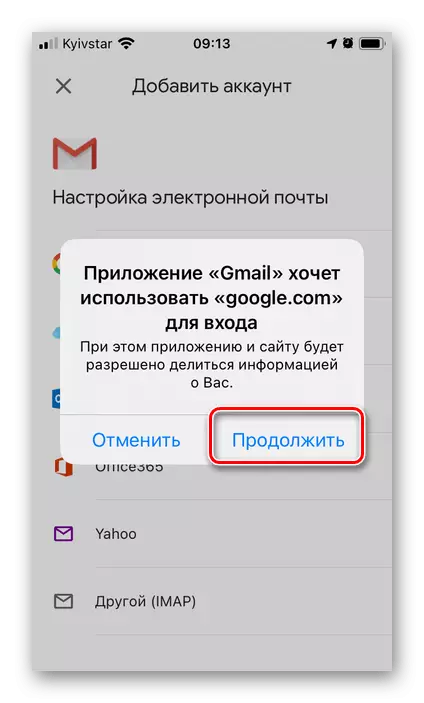
- Like the application "Mail" from Apple, its analogue from Google provides the ability to use different mail services, but you can not register not in all. In our example, the first option will be considered - "Google".
Selecting it, click "Continue" in the pop-up window.
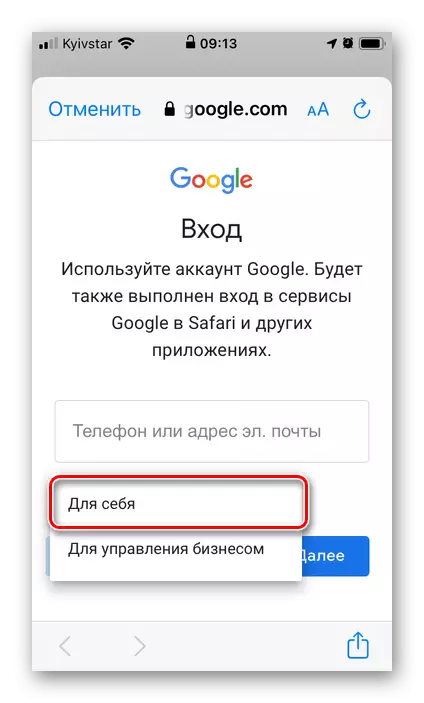
- On the entry page, tap on the inscription "Create Account"
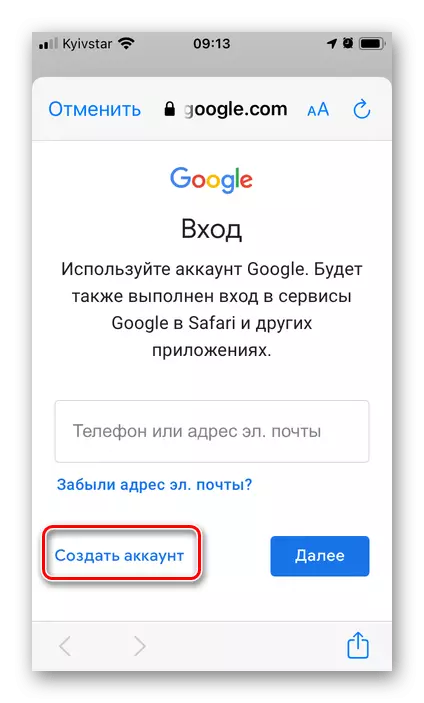
And select "for yourself."
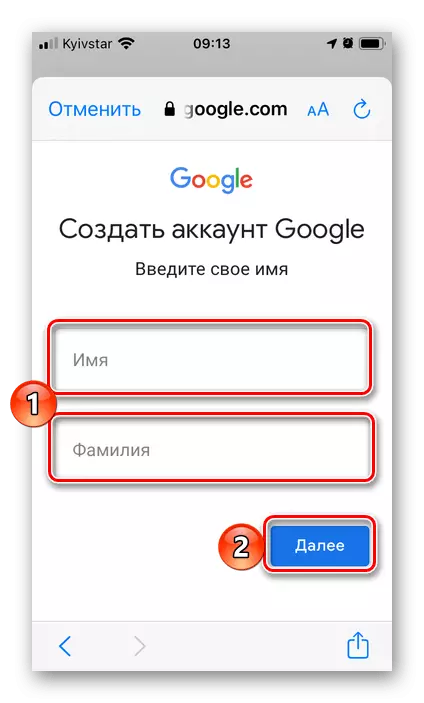
- Enter the name and surname, optionally real, then click "Next".
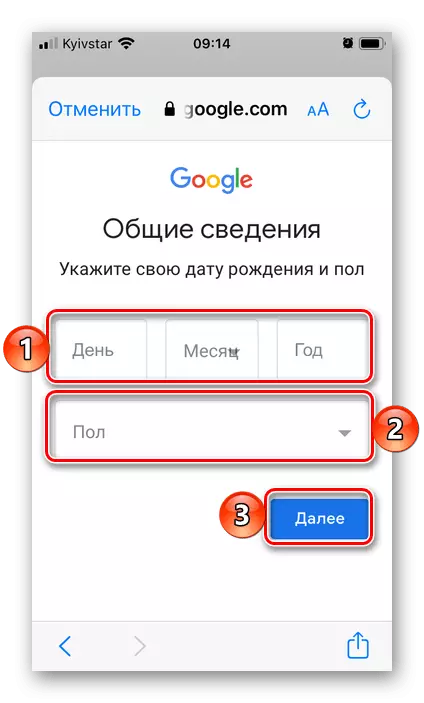
- Specify the date of birth and the floor, then go again "Next".
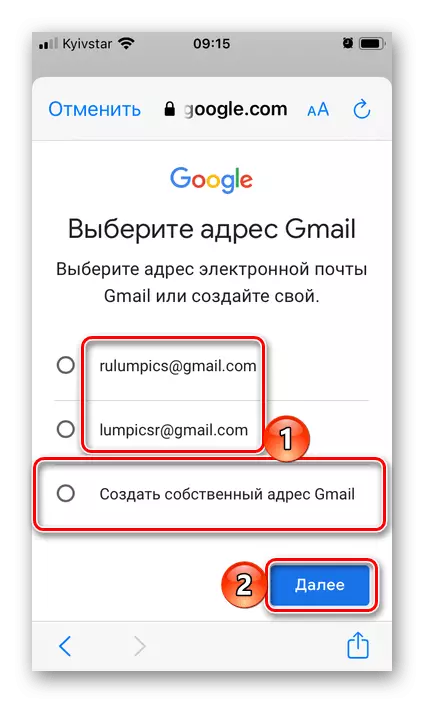
- Select the Gmail address generated by the service automatically based on the name you specified, or click "Create your own Gmail address."
- Come up with your own name for the mailbox, after which go "Next". Note that many can already be occupied, so you will need to come up with a unique value.
- Set a reliable password for mail and confirm it by entering again, then press "Next" again.
- Enter your phone number

or "skip" this step,
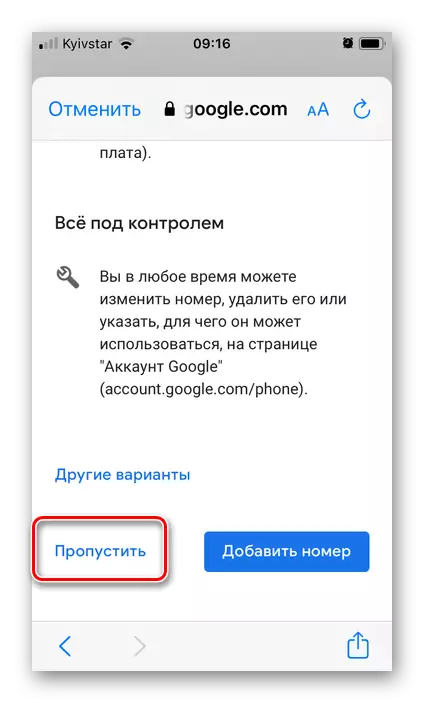
Selecting "Do not add a phone number"
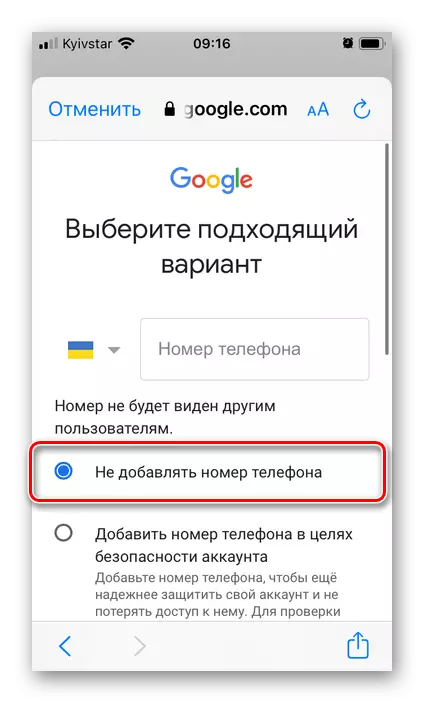
And tapping "ready."
- In the final window, check the specified information - the name and email address, then click Next.
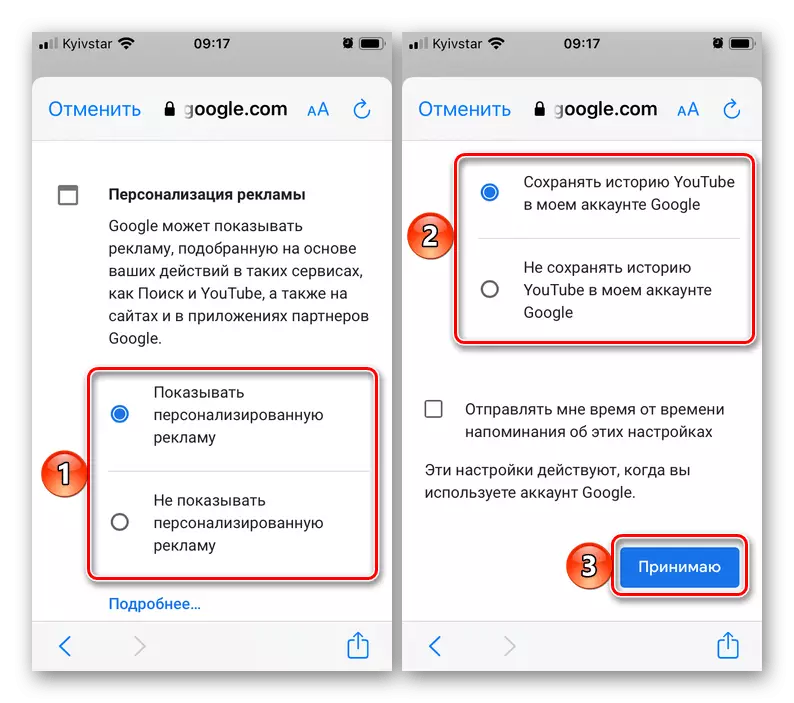
- Familiarize yourself with the information about the "Privacy and Terms of Use",
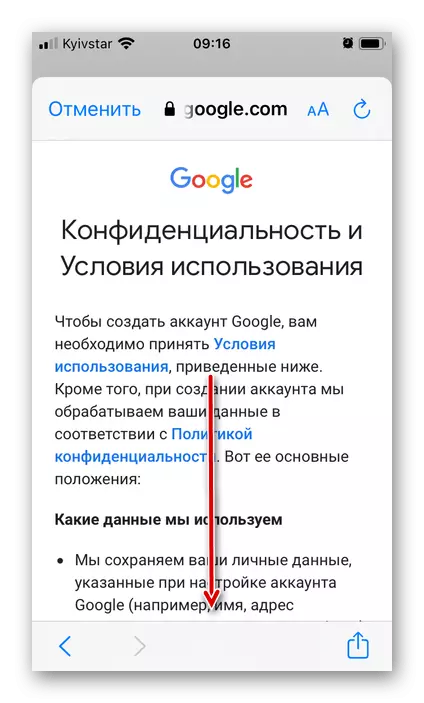
Frack page down
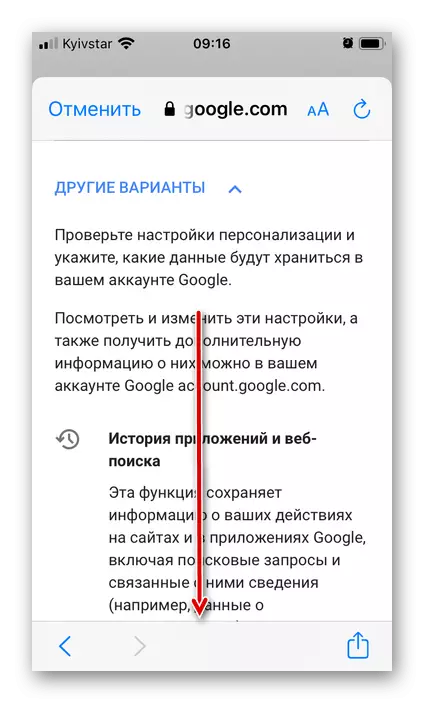
And noting the preferred parameters. To complete, tap "I accept".


Created mail will be added to the Gmail application and ready to use.

Method 3: Outlook
Another possible option for creating a mailbox on the iPhone provides the Outlook service owned by Microsoft. Consider how to register it.
Download Microsoft Outlook App Store
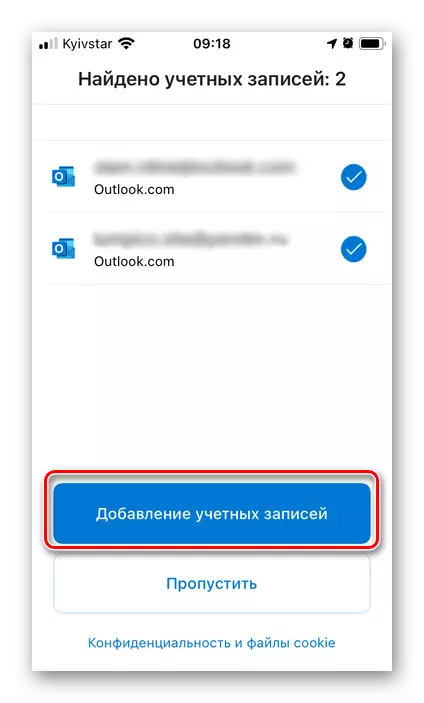
- Install the application, run it and click on the main screen to the "Adding Accounts" button.
- Next, tap "Create Account".
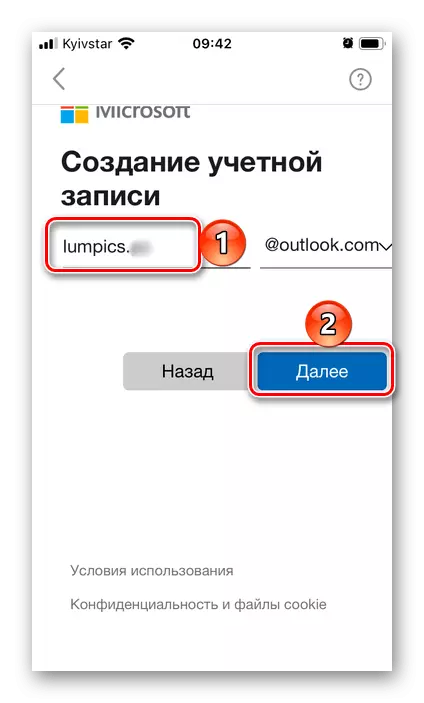
- Select a domain on which you want to register mail - Outlook or Hotmail. It is better to give preference to the first.
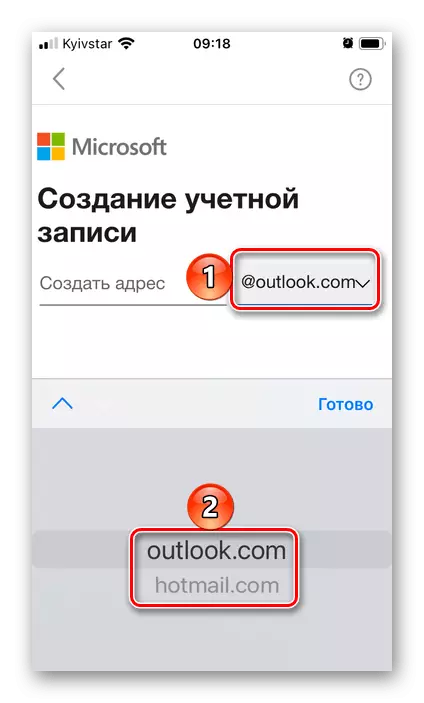
Then come up with a unique name for the box and click "Next".
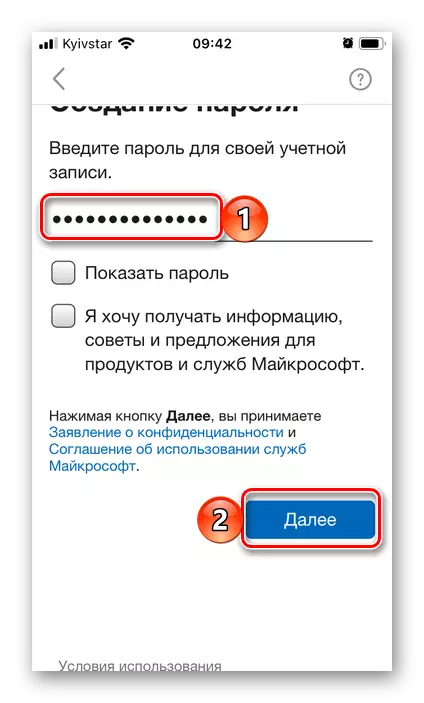
- Create a password and proceed again "Next".
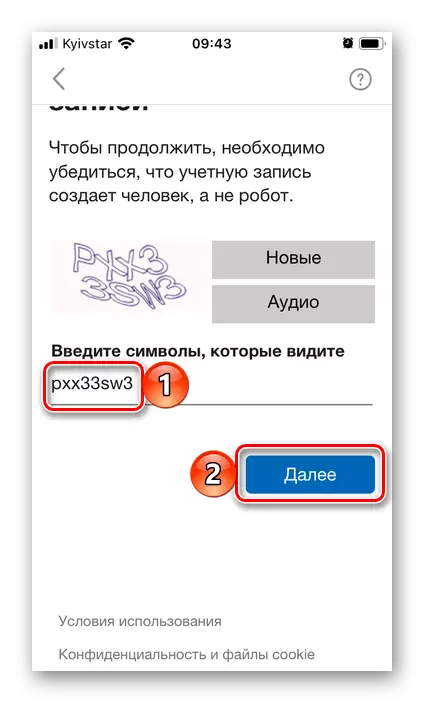
- Enter the characters on the Capper image, then click "Next".
- Check out the privacy parameters, first taping "Next",

and then "take"
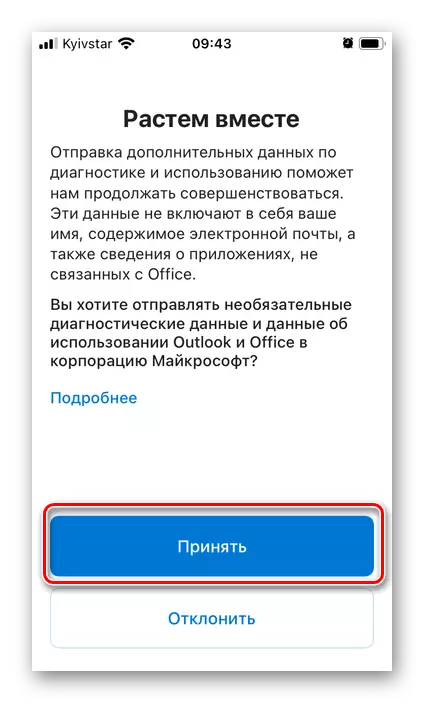
And "Go to Outlook" on the last page.

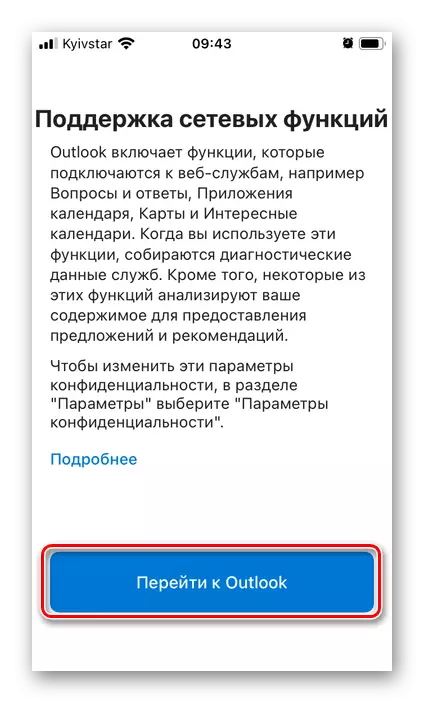
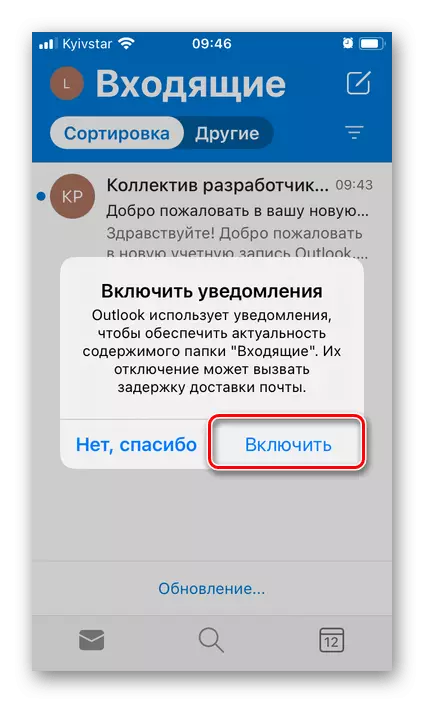
On this, the registration of the mailbox in Outlook is considered complete, but by default it will be open in the web version.

Restart the application to start using New Mail and, if you need you need, "Enable" the function of sending notifications.