Option 1: PC version
To download images on Google, a photo from a computer can be used at once in several means optimal in different situations. It does not matter that you will use the website of this service or the browser application.Method 1: Download from Computer
To load the image in Google photos from the computer's memory is quite easy regardless of the number of media files, including a one-time addition. At the same time, the service is strictly limited to supporting JPG, PNG, RAW and WEBP formats, as well as resolution up to 4920 × 3264 pixels.
Official site Google photo
- Use the link presented above to open the service site, and in the upper right corner, click "Download". Previously need authorization.

Note: If you want to add a file to a specific album, you should use the button "Add photo" in the desired directory.
When you appear the Upload photo menu, select the "From Computer" option by clicking on the appropriate line.
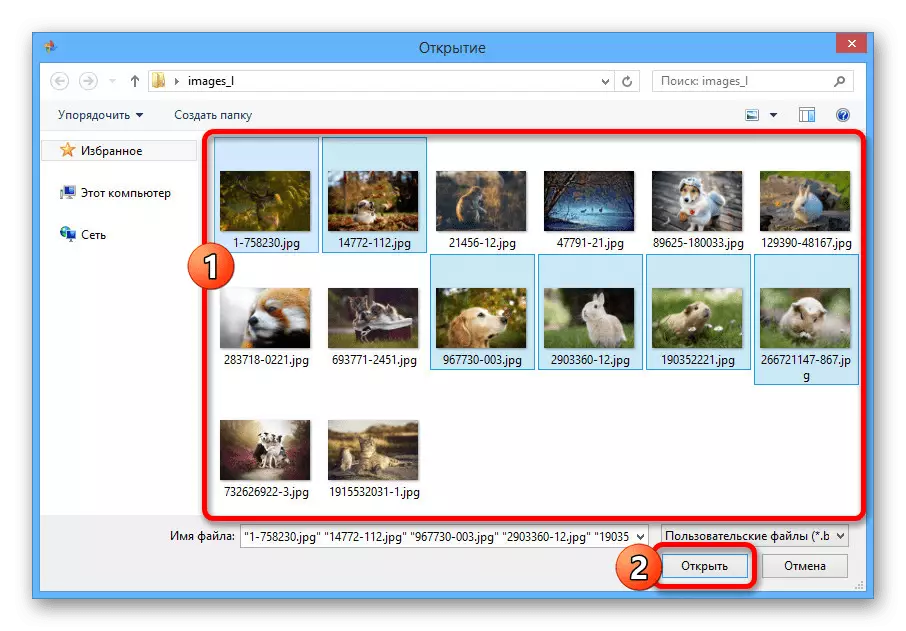
- Once in the Opening window, find the folder with images on the PC and select the necessary files. To go to download, click Open.
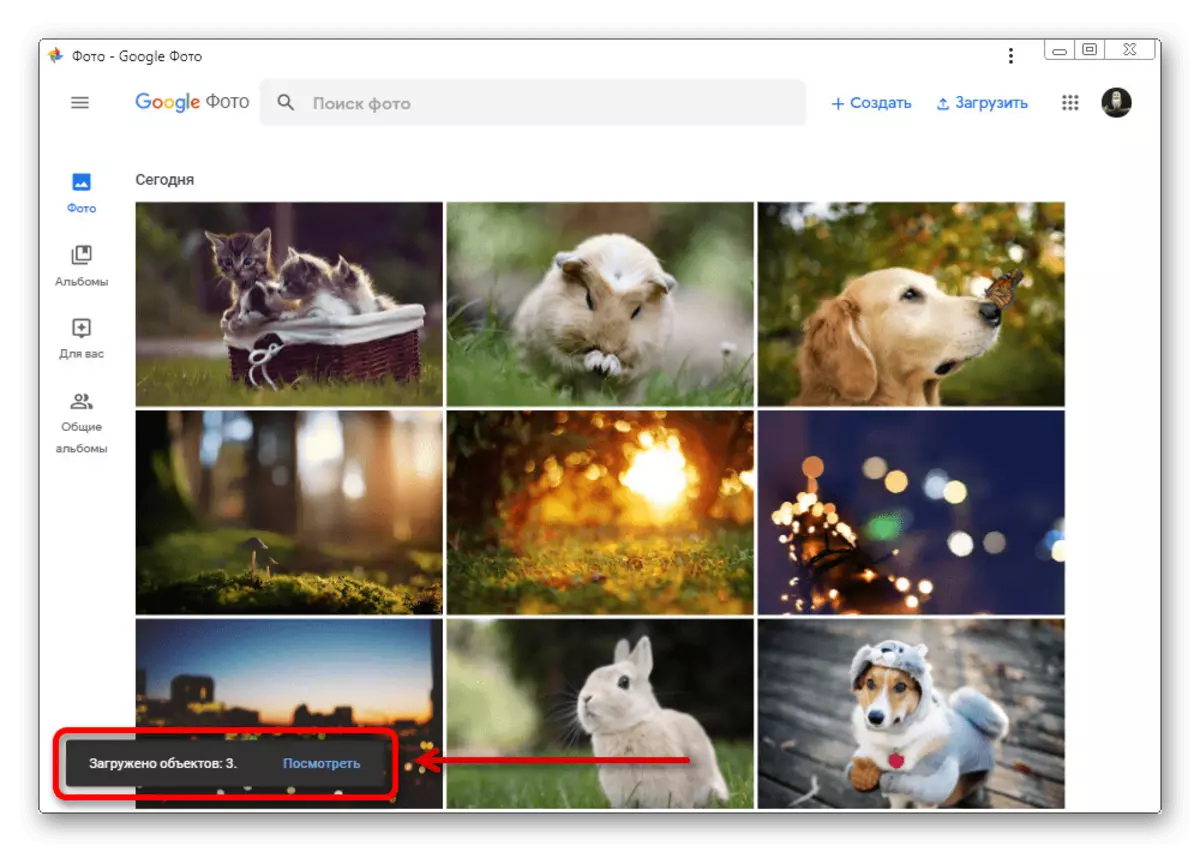
Immediately after that, a notification of the download with information on the number of photos and the status of the procedure will appear in the lower corner of the website.

Upon completion, another alert will be presented in the same screen area, which can be used to quickly transfer photos to some of the albums. Uploaded pictures are usually grouped not by the date of addition, but by the date of creation.
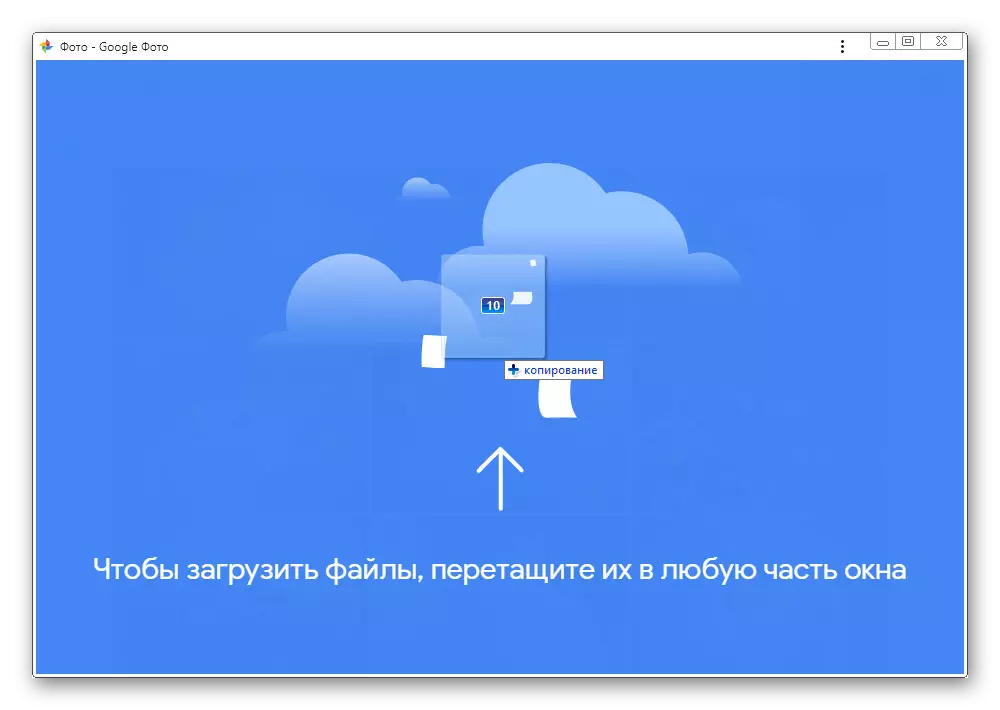
- Alternatively, you can easily select suitable files on the PC and simply drag to any place on the Google Photo website. This will allow you to immediately start loading with the same results.
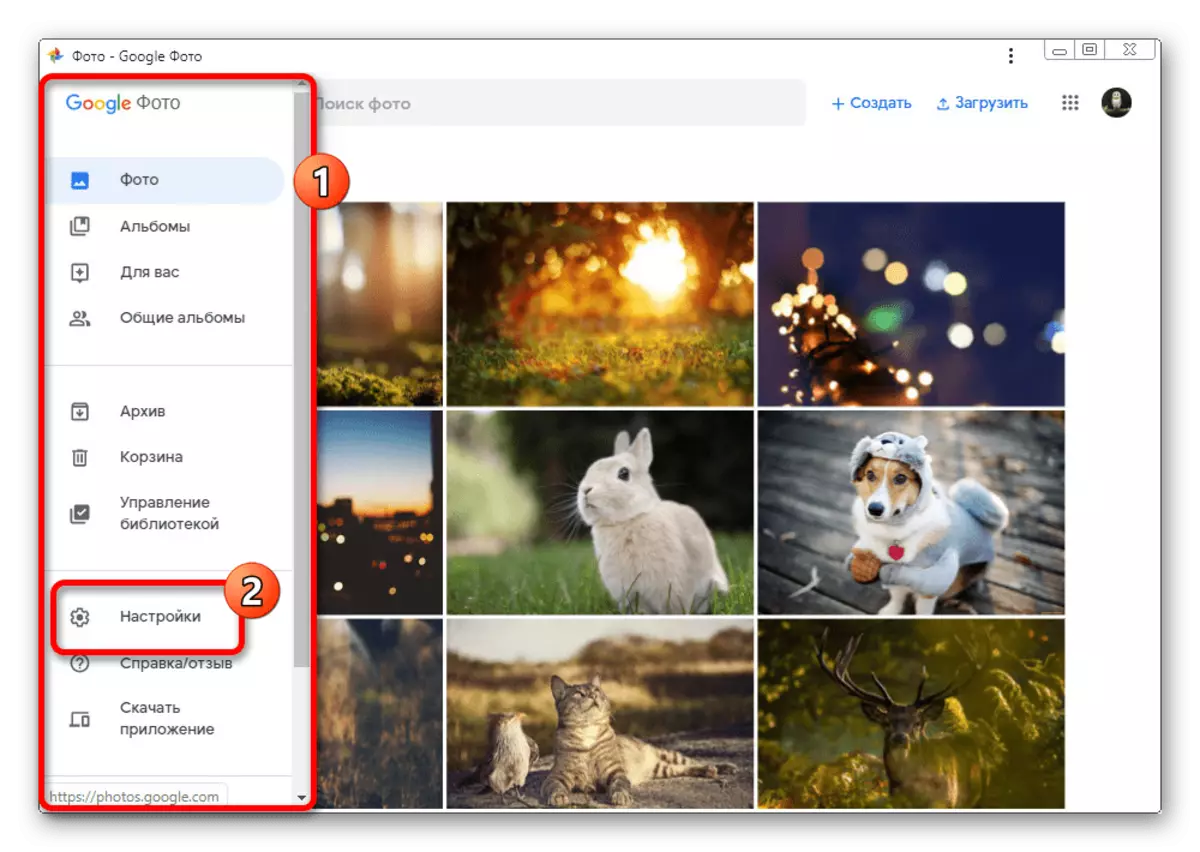
- If you first upload photos to the cloud, in addition to the specified notifications, you will also be asked to select the quality of the pictures after adding. To find these parameters and in any other situations, open the main menu and select "Settings".
Here there are two options with a fairly accurate description, each of which will eventually be automatically applied to all new files. What exactly choose, depends only on your requirements.


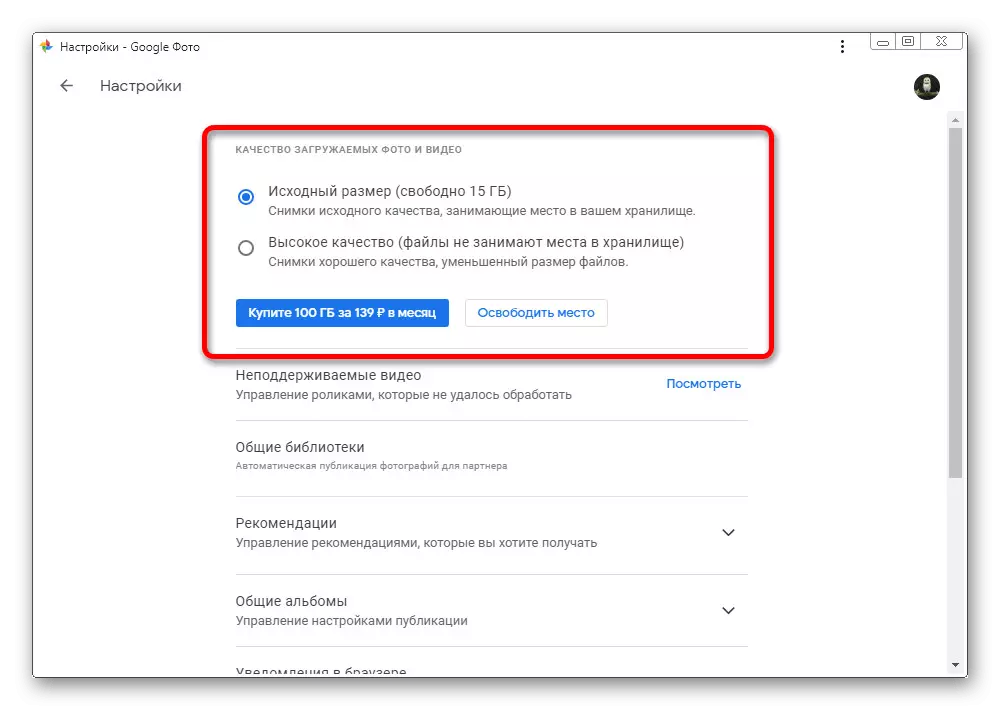
With sufficiently frequent download of photos with the original quality parameters, as a result, the dedicated place can end up on the disk. To this not happen, follow the status of the repository or connect paid rates.
Method 2: Adding from Google Disc
Another way to download photos to the site under consideration is to import files from another cloud storage - Google disk. On the images added in this way, completely similar limitations are distributed, as in the previous case.
- On the top of the online service panel, click the left mouse button on the "Download" button.

From this menu, select the option "Google Disc".
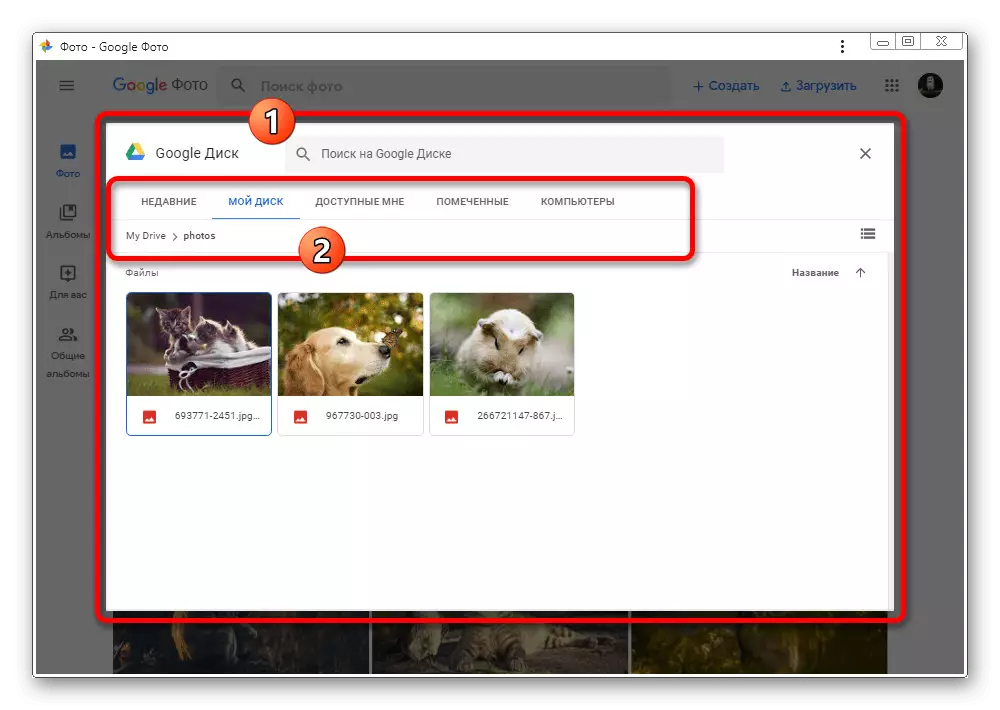
- When the pop-up window appears that displays all the files suitable and parameters, find the desired images.
- To start copying to Google photos, select the pictures by pressing the LKM and use the Upload link on the bottom panel.
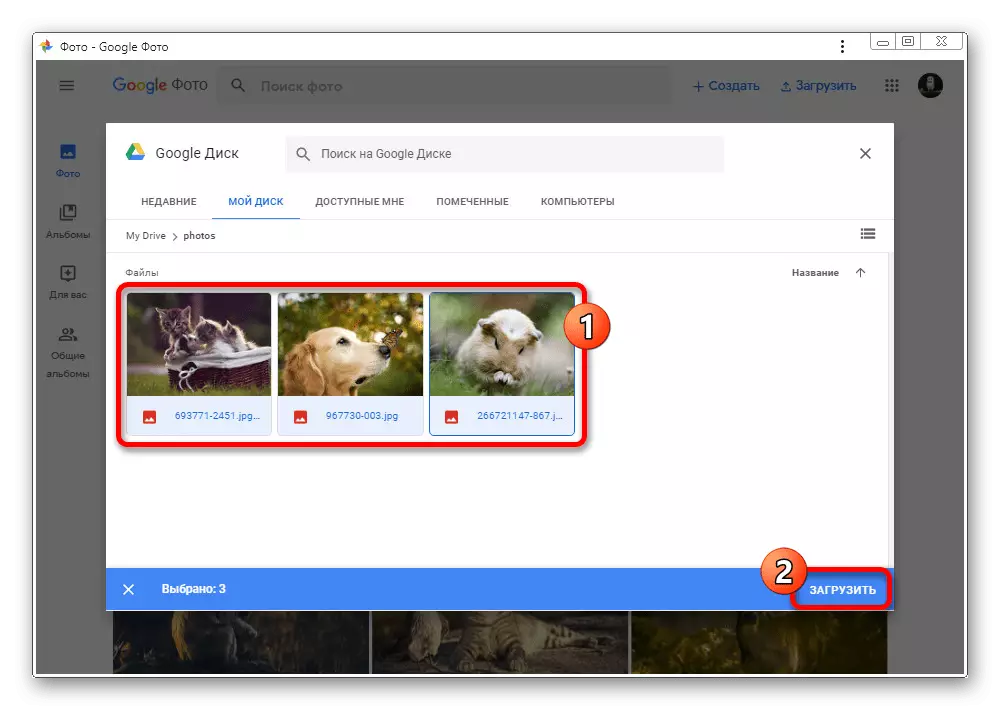
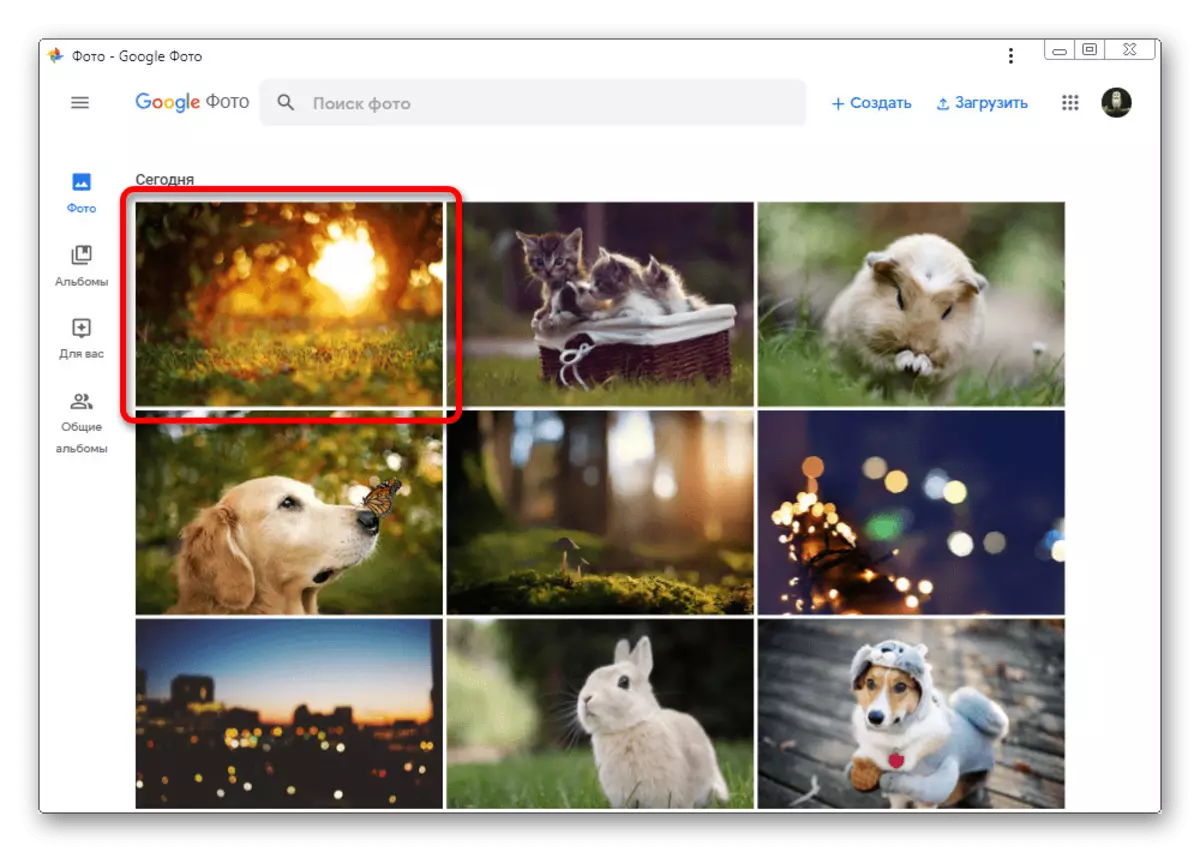
As a result, an instantaneous transfer will be made and a corresponding notification will appear. The pictures themselves can be found on the main page, in the "Today" section.

Photos added from the Google disk, in any case will be loaded into a common album, requiring a separate sorting if necessary. In addition, during imports, the quality assigned to the "settings" of this service is automatically installed and without the possibility of change.
Method 3: Autoload and Synchronization
The last option of downloading images in Google Photos from a computer is reduced to using a special program that produces automatic search for suitable files in specific folders and loading to the cloud storage. Unlike the cases discussed above, it requires minimal interference on your part, not counting the preparation of software.
Download App Running and Synchronization from the Official Site
Step 1: Installation
- Using the above link or the main menu of the web service, go to the program page. To start the download, click "Download".
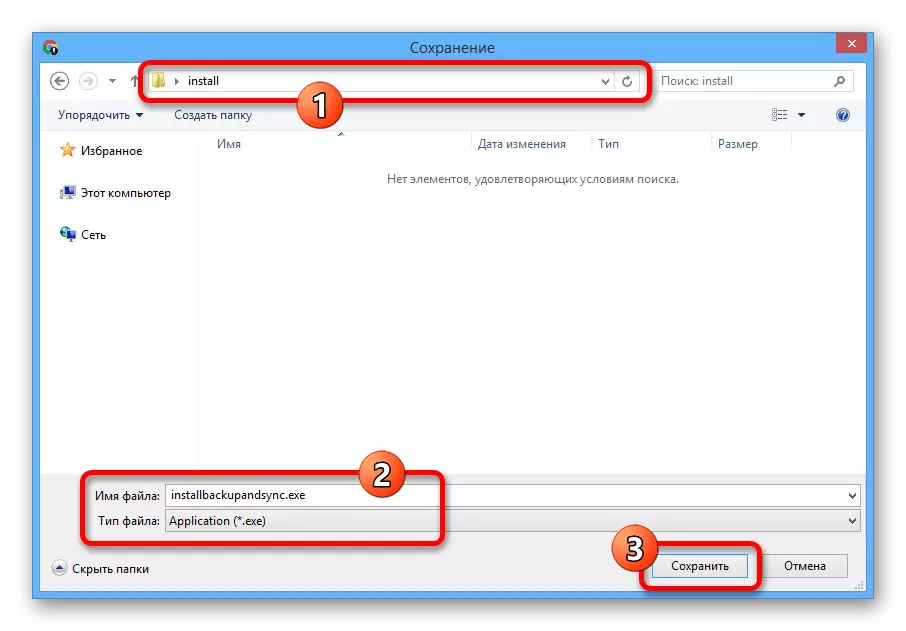
- In a new window "Saving", select any convenient place on your computer and click "Save".
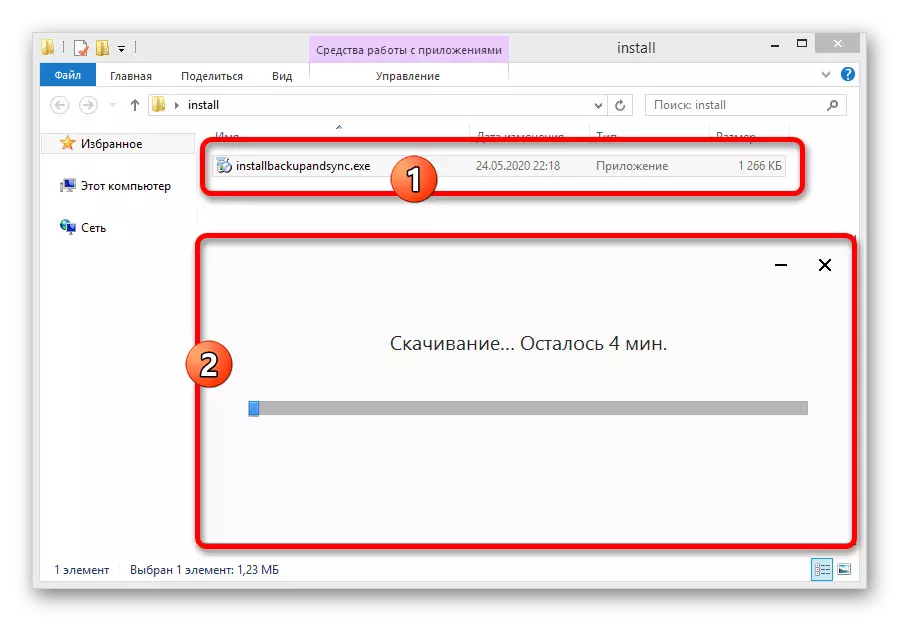
- Open the selected folder and double-click on the installation file. After that, download and automatically install the program will begin.

Step 2: Setup
- After waiting for the download, you will find yourself on the welcome page of the application with the requirement to click "Start". If the start by some reasons did not occur, you can open the program through the "Start" menu.
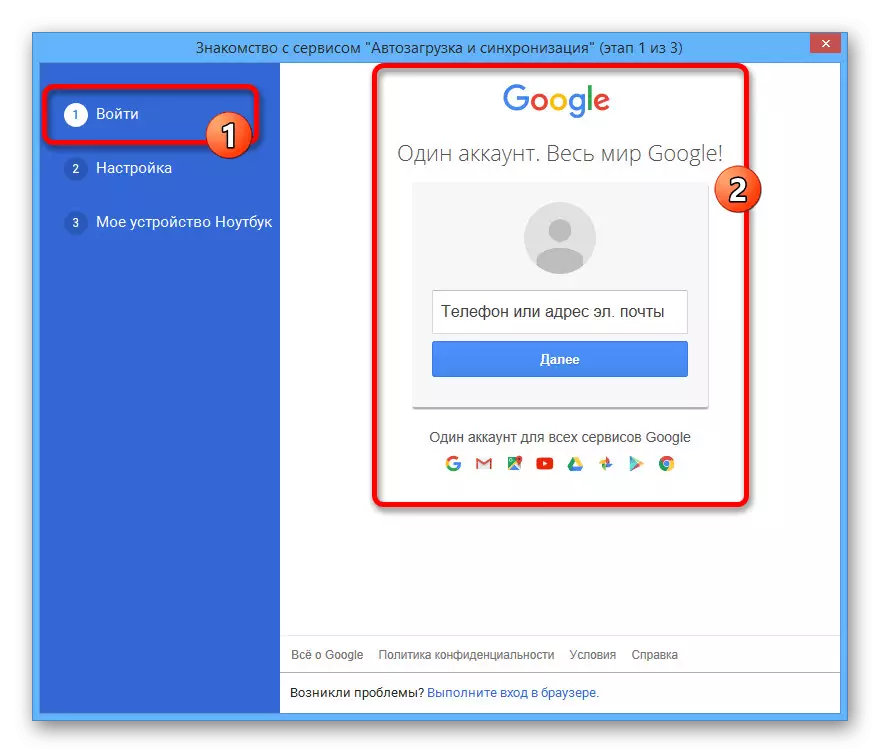
- At the first stage, you need to authorize in the Google account. The procedure does not differ from the filling of the usual form on the site of this company.
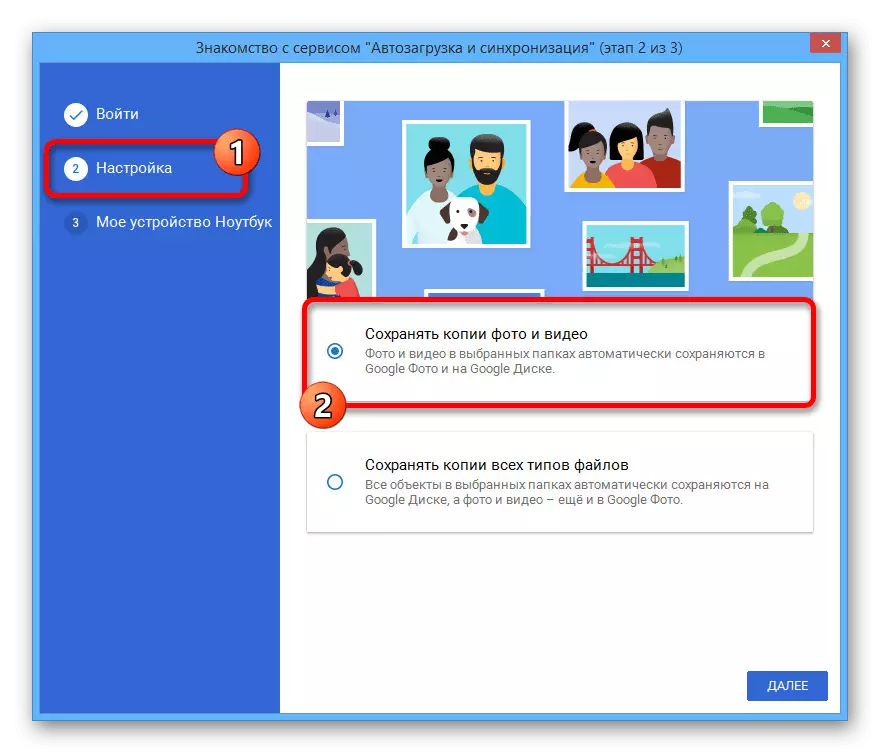
- Once at the second stage "Setup", select "Save Copies Photos and Video". You can also install a marker next to another option if you want to synchronize files not only with Google Photo, but also with a disc.
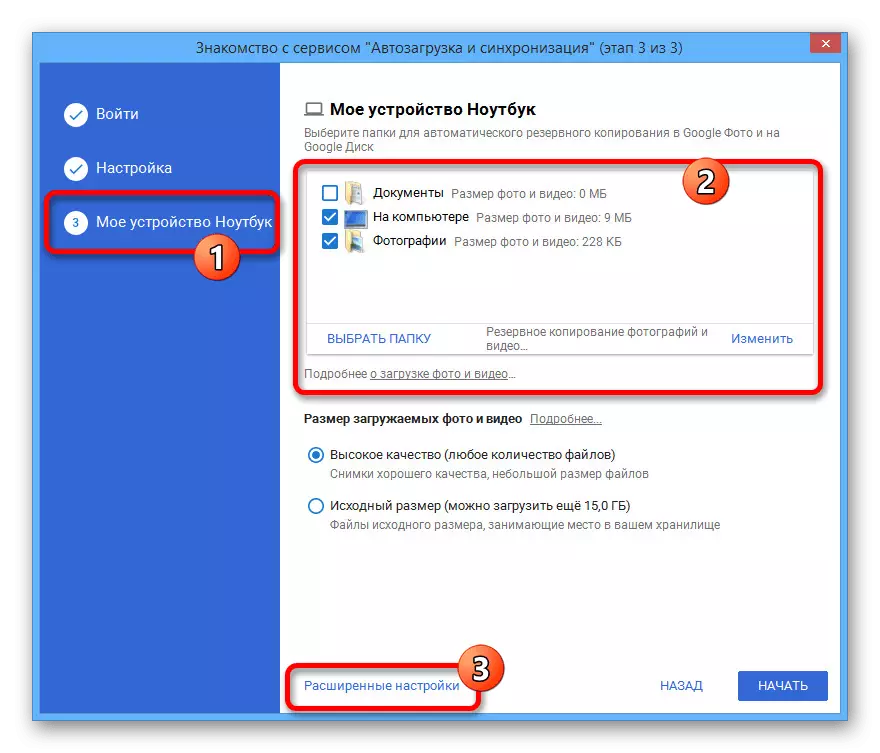
- After pressing "Next", the "My Device" page opens. Use the main block with the folder structure to select the directory from which the images will be automatically loaded.
Be careful! If you choose the option "On the computer" It will be synchronized not only photos, but also videos stored on the system disk.
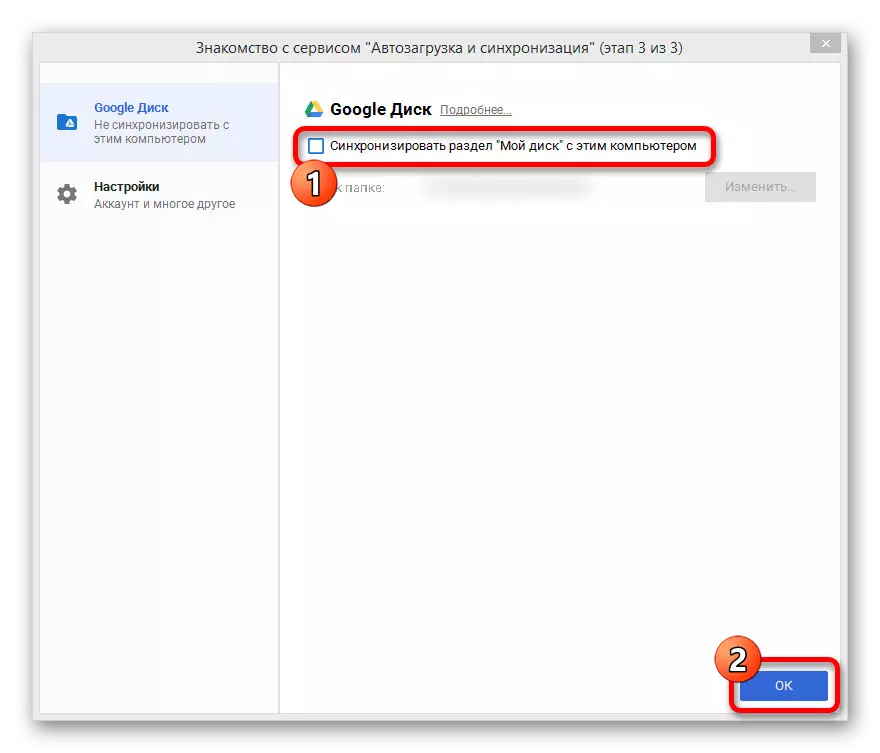
- Additionally, open "Advanced Options" and remove the checkbox on the Google Disc page. This will allow you to synchronize the data only from Google photo.
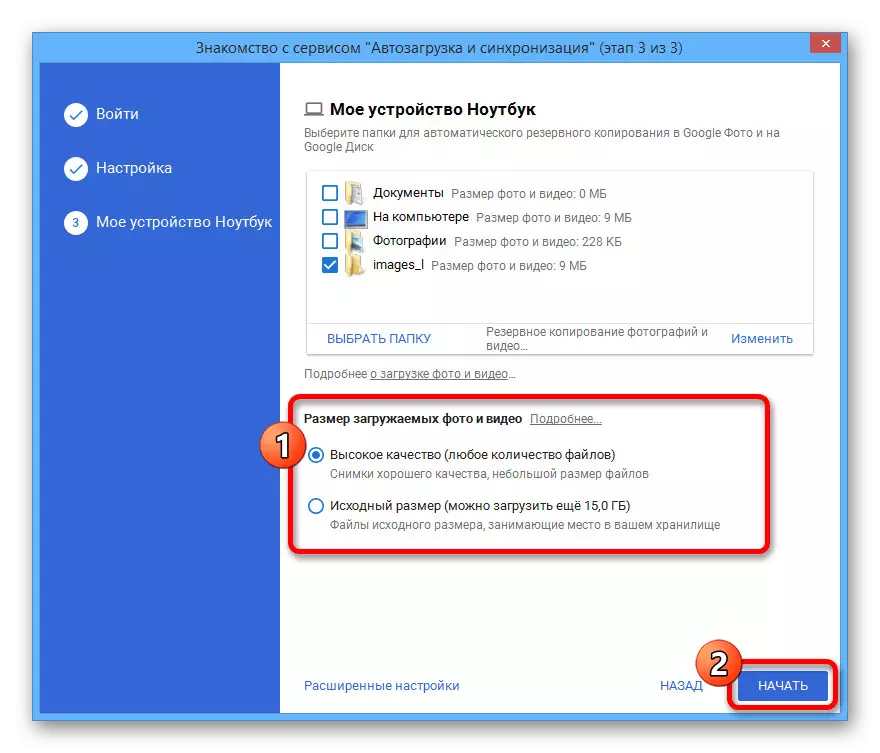
- Return to the "My Device" tab, select the appropriate option in the "Size of the Uploaded Photo and Video" and click "Start". You should not neglect the quality setting, since the autoload and synchronization will ignore the parameters of the online service.
When synchronization notification appears in the lower corner, wait some time until full file updates.

Step 3: Download photo
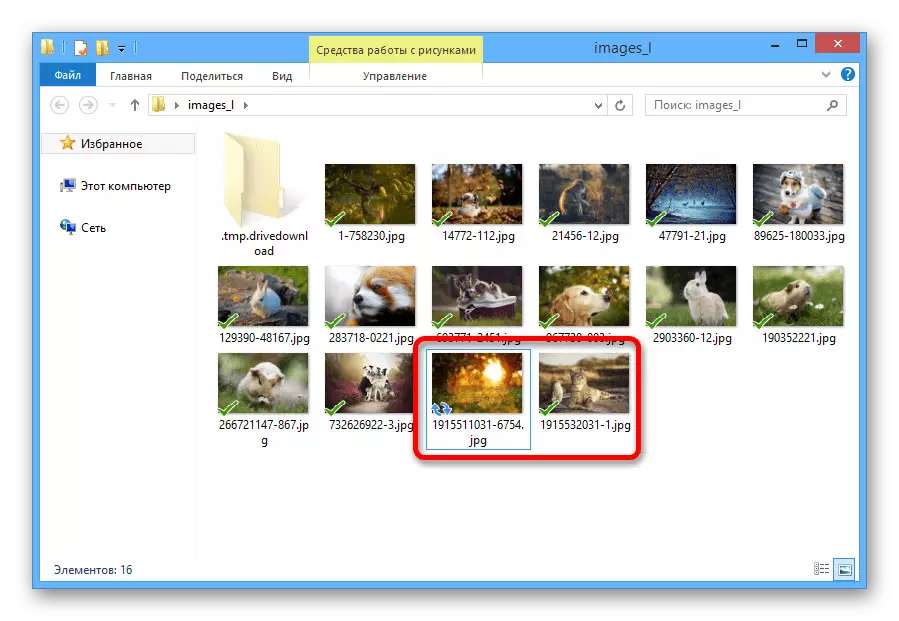
- To duplicate the file in the Google Photo Storage, it will be enough to add a supported image to the folder installed in the settings of the program under consideration.
- Loading in this case will be made immediately and the snapshot will appear on the service website.
Deleting already synchronized files from the directory will not affect the material status in the cloud. As you can see, add files to Google's website photo is quite easy.
Option 2: Mobile application
On mobile devices running Android and iOS, the Google photo is also available, but already as a separate application. And although the interface remains virtually unchanged, the loading procedure in this case differs significantly from the previous version.Method 1: Adding from the device
After downloading and installing software from the official store, the application immediately checks the device's memory for compatible files, and in the future it does it constantly even when the synchronization function is turned off. Because of this feature, the program will somehow be used as a viewing tool, while providing the download tool for individual pictures.
Download Google Photo from Google Play Market
Download Google Photos from App Store
Single loading
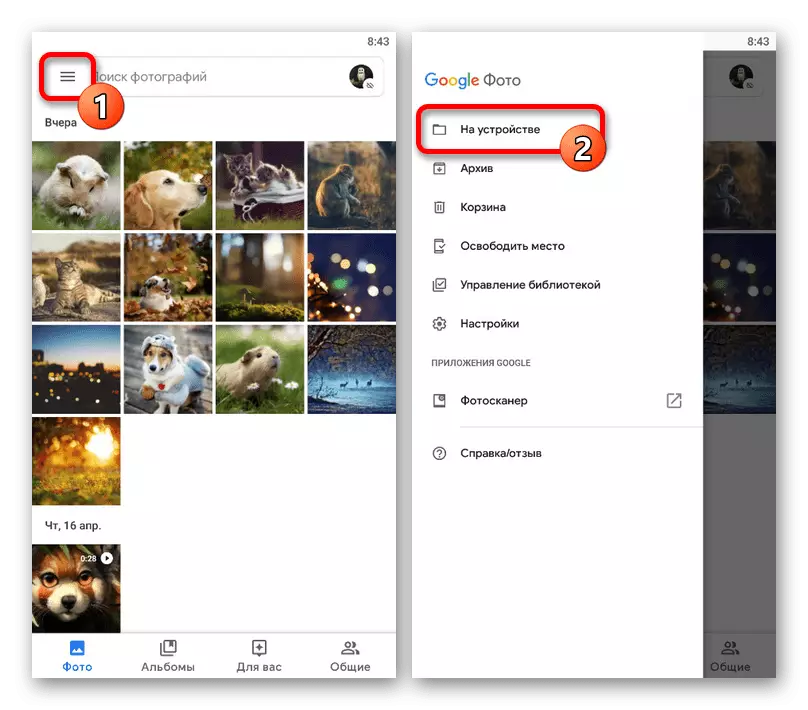
- To add some particular photo to the cloud, expand the main menu in the upper left corner and in the list below, select the "on the device" section.
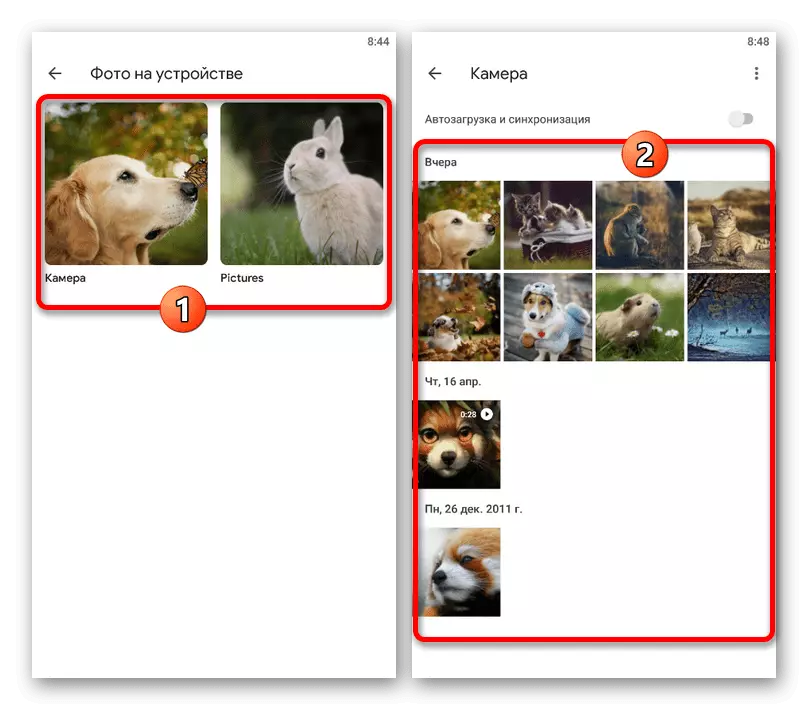
- When the directory list appears, go to the location and tap the file you need. As a result, the image opens in full-screen viewing mode.
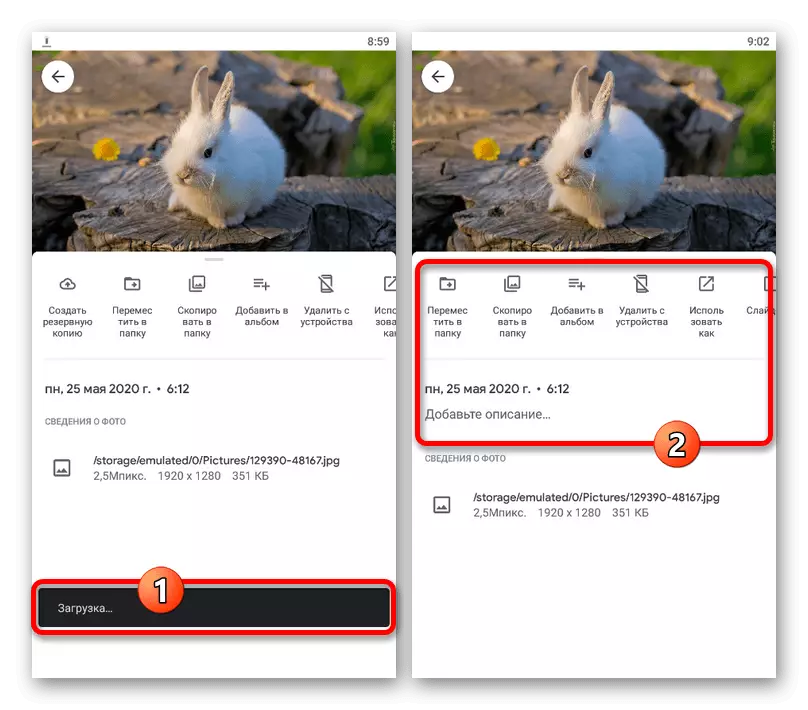
- Click the icon with three vertical points in the right corner or simply swipe the upscreen to open the control panel. Here, under the area with the image, you need to use the "Create Backup" icon.
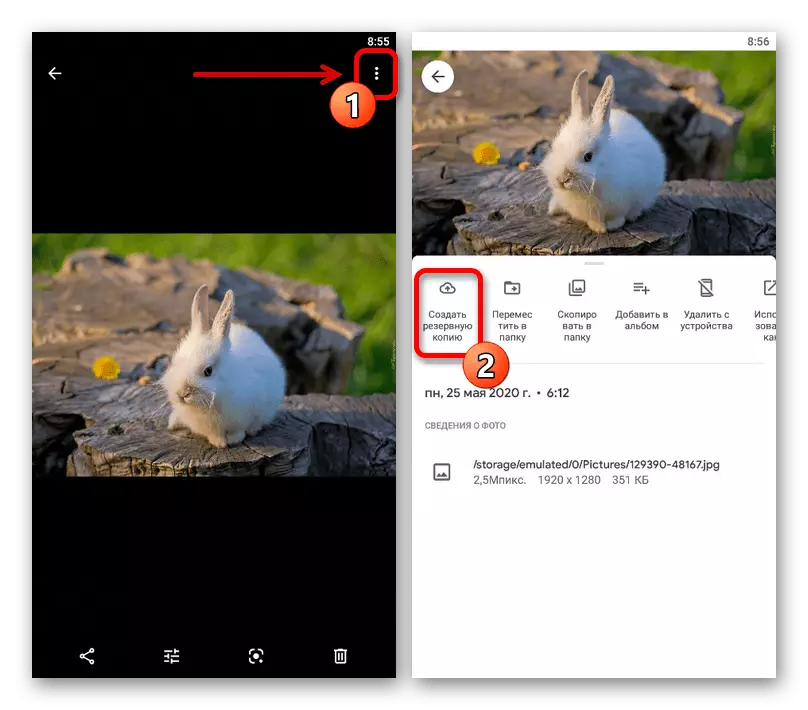
In case of successful completion of the procedure, the button under the card will change and a new field "Add a description" will appear. As it is easy to guess, from this point in the photo will be stored in the cloud and can be removed from the device.
Mass loading
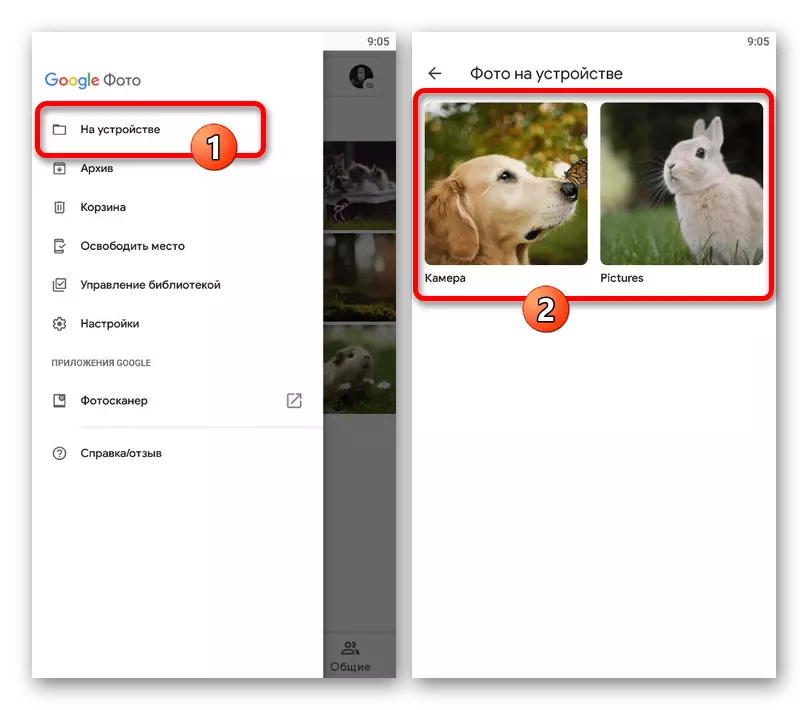
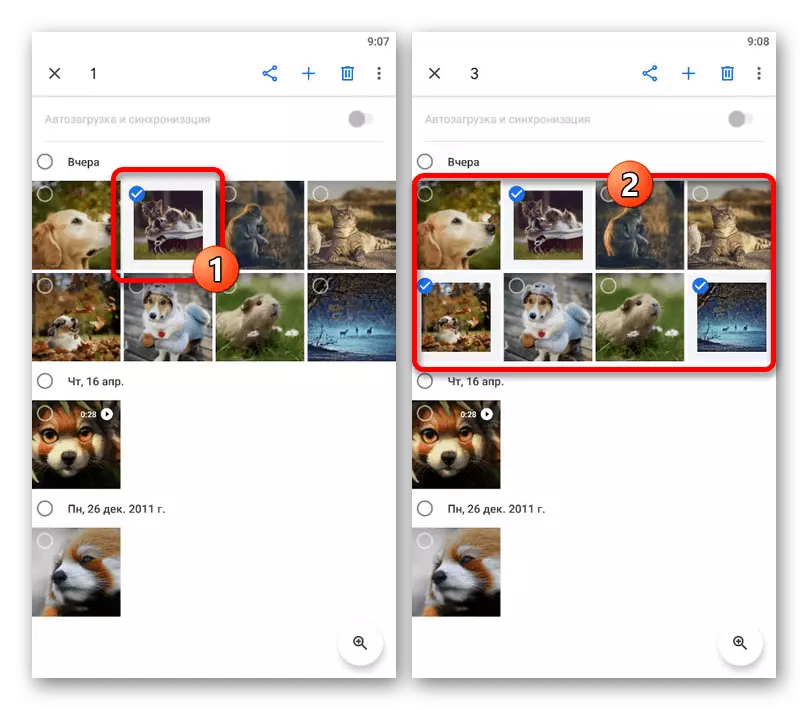
- If necessary, the application can be used to copy a large number of files into the cloud storage. To do this, open the "On Device" section through the Main Menu and select the desired directory.
- Touch one of the downloaded photos and hold for a few seconds before the panel appears at the top of the screen. After that, you can highlight the rest of the pictures with a single touch, unfortunately, only manually.
- After completing the file selection, in the upper right corner, click on three points and select "Start Download".

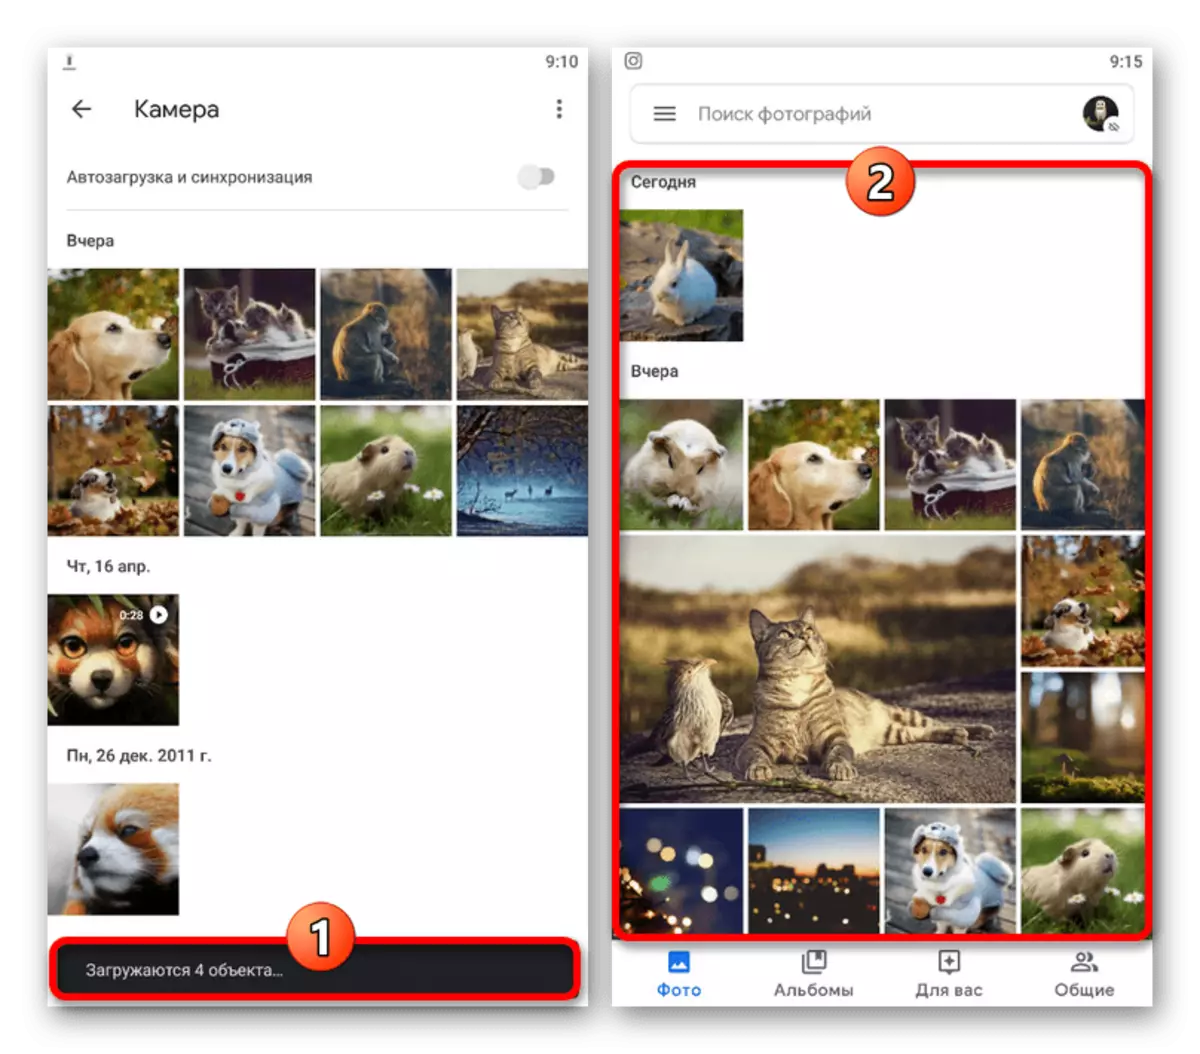
Each selected snapshot without an identical backup will be downloaded, which you will learn from the appropriate notification.
Method 2: Automatic Download
Unlike the computer, the Mobile Google application photo provides the default tools for automatic searching and downloading compatible media files from the phone. This can be used to simplify the addition procedure.
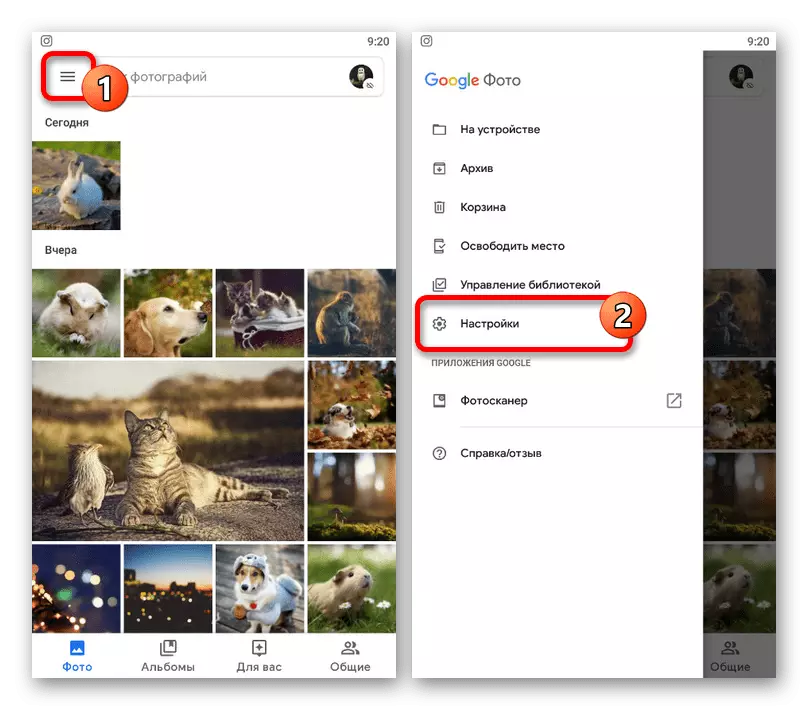
- Being in the application, tap the menu icon in the left corner of the screen and select "Settings".
- Through the submitted list, open the "Auto-loading and Synchronization" page and tap the Identical Signature switch.
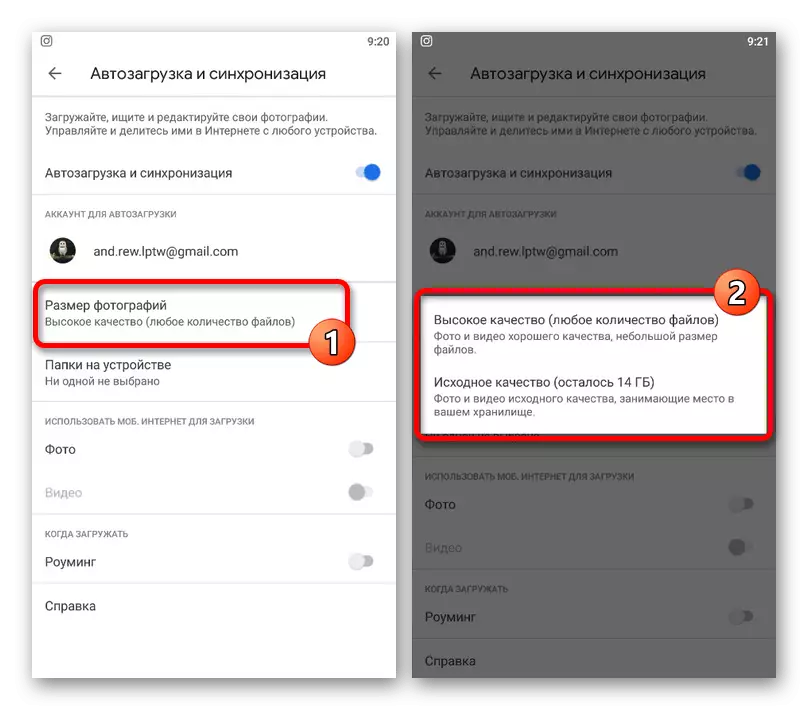
- When auxiliary parameters appear, to start open the "Photo Size" settings and select the appropriate option to be applied to all new downloads.
- To start sync in the "Use Mob. Internet for download »Use the" Photo "switcher.
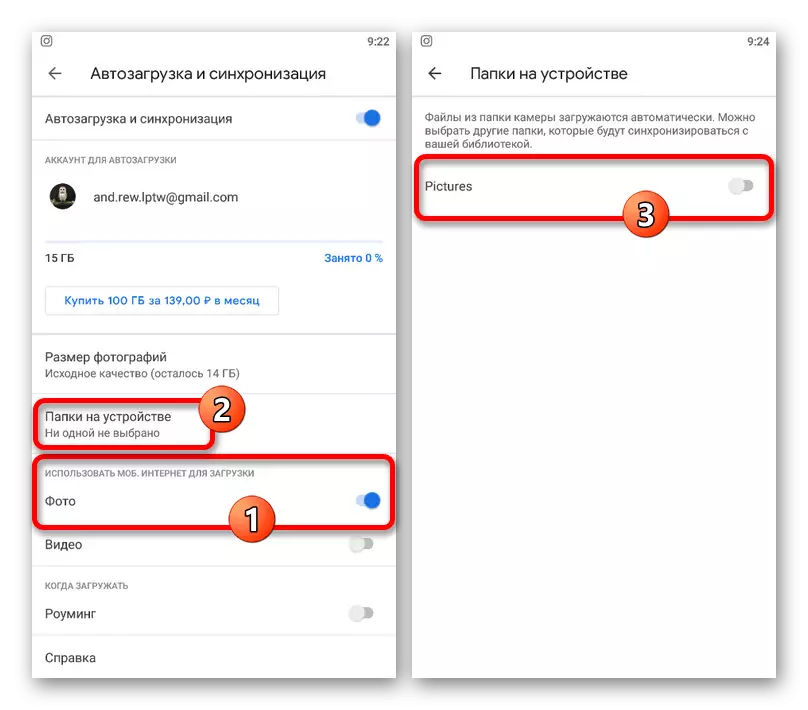
After some time on the same page, open the "folders on the device" section and turn on the directories, the files of which you want to copy to the cloud.

The presented method can be used on a temporary basis, including and disconnecting the described options. In addition, it is done literally in a couple of minutes.
Method 3: File Manager
Snapshots stored in the memory can be added to Google Photo using almost any file manager. As an example, we will be involved quite well-known ES conductor.
- By running the File Manager and opening the directory with the images, tap the desired card and hold a few seconds before the tick appears. At this stage, you can also highlight other pictures in the folder.
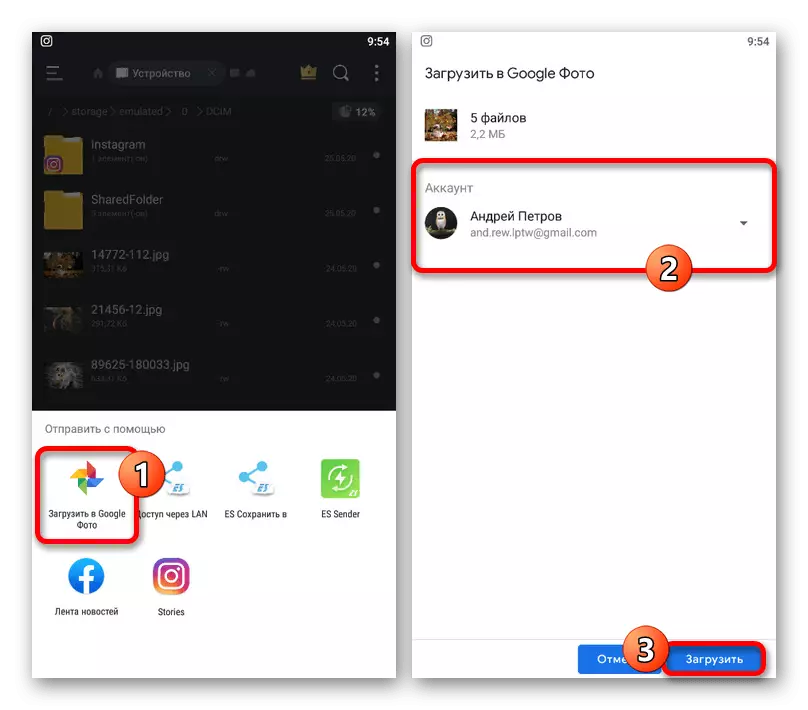
- On the bottom panel of the application, use the "still" button and select "Send" through the menu. Please note, you need the point marked in the screenshot, and not the one at the beginning of the list.
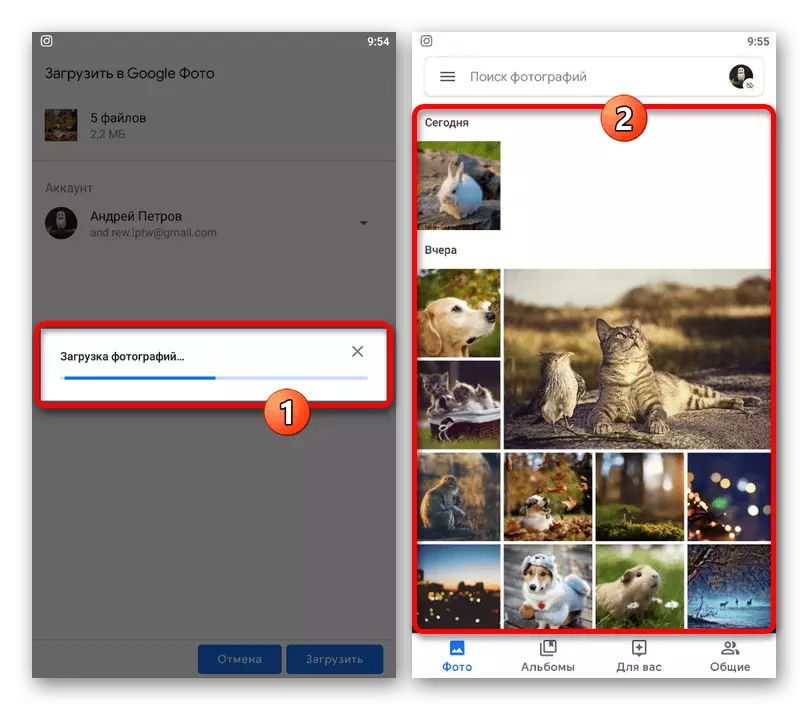
- In the pop-up window with sources options, select "Download in Google Photo" to go to add. Here you need to select an account if there are several of them, and click "Download" at the bottom of the screen.
Until complete completion, the procedure should not close the application so as not to interrupt the data transfer. After that, do not forget to check the Google photo for the appearance of new files.