

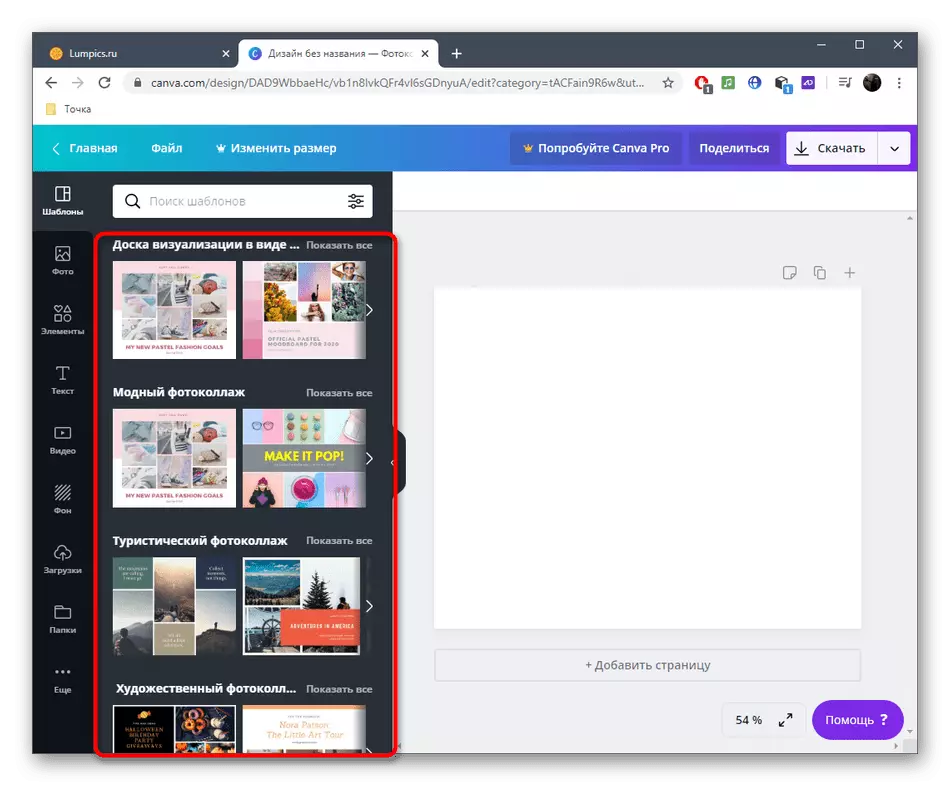
Method 1: Canva
Canva is an online service whose functionality is focused on working with graphic projects of different levels. There are billets, allowing to create a collage by attaching the minimum amount of effort. You can do without the use of premium objects, developing it for free.
Go to the canva online service
- Open the CANVA main page by clicking on the link above. There you are interested in the "Create Collage" button.
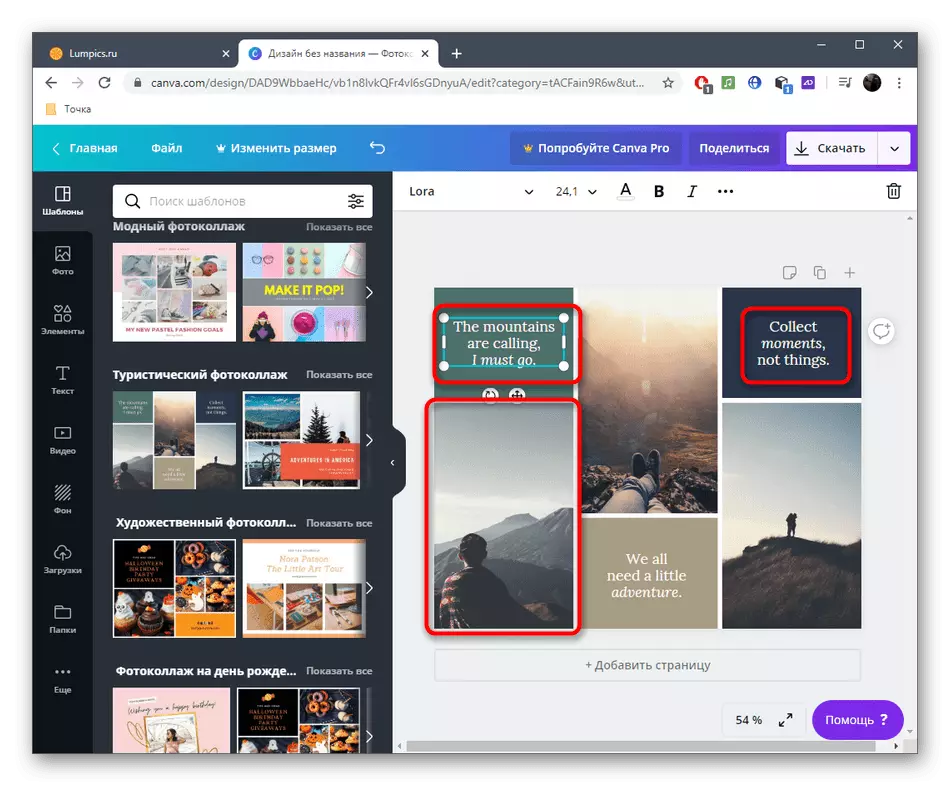
- You can form the location of the items yourself, but it does not prevent anything preventing anything ready for example, by simply editing them.
- Remove all the extra inscriptions and photos on the template to build a project again.
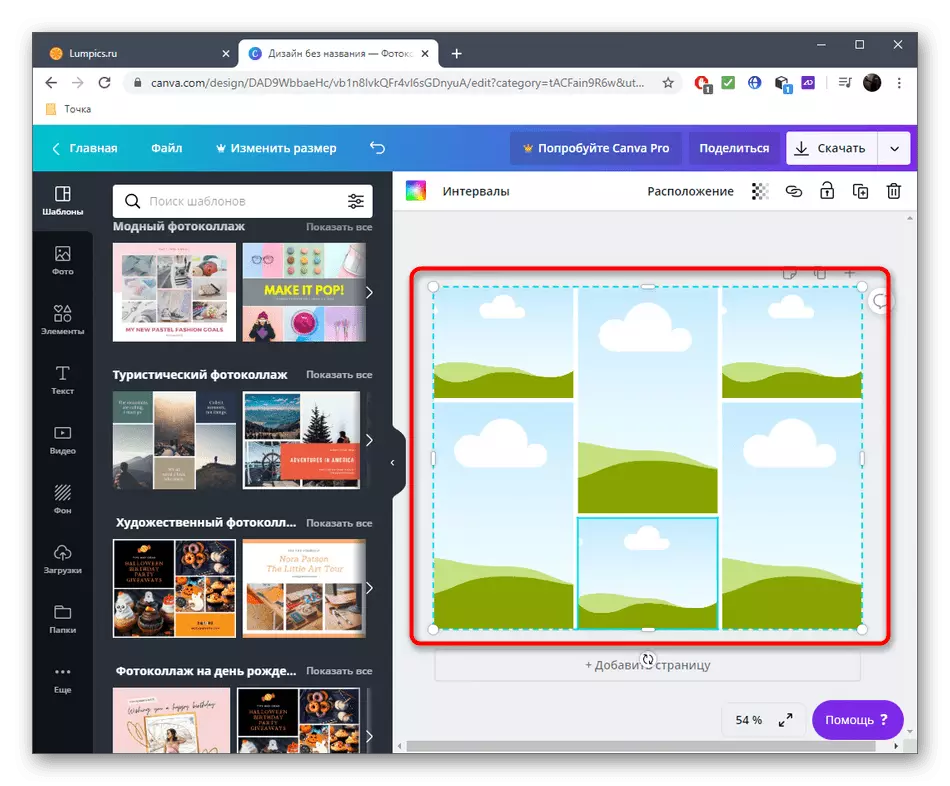
- Now you see that there are only empty items of a certain form, which means that you can proceed to add your own photos.
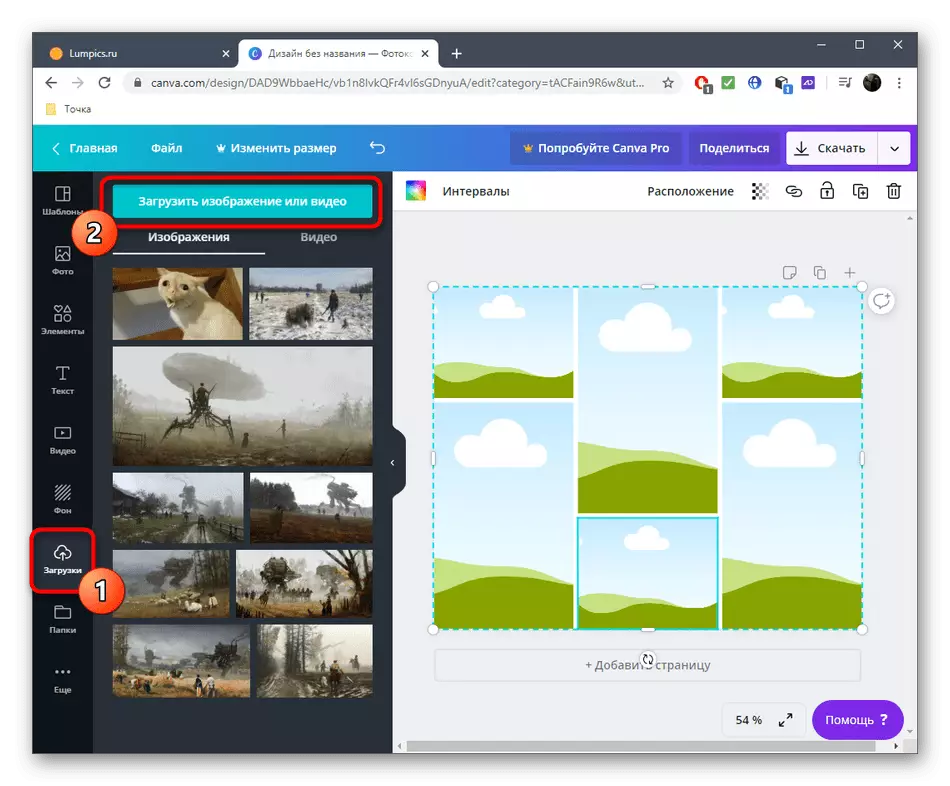
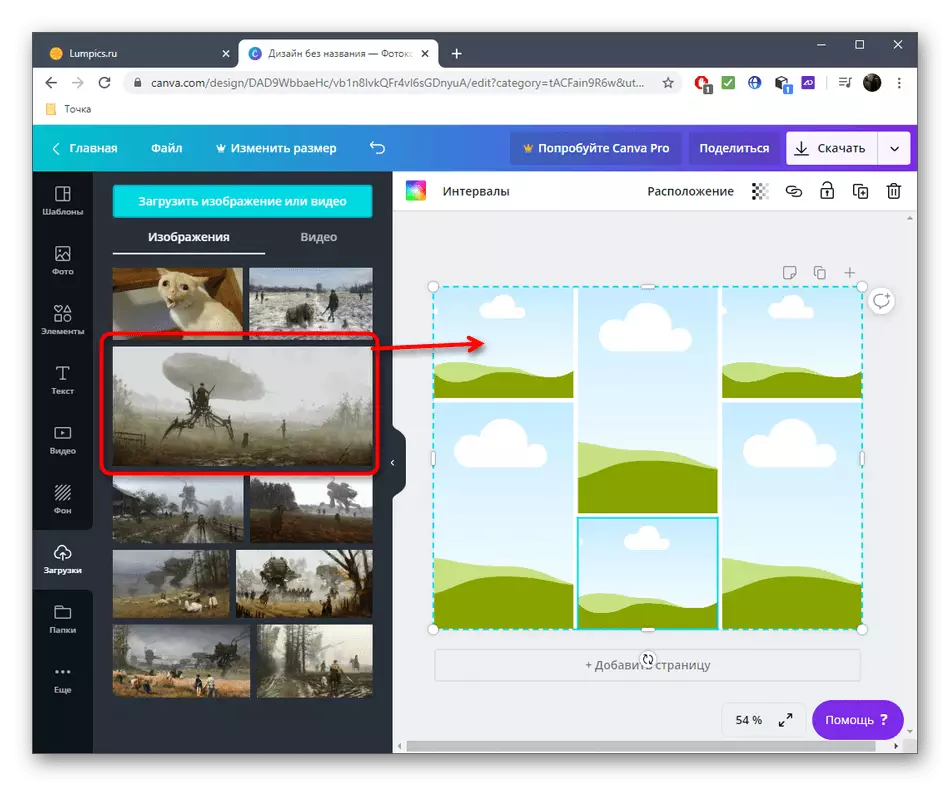
- To do this, over the left menu, go to the "Download" section and click "Download Image Or Video".
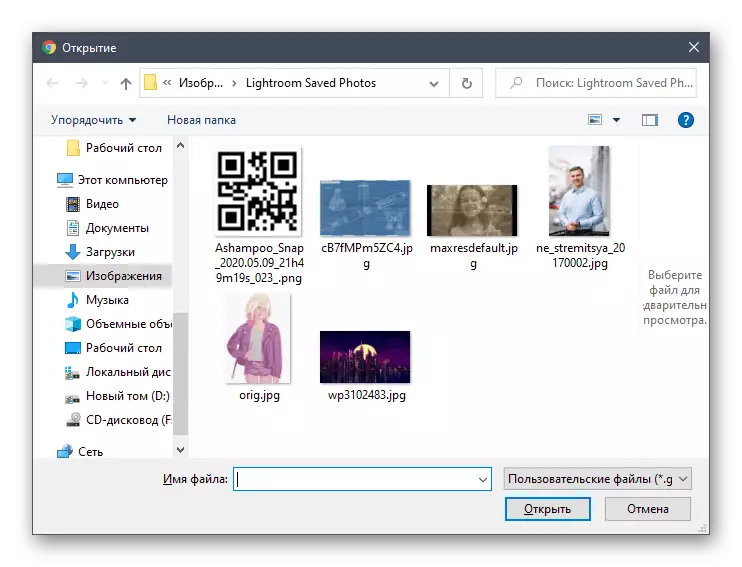
- The "Explorer" window opens, where in turn, add each desired picture.
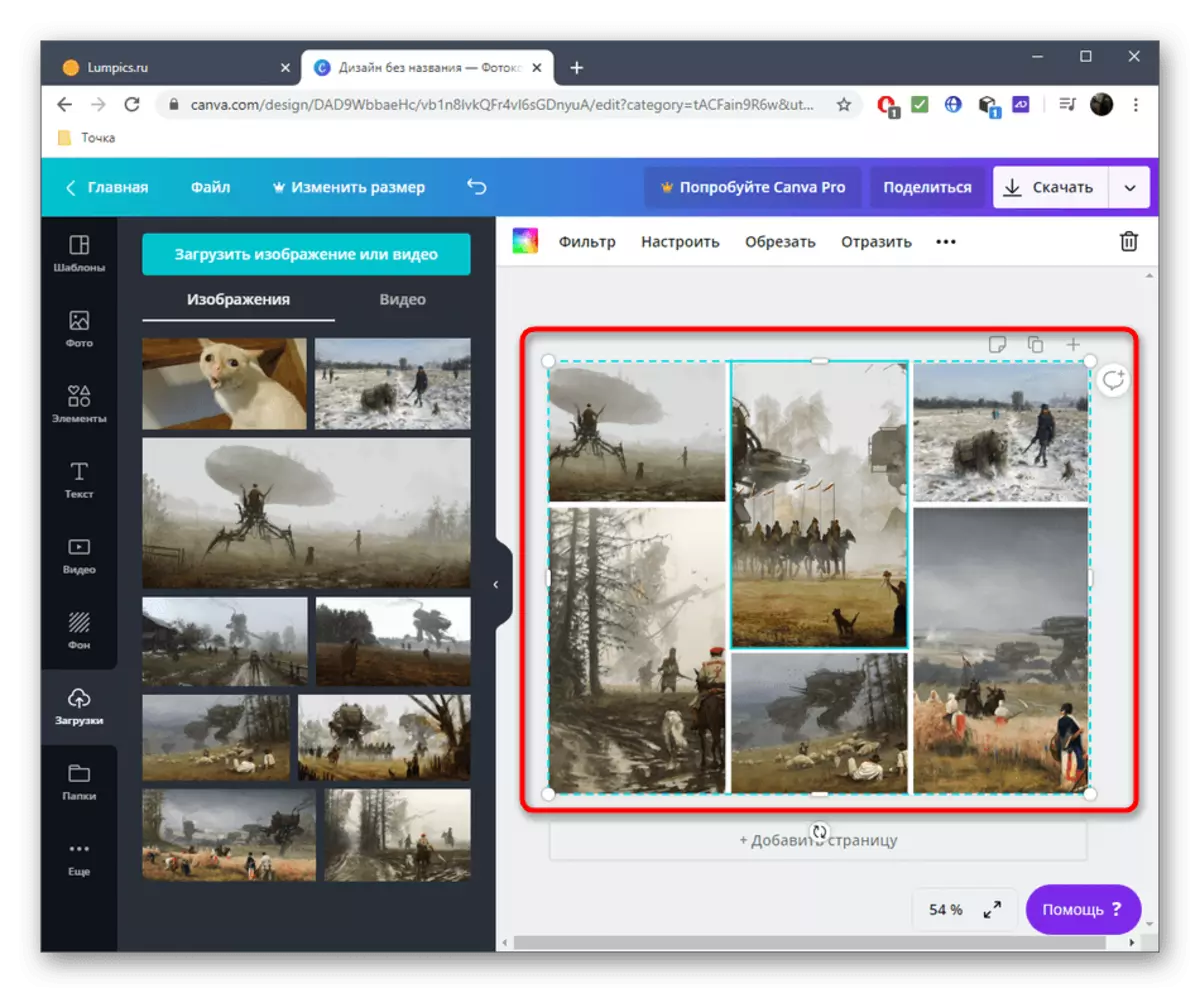
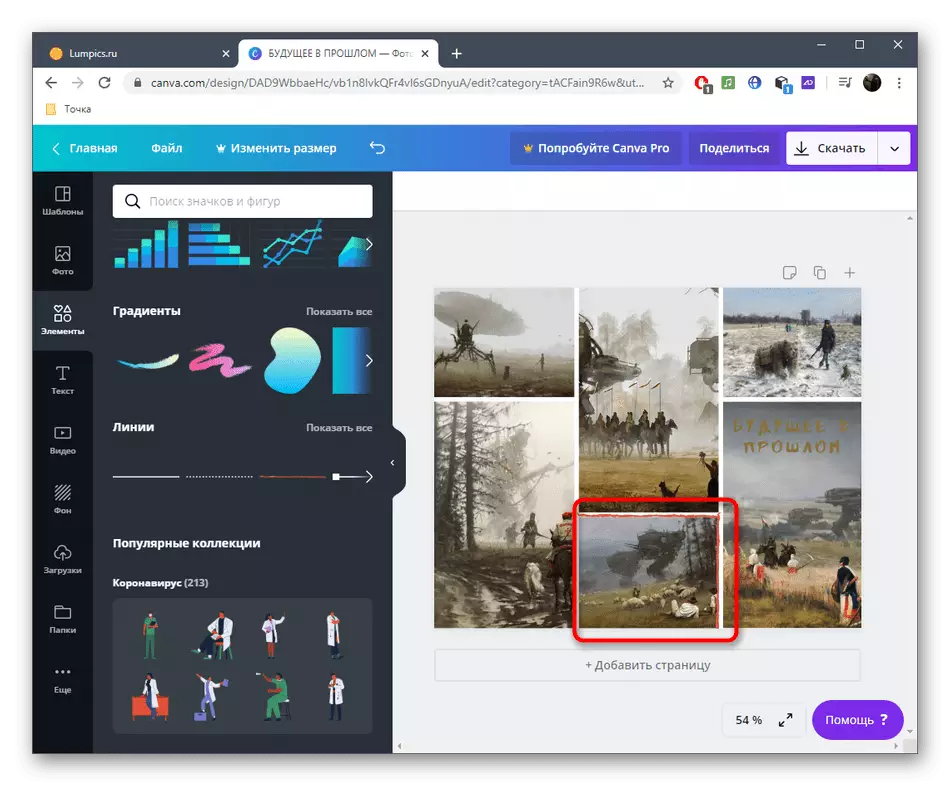
- Start dragging pictures to the workspace, choosing the optimal position for each of them.
- In the screenshot below you see an example of how we put the pictures, adjusting their position.
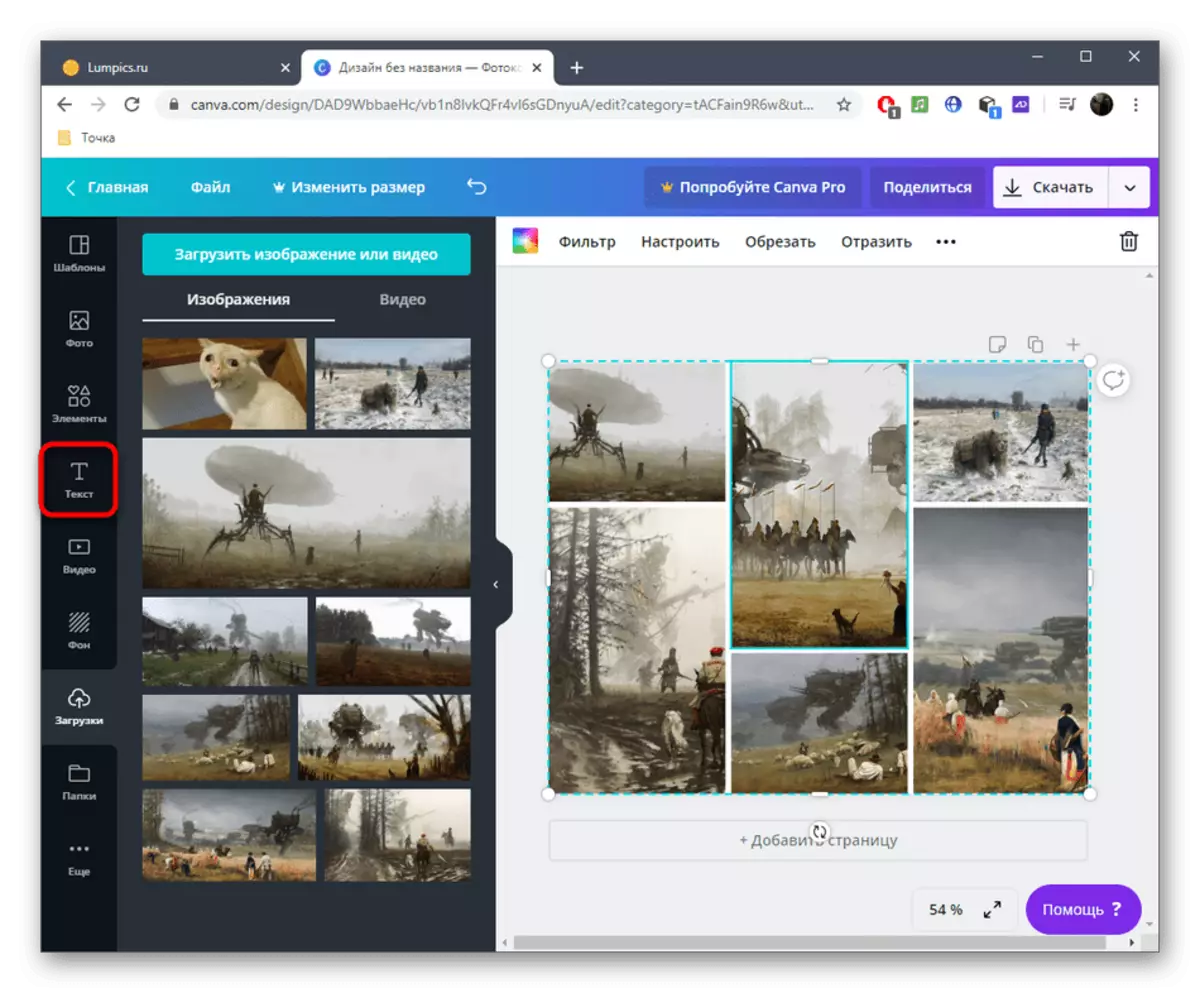
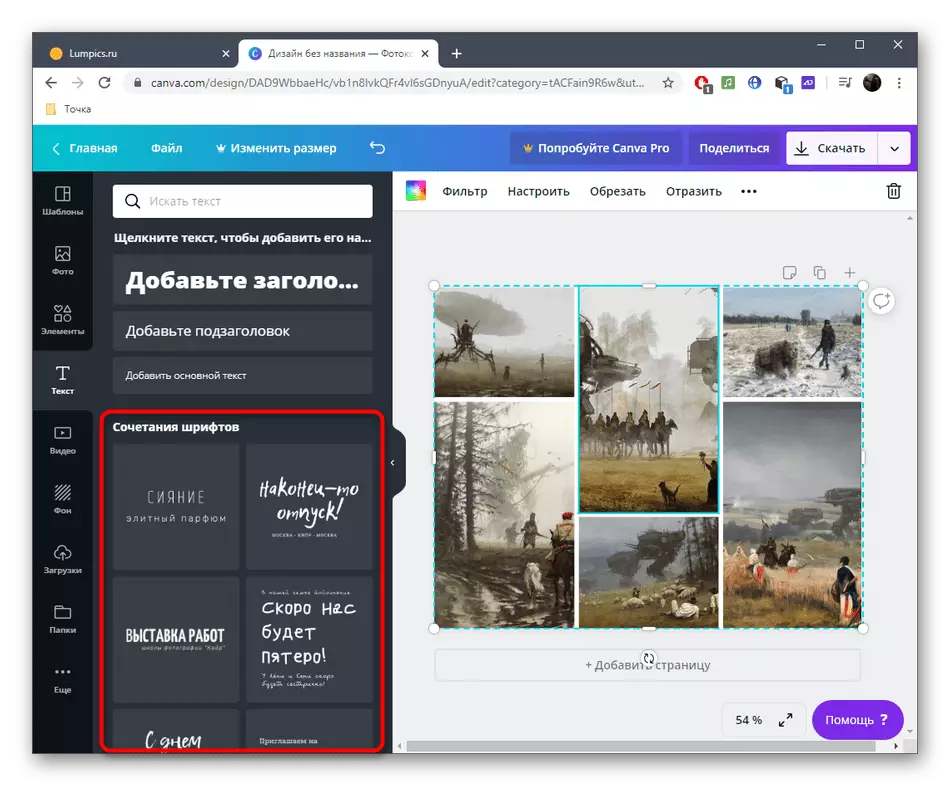
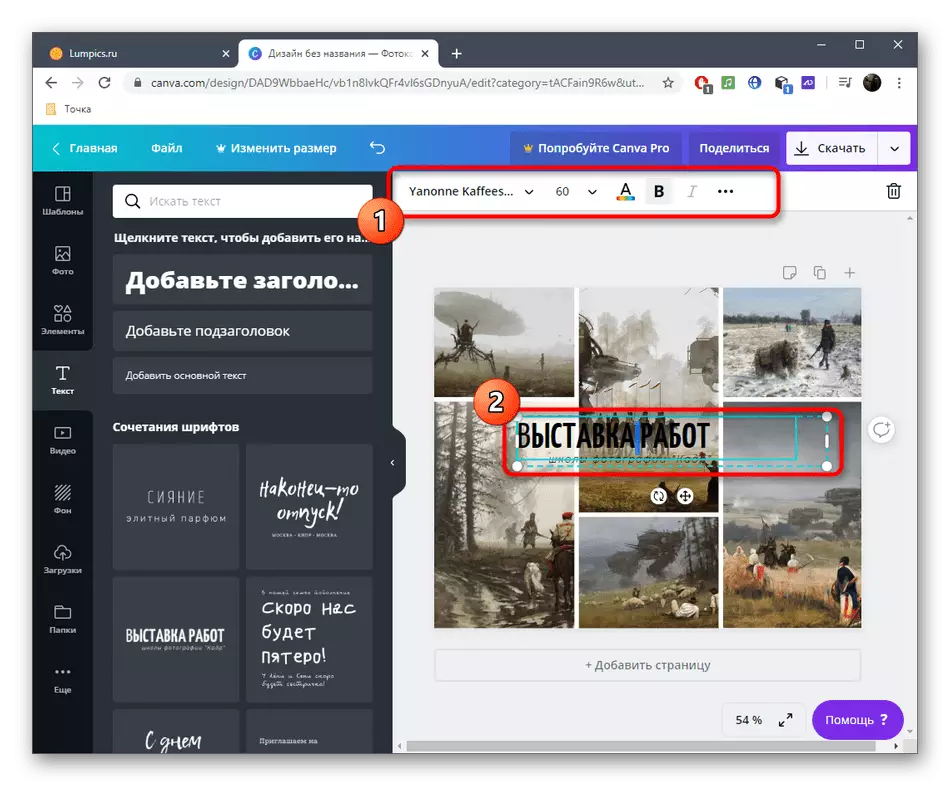
- If necessary, add the inscriptions by clicking on the "Text" section.
- There you should choose one of the styles you like or instead add a simple title.
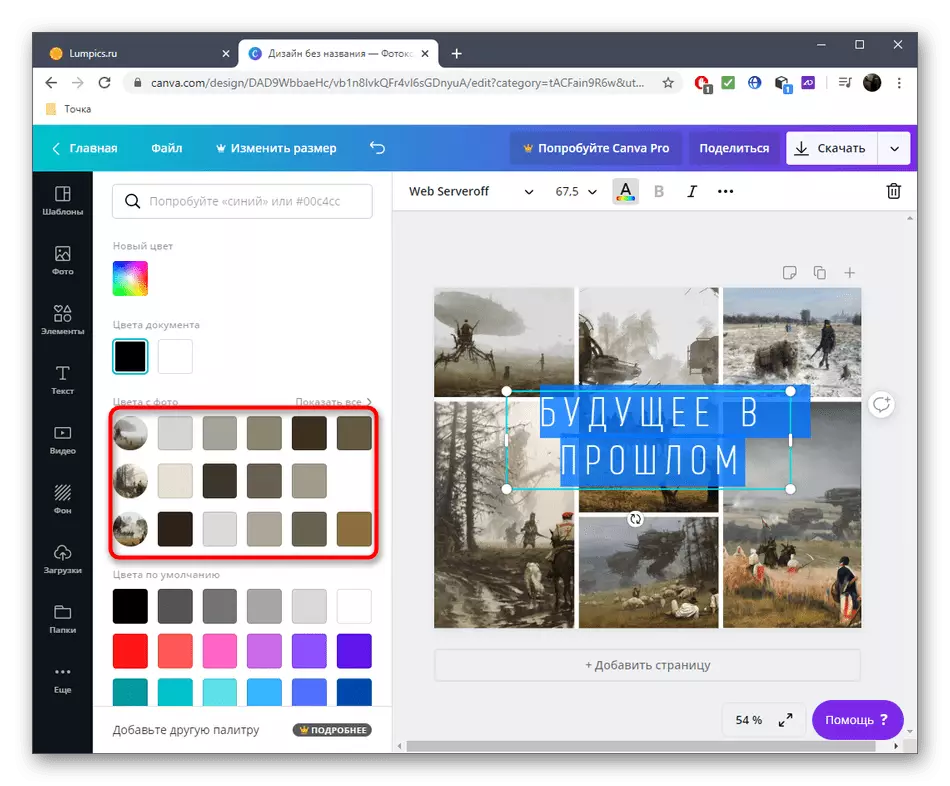
- Set the layout of the inscription, specify the size and color of the font for it.
- When choosing the CANVA color automatically takes into account the shades already used in the photographs, which will allow you to choose the optimal option.
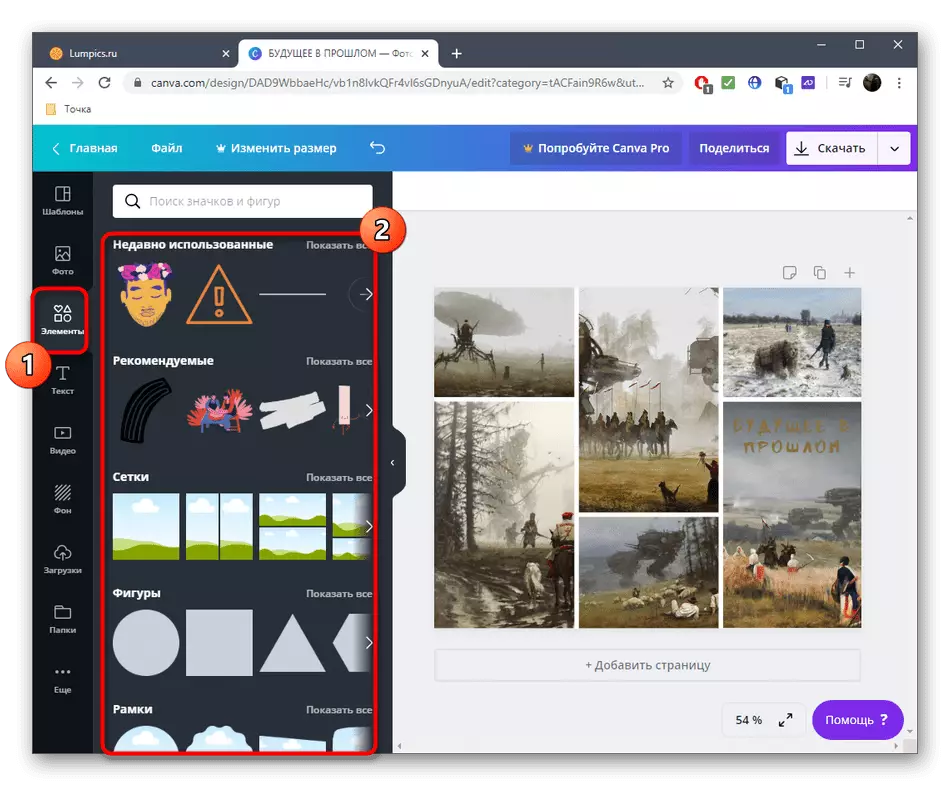
- Approximately the same as the text, elements are added, and most of them are free.
- For example, transfer the lines, configure their size and location to create the semblance of the frame, or simply use stickers.
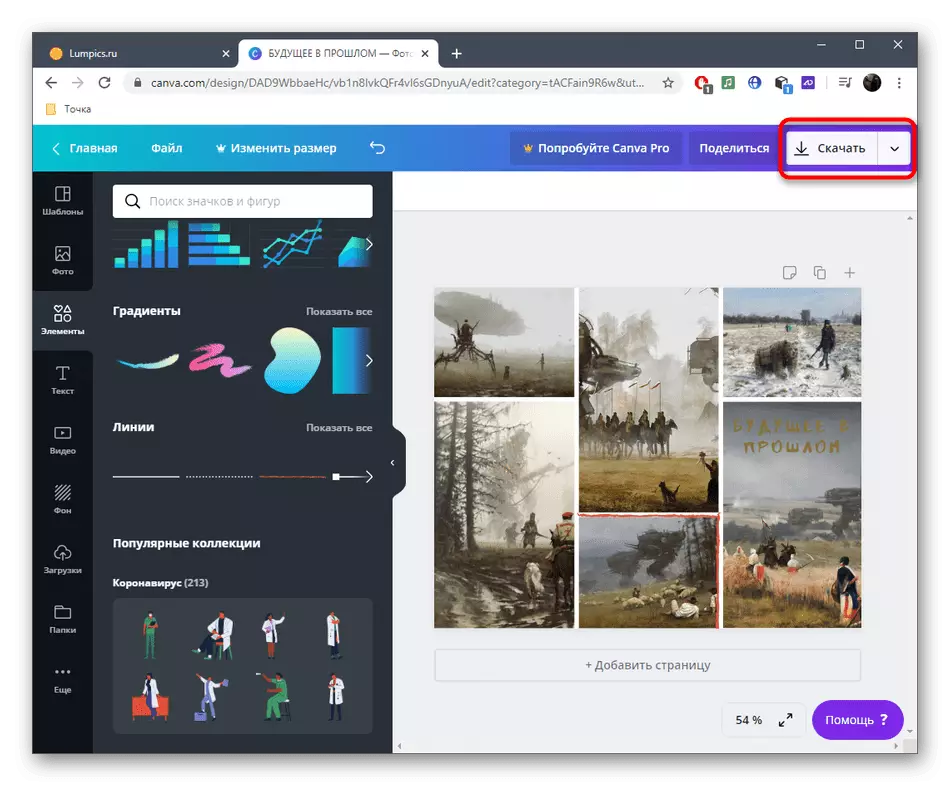
- Make sure the project work is complete and click "Download".
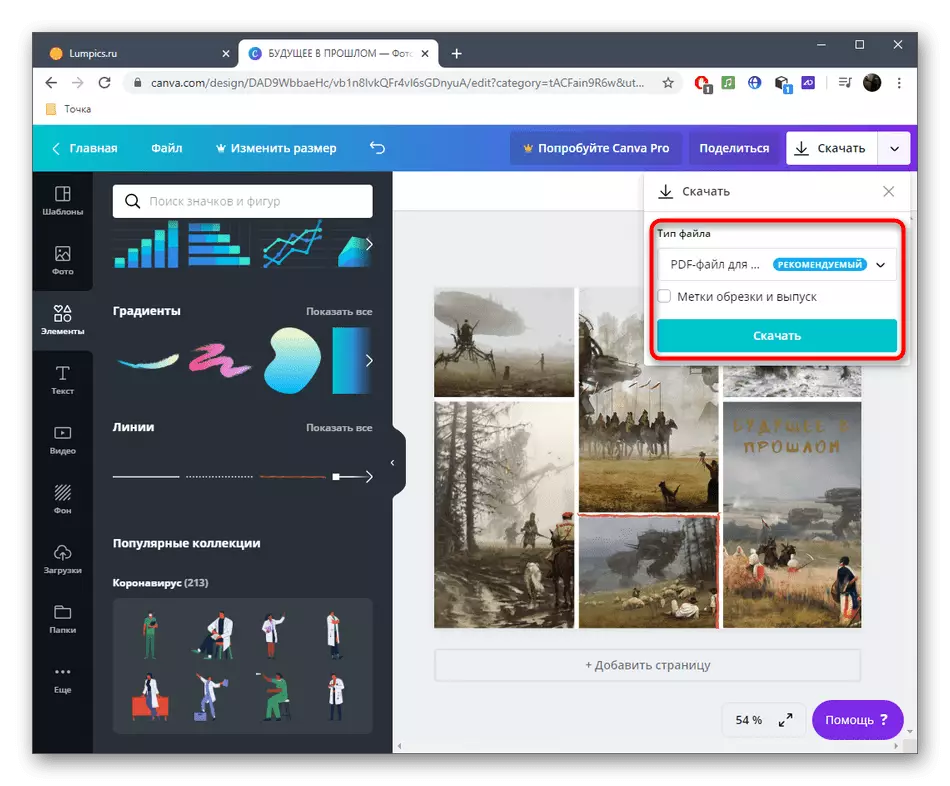
- Select a file format to save and re-click "Download".
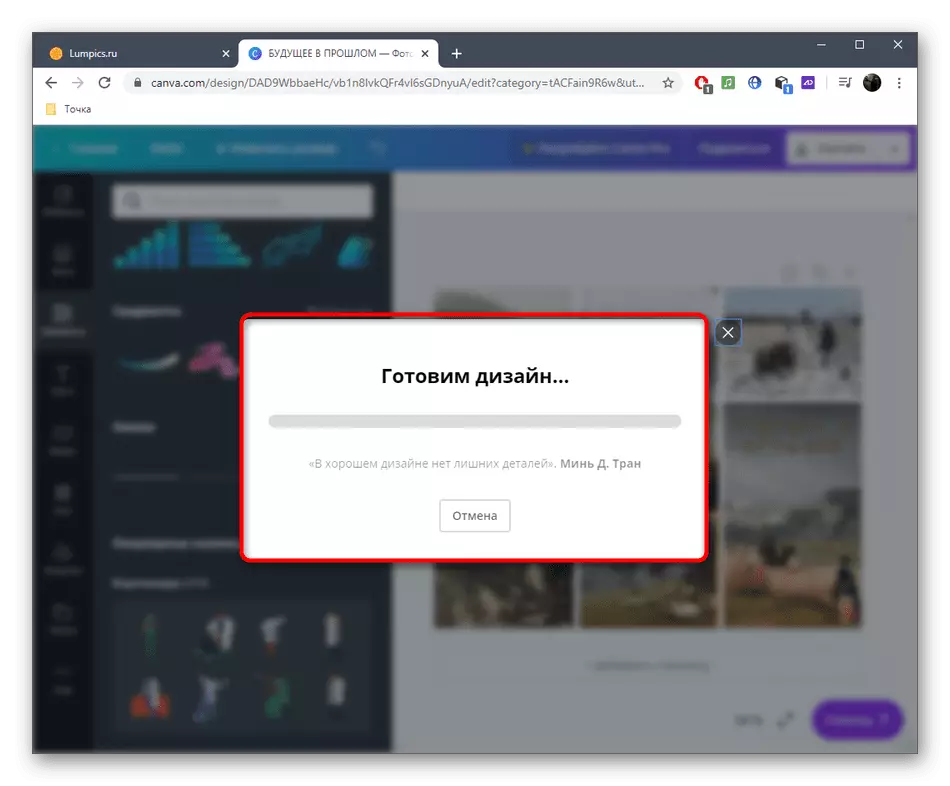
- Expect the end of the design preparation, which will take a few seconds.
- The file will be automatically downloaded to the computer. Now you can move to further interaction with it.


Method 2: BEFUNKY
The BEFUNKY graphics editor also has a separate module dedicated to the creation of collages. In it, the blanks are determined only by the boundaries between each image and their number in the workspace.
Go to the BEFUNKY online service
- Once on the main page of the BEFUNKY site, click on the "Get Started" button.
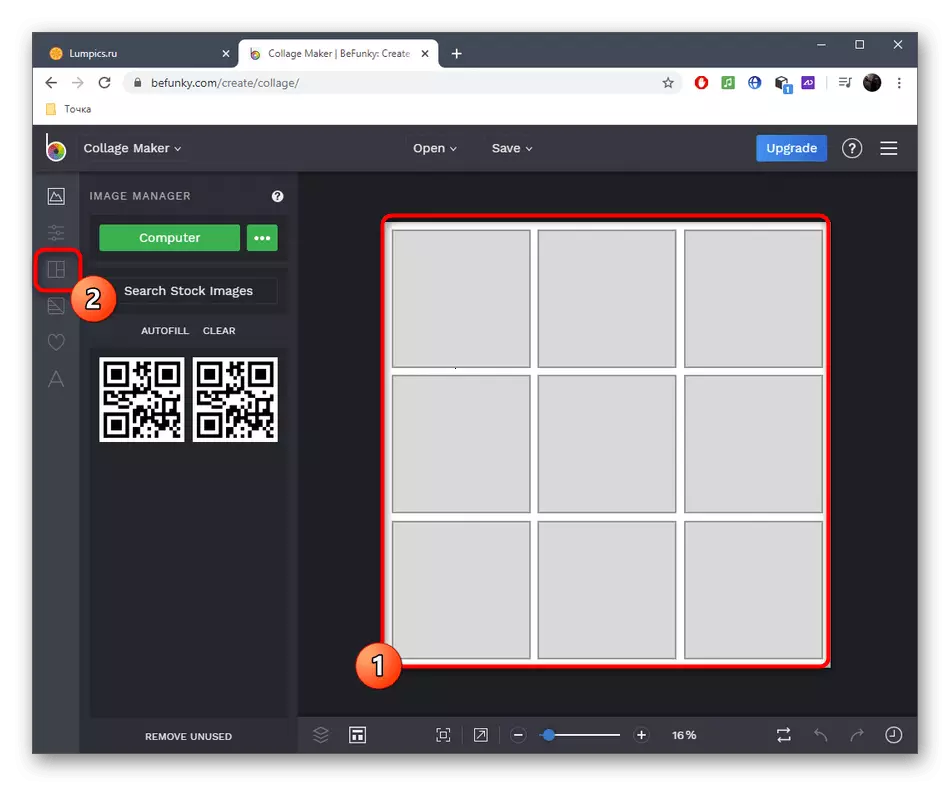
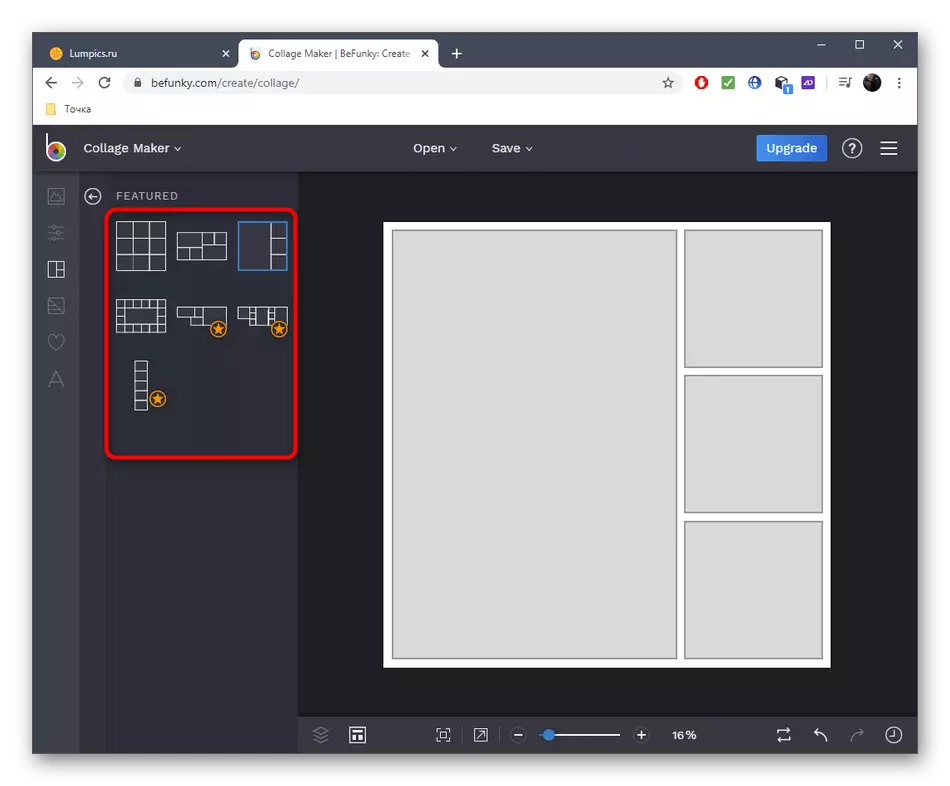
- By default, a template of nine photos will already be created, but this location suits not all users. To change the option, go to the appropriate section through the left menu.
- There find a suitable option spreading free or premium if you are ready to buy a subscription to Befunky.
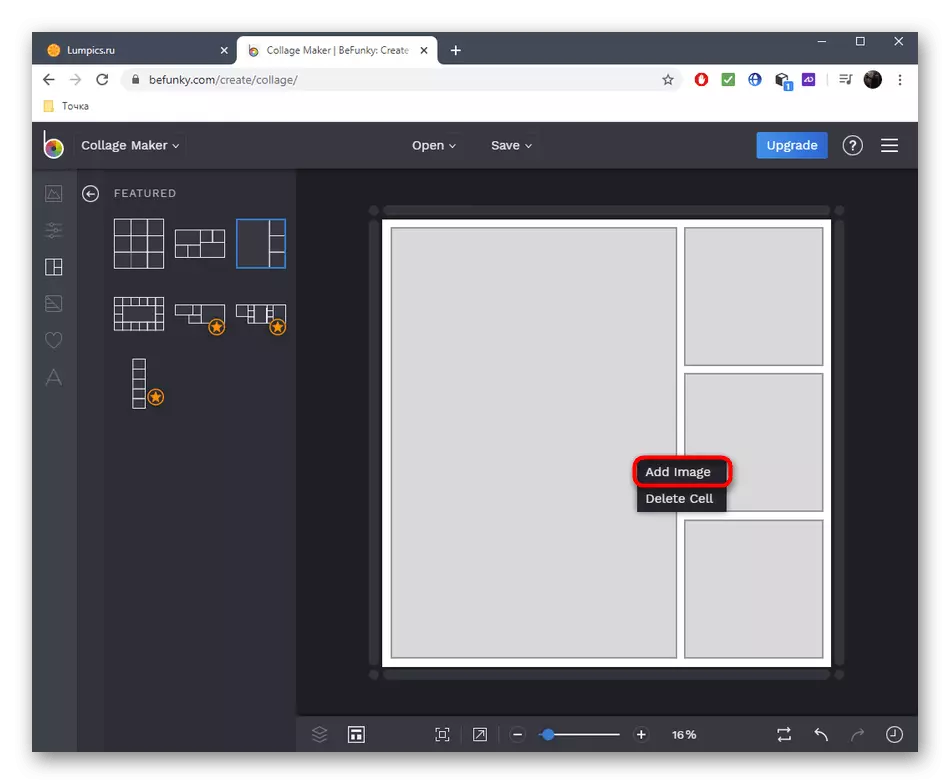
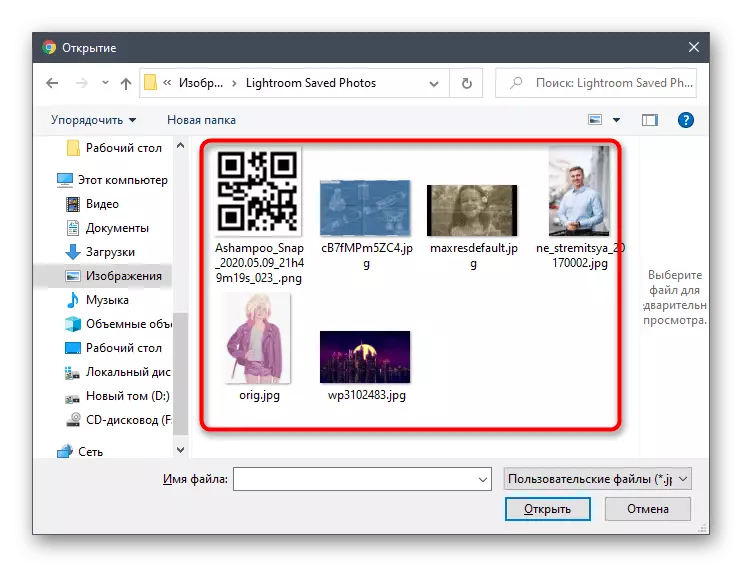
- Click the LKM by one of the blocks and in the menu that appears, select "Add image".
- Explorer will open, where to find the appropriate image, and then distribute the rest of the photos in exactly the same way.
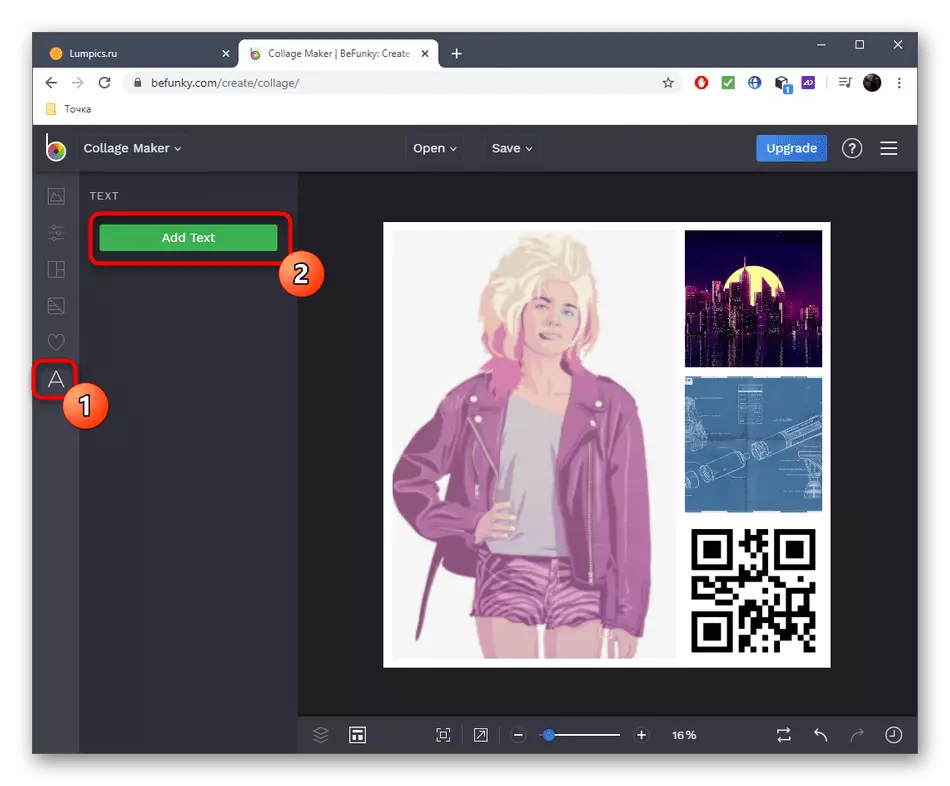
- Go to the "TEXT" section and click "Add Text" to add an inscription.
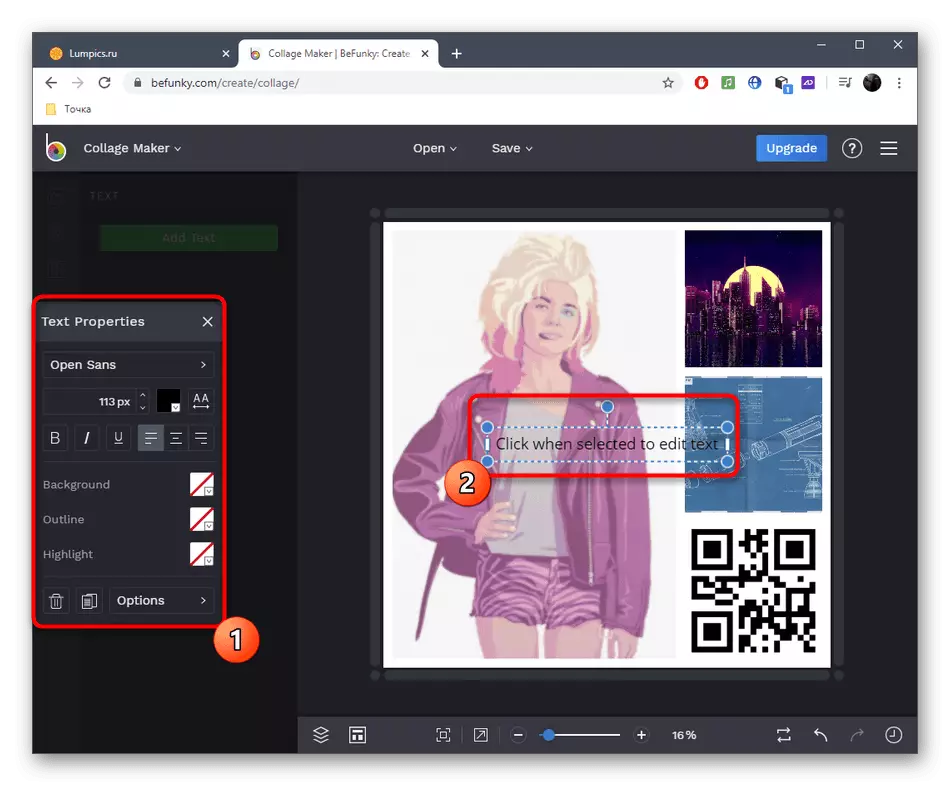
- On the left, a separate menu is displayed to configure where you can select the font size, its type, color and background. Next, move the block on the work area to select a suitable position for it.
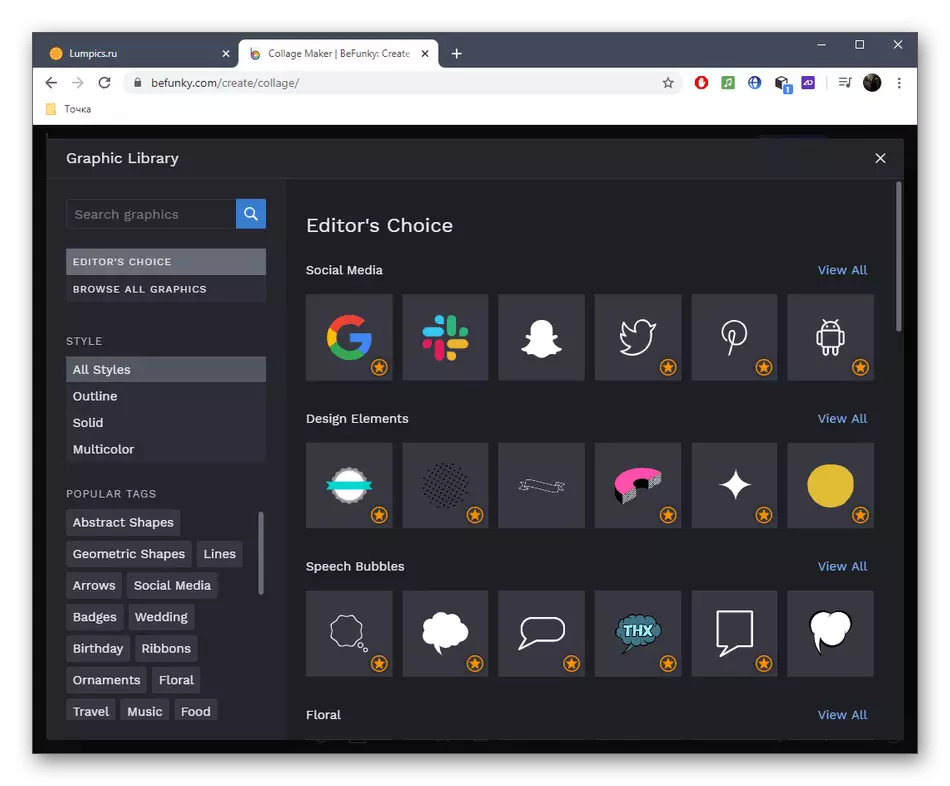
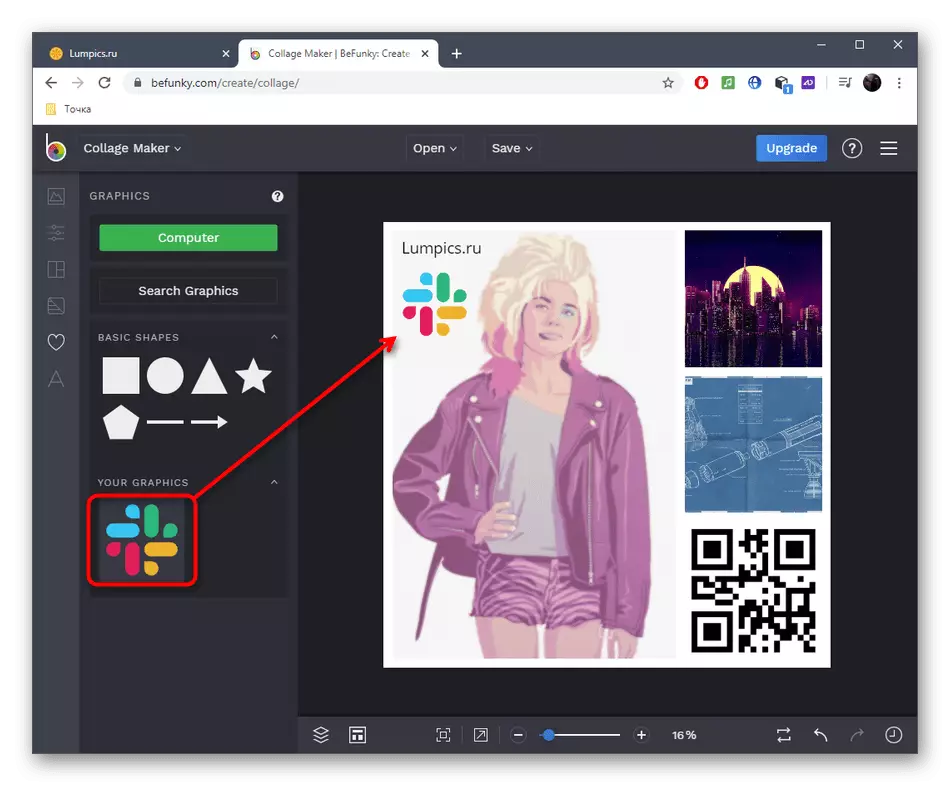
- Using a section with elements, you can choose a free or premium option if required.
- Adding elements occurs by dragging, scaling and selecting the desired location.
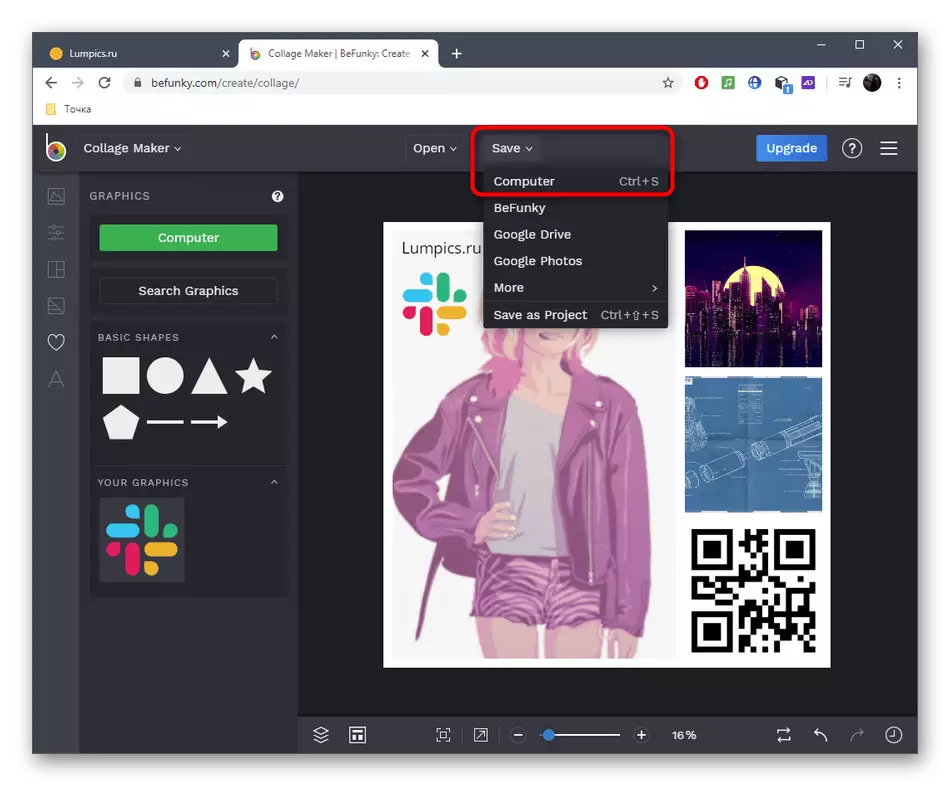
- Upon completion of the project, expand the "Save" menu and select the "Computer" option.
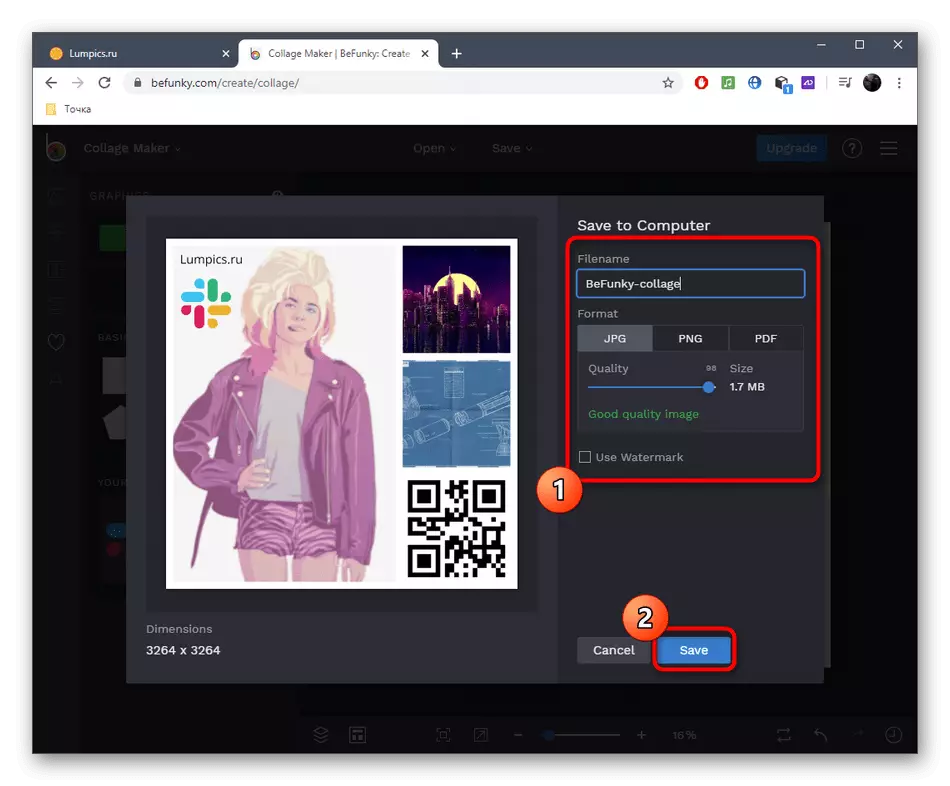
- Set the name for the file, specify its format, quality, and then click "Save".

Method 3: Photoovisi
If the user is interested in a simpler online service for creating collages, sharpened specifically to work with photos, we recommend paying attention to PHOTOVISI. However, it should be borne in mind that loading the resulting collage without a watermark in good quality will be possible only after the subscription acquisition.
Go to PHOTOVISI online service
- Follow the link above and on the Main PHOTOVISI page, click "Getting Creation".
- Roll down the list by finding the appropriate workpiece, and then select it for editing.
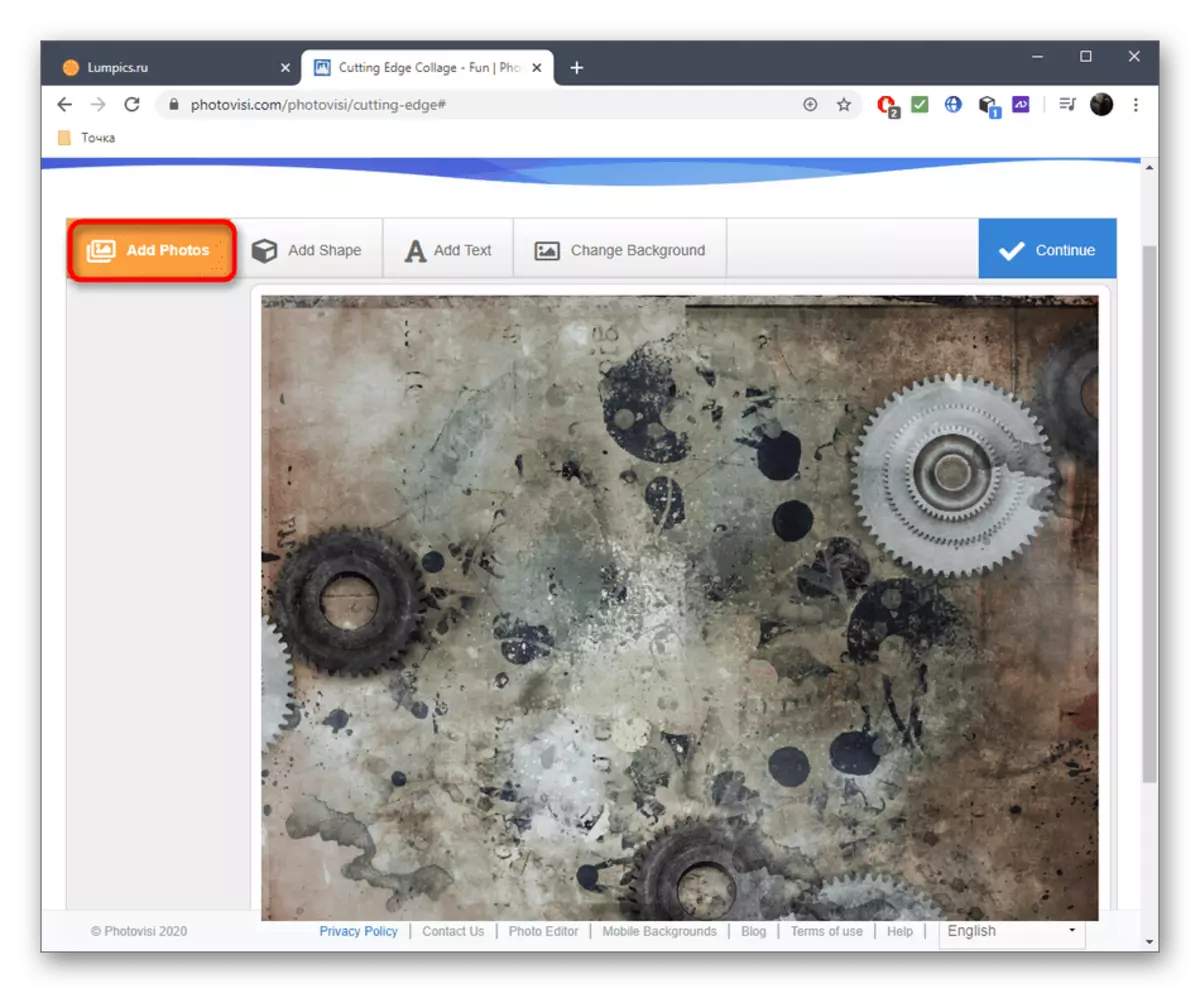
- First of all, use the "Add Photo" button, adding photos.
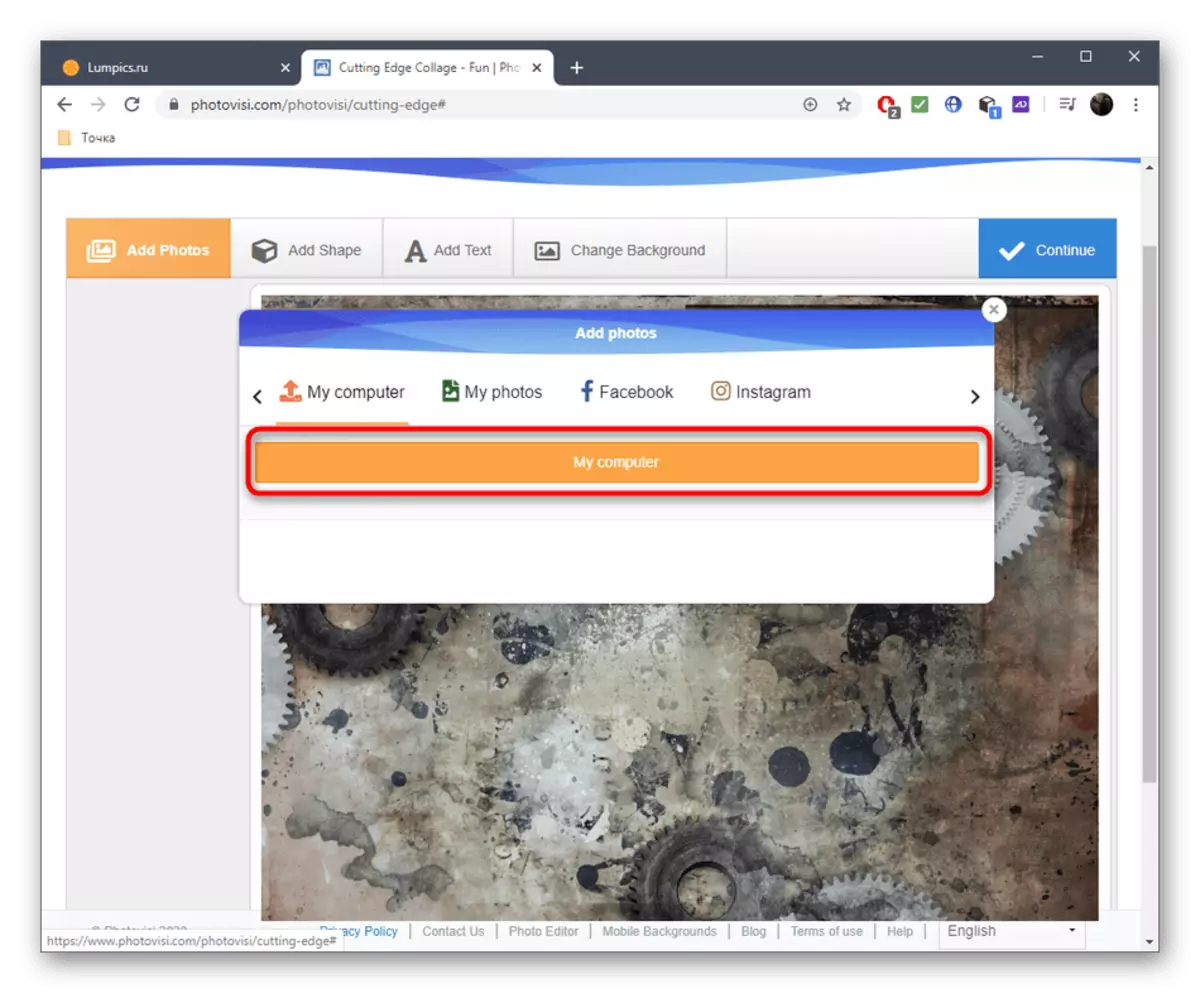
- You can download photos from Facebook, Instagram or click "My Computer if you need to add files stored on a computer.
- Through the "conductor" with the usual method, select all the pictures you want to see on the collage.
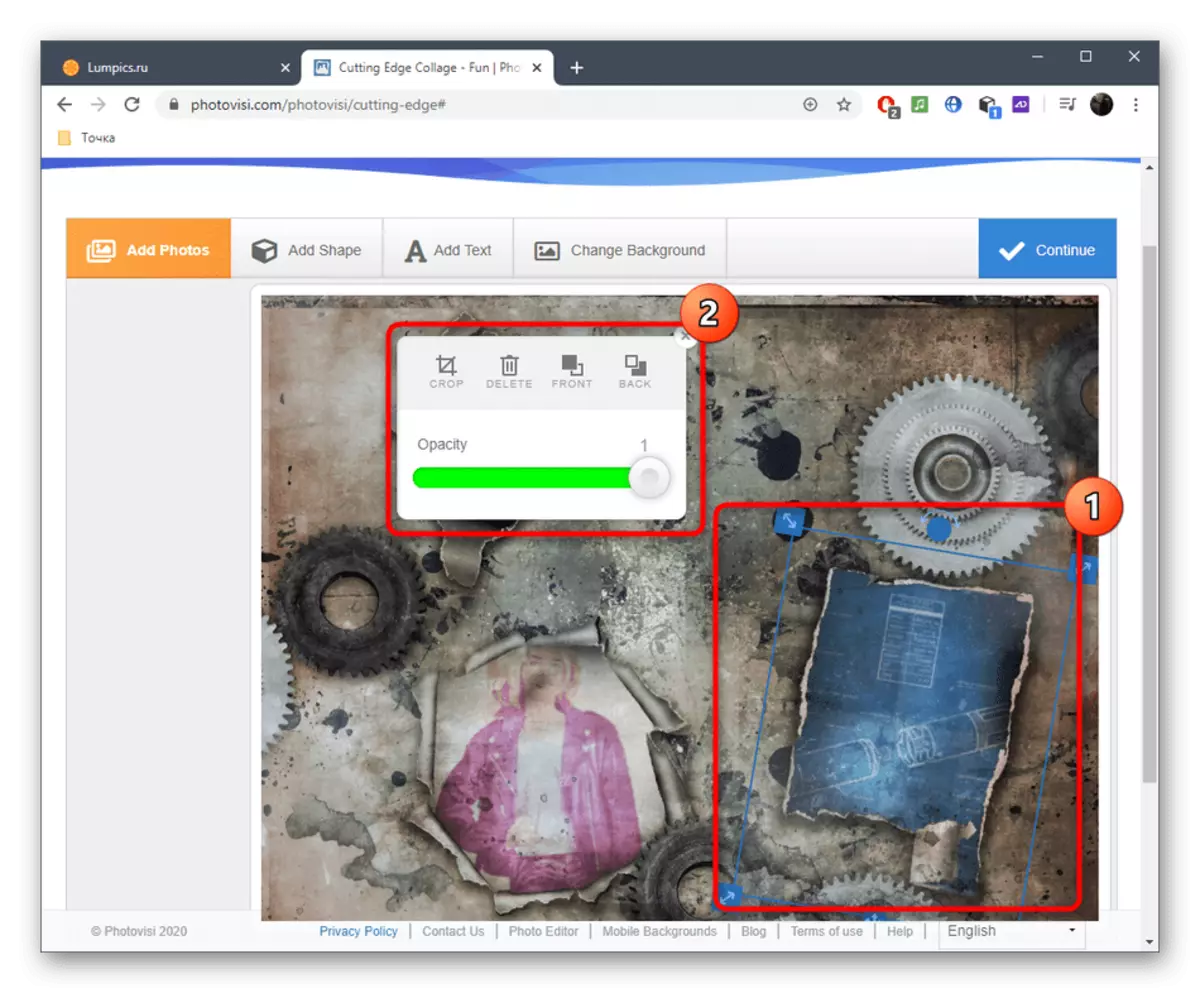
- Ask them transparency, cut extra edges, scaling and place in an optimal place on the workspace.
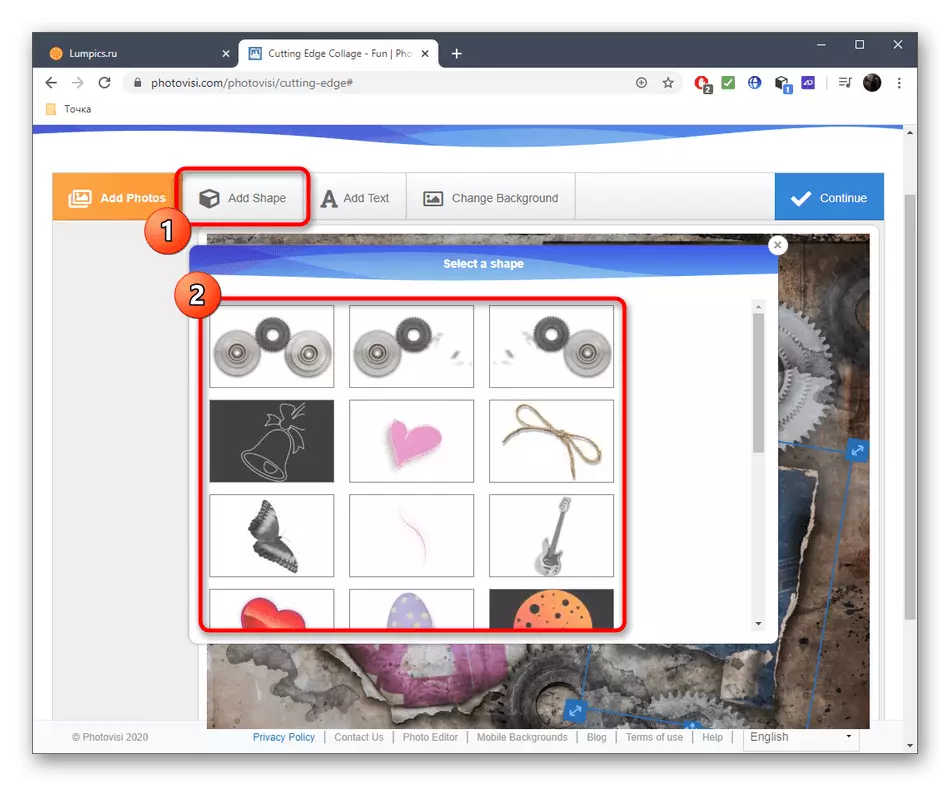
- Open the Add Shape tab if you want to add thematic elements.
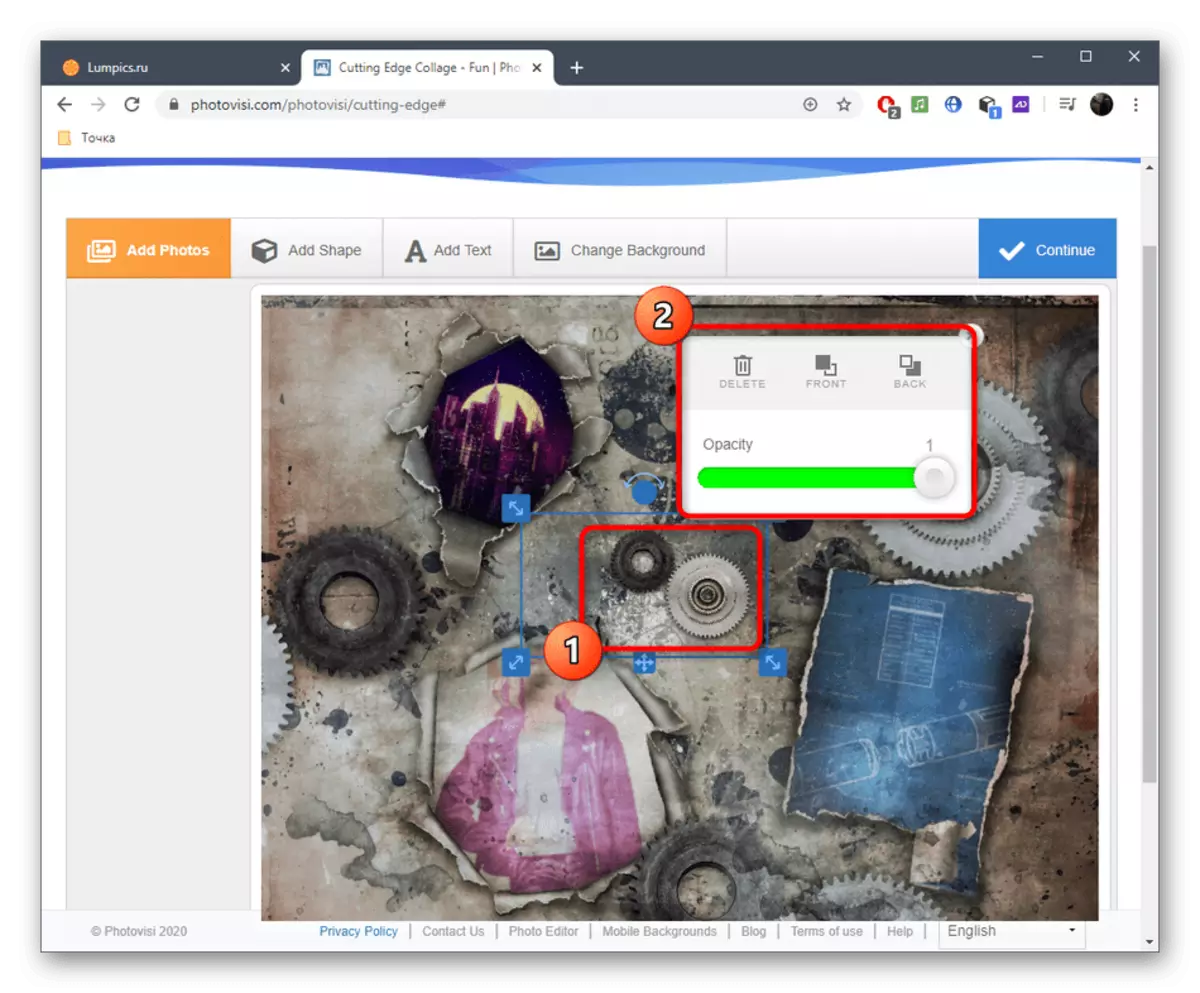
- Do not forget to configure them in the same way as it was with photos.
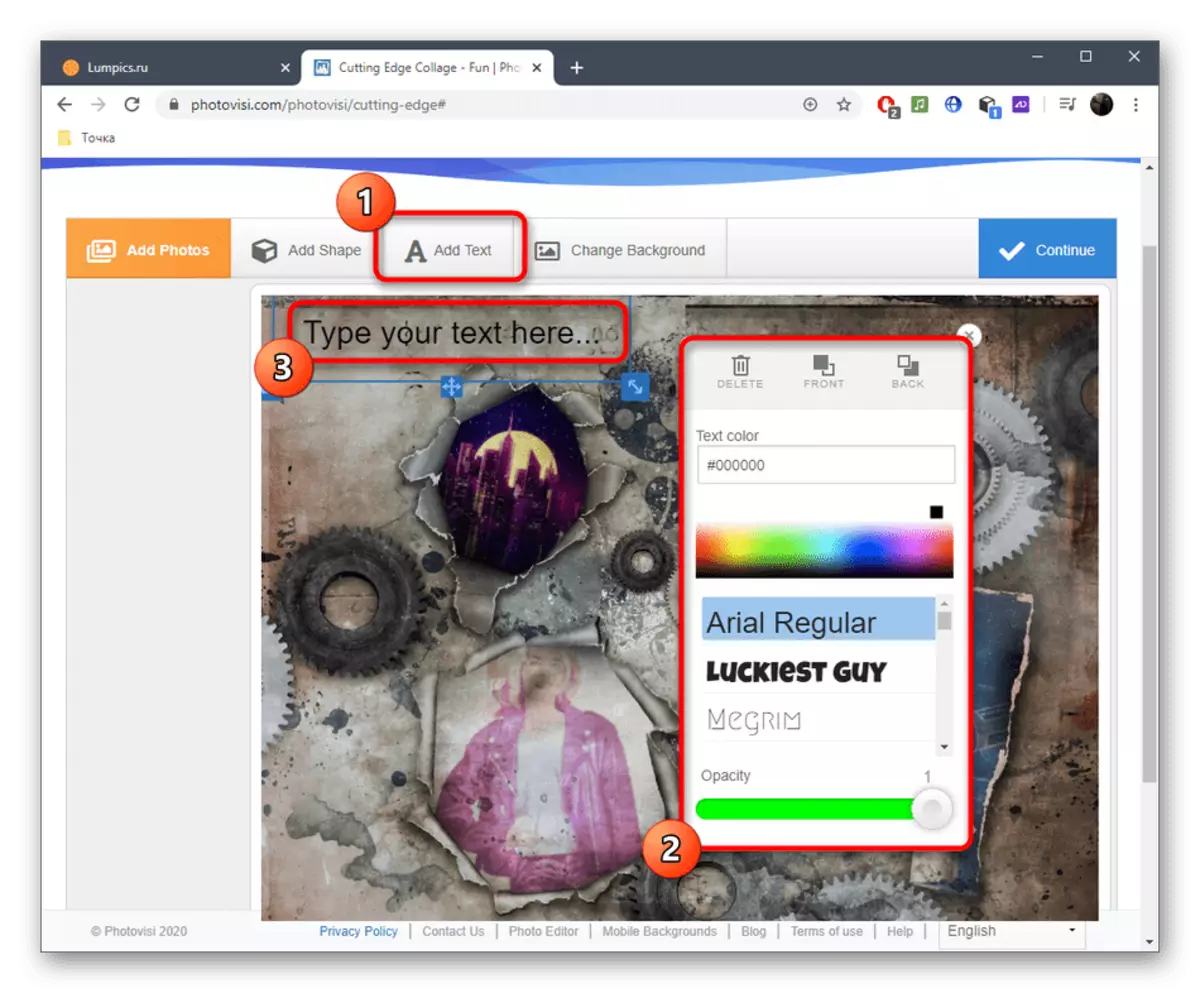
- Through the "Add Text" tab, add inscriptions. Available color editing, font size and its type.
- If it suddenly needed to change the background, it can be downloaded from the local storage or choose the fill with color.
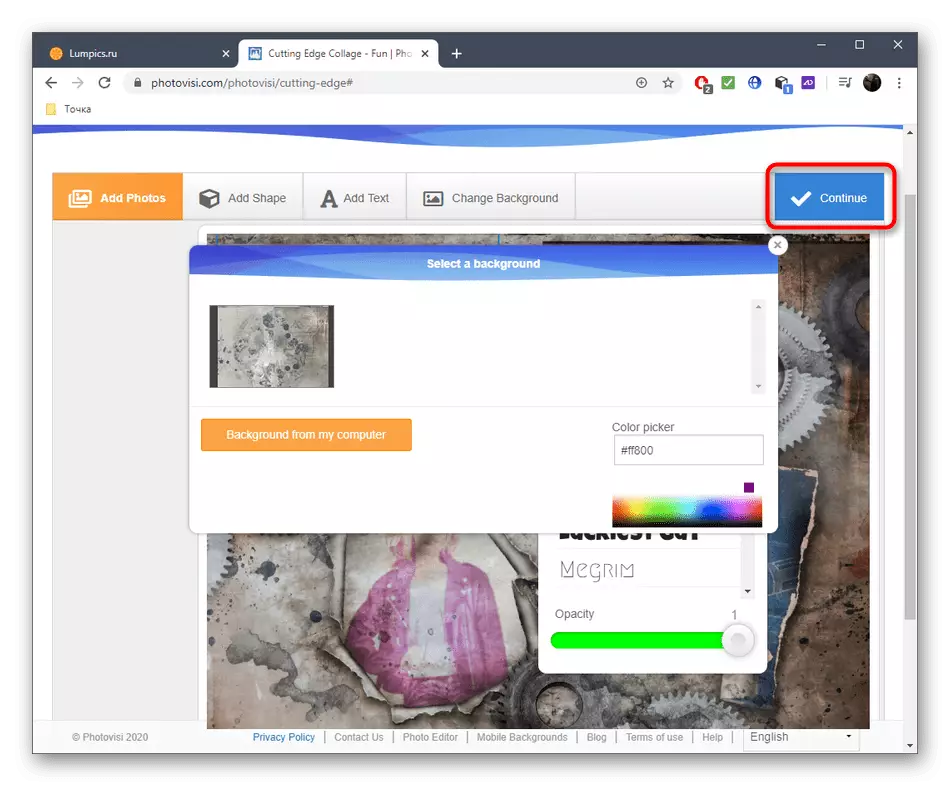
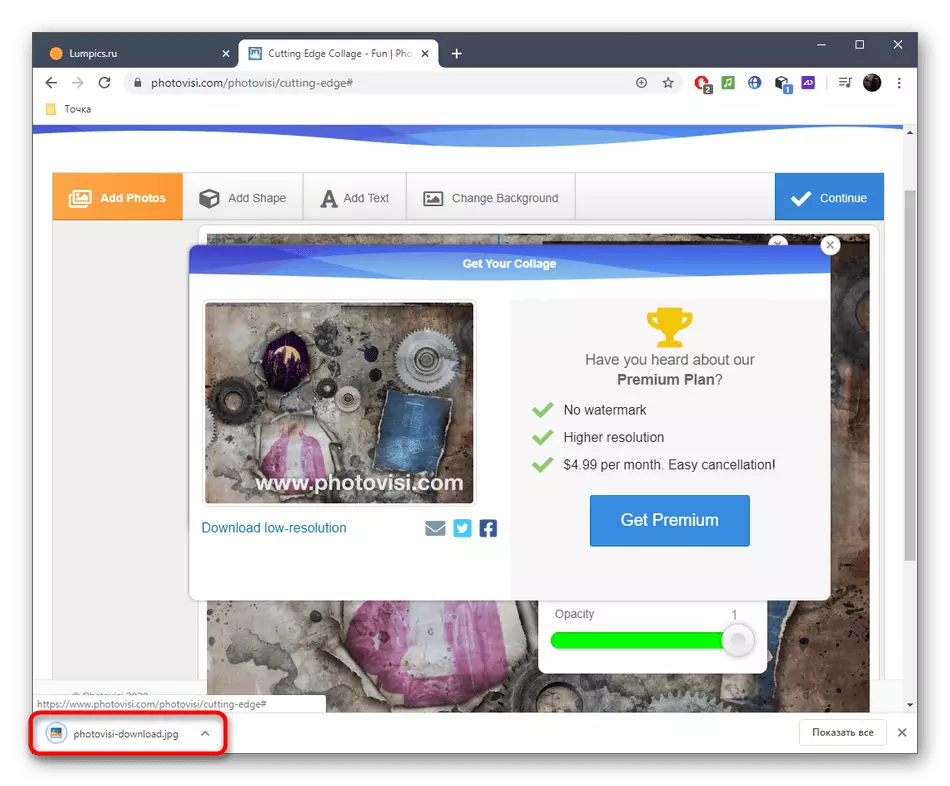
- Quickly, click "Continue" to save the project.
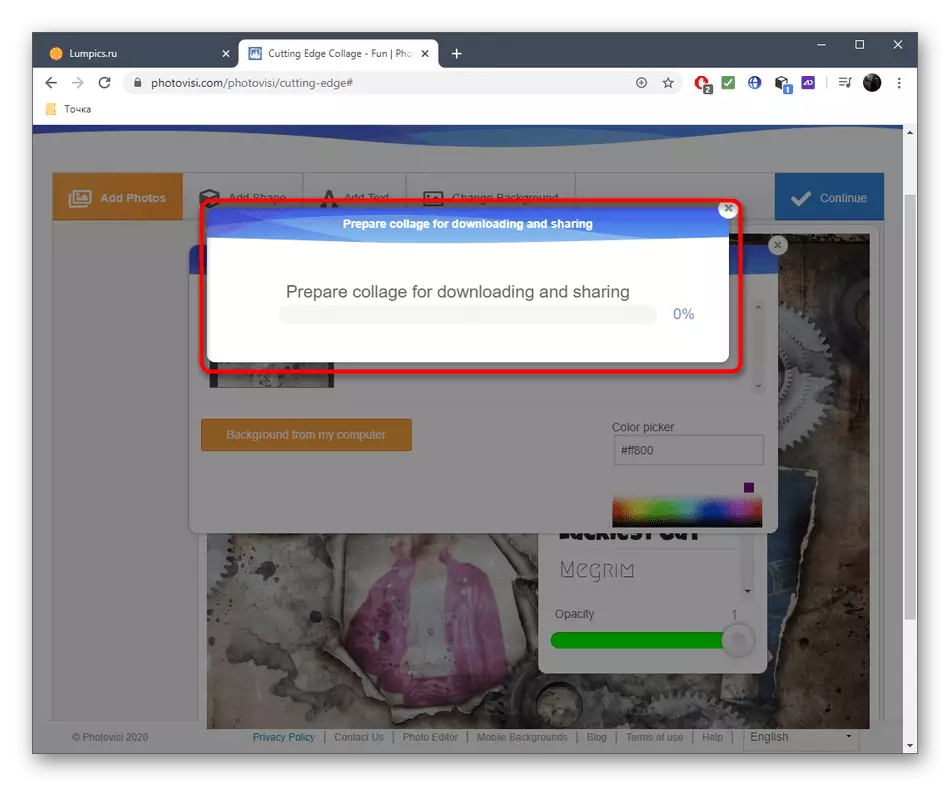
- Wait for the end of its preparation.
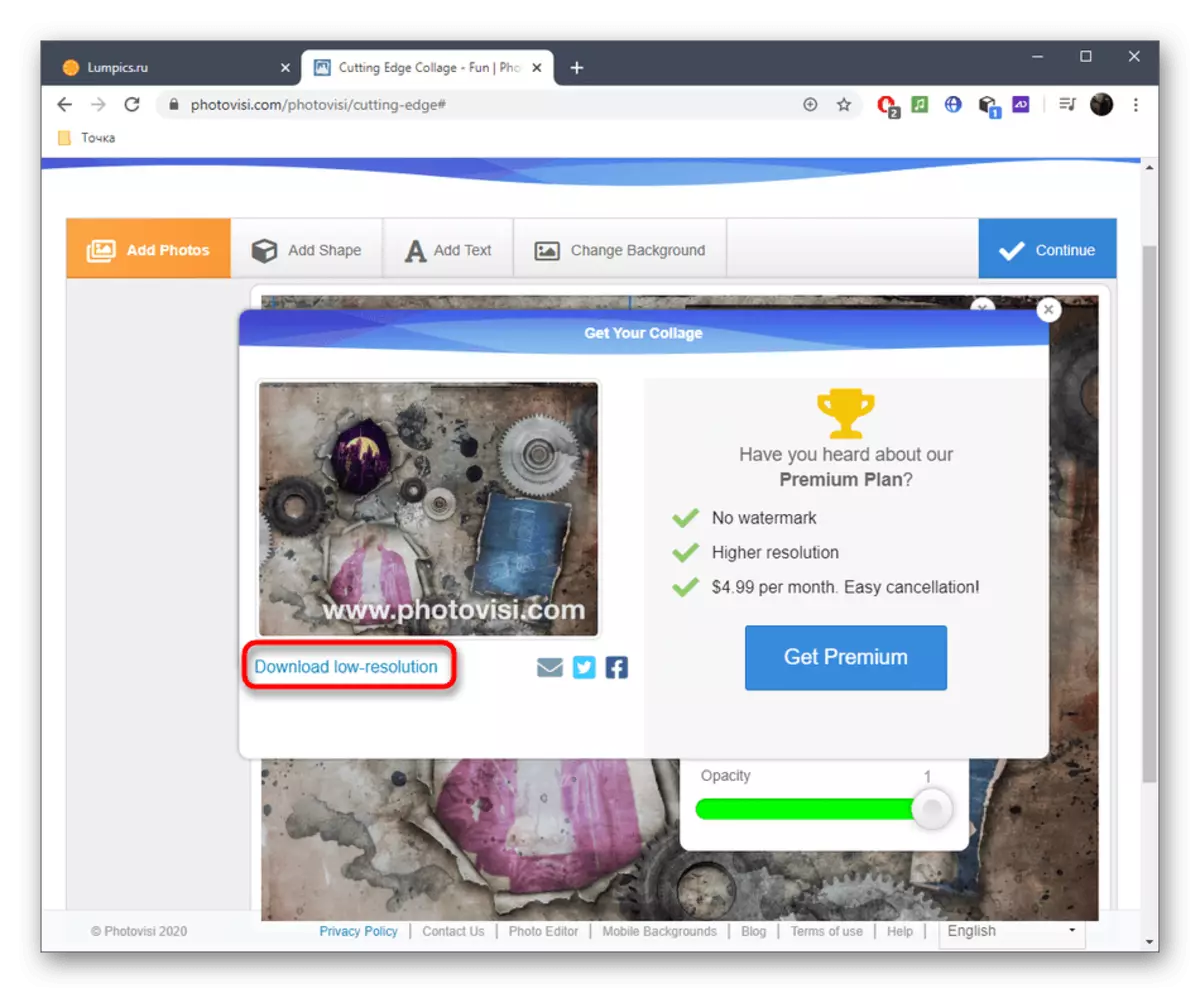
- Navigate to the acquisition of the full version of the online service or click "Download Low-Resolution" to download in Low capacity.
- Expect downloads and go to further work with the file.


If, after reading with online services, you came to the conclusion that they are not suitable for creating collages, we recommend referring to the material on the link below. There you will learn how to compose such a project with full-fledged software.
Read more: How to make a collage from photos on a computer