

Before starting familiarization with the following ways, we note that the use of SMBV1 as a remote access to the usual user is most often not necessary, since it is easier to organize it with other auxiliary technologies. More detailed information on this is we suggest reading the links below.
Read more:
Connect to a remote computer
Methods for connecting to a remote desktop in Windows 10
Method 1: Enable Windows component
In Windows 10, there is a separate module that allows you to connect various components. With it, it will be easier to activate SMBV1, and the process looks like this:
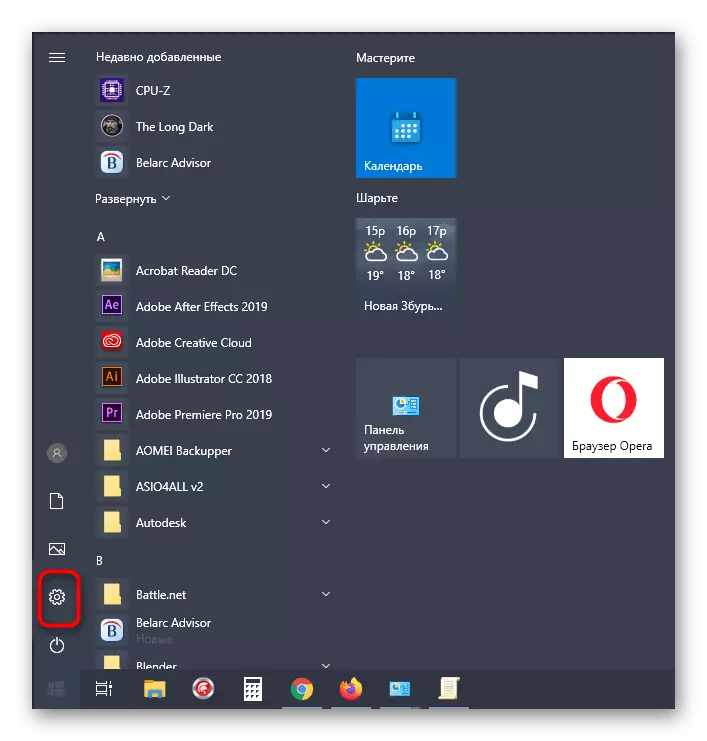
- Open the "Start" and go to the "Parameters" menu.
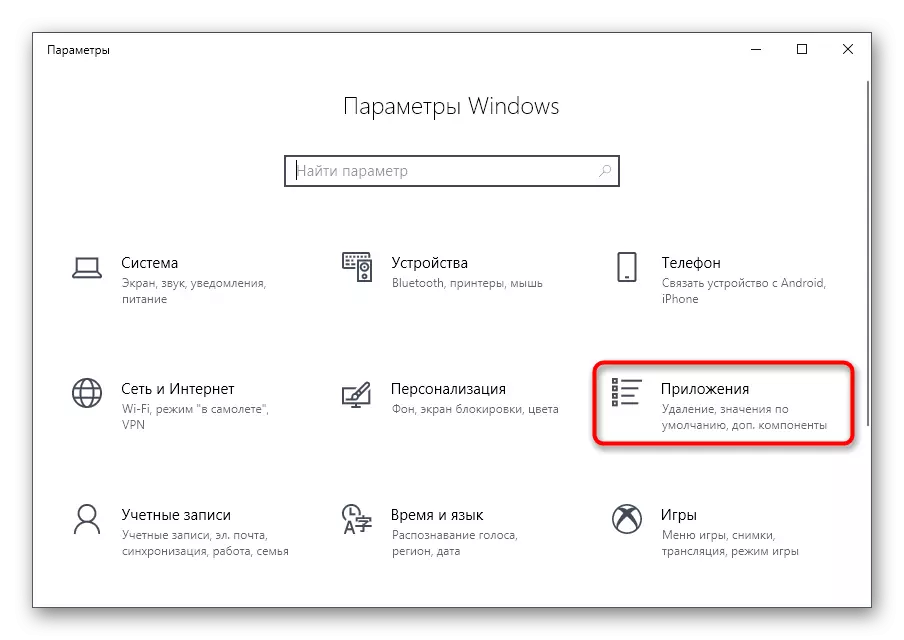
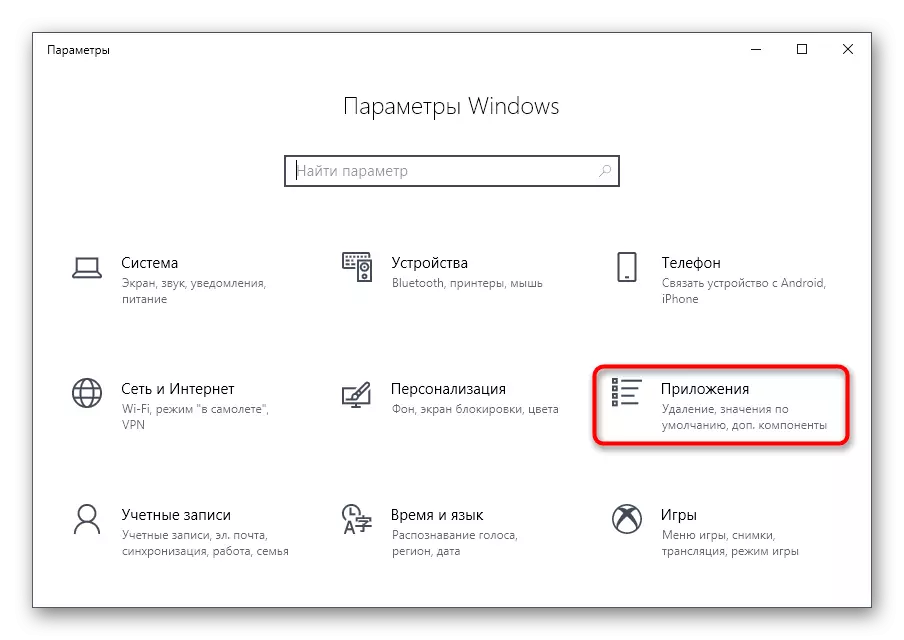
- Here, select the "Applications" section.
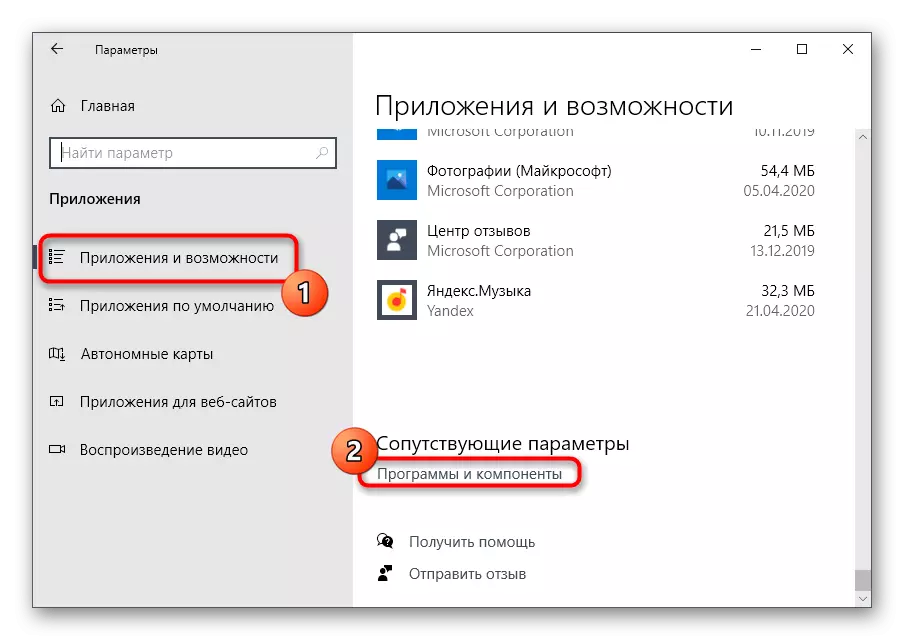
- In the category "Applications and Features", go down to the lowest bottom where click on the "Programs and Components" click on the clikable inscription.
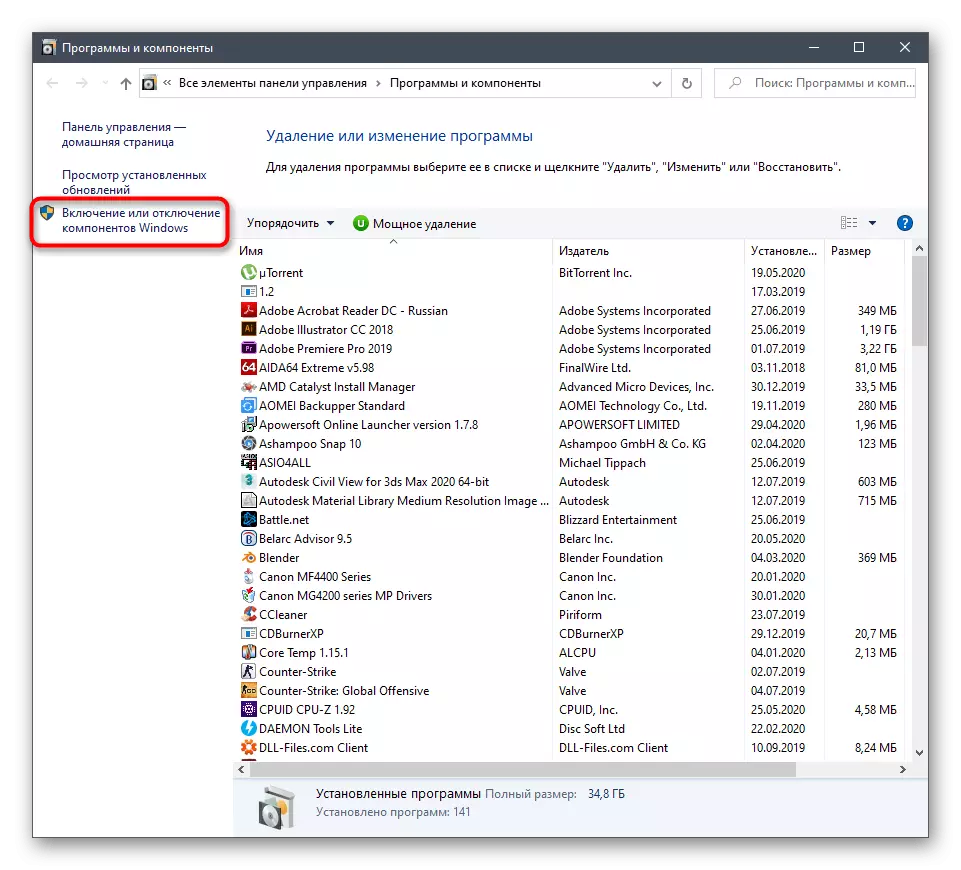
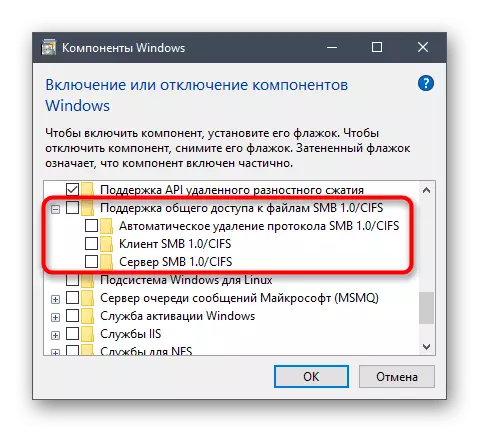
- Through the left panel, call the "Enable or Disable Windows Components" window.
- Watch out in the menu "SMB 1.0 CIFS File Support" directory, deploy it and activate all subfolders, including the main category.
If the technology is not activated now, you will need to restart the computer, because it is then to update the registry parameters, which is required for the correct operation of the SMB.
Method 2: Team for PowerShell
If you are not afraid to interact with the PowerShell shell, you can activate SMBV1 through it by inserting only one command.
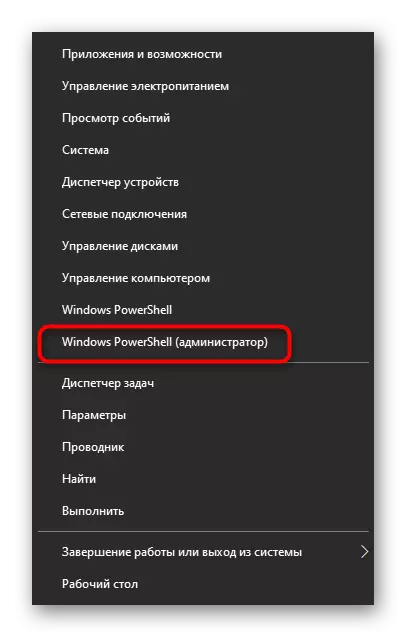
- Right-click on the Start menu and select "Windows PowerShell".
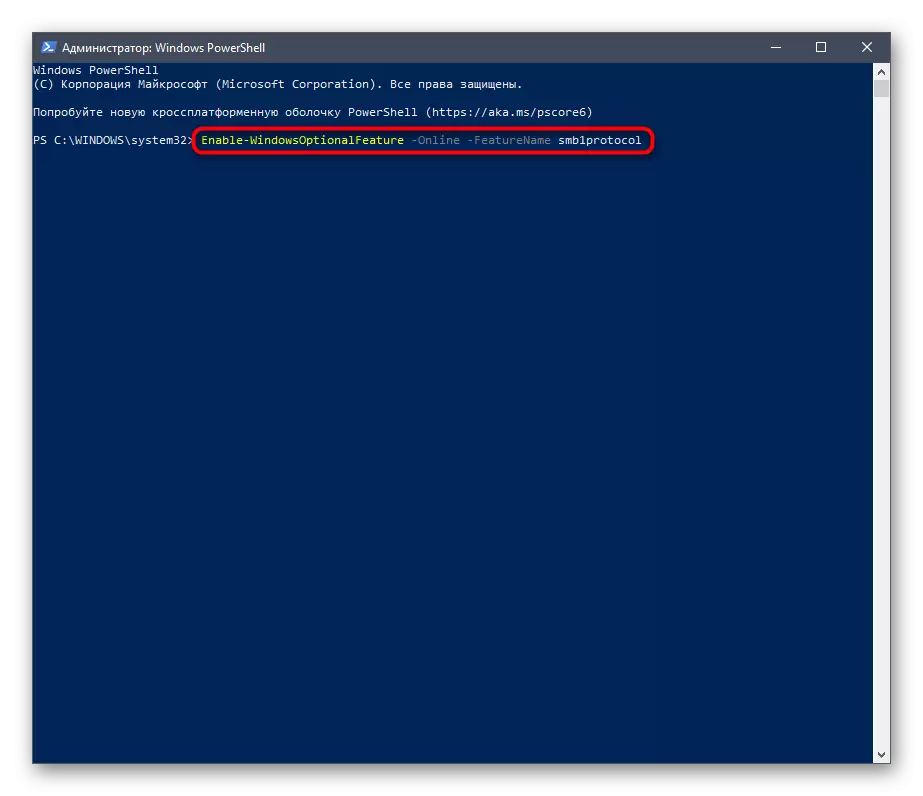
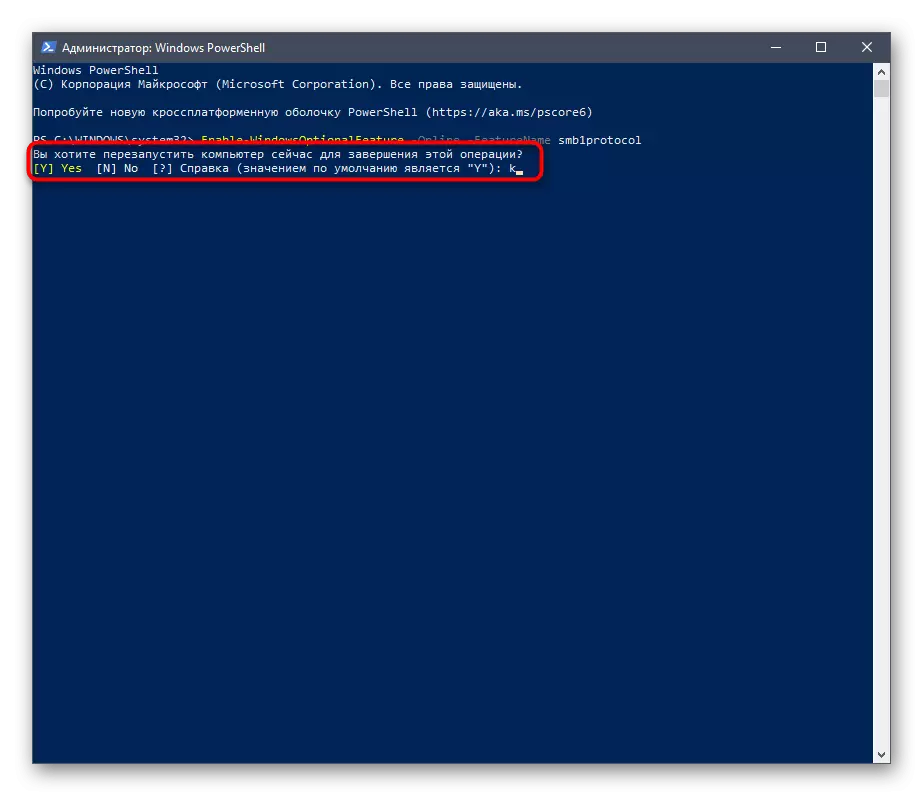
- In PowerShell, insert the Enable-WindowsOptionalFeature -Online -FeatureName SMB1PROTOCOL command and click on ENTER.
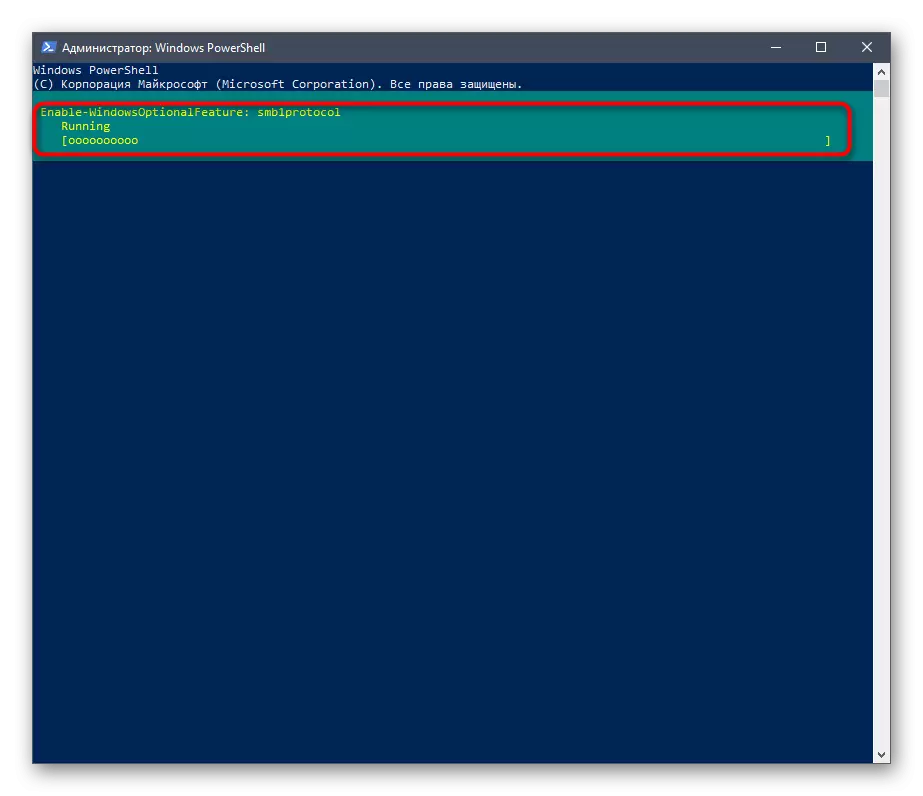
- Expect the completion of the procedure for turning the component, which will take a few minutes.
- After you need to send a computer to a restart to end the operation. You can do it later by choosing a negative answer option now.
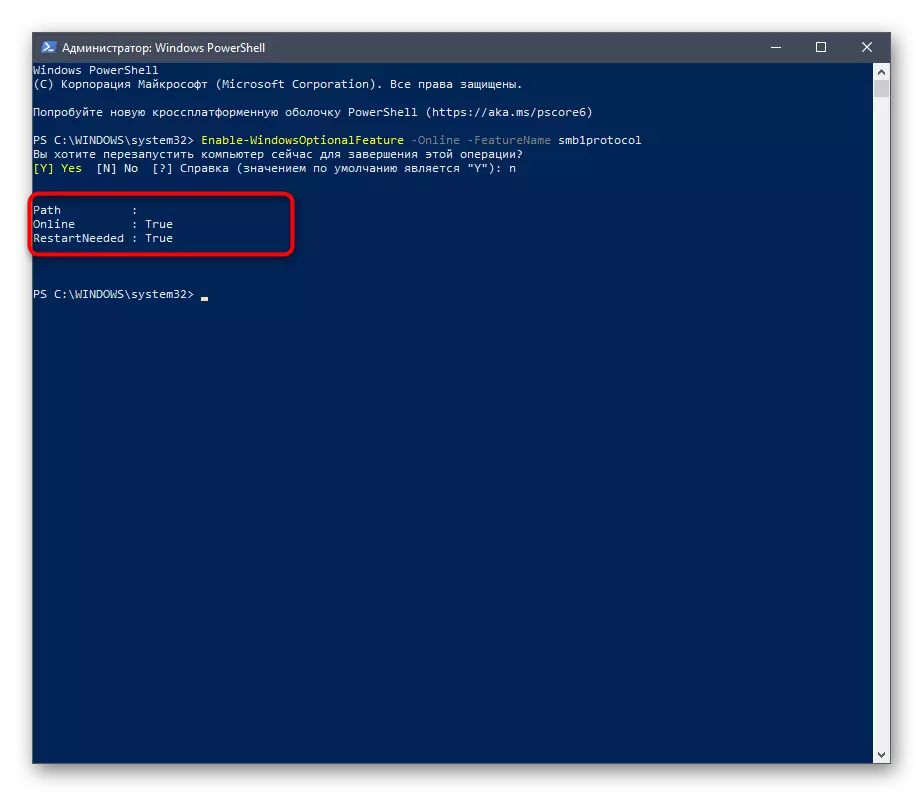
- Next, the PowerShell will display information that SMBV1 has been successfully activated and is in working condition.
Additionally, we note the other two commands for PowerShell, which can be useful to further work with the component under consideration in Windows:
- Get-WindowsFeature FS-SMB1 - allows you to find out what state is now SMBV1.
- Disable-WindowsOptionalFeature -Online -FeatureName SMB1PROTOCOL - disables the component operation.
Method 3: Group Policy Management
Note that this option is only suitable for owners of domains that want to configure SMBV1 on all local computers. We do not recommend ordinary users to use this option - they are better to stay on the previous two.
- To begin with, you will have to add a group policy management to the OS. To do this, open the "Start" and go to "Parameters".
- Open the "Applications" section.
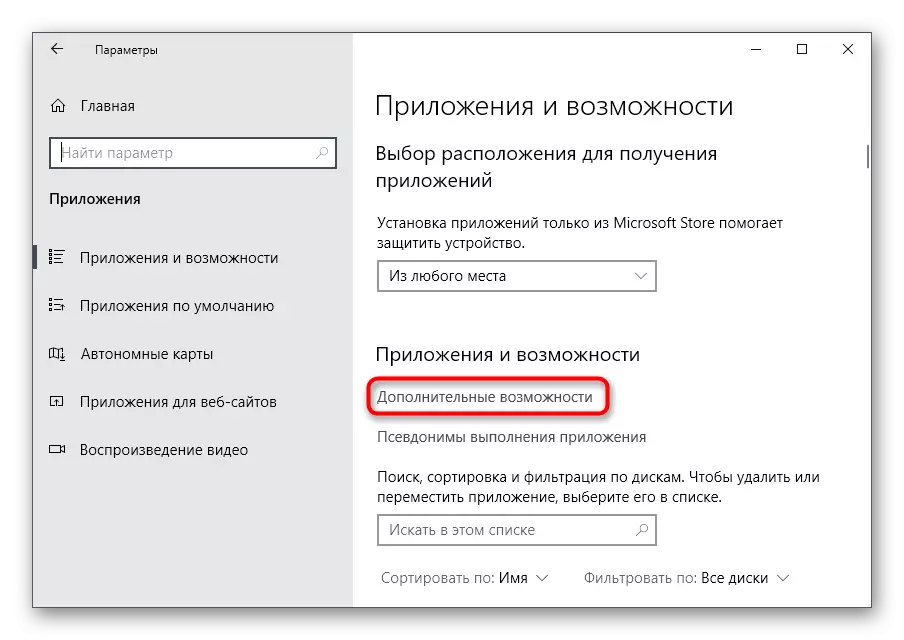
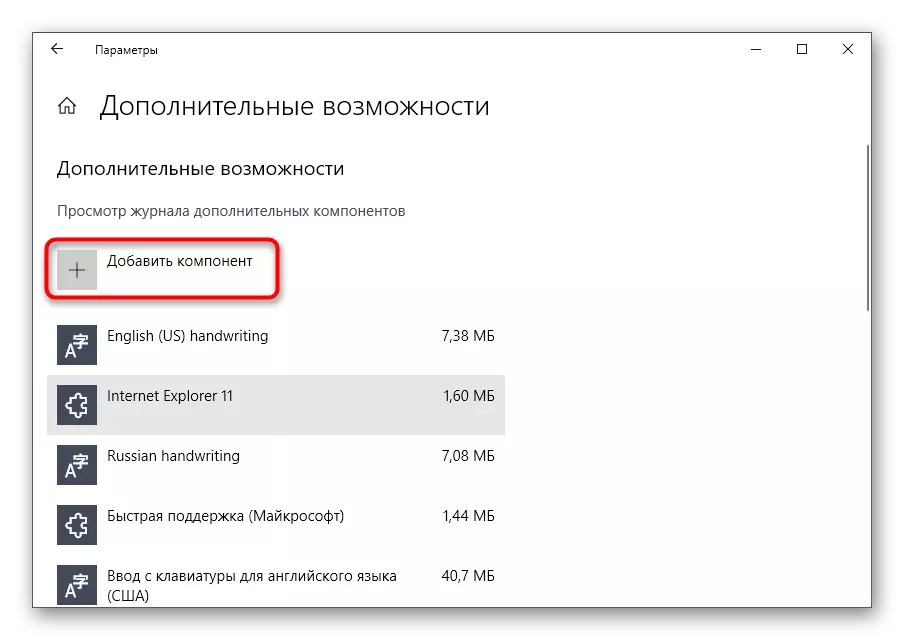
- In the first category you are interested in clicking "extra opportunities".
- Click "Add Component" to go to its selection.
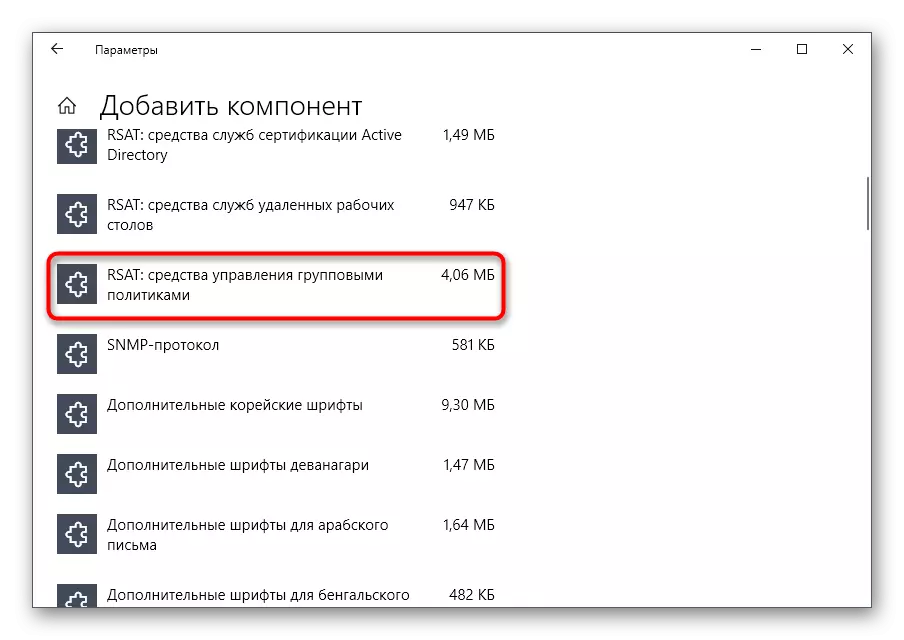
- In the list, find "RSAT: Group Policy Management Means" and start the installation.
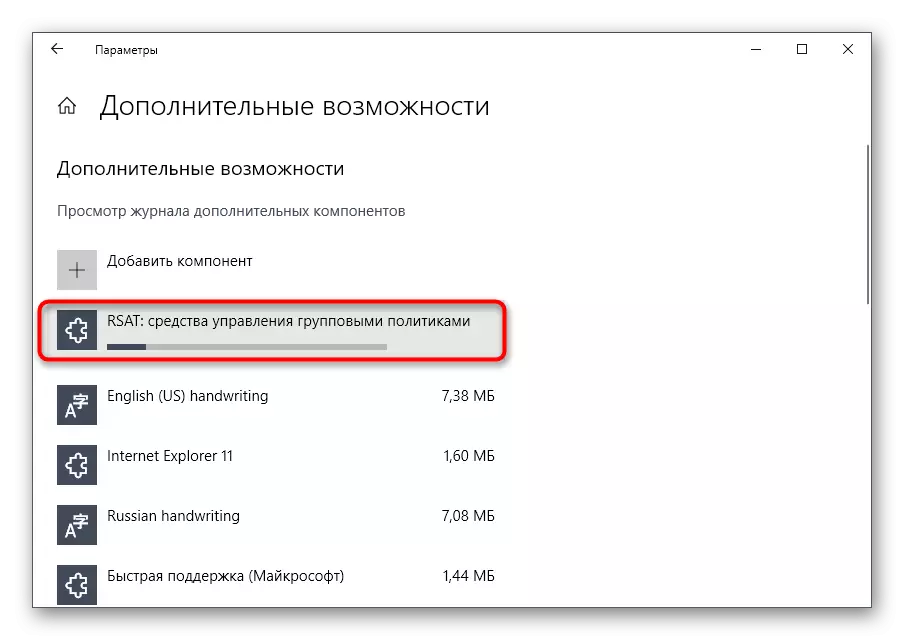
- Return to the previous menu and monitor the installation progress.
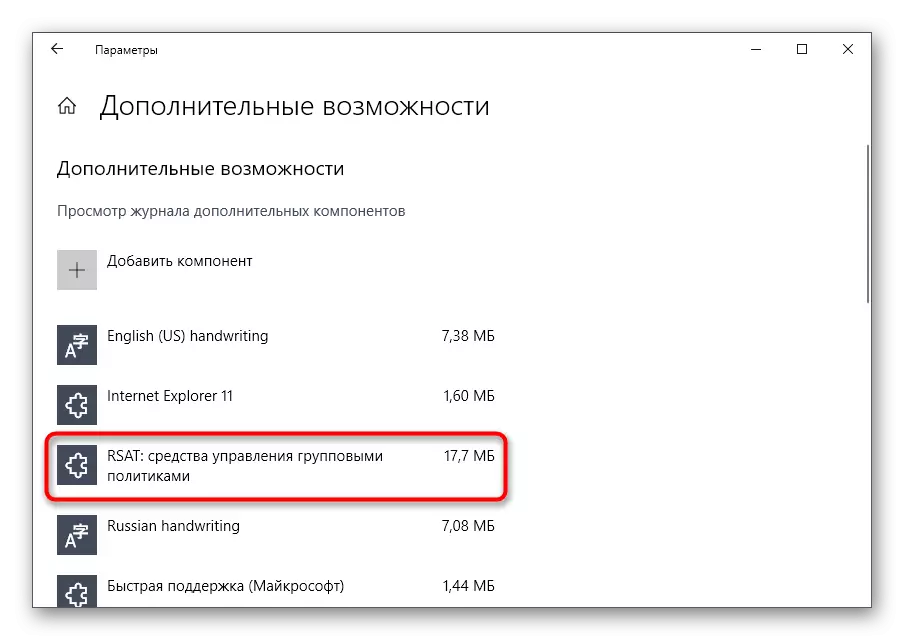
- After checking the component for it in the list and restart the computer so that all changes entered into force.
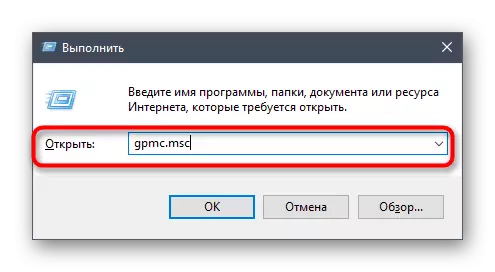
- Enter the operating system under the name of the owner of the domain, open the "Run" utility through Win + R and register the GPMC.MSC, then clicking on the ENTER key.
- Expect to download Group Policy Management.
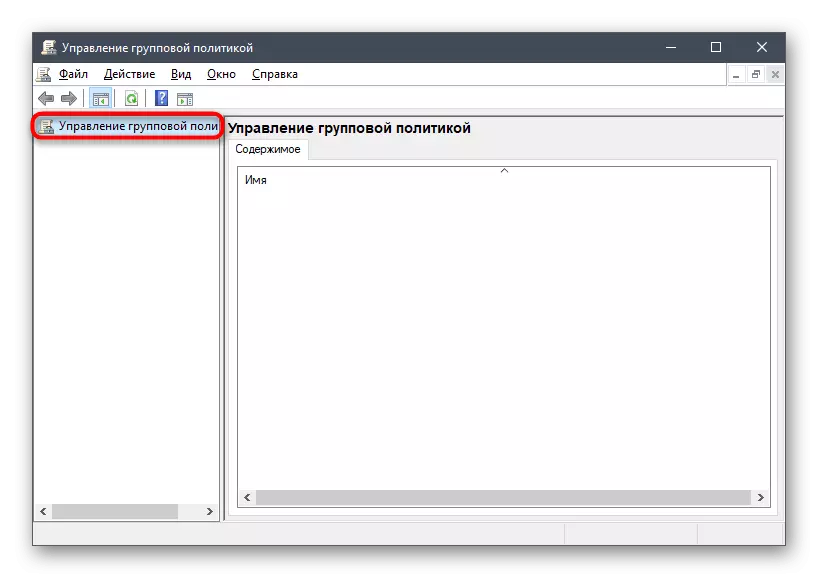
- Open the main section "Group Policy Management" and find the registry.

It remains only to fill out the registry information in accordance with the following list
- Action: Create
- Bush: HKEY_LOCAL_MACHINE
- Section Path: System \ CurrentControlset \ Services \ LanmanServer \ Parameters
- Parameter name: SMB1
- Parameter type: REG_DWORD
- Meaning: 1.
It remains only to save changes for the registry and restart the computer so that they come into force. If you want to disable the parameter in the future, change its value to "0".