

Before starting the analysis of online services, I would like to clarify that photo edits are different. Some of them are sharpened specifically to edit one image, while others are directed to work with entire projects. Next, you will see three types of realization of such sites, which will help choose the optimal option.
Method 1: PIXLR X
PIXLR X is a completely free graphics editor that is online. It has most popular tools required for image processing. Let's figure out the principle of interaction with this site.
Go to the online service PIXLR X
- Follow the link above and click "Open Image" to start interaction with the editor.
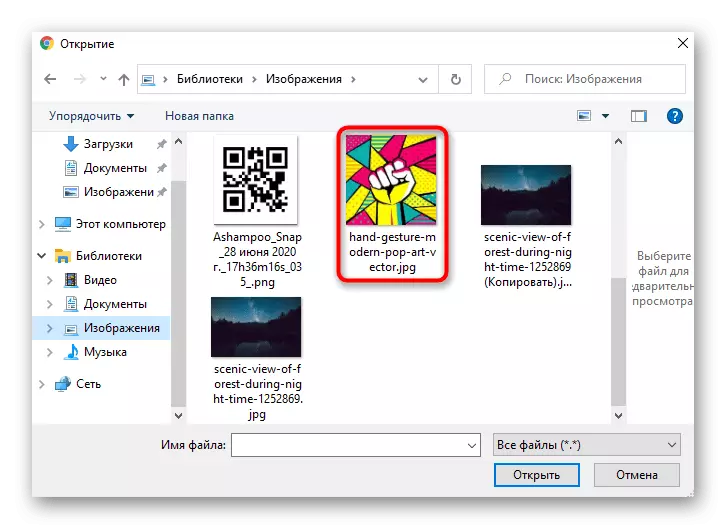
- The "Explorer" window opens, where to find the picture required for processing.
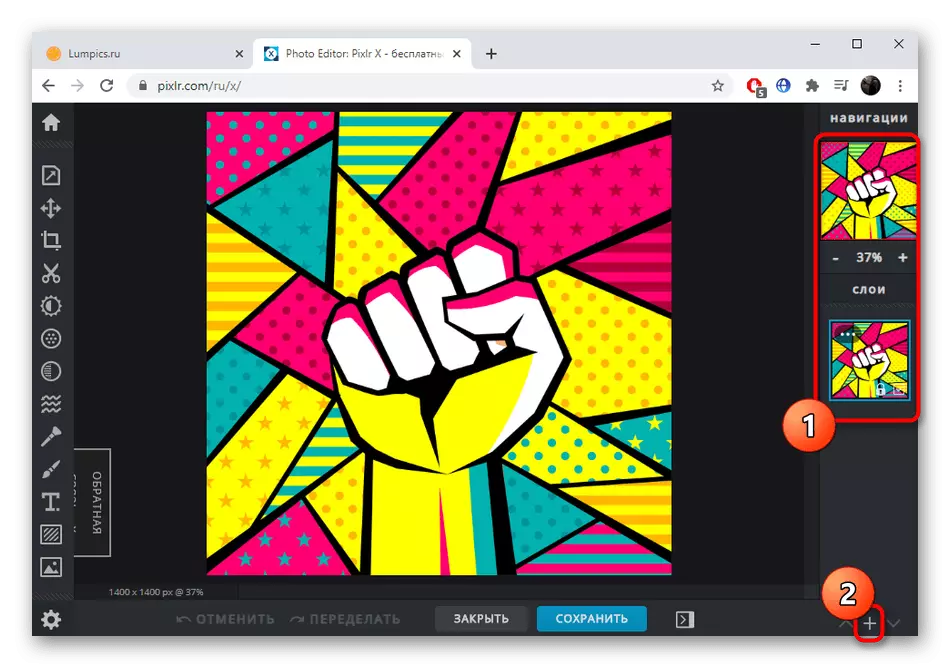
- PIXLR X supports working with layers, which means that for one project you can add several pictures at once and adjust their location. If necessary, create an empty layer, for example, to overlay text or other tools, click on the button in the form of a plus.
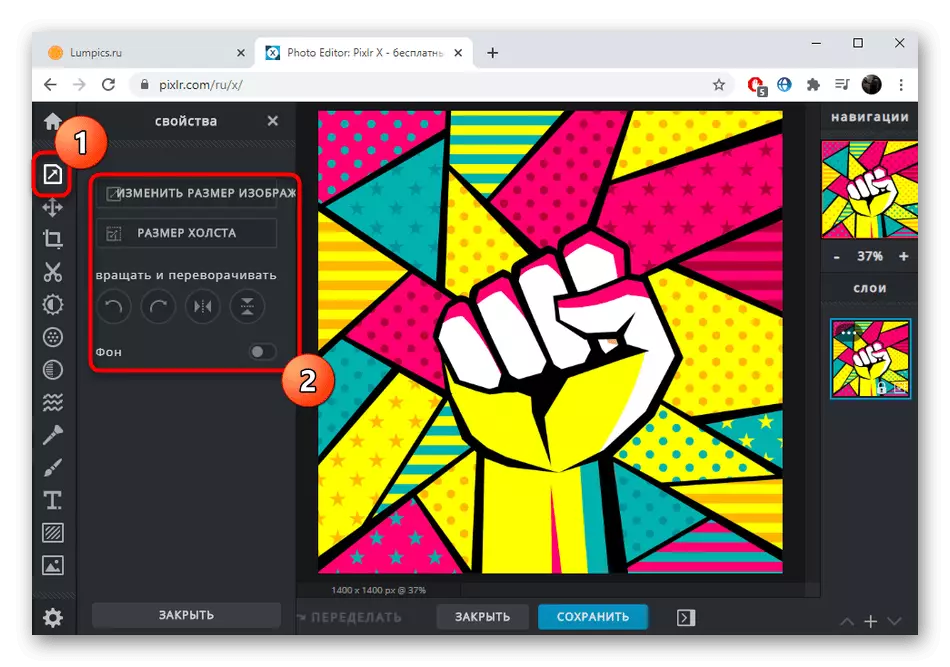
- Let's go through the main tools that are on the left pane of the editor. The first is responsible for transforming a picture and change its size. Here is activated or removed background.
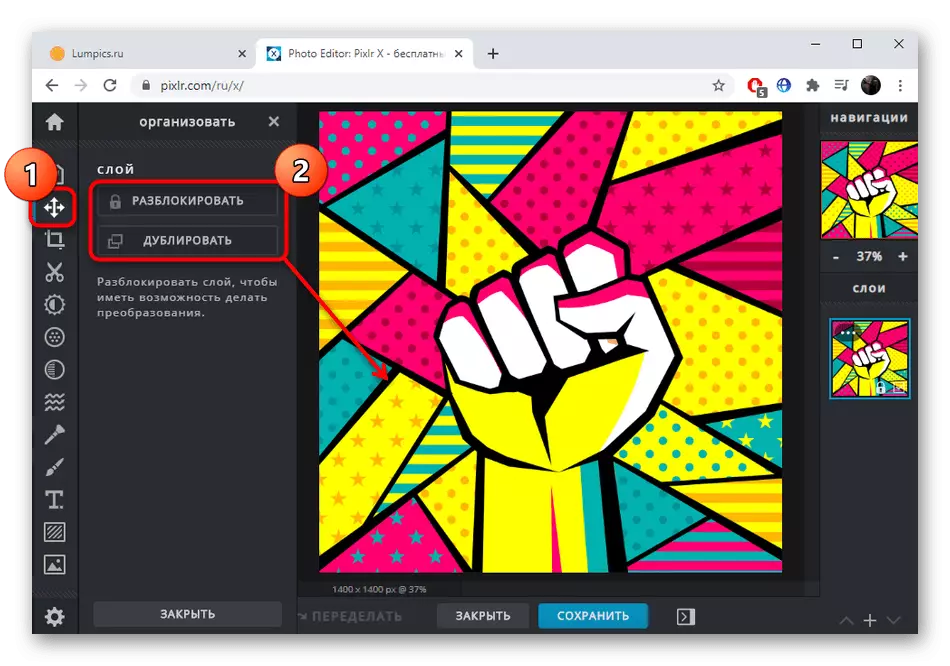
- Next is the function called "Organize", which moves the objects by the workspace, their lock in certain locations or duplication.
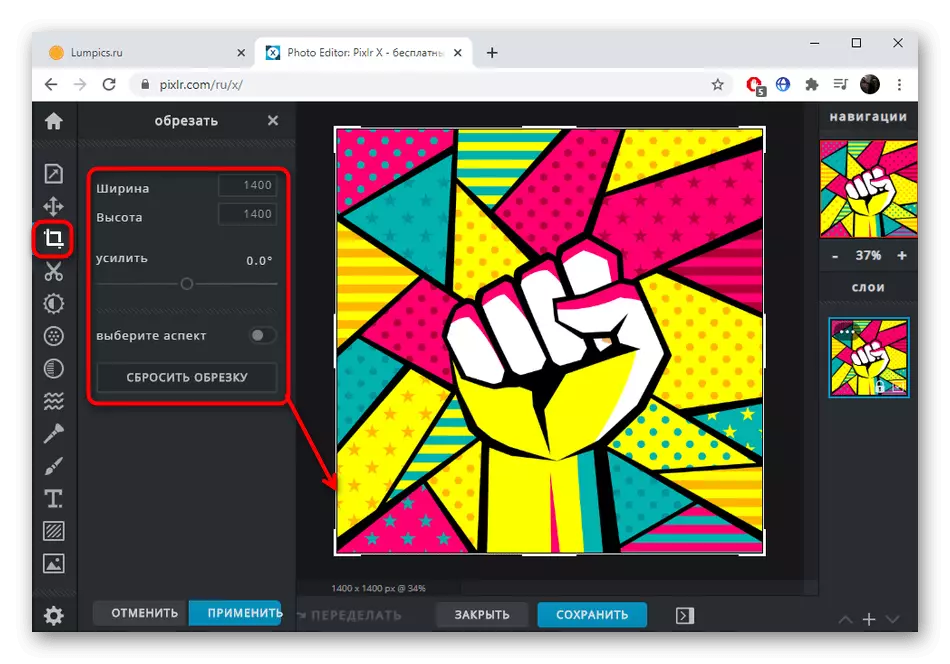
- "Trim" will come in handy in cases where you need to cut a specific part of the photo or get rid of unnecessary regions. For this, the framework is configured, which appears in the image after activating the tool. Approximately the same principle also works and the following "Cut" function, only it removes a specific dedicated area or shape.
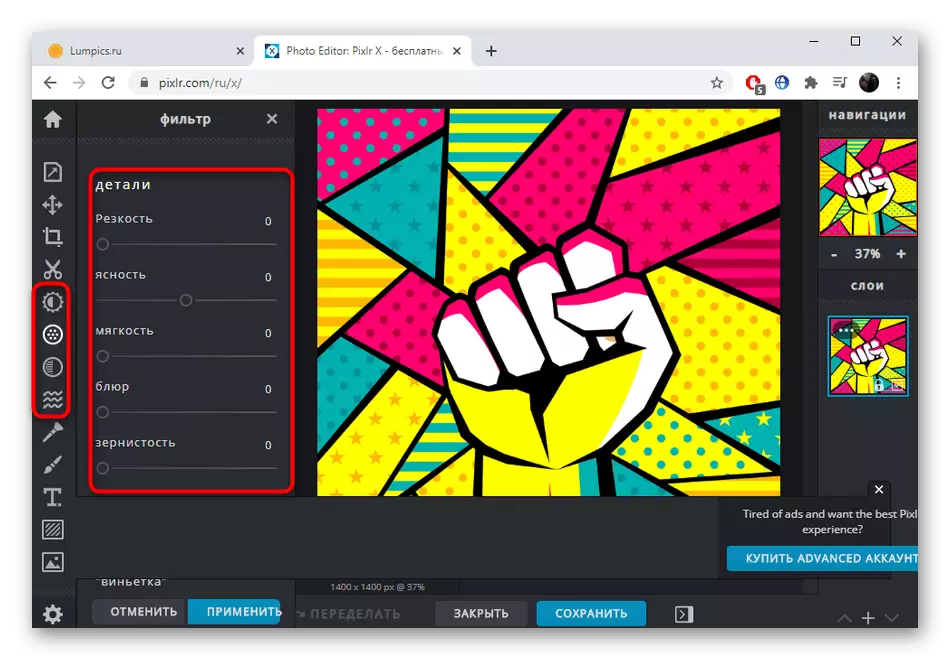
- The following four tools are designed to impose effects and filters, as well as performing color correction pictures. Move the slider by viewing the result in real time. To deal with the action of each will be easy, because the interface is completely in Russian.
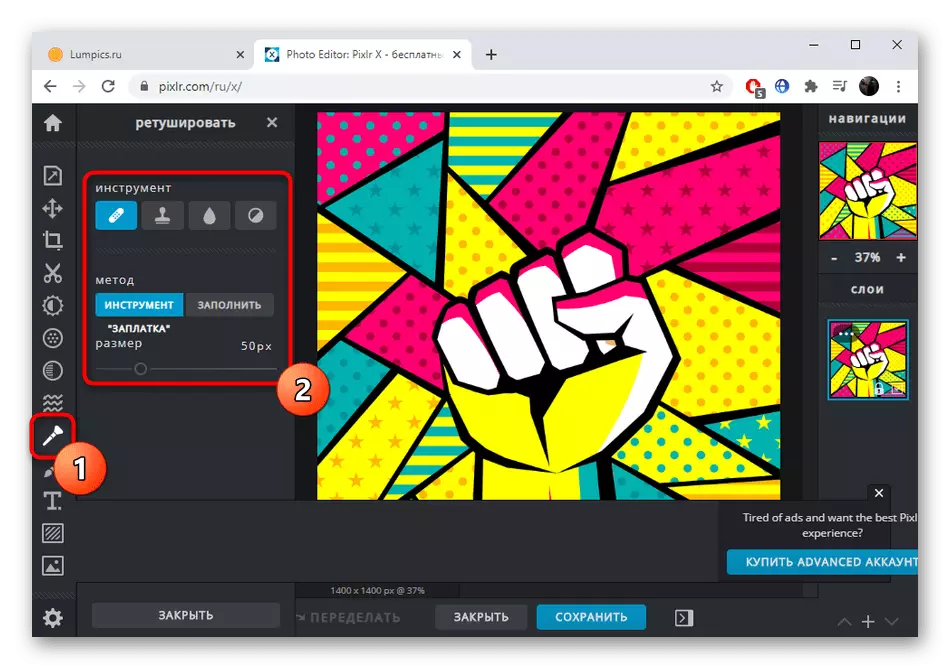
- Retouching is useful in those situations when it is required to lighten or darken any sections or replace the content using the stamp.
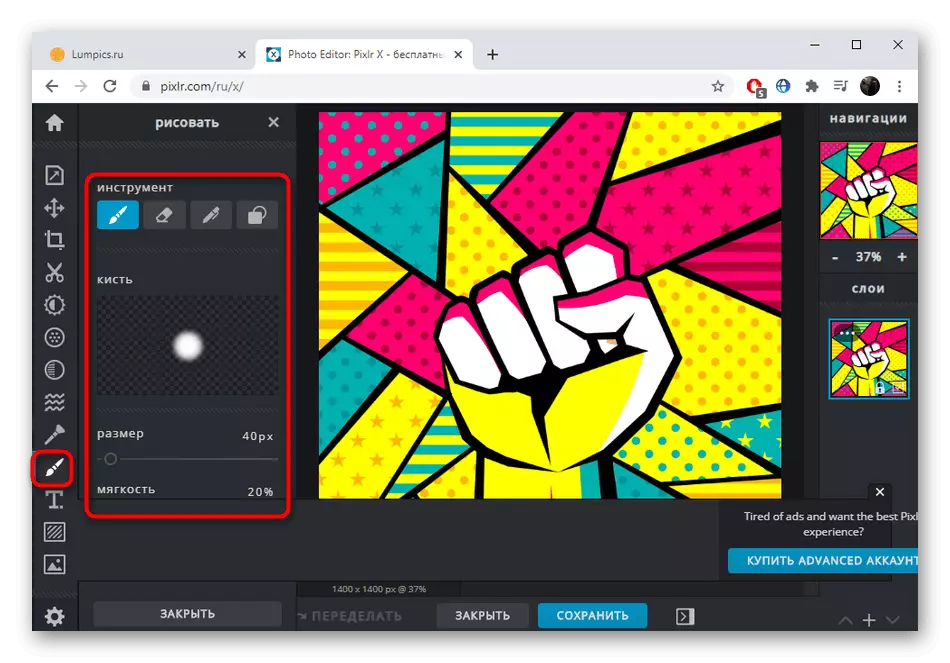
- There is a PIXLR and standard drawing tool in the form of a brush. You can configure its size, draw a whole figure immediately or use eraser. Unfortunately, there are no options for choosing brushes in PIXLR X.
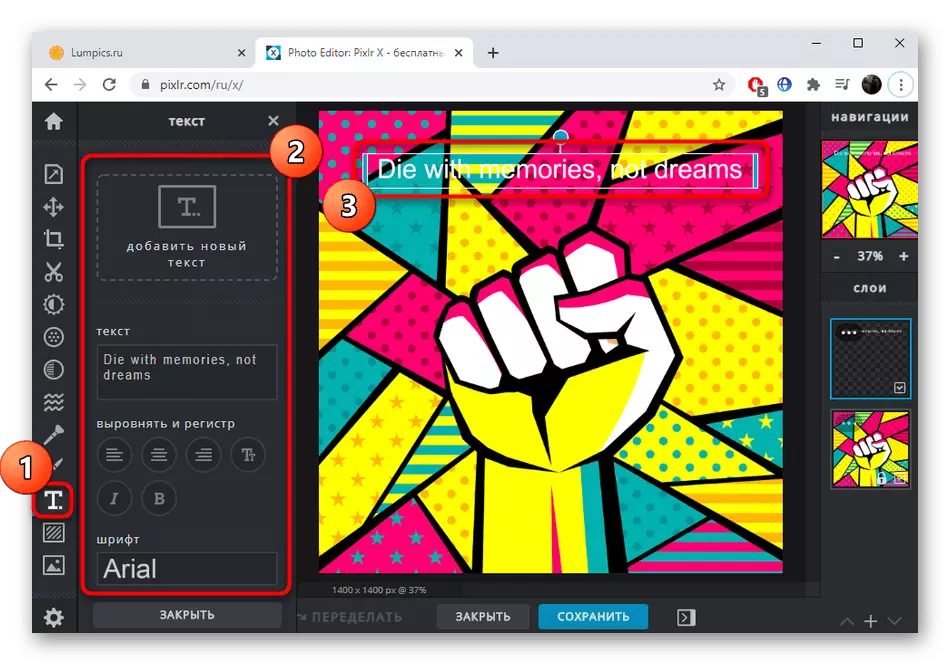
- Supports the editor and work with standard inscriptions. The text is immediately added as a new layer, and its formatting is configured in a separate unit, the type of inscription itself and the text is set. Moving text across space occurs just as well as any other object.
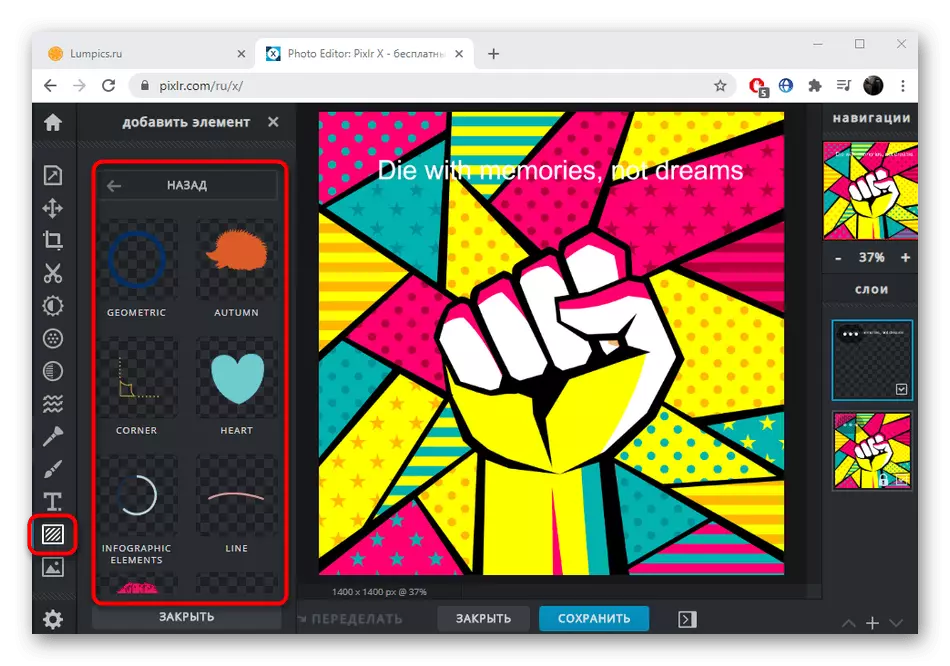
- Sometimes you need to add additional items to the image, which also allows you to make the editor in question. Their list is small, but they are all free and customizable.
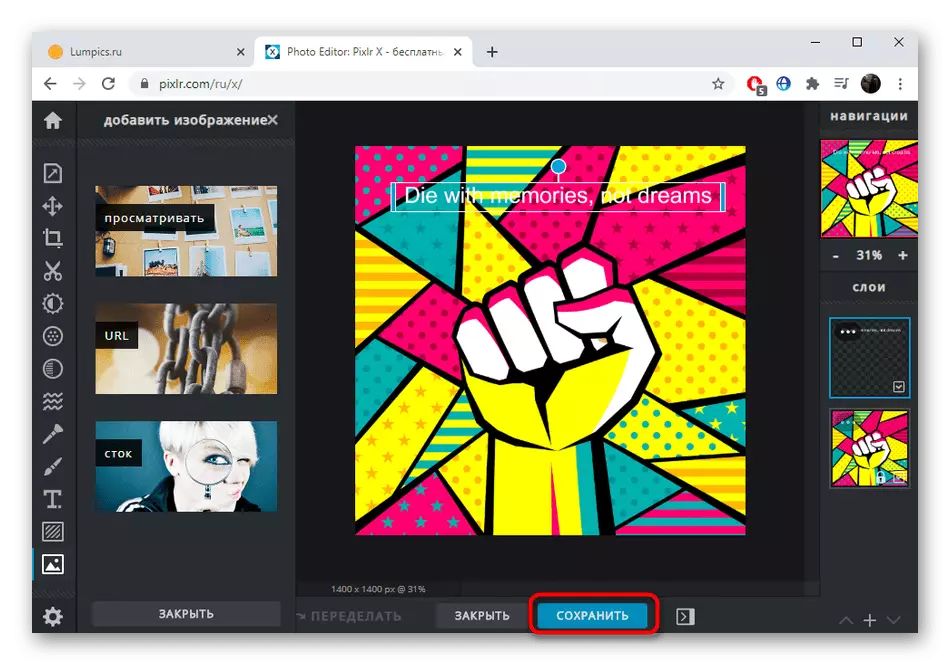
- Upon completion of editing, it remains only to click "Save" to get the finished picture on your computer.
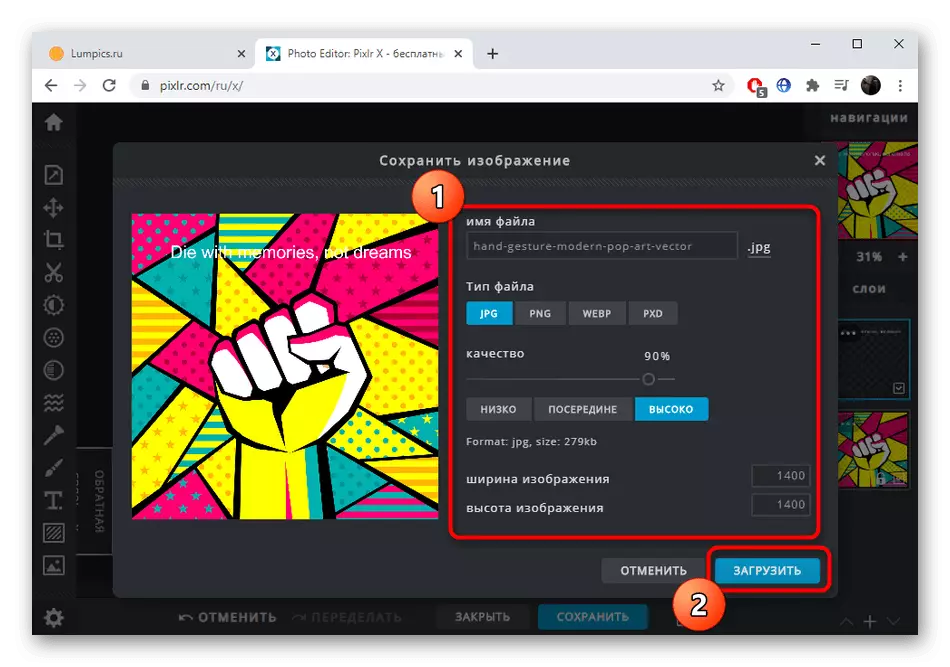
- Specify the name, file format, quality and additionally change the resolution if required. Next, it remains only to click "Download."

Method 2: Fotor
The purpose of the online service of the Fotor is slightly different from what you see above, respectively, the set of editing tools will also be different. Here, the developers focused on the options for improving photos, the imposition of various elements and processing using effects and filters.
Go to online service fotor
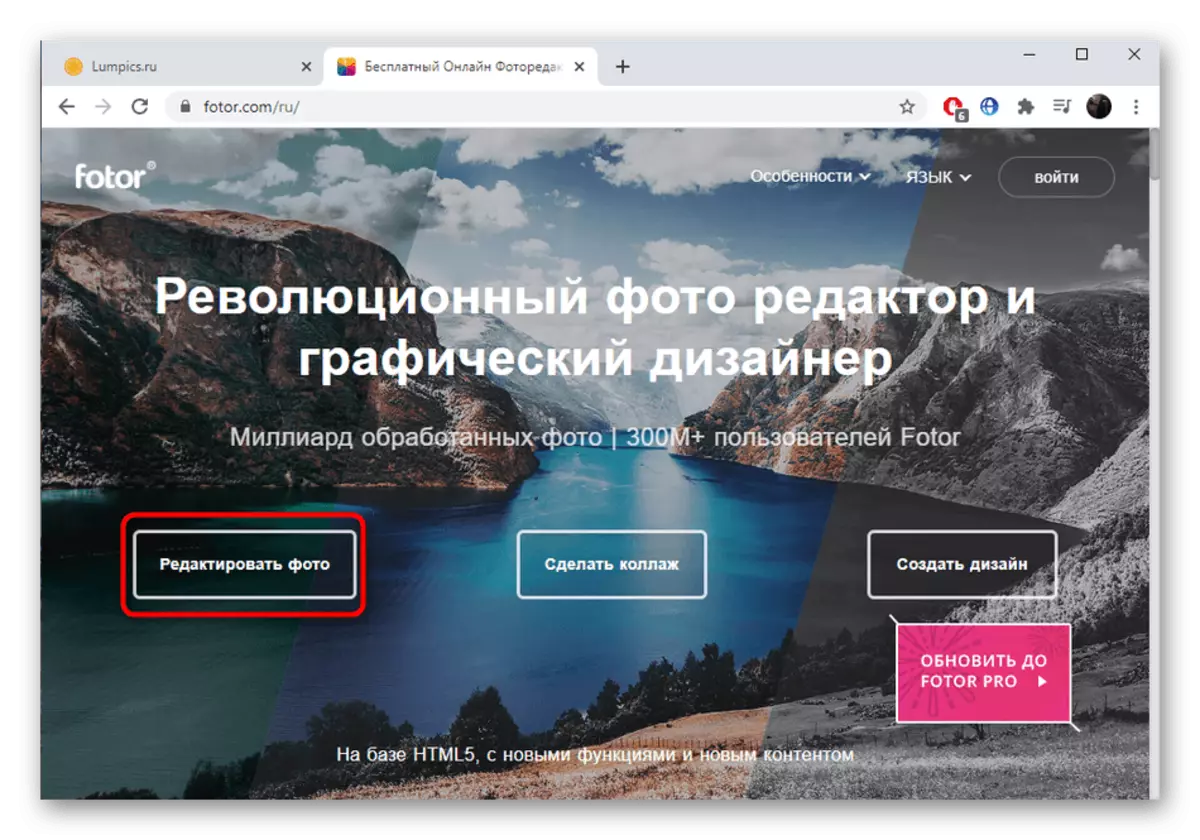
- Once on the main page of the site Fotor, click on the Edit Photo button.
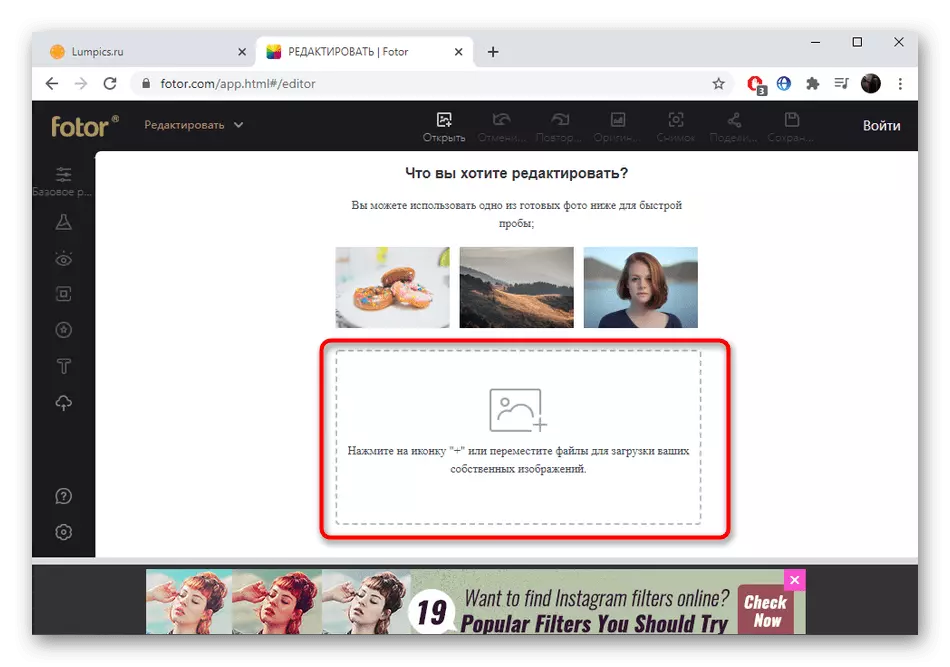
- Move the image to the selected area or use the "Explorer" to open it.
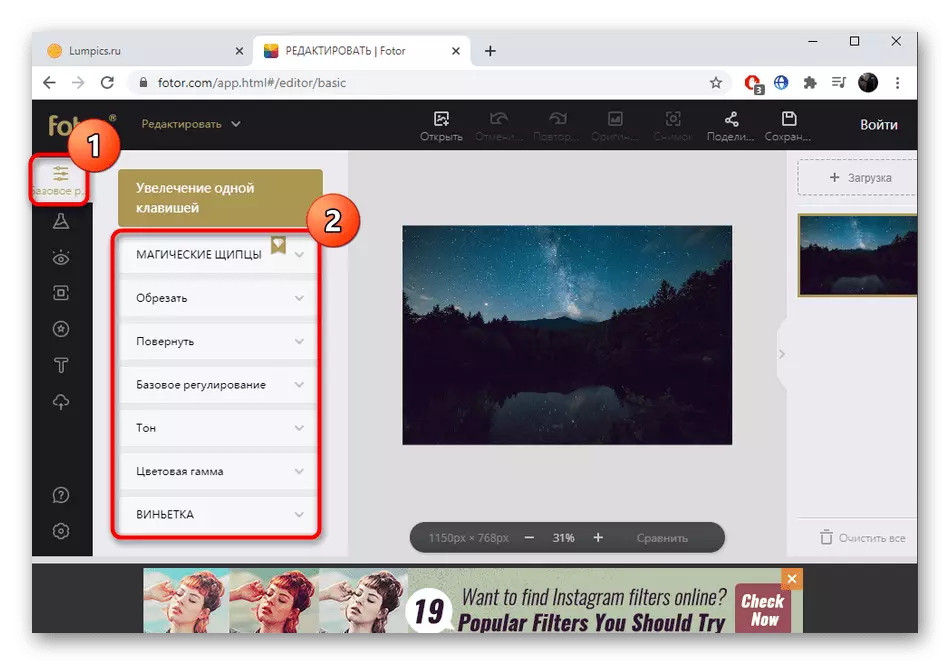
- The first tab of the left menu is called "Basic Editing". Here you can trim the snapshot, transform it, set a new size, change the tone, color range, or impose a vignette.
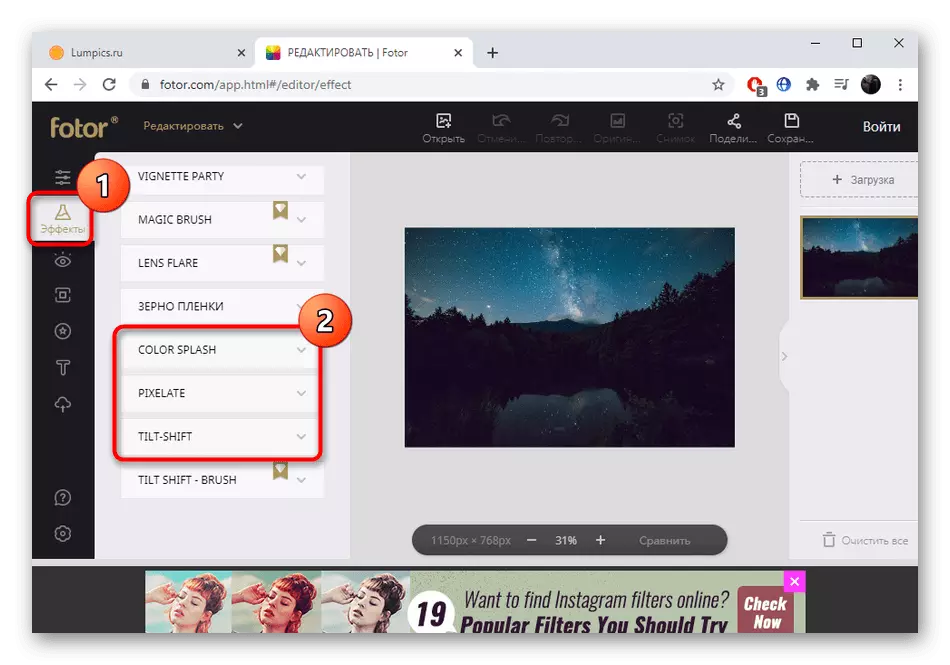
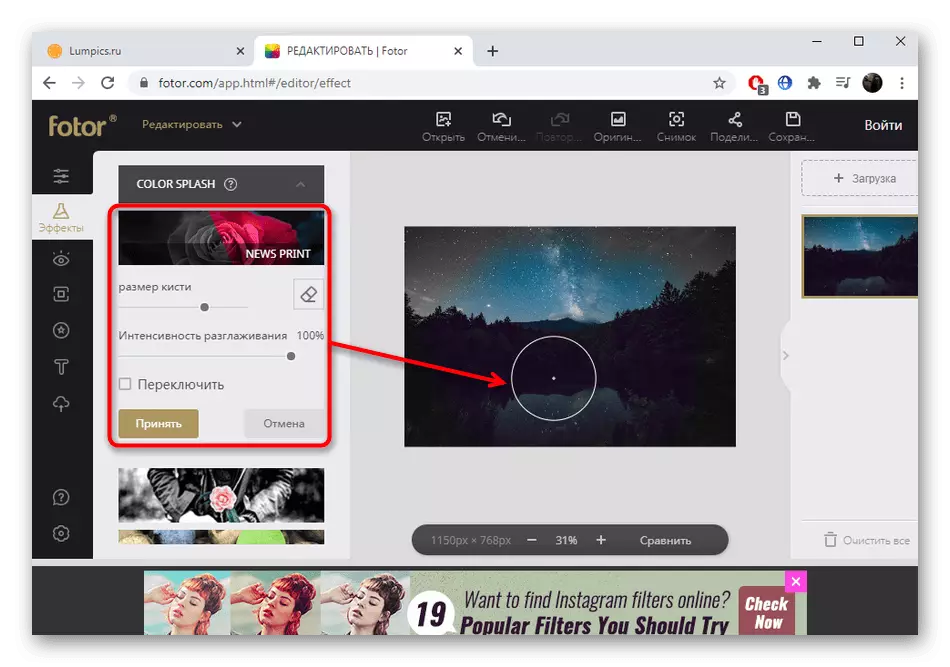
- Next is the category "Effects". For free use, four different settings are available here. Open one of them to see the parameters.
- Adjust the size of the brush and the intensity of the effect, and then when the cursor apply it to the photo itself.
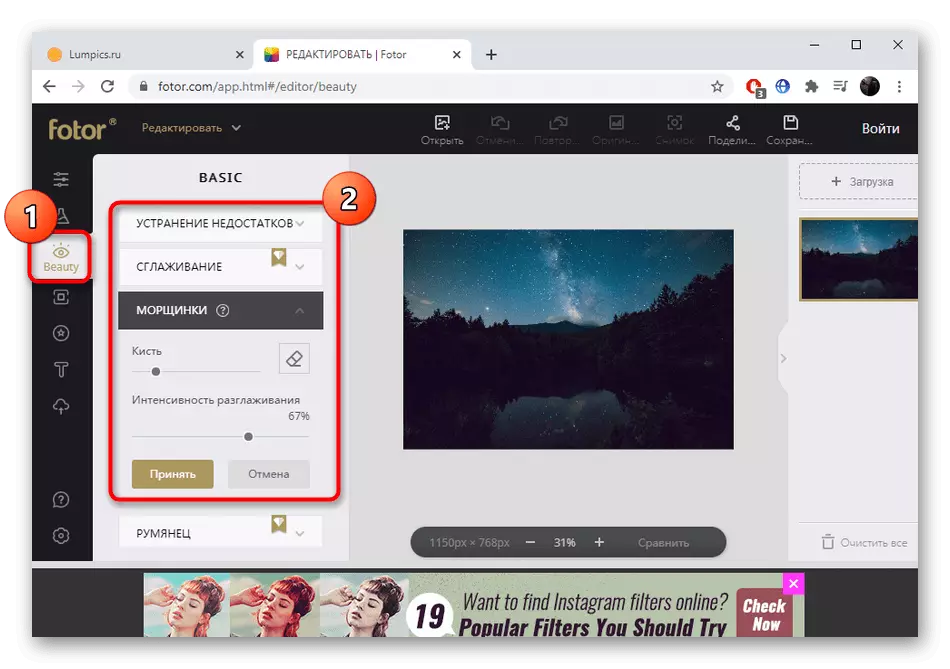
- The "BEAUTY" tab will need to contact only those users who handle a person's shot. There you can eliminate flaws, customize smoothing, remove wrinkles, add a blush and use makeup functions. Some of them are paid, which can be understood by a diamond icon near the inscription of the function itself.
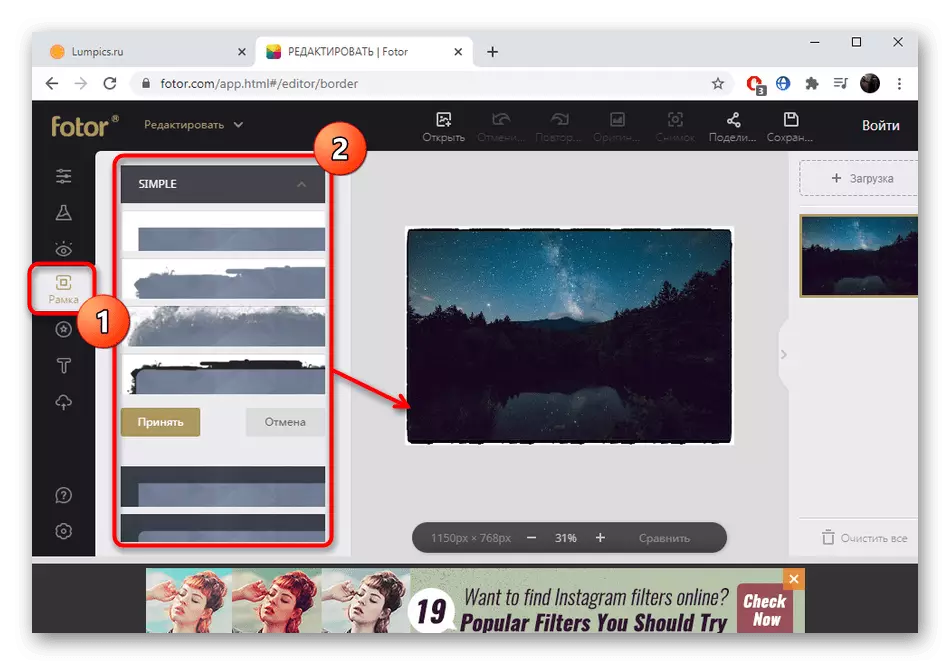
- You can add a frame to the picture by selecting one of them in the list. Frames Also in Fotor there are a huge amount, some of which are free for use.
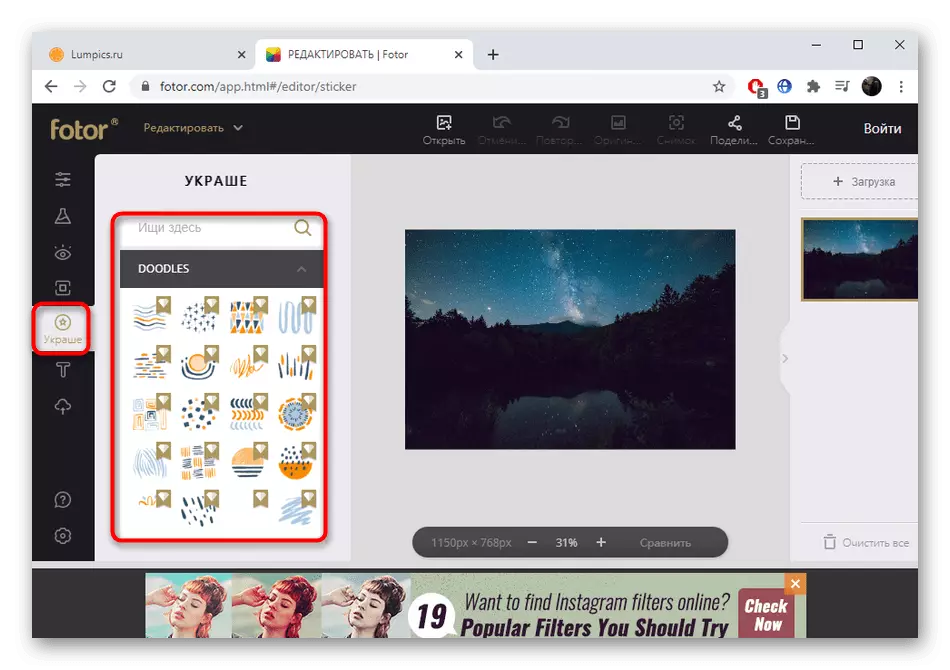
- Additional decorations are added. They need to be selected in a separate list or use the search, and then adjusts the size and location on the workspace.
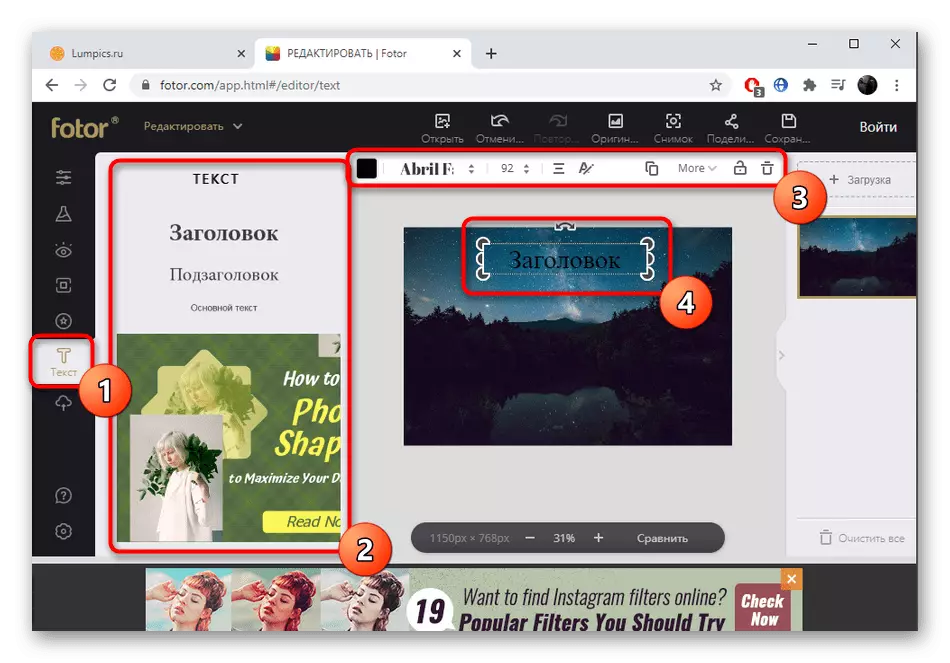
- To deal with the overlapping text will be obtained by everyone, because this requires only the format, set the basic parameters and indicate where the inscription will be located on the workspace.
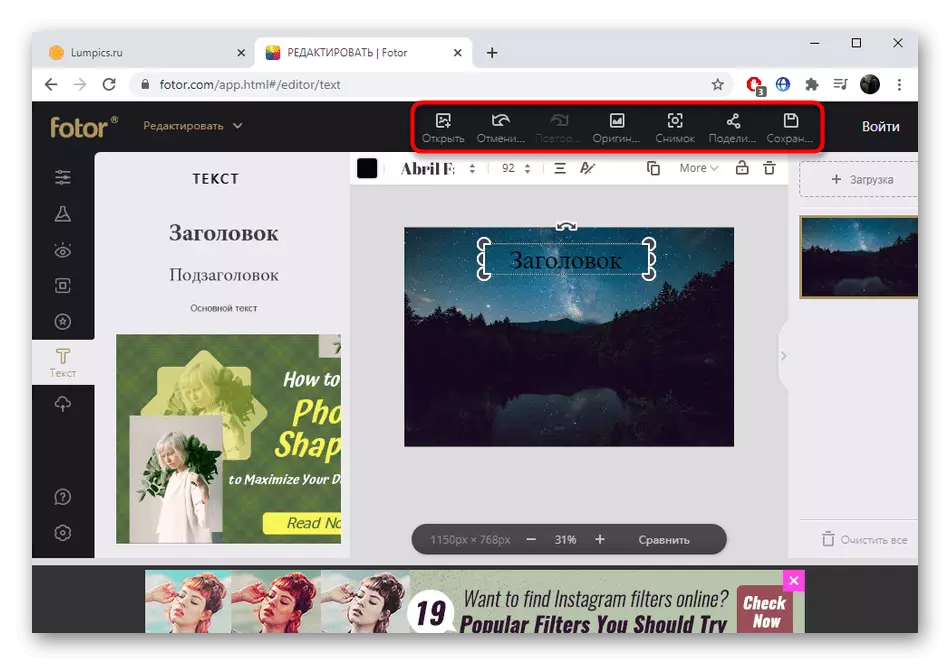
- Additionally, pay attention to the top control panel. There you can cancel the action, take the screen shot, share the project or proceed to save.
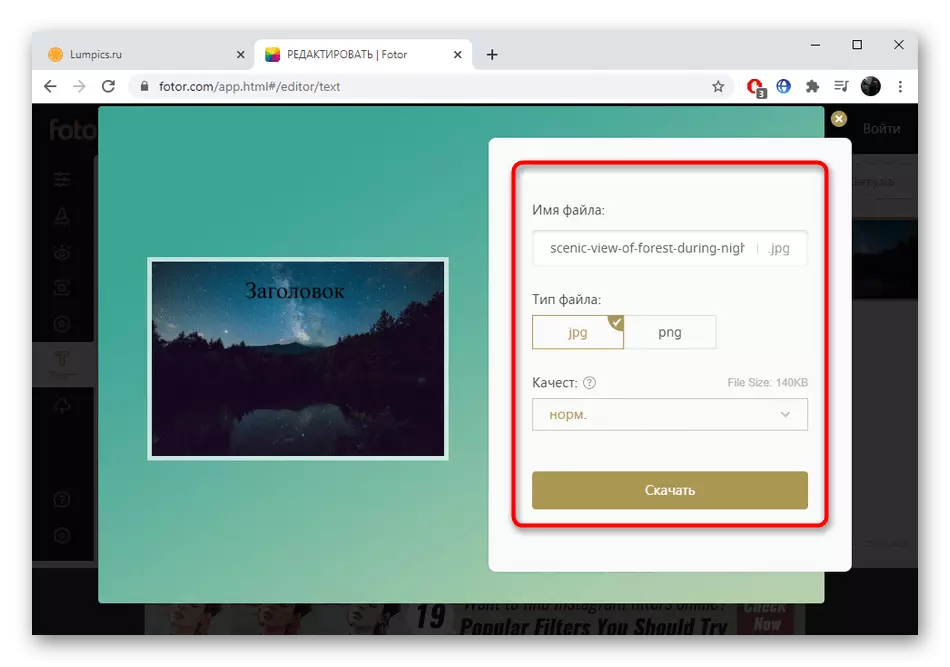
- When loading a picture on a PC, you will need to write a name for it, choose one of two formats and determine the quality.
If you need to execute a graphic design or create a collage, use other Fotor editor tools, the transition to which is carried out through the main page. Just consider that there, too, specific options are distributed for a fee.
Method 3: Canva
The last type of photo editor online shows the canva online service. This option will suit those users who prefer to use templates for the design of various projects or want to create them from scratch. They may have a small presentation, brochure, directory, ad or just a set of several images placed on one canvas.
Go to the canva online service
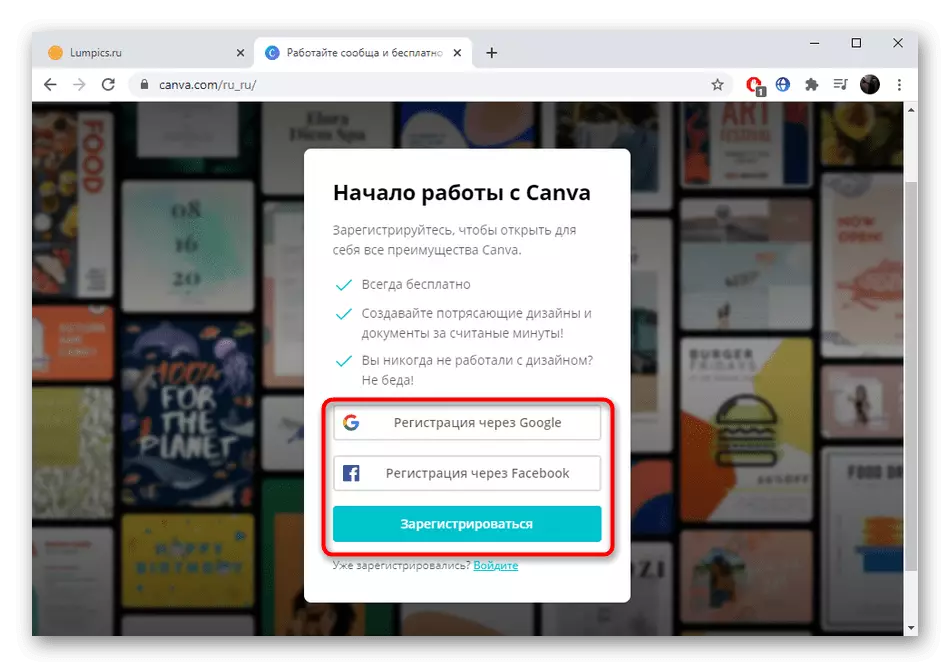
- To start working with Canva, you will need to register. The easiest way will be logged with Facebook or Google.
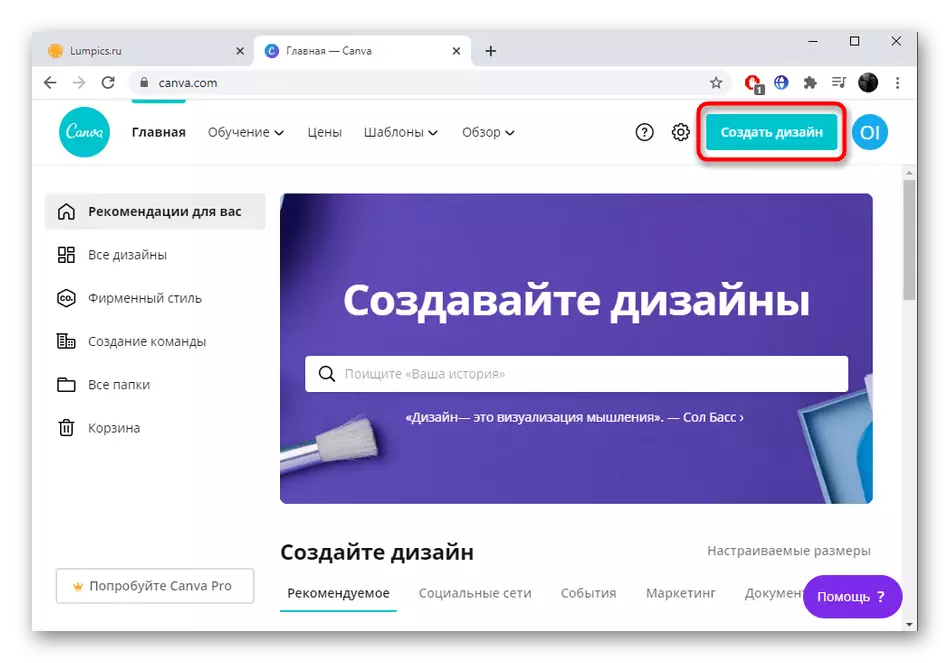
- On the Personal Account page, click "Create Design".
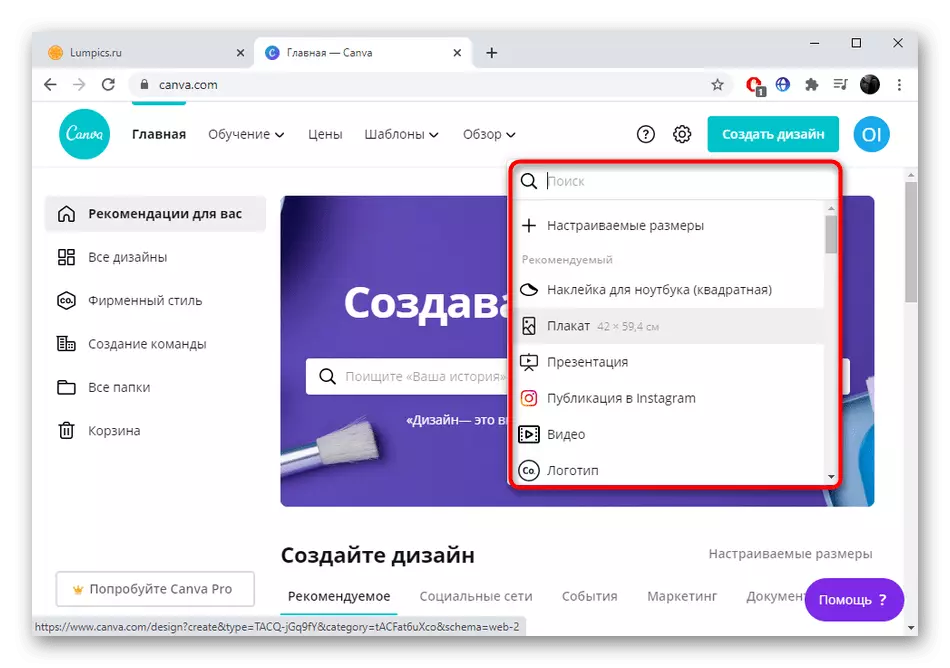
- In the drop-down list, find the appropriate project or select "Customizable Sizes" to specify the size of the space in pixels.
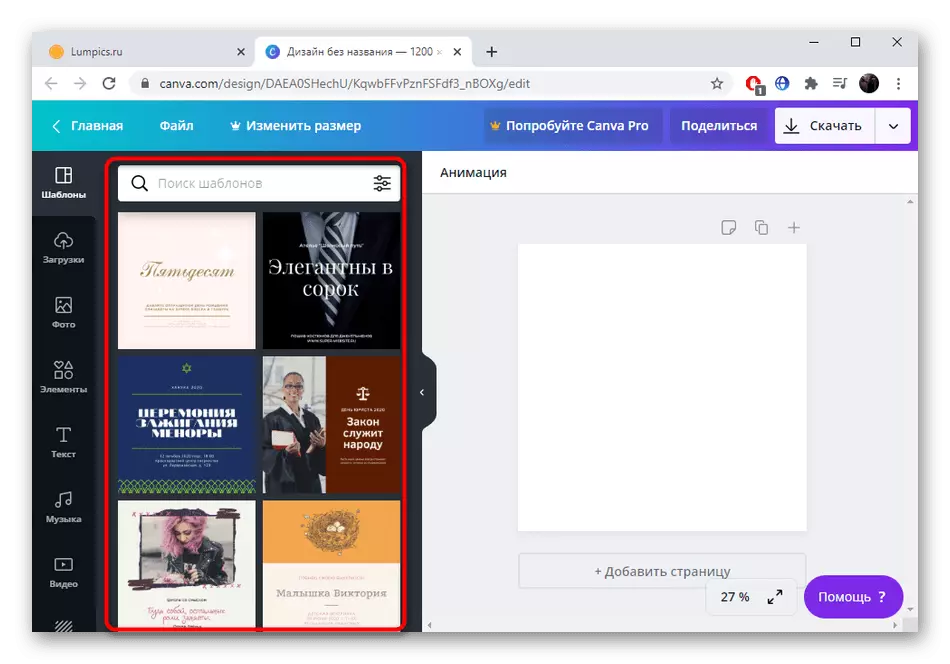
- When opening the editor, you can find a project design template. Each of them is available for editing, that is, any element varies, moved or deleted.
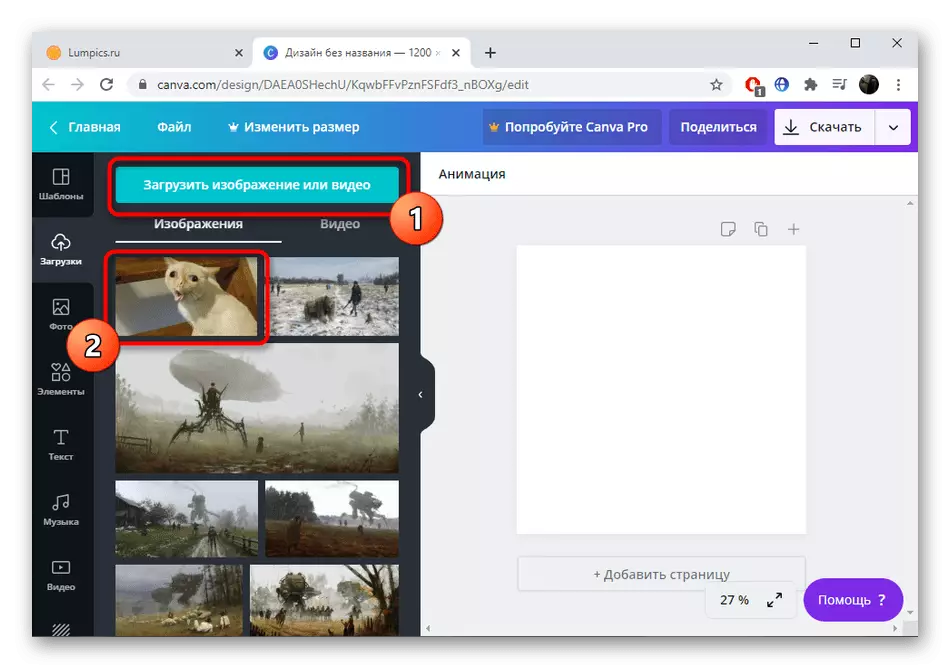
- Through the category "Loading", add your own images on the computer.
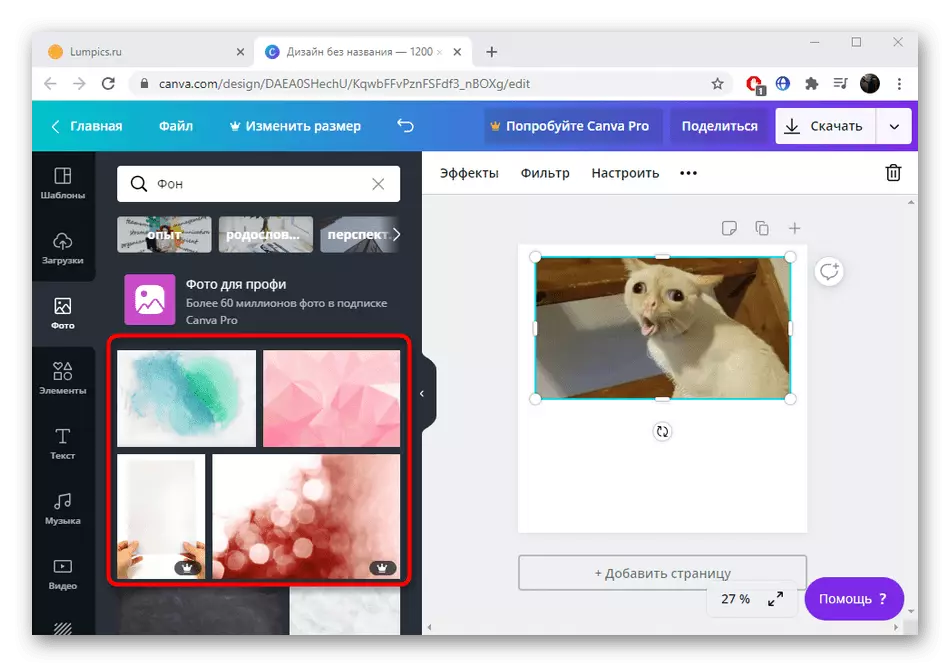
- Move to the "background" to choose the background for the canvas, placing it under all other components of the project.
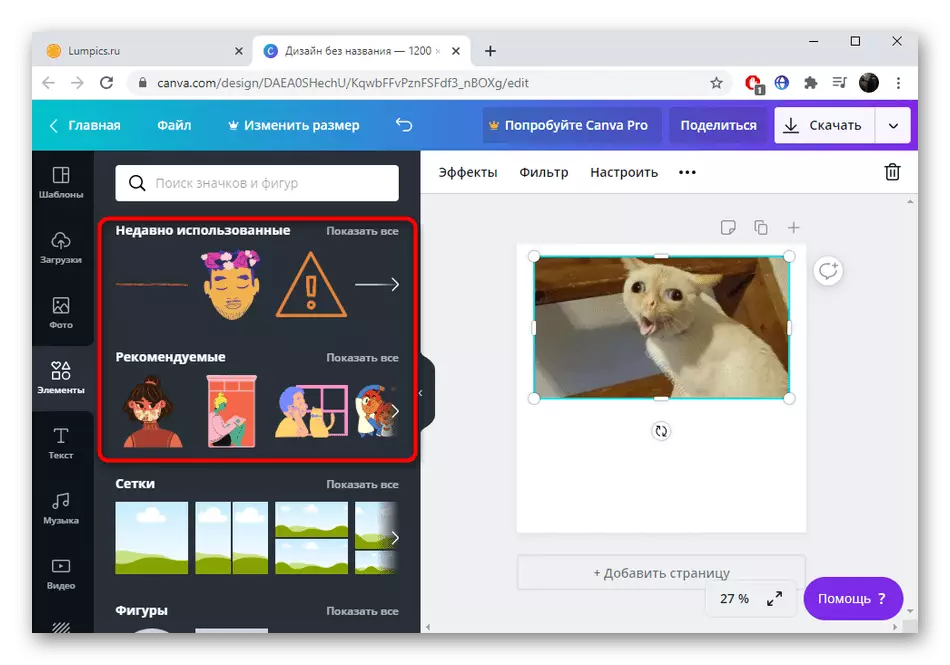
- According to the standard there is support for various elements that are added to canvas.
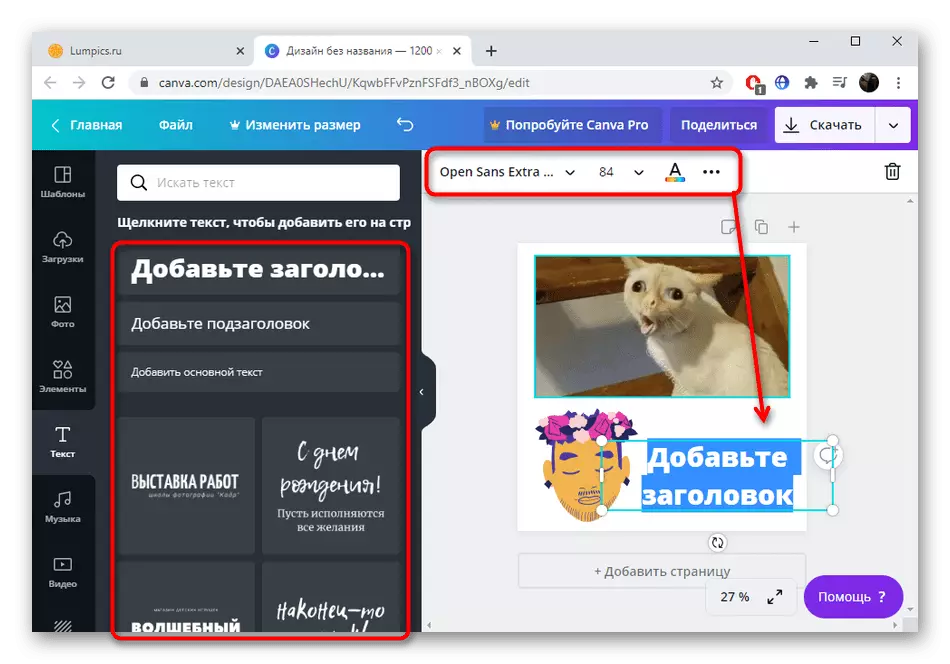
- The text is also written familiar to in many ways, and the advantage of CANVA is the support of non-standard fonts used in the printing house or when creating various presentations. Editing the font is carried out through the top panel.
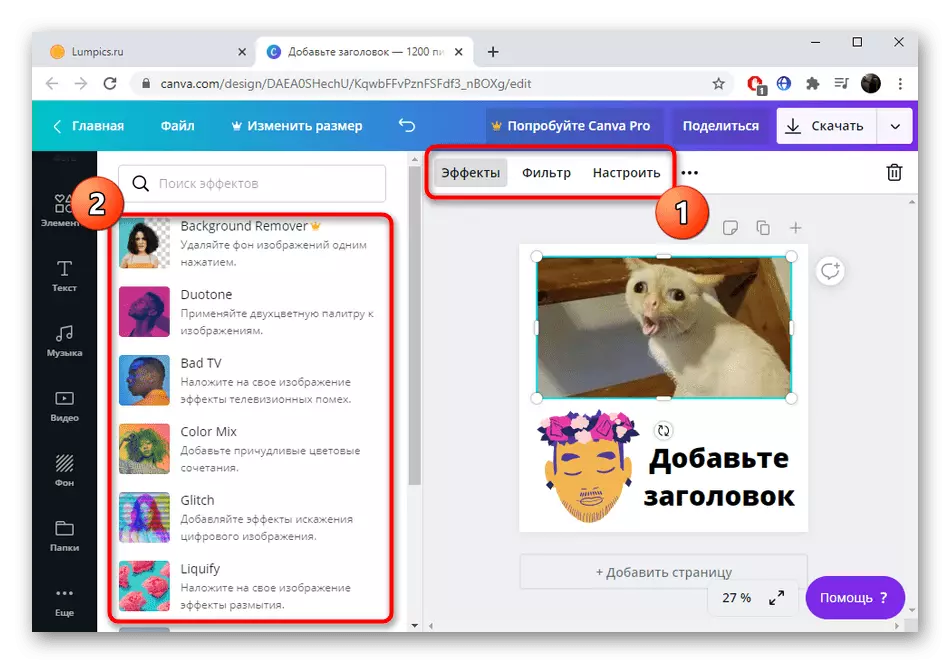
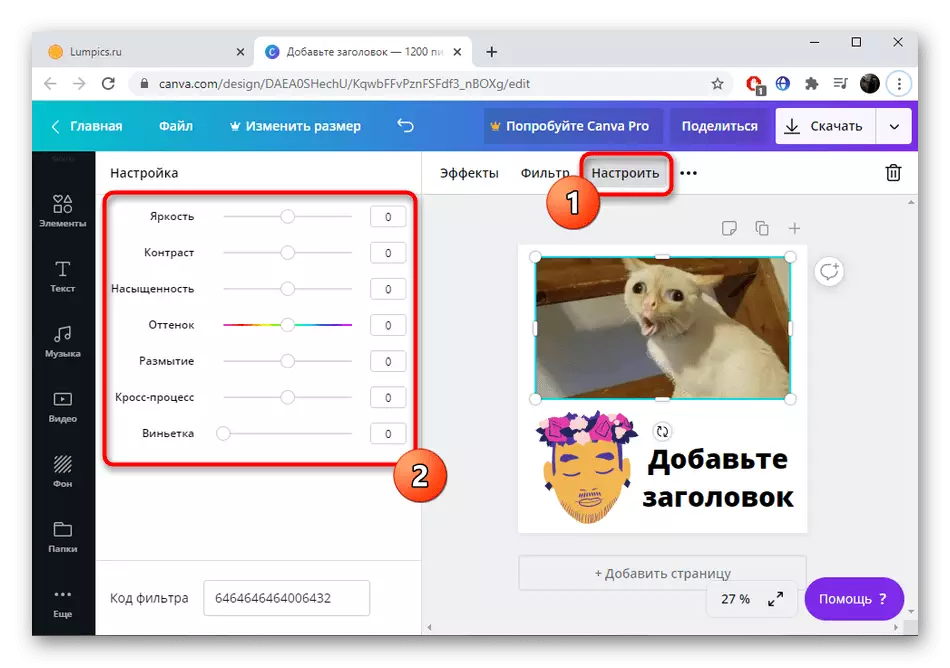
- Select one of the images to appear on top of the editing tools. There you can apply one of the many effects or apply filters.
- Move to "Set up" to set color correction by adjusting the present sliders.
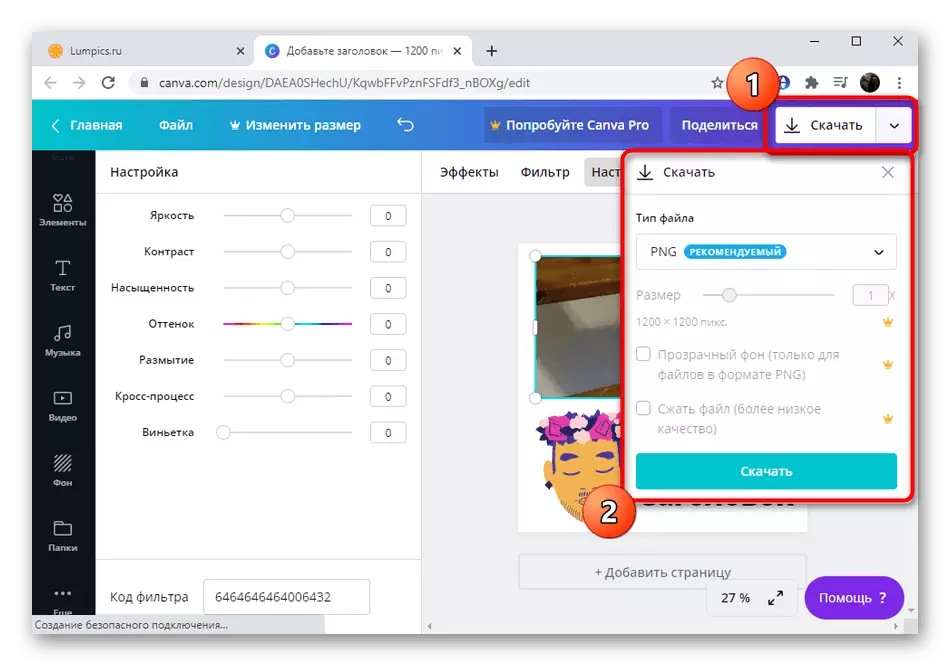
- By readiness, click "Download" and specify the download parameters for your computer.
If even after familiarization with all three online services, you could not find the optimal, it remains only to refer to full-fledged software, which can be found by reference below.
Read more: Graphic editors for Windows