

Method 1: Cute Cut
One of the most popular edit mounting solutions is the Cute Cut application available on Google Play.
Download Cute Cut from Google Play Market
- Run the program and issue it all the necessary permissions.
- To create a new project, click on the icon with the "+" sign, as indicated in the instructions of the kat itself. Next, select the desired name and tap "Create".
- Customize the future of the video, the first thing for the aspect ratio (the block of the respective parameters due to poor-quality localization is called "Resolution") - for the Oditov, which is planned to be published in Instagram, it is better to choose the option "Square", which is square 1: 1.

Next, select the orientation of the picture, portrait or landscape.
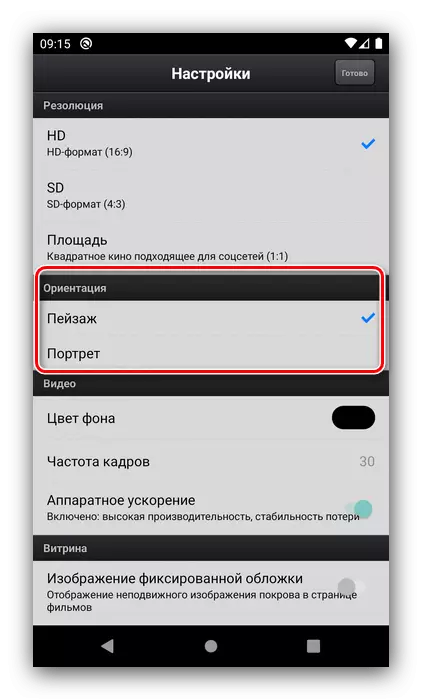
Now refer to the roller parameters: Cute CUT allows you to select frame rate, background color and use of hardware acceleration. The remaining settings can not change, but to continue tap "ready."
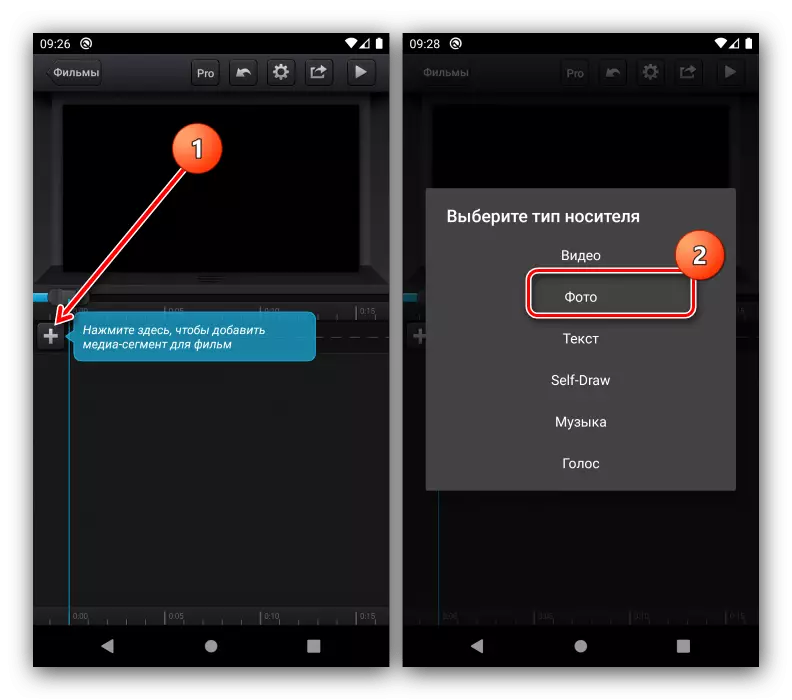
- A mounting means opens. Let's start adding the elements of the Future Edita - tap along the plus, following the hint. Next, specify what exactly you want to insert into Edith - for example, a photo - and click on the appropriate item in the menu.
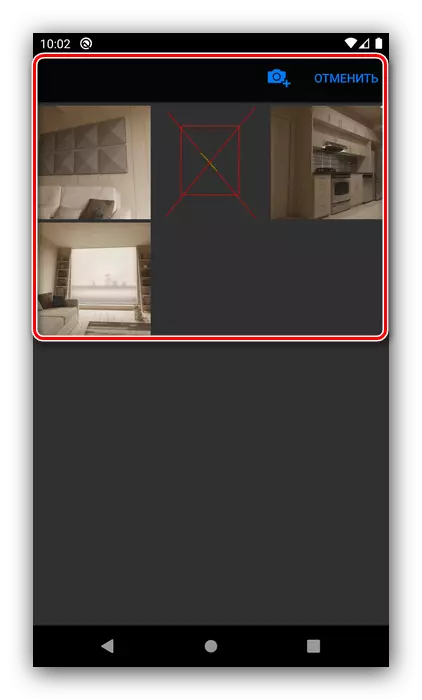
A list of all images that are stored in the device's memory, install one of them. From here you can make a new snapshot if required.
- Immediately a hint appears on the inserted element - configure the photo as you consider it necessary.
- On the principle of step 5, add other images to Editu. Please note that Cute Cut automatically places them on separate tracks. For our current goal it is not suitable, so manually drag the pictures to the highest position.
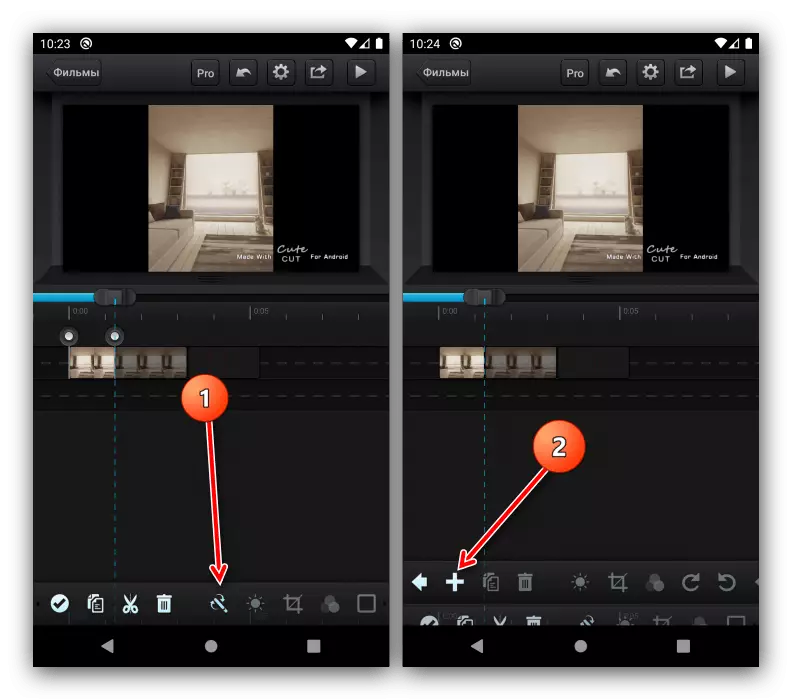
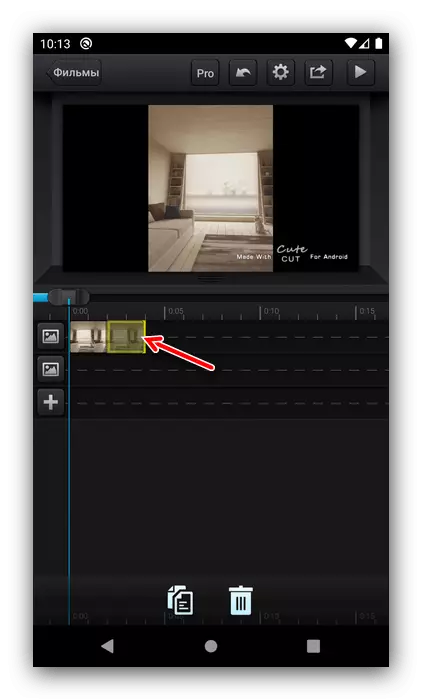
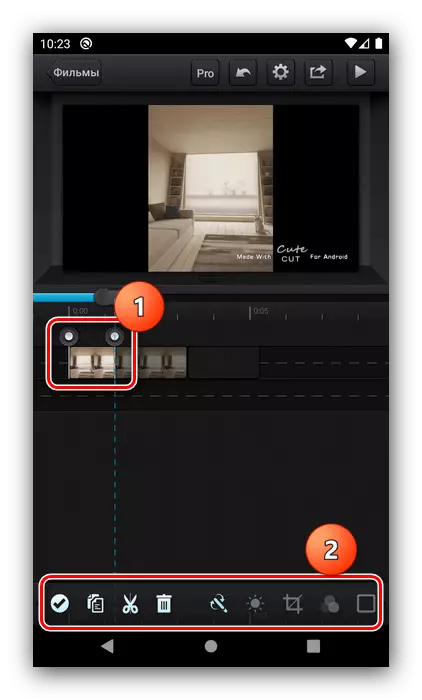
- Now we will go to the transitions, for which the element will need to be allocated: twice quickly tap it to appear control and menu from the bottom.
- For the addition of transitions, the button with a tassel, marked in the screenshot Next, tap along it, after which it is "+".
Select the appropriate animation in the list, or specify your own.
- Add other components: music, text block or voice record.
- Check how Edith looks like - for this, use the player button at the top on the right.
- If the result satisfies you, go to the export of the clip - click on the corresponding item next to the launch of the preview.

Specify the desired quality (for social networks suitable and average).
- Wait until the processing is completed.
- Next, you have two options - click "Share", then select the desired application.

The second option is to tap "ready", then open the desired program (for example, the Instagram client) and already manually download to EDIT.


Cute CUT is very convenient and intuitive, but some users can push the limitations of the free version in the form of 30 seconds of the roller and imposed on the results of the watermark.
Method 2: PowerDirector
Now consider the creation of Edita in an almost full-fledged video editor, as such, we will use the PowerDirector solution from CyberLink.
- Open the application and tap the "New Project".
- Set the name to the clip and select the side aspect ratio, 1: 1 Square is also available.
- Next, you will need to choose the materials for the Edita, start with the photo. Go to the appropriate tab and tap on the desired source.

Touch the desired snapshot, then drag it into the paths panel in the lower right corner of the workspace.
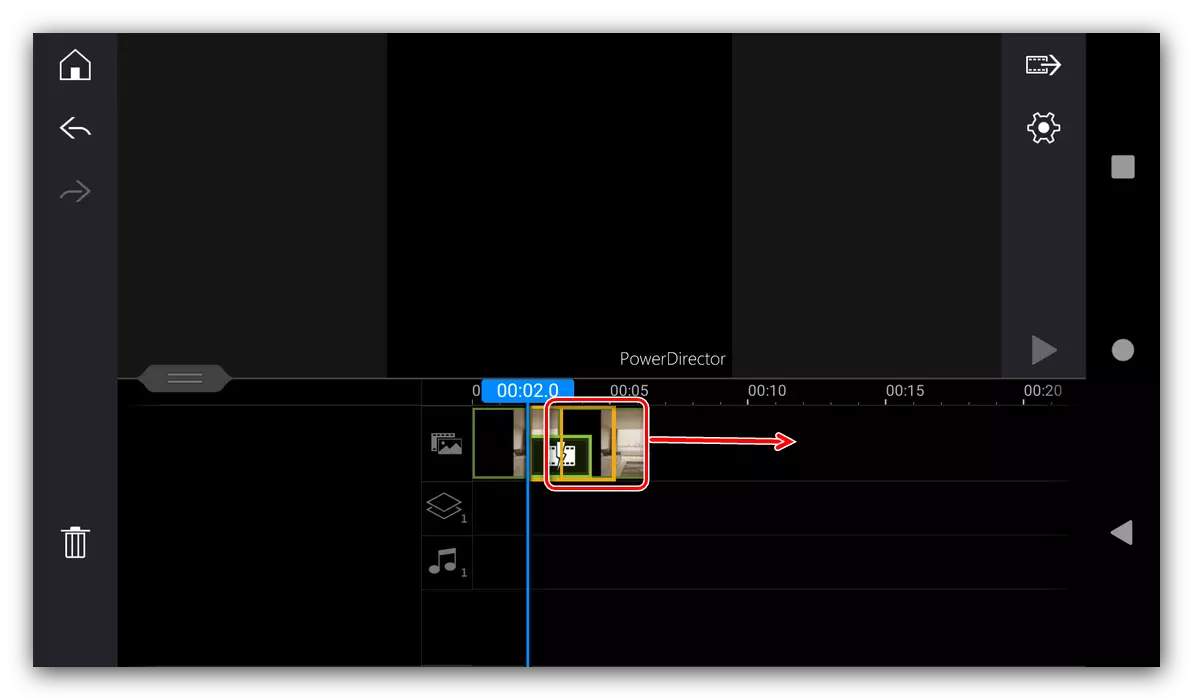
- Elements on the selected track are added sequentially, one by one, but they can be freely moved.
- Please note that a new icon appeared on the border between the photos - this is a full-fledged element that is responsible for the transition effect. Tap on it to configure.

"From the box" in the Poorer, there are about 40 options, plus you can download more (the option is paid). Unfortunately, the creation of its own is not supported.

The effect of the effect is very simple: tap on the desired one, then plus.
- Attach the other items like stickers, inscriptions or images to the future Edita, which can also be placed.
- To go to the next editing step, click the button with an arrow in the upper right corner.
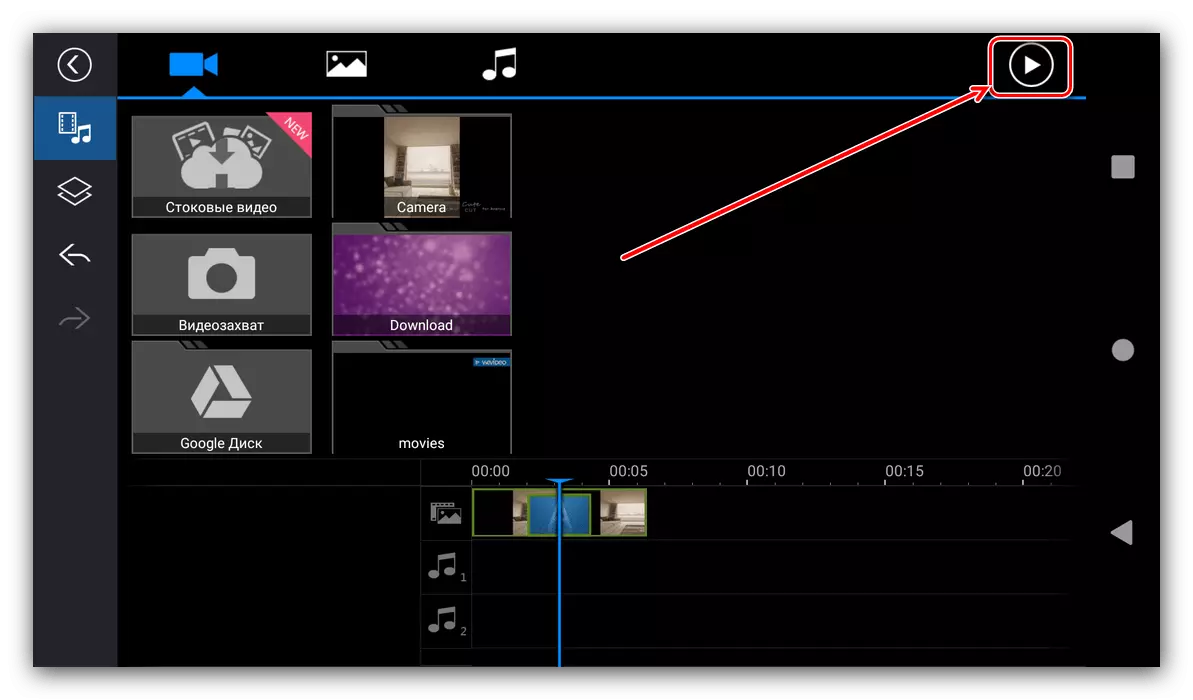
Check the Edit state - if it suits you, use the button on the right again.
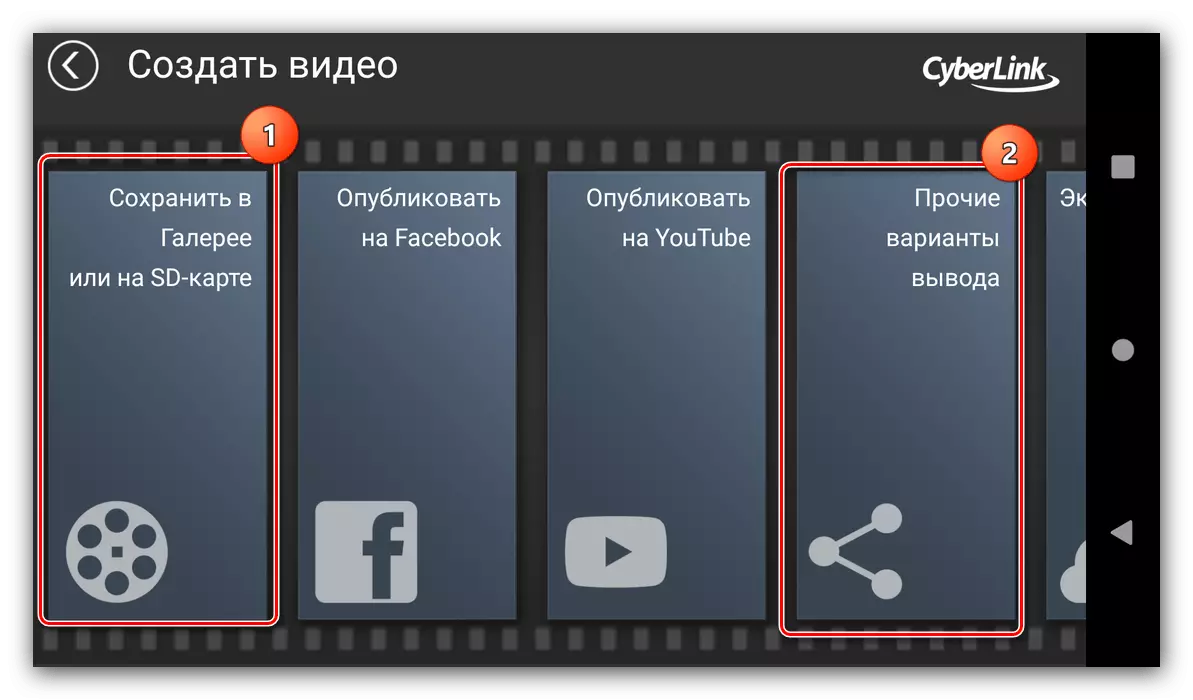
- Several options for exporting the clip will be available, we are interested in "save in the gallery or on the SD card" and "Other export options". In the first case, you will receive a roller in the device's memory, in the second - you can download the social network client.
Before exporting, you will need to choose quality (in the free version the best is blocked).

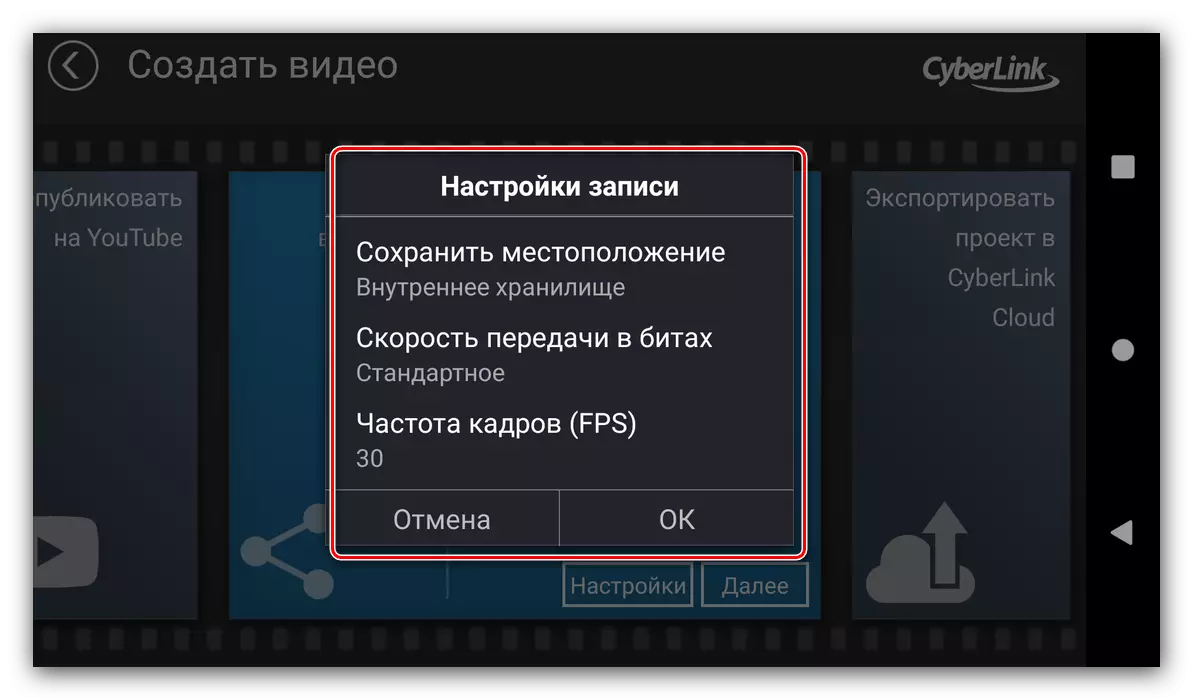
Pressing the "Settings" button will open the selection of the save location, bitrate and the number of frames per second.
- After making all the parameters, click "Next" to export to other applications or "Record the result" for normal saving.
- Wait until the video is converted. When saving to the gallery of the phone, you can open the location of the roller or immediately reproduce. If you use the export function to other programs, the Share window will appear, where you can select the desired application.


PowerDirector seems too powerful tool for such an easy task, but it copes with it with a bang, even in a limited free version.