Some obsolete adapters may not have the function of organizing general access to the Internet. Because of this, it will not be possible to carry out its distribution.
Method 1: Mobile hot spot
In Windows 10, there is the possibility of distribution of the Internet through the "Mobile Hot Spot", which cannot be found in the "seven". The user just enable it in the settings, when necessary, changing a couple of values.
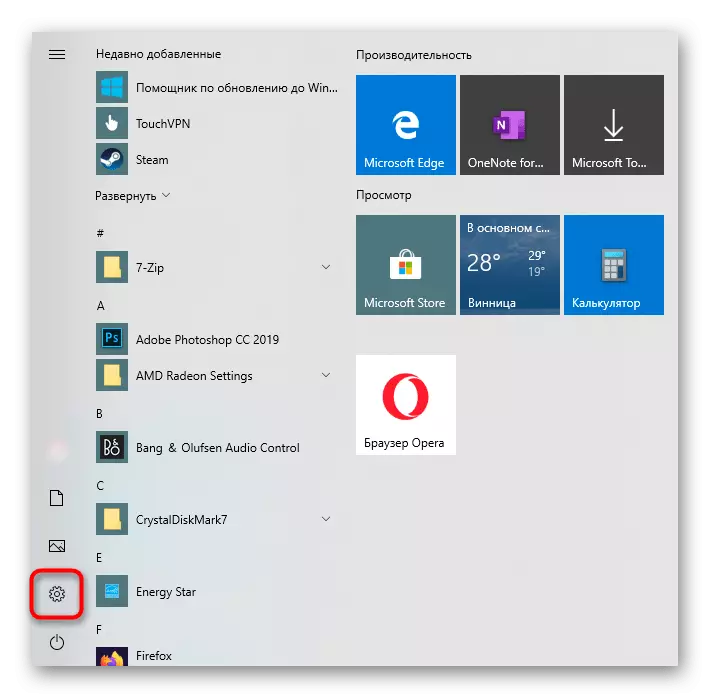
- Open "Start" and go to "Parameters".
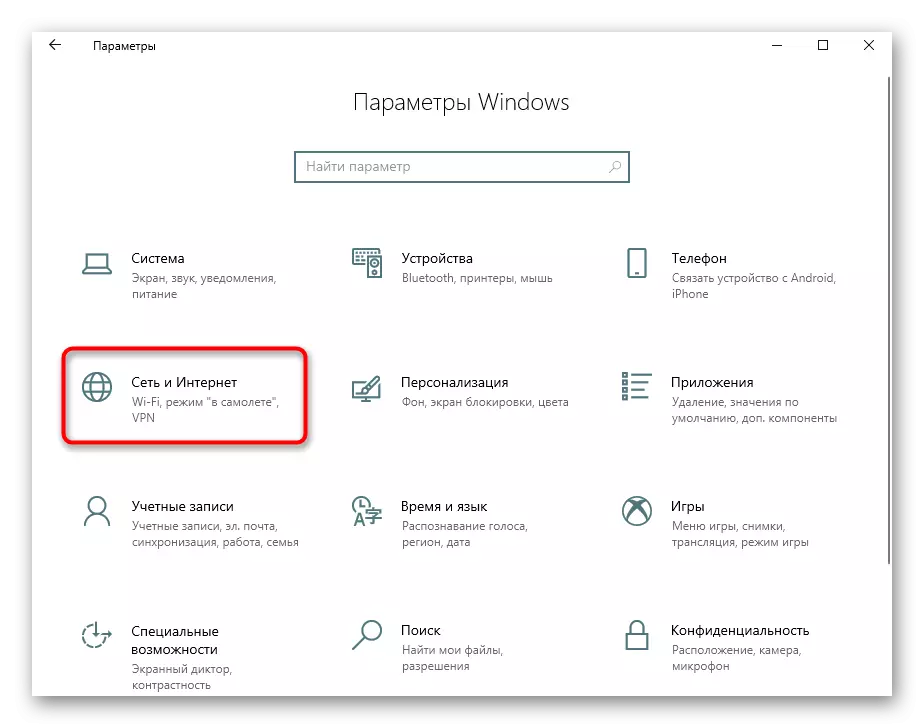
- Here you need a section "Network and Internet".
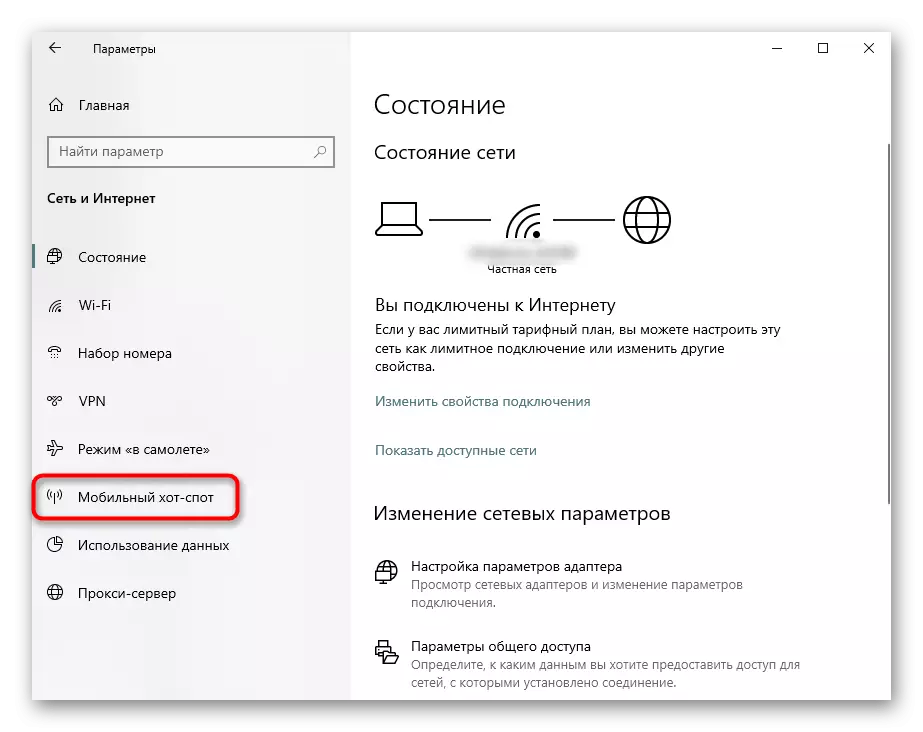
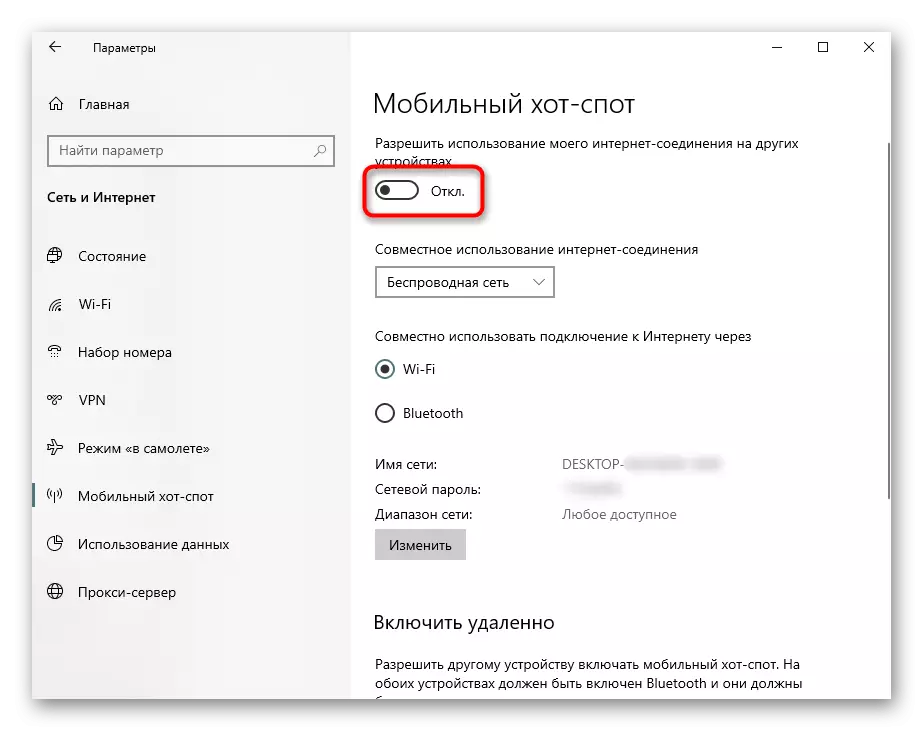
- Through the left panel, switch to "Mobile hot spot".
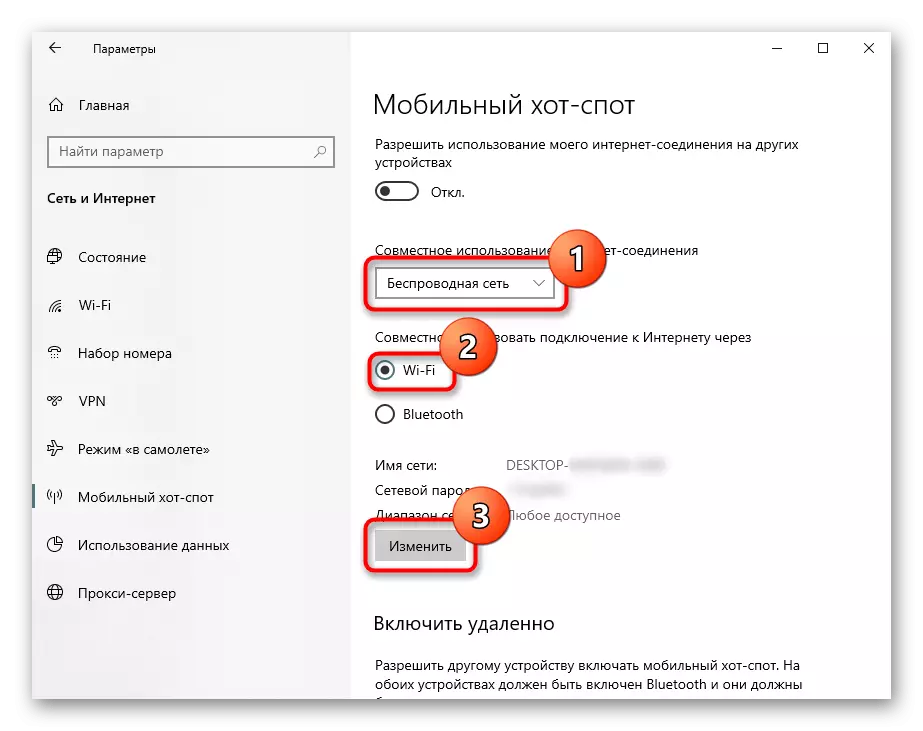
- At first you can configure some values if you need, specifying the type of network, the joint connection method. For convenience, it is allowed to change the network name and password, set the range most supported by both devices. 2.4 GHz - standard and supported by all devices option, the frequency of 5 GHz is responsible for a more stable and high-speed connection, but not supported by many devices.
- Now it remains to click on the switch to run the speed of hot spot.
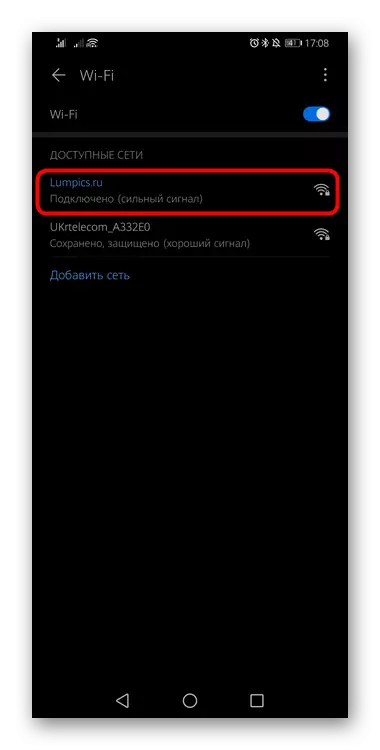
- Connect the second device with a distributed network by finding your connection to the available ones.
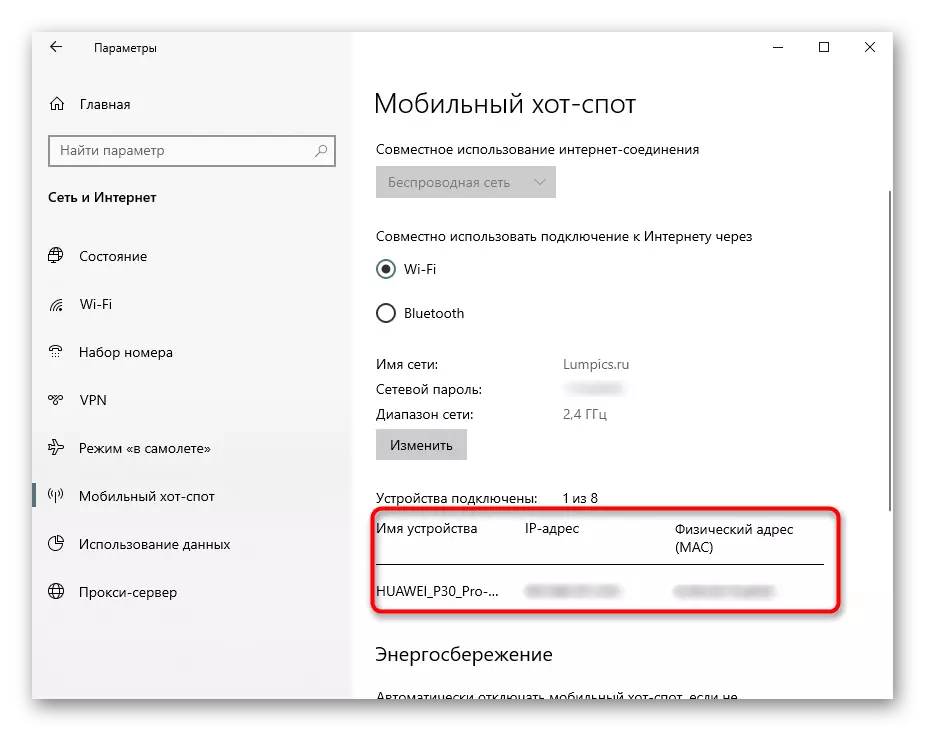
- The connected device will be displayed in the list in Windows 10. Thus, you can make up to 8 connections.
Solving some problems
- Network Name when changing, specify English letters. The password must be from 8 characters, not less. Otherwise, you will get an error "Can't configure mobile hot spot."
- If you are using a mobile connection (USB modem), the connected tariff must support mutual Internet access, otherwise an error with the text will be displayed "To provide sharing connection, you must first add this function to the data transfer tariff plan."
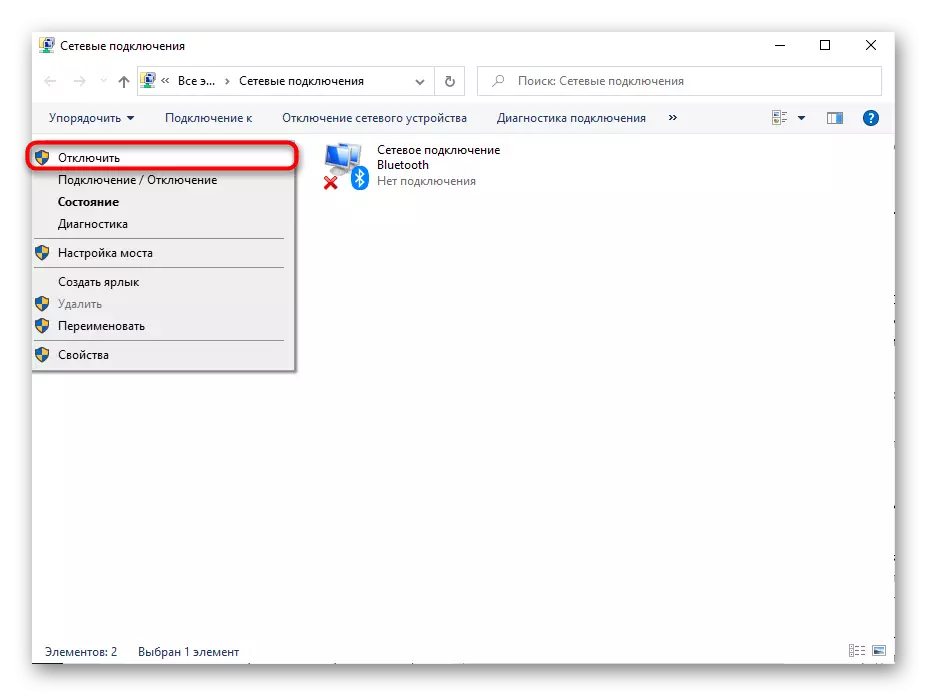
- Check the list of installed network drivers, including disconnected. Some equipment suppliers, such as D-Link, when connected to a laptop, are additionally installed by the type ANOD Network Security Filter Driver (the name will be different, the keyword "Filter"), which is why the distribution of the Internet fails. Remove it from network connections, even if it is disabled, and repeat the internet distribution procedure. You can get into properties according to the instructions from the method 3 (steps 4-6).
- Update, install or reinstall the driver for the network adapter. About how to do it, we were told earlier.
Read more: Search and installation driver for network card
- Some antiviruses can also block the distribution of the Internet, especially with built-in firewalls. In this case, you need to reconfigure their work or disconnect for a while.
Method 2: third-party applications
If the user has any error when using the previous method, and it cannot be eliminated, you can resort to the use of various programs that allow you to perform the same action. Most of them are with a very simple interface, thanks to which the user does not need to be able to understand the functionality of the application. We have already done a comparative review of such a software in a separate article on our website.
Read more: Wi-Fi distribution programs from laptop and computer
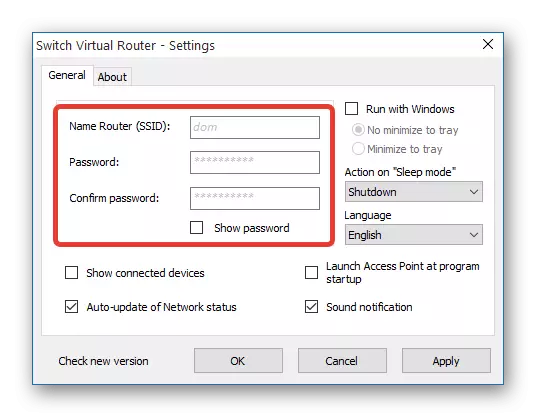
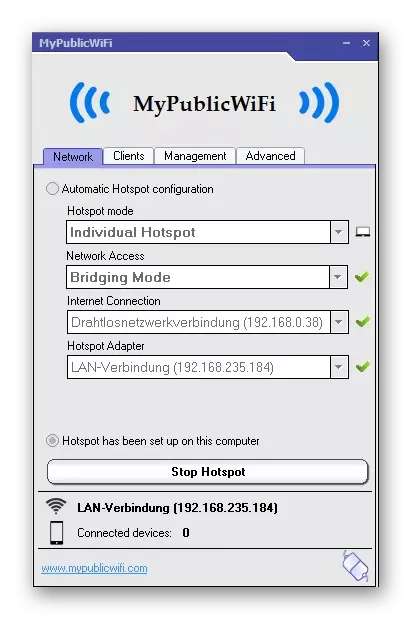
In addition, we will find the instructions and on the use of one of the most popular programs of this kind - mypublicwiFi. On her example, newcomers will be able to understand how everything is working like this, since almost everything is about the same even externally.
Read more: How to use MyPublicWiFi Program
If suddenly you encountered problems when using mypublicwiFi, we recommend contacting this material.
Read more: why mypublicwifi does not work
Method 3: Command Line
Immediately, we want to notice the following: on relatively modern equipment, this method does not work, because in Microsoft users of the "dozens" try to translate to modern "mobile hot spot", removing the support of the host network from their network drive. In addition, compared to the rest of the way, this is not at all convenient to use, but it can be useful to those who have an old laptop, there are problems with the way 1 and who does not want to use third-party software. That is, for a small part of users, the organization of a common network through the console is still relevant.
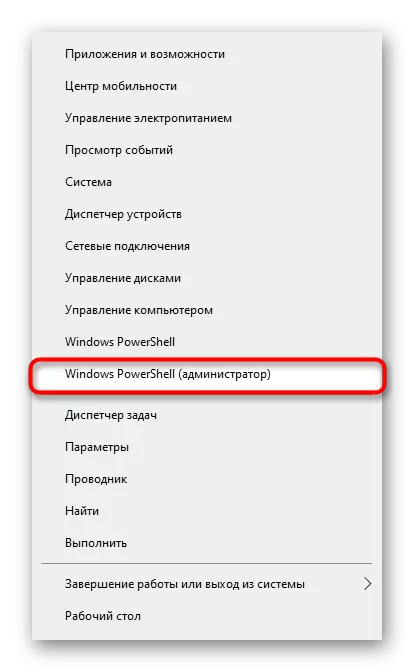
- Run the "Command Line" or "Windows PowerShell" with administrator rights. The last application is faster than only by clicking on the PCM on "Starting".
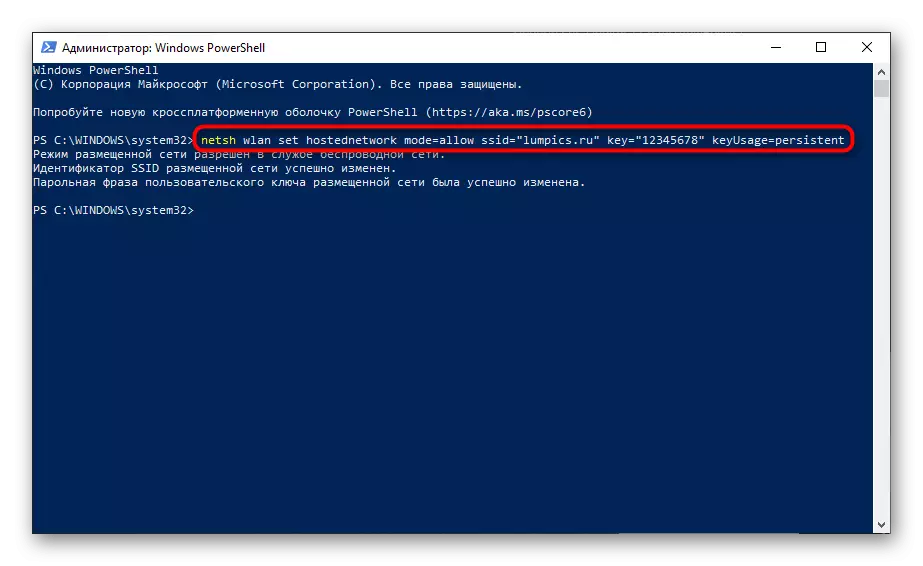
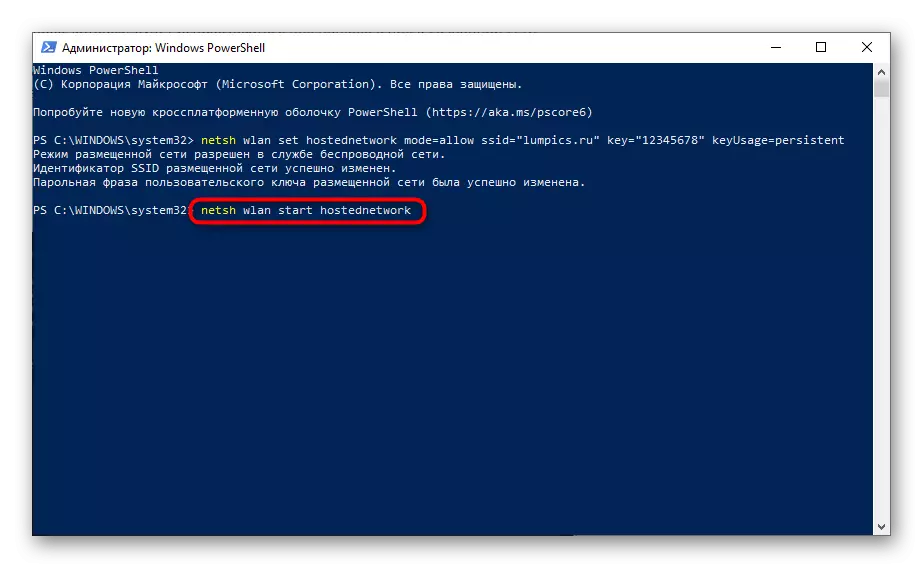
- Type there Netsh WLAN Set HostedNetwork Mode = Allow SSID = "LUMPICS.RU" KEY = "12345678" Key = "12345678" Keyusage = Persistent, where Lumpics.ru is an arbitrary network name, 12345678 - password from 8 characters.
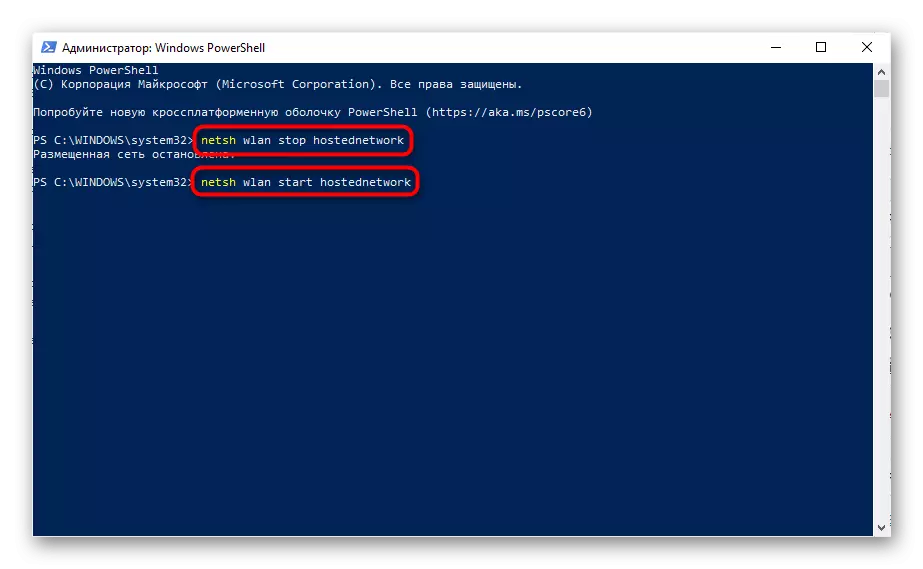
- After creating the network itself, you need to activate its operation. This uses the Netsh Wlan Start HostedNetwork command.
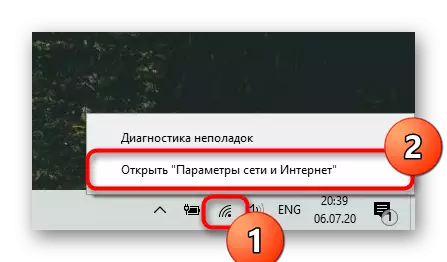
- If you have received a notification "Placed Network Run", then your equipment still supports such an opportunity, and you can distribute the Internet in this way. However, at this stage, the configuration is not completed. Right-click on the network icon on the taskbar and select "Open" network and Internet options "."
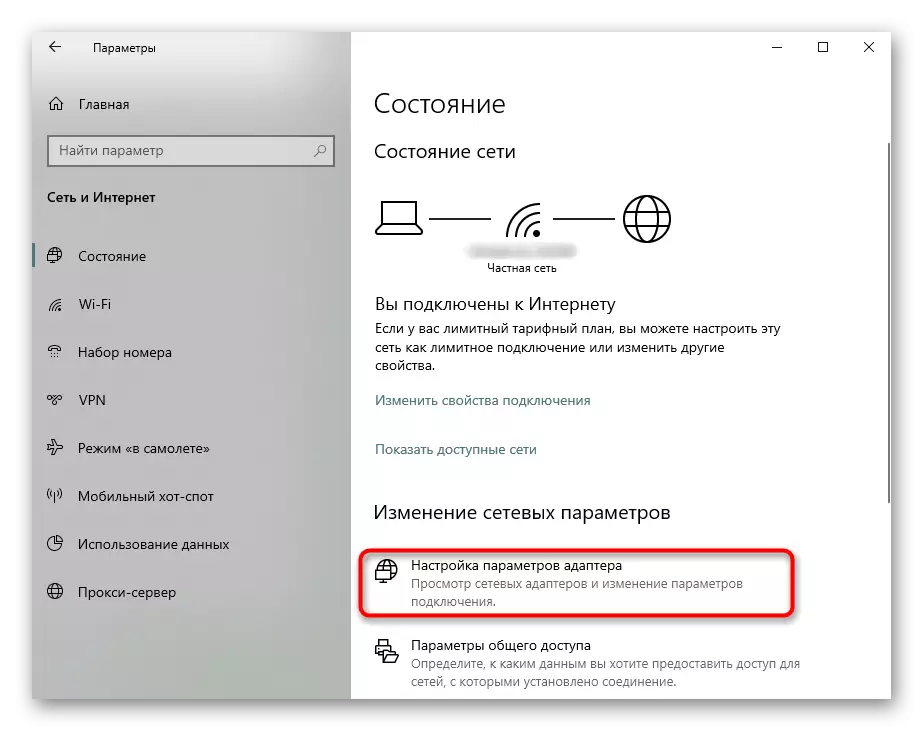
- Go to "Setting the Adapter Settings" section.
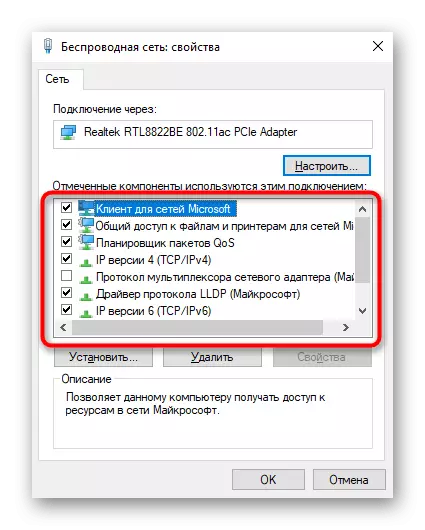
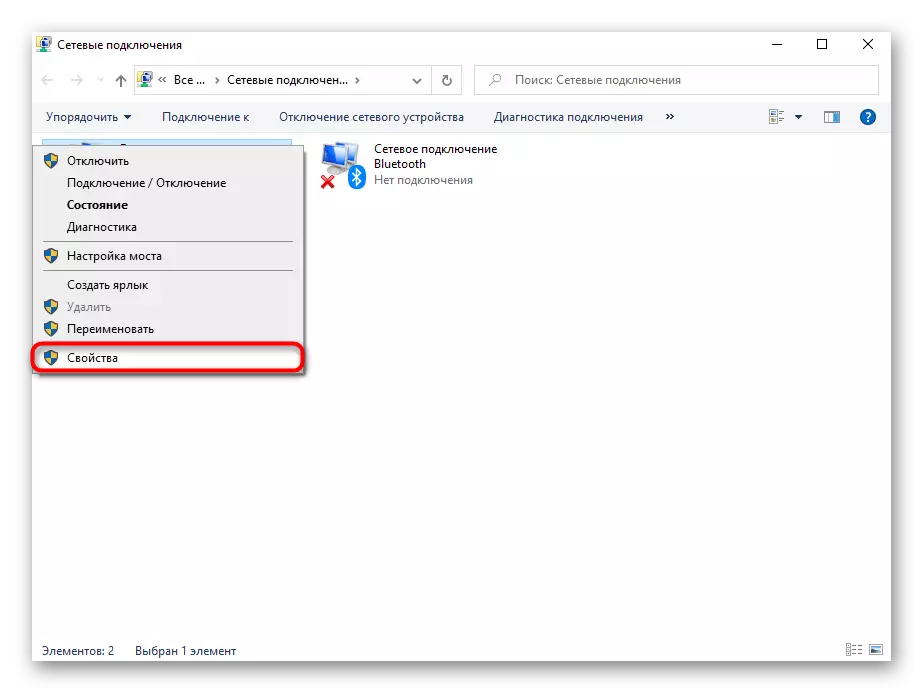
- Click PCM on the network you use (usually "Ethernet" if you connect via LAN cable) and go to "Properties".
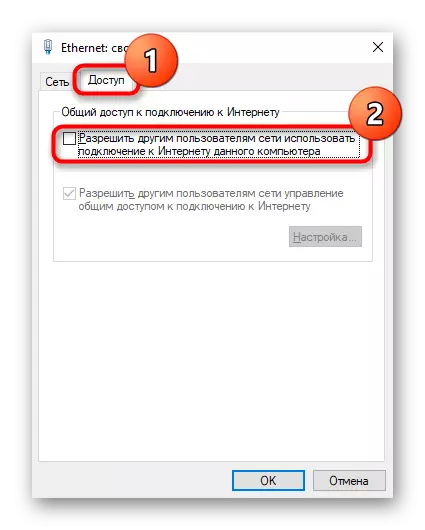
- Move to the "Access" tab, where to check the checkbox next to the "Allow other users to use Internet users to use the Internet connection" and select the network from the list that created. Most likely, it will be called "Connecting on a local network *" Digit "." Save the changes to OK. There is no such selection on this screenshot, because the virtual network has not been created.
- Now go back to the console and write there the Netsh WLAN Stop HostedNetwork command to stop the current network. And again, run it already familiar with the Netsh Wlan Start HostedNetwork team.
- It remains to try to connect to the created network from another device.
Solving some problems
- If in step 7 you can't choose the created network, try to remove the installed tick, click "OK", then again go to the same tab and put a checkbox there. Often it helps the operating system to detect the network created through the console. An alternative option is not to switch to the properties of the adapter, but turn it off and turn it on, as well by pressing the PCM on it and selecting the appropriate item.
- In the absence of the "Access" tab, make sure the virtual network is created. If there is no "connection on a local network" in the list of adapters, it means that it has not been created, respectively, the "Access" tabs will not be installed, since to configure the connection is not for what. Additionally, check other connections (if any) - on the "Access" tab, there should be no check mark next to the item "Allow other users to use the connection to the Internet of this computer". Some connections via USB modems may also not be such a property, and nothing to do with it.
- If after entering the Netsh Wlan Start HostedNetwork command you received an error "failed to start the posted network. A group or resource is not in the right state ... "Most likely, the network adapter of your laptop is new, and in its driver there are no support for creating a virtual network in this way.
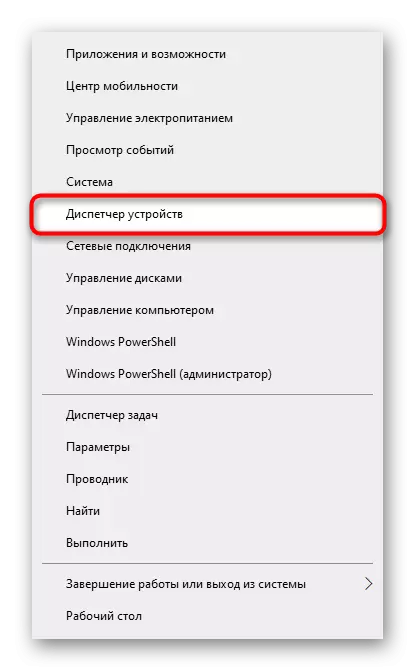
- Nevertheless, you can check its presence through the "Device Manager" by running it through the right mouse button on the Start menu.
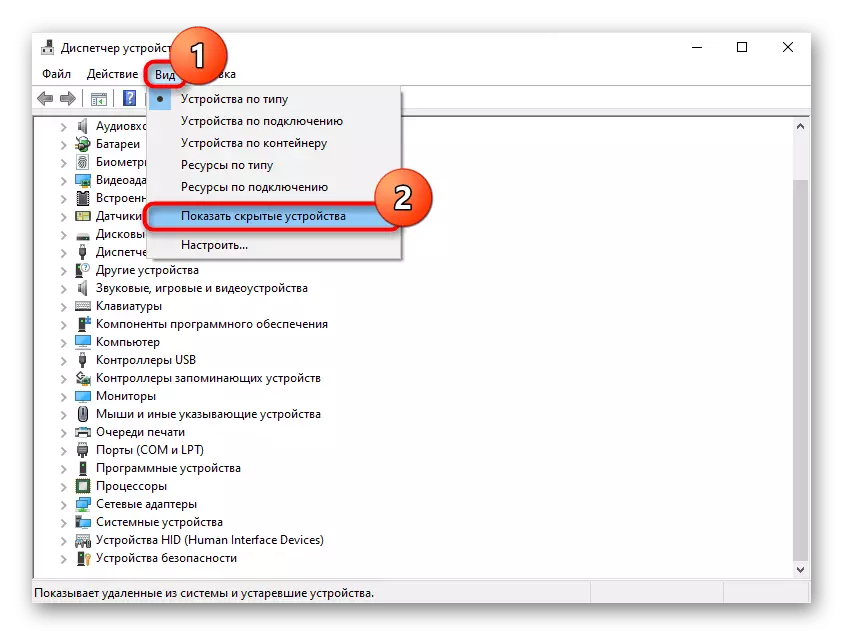
- Through the View menu, activate the display of hidden devices.
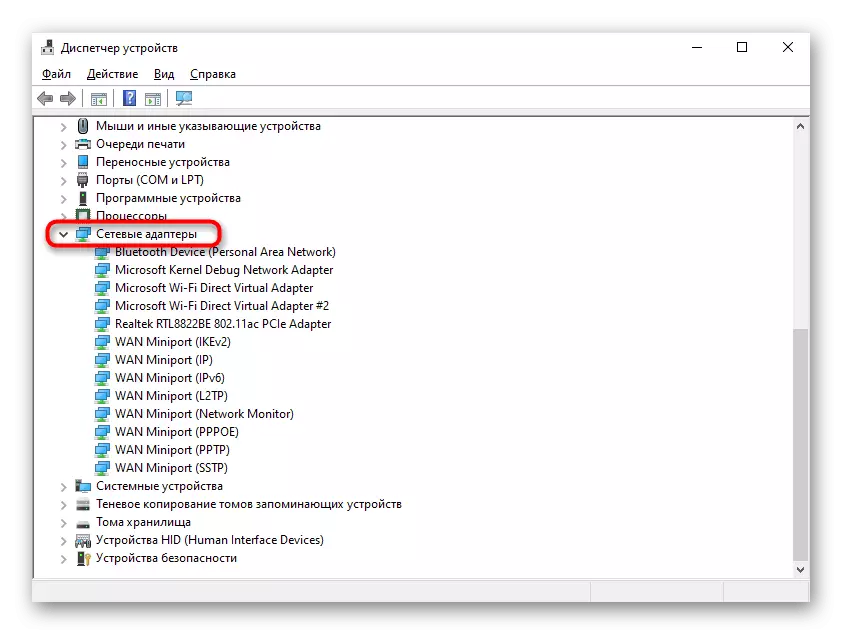
- Find the "Network Adapters" tab and look there "Microsoft Hosted Network Virtual Adapter" or "Virtual Adapter Placed Network (Microsoft)". Click on the right mouse button and select "Enable". After that, once again run the network with the Netsh Wlan Start HostedNetwork command. When the listed names of the adapter are not, and the driver on Wi-Fi is installed, it remains to conclude that it is impossible to use the method with a command line and take advantage of alternative methods proposed in this article.