

Configure a dynamic IP address
Setting up a dynamic IP address in the web interface of the router is the easiest plot of all possible, since this protocol for receiving the Internet does not need to handle the huge number of parameters. However, before starting to go to the main procedure, you will need to make sure that the router connectivity is correct, as well as authorize in the Internet center, which read the article in the article below.Read more:
Login to web interface routers
Connecting a computer to a router
After that, you can move directly to configuring the automatic receipt of the IP address. We offer to deal with this process on the example of the three most popular web interfaces from different manufacturers of network equipment.
Option 1: TP-LINK
Connecting the Internet for the first time, most likely, the user will receive an offer to purchase a router from the provider. Most often, the models from TP-LINK are distributed so, so first consider this Internet center, taking into account the current firmware version.
- After performing successful authorization, open the "Fast Settings" menu and click Next.
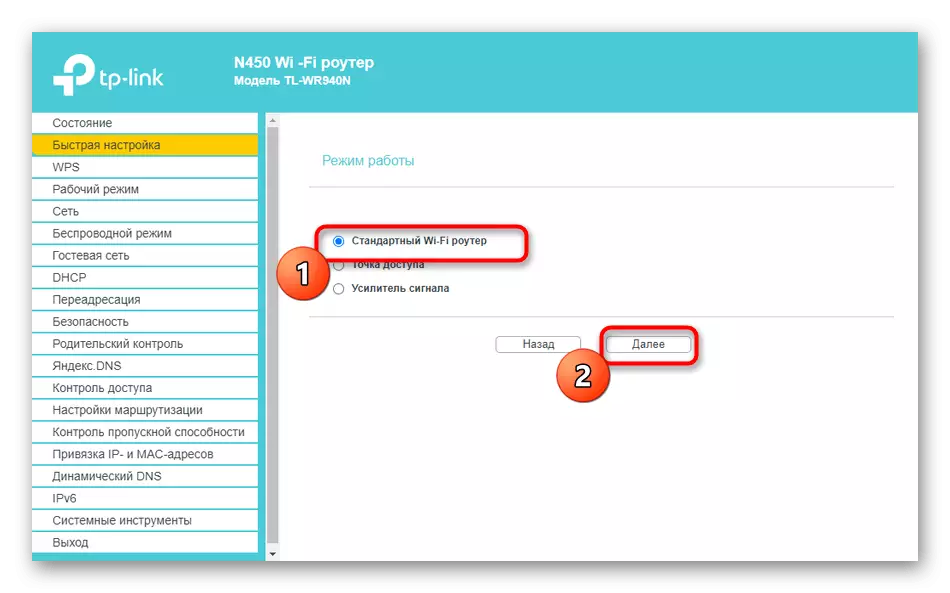
- Mark the marker "Standard Wi-Fi Router" and go further.
- In the list of data provided, check the "Dynamic IP address" and head for the next step.
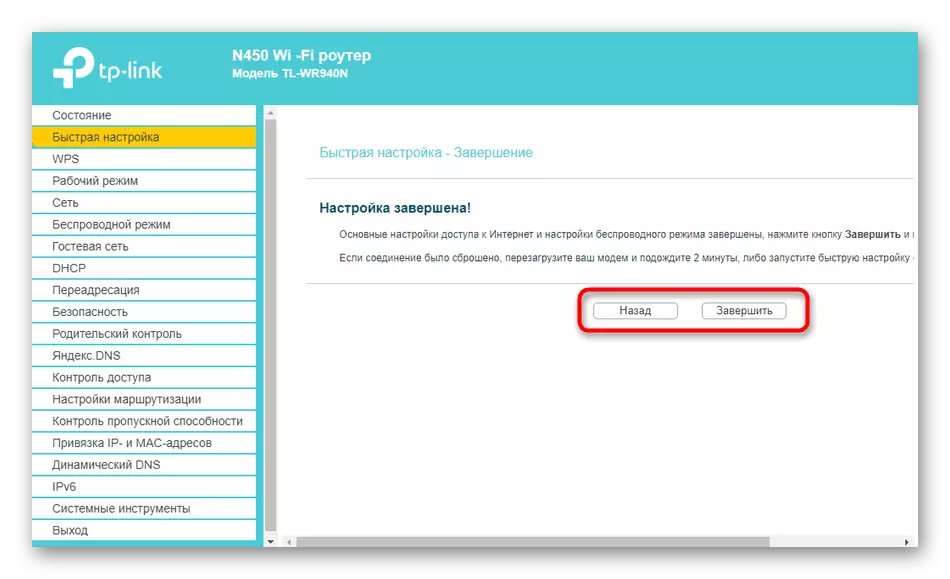
- It remains only to set the basic parameters of the wireless network, if required, and then the setting will be successfully completed.
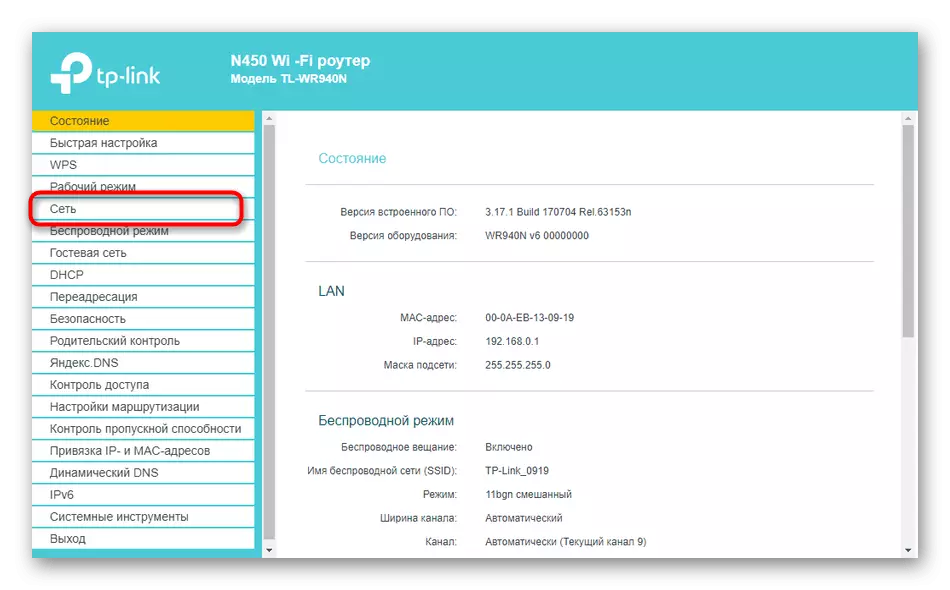
- Additionally, or instead of quick configuration, you can move to the "Network" section.
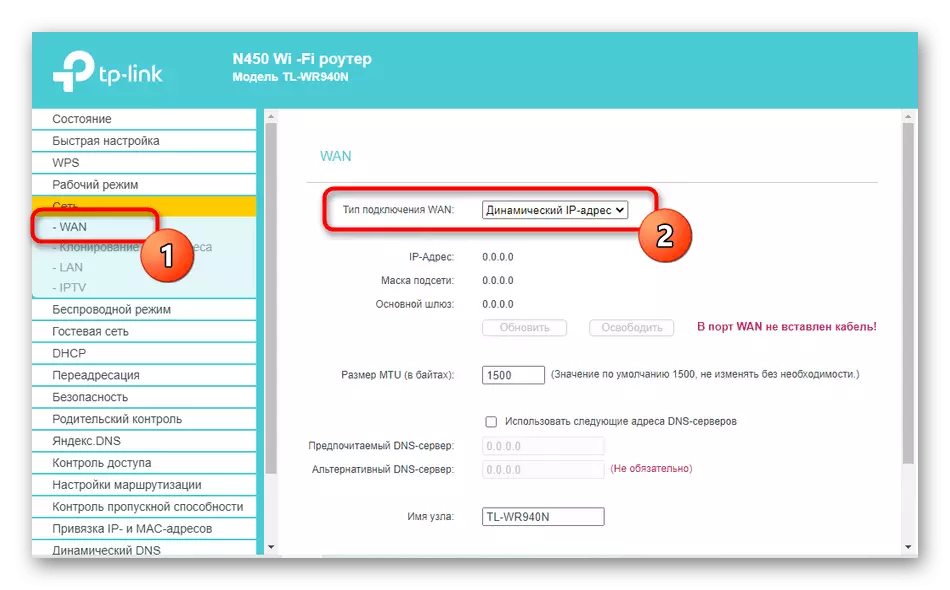
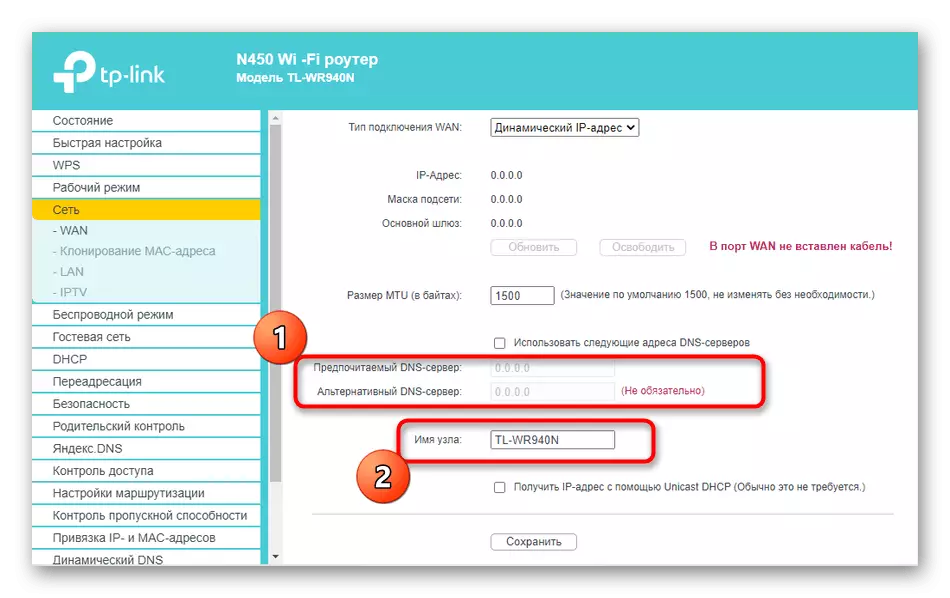
- Open the first category "WAN", set this type of connection.
- If necessary, it remains only to set preferred DNS if they should differ from the standard, as well as change the name of the node, but only when this requires a provider of Internet services.


Restart the router to change the changes. If after that access to the network appeared, it means that all parameters are set correctly.
Option 2: D-Link
Even in those situations where the router is not from D-Link, you can follow this instruction as universal, because the implementation of this Internet center is standard and approximately corresponds to the other.
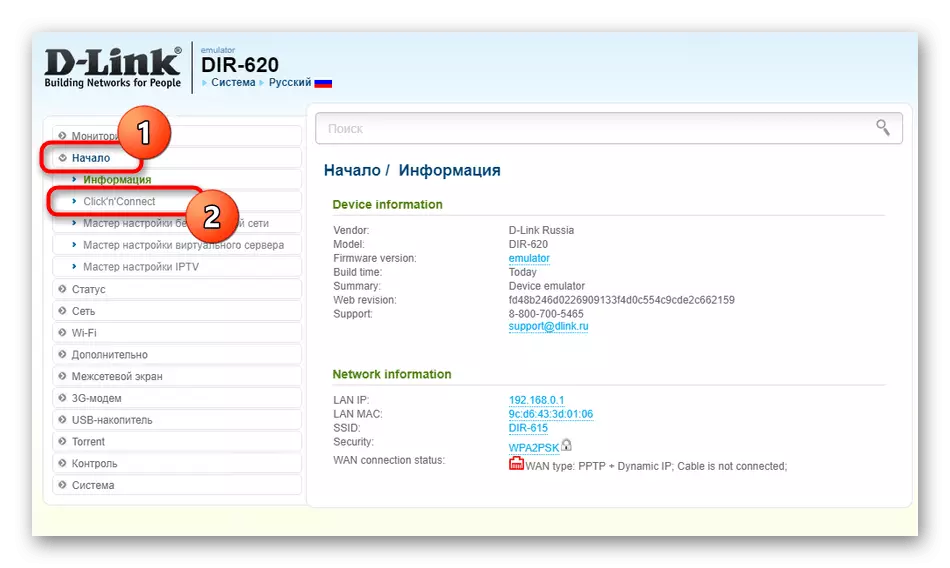
- Here you can go in two ways. The first is to start the quick configuration wizard through the "Start" menu.
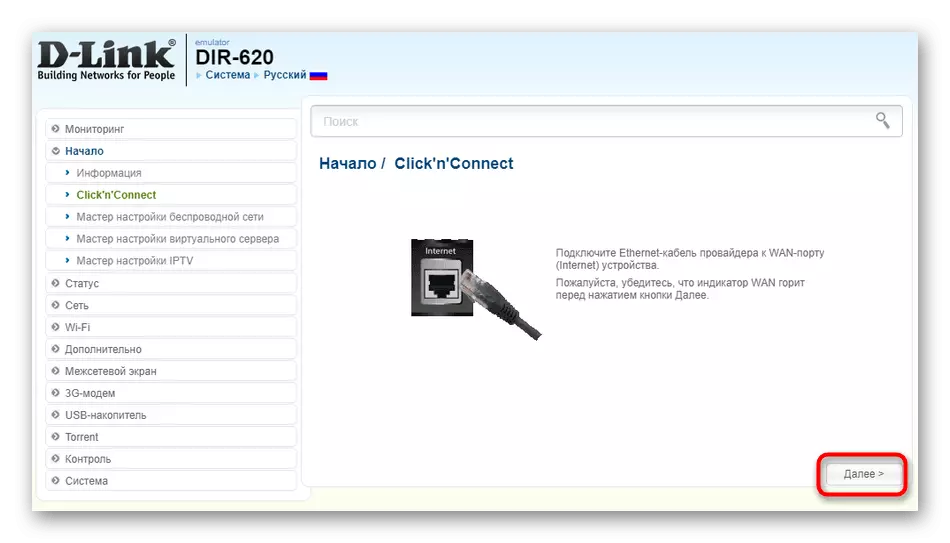
- Check that the router is connected to the wire from the WAN provider, and then click "Next".
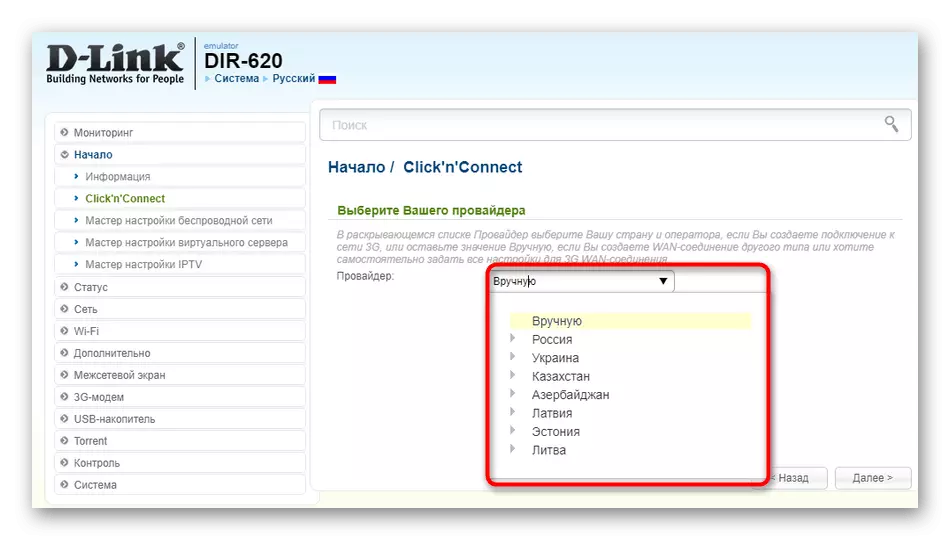
- Select the country of your provider and define the company. If you cannot find it, specify the manual parameter.
- Mark the marker "Dynamic IP".
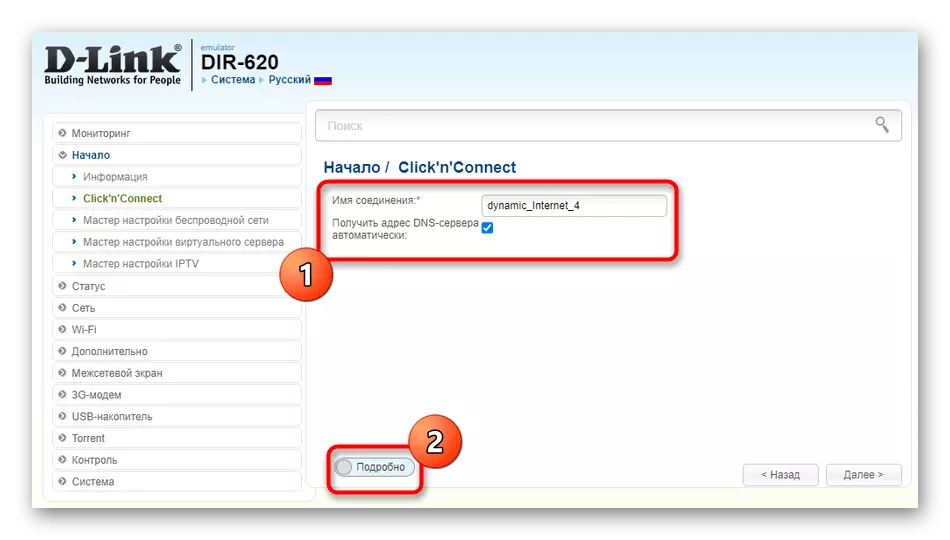
- If necessary, set the connection name and configure the automatic receipt of DNS. To select extended parameters, click "Details".
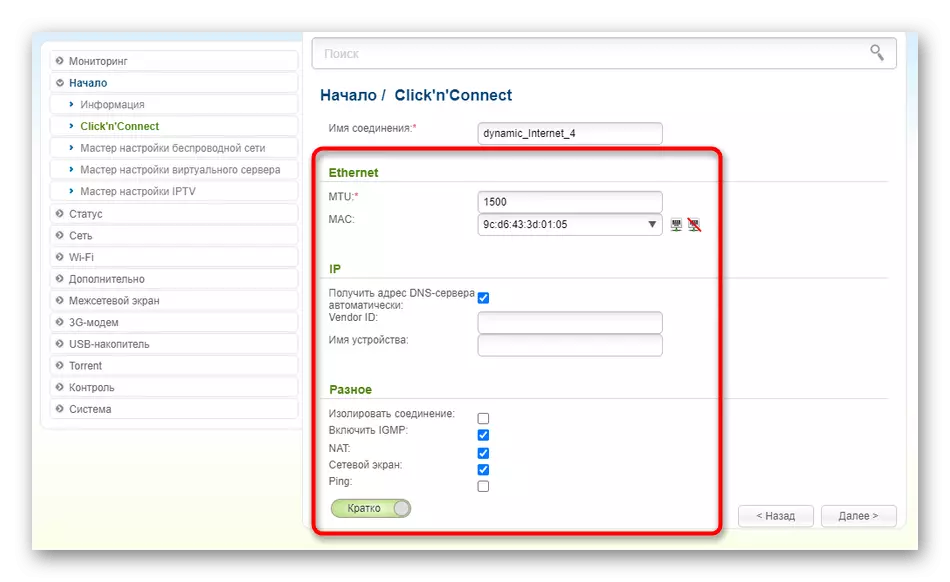
- Change most properties present here do not need to be ordinary user, but it will be necessary to make sure that a check mark is installed near NAT.
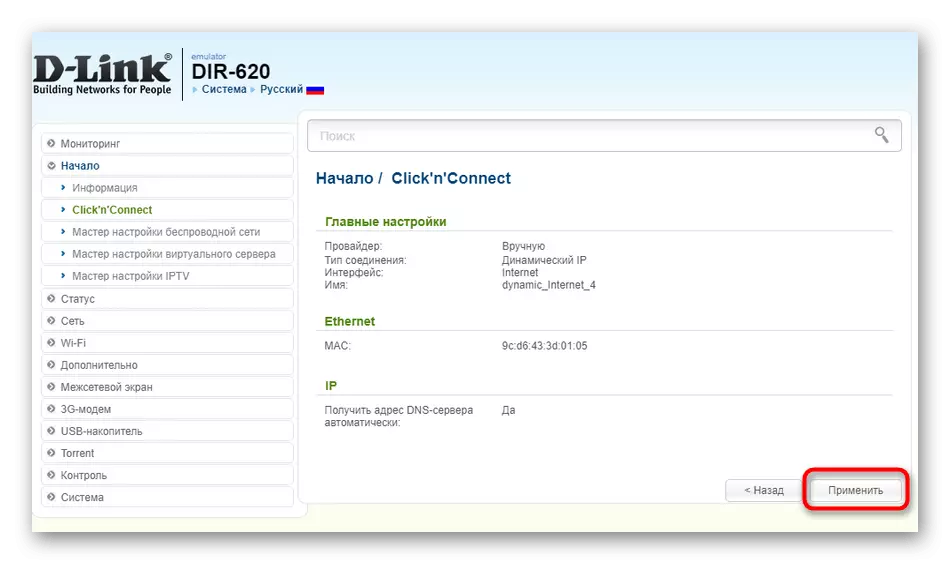
- Finally, make sure the correctness of the selected parameters and click "Apply".

The second setup method is needed to those who simultaneously use several types of WAN connections or someone does not suit the quick configuration tool. Perform only a few simple actions:
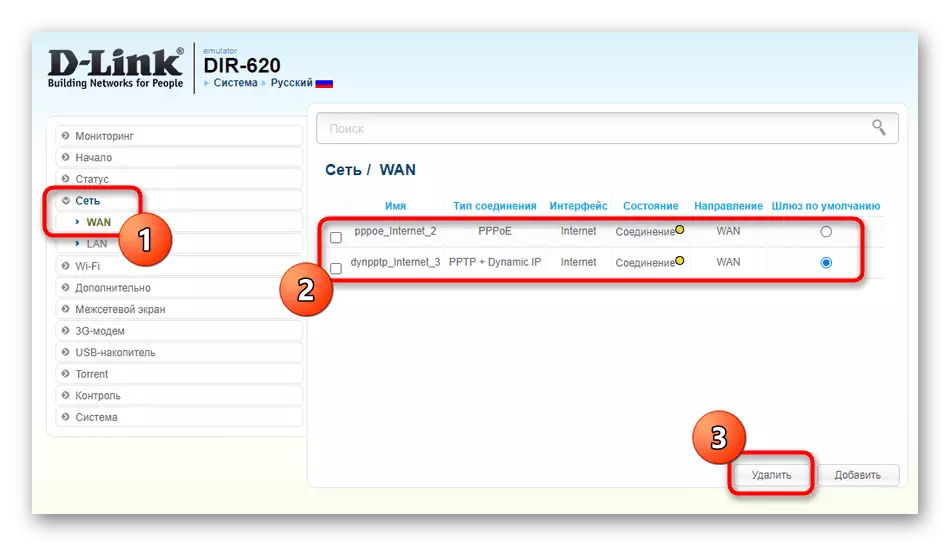
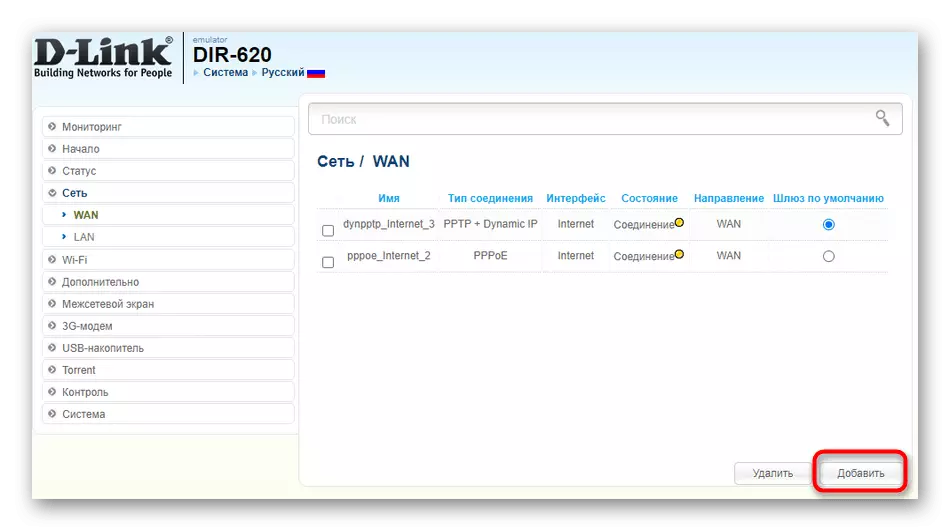
- Expand the "Network" section and switch to the "WAN" category. Remove those present templates if they are not needed by clicking on the corresponding button.
- Then click "Add" to create new parameters.
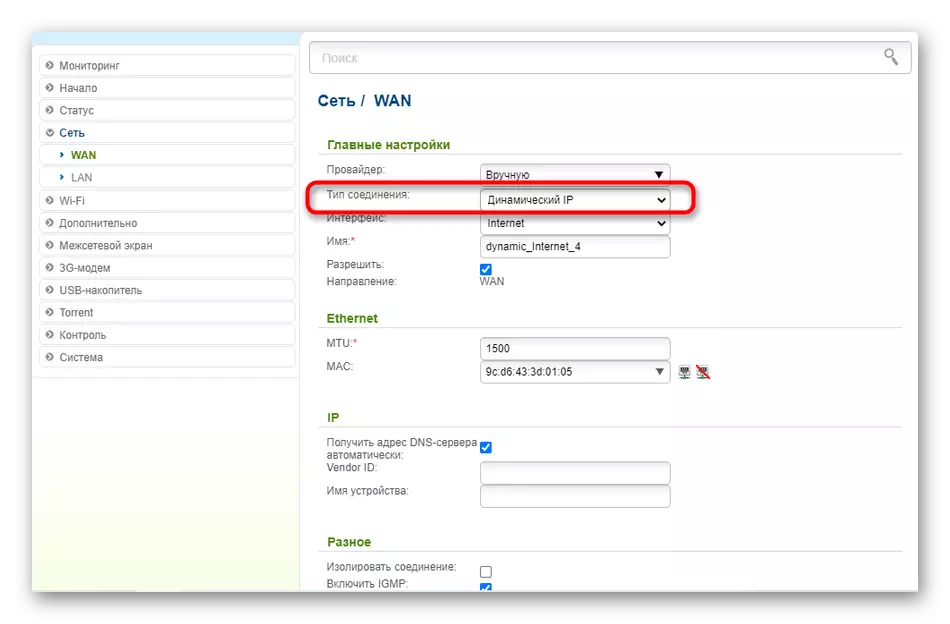
- In the menu that appears, expand the "Connection Type" list and select "Dynamic IP".
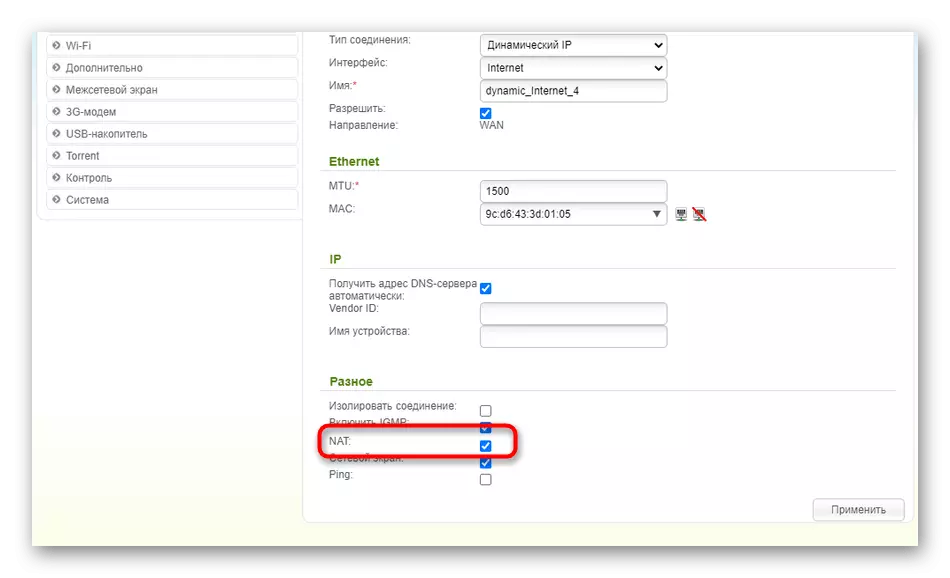
- Additional parameters do not need to change most often. Check only that the checkbox marked the "NAT" item, and then save the current configuration.
Option 3: ASUS
The last option is suitable for owners of ASUS routers. Here, too, there are two ways for which you can go when configuring automatic IP. The first is to use the setup wizard and looks like this:
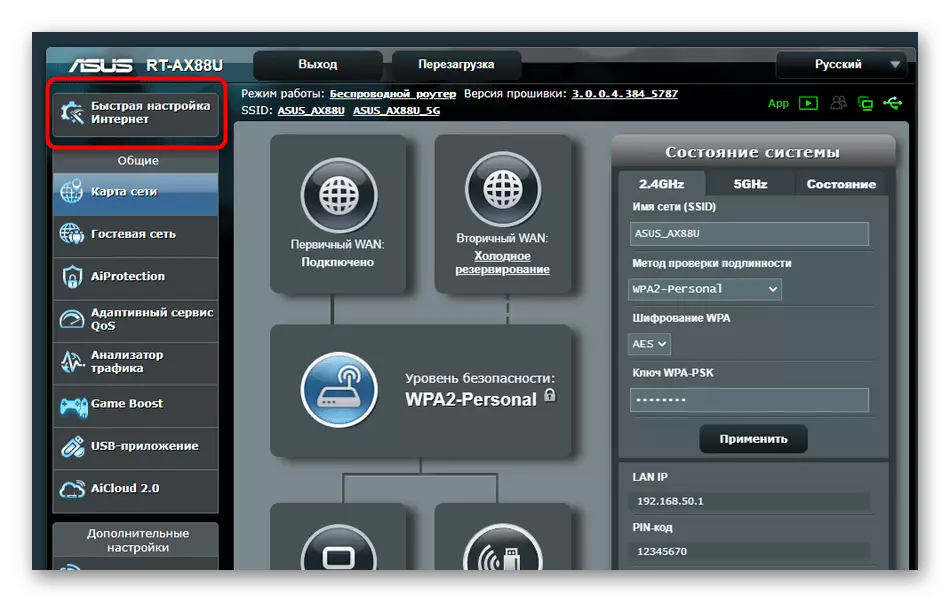
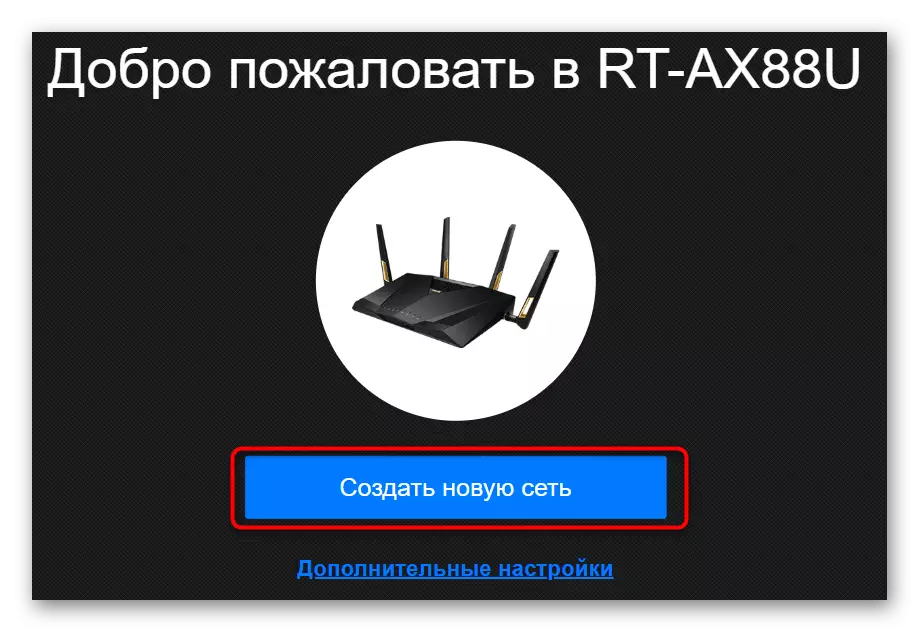
- In the web interface, click the "Fast Internet Setup" button.
- Go to the creation of a new network.
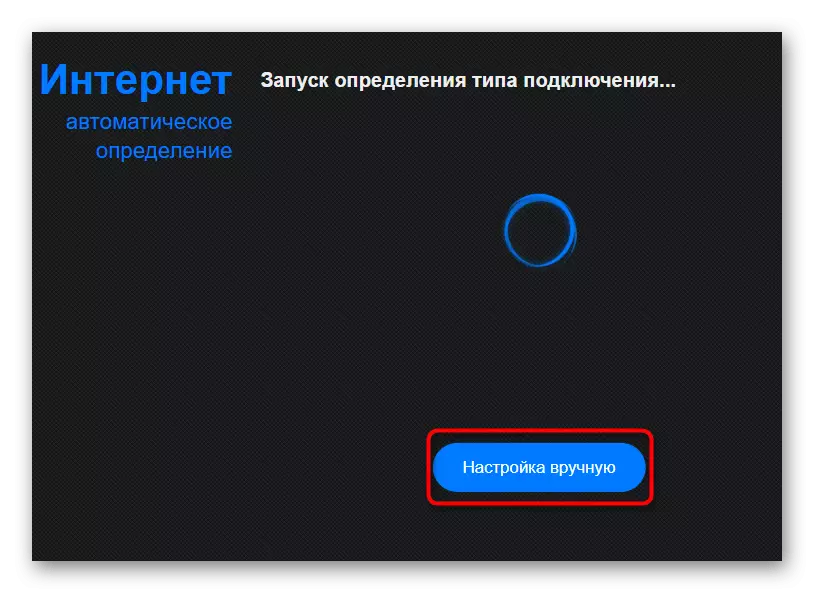
- Click on the Manual Setup button, if the parameters were not defined automatically.
- When a question about the user name and password, no answer is "no" because the dynamic IP does not imply the use of such data.
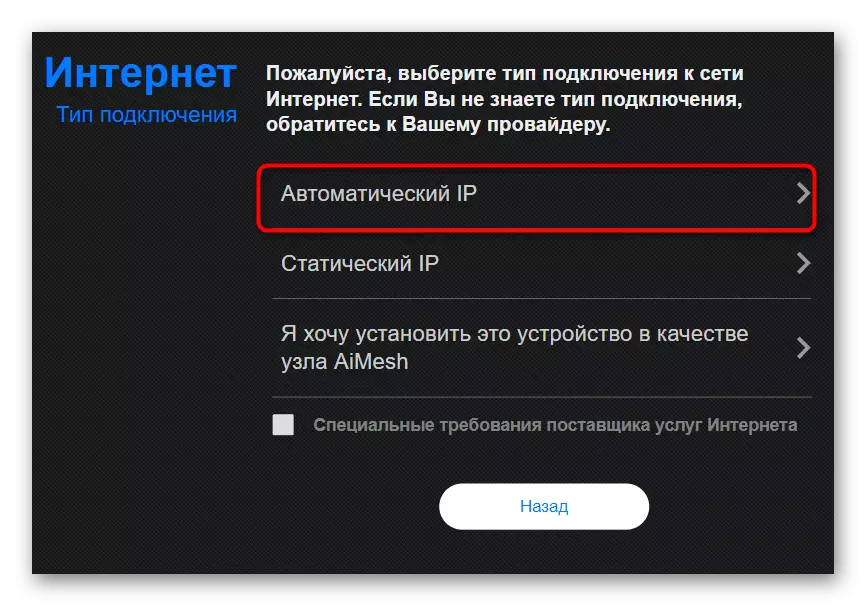
- Select the type of connection "Automatic IP".
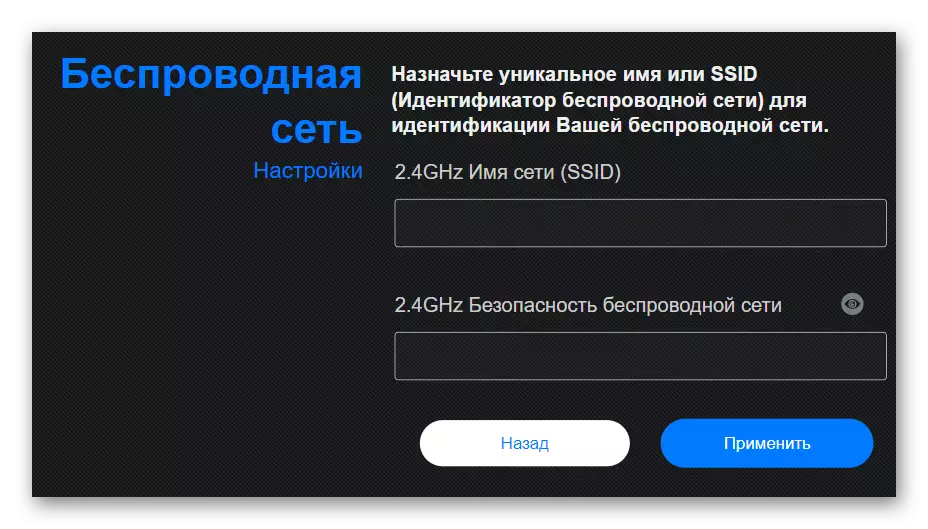
- Configure a wireless network to exit the wizard.

As you can see, the configuration wizard has to set new parameters for Wi-Fi, which is not suitable, so we propose to deal with the second method of setting up dynamic IP.
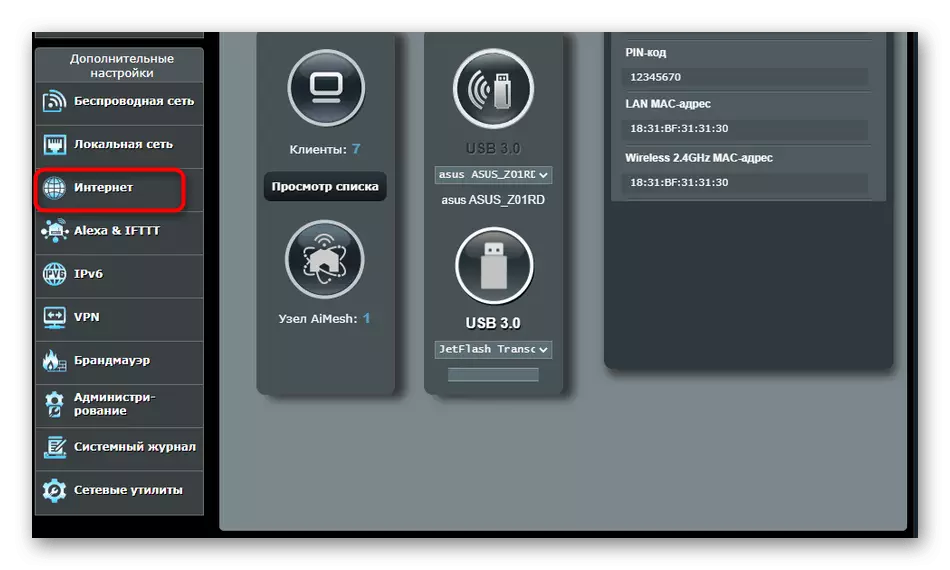
- Through the main menu, move to the "Internet" section.
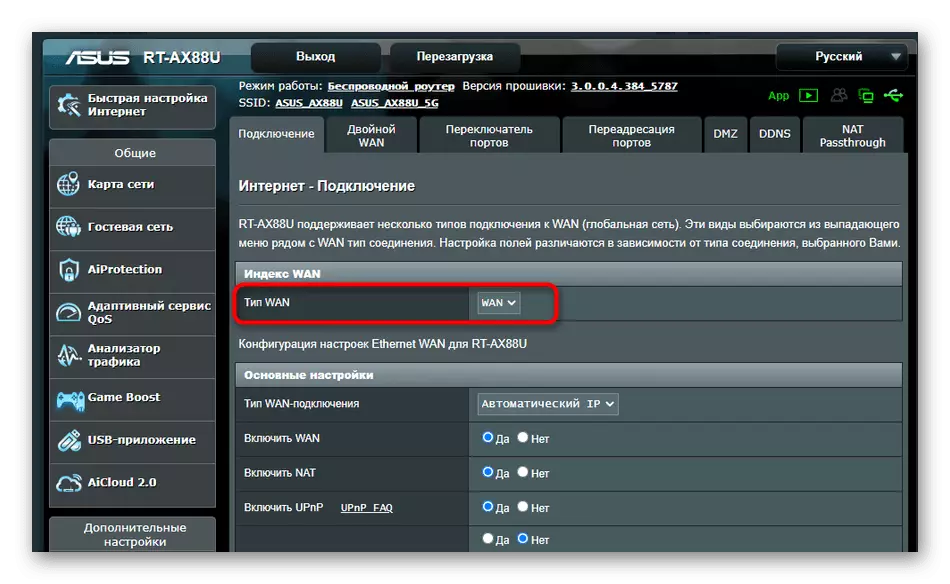
- Specify the type "WAN" in the first item to appear the rest necessary.
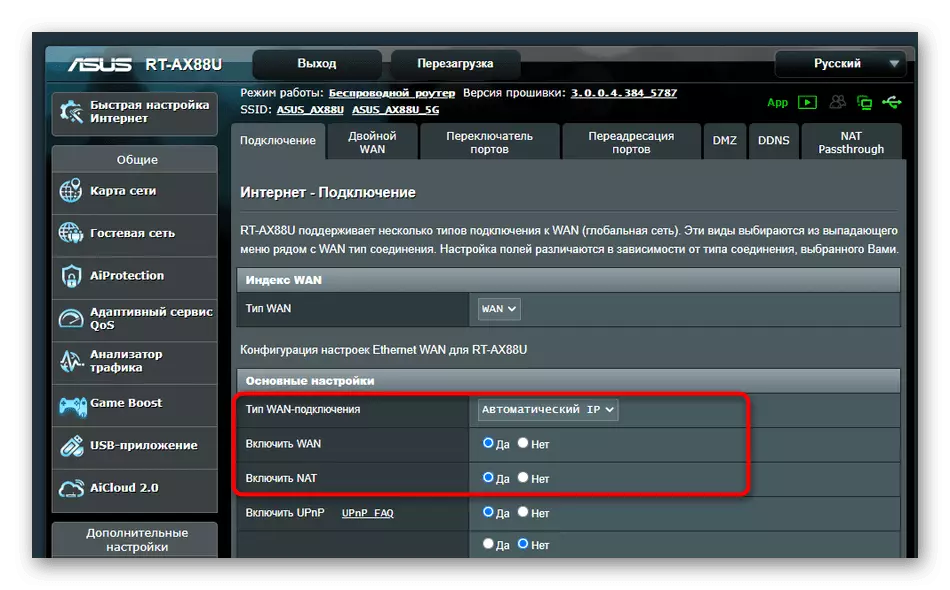
- Set the appropriate WAN connection type, turn on NAT and WAN to ensure normal operation.
- Run below if you want to enter the parameters assigned by the provider. There you can write a new node name, cloning the MAC address and select DHCP queries.

At the end of the process, it is mandatory to restart the router to apply changes. Then be sure to check the operation of the network to make sure the correctness of the selected parameters.
Additional actions
Complete this article you need to analyze additional actions that are performed in the operating system itself. They are associated with obtaining IP addresses and DNS servers, and the values will be required to "receive automatically" to the state so that there are no conflicts with the router parameters.
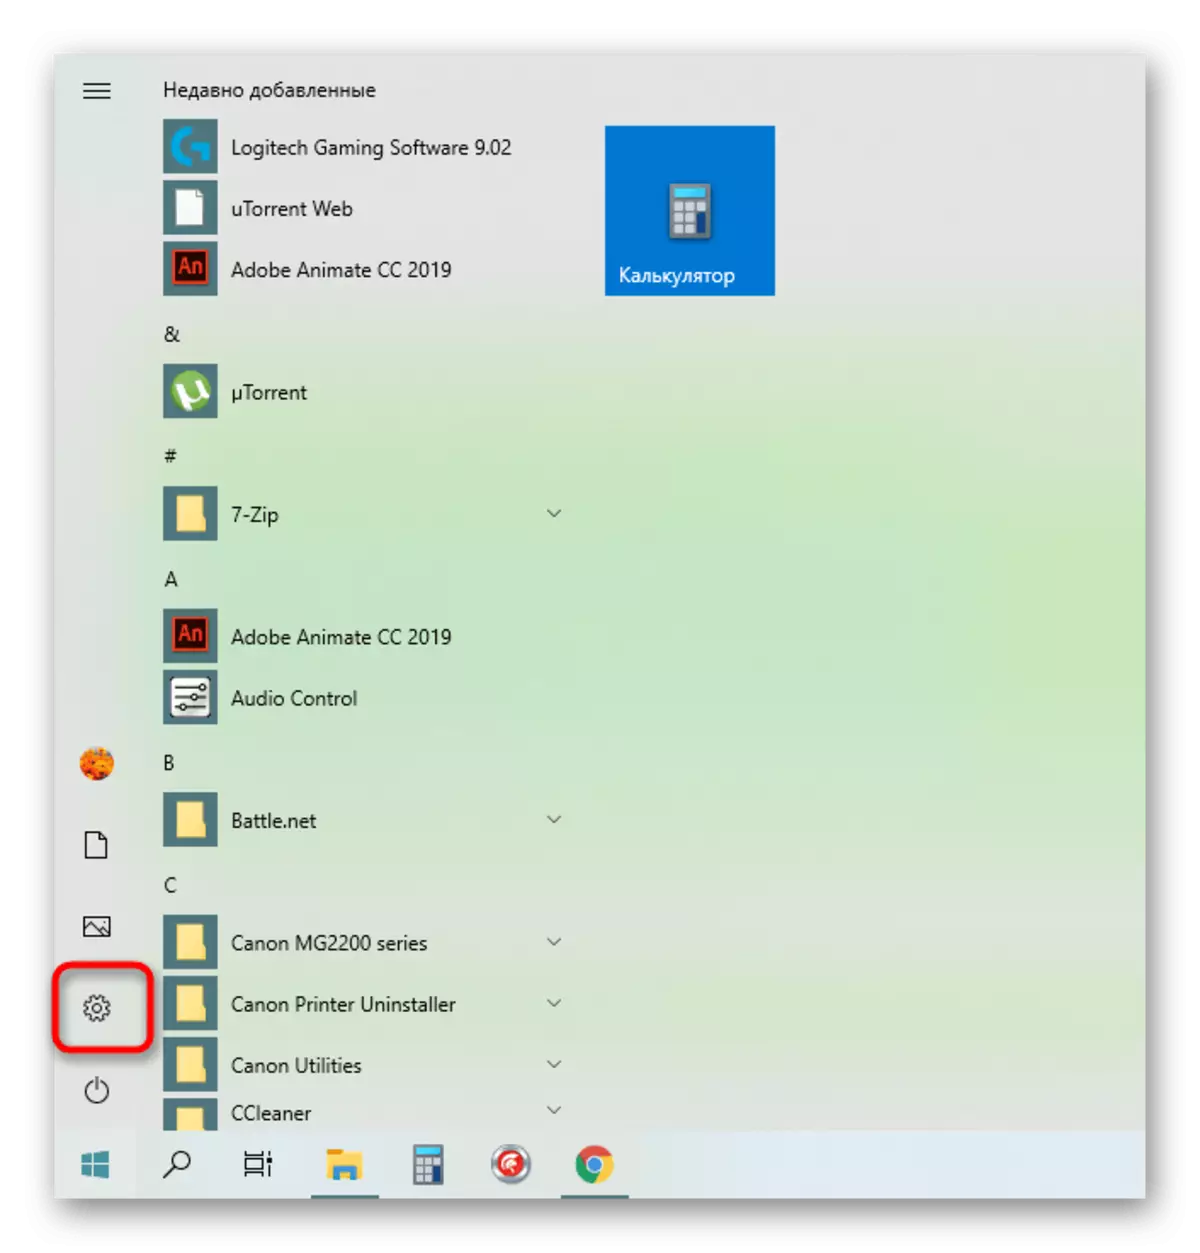
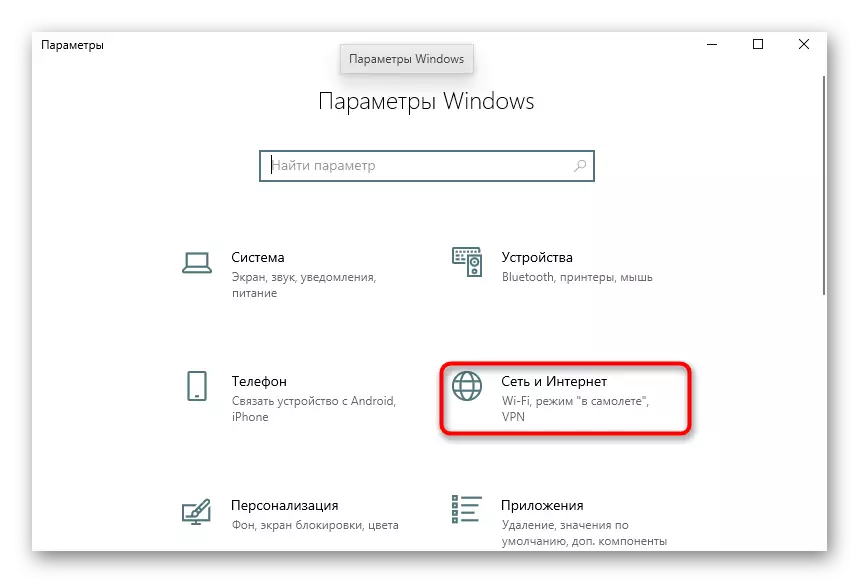
- Open "Start" and go to "Parameters".
- Here, open the category "Network and Internet".
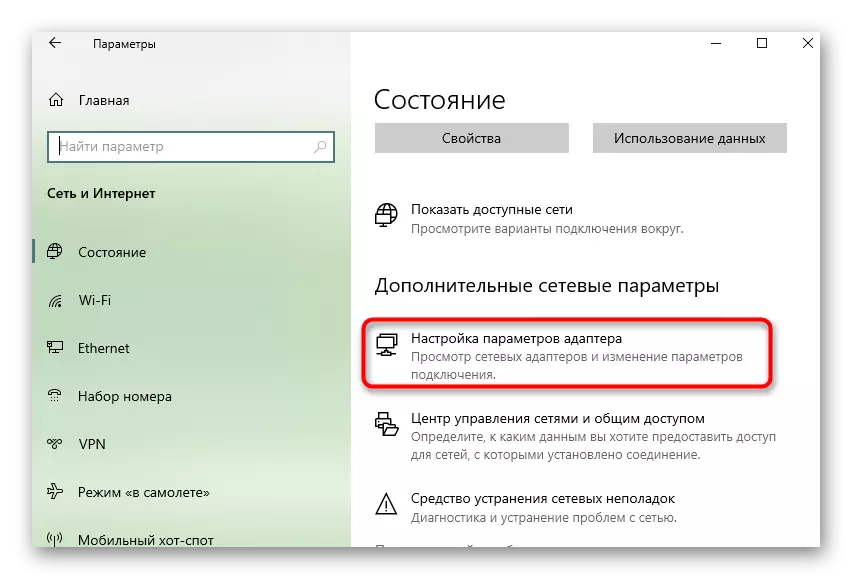
- In the first menu, select "Setting the Adapter Settings".
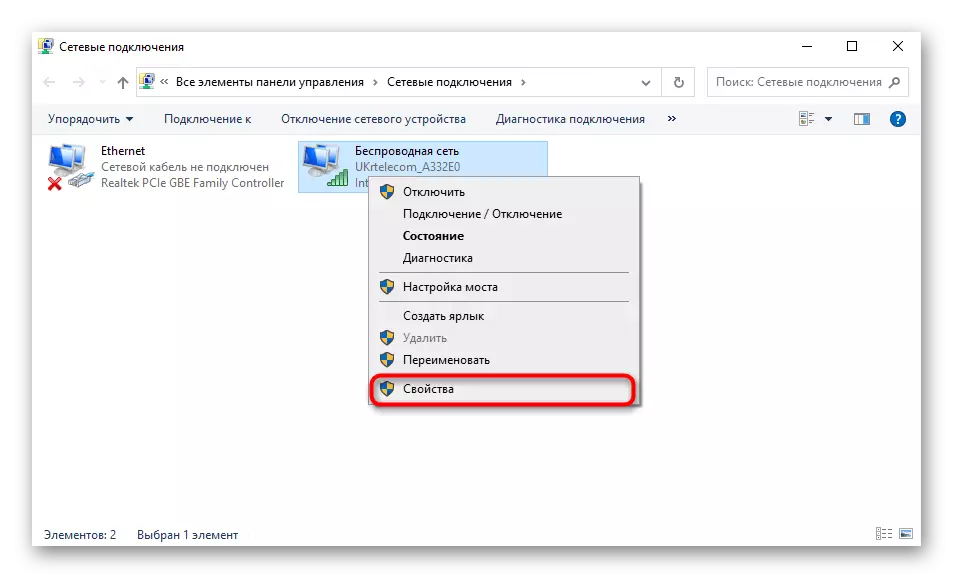
- Right-click on the active connection and call the "Properties" that appears the context menu.
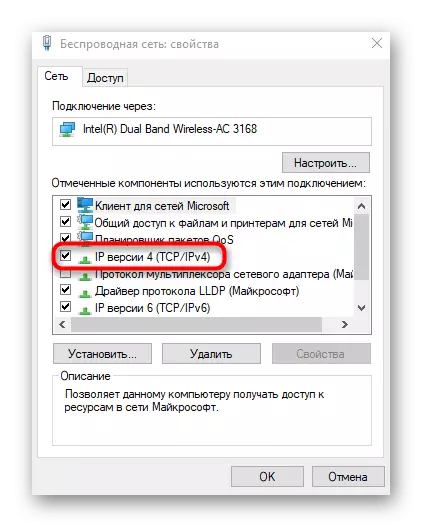
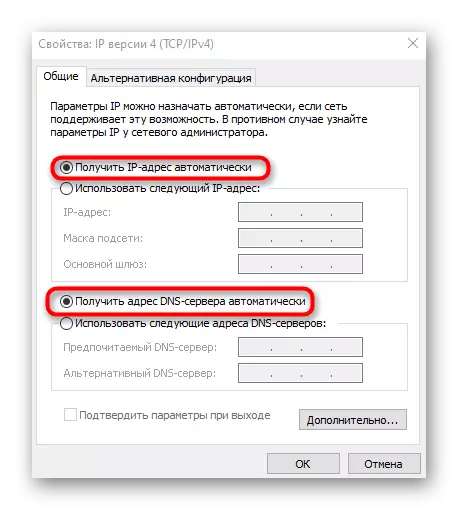
- Double-click the "IP version 4" row.
- Mark the paragraphs that are responsible for automatically obtaining IP and DNS and apply these parameters.
It remains only to re-connect to the network or simply restart the computer to apply new settings.