Method 1: Copying and moving
PowerPoint, like all Microsoft Office package applications, supports drag-and-drop, and therefore insert the image into the presentation by its usual drag.
- Open the presentation and click on the left mouse button (LKM) in the location of the slide where you want to add a picture.
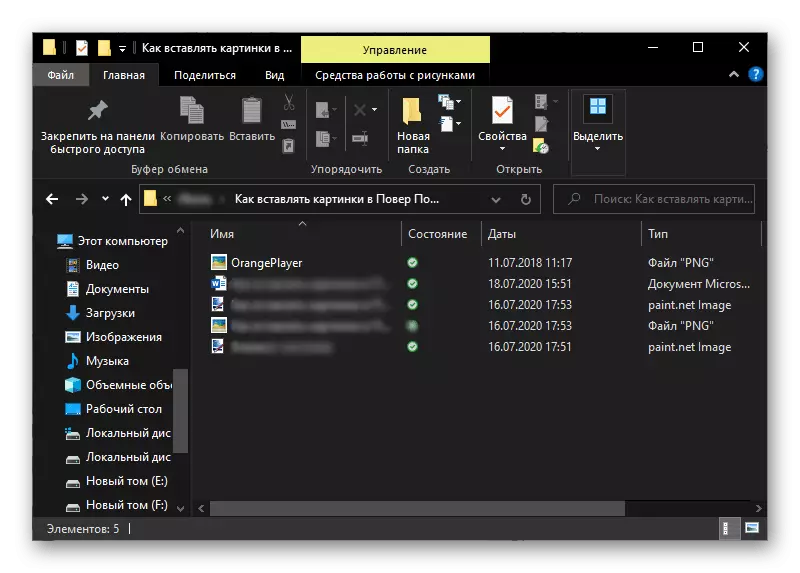
- Using the system "conductor" ("Win + E" for a quick call) Go to the folder where the desired graphic file contains.
Method 2: Insertion Figure
In addition to direct movement, the images in the Popit can be added and by inserting them. For these purposes, the program provides a separate tool with which you can integrate into a presentation as a file from a PC disk and the one that is on the Internet.Option 1: Local file
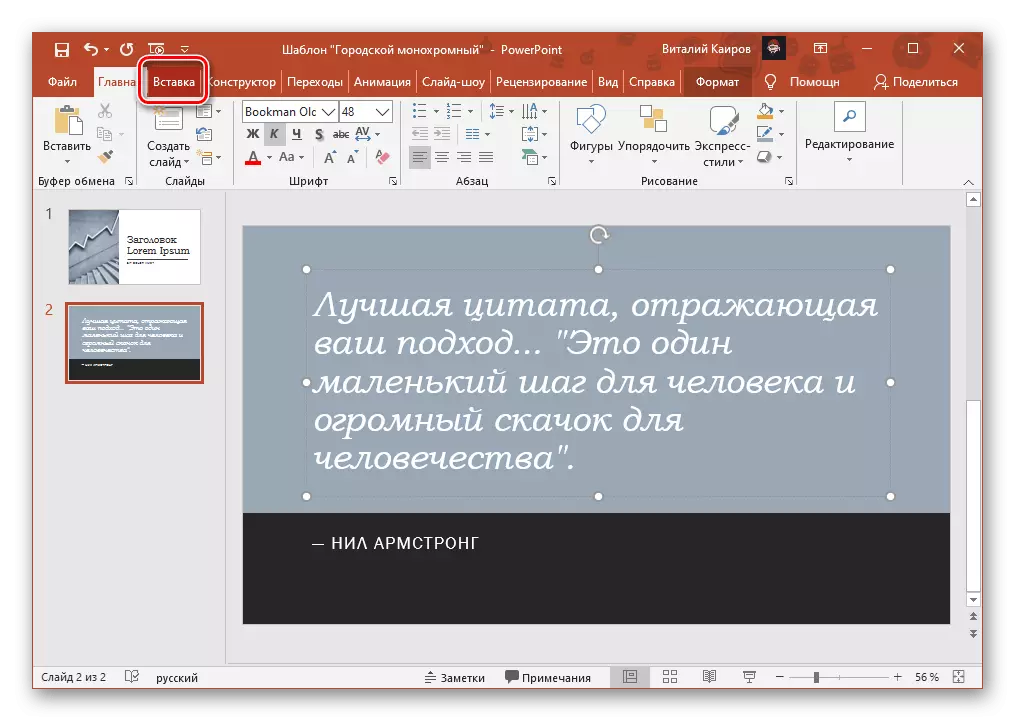
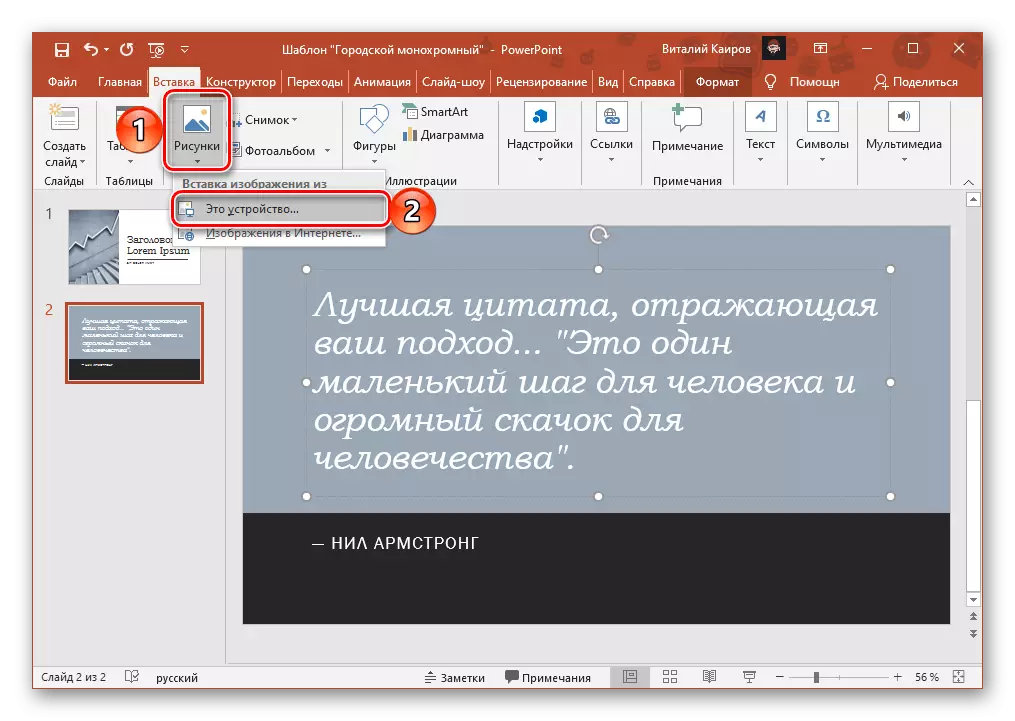
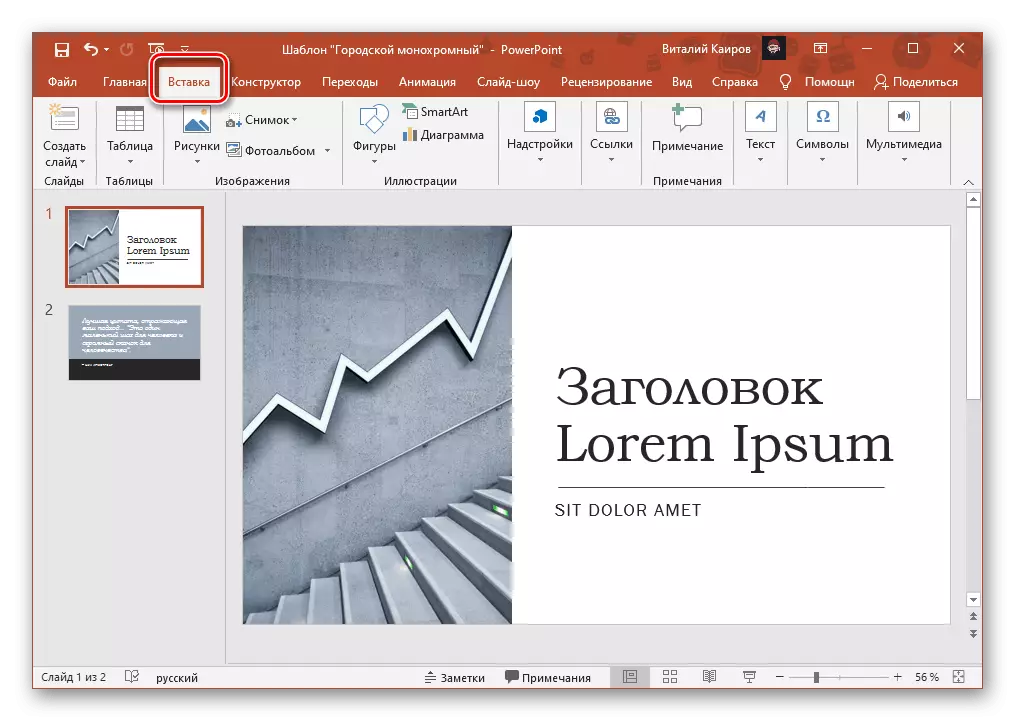
- Determine the appropriate place for the picture in the presentation, click on it with the LKM and go to the "Insert" tab.
- Expand the "Pictures" button menu and select "This Device".
- In the system "conductor" window, which will be open, go to the image containing the image, highlight it and click "Paste".

On this task of inserting a local file is considered solved, but a pair of other methods is also available in PowerPoint.
Insert a screenshot
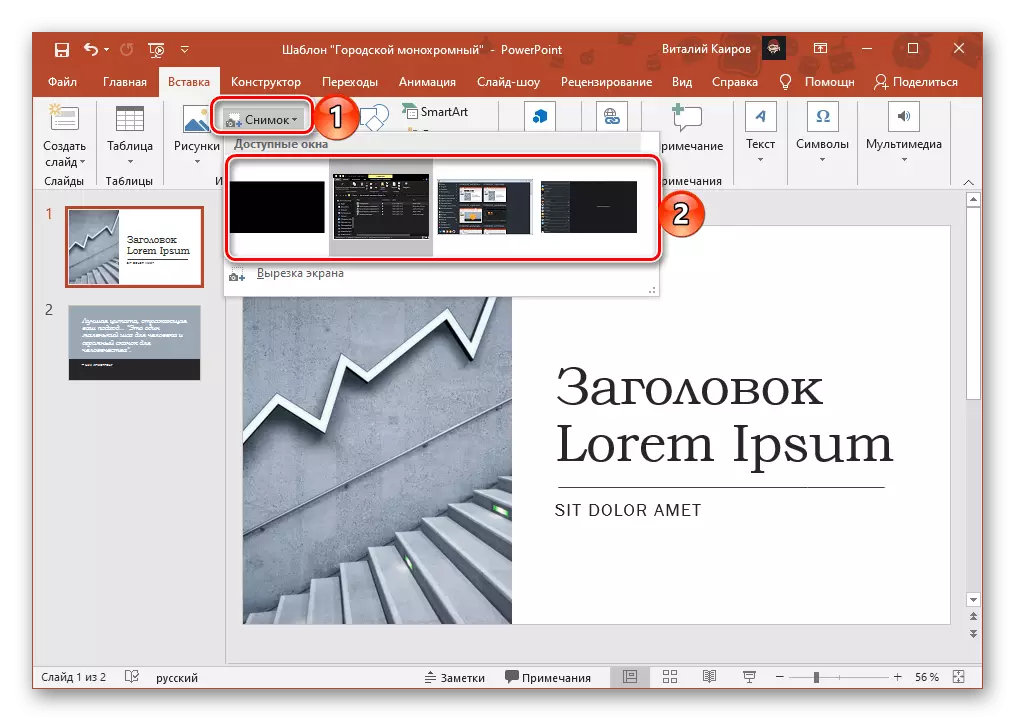
- Repeat actions from the first paragraph of the previous instruction.
- Expand the "Snapshot" menu and make it. In the "Available Windows" block, the window open at the present window, a screenshot of any of which can be done immediately and add to the presentation.
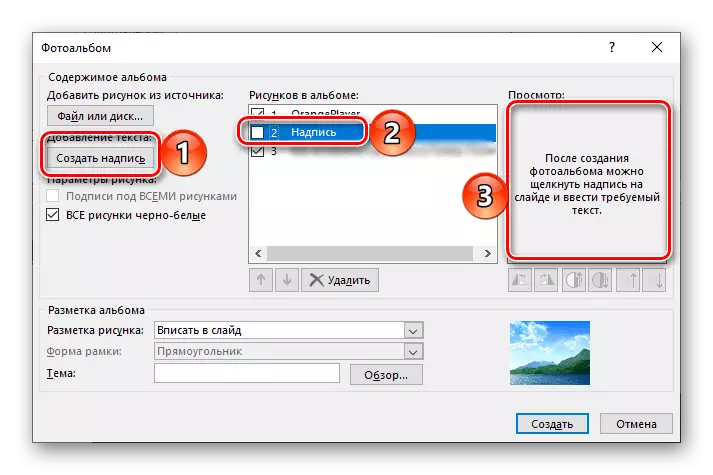
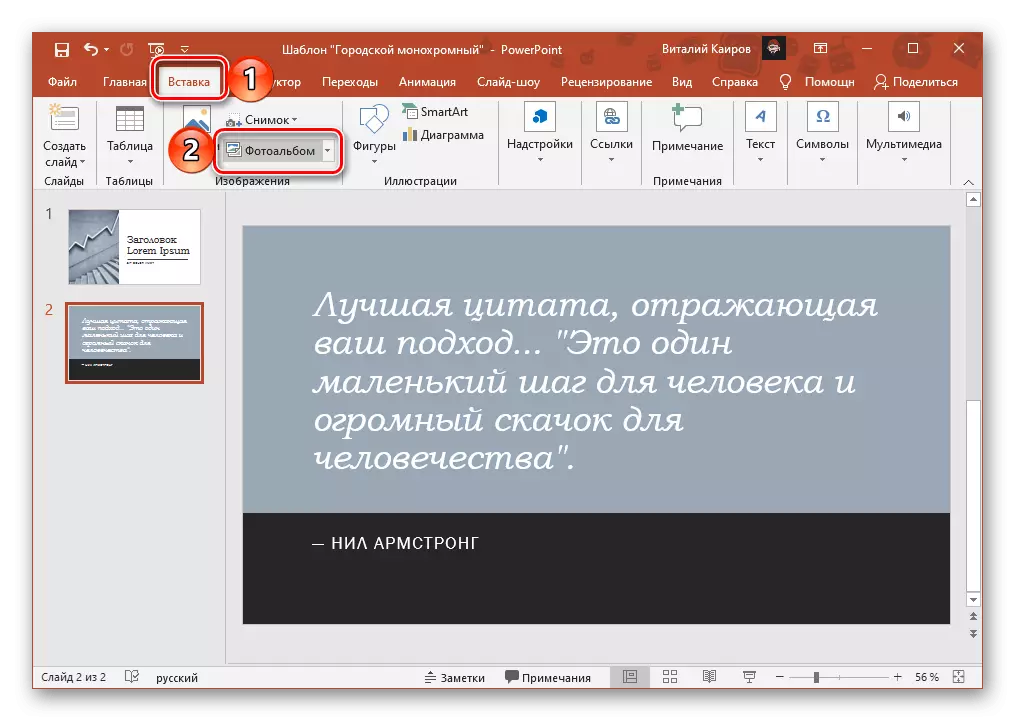
Insert photo album
In addition to the usual local files and screenshots, you can also add other albums in the opposite. For this:
- After determining the place to add images to the presentation, go to the "Insert" tab and click on the "Photo Album" button.
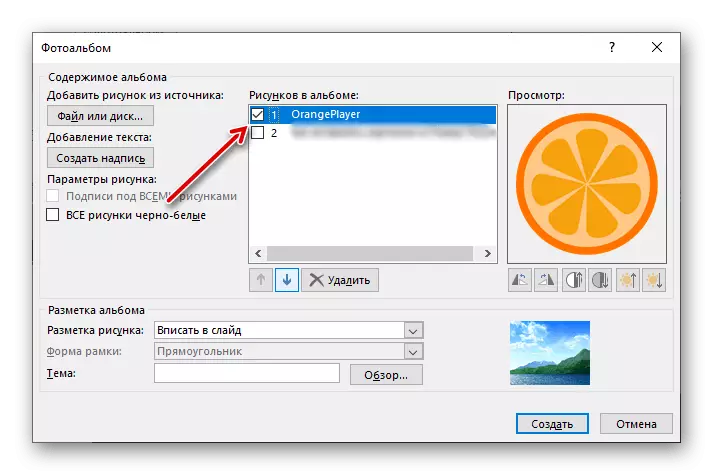
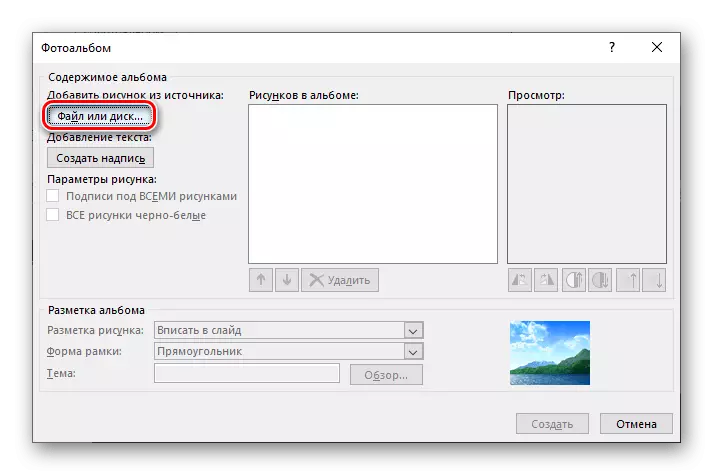
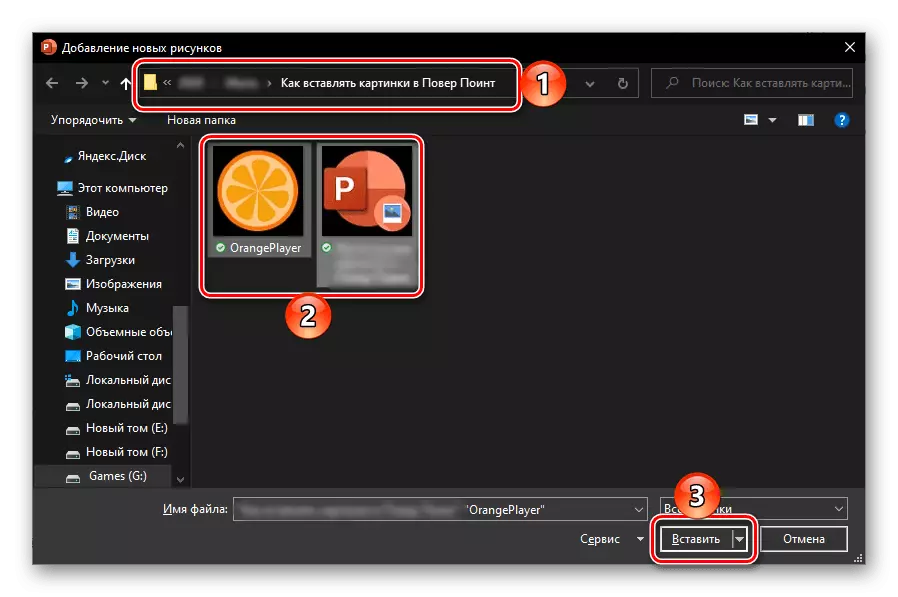
- In the dialog that opens, use the "File or Disc" button.
- Using the "Explorer", go to a folder containing the desired pictures, highlight them and click "Paste".
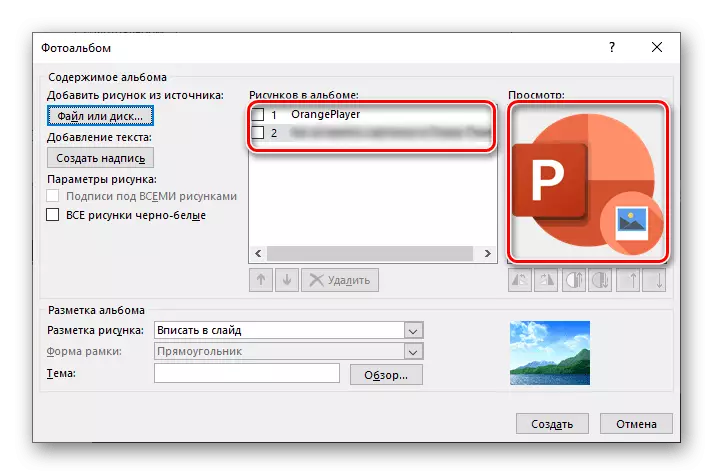
- The selected files will be added to the "Pictures in the album" list, the last one is displayed in the "View" window.
- In order to perform any actions with these images, you must mark them with a check mark.
Immediately after this will be available to move and delete files in the list, as well as their rotation and change in contrast and brightness (performed for each object separately).

Additionally, it is possible to make "all drawings of black and white", add "signatures under all drawings"
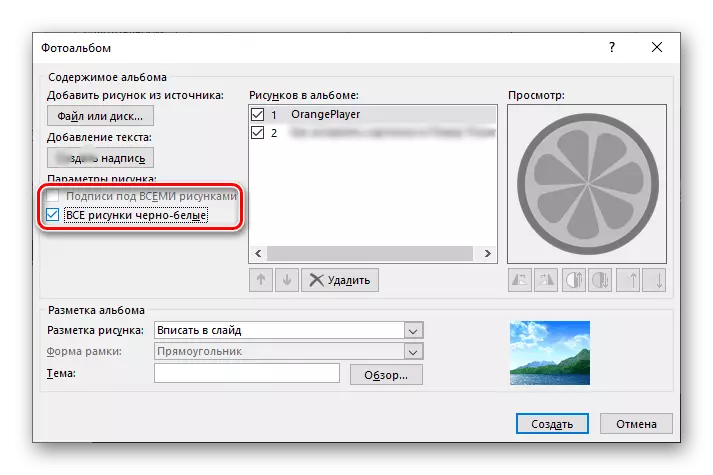
And "Create an inscription."
The last thing you can do in this window is to determine the "album markup". The following parameters are available:
- "Marking of the drawing";
- "Form of the Frame";
- "Theme" (opens a folder with the corresponding set on the disk).
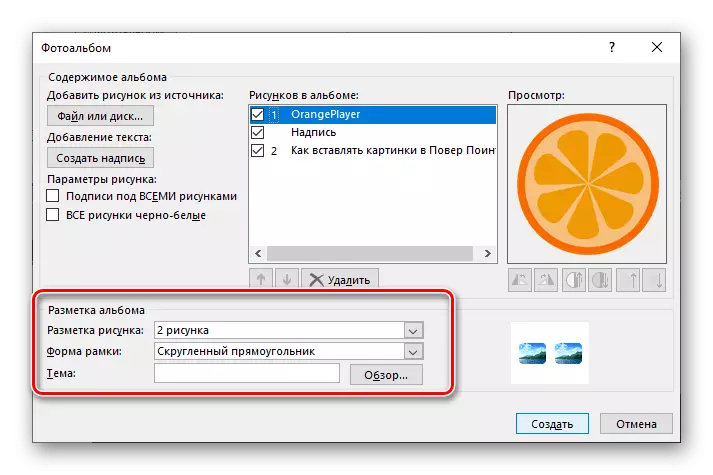

All changes, more precisely, their layout are displayed in the preview window.
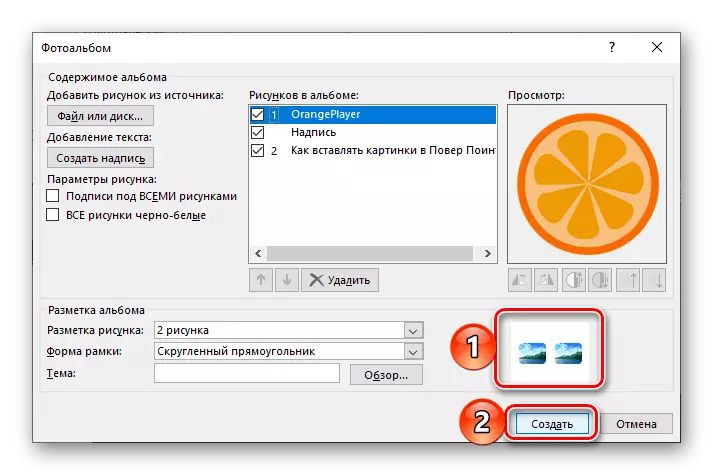
Deciding with all the parameters of the photo album, click on the "Create" button. Check out the result and, since it is only the initial stage of work, change it in accordance with the requirements for the presentation.
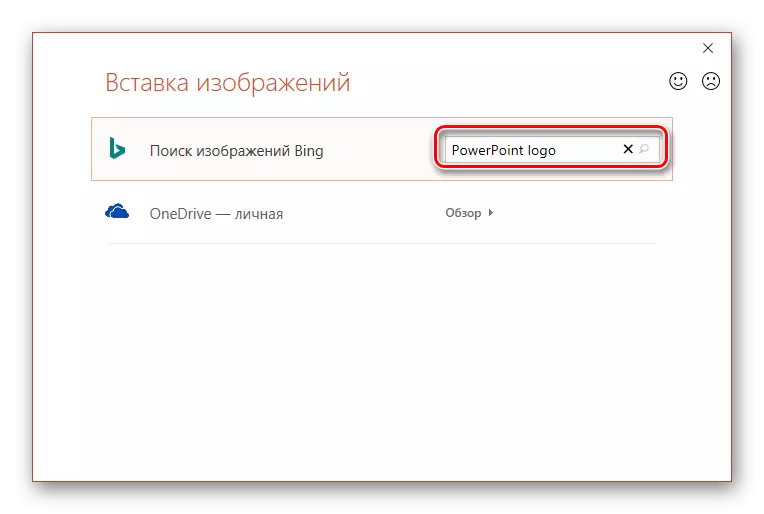
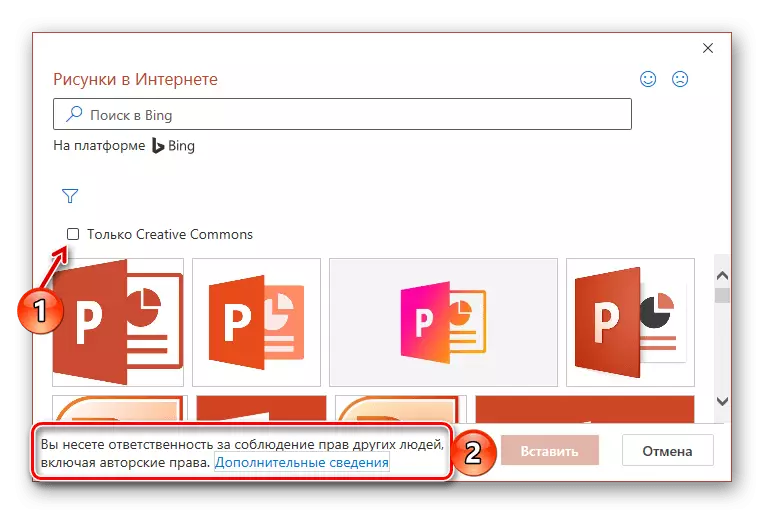
- Click on the place of adding a file on the slide, go to the "Insert" tab, expand the "Pictures" button menu and select "Images on the Internet".
- On the line, located opposite the inscription "Search images in Bing", enter a request that matches the name of the file or its description. Click "Enter" to obtain results.
- By default, the search is performed exclusively in drawings with the Creative Commons license, that is, not copyrighted.
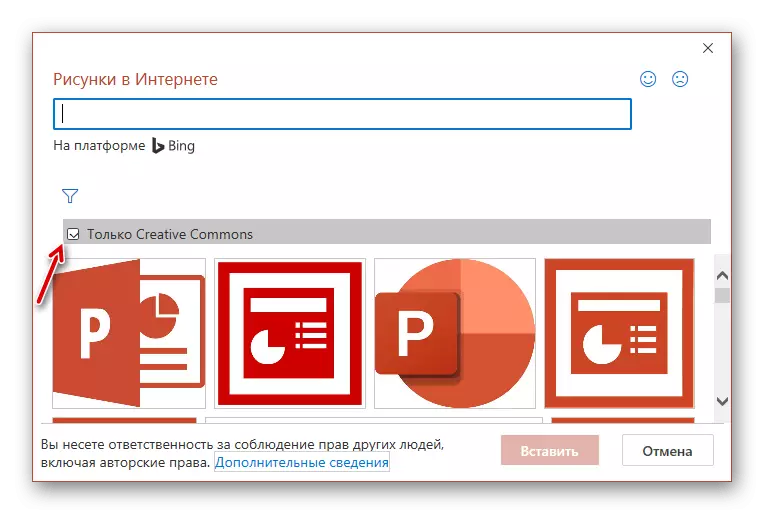
This parameter can be disabled, but, as indicated in the program interface, you are responsible for compliance with the rights of other users.
- To ensure a more convenient search, special filters are provided, consisting of categories "Size", "Type", "Layout", "Color".
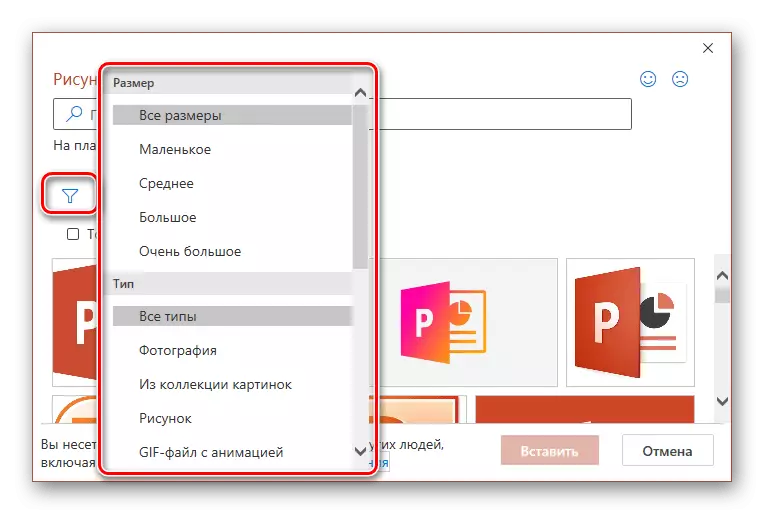
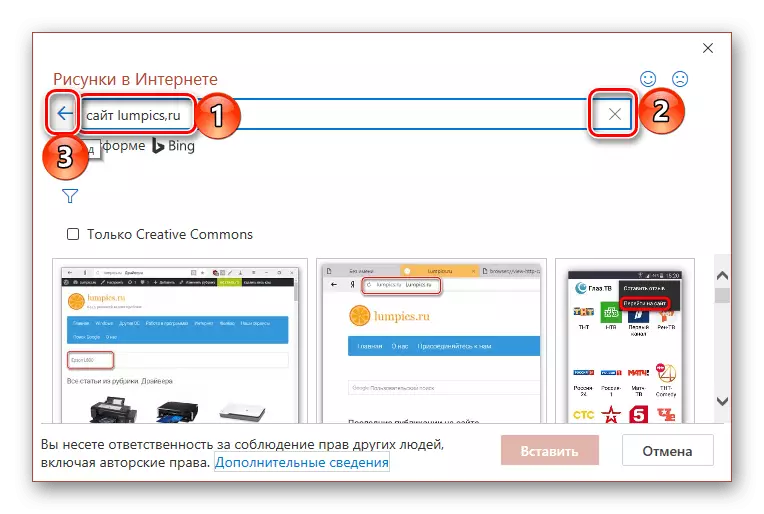
If you enter another overgrown in the search string, and then reset it (the button in the form of a cross) or click "Back", the start page of the Bing image will be opened in this window, which presents standard categories.

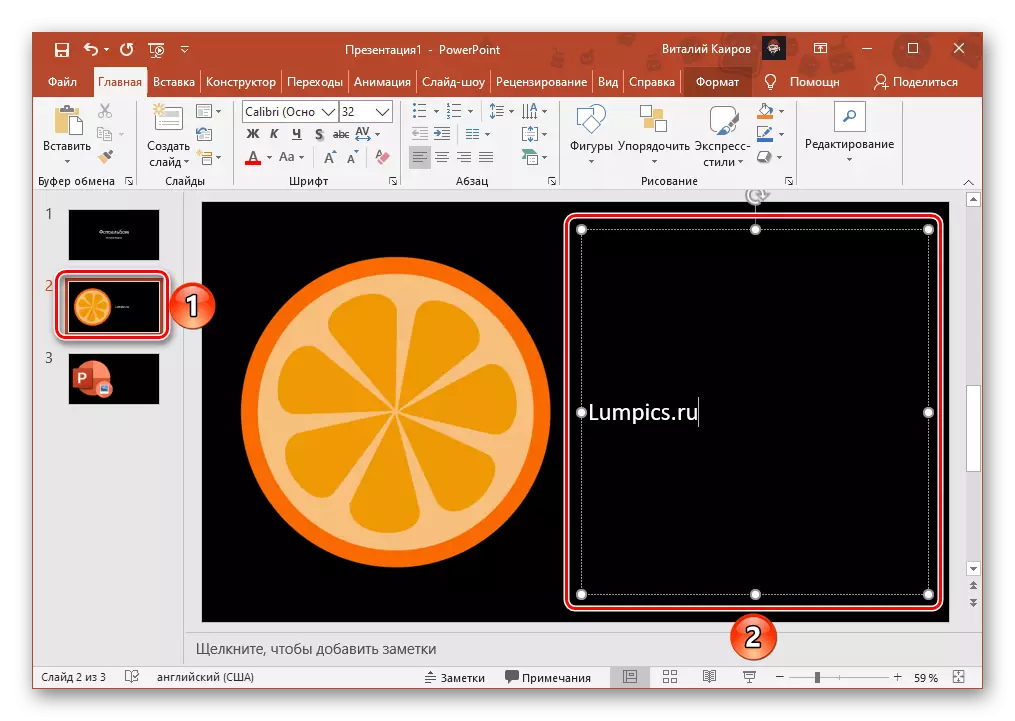
Obviously, every photo in the album created, if you have not changed the markup of the picture, will be a separate slide. Otherwise, their number on one page will correspond to the specified. The inscriptions are initially created by template, and change after they are added.
Option 2: Internet images
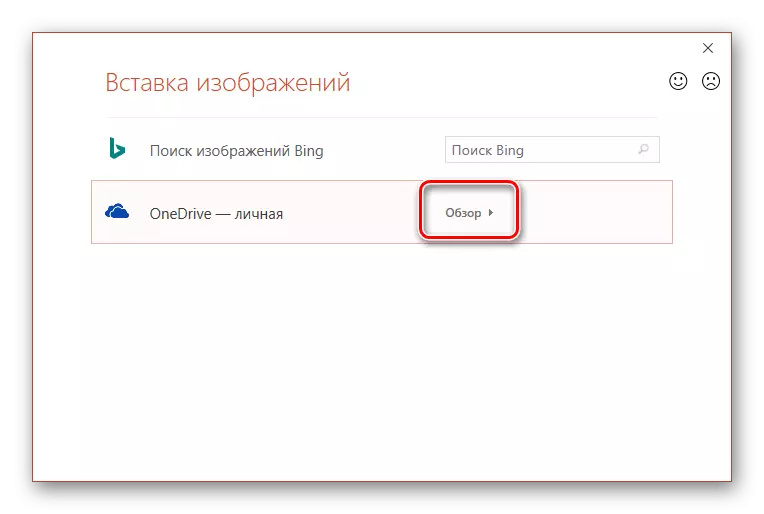
Microsoft Office Package applications, and PowerPoint is no exception, provide the ability to insert images from the Internet - found in Bing or saved to private onedrive.
Search in Bing.
In order to find a suitable picture for a presentation on the Internet, do the following:
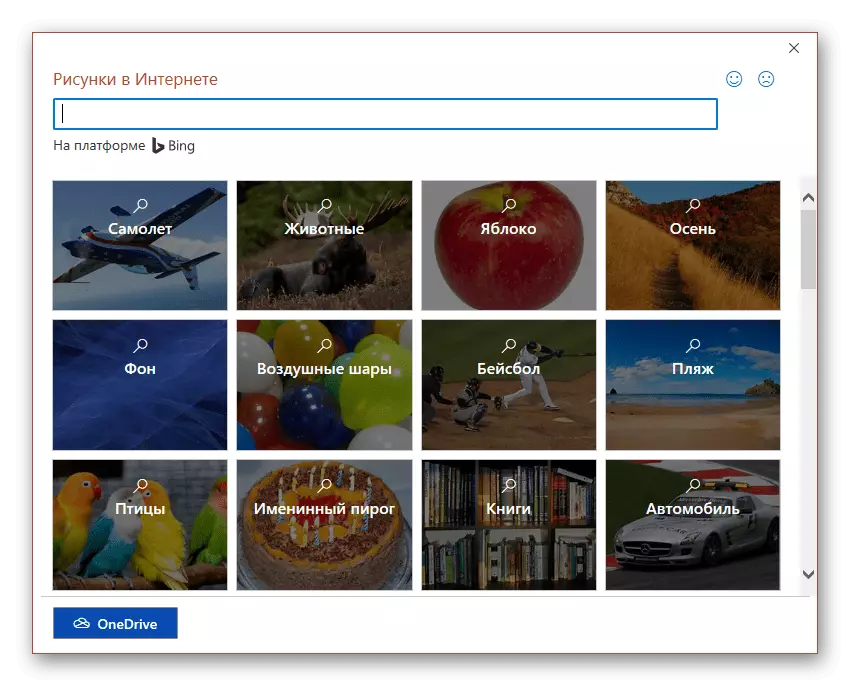
Pressing any of them will open the issuance from the corresponding selected theme of graphic files.
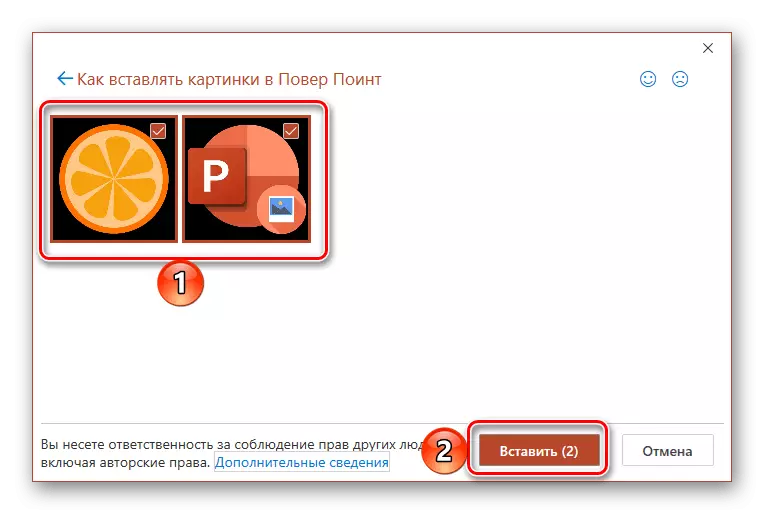
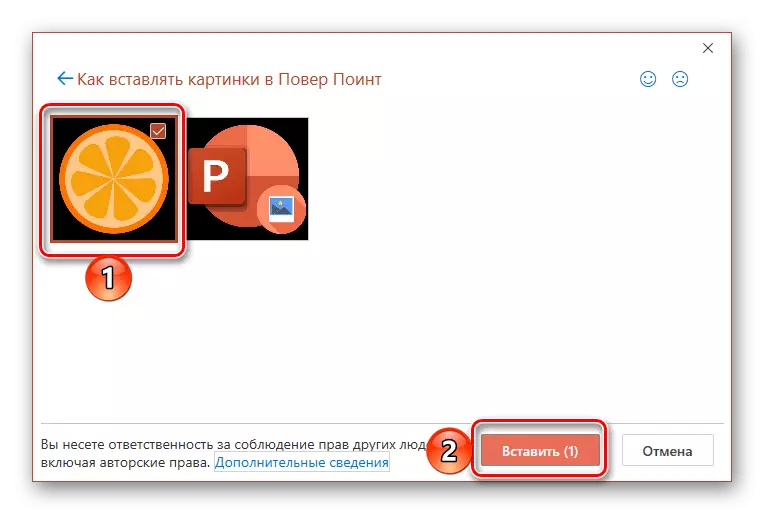
- Having found the appropriate image, select it and click "Paste".
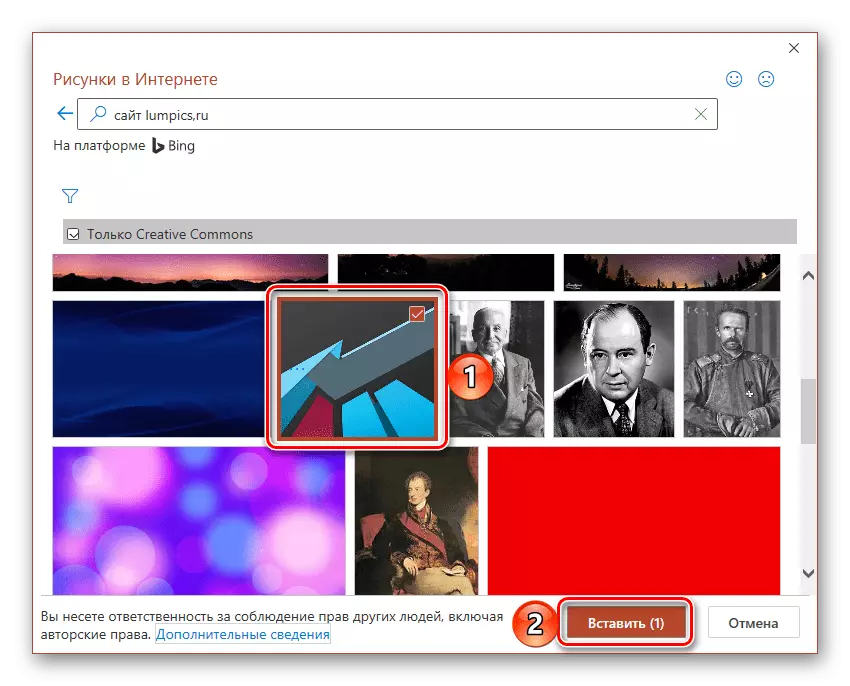
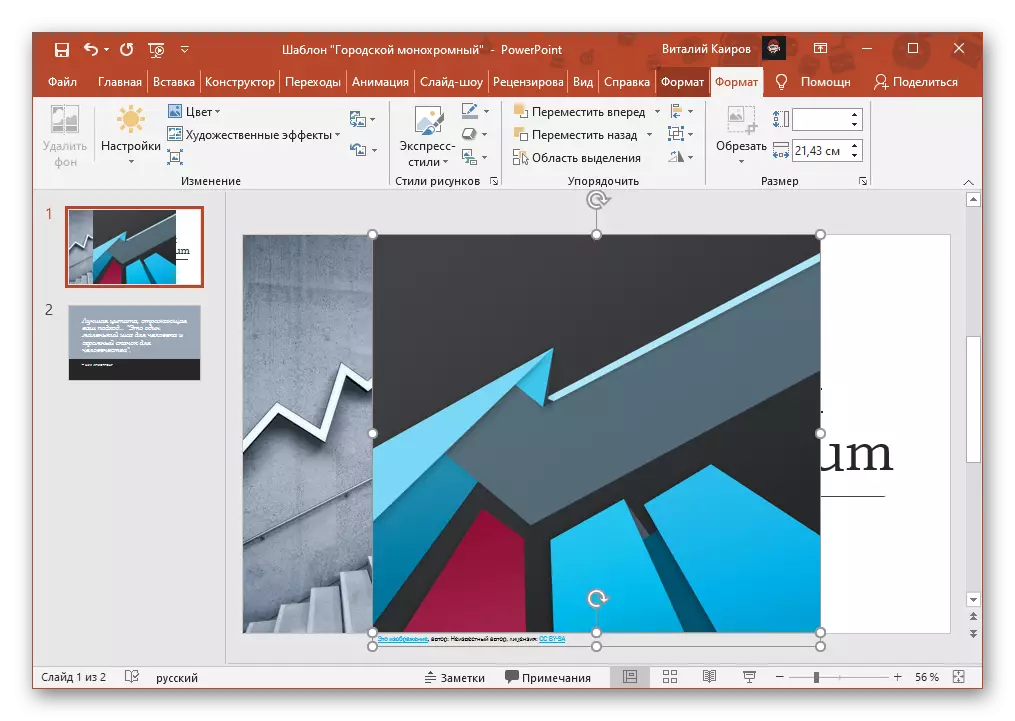
The picture found will be added to the presentation slide, after which you can work with it.
Onedrive
If you use Microsoft's branded cloud service and store images in it that would like to use in the presentation, follow the following algorithm for adding them:
- Repeat actions from the first paragraph of the previous instruction.
- In the "Image Insertion" window, click on the "Overview" inscription, located opposite the OneDrive Point Point.
- Go to the folder containing the desired image,
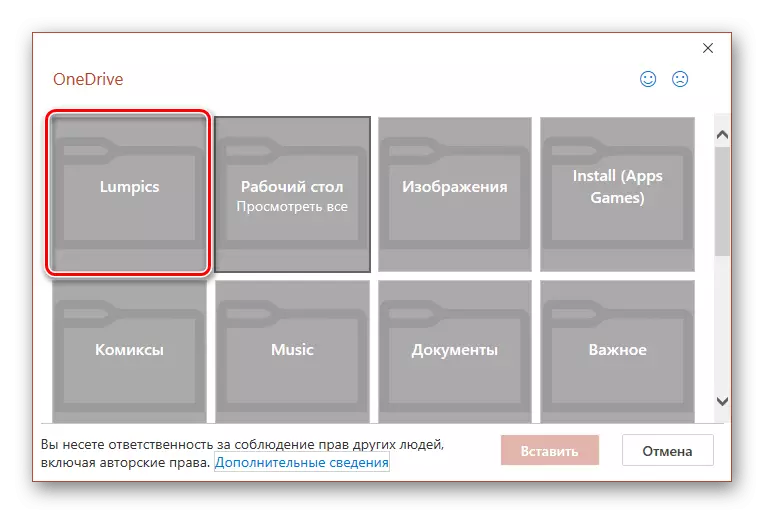
Highlight it and click "Paste".
Since these files are downloaded from the network, their addition to the document may take some time depending on the size and quantity.
Speaking about quantities, and images found on the Internet, and saved in oneDrive, you can insert in a presentation not only one by one, but also several pieces at a time. In both cases, it is enough to first highlight the first by pressing the LKM on it, and then holding the "Ctrl" key, mark the rest, or with the help of "SHIFT" designate the range.