
Attention! Changing the screen resolution can lead to problems, so that all further actions you perform on your own risk!
Method 1: Systems
Recently, the market there are increasing devices with high-matrices (2K or higher) resolution. Developers of such gadgets understand that this is not the best way affects performance, so added to the firmware tools for the appropriate settings.
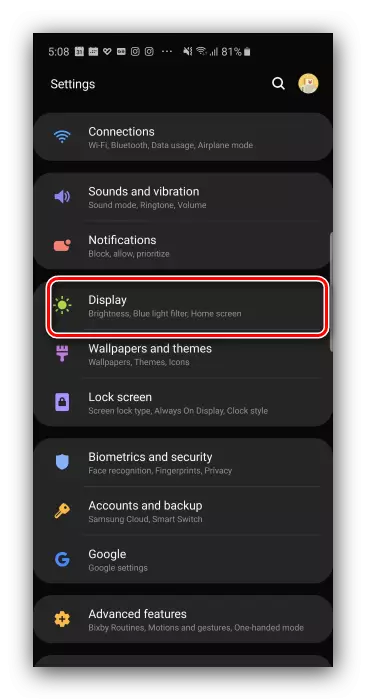
- Start parameters of the application, then go to it to the point «Display (otherwise it may be called" Display "," Display and brightness "," Display Settings "," Screen "and other similar in meaning).
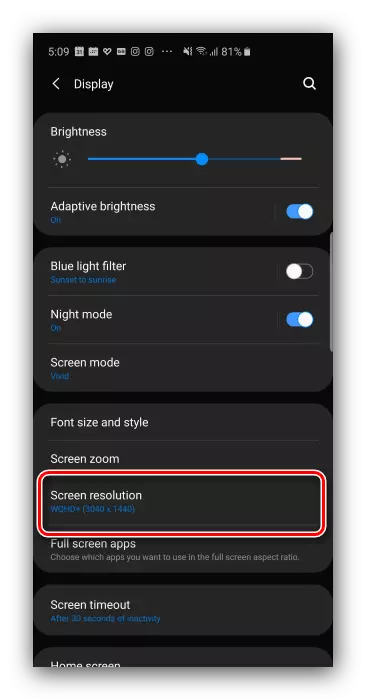
- Select "Enable" (aka «Screen resolution», «Default Resolution»).
- Next, select one of the options suitable for you and then click "Apply» ( «Apply»).
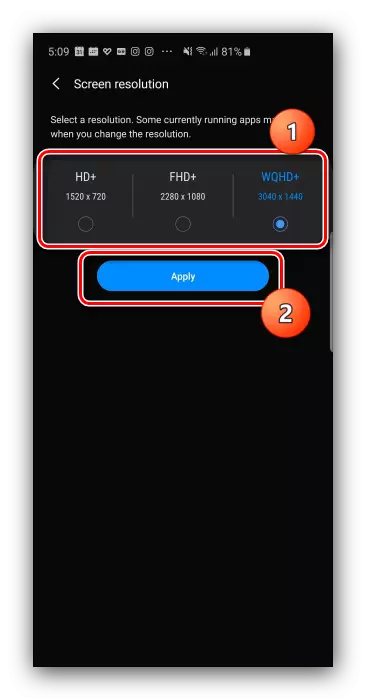
The changes will be applied immediately.
This method - the easiest, but you can use it on a limited number of firmware, in which, unfortunately, pure Android is not yet included.
Method 2: Developer Settings
Screen resolution depends on the DPI (number of dots per inch), which can change the parameters in the developer. This is done as follows:
- Open the "Settings" and go to the points of the "System" - "Advanced" - "For Developers".
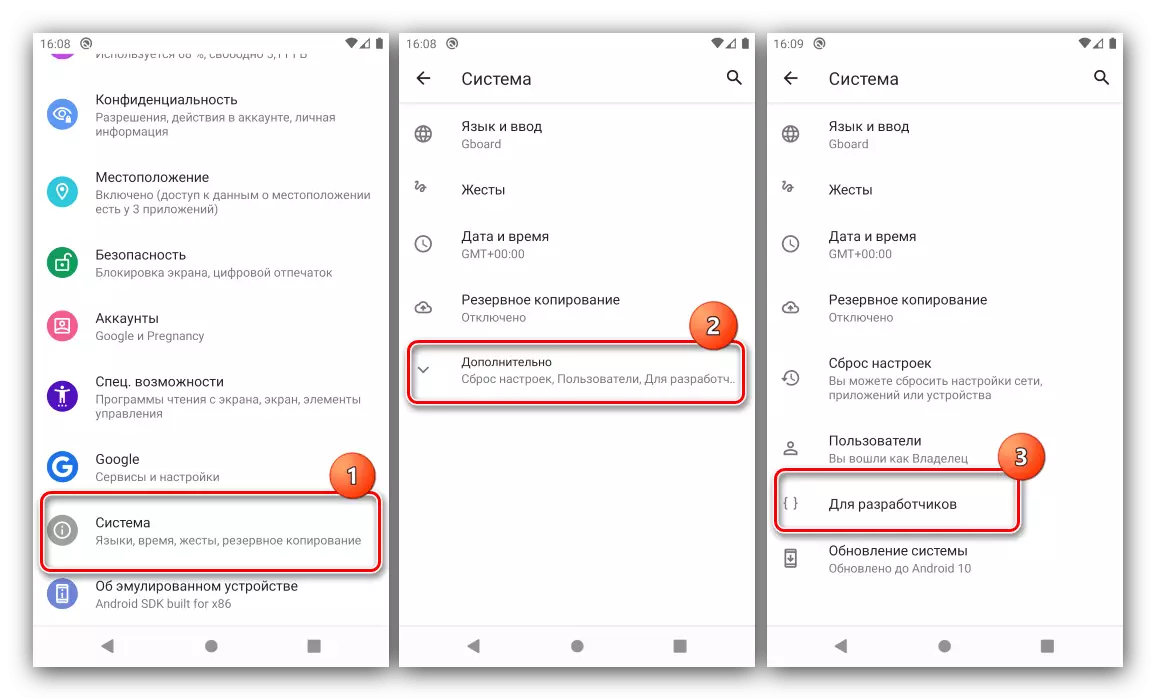
If the latter option is not available, use the instructions below.
Read more: How to activate developer mode on the Android
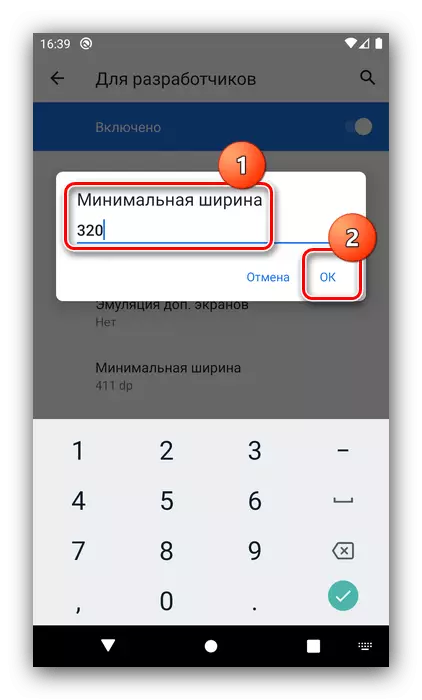
- Scroll through the list, locate the option called "minimum width" (otherwise it may be called "Minimal width" and similar in meaning) and tapnite on it.
- It should be a pop-up window with the input field values DPI, which we shall be changed (available by default is recommended to remember). Specific numbers are device dependent, but most of them range is 120-640 dpi. Enter any of this sequence and tapnite "OK".
- Screen for a while to stop responding - this is normal. After the restoration of responsiveness you will notice that the resolution has changed.

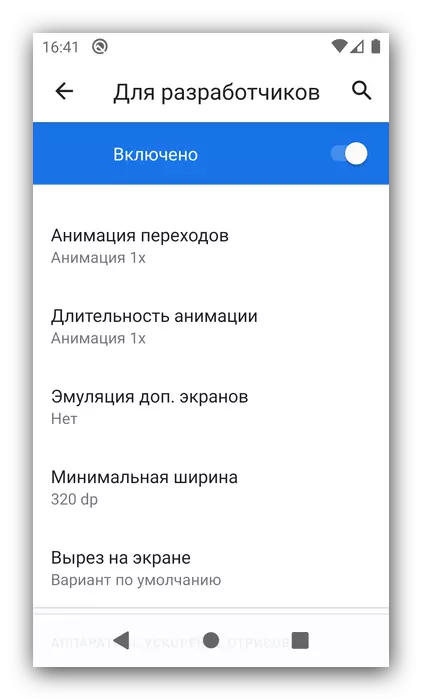
On this, the work with the developer settings can be considered completed. The only minus - the appropriate number will have to choose the "Present method".
Method 3: Side Application (root)
For devices with root access, it is worth using one of the third-party utilities that can be obtained from Google Play - for example, Screen Shift.
Download Screen Shift from Google Play Market
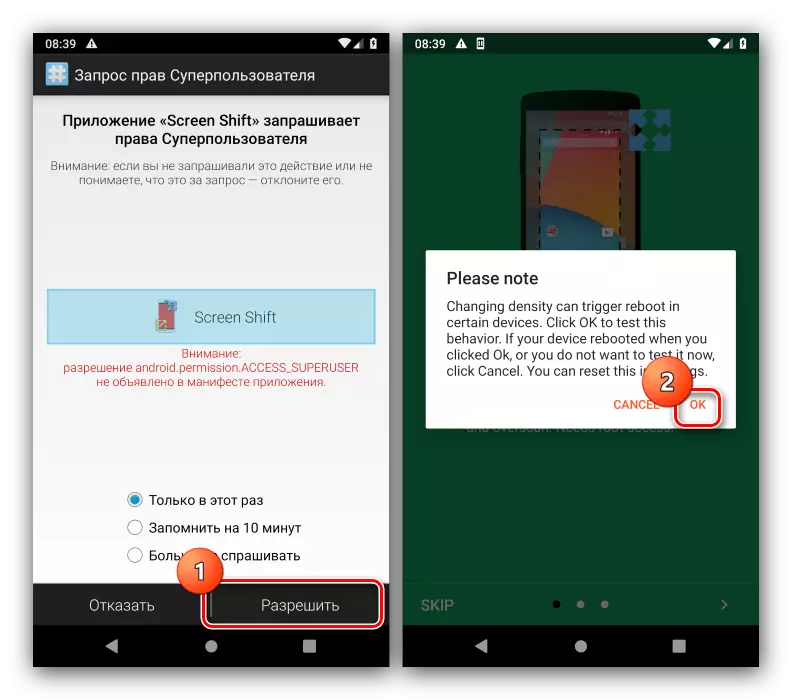
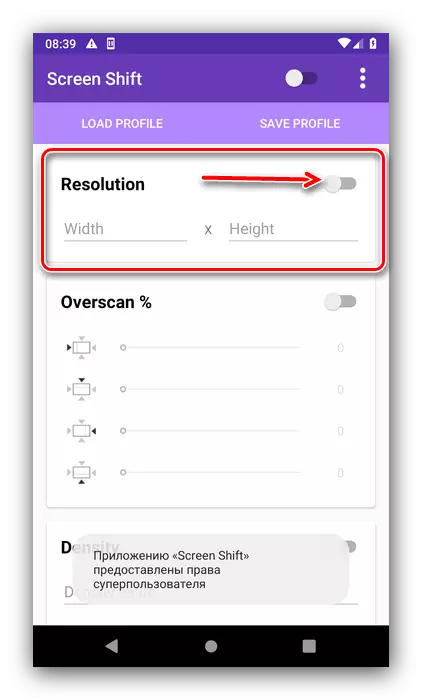
- Run the application after installation, then allow the use of root and tap "OK".
- In the main menu, pay attention to the "Resolution" options - tap on the activation switch.
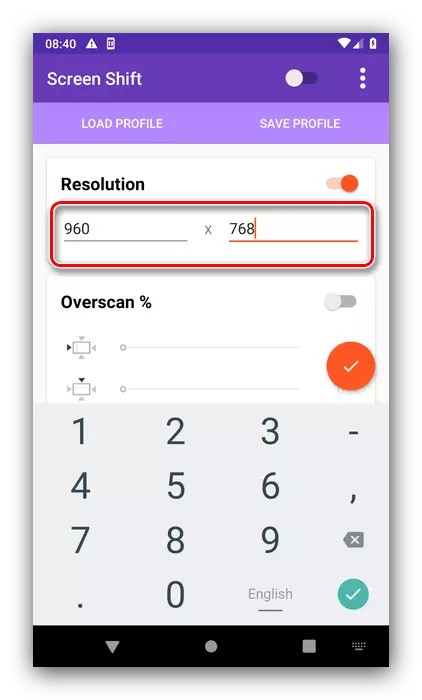
- Next in the left field, enter the number of points horizontally, in the right - vertical.
- To apply the changes, click "Continue" in the warning window.
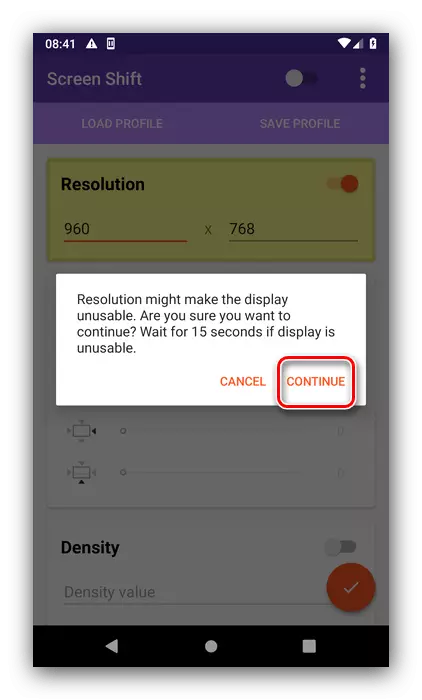
Now the resolution you have chosen will be installed.
Method 4: ADB
If none of the above methods are suitable for you, the most difficult version remains - the use of Android Debug Bridge.
- Load the required software on the link above and install it in accordance with the instructions.
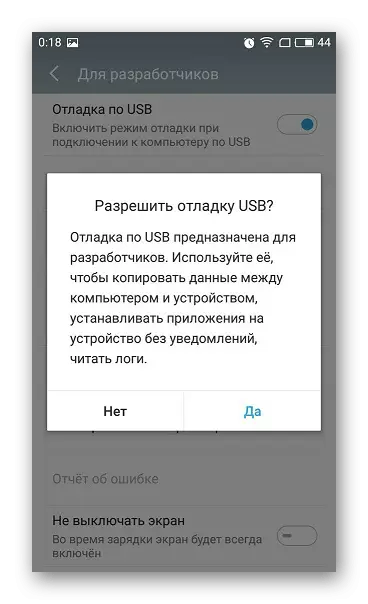
- Activate the developer settings on the phone (see page 1 of the second method) and turn on USB debug in it.
Read more: How to enable USB debugging in Android
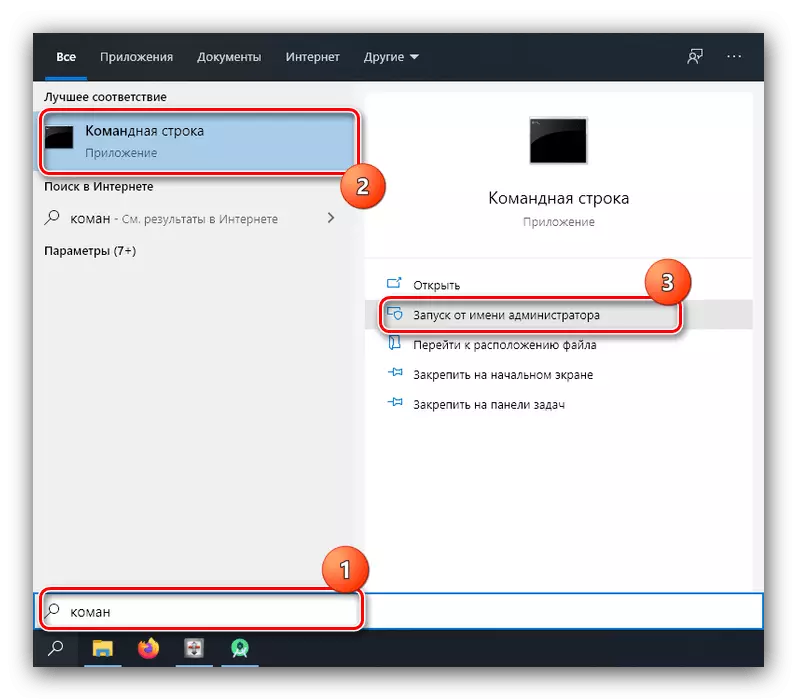
- On the computer, run the "Command Line" on behalf of the administrator: Open the "Search", enter the command line in it, click on the result and use the options.
Read more: How to open the "Command Line" on behalf of the administrator in Windows 7 and Windows 10
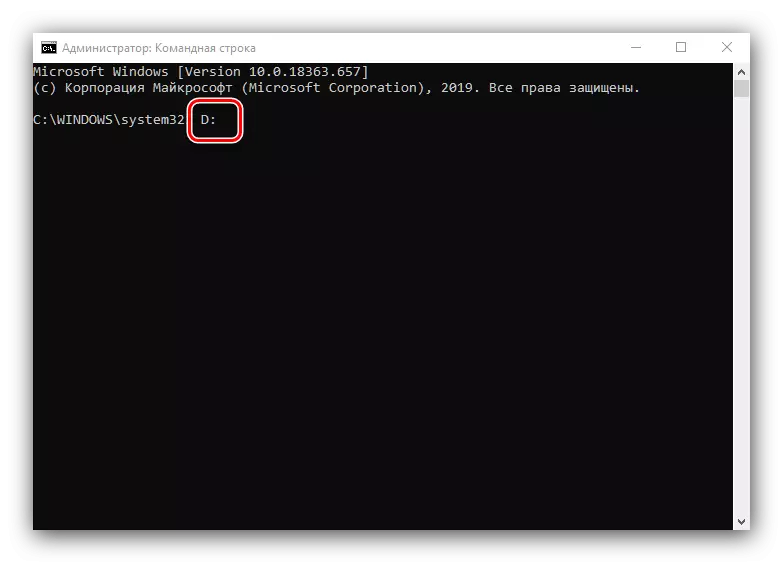
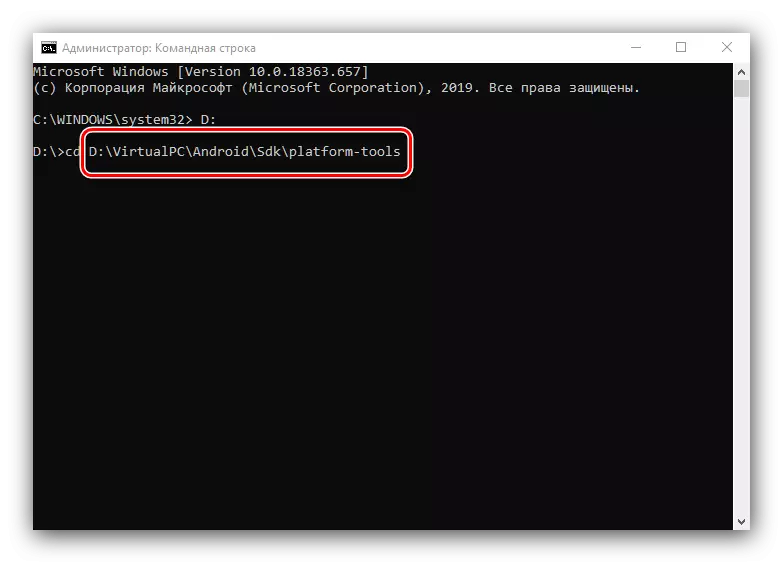
- After starting the terminal, type the letter of the disk in it, on which the ADB is located, and press ENTER. If the default is C:, immediately go to the next step.
- Further in the "Explorer", open the folder in which the ADB.exe file is located, click on the Address field and copy the path from there.
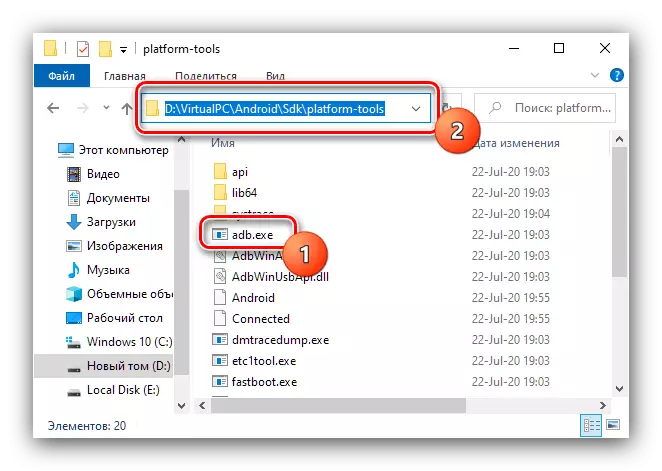
Return to the "Command Line" window, enter the CD characters, then place the space, insert the path copied earlier and again use the Enter key again.
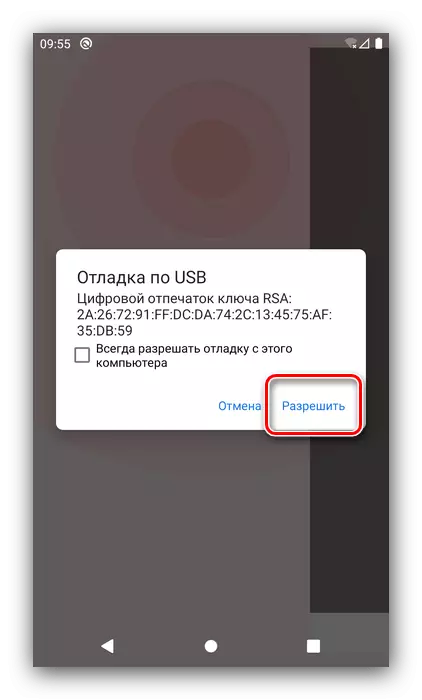
- Go to the phone again - connect it to the PC and allow debugging access.
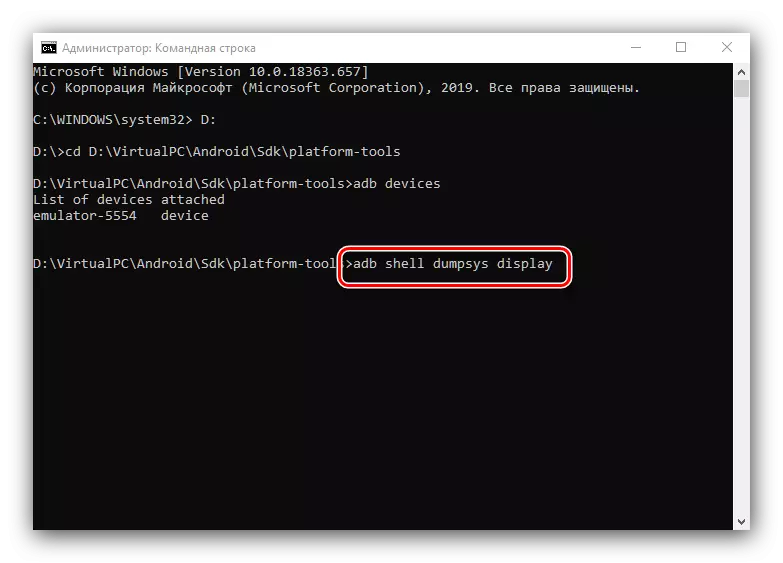
- In the "command prompt", enter ADB devices and make sure the device is recognized.
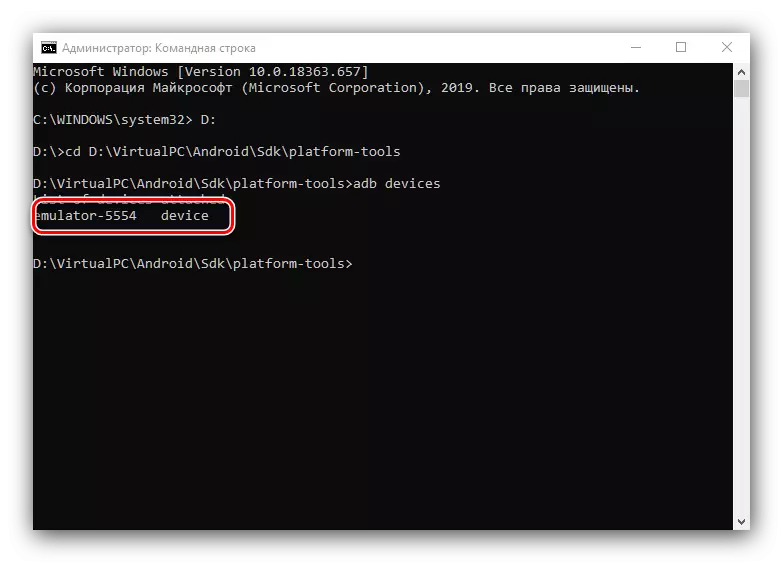
If the list is empty, disconnect the phone and try to connect again.
- Use the following command:
ADB Shell Dumppsys Display
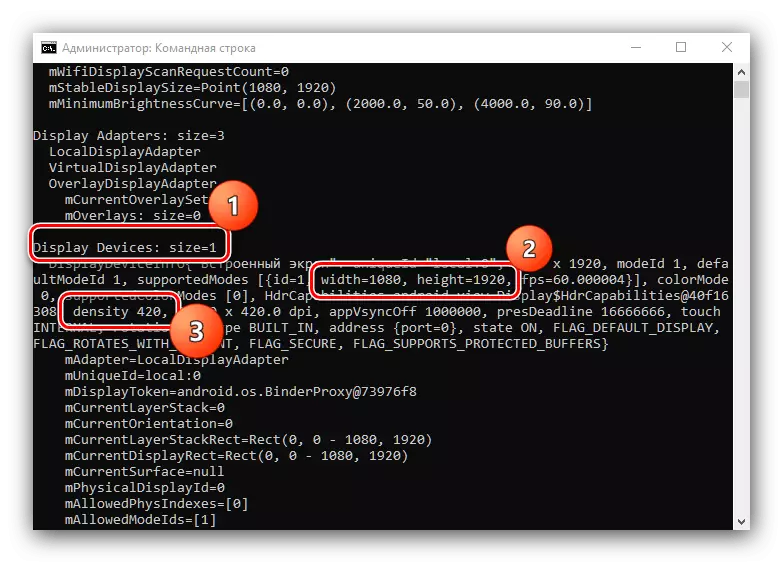
- Carefully scroll through the resulting list, find a block named "Display Devices", in which the "Width", Height and Density parameters are responsible for the resolution in width and height, as well as for the density of pixels, respectively. Remember this data or write to set them back in case of problems.
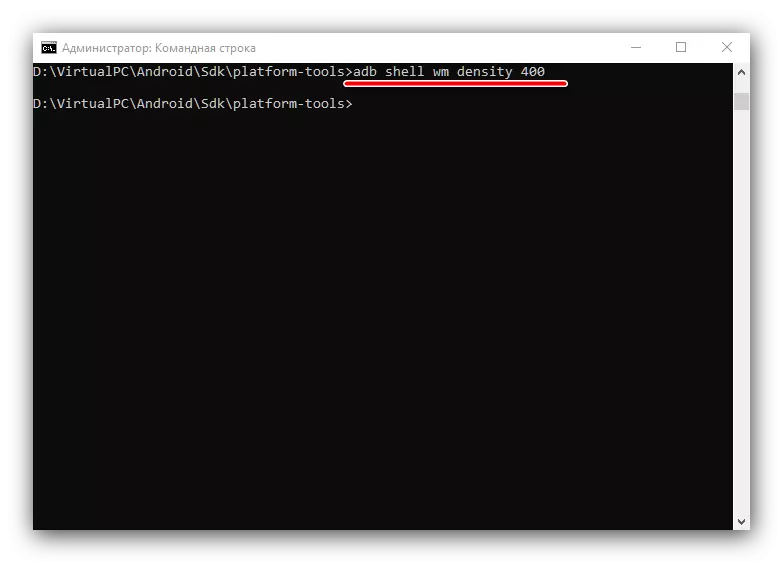
- Now you can go to edit. Enter the following:
ADB SHELL WM DENSITY * Number *
Instead of * Number * Specify the required pixel density values, then press ENTER.
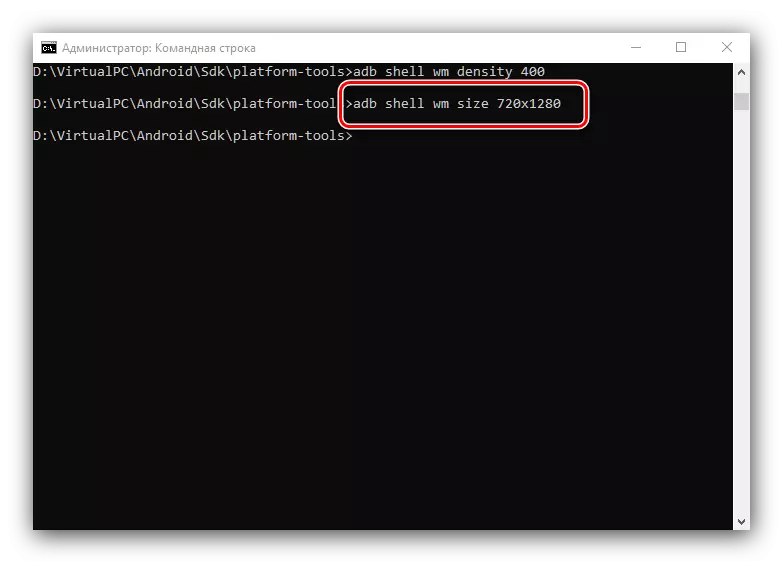
- The following command looks like this:
AdB Shell WM Size * number * x * number *
As in the previous step, replace both * number * on the data you need: the number of points in width and height is respectively.
Be sure to make sure between the values of the X symbol!
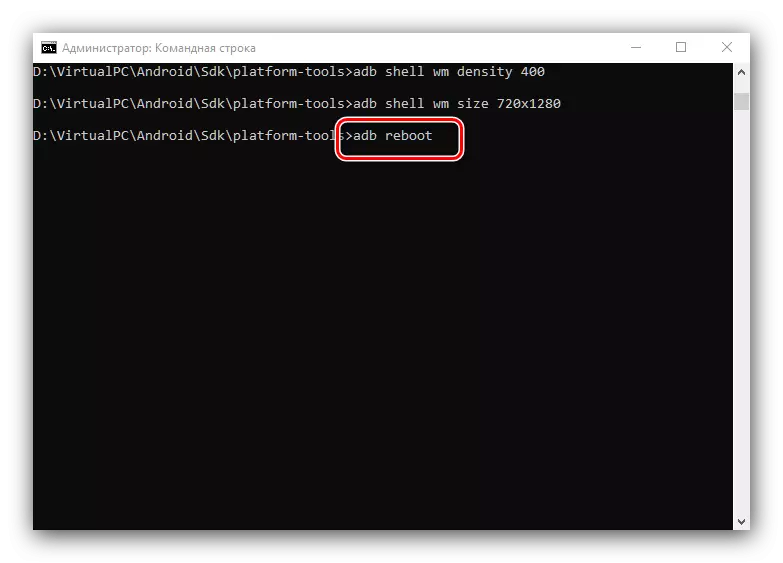
- To change the changes, the phone needs to restart - this can also be done via ADB, the following command:
ADB reboot.
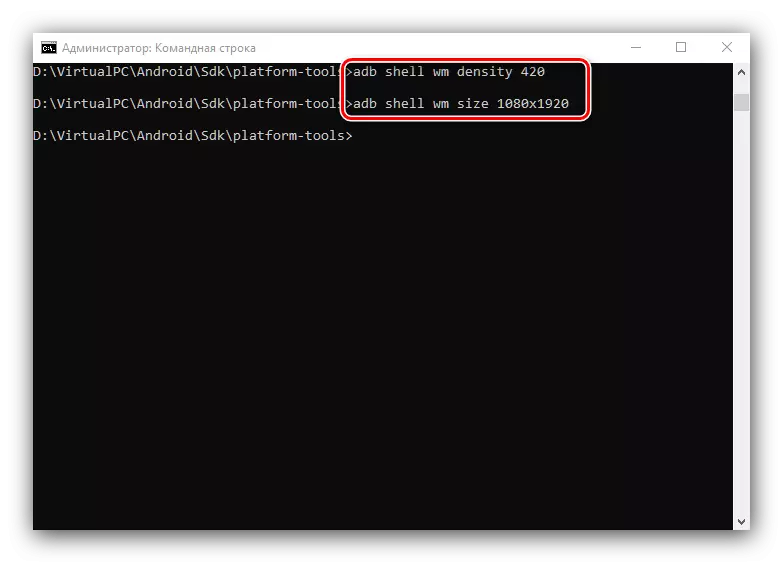
- After re-launching the device, you will see that the resolution has been changed. If after downloading you encountered problems (the sensor reacts poorly on the touch, the interface elements are too small or large, the part of the software refuses to work), then connect the device to the ADB again and use the commands from steps 9 and 10 to install the factory values received in step 8 .
The use of Android Debug Bridge is a universal way that is suitable for almost all devices.