

Method 1: Audacity
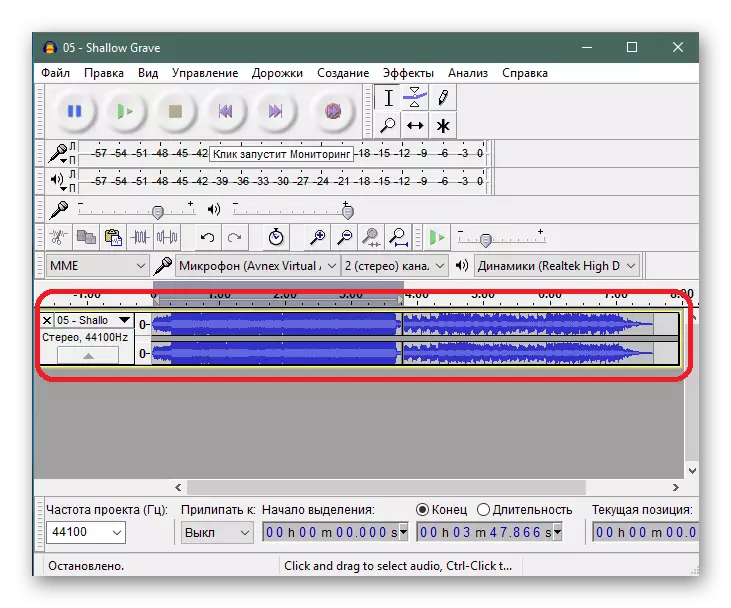
The method suitable for beginners and undemanding users is to apply Audacity. The interface in it is very simple, there is no overload tools that could shoot off the user with a sense. We propose to use the instructions on the link below to apply audio to audio in this software. However, you should only figure out how to move two songs as two different layers, you do not need to combine them. Consider this when reading this material.
Read more: How to connect two songs by the Audacity Program
Additionally, we will specify that there are other articles on the use of Audacity on our site. If you are interested in this software and you plan to perform other actions in it, check out the reference manuals below to simplify the process of understanding all the tools present.
Read more: How to use Audacity
Method 2: VirtualDJ
Sometimes user needs are related to the fact that they want to surpass several compositions, for example, to reproduce them simultaneously or alternate certain fragments. Then it will be preferable to use software for DJs, the best representative of which is VirtualDJ.
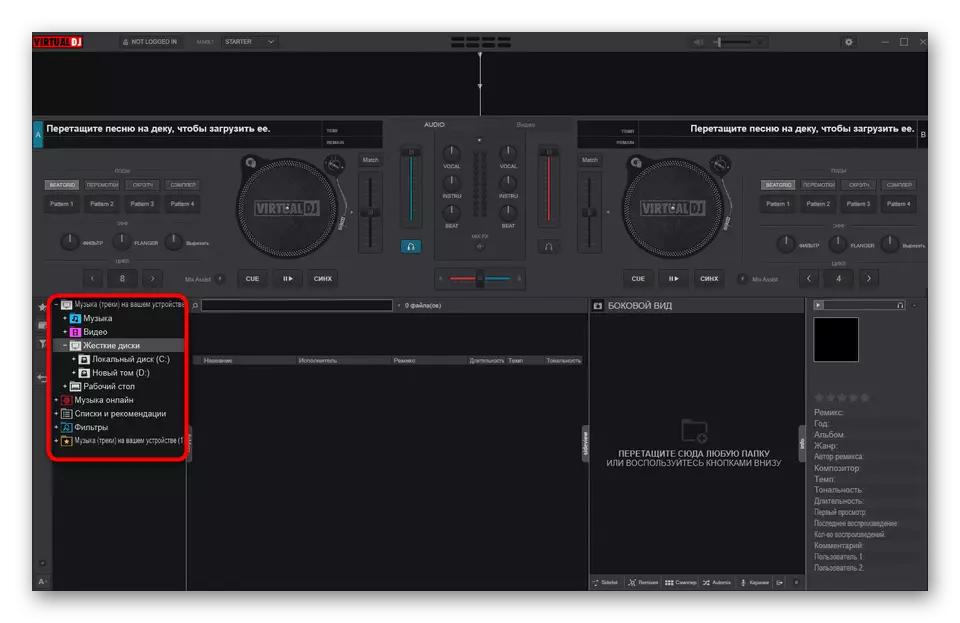
- To begin with, go to the link above, download, install and run this program. In it, pay attention to the left block: There you should select the local storage and move to the folder where the necessary compositions are located.
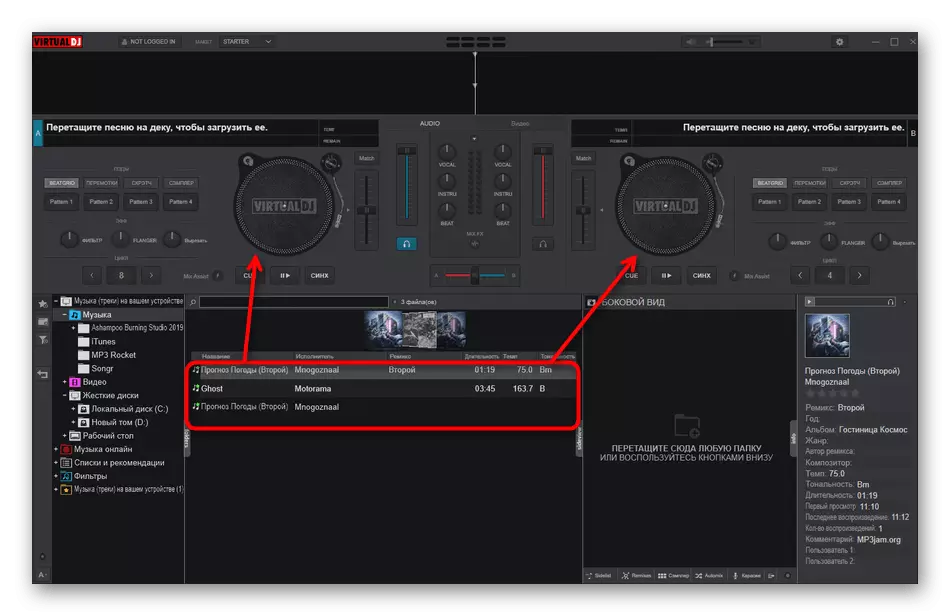
- They will be displayed in the center, and then it will only remain to move them into two different decks in any convenient order.
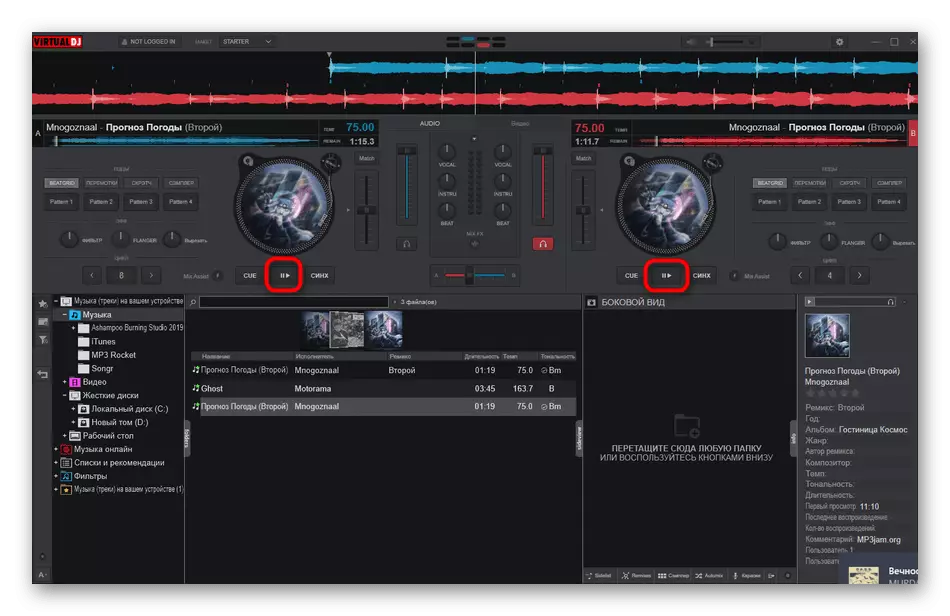
- Playback begins by clicking on special buttons under the deck itself. Consider that the playback button is assigned to each composition, as well as all other tools present in this software.
- Quickly move to certain fragments or, for example, activate the scratch or loop can be activated using special bands located on top.
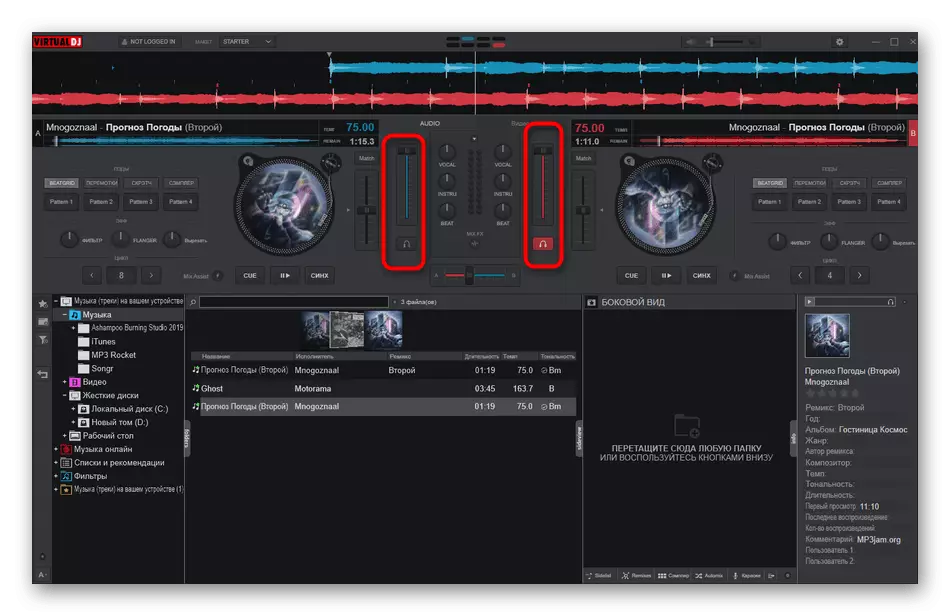
- Adjust the volume of each track using the slider. Lower it down to reduce.
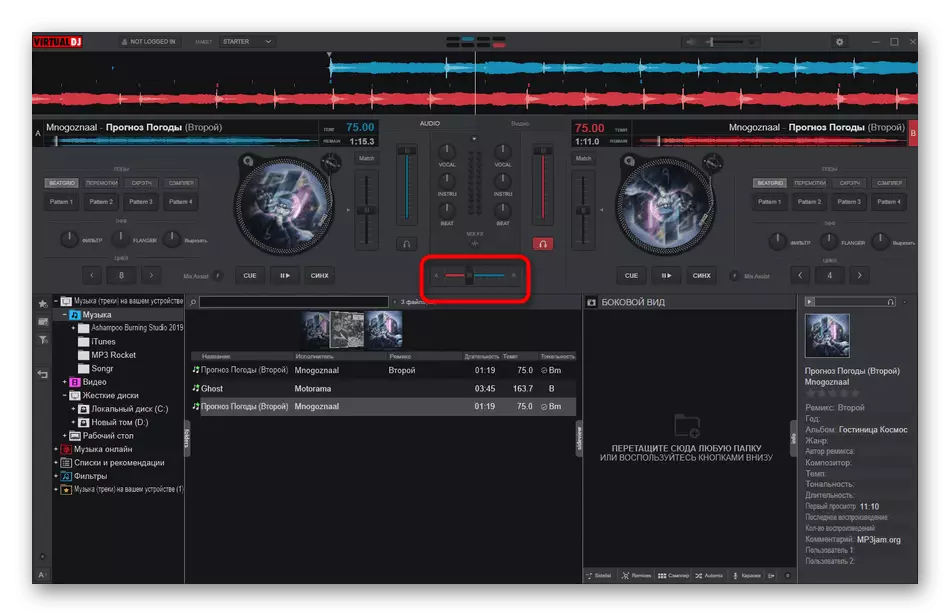
- The center has another slider responsible for the playback balance. If you need the left track to stand out over the right, it means that the slider should be moved more in its direction.
- When creating a mix, you may need to edit the music a little, let's say, stupid vocals or, on the contrary, leave only a tool or bits. Then use the twisters with the corresponding effects, achieving a suitable result.
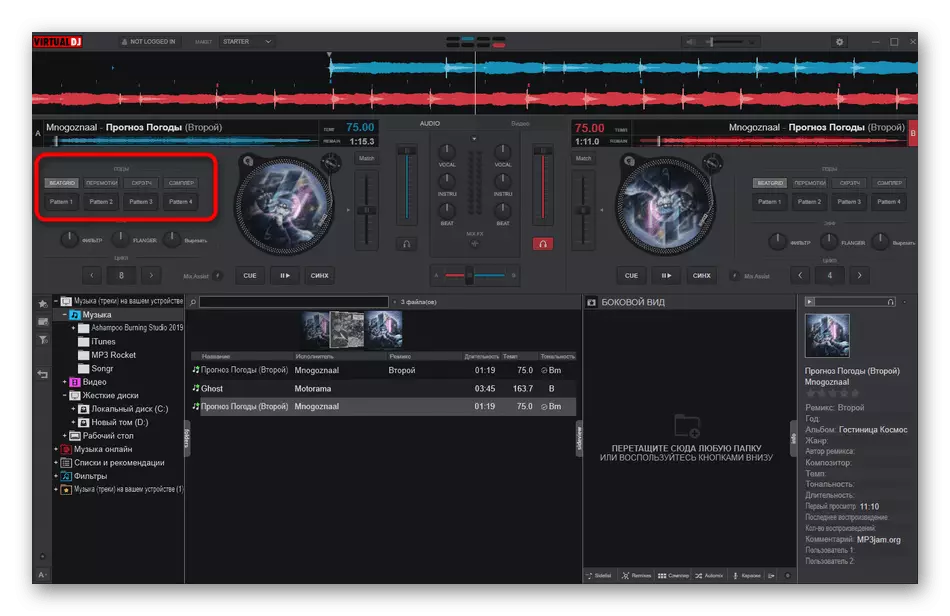
- Developers are offered to use and preserved presets. They have rewind, scratch and various sound effects. Just click on each of them to find out how the sound will change.


Unfortunately, to keep the finished result through VirtualDJ will not work, as the goal of the program consists of a little in the other. However, it will work perfectly if you wish to feel like a DJ and hover a few tracks into one.
Method 3: FL Studio
Another option to impose music to music is the use of professional digital audio workstations. One of the most popular similar solutions is FL Studio, so now we want to focus on this software.
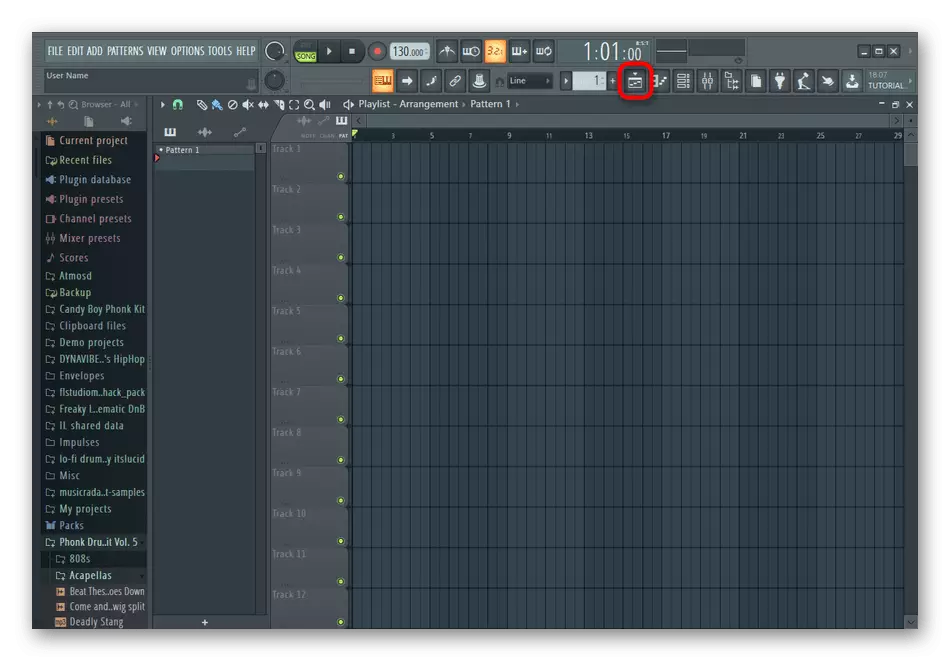
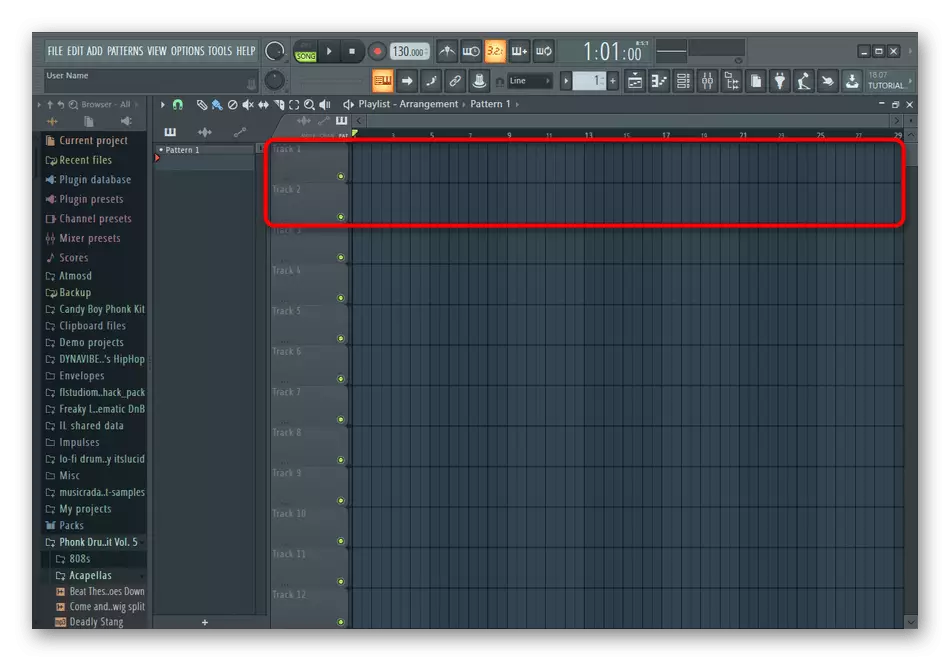
- After starting FL Studio, you will need to open a window with a playlist by clicking on the corresponding button if it is not automatically displayed.
- To the first and second track via the "Explorer", move the two selected compositions.
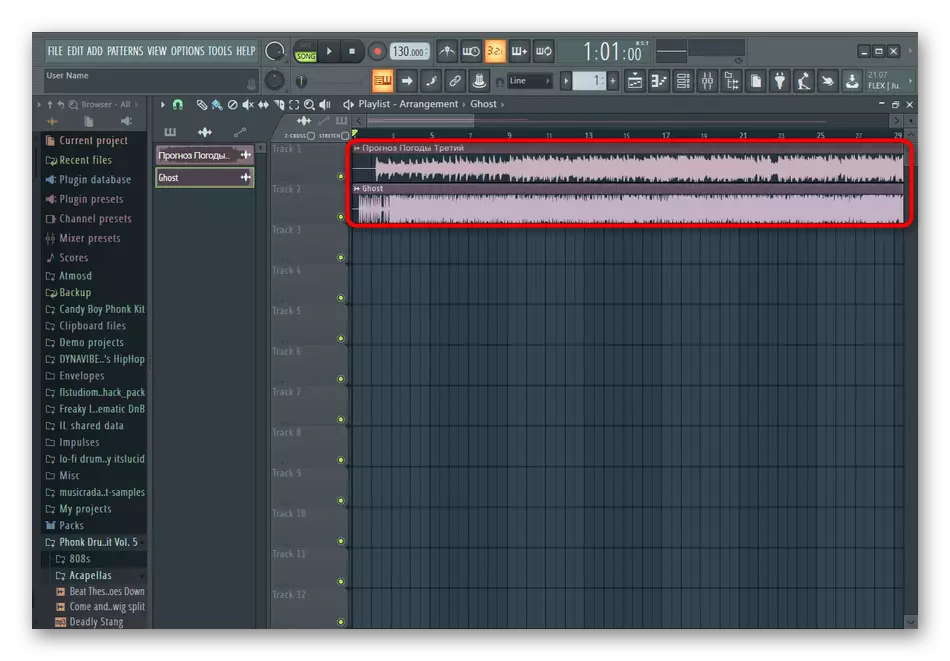
- Place them in the correct order and necessarily align to synchronize playback.
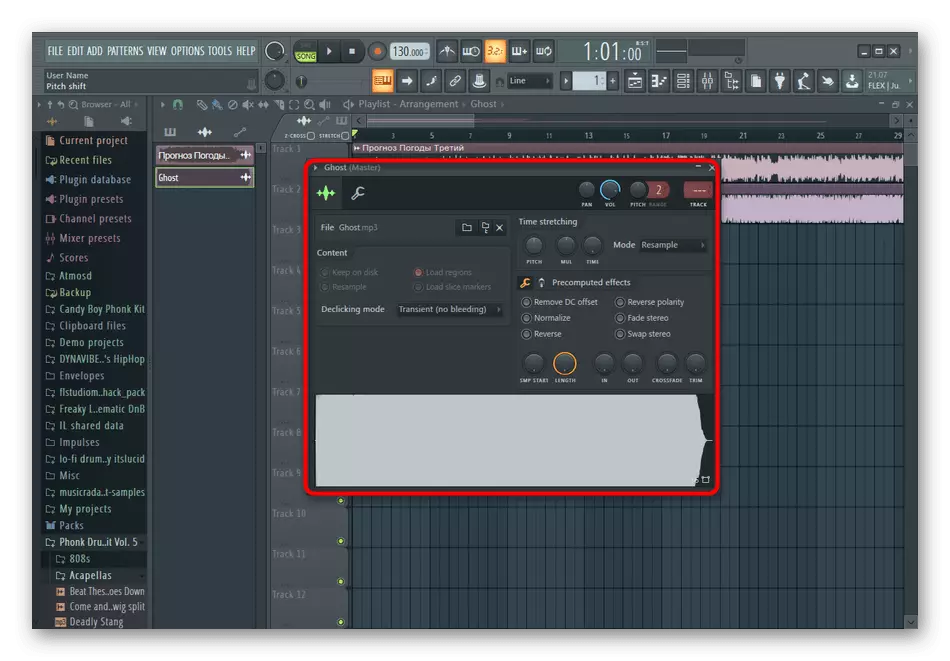
- Double-click on the left mouse button on one of the tracks to open its options. Here you can change the volume, playback speed, or even activate the reverse.
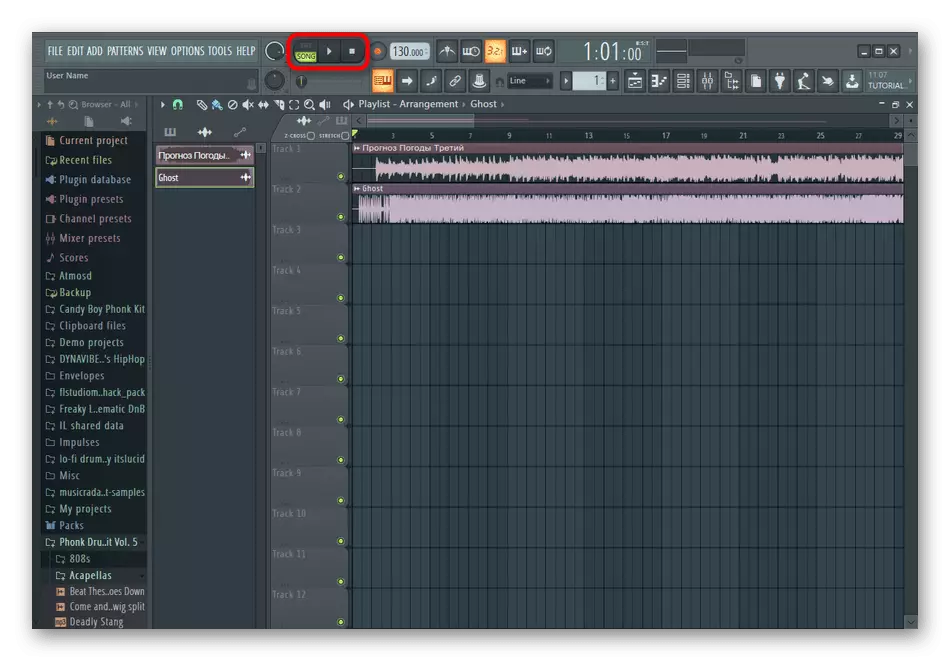
- Do not forget to reproduce the project to make sure the imposition of both tracks is correct.
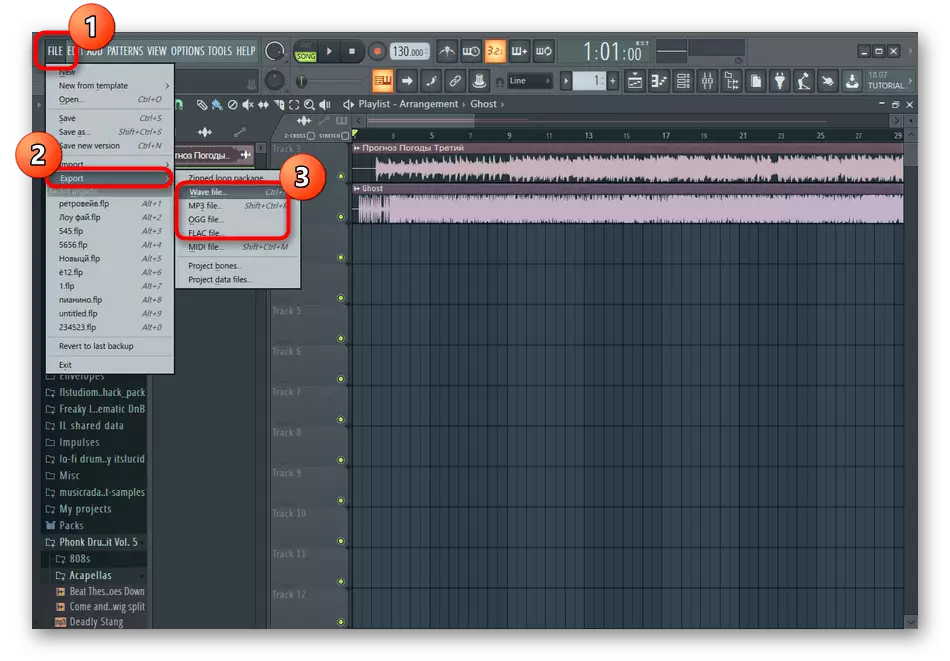
- After readiness, open the "File" menu Mouse over to "Export" and select one of the appropriate file formats in which you want to save the project.
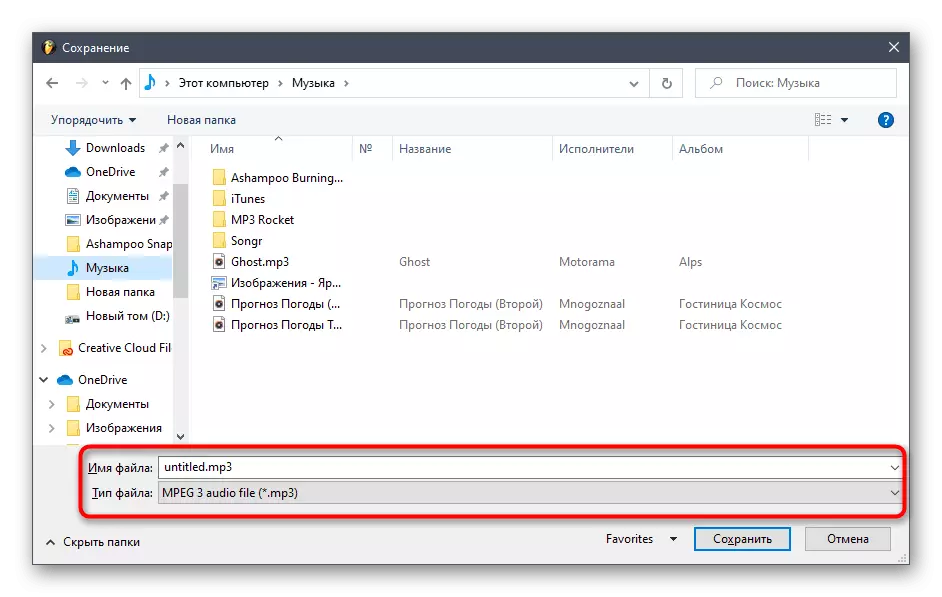
- "Explorer" will open, where you need to choose a place and name for the track.
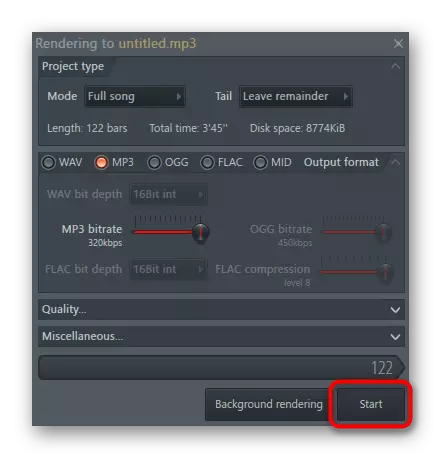
- Next, through FL Studio, it remains only to set the parameters of the rendering and run this process.
Using FL Studio for other purposes, difficulties may occur, which is especially true for beginner users, because the number of tools and functions here is just huge. If you are interested in this software and want to transform mixes in every possible way or create your own music, we advise you to read the expanded reference guide below.
Read more: Using FL Studio
In complete, we note that there is a huge number of other programs on the Internet suitable for connecting music and functioning about the same principle as it was in the decisions described above. Familiarize yourself with them in a full review on our website by clicking on the following header.
Read more: Music connection programs