
Method 1: "Disk Management"
The easiest solution to our task is to use the storage managers built in OS.
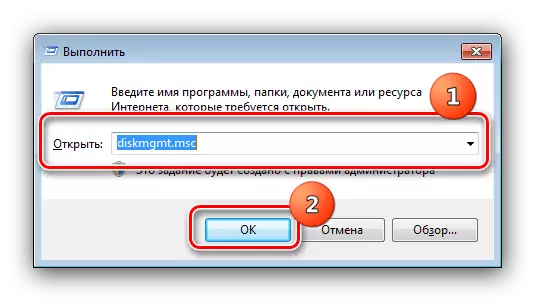
- Press Win + R keys to call the "Run" window, enter the DiskMGMT.msc query in it and click OK.
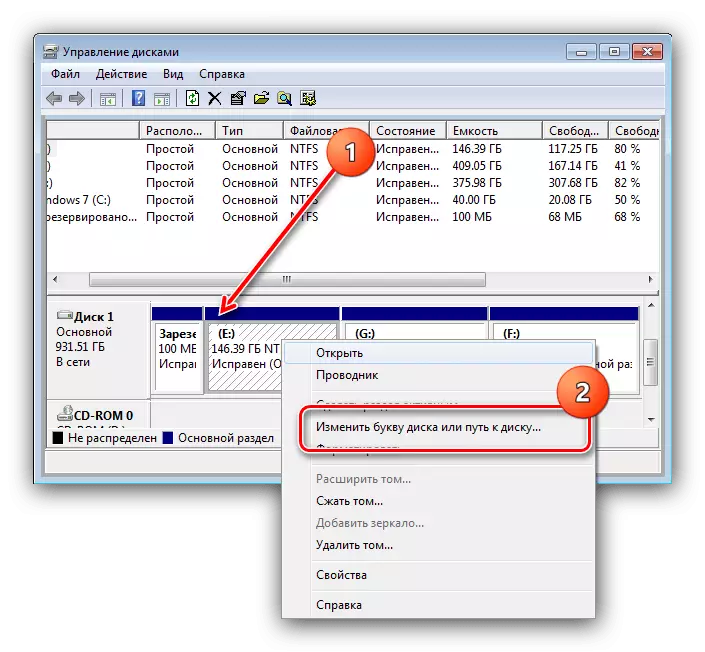
- After downloading the tool, use the list of volumes or disks - find the required drive in it, click on it with right mouse button and select the option "Change the letter of the disk ...".
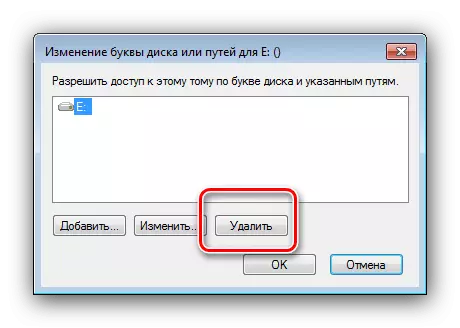
- In the next window, use the Delete item.
Confirm the operation.
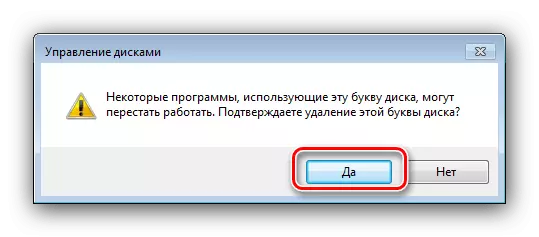
After confirmation, the disk will no longer be visible in "My Computer".
This method, unfortunately, will not work for the owners of Windows 7 home, since the considered tool is missing.
Method 2: "Command Line"
A lot of operations, including those considered, in Windows 7 any edition can be performed using the "command line".
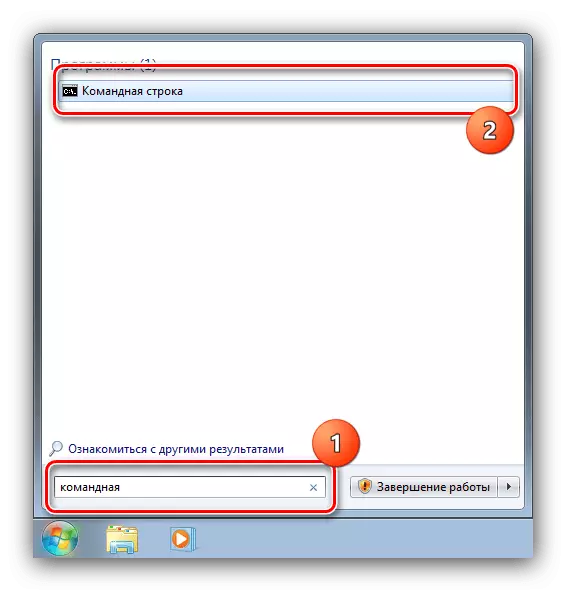
- Open the "Start" and enter a command command in the search string.
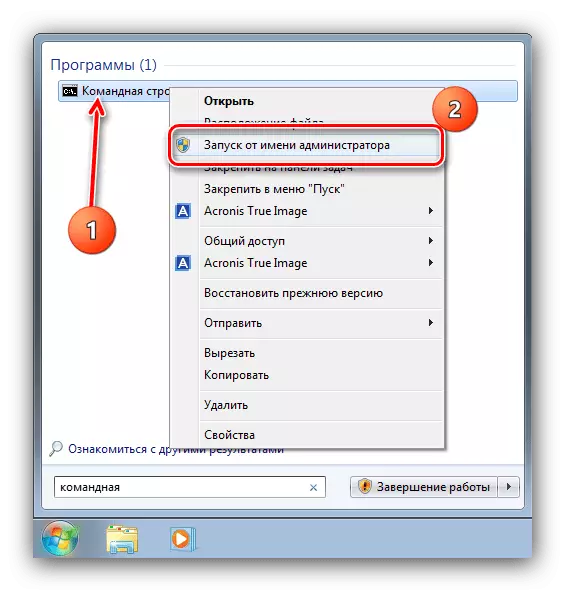
Next, click on the result of the right mouse button and use the "Run from the administrator" option.
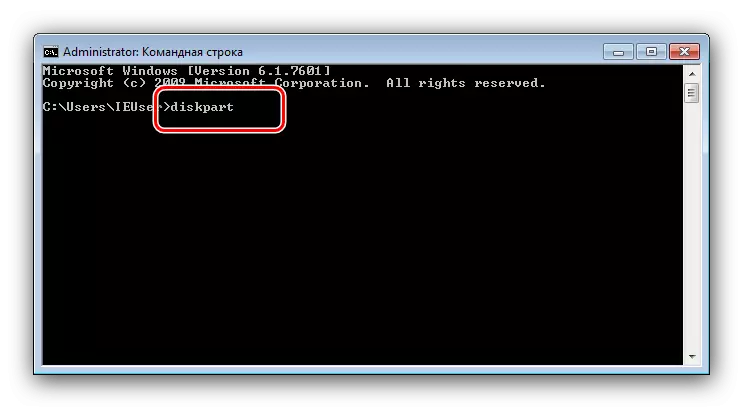
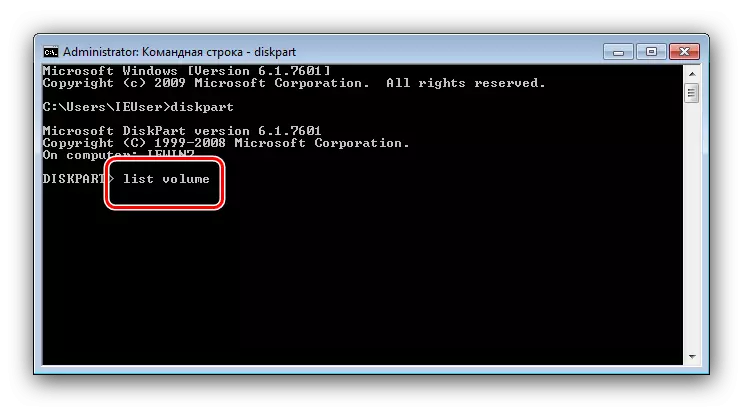
- After the command entry interface appears, write to it diskpart and press ENTER.
- The DiskPart utility will start. Enter the LIST DISK command in it.
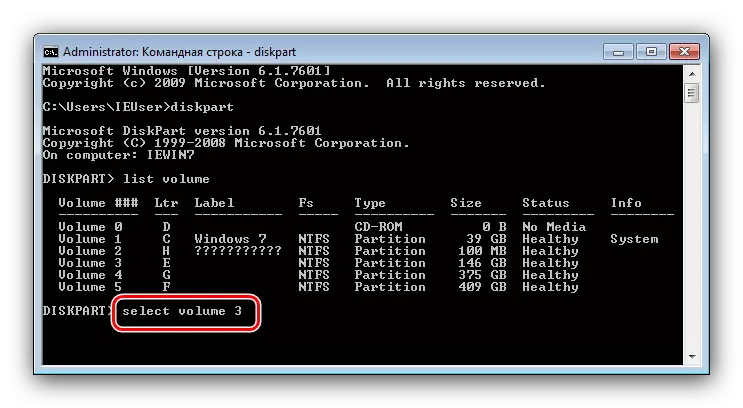
- The screen displays a list of all drives and logical partitions of your computer. Choose the one you want to hide and remember or write down the number as it appears in the list, as well as its letter from the name column. Next, enter the following:
SELECT VOLUME * disk number *
Instead of * Disc number * Write the number obtained in the previous step, and press ENTER to use.
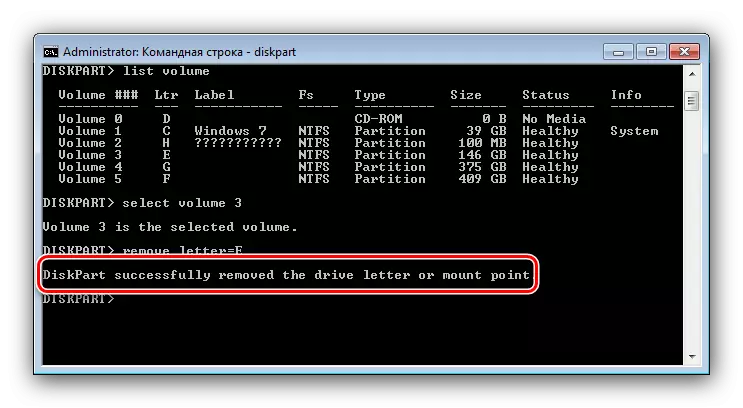
- To hide the selected section, you will need to delete the letter attached to it, this is done using the following:
Remove Letter = * Disc Letter *
Of course, instead of the letter of the disc * write the appropriate from the "LTTR" column.
- After successfully completing the procedure, the OS will inform you about it.

The use of the "command line" is the most efficient, but not the most convenient solution, especially for inexperienced users.
Method 3: Minitool Partition Wizard
If the systemic means for working with discs in your editorial board "Seven" is missing, and there is no time or desire to be sick with the "command line", a convenient third-party solution Minitool Partition Wizard is useful.
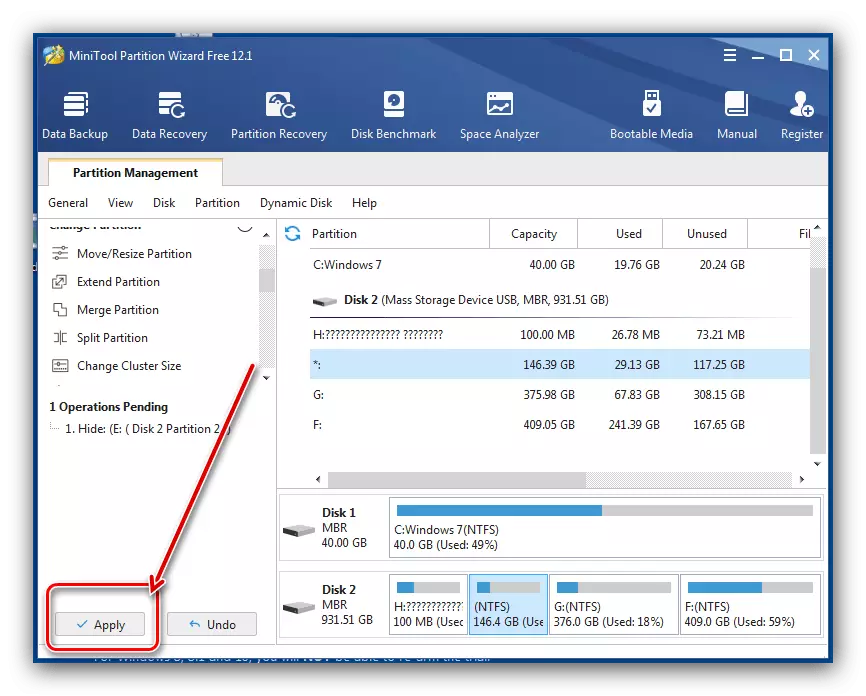
- Run the program and wait until the list of disks is loaded. After that, find the desired, highlight, click PCM and use the Hide Partition item.
- In the left column there will be a list of scheduled operations and the start button, click on it.
- Confirm the operation, after which the program will start executing the selected action - after the procedure is completed, the disk will be hidden.


The main advantage of this method is universality, since a third-party application does not depend on the version and edition of the operating system.